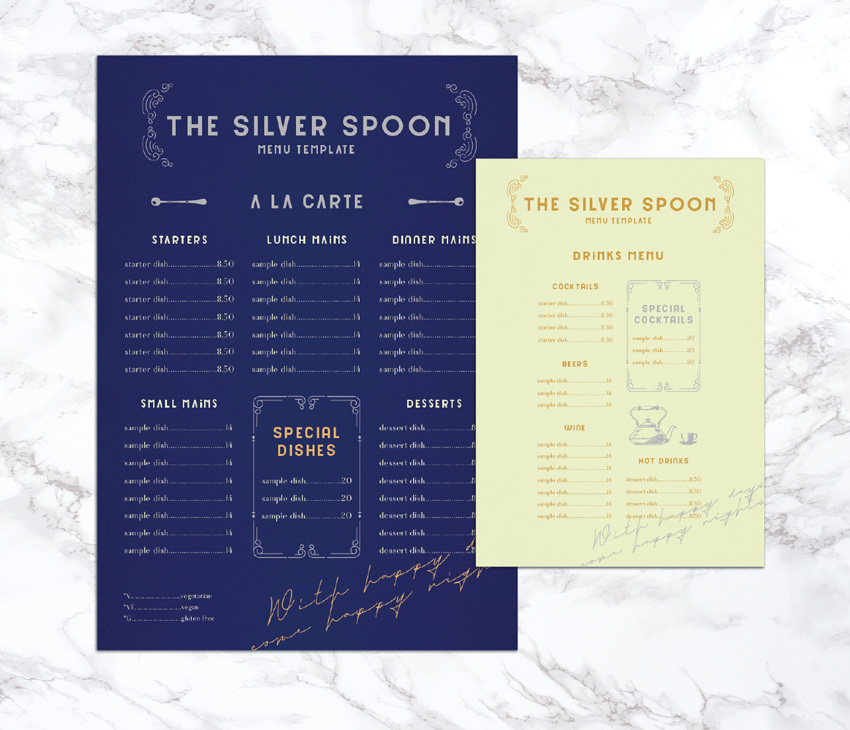
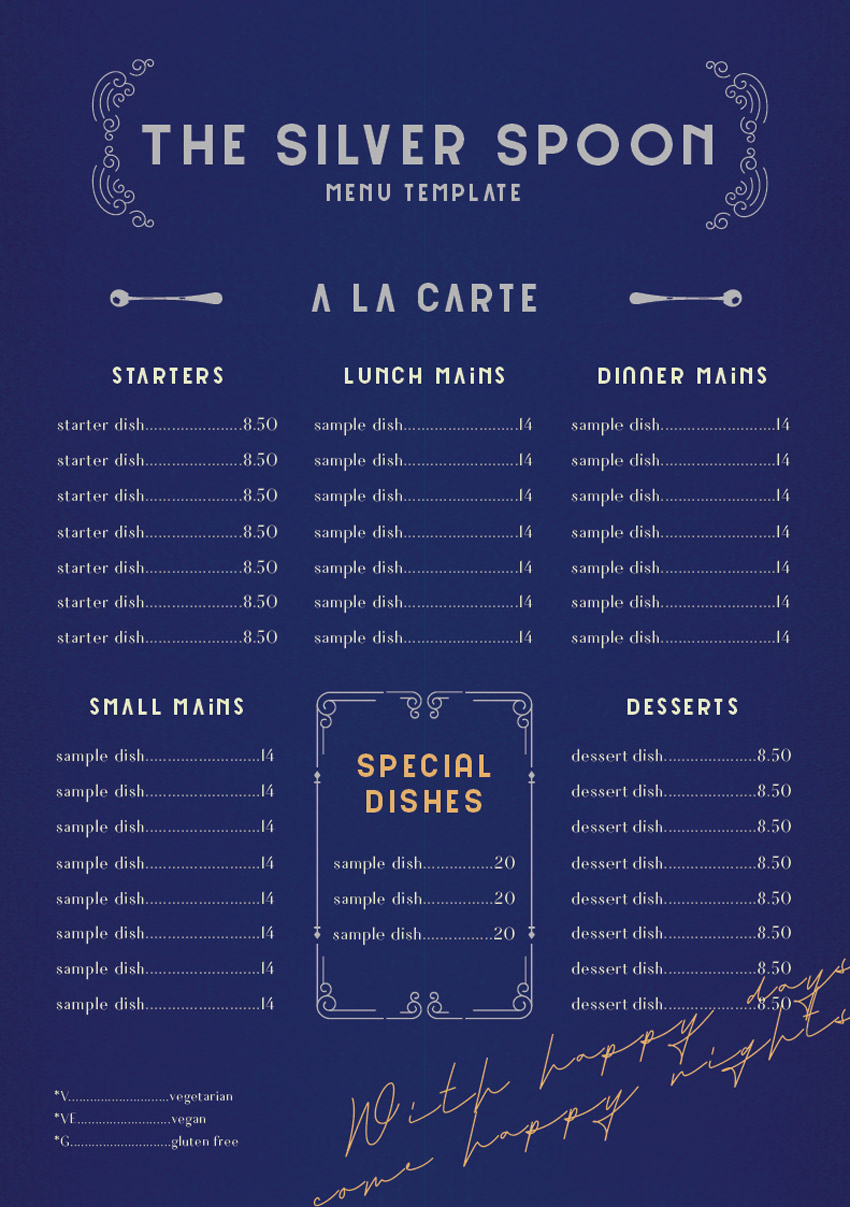
In this tutorial, you’ll learn how to create a restaurant menu template in Adobe InDesign. Complete with a luxurious color palette and a vintage style, this fancy menu template is perfect for high-end restaurants or luxury bars.
This InDesign menu template, which consists of an A4-sized food menu and A5 drinks menu, can be easily adapted with your own text content and is set up for professional, full-color printing.

Looking for a different menu style? Discover more delicious and easy-to-edit menu templates over on Envato Elements.
What You’ll Need to Create Your Fancy Menu Template
We’ll be using Adobe InDesign to create the menu layout, and dipping into Adobe Illustrator to edit the vector graphics for the menu design.
You’ll also need to download the following fonts and image files:
Once you’ve installed the fonts onto your computer and saved the graphic files to a safe place, you’re ready to get started with creating your menu design.
1. How to Set Up the Menu Template in InDesign
Step 1
Open InDesign and go to File > New > Document.
In the New Document window, choose Print from the options at the top of the window, and select A4 for the page size.
To the right side of the window, uncheck Facing Pages. Increase the number of Columns to 3 and set the Gutter to 9 mm.
Add Margins of 15 mm and a Bleed of 5 mm, before clicking Create.


Step 2
Expand the Layers panel (Window > Layers) and double-click on Layer 1, renaming it Background.
Select New Layer from the panel’s main menu at the top right, and create two new layers: Material and Type.
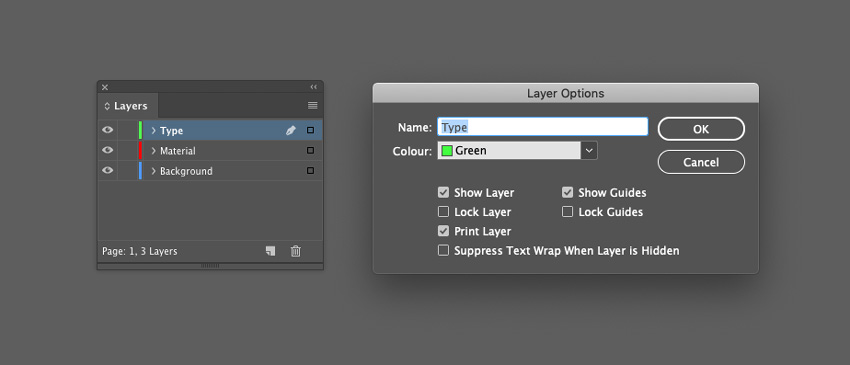
Lock all the layers except the bottom layer, Background.

Step 3
Expand the Swatches panel (Window > Color > Swatches) and choose New Color Swatch from the panel’s menu.
Set the Color Type to Process, Mode to CMYK, and the levels below to C=10 M=2 Y=26 K=0 (Peppermint). Click Add and then OK.
Repeat to create three more CMYK swatches:
- C=100 M=83 Y=29 K=27 (Blue)
- C=25 M=20 Y=19 K=7 (Silver Gray)
- C=13 M=35 Y=85 K=7 (Gold)

2. How to Add Color and Texture to Your Menu Template
Step 1
Working on the Background layer, select the Rectangle Tool (M) and drag across the whole page and up to the bleed.
From the Swatches panel, set the Fill Color to Blue.

Step 2
Lock the Background layer and unlock the Material layer above.
Use the Rectangle Frame Tool (F) to create an image frame across the left half of the page. File > Place, navigate to the Cloth Backgrounds folder, and choose image 25.jpg, before clicking Open.
Select the image inside the frame directly by double-clicking, and Right-Click > Rotate 90 Degrees CCW.
Allow the paler half of the cloth image to fill the image frame.

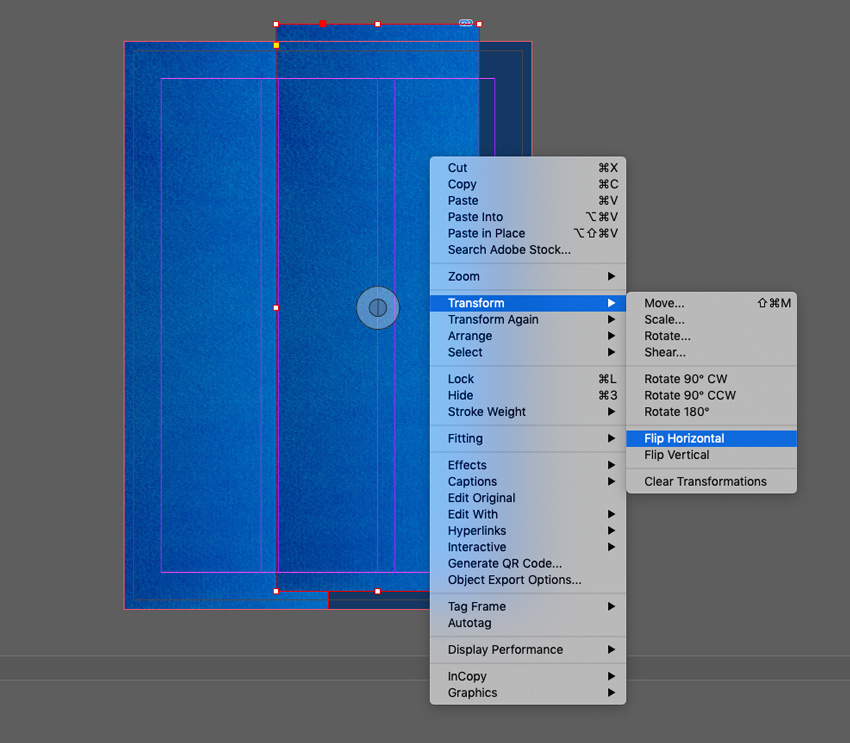
Then select the image frame and Edit > Copy, Edit > Paste it. Then Right-Click > Transform > Flip Horizontal. Move it over to the right side of the page.
Step 3
Select both image frames on the Material layer and go to Object > Effects > Transparency. Set the Mode to Multiply and click OK.

3. How to Add Typography to Your Menu Design
Step 1
Lock the Material layer and unlock the top layer, Type.
Use the Type Tool (T) to create a text frame across the center of the top of the page.
Type in the restaurant name and, from the Character panel (Window > Type & Tables > Character), set the Font to Coellak Rad, Size 60 pt, and increase the Tracking (letter-spacing) to 40. You might want to use the Glyphs panel (Window > Type & Tables > Glyphs) to insert different variations of the characters.

From the Swatches panel, set the Font Color to Silver Gray. You can add an optional subtitle below, set to a 20 pt Font Size.

Step 2
Open the Art Deco Ornament Pack illustration in Adobe Illustrator.
Delete the background color and select the four elements of the design shown below, before going to Edit > Copy.

Return to InDesign and Edit > Paste the design directly onto the menu.
Switch the Fill Color of the graphic to Silver Gray, and position it to the left of the restaurant name.

Step 3
Edit > Copy the graphic and then Right-Click > Transform > Flip Horizontal.

Position it to the right of the restaurant name to frame the header.

Step 4
Copy and Paste the restaurant title text frame and move it below, reducing the Font Size to 42 pt and editing the text to read the menu name, e.g. ‘A LA CARTE’ or ‘FOOD MENU’.

Step 5
Open the kitchenware01.ai file in Adobe Illustrator. Select the spoon graphic on the far left side and Edit > Copy it.

Head back to InDesign and Edit > Paste it, switching the Fill Color to Silver Gray. Paste a spoon graphic on either side of the menu title.

Step 6
Create a text frame spanning the width of the left-hand column, typing in the first subtitle (e.g. ‘STARTERS’), and setting the Font to Coellack Rad, Size 25 pt, and the Font Color to Peppermint.
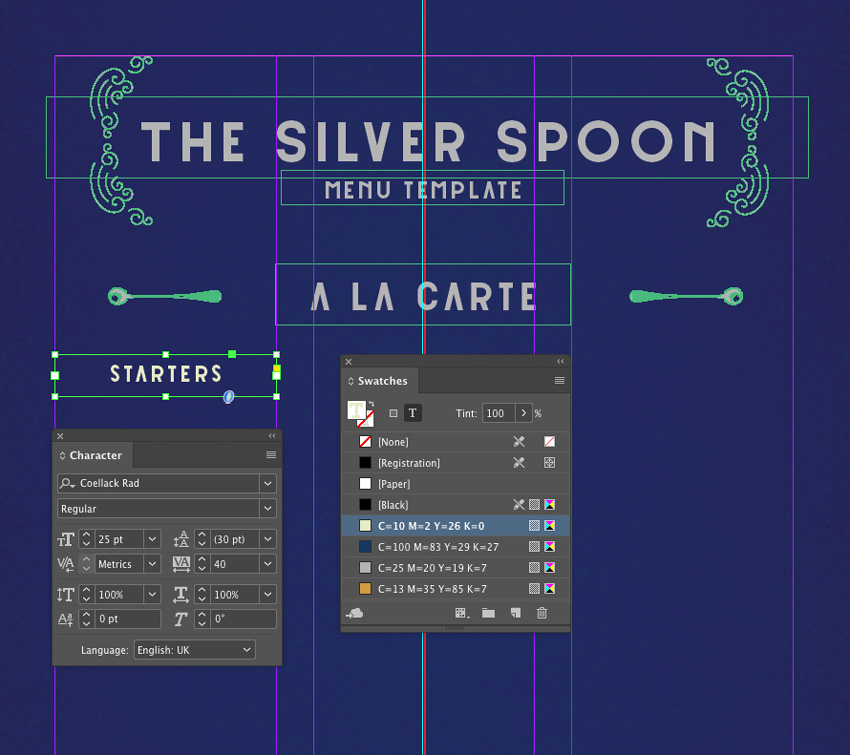
Create a text frame below this, typing in the name of the first item on the menu, followed by a series of ellipses, and the price on the right side of the text frame. Set the Font to Fiona Regular, Size 16 pt, and a Peppermint Font Color.
Copy and Paste the text frame repeatedly, creating a block of dishes under the ‘STARTERS’ title.

Step 7
Select all the ‘STARTERS’ text frames you’ve just created and Right-Click > Group them.
You can now use this group as a block for populating the rest of the menu design.
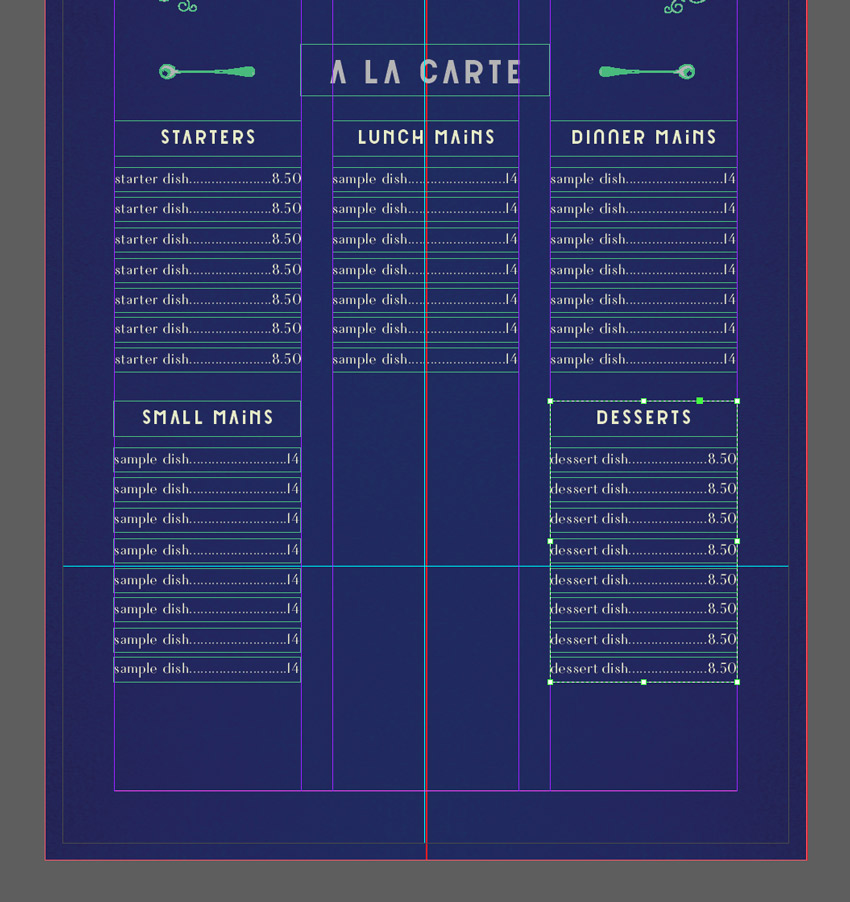
Step 8
Return to the Art Deco Ornament Pack illustration and select the elements around the edge of the graphic, as highlighted below.

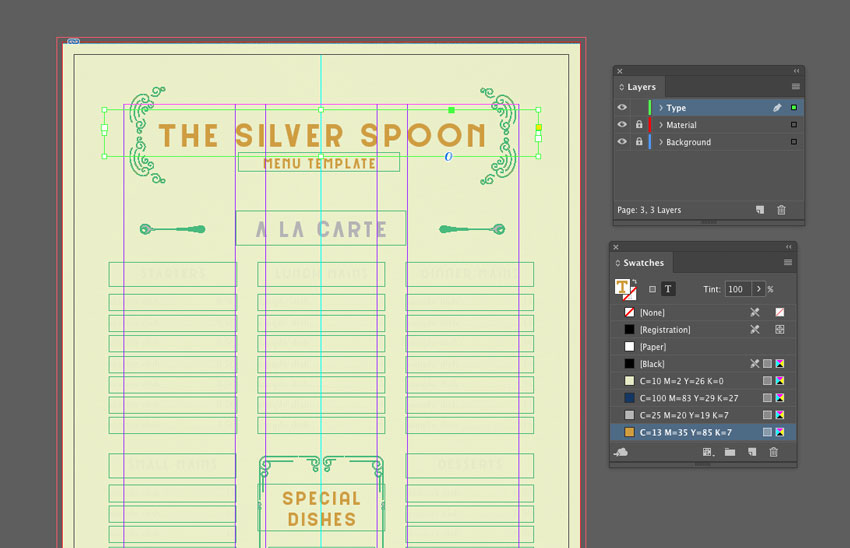
Edit > Copy this border graphic. Then head back to InDesign and Edit > Paste it onto the Type layer, rotating it to fit any large gap on the menu layout.
Set the Fill Color to Silver Gray.

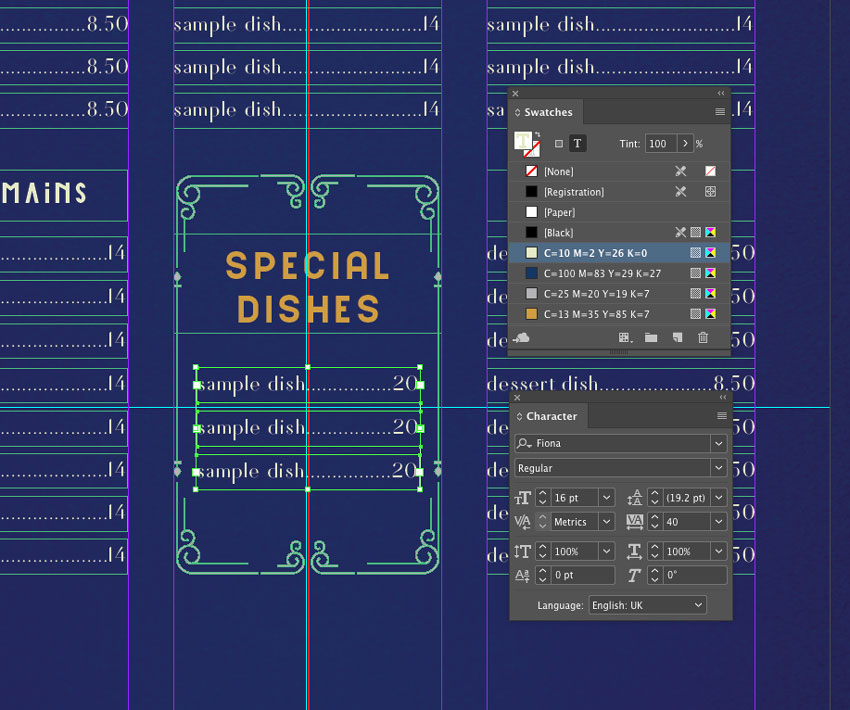
Inside this border, you can feature a special dish or dish of the day. Set the header in Coellak Rad with a Gold Font Color.
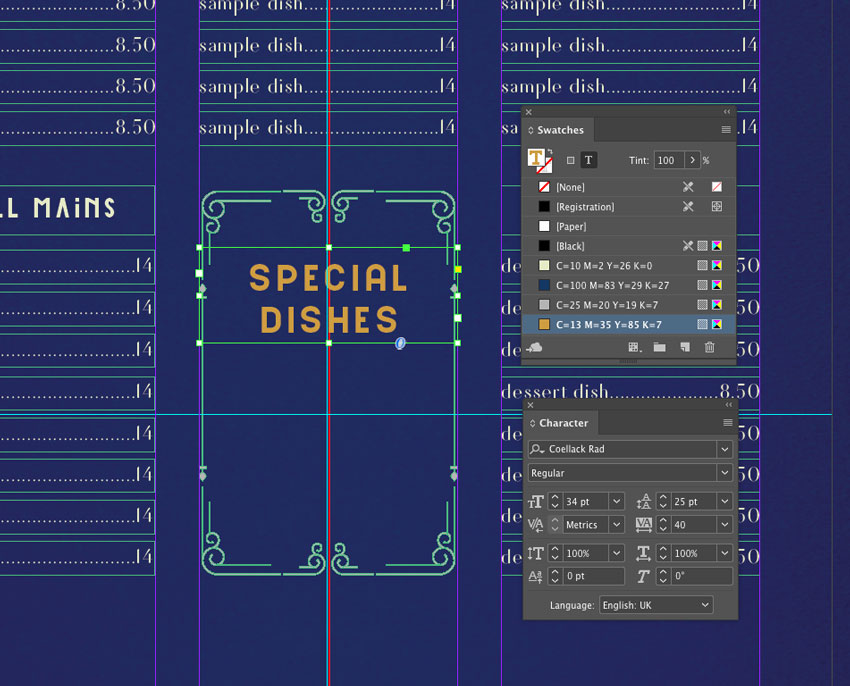
Copy across one or a few of the dish text frames to place inside the border.
Step 9
Don’t forget to add a little key at the bottom left of the menu, for dishes with special dietary requirements.

The final decorative touch is to add a large text frame across the bottom-right of the page, rotating it slightly and typing in a slogan or quote, before setting the Font to Rosemary Signature and a Gold Font Color.

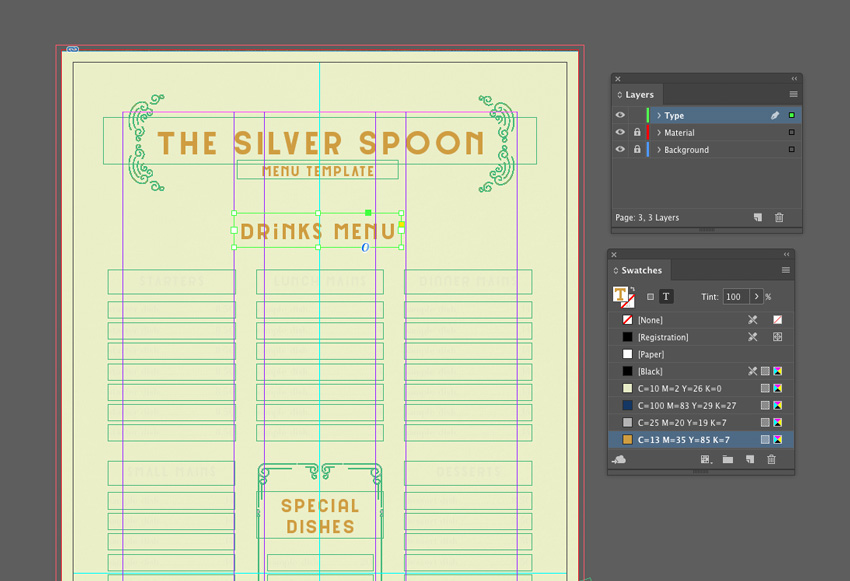
4. How to Create a Matching Drinks Menu
Step 1
Expand the Pages panel (Window > Pages).
On Page 1, Right-Click > Duplicate Spread, to create a copy of the menu.

Scroll down to Page 2 of your document. Select the Page Tool (Shift-P) and click onto the page to select it. From the top Controls panel, set the Liquid Page Rule to Scale, and then switch the Page Size to A5 from the size menu.

This scales all the elements on the page down to a smaller A5 page size, without the need to resize elements individually.

Step 2
Working on the Background layer, select the rectangular shape and switch the Fill Color to Peppermint.

Lock the Background layer and unlock the layer above, Material. Delete the image frames on this layer, before creating a new one with the Rectangle Frame Tool (F) that extends across the whole page.
File > Place, go to the Cloth Backgrounds folder and choose the 28.jpg file, before clicking Open.

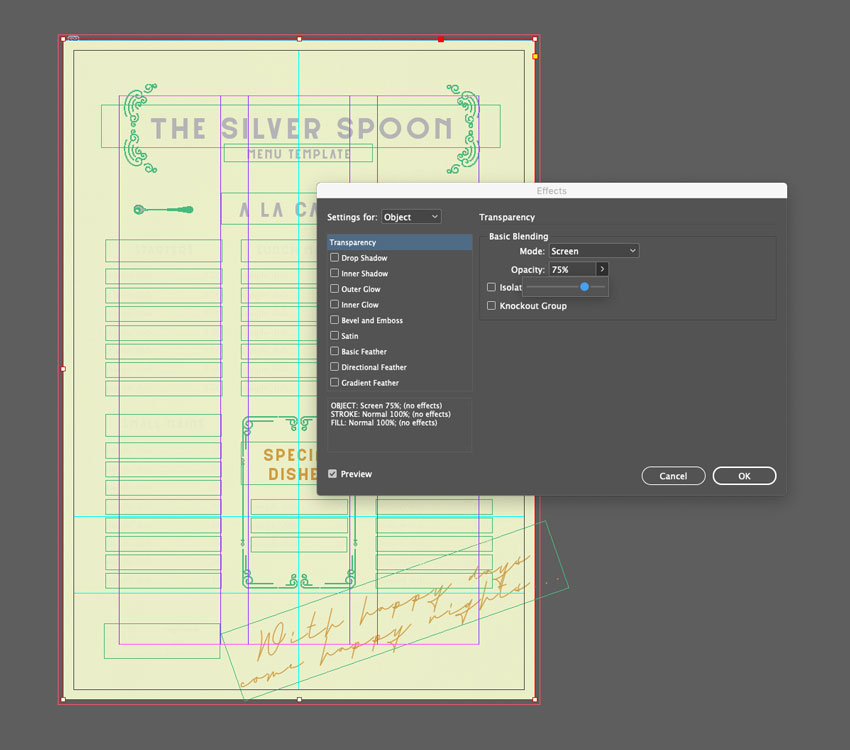
Select the image frame and go to Object > Effects > Transparency. Switch the Mode to Screen and bring the Opacity down to 75%, before clicking OK.
Step 3
Working on the Type layer, select the restaurant name text frame(s) and switch the Font Color to Gold. Do the same for the border graphics too.
Switch the name of the menu to ‘DRINKS MENU’ or similar, and the Font Color to Gold.
Step 4
Delete one of the columns of type from the far left or right side, leaving just two columns of text. Move these centrally onto the page, and revise the headings of each section as required (e.g. to ‘COCKTAILS’, ‘BEERS’, etc).
Keep the decorative frame, moving it to the top right of the righthand column, and use this to frame the name of some special drinks.

Change the Font Color of the script text at bottom right to Silver Gray.

Step 5
Return to the kitchenware01.ai illustration in Adobe Illustrator. This time, select a teapot graphic and Edit > Copy it. Paste it onto your InDesign drinks menu.

Select a teacup image separately and Copy and Paste it too.

Adjust the Fill Color of both to Silver Gray.

5. How to Export Your Menu for Printing
When you’ve finished working on your menu and are ready to send it to print, go to File > Export.
Choose Adobe PDF (Print) from the options in the Format menu at the bottom of the window, name the file, and click Save.
In the Export Adobe PDF window that opens, choose [Press Quality] for the Preset.

Then click on Marks and Bleeds in the window’s left-hand menu. Check both All Printer’s Marks and Use Document Bleed Settings.

Click Export to create your menu PDF. You can send this document straight off to the printers—great job!
Conclusion
Your menu layout is finished and ready for sending to the printers! Congratulations!

In this tutorial, we’ve covered a range of skills and techniques which are really useful for creating print documents in Adobe InDesign. You can now feel more confident in:
- setting up a full-color menu layout in InDesign
- using vector graphics to add visual interest to your menu designs
- choosing and using suitable and effective fonts for your menu layouts
- layering color, texture, type and graphics to give your menu designs a modern, on-trend look
- exporting your artwork to a print-ready PDF format
Menu Templates From Envato Elements
Discover more delectable InDesign menu designs over on Envato Elements. Check out our edit below of some of our favourite menu templates:
Seafood Menu Template
This restaurant menu template has a rustic style which could be adapted for seafood restaurants, cafes, or coastal pubs. Available as both a Photoshop and InDesign template, this menu template also makes use of free fonts.

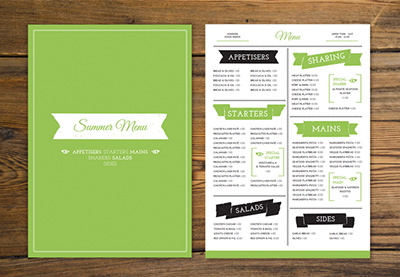
Bakery Menu Template
A simple and stylish two-page restaurant menu template, this menu design would be a great match for bakeries, cafes, or ice-cream bars.

Rustic Menu Template
Complete with vintage-inspired typography and a punchy color palette, this restaurant menu template is available as Illustrator and Photoshop versions. If you’re designing for a steak restaurant or diner, this menu layout would be a perfect choice.

Drinks Menu Template
Looking to design a menu for a cocktail bar, nightclub, or pub? This colorful Photoshop menu template is set up to a large-scale A3 page size—perfect for doubling up as table placemats.

Simple Menu Template
On the hunt for a minimal, easy-to-edit restaurant menu template? This stripped-back menu design is supremely stylish and could be adapted for almost any type of restaurant or bar.

Don’t miss these menu design tutorials:
-
![]()
Menus play a huge part in shaping a diner’s experience, for the better or worse (we’re aiming for the former!). Whether you’re creating a menu for a…
-
![]()
Let’s eat! Create compelling images for your shop or restaurant. Check out this collection of free and premium resources.
-
Learn some Photoshop basics with this simple and easy tutorial. Learn how to create a Photoshop burger menu template the easiest way.
-
![]()
A menu design can make or break a diner’s experience. Make sure that your menu layouts are the best they can be with these pro tips for designing and…