In this tutorial, you’ll learn how to make your own propaganda poster in Photoshop, using a vintage propaganda style and giving it a contemporary twist for International Women’s Day. Suitable for Photoshop beginners, this tutorial is a great way to learn more about poster design and discover how to create a propaganda poster style in your projects.
What Is Propaganda Art?
Propaganda is a form of communication that is used to influence an audience. It can be oral or visual, although propaganda posters are probably the best-known form of propaganda. Particularly prolific during wartime, propaganda was often employed by governments to boost morale, advertise social policies or, in more sinister cases, to promote ideologies or falsified news reports.
Propaganda doesn’t always have the best reputation, but the design styles honed by propaganda artists are still an important source of inspiration for modern-day graphic designers, with many of its stylistic traits proving to be as impactful today as they were in the 20th Century.
What Is a Propaganda Poster?
Propaganda posters have widely varying themes and messages, but across the world there are still common features across propaganda poster design. Strong, serious graphics or photography featuring leaders or officials are commonplace, and are often teamed with ultra-legible display type and aggressive palettes (red, black, and gray are often used) or national colors.
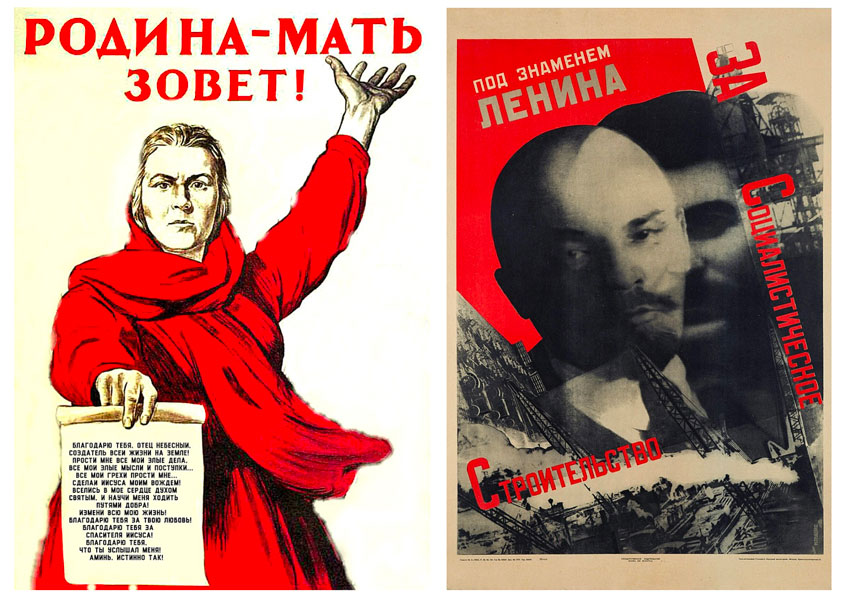
The graphic styles established by Soviet propaganda artists are particularly prolific, with strong color schemes, bold slab typography, and a sense of strength, energy, and movement.
The British poster designer Abram Games was given the title of official war poster artist in 1942. His use of optical illusions, witty subject matter and strong use of color and shape made his propaganda posters an indispensable tool for boosting the morale of British citizens during the Second World War.
In this tutorial, we’ll lift some of the characteristics of these vintage propaganda posters and apply them to a contemporary propaganda poster design.
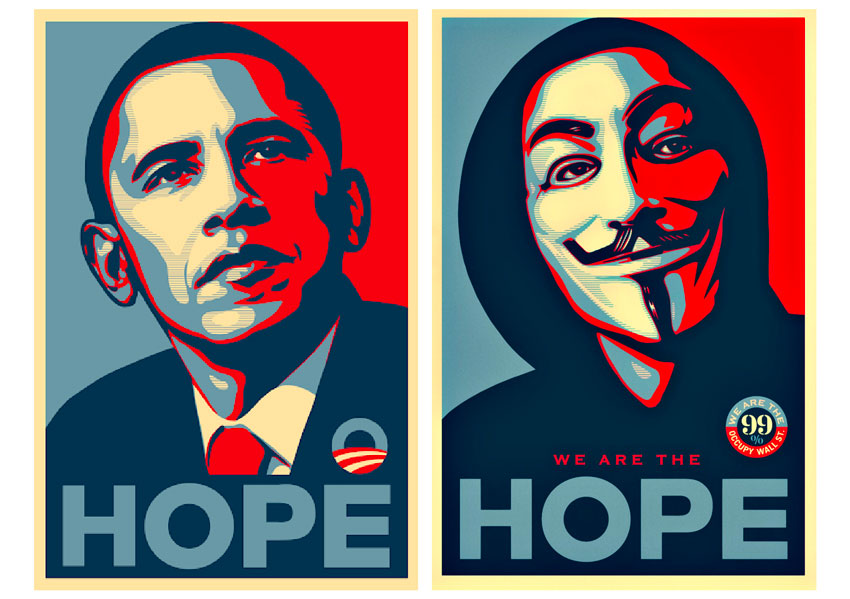
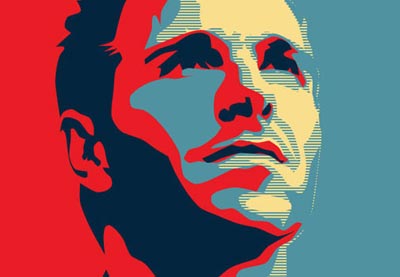
Propaganda is still an extremely effective form of visual communication in the 21st Century. Famous examples of recent propaganda art include Shepard Fairey’s ‘HOPE’ poster, which he created for the Obama presidential campaign of 2008. The style of the poster has been widely imitated and reinterpreted, and continues to be an iconic example of contemporary propaganda art.
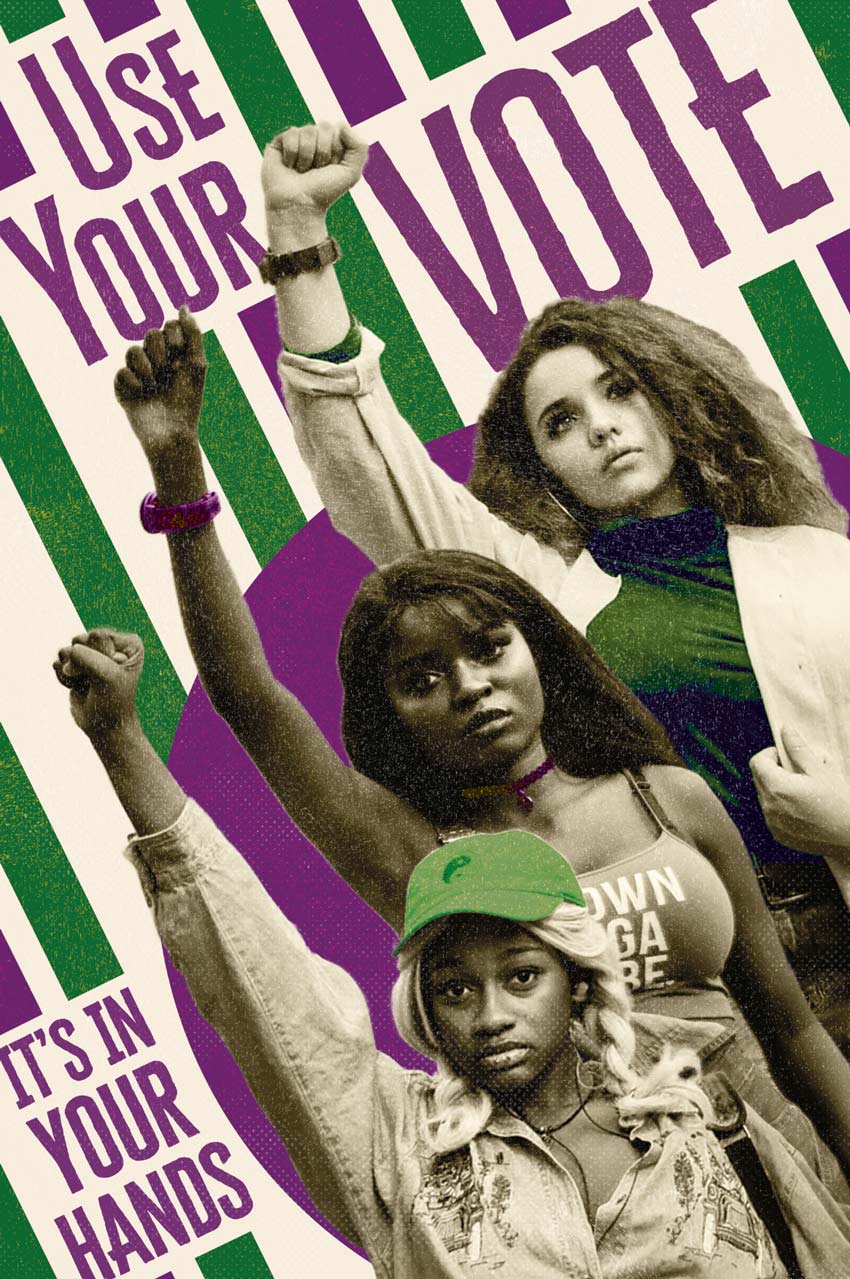
What is the message in the propaganda poster we will be creating in this tutorial? To mark International Women’s Day, we will be designing a poster that pays tribute to the legacy of the Suffragettes and their fight to achieve the right to vote for women in the 19th and early 20th Centuries. We’ll use the colors of the British suffrage movement, and we’ll use collage photography, Soviet-style type, and vintage textures to bring our modern propaganda poster to life.
By the end of the tutorial, you’ll have a poster that can be printed or shared online with family, friends, and colleagues. Ready to learn how to make your own propaganda poster? Let’s get started!
-

How to Create an Inspirational Vector Political Poster
-
Movie Poster Design 101: The Anatomy of a Movie Poster
What You’ll Need to Make Your Own Propaganda Poster
To create this retro propaganda poster, you’ll need access to Adobe Photoshop. You’ll also need to download the following images and fonts to use in your design:
- Photo of Three Activists
- Vintage Halftone Texture Pack
- Halftone Texture Pack
- Cheddar Gothic Sans Font
Install the font on your computer, open up Photoshop, and you’re ready to make a good propaganda poster!
1. How to Edit Your Collage Photo in Photoshop
Before we begin to draft the poster layout, we will need to prepare our photo separately for dropping into the design.
Step 1
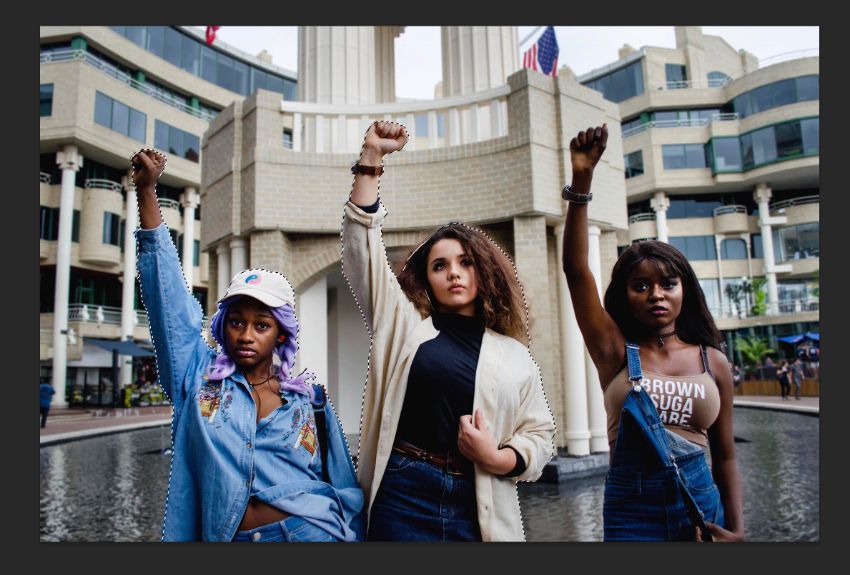
Open the photo in Photoshop.
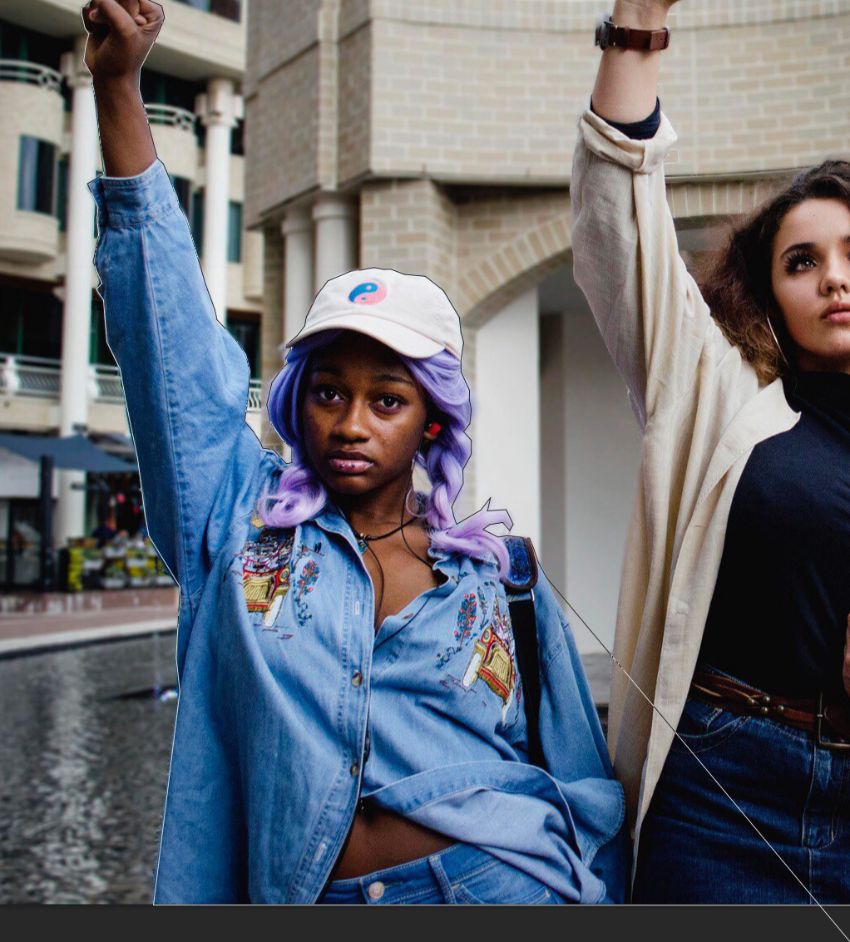
First up, we need to cut the subjects away from the busy background behind.
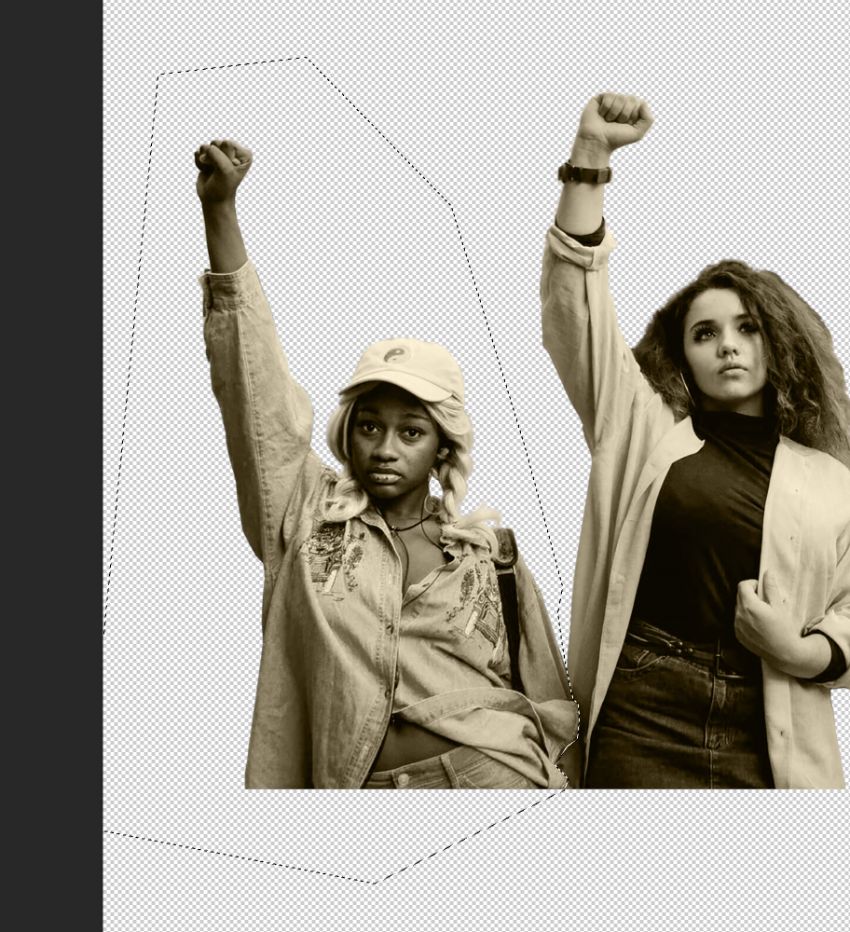
Begin with the first and second activists on the left-hand side of the photo. Use the Lasso Tool (L) to trace the edge of the two figures, looping it around the bottom edge to complete the selection.
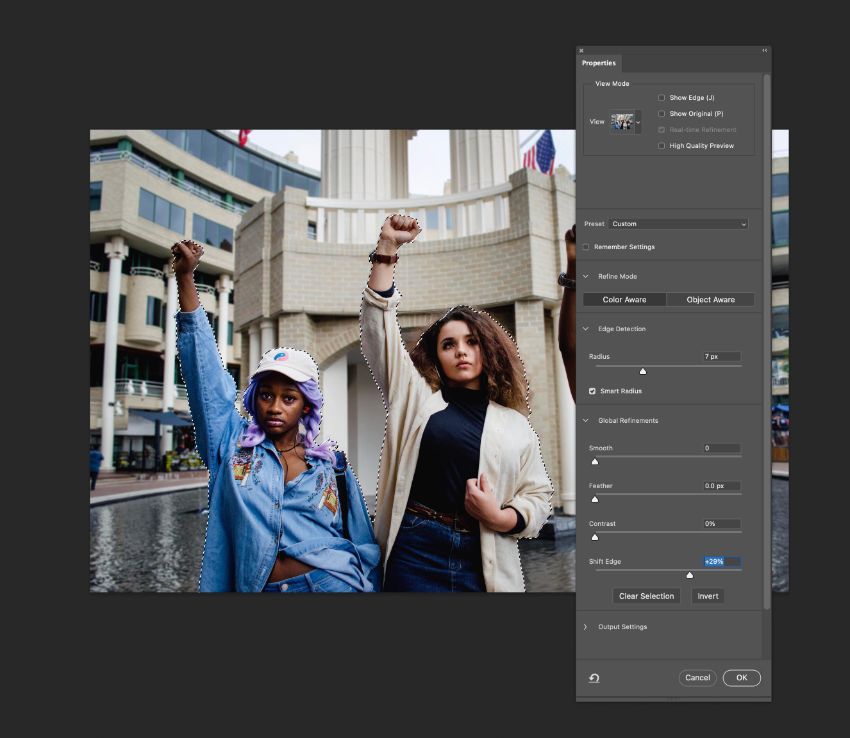
Click Select and Mask in the top Controls panel.
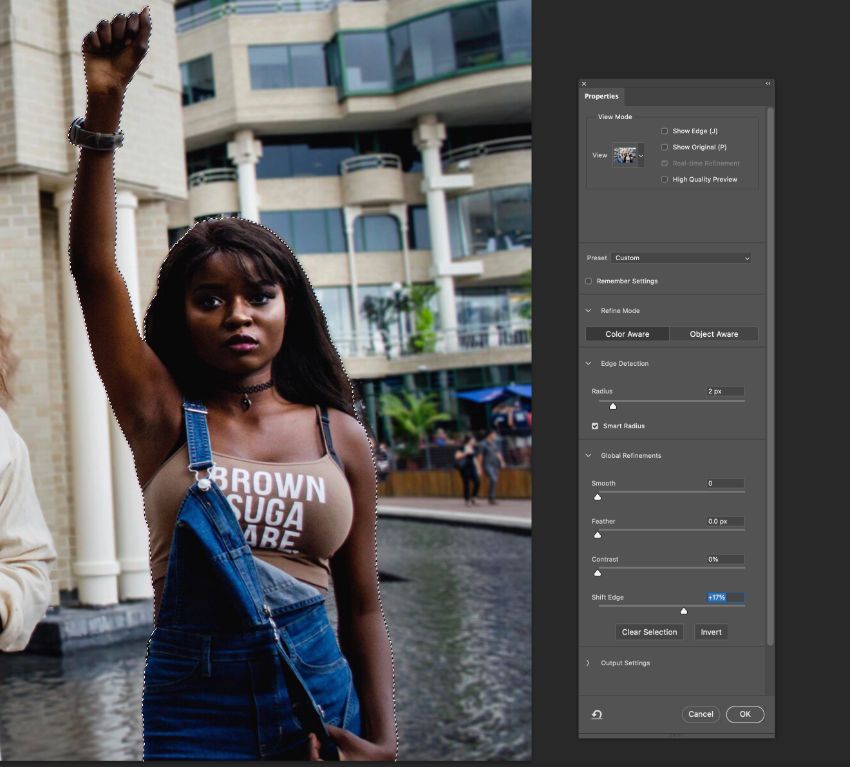
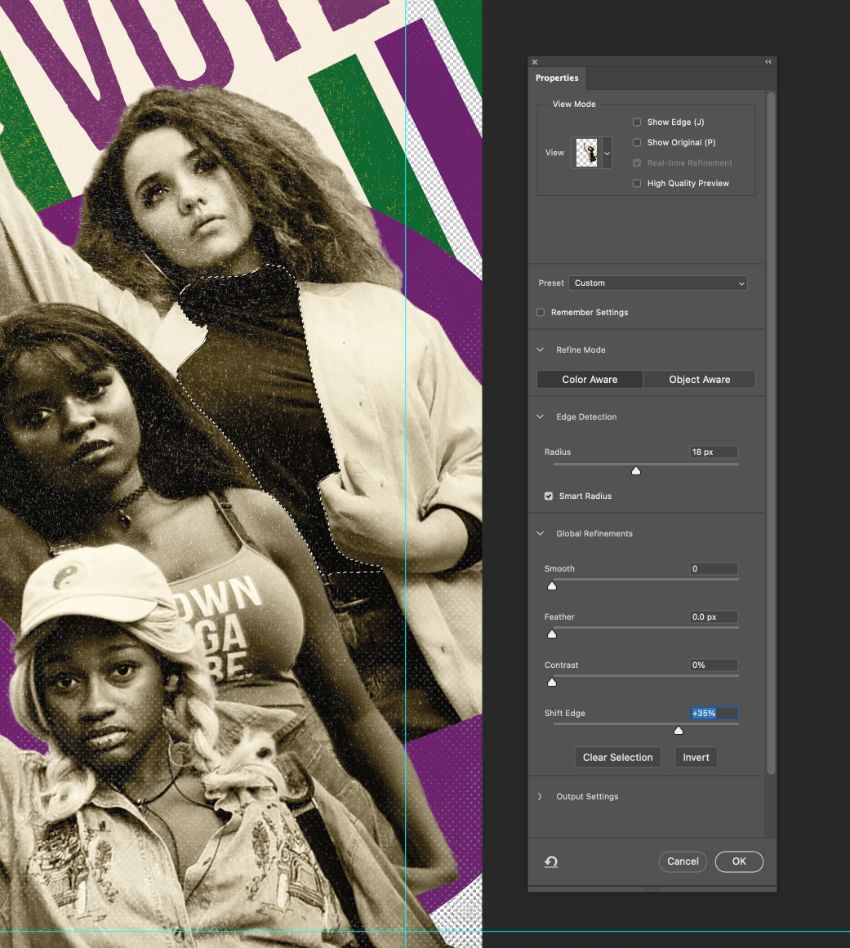
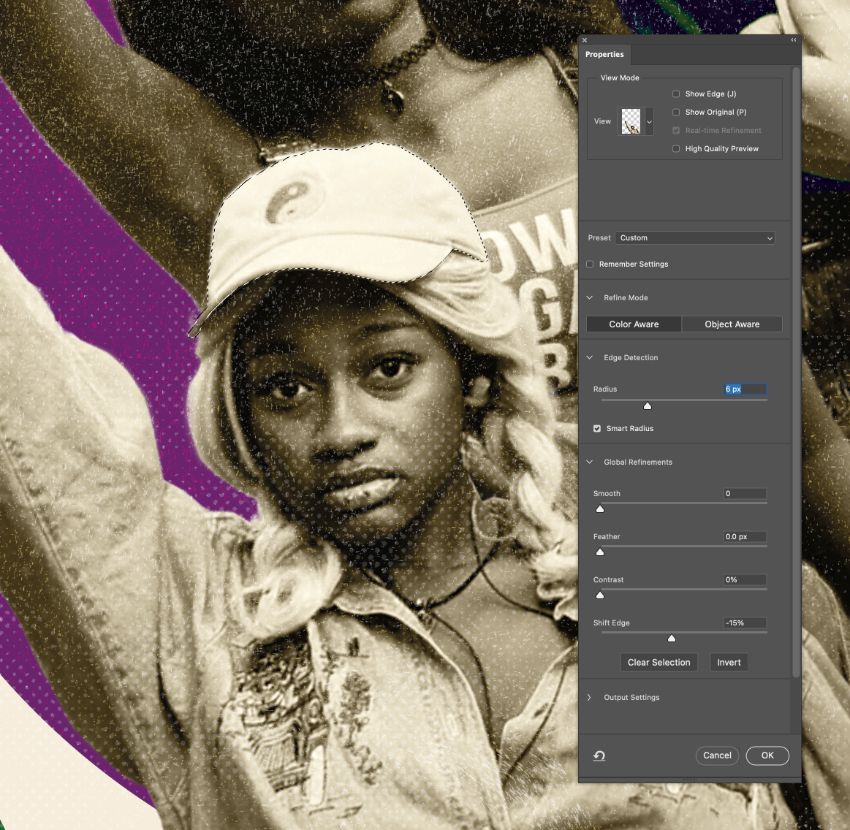
Step 2
Check the Smart Radius box under Edge Detection and increase the Radius slider until you are happy with the selection. You can also adjust the Shift Edge slider below to create a tighter or looser selection. Click OK.
Copy and Paste the selection onto a new layer, which will be called Layer 1.
You can place a white rectangle behind this layer, using the Rectangle Tool (U), to check if there are any stray areas that look untidy.
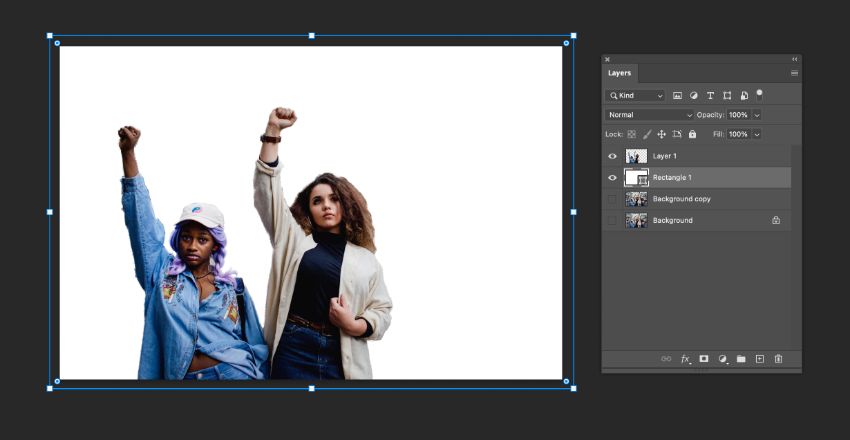
Use the Lasso Tool (L) or Magic Wand Tool (W) to select these, before deleting them.
Step 3
With Layer 1 selected in the Layers panel, go to Filter > Blur > Gaussian Blur.
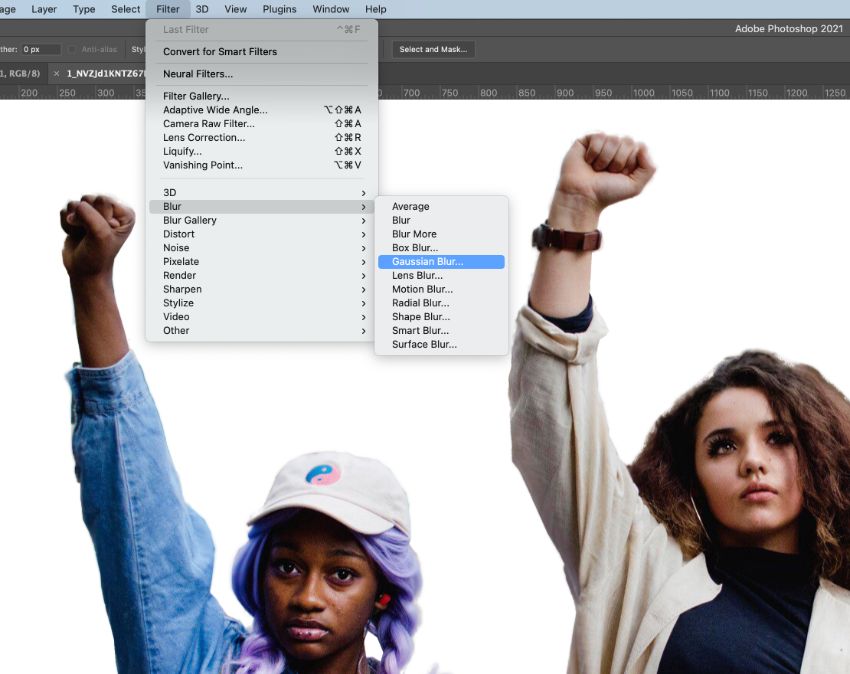
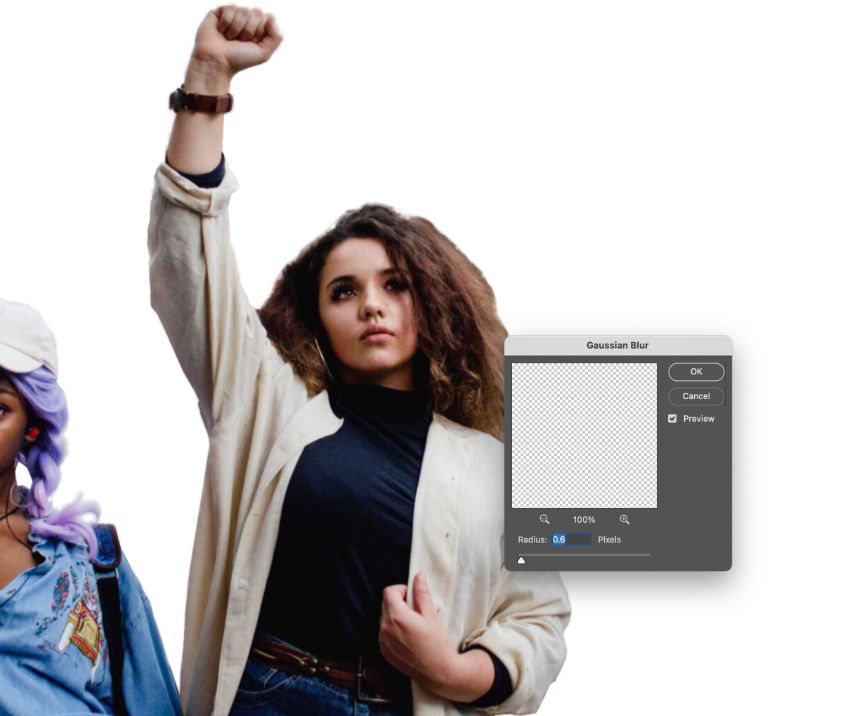
Set the Radius of the blur to around 0.6 Pixels, before clicking OK.
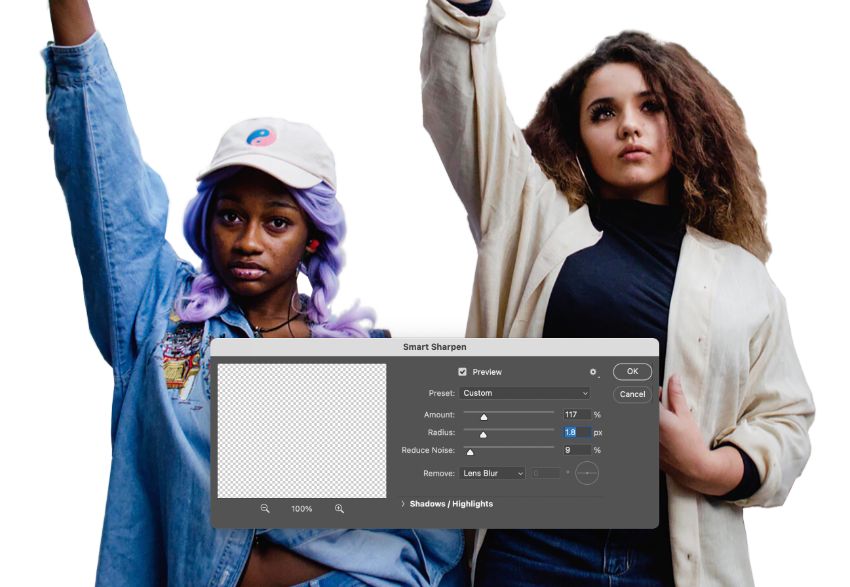
Then go to Filter > Sharpen > Smart Sharpen.
Increase the Amount to around 117%, Radius to 1.8 px, and Reduce Noise to 9%. Set the effect to Remove Lens Blur, before clicking OK.
The combination of these two filters gives the image a slightly flattened look, which imitates the style of newspaper print.
Step 4
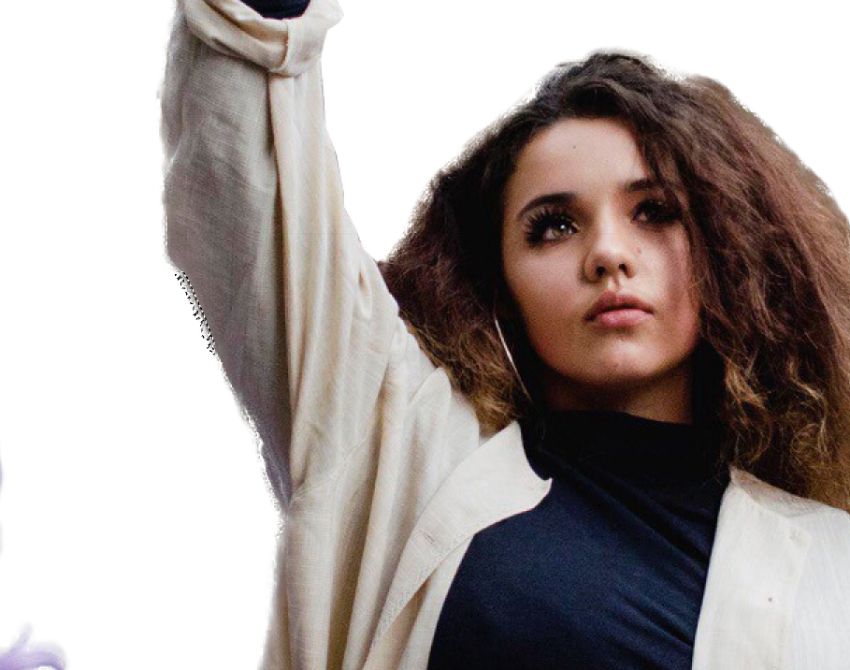
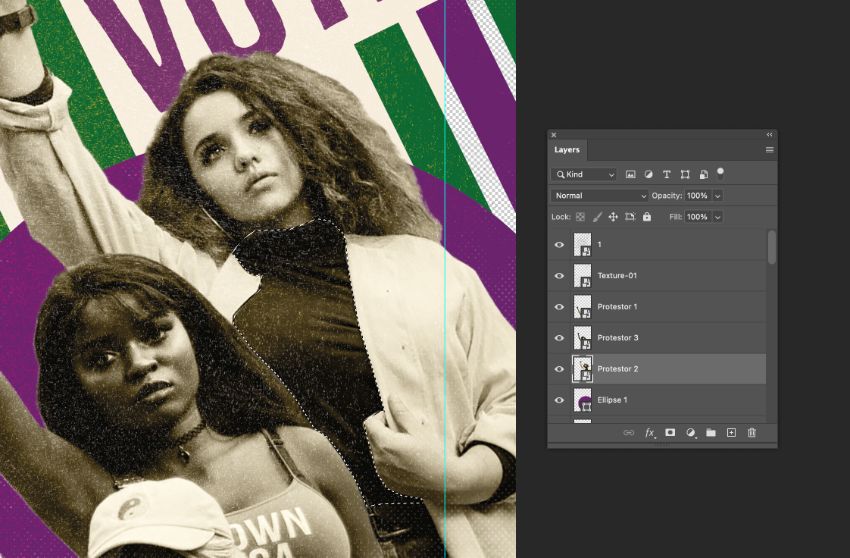
It’s time to cut out the third figure for our poster.
As before, and working on the original layer, use the Lasso Tool (L) to trace the figure’s edges, before using Select and Mask to refine the selection.
Copy and Paste the selection onto a new layer, and apply Gaussian Blur and Smart Sharpen effects from the Filter menu, as before.
Step 5
Go to File > Save As to save the cut-out figures as a new Photoshop file.
Select both cut-out layers and Right-Click > Merge Layers.
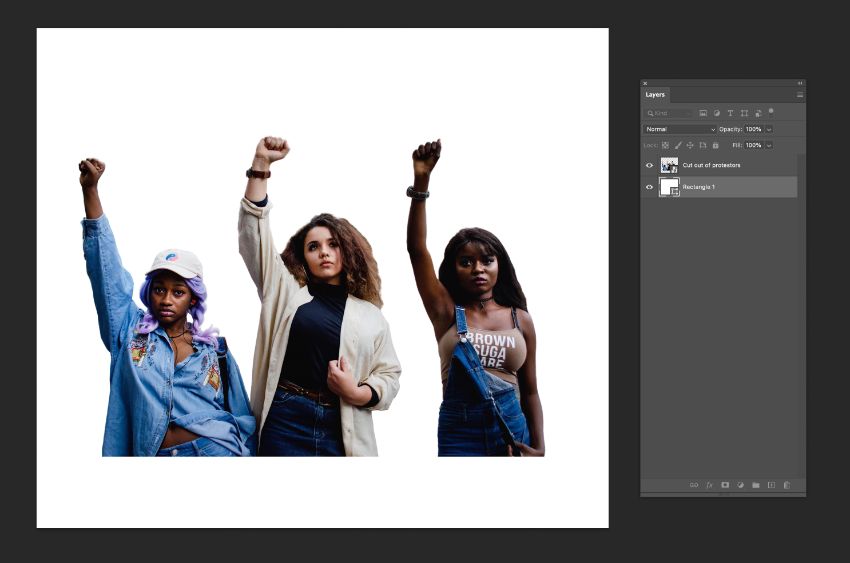
Then switch off the visibility of the white rectangle, so that the background is transparent.
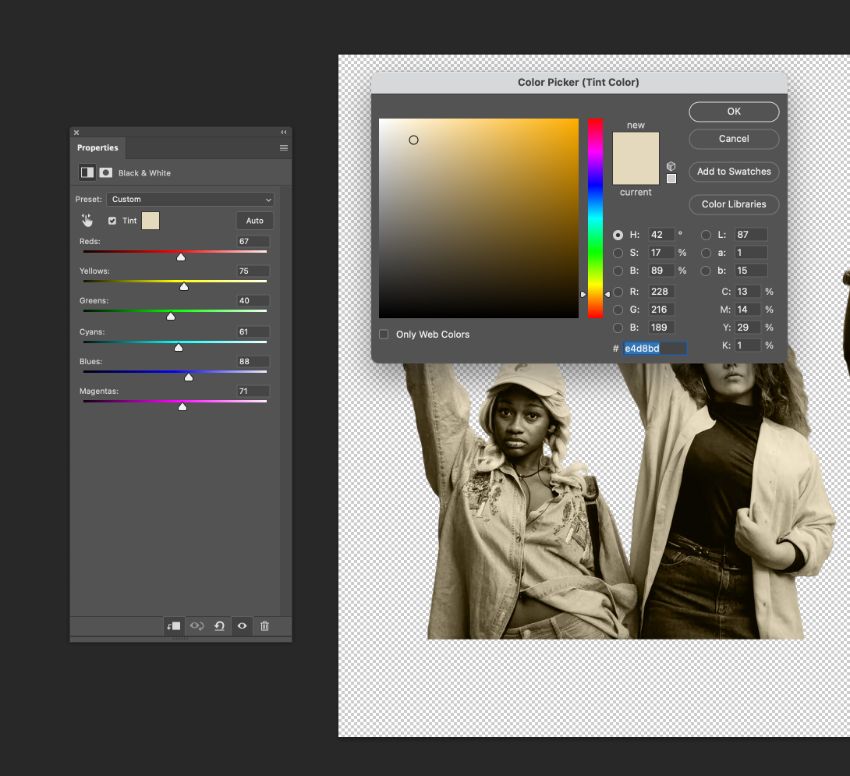
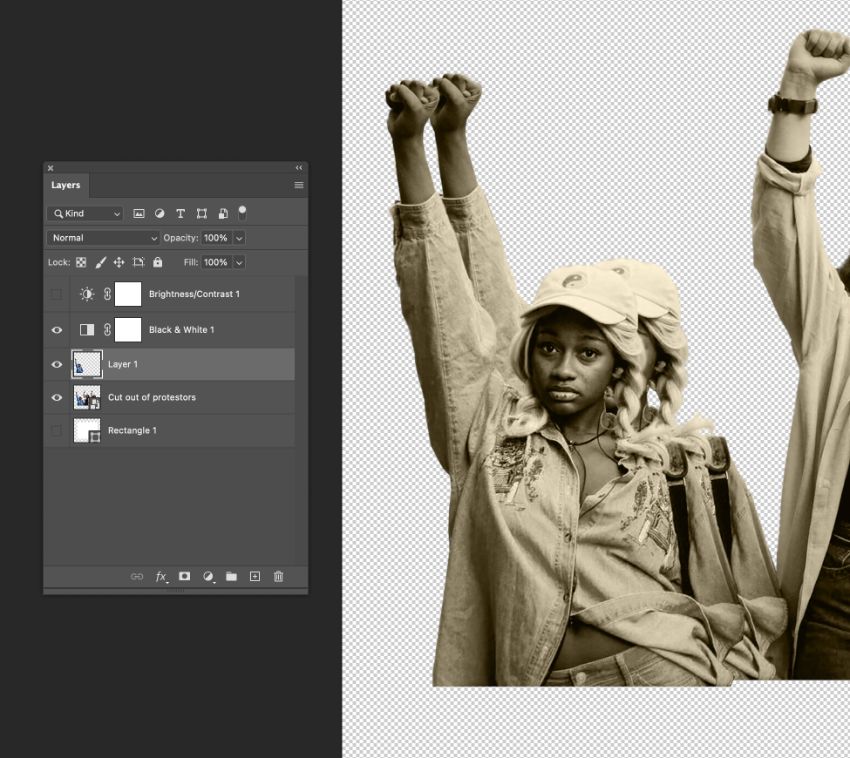
At the bottom of the Layers panel, click on the circular Adjustments icon and choose Black &White. In the panel that opens, check the Tint box and click on the colored square to open the Color Picker window. Set the tint color to R=228 G=216 B=189 and click OK.
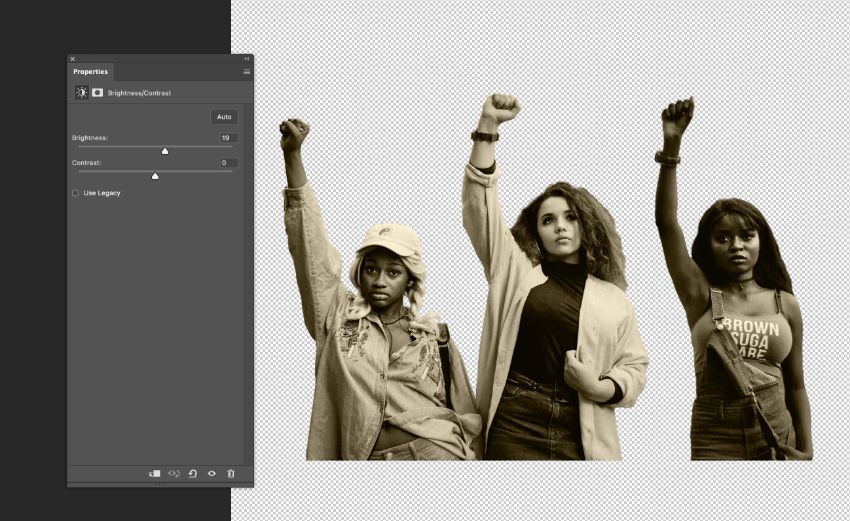
Step 6
To further flatten the appearance of the image, add a second Adjustment layer, this time selecting Brightness/Contrast. Increase the Brightness of the image to around 19.
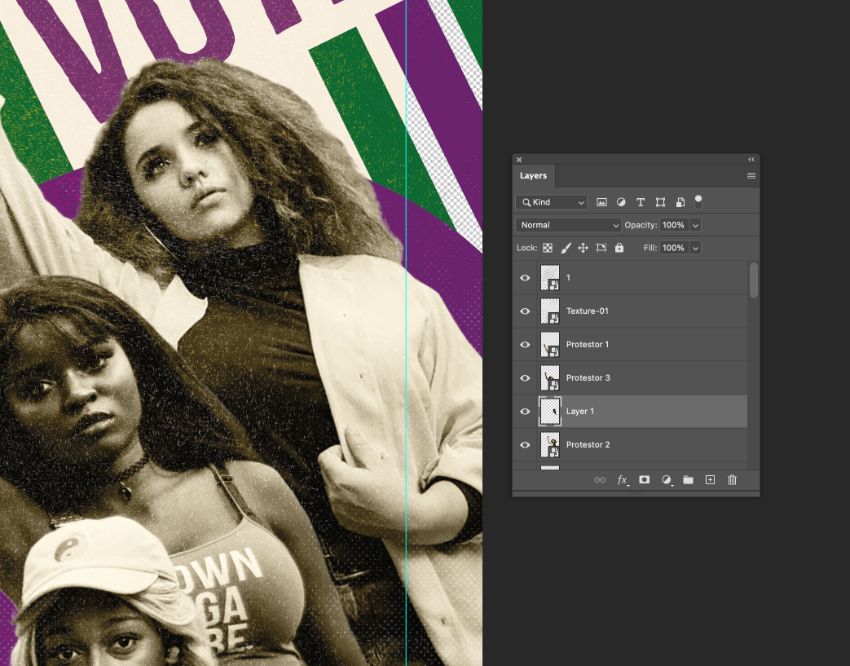
Step 7
We’re going to layer each of the three figures on our propaganda poster design, so we will need to separate them out from each other first.
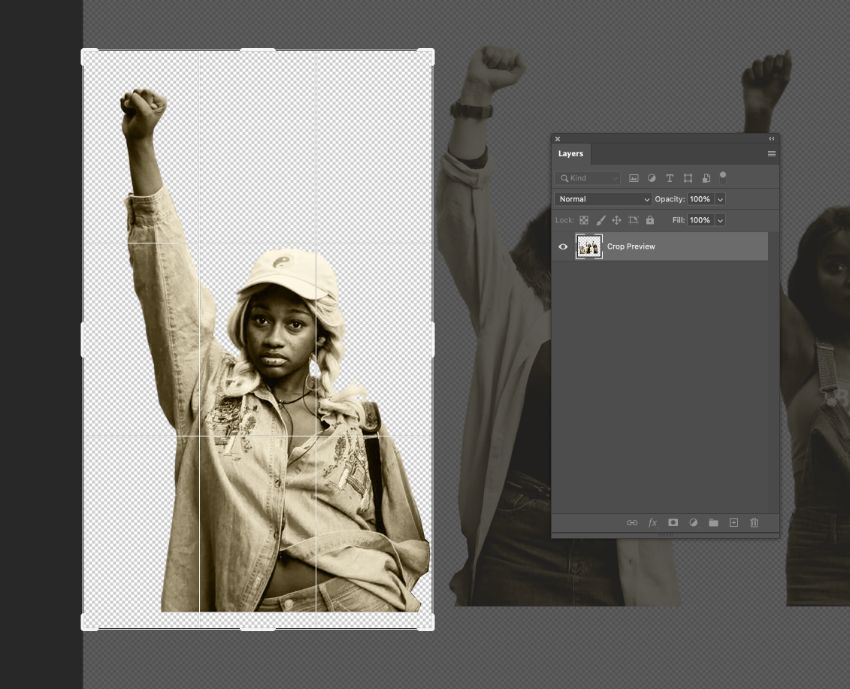
Use the Lasso Tool (L) to loop off the figure on the far left side.
Copy and Paste the selection onto a new layer, and switch off the visibility of the layer below so that the figure is isolated on the canvas.
Use the Crop Tool (C) to draw in the edges of the canvas around the figure, and hit Enter to crop. Then go to File > Export and save the figure as its own PNG file, with a transparent background. Name it something like ‘Protestor 1’.
Then go to Edit > Undo to remove the crop effect.
Repeat with the other two figures, cropping the canvas around each and exporting as a separate PNG file.
2. How to Create a Propaganda Poster Design in Photoshop
Step 1
With your photos prepared, you’re ready to make a start on creating your own propaganda poster.
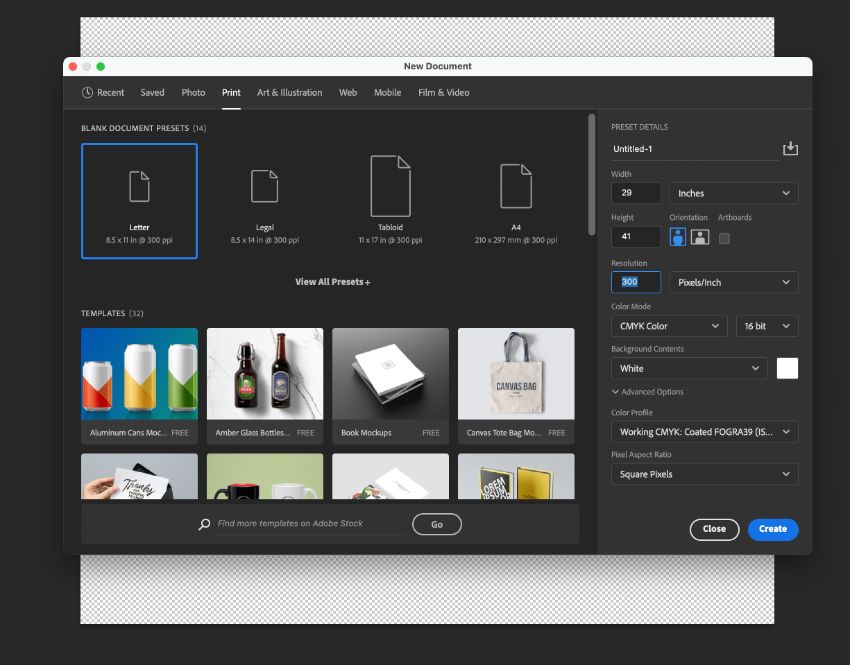
Go to File > New Document. From the options along the top of the screen, choose Print.
We’ll create the poster at a standard size of 24 by 36 inches. However, we will need to accommodate a bleed width too. To allow for a bleed of 2.5 in (you can always crop this later if your printer asks for a smaller bleed), set the Width to 29 in and Height to 41 in.
Set the Resolution to 300 Pixels/Inch and Color Mode to CMYK Color 16 bit, and then click Create.
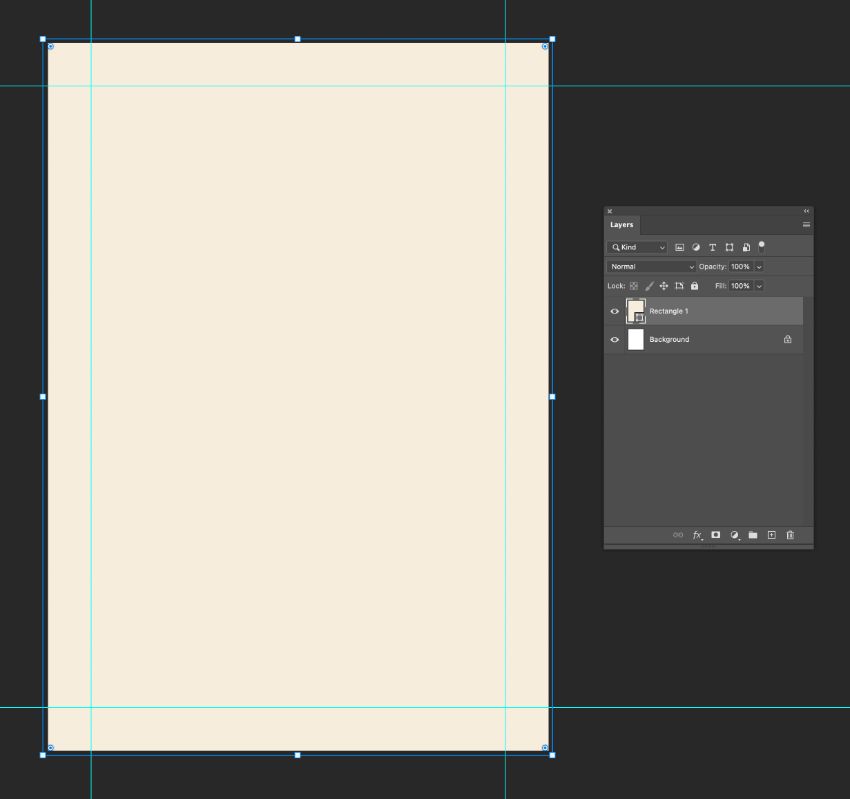
Pull out guides from the top and bottom rulers (View > Rulers) to mark out the 2.5 in bleed edge. If you can’t see the values in inches, adjust this from Photoshop > Preferences > Units & Rulers.

Step 2
Double-click on one of the overlapping colored squares at the bottom of the Tools panel, to open the Color Picker window. Set the CMYK values to C=4 M=7 Y=16 K=0 and click Add to Swatches, and then OK.
Repeat to create two more new CMYK swatches, C=82 M=30 Y=90 K=17 and C=53 M=94 Y=19 K=7.
Use the Rectangle Tool (U) to create a shape across the whole canvas, setting the Fill to C=4 M=7 Y=16 K=0.
Step 3
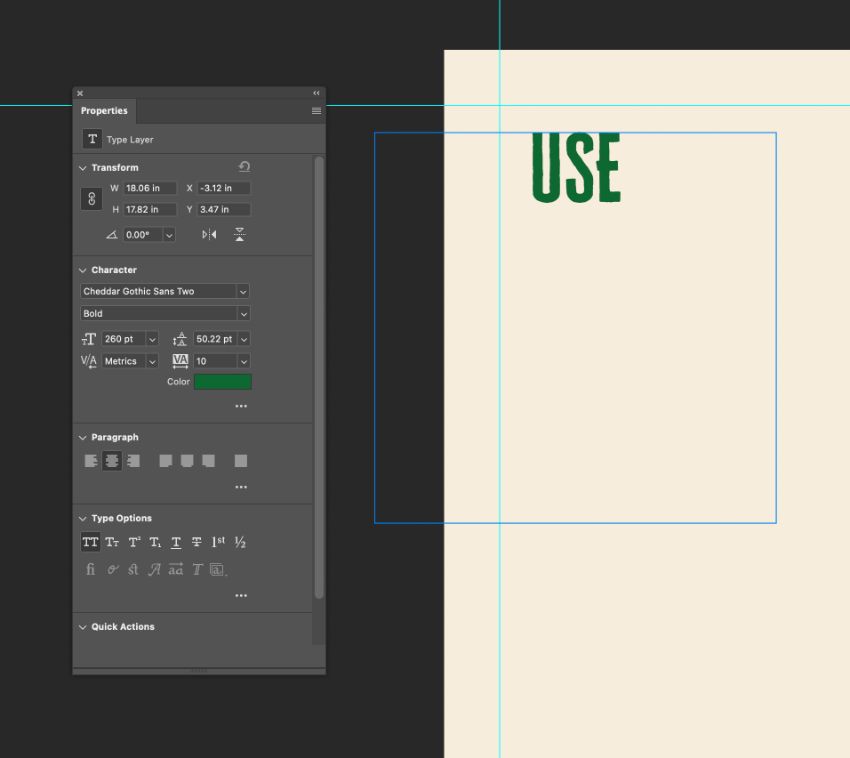
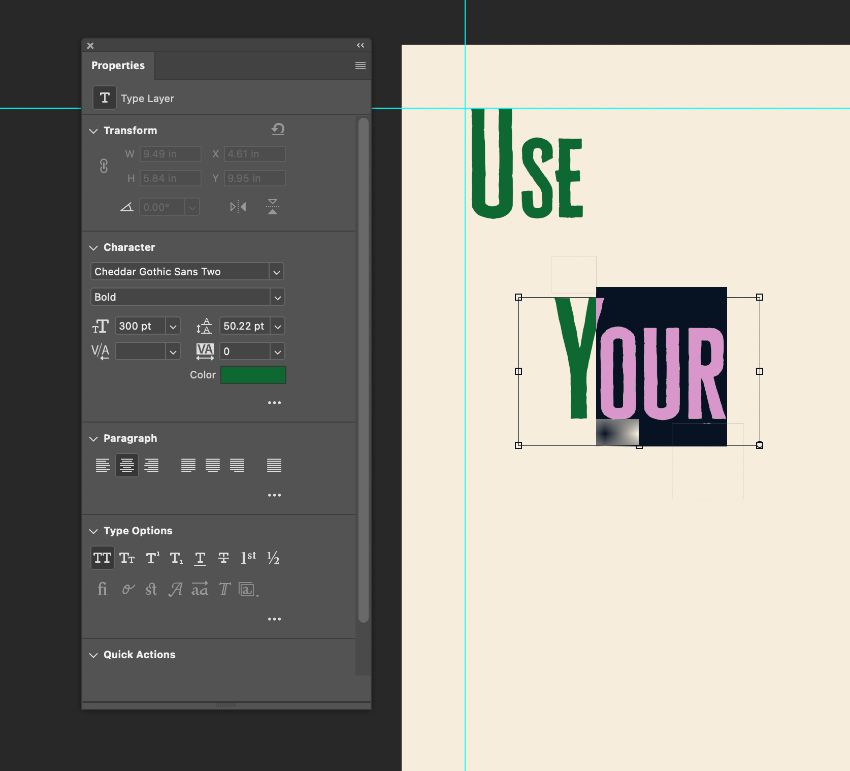
Use the Type Tool (T) to create a text frame in the top-left corner of the canvas. Type ‘USE’, setting the Font to Cheddar Gothic Sans Bold, Size 260 pt. Set the Text Color to purple or green.
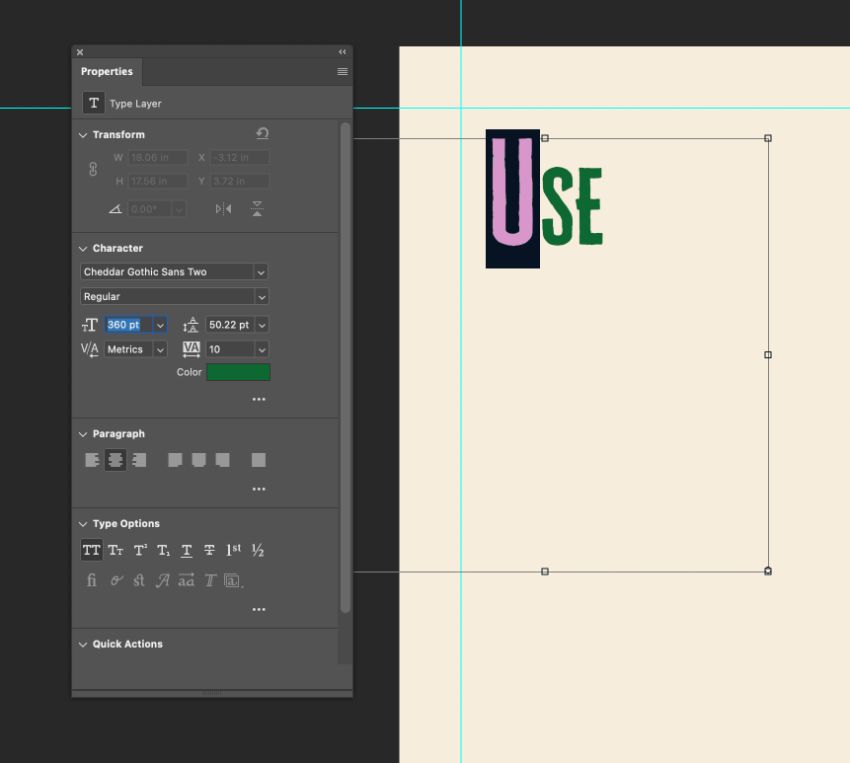
Highlight the first letter—change the Weight to Regular and increase the Size to 360 pt.
Step 4
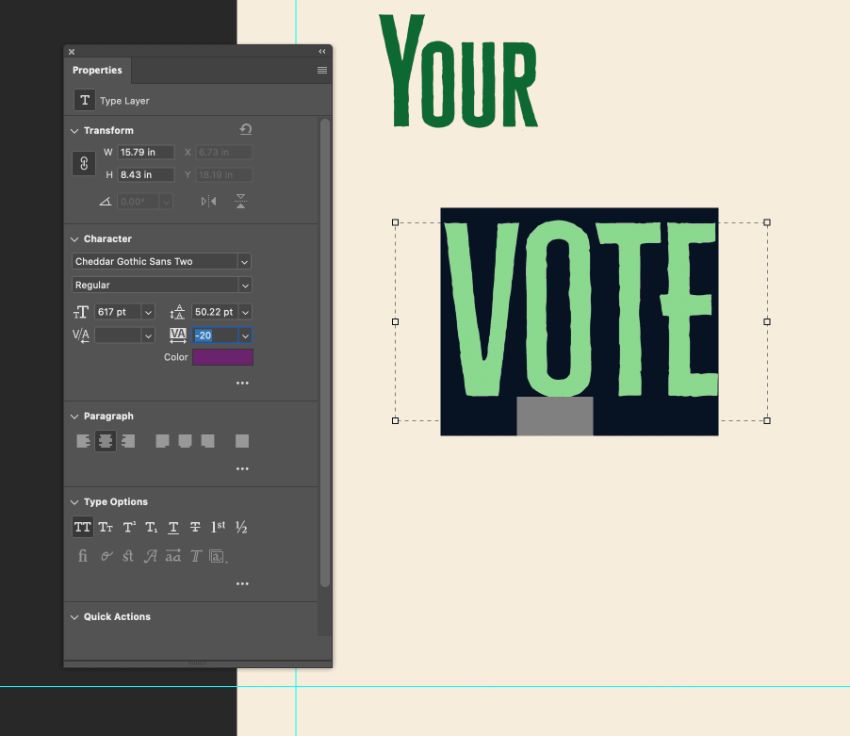
Copy and Paste the text frame onto a new layer, changing the text to read ‘YOUR’. Adjust the Size of the body letters to 300 pt, and the first letter to a larger 400 pt.
Create a third text frame, type in ‘VOTE’ and set the weight of the whole word to Regular. Increase the Size of the text to 617 pt.
Step 5
Select all three type layers in the Layers panel and hit Control-T (Windows) or Command-T (Mac) to be able to rotate them around 27 degrees.
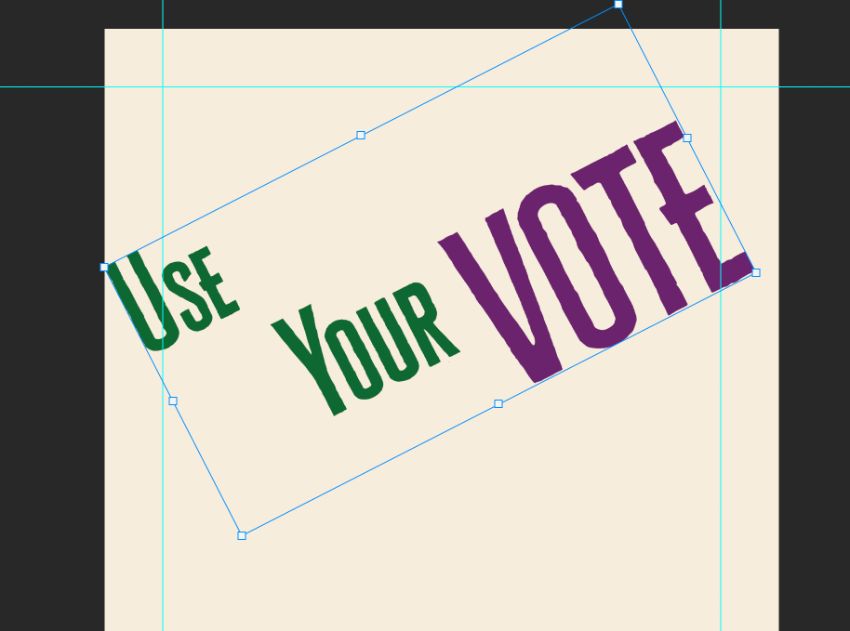
Position the words in the arrangement shown below. To assess where the edges of your propaganda poster will sit, you can pull in the edges of the background rectangle to the bleed line. Make a note to expand it later on, before you export your finished propaganda poster.

Step 6
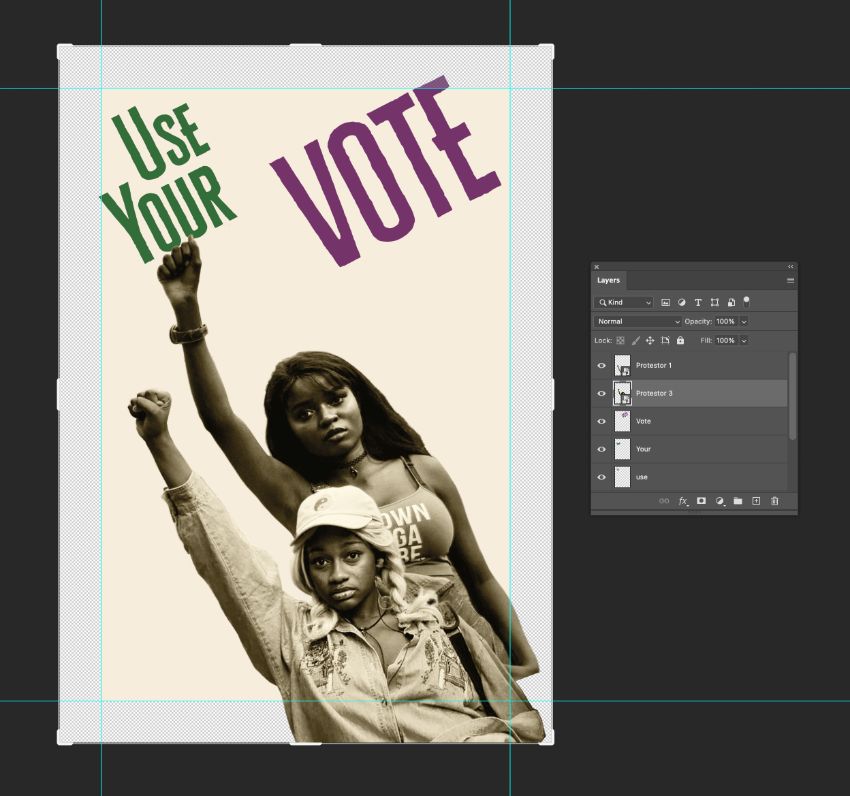
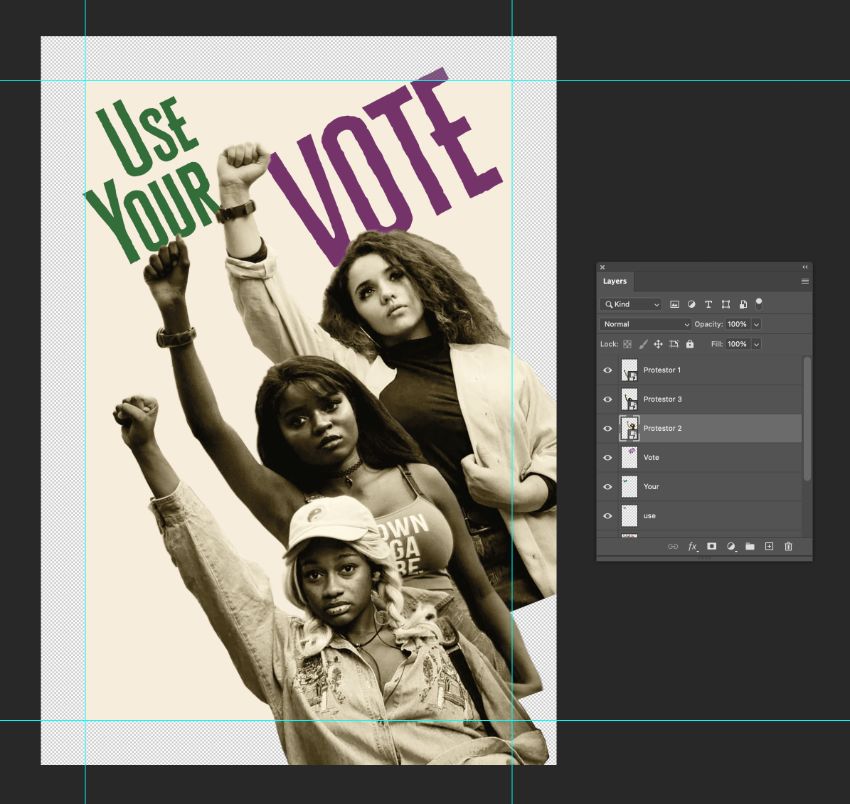
Go to File > Place and navigate to your first activist photo. Place the file in the bottom-right corner of the canvas, rotating it around 27 degrees to match the text.
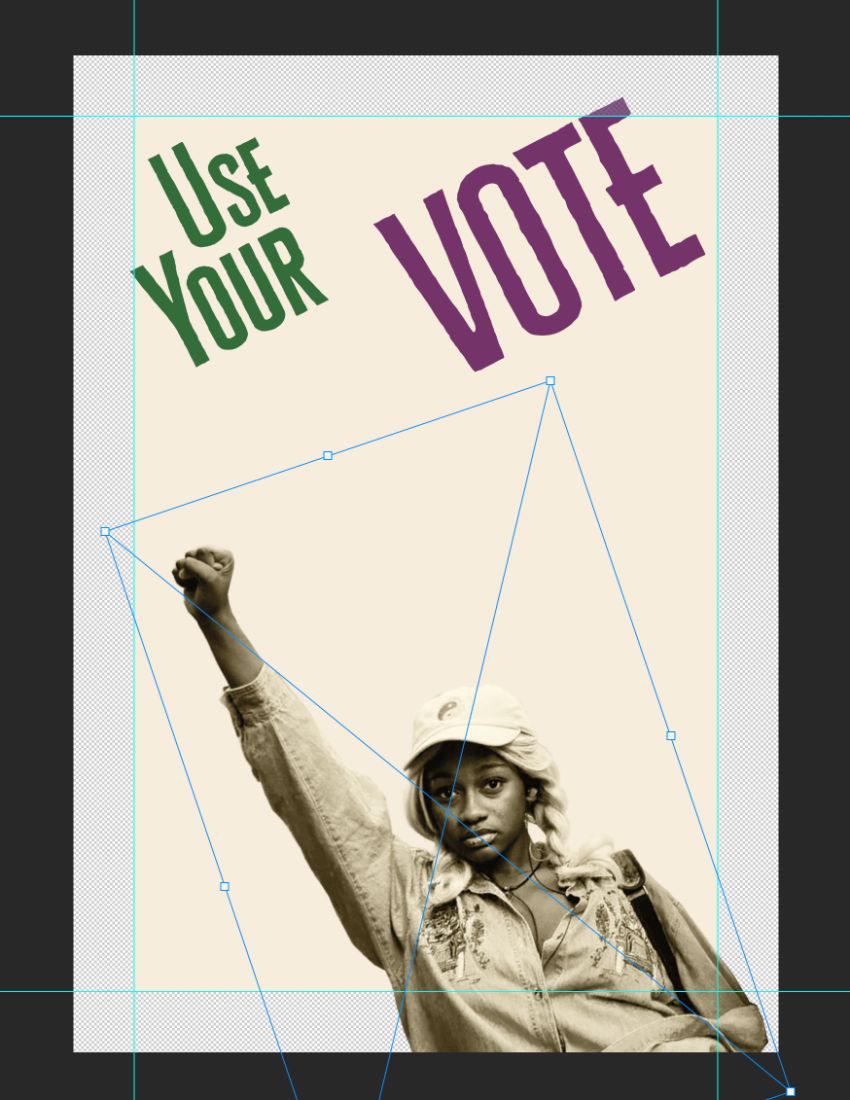
Repeat for the other three images, stacking them behind the first in the Layers panel.
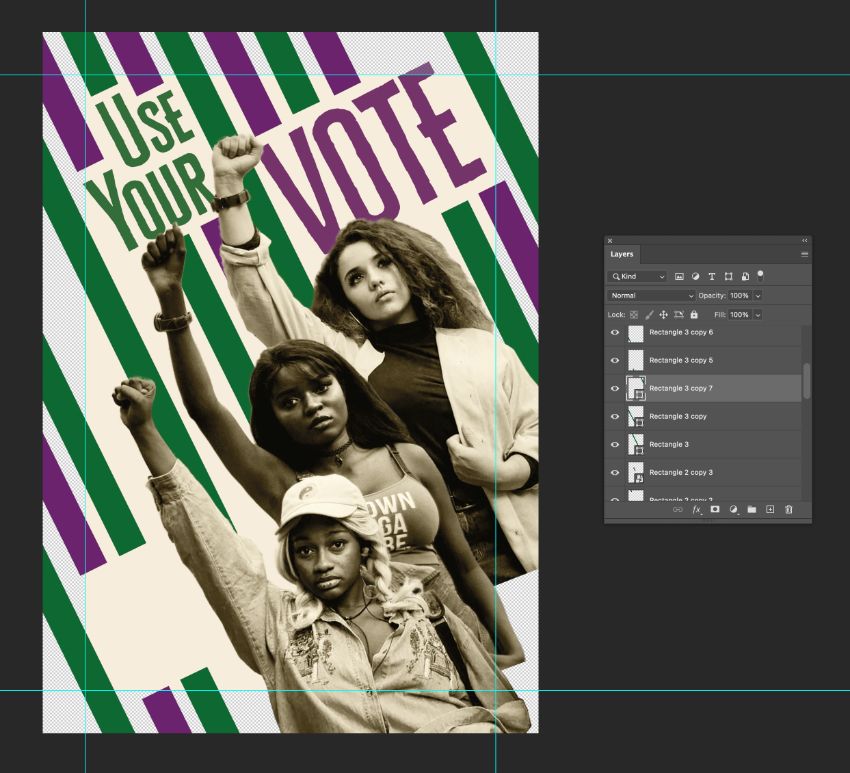
Step 7
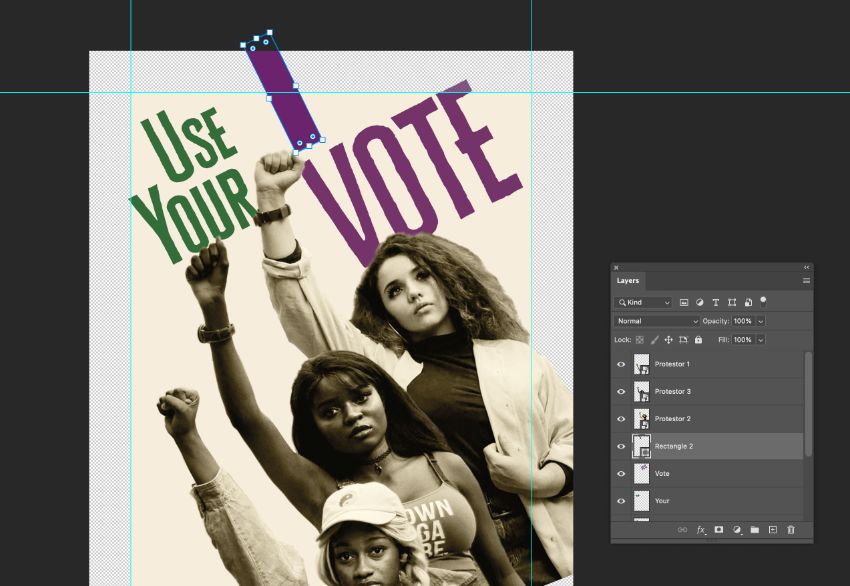
Use the Rectangle Tool (U) to draw a tall shape 1.75 in in width behind the photo layers. Set the Fill to purple.
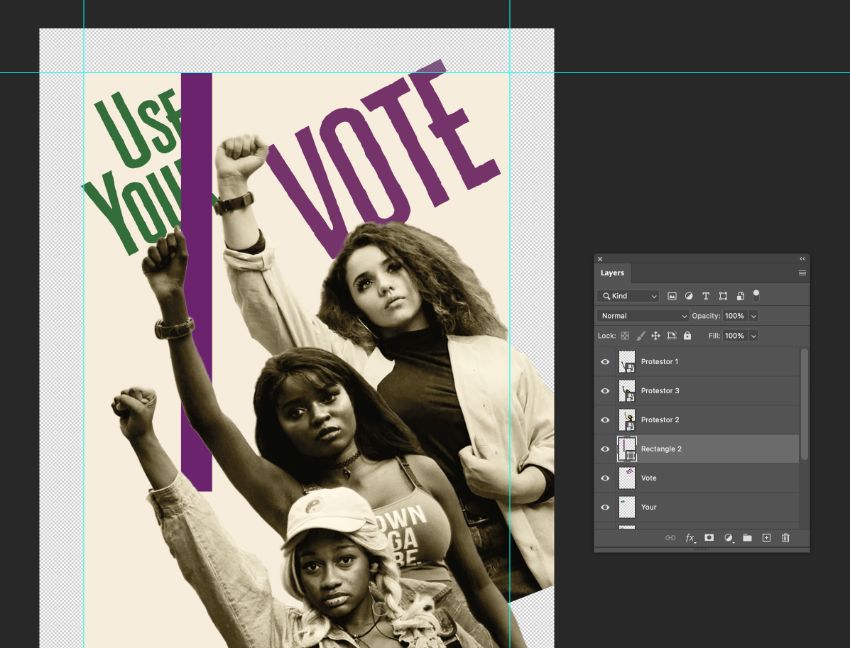
Rotate the shape 27 degrees, and position it above the ‘VOTE’ text, lining it up to the start of the ‘V’.
Repeat to create more rectangle shapes 0.75 in in width, rotating them 27 degrees and positioning them in an equal pattern across the poster. Allow gaps for the text, and vary the color between purple and green.
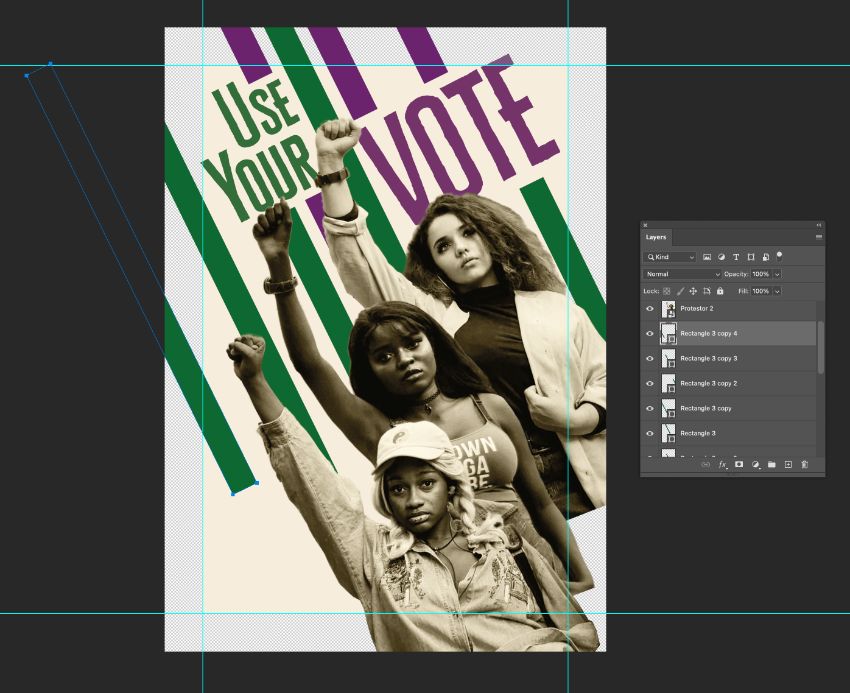
Leave a gap at the bottom-left corner for an additional text slogan, which we’ll add soon.
Step 8
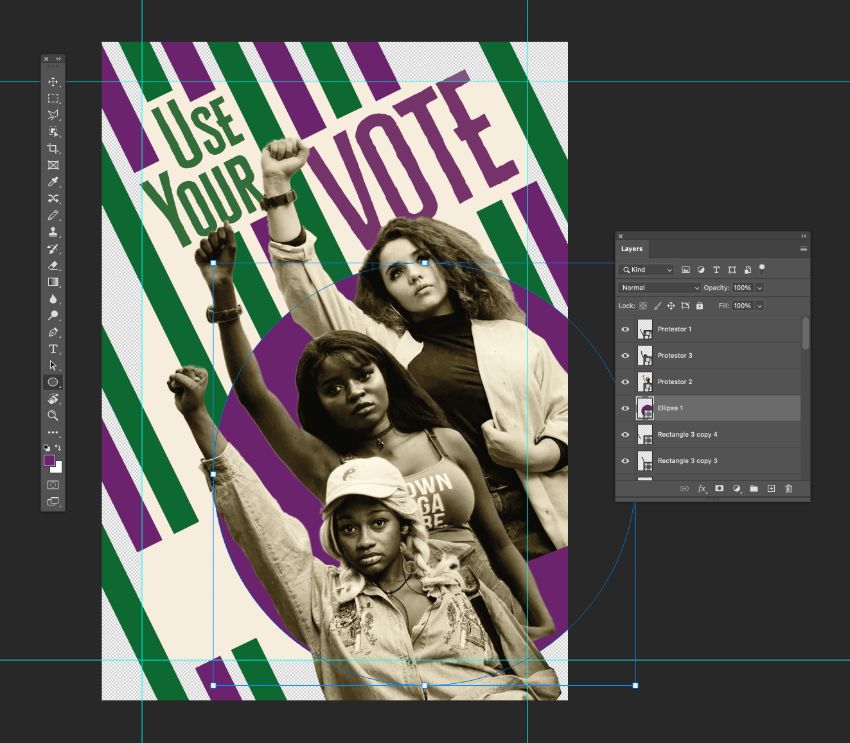
Create a new layer above all of the rectangle layers and below the photo layers.

With the Ellipse Tool (U) selected, hold Shift and drag across behind the photo figures, creating a large circle. Set the Fill of this to purple.
Step 9
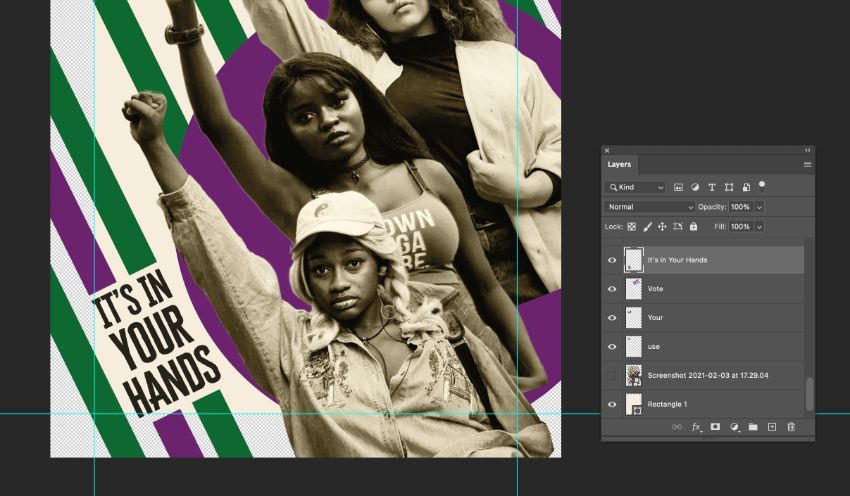
Add an additional text frame to the bottom-left corner of the poster, typing ‘IT’S IN / YOUR / HANDS’. Set the Font to Cheddar Gothic Sans Bold, and vary the size of each line to between 160 and 187 pt.
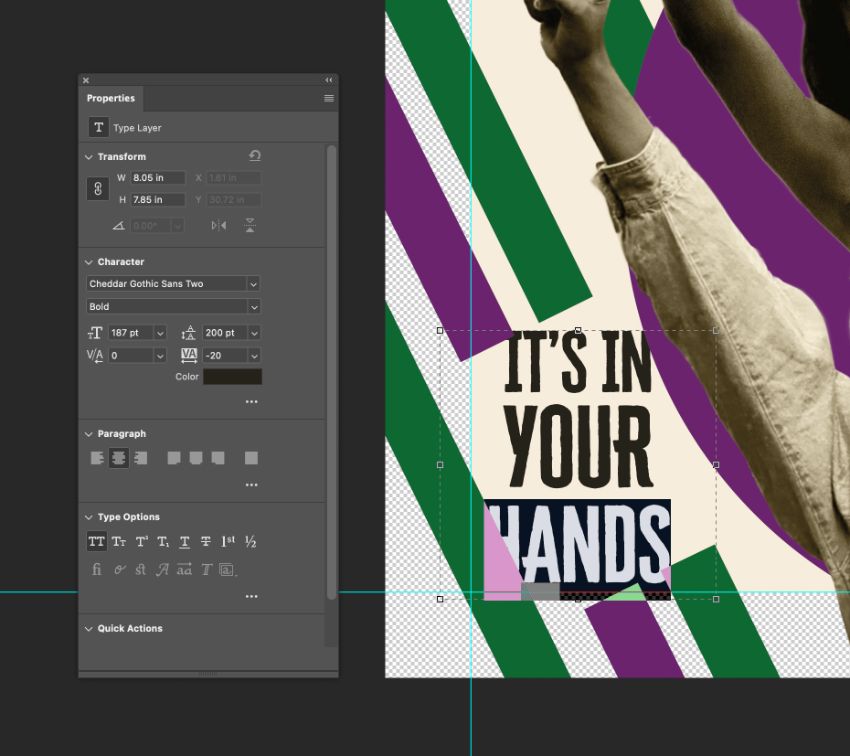
Rotate the text 27 degrees.
Step 10
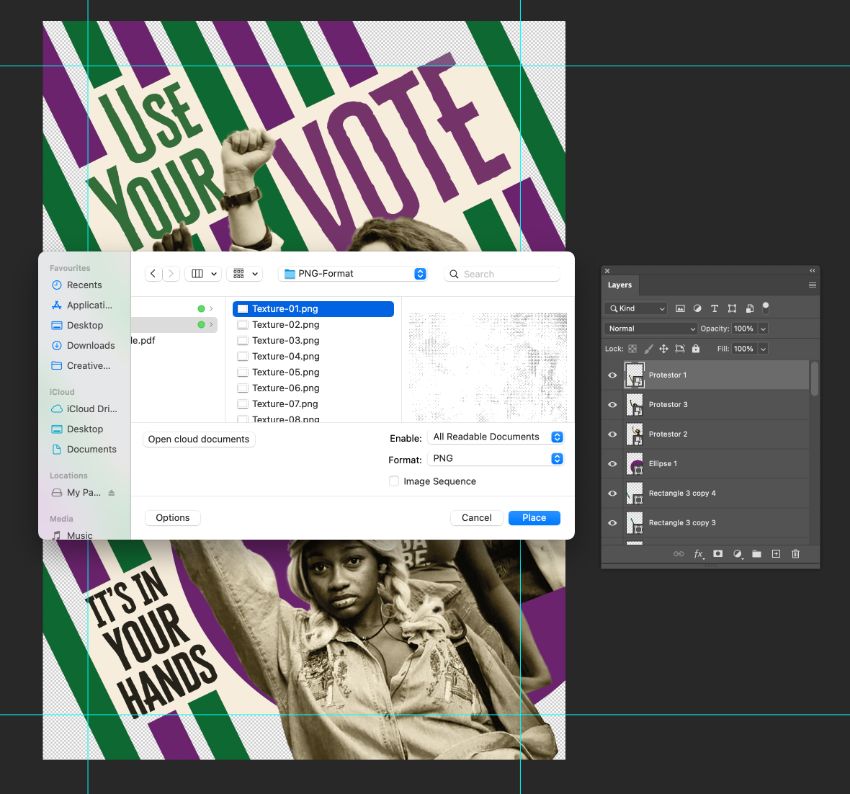
Go to the top layer in your Photoshop document, and go to File > Place.
From the vintage halftone textures pack, choose Texture-01 and click Place.
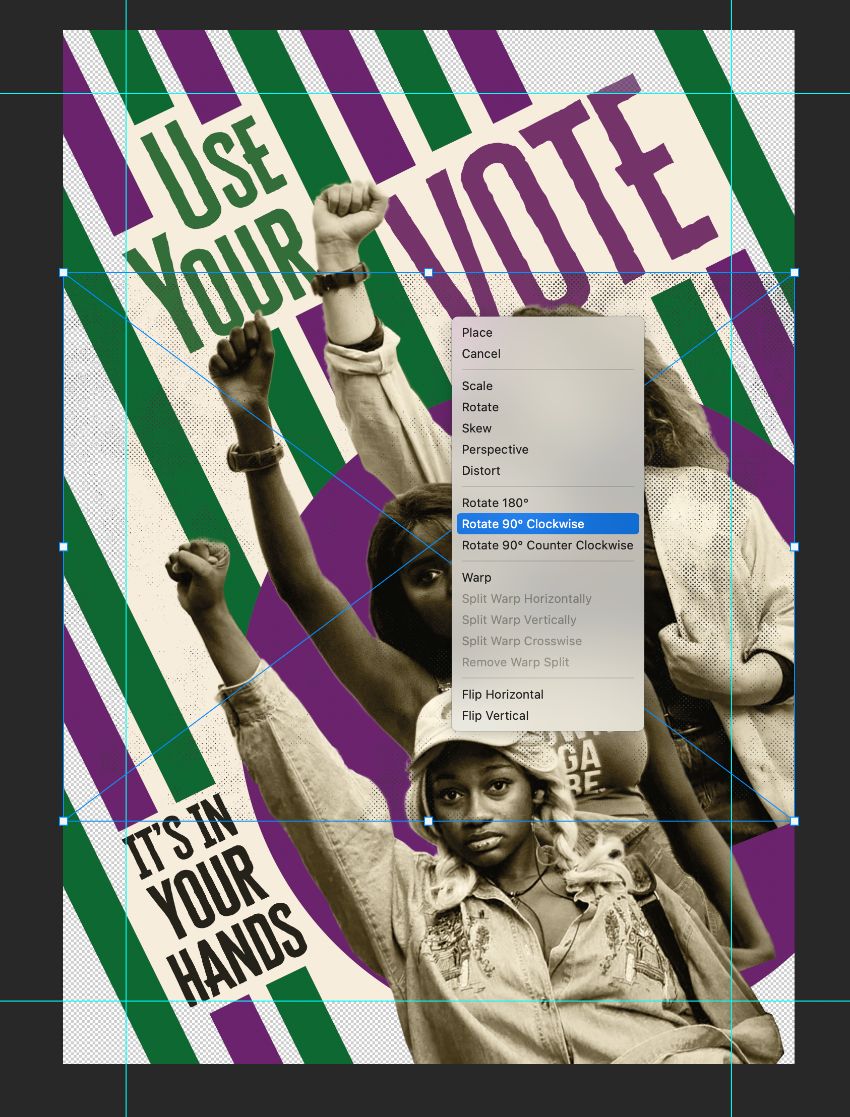
Right-Click > Rotate 90 Degrees Clockwise, and expand to fill the canvas.
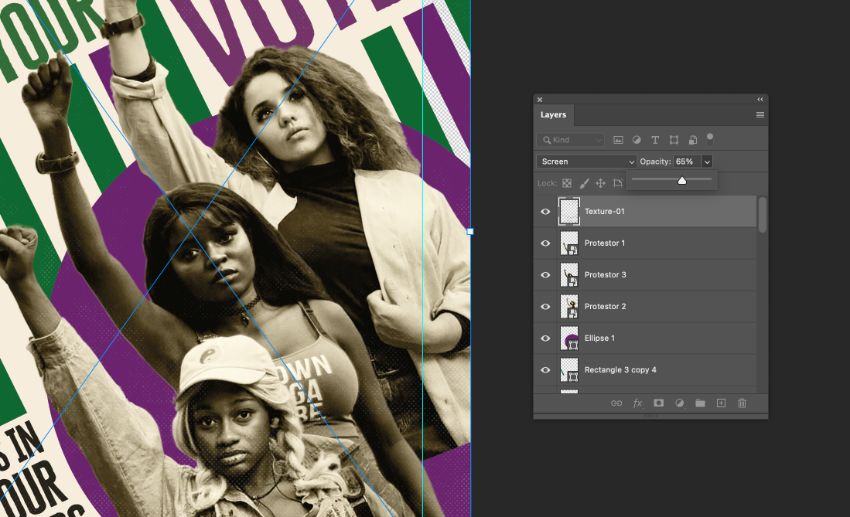
From the Layers panel, set the Blend Mode to Screen and bring the Opacity down to 65%.
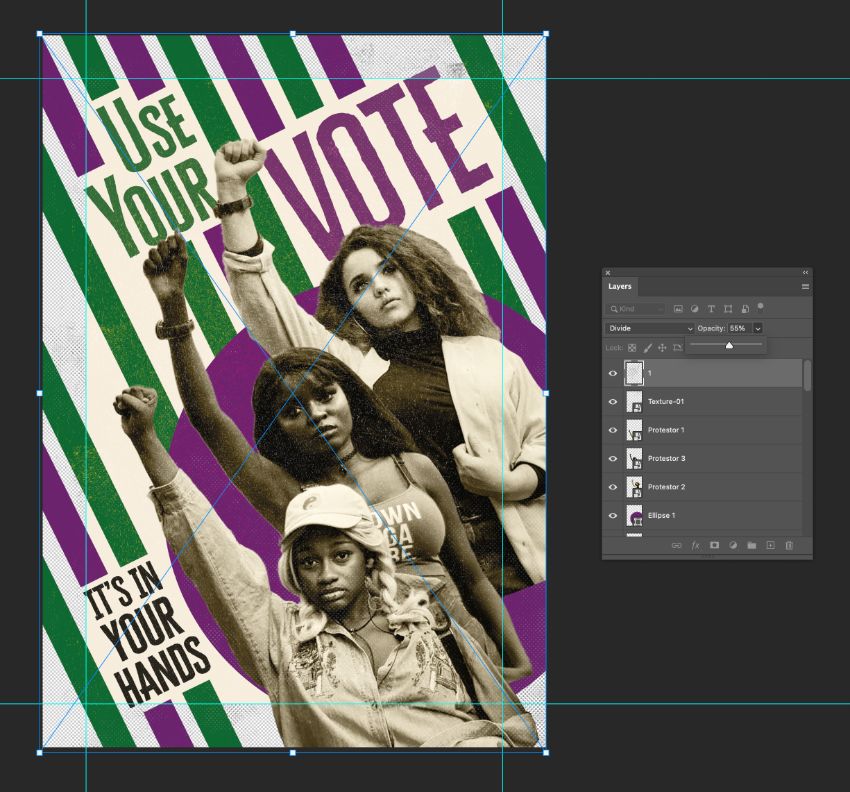
Step 11
Go to File > Place again.
From the other halftone texture pack you downloaded, choose 1.png and Place it.
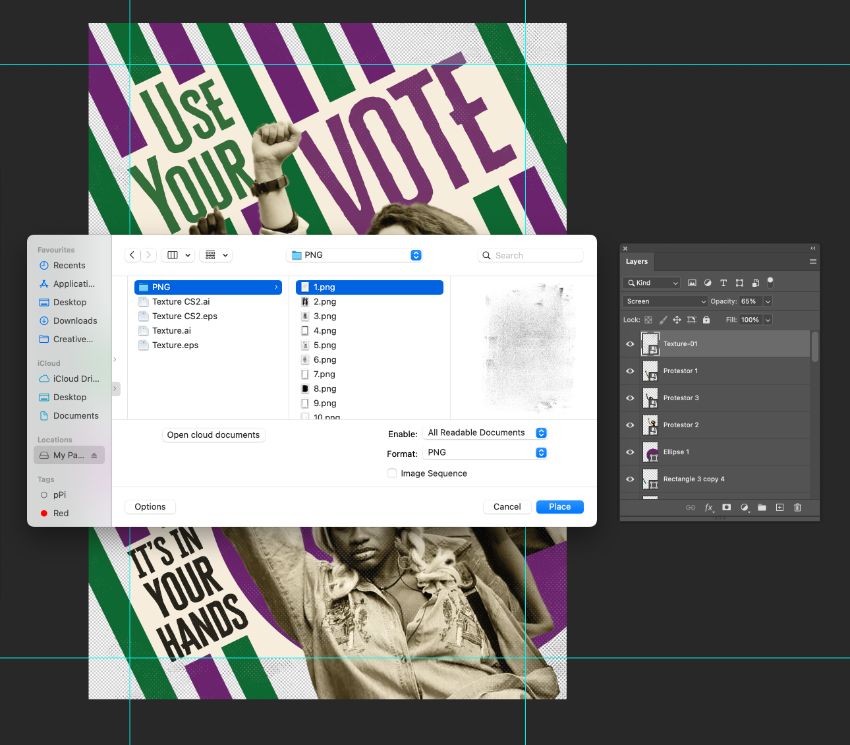
Set the Blend Mode to Divide and Opacity to 55%.
Step 12
We can highlight parts of the figures’ clothing and jewelry in the purple and green colors, to really make them pop.
To do this, go to one of the photo layers and trace the area you would like to highlight in color using the Lasso Tool (L), in this case the woman’s T-shirt.
Go to Select and Mask to refine the selection, using the Smart Radius box to perfect it.
Then Copy and Paste the selection onto a new layer above.
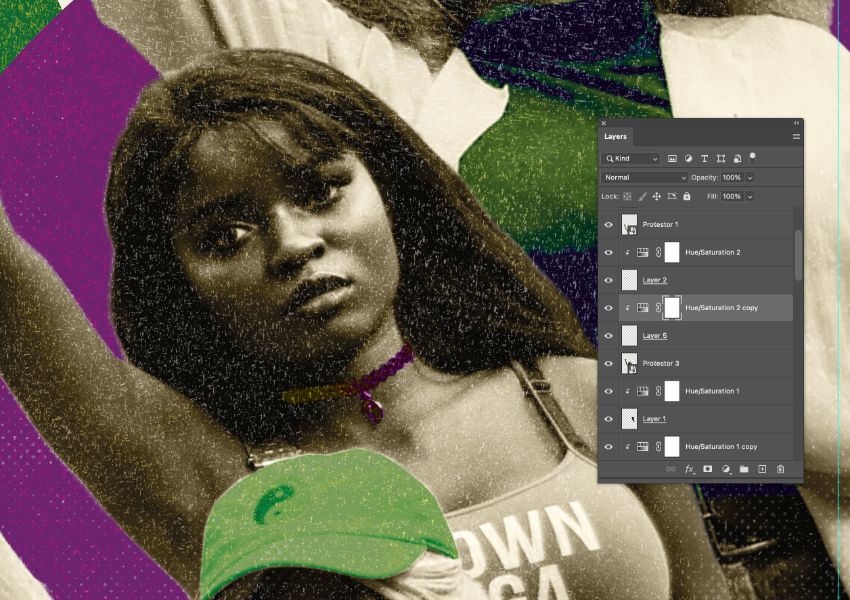
Step 13
Working on the new layer, choose Hue/Saturation from the Adjustments menu in the Layers panel.
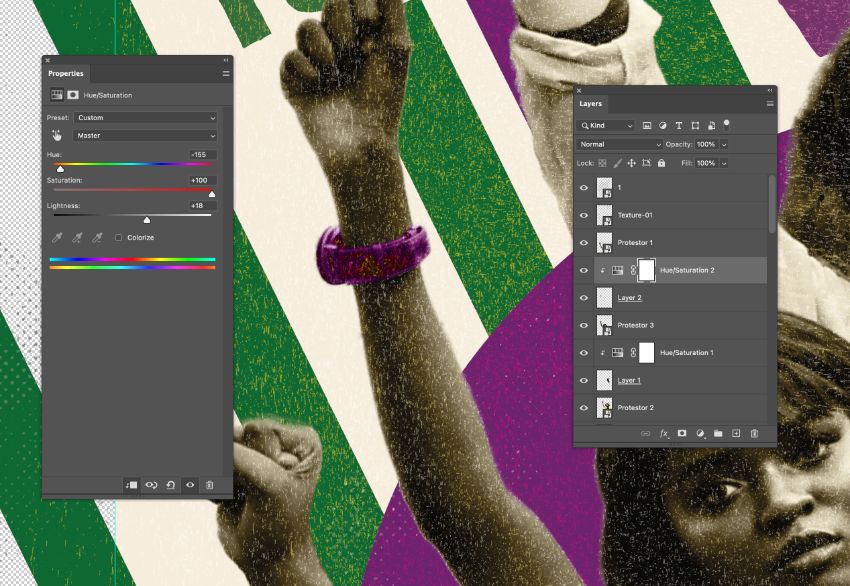
Set the Saturation to 100, and slide the Hue slider until you achieve a green or purple hue that roughly matches the surrounding stripes. Increase the Lightness if necessary.
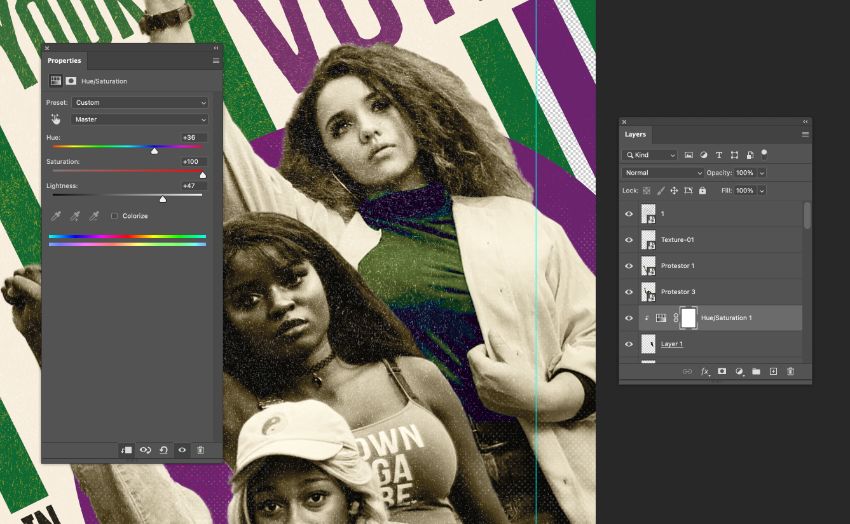
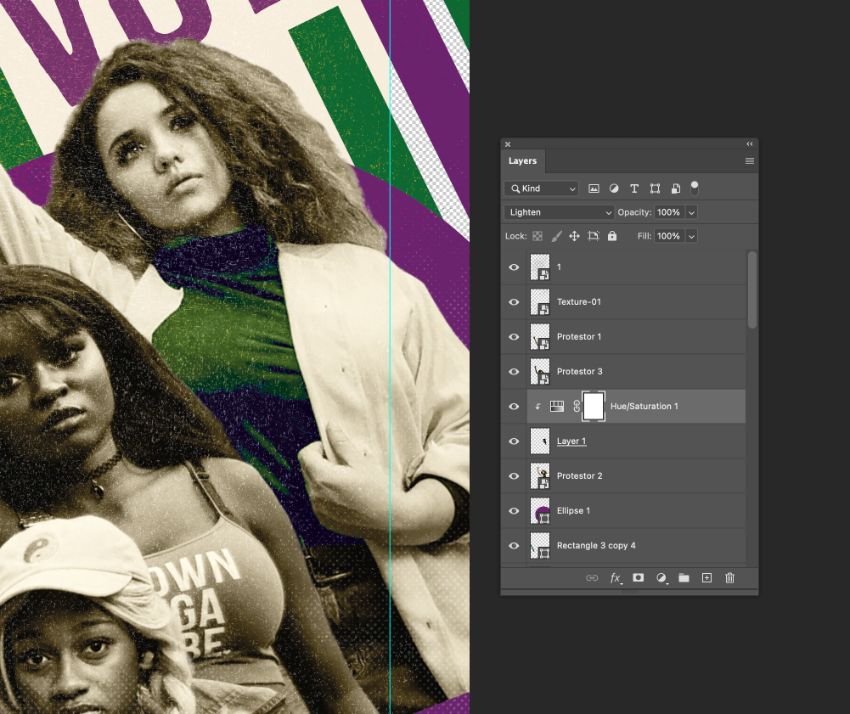
Option-Click the adjustment layer to attach it to the photo layer below. In this way, it will only affect the cut-out section.
Set the Blend Mode of the adjustment layer to Lighten, to bring through more vivid color if necessary.
Repeat for other elements on the other photo layers, selecting a wristwatch, for example, and pasting it onto a new layer, before applying a Hue/Saturation adjustment.
3. How to Export Your Propaganda Poster
Step 1
As a final step before you export your design, consider the color of all the elements on your finished poster. Perhaps setting all the text in purple will give the design more impact? Think also about whether particular elements on the photos should be pulled out in different colors, or lightened.
Step 2
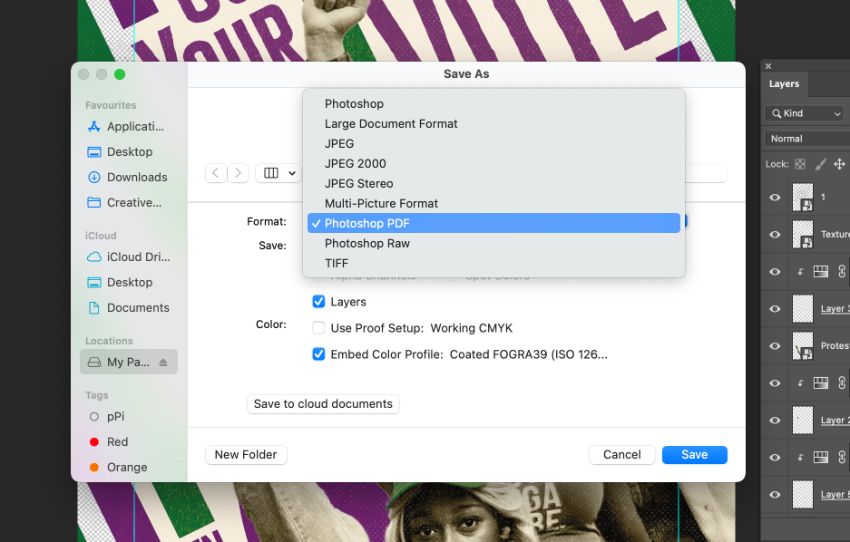
When you’re happy with the final result, you can export your poster ready for printing or sharing online.
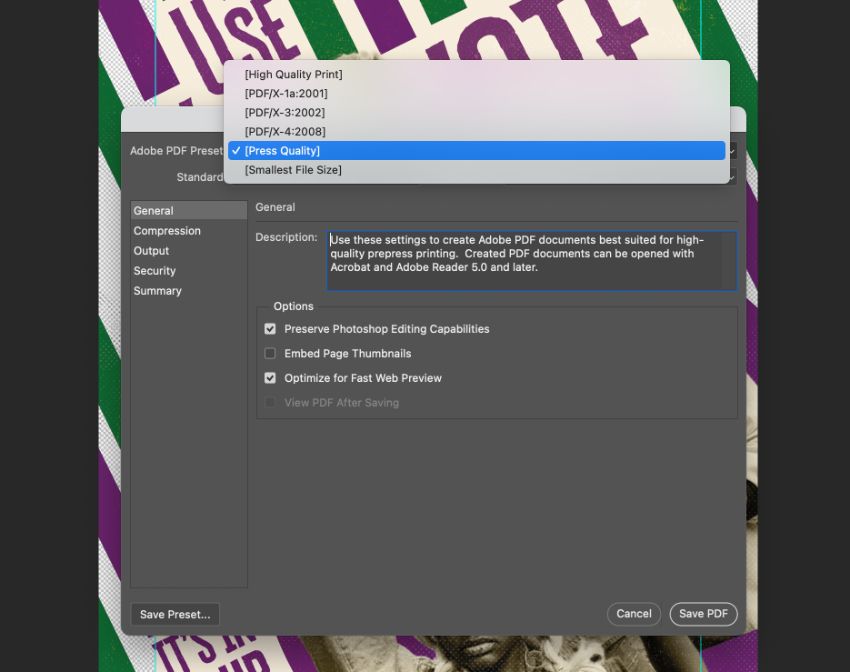
For a printable poster, go to File > Save As. In the window that opens give your file a name and choose Photoshop PDF for the Format. Click Save.
In the PDF window, choose Press Quality from the Preset menu at the top. Then click Save PDF.
To save your poster as an image for sharing online, go to File > Quick Export as PNG. Alternatively, go to File > Export to save your image as a JPEG.
You’ve finished your poster—awesome job!
Conclusion: Propaganda as Art
Despite its murky reputation, propaganda poster design has been a consistent thread throughout the 20th and 21st centuries. From vintage propaganda posters to contemporary propaganda art, propaganda is one of the most impactful and influential forms of graphic design and continues to inspire graphic artists today.
In this tutorial, we’ve looked at how to make a propaganda poster in Photoshop, from incorporating a retro propaganda poster style to considering what the message is in this propaganda poster. The result is a bold and contemporary take on propaganda art, using symbolic color and collage-style photography to hammer home an important message—that women, and indeed all individuals, should see their right to vote as a privilege, one that many women of the suffrage movement fought passionately for across the world.
With your finished poster design, you can share this message with friends, family, and colleagues in physical print or online on social media.
Use your vote… it’s in your hands!
Discover more poster design tutorials, plus useful poster templates and poster fonts below:
-
How to Make a Movie Poster in Photoshop
-
42 Best InDesign Poster Templates (Including Flyer Templates to Download)
-
30+ Best Poster Design Tutorials for Photoshop, Illustrator, and More!
-
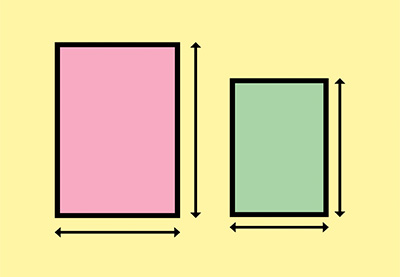
A Guide to Standard US and International Flyer and Poster Sizes
-
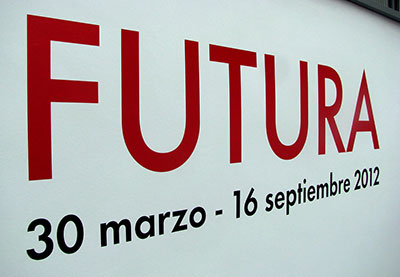
All About the Futura Font and Its History
-
What Makes for the Best Movie Poster Font?