
* { box-sizing: border-box; } body {margin: 0;}*{box-sizing:border-box;}body{margin-top:0px;margin-right:0px;margin-bottom:0px;margin-left:0px;}
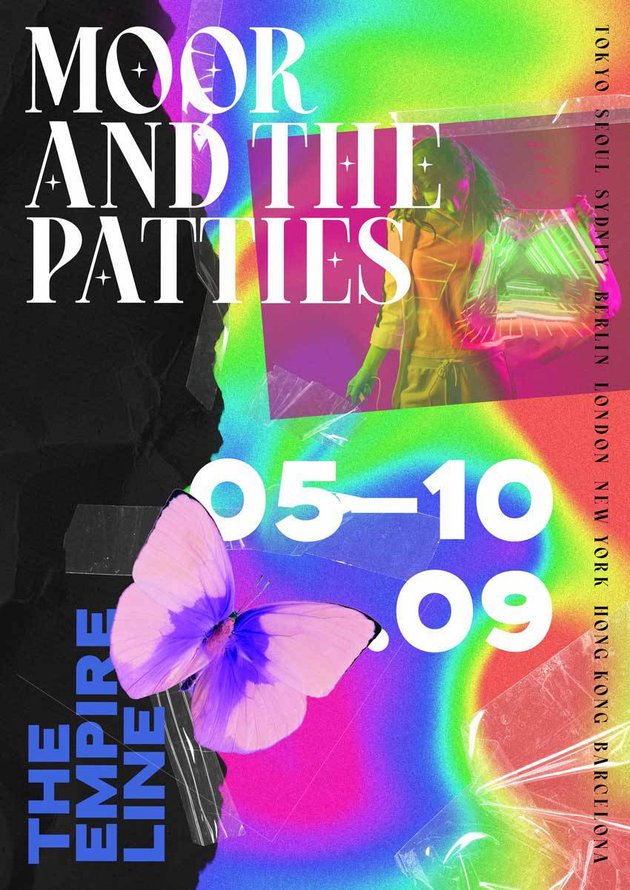
In this tutorial, you’ll learn how to make a Y2K style poster with an oil spill rainbow background that will make you want to step out of the box.
We’ve said it over and over again—trends are made to come back. The Y2K aesthetic is coming back with more power than ever. This specific era was known for excess—more is more! In this poster, I’ll show you how to make an oil spill rainbow background bedazzled with everything, and when I say everything, I mean it. All with a sense of design, of course!
If you’re short on time, be sure to check out Envato Elements, where you’ll find plenty of Y2K backgrounds, oil spill rainbow effects, and holo dark backgrounds. Plus, you can download a lot more assets for your projects, like photos and fonts.
And if you prefer to learn by watching a video, we’ve got you covered as well. You can learn how to make this cool Y2K style poster with oil spill color by following us over at the Envato Tuts+ YouTube channel:
What You’ll Learn in This Y2K Style Poster Tutorial
- How to set up a Photoshop document
- How to use the Liquify Tool
- How to add the Noise Effect
- How to apply Layer Masks and Clipping Masks
- How to export PDF and web image files
What You’ll Need
For this Y2K art poster, you’ll need:
- Crimson Queen Font
- Downey Wide Sans
- 30 Transparent Tapes Texture
- Ripped Edges Photo Effect
- Woman in Headphones Looking at Projection
- Fancy Butterfly Isolated on White
1. How to Set Up a Photoshop Document
Step 1
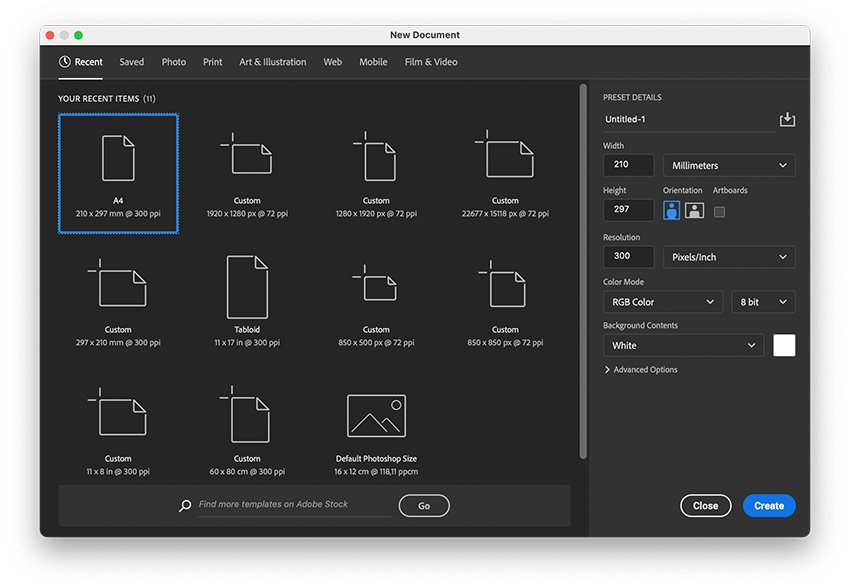
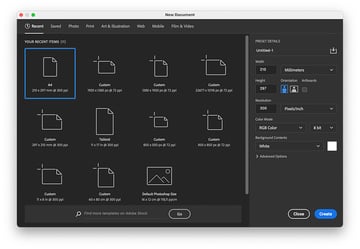
Create a New Document in Photoshop for your Y2K art.
Select A4 size or set the Width to 210 mm and Height to 270 mm. Set the Resolution to 300 dpi and click OK.

Step 2
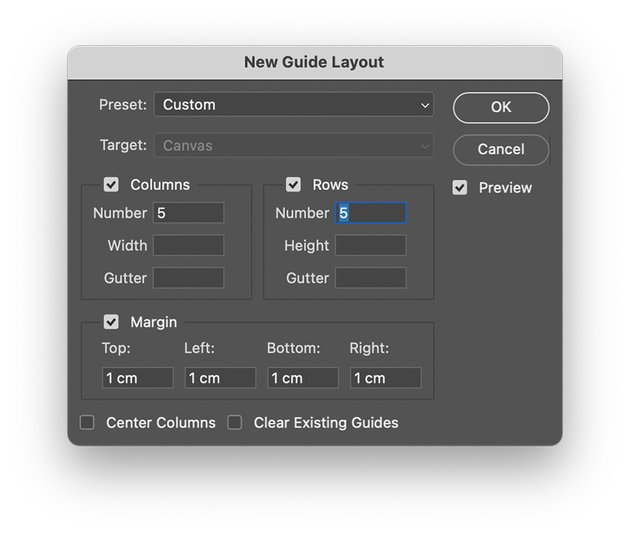
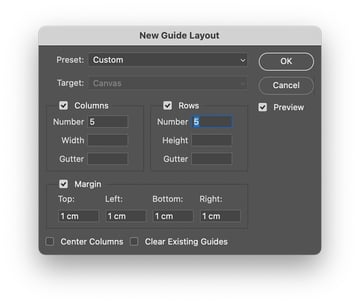
Go to View > New Guide Layout. In the New Guide Layout pop-up window, set the Columns to 5 and the Rows to 5. Set the Margin to 1 cm.
Click OK.

2. How to Create a Y2K Background
Step 1
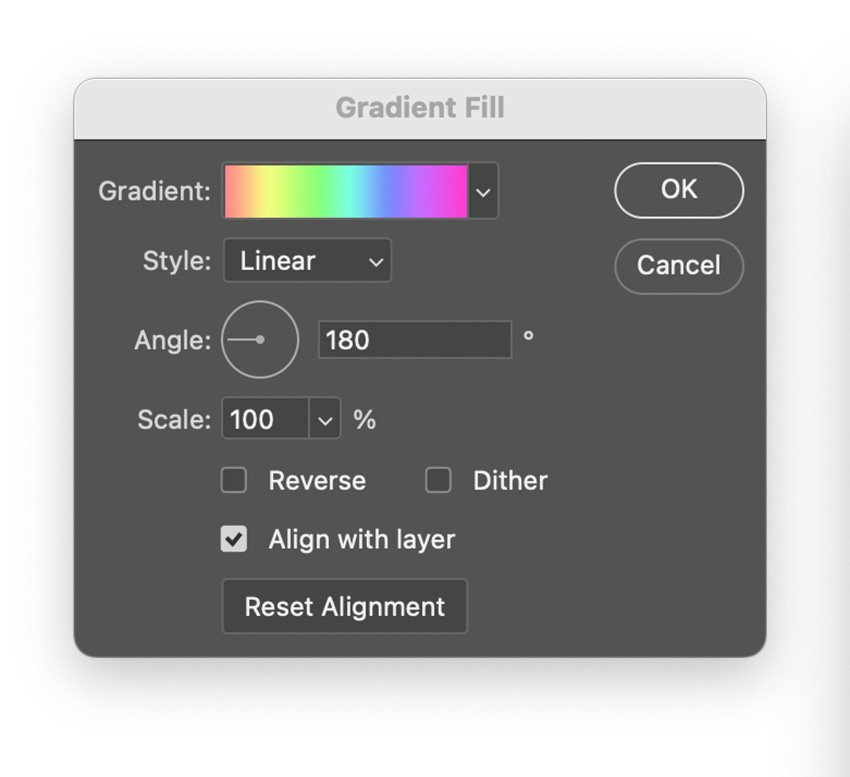
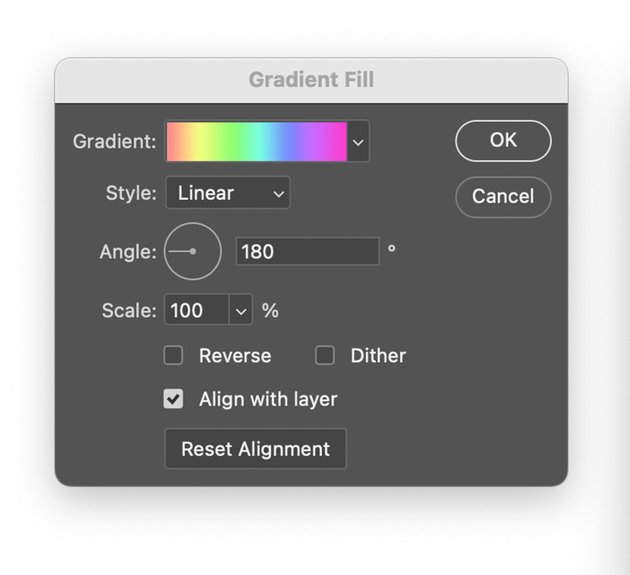
In the Layers panel, select Create a New Fill or Adjustment Layer > Gradient Fill.
Under Style, select Linear and set the Angle to 180.

Step 2
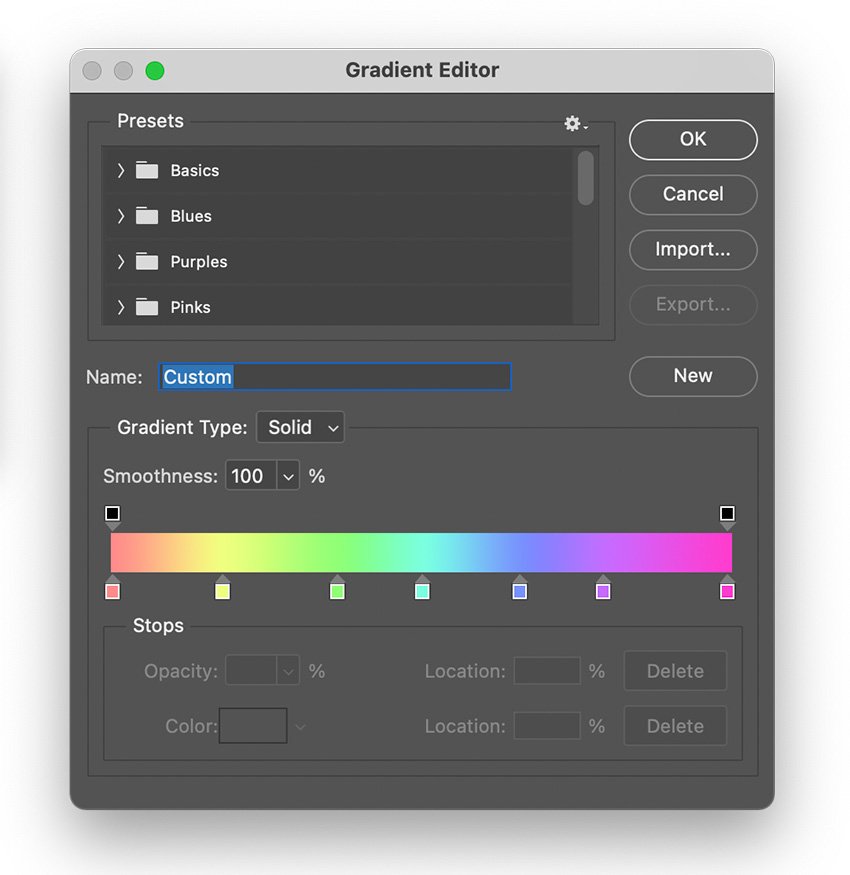
Click on the Gradient swatch.
Create new color stops along the bar and add the following color codes:
- Salmon:
#ff8b8b - Yellow:
#eeff7f - Green:
#90ff76 - Aquamarine:
#7bffde - Blue:
#7891fd - Purple:
#c66bff - Magenta:
#ff3ccf

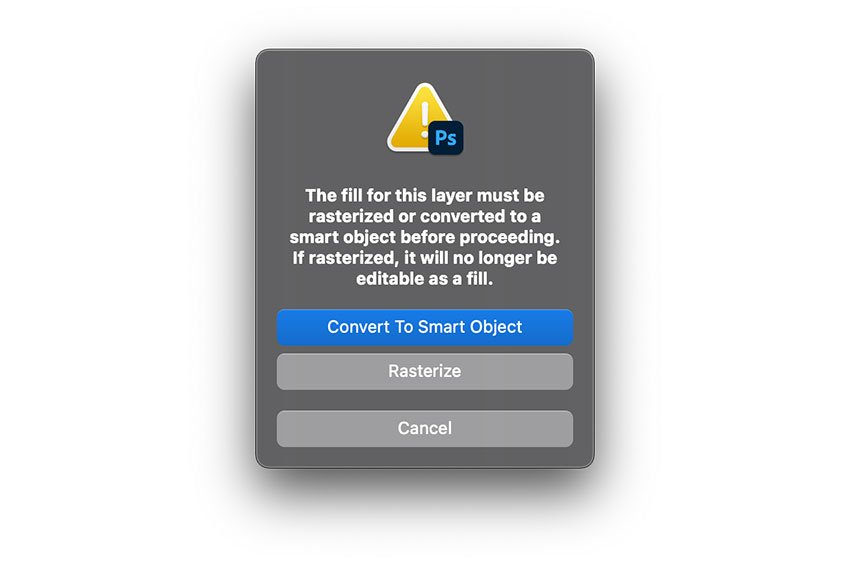
Step 3
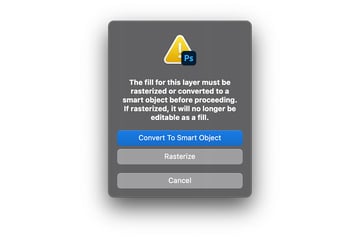
Go to Filter > Liquify. In the pop-up window, click on Convert To Smart Object.
Step 4
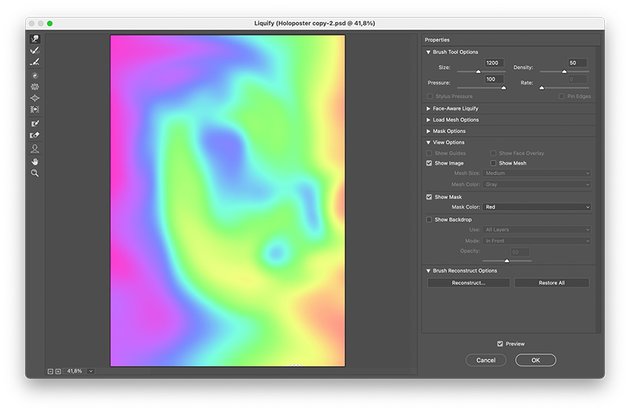
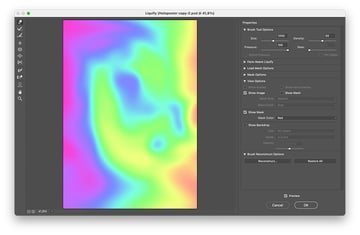
In the Liquify window, use the tools on the left-hand side to create swirls on the gradient. Use Twirl Clockwise to create something more elaborate and the Forward Warp Tool for something subtle.
On the right-hand side, set the Brush Size to around 1200. Try to achieve a good mix of colors—there’s no right or wrong in this step.

Step 5
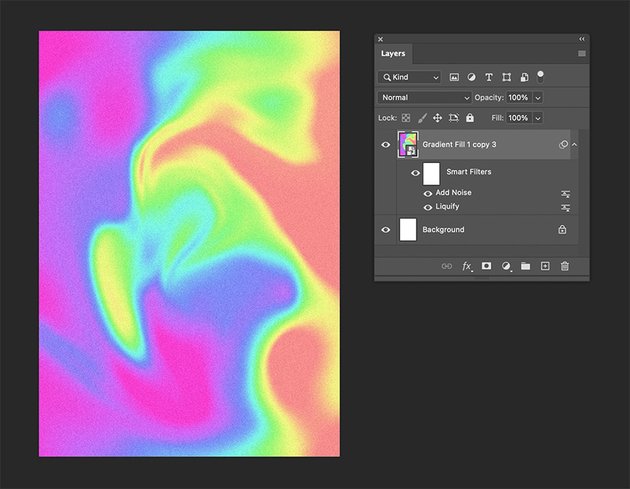
Go to Filter > Noise > Add Noise. In the Add Noise pop-up window, set the Amount to 20%. Click OK.


Step 6
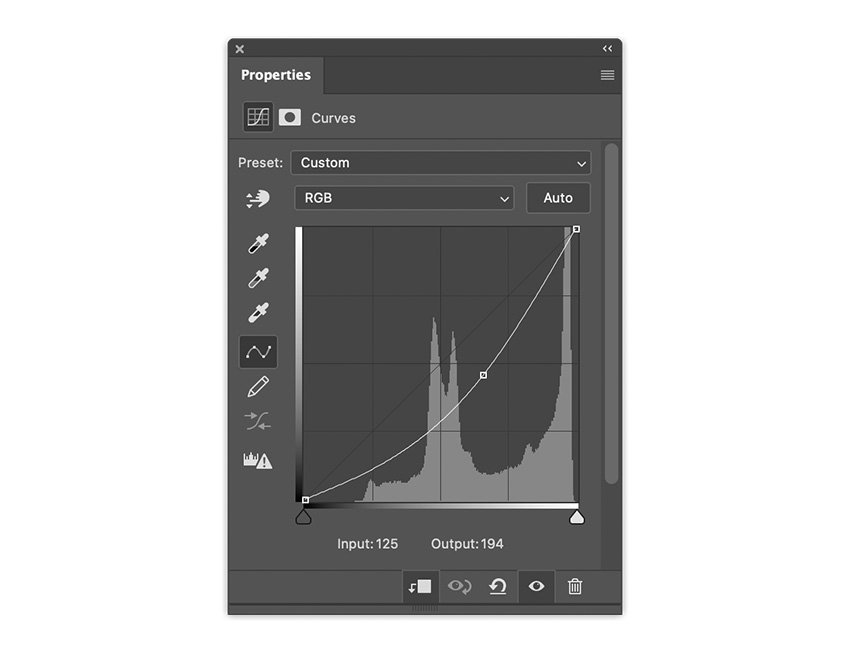
To add more saturation to the background, go to the Layers panel. Select Create New Fill or Adjustment Layer > Curves.
In the Properties panel, set the curve to ascend. This will add more contrast and saturation. It will also give you the freedom to adjust the background color later on as you need.

Step 7
Open the Ripped Edges Photo Effect file.
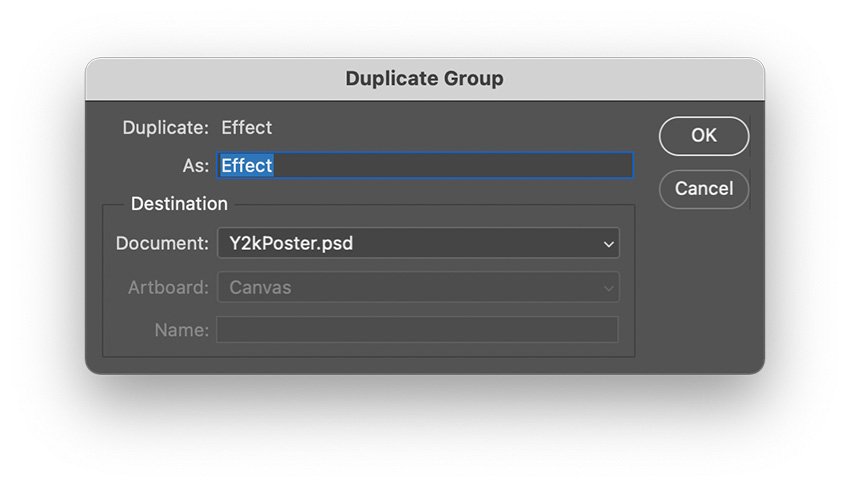
Select the Effect group and right-click > Duplicate Group.
In the Duplicate Group pop-up window, set the Document to the name of the file you’re working on for the Y2K poster. Click OK.

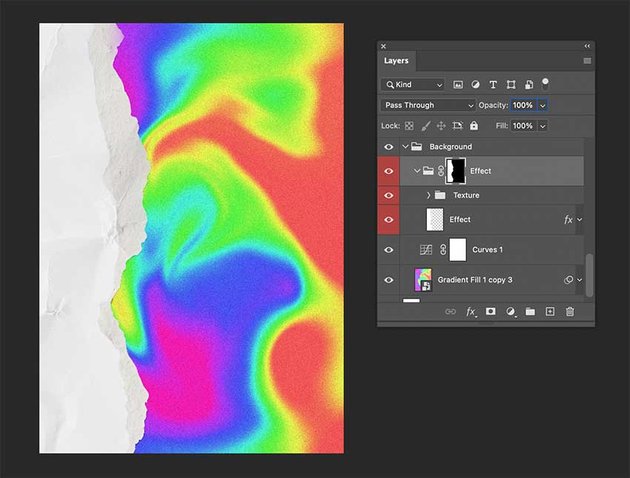
Step 8
In the Y2K Poster file, expand the Effect group we just copied from the ripped pages file. Hide the text layers by clicking on the eye icon. Add a Layer Mask to the whole group.
Select the Brush Tool (B) and make sure to set the Foreground and Background colors to black and white. Brush over the right side of the image to hide the parts we don’t need.


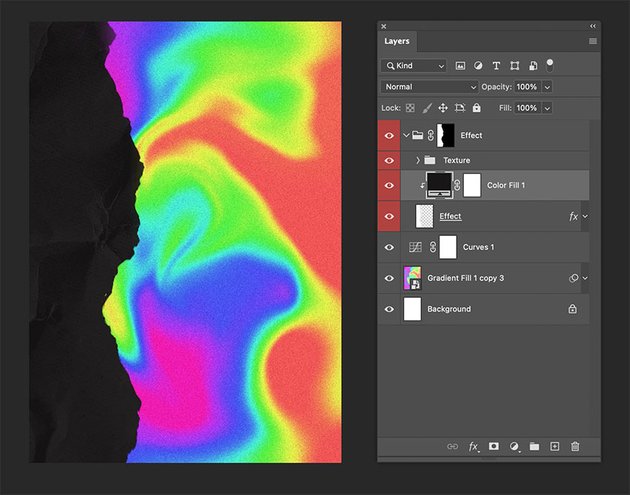
Step 9
Click Create New Fill or Adjustment Layer > Color Fill.
Double-click on the Color Fill 1 thumbnail. Set the color to #181717.


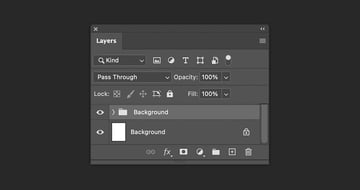
Step 10
In the Layers panel, select the Effect group, press Shift, and select the last layer before Background. This will select all the layers you might have in between. Click the Group button.
Double-click on Group 1 to rename it. I’m choosing to rename it “Background”.


3. How to Add Images to Your Y2K Background
Step 1
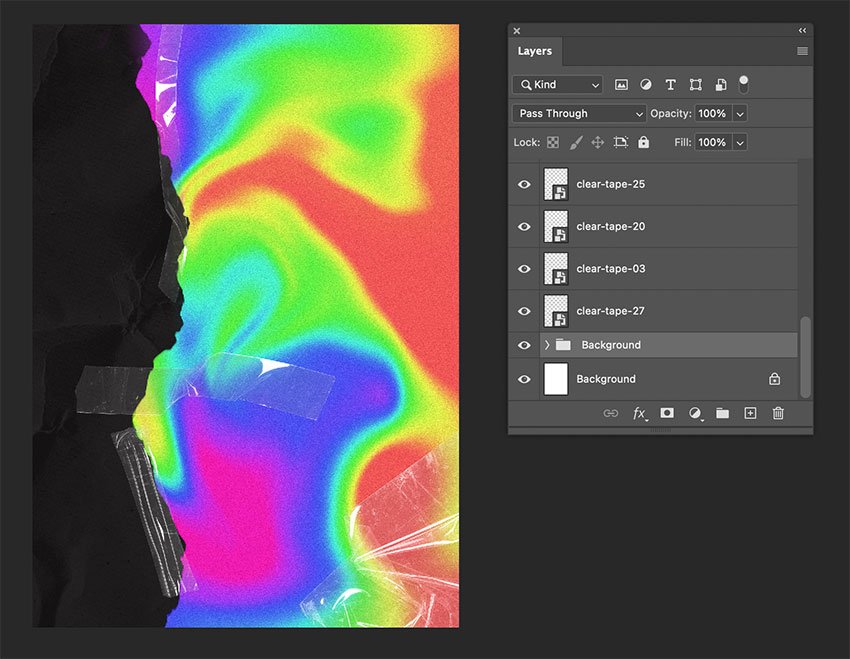
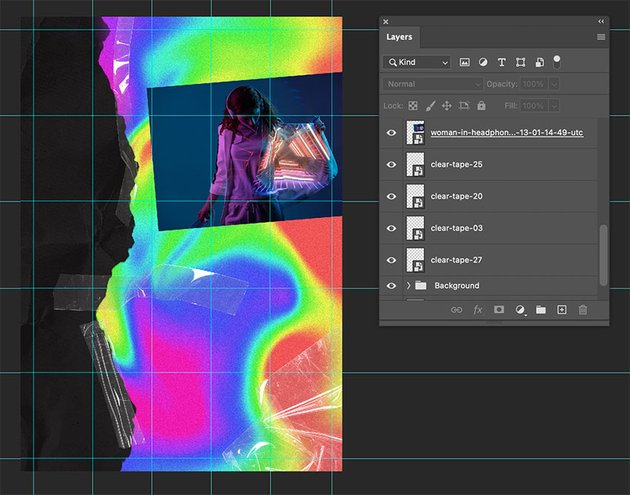
Unzip the Clear Tapes zip file.
For this step, I encourage you to choose any of the PNG tape files for your poster. Try to think where and in what instances these pieces of tape would be used. Here, I’ll use them to tape the black paper onto the background and to add some depth.
Drag the PNG files into your Y2K poster file, and they will be added as new layers.


Step 2
Drag the Woman in Headphones image onto the Y2K background.
Press Command-T to Transform, which allows us to resize, move, and rotate an image. Resize the image to 30% and Rotate it 4°.
Place the image on the top right side of the poster, as shown in the image below.


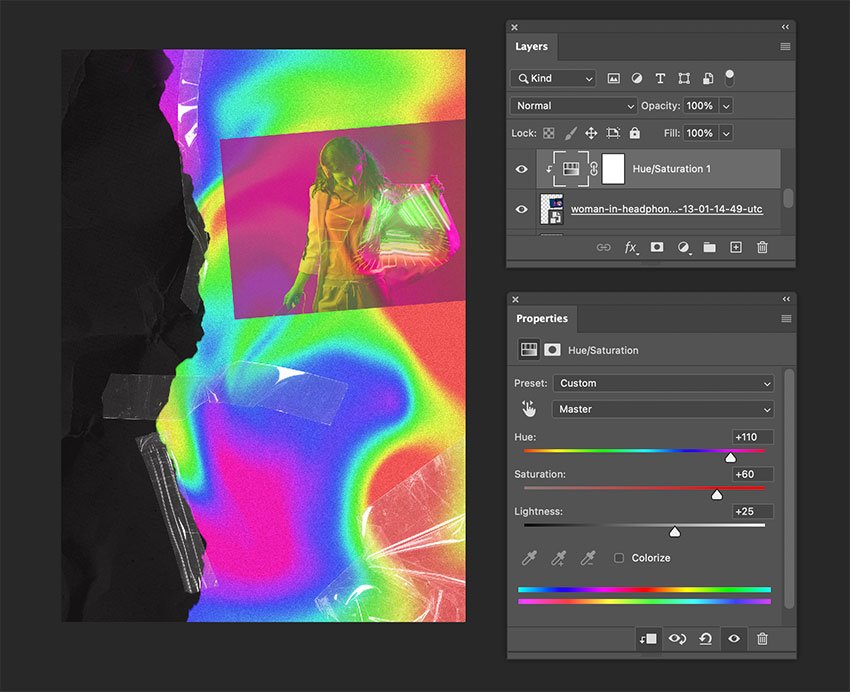
Step 3
In the Layers panel, set the Opacity to 75%.
In the same panel, click on Create New Fill or Adjustment Layer > Hue/Saturation. In the Properties panel, set the Hue to +110, Saturation to 62% and Lightness to +25.
Select the Hue/Saturation layer and right-click > Create Clipping Mask. This will apply the effect only on the last image layer.


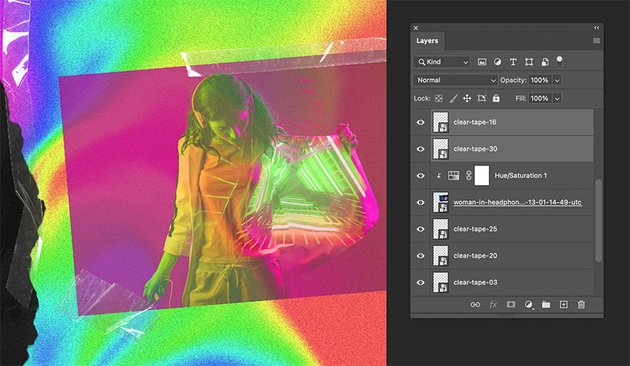
Step 4
Select a couple of the PNG tapes to apply over the “Woman in Headphones” image.
I added two, one on each side of the image.


4. How to Add Text to Your Y2K Artwork
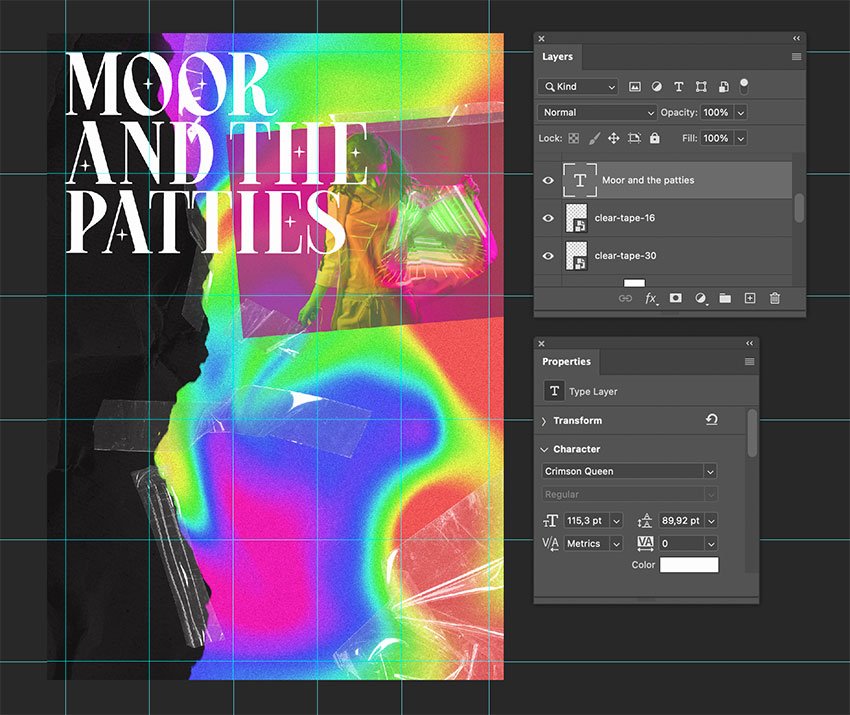
Step 1
In the Tools panel, select the Type Tool (T). Click on the poster to add a text box.
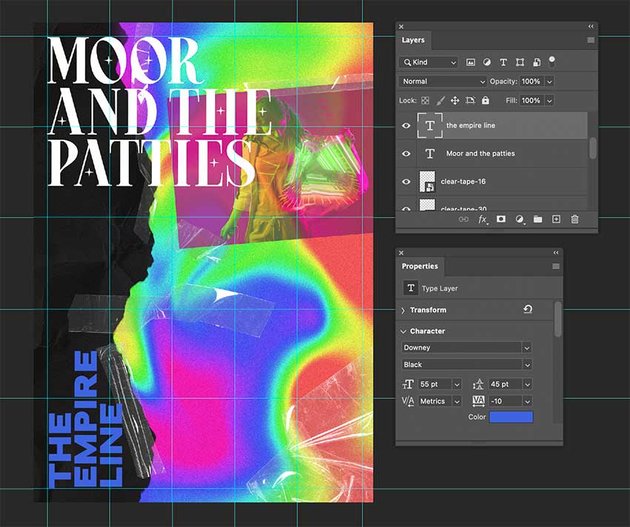
Add “MOOR AND THE PATTIES.” In the Properties panel, set the Font to Crimson Queen, the Size to 115 pt, the Leading to 90 pt, and the Color to White.
Place the text in the top left corner of the poster.


Step 2
Create another text box, and this time add the words “THE EMPIRE LINE.”
In the Properties panel, set the Font to Downey Black, the Size to 55 pt, the Leading to 45 pt, the Tracking to -10, and the Color Swatch to #3e64df.
Press Command-T to Transform the text box, rotating it 90 degrees counterclockwise.


Step 3
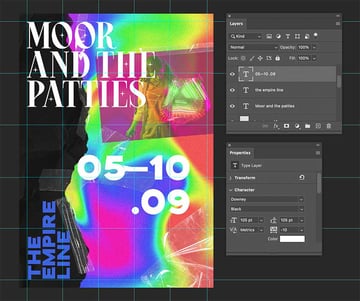
Create another text box and add a date for the event.
In the Properties panel, set the Font to Downey Black, the Size to 105 pt, the Leading to 105 pt, the Tracking to -10, and the Color Swatch to White.
Set the Alignment to Right.
Place the text between rows 3 and 4.


Step 4
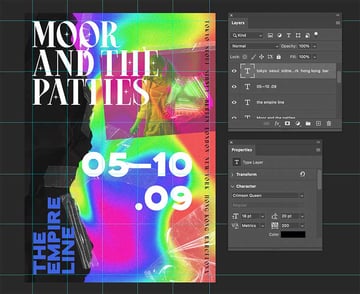
Add one more text box for the cities.
In the Properties panel, set the Font to Crimson Queen, the Size to 18 pt, the Tracking to 200, and the Color Swatch to Black.
Rotate the text box 90 degrees clockwise. Place it on the right margin of the text.


Step 5
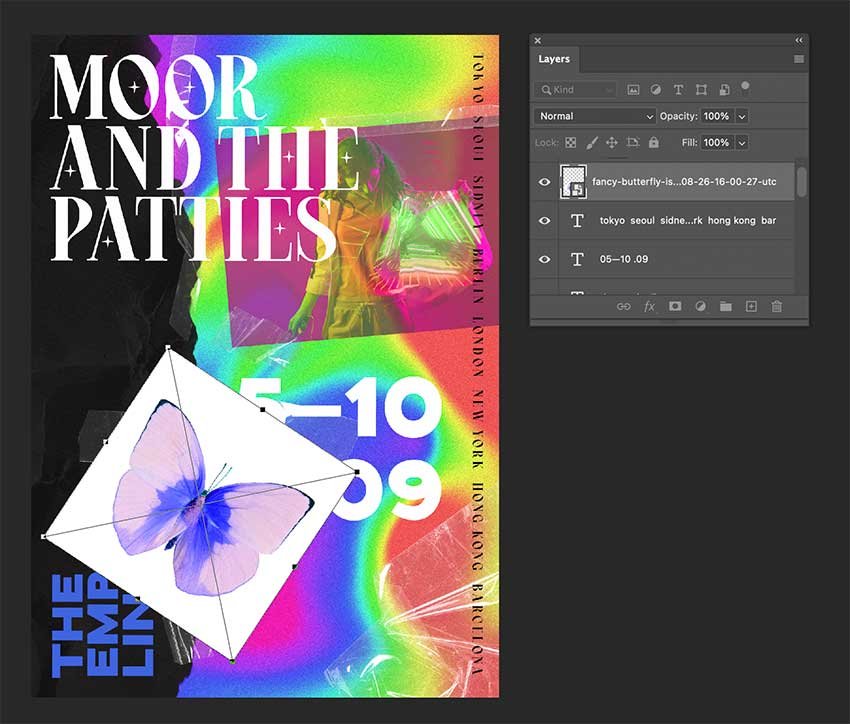
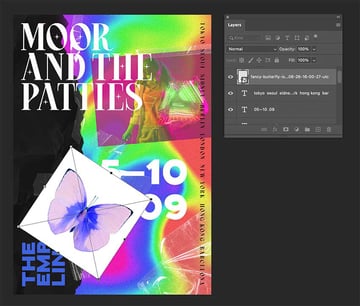
Drag the butterfly image into the Y2K poster file.
Press Command-T to Transform.
Set the Size to 35% and Rotate the image 35°.

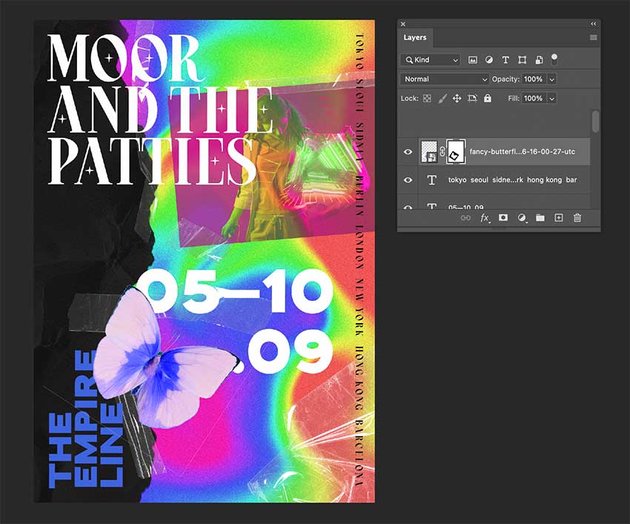
Step 6
Select the image and click on the Add Layer Mask button.
Using the Brush Tool (B), we’ll close crop the butterfly. Set the Foreground color to Black and Background color to White.
In the Layers panel, make sure you have the Layer Mask selected. Using the Brush Tool (B), delete the white parts of the butterfly image.


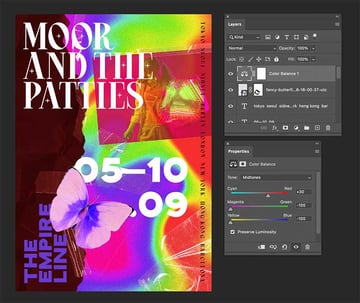
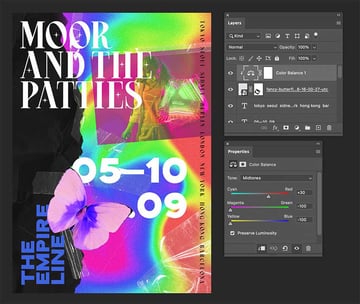
Step 7
In the Layers panel, select Create New Fill or Adjustment Layer > Color Balance.
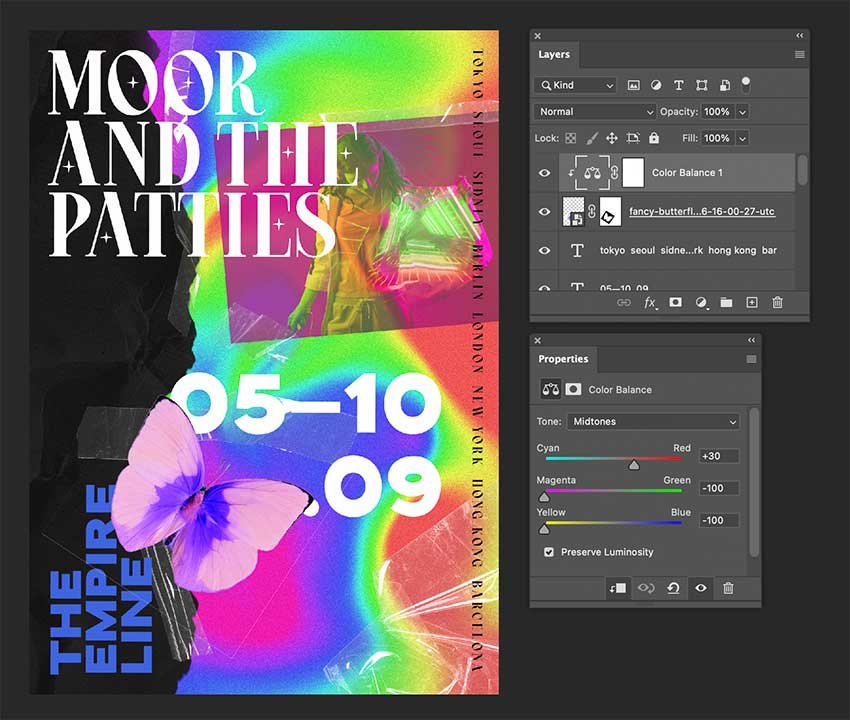
In the Properties panel, set Red to +30, Magenta to -100, and Yellow to -100.


Step 8
Right-click on the Color Balance layer and select Create Clipping Mask to apply the color changes to the last layer.

5. How to Export a File for Print and Web
Step 1
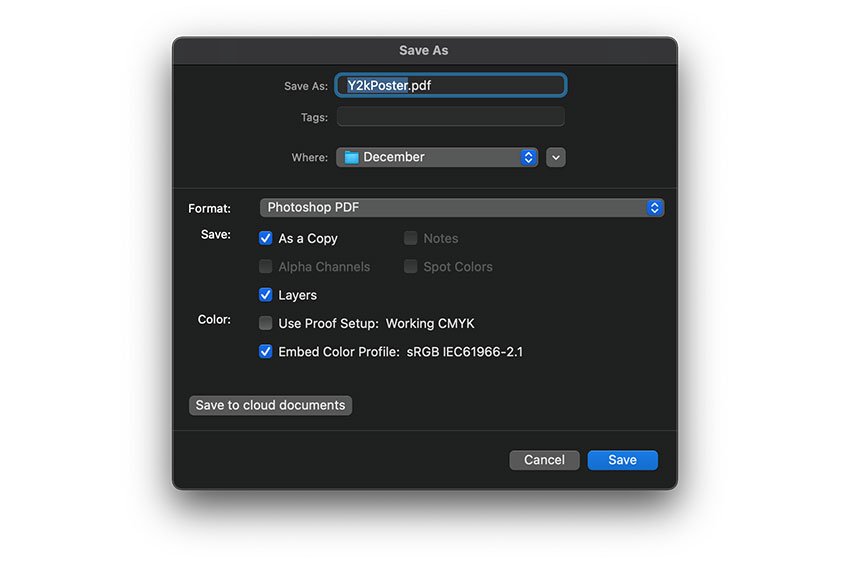
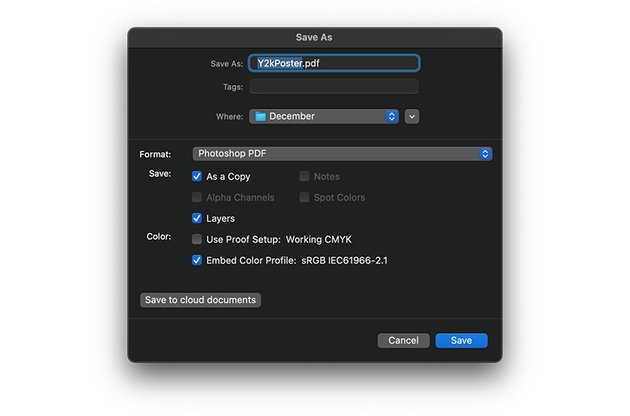
To finish this Y2K poster tutorial, you’ll learn how to export files.
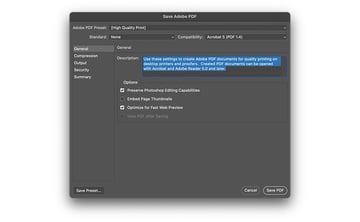
Head over to File > Save As. Set the Format to Photoshop PDF. Click Save.
Step 2
Set the Adobe PDF Preset to High Quality Print. Click Save PDF.


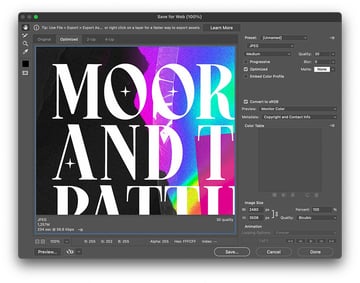
Step 3
To save the file for web, head over to File > Export > Save for Web. Under Image Size, set the size you would like the image to be.


5 Similar Y2K Aesthetic and Holo Dark Background Effects
Holographic Liquid Background (JPG, PNG)
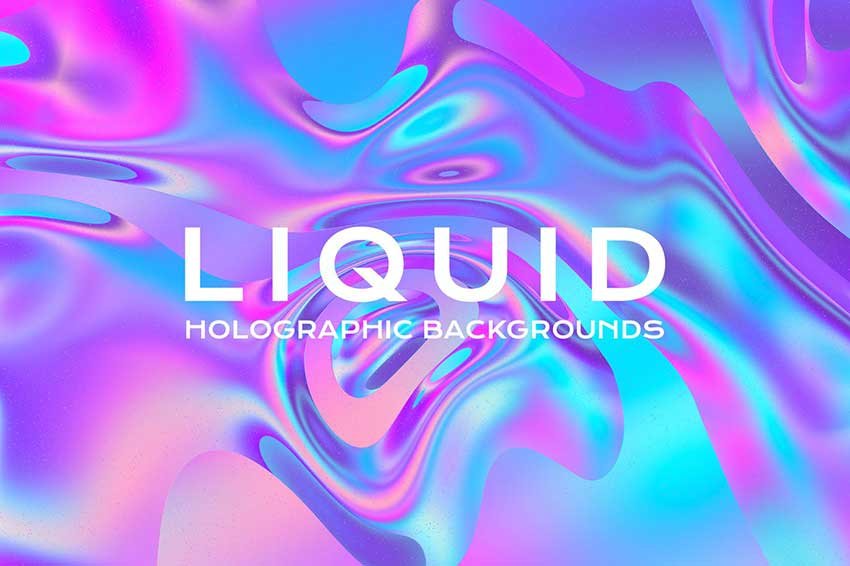


This oil spill coloured background pack has an awesome mix of vibrant and bright colors. The beautiful iridescent surface wallpapers are multifunctional and a great addition to your designer arsenal.
Acid Textures (JPG, PNG)

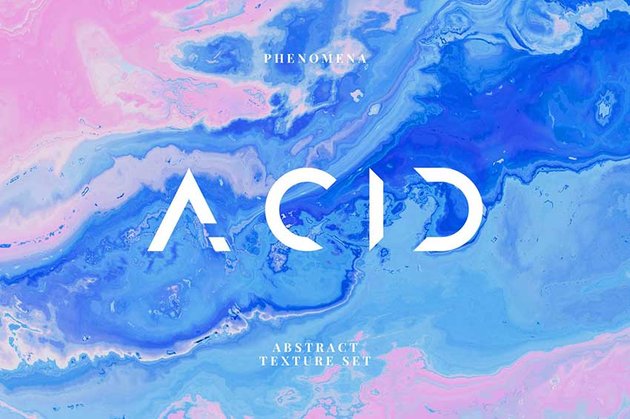

This oil spill rainbow background has deep and saturated colors. These acid textures have a watercolor painting effect mixed with toxic fluid. There are ten different blot textures that are high-quality and high-resolution, ready for print!
Glossy Holographic Text & Logo Effect (PSD)

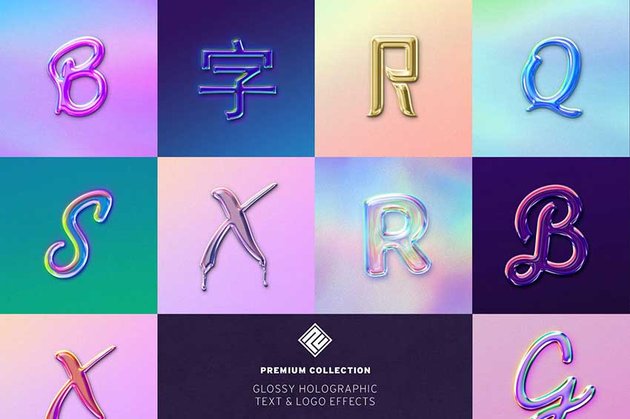

The effect of holo on dark background is one look you can’t miss. This glossy effect pack is perfect for text and logos. The style is set as smart objects, and they’re well-organized groups, so the effect is easy to use. You’ll have your own Y2K art in just a few minutes!
Liquid Melted Text Effects (PSD, PNG, PDF)
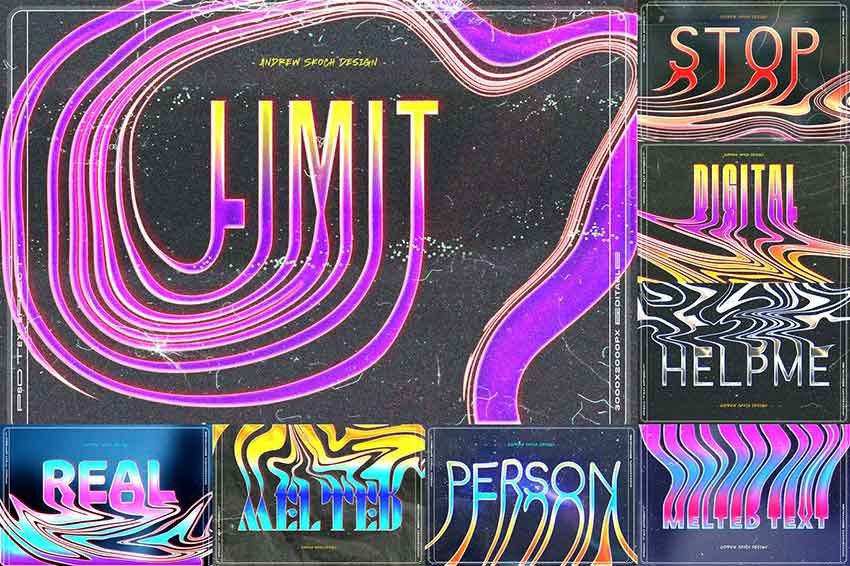

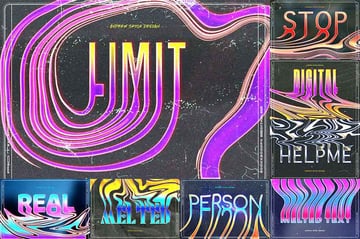
Get the Y2K aesthetic quickly with this liquid melted text effect. It’s perfect if you want to create eye-catching graphics for social media, posters, and album covers.
Pastel Holographic Text Effect (PSD)

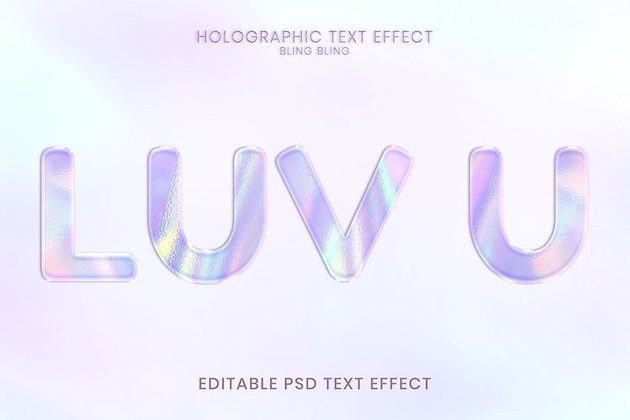
This holo effect works great on dark backgrounds. It’s bright and has awesome iridescent colors to apply to text, logos, and other word-based designs. This pastel color is so easy on the eyes that you can quickly create tasteful designs.
Conclusion
In this tutorial, you learned how to create a Y2K aesthetic pink poster design. You also learned how to make an oil spill rainbow background that can be easily recreated and applied to other projects. Y2K style designs are maximalist at heart. We went there with this oil spill poster. You learned how to use different tools like layer masks, the Liquify Tool, and clipping masks to create an eye-catching artwork.
If you’re looking for more oil spill color backgrounds and more holographic style designs, be sure to check out Envato Elements. There’s an extensive library waiting for you to explore!
 Trends2000s Graphic Design: From the Y2K Aesthetic to Glitter Text and Emo
-
Text EffectsHow to Create a Quick Holographic Text Effect in Adobe Photoshop
-
AestheticsAesthetic Design: From Vaporwave Design to the Grunge Aesthetic
-
Adobe IllustratorHow to Create a Pastel Gradient Background
-
Text EffectsHow to Create a 3D Hologram Text Effect in Adobe Photoshop
-
IndustryFlat Design, iOS 7, Skeuomorphism and All That