Want to know how to extract an image in Photoshop? Let’s go to the first method we recommend: The Object Selection Tool in Photoshop.
Method 1: Use the Object Selection Tool in Photoshop
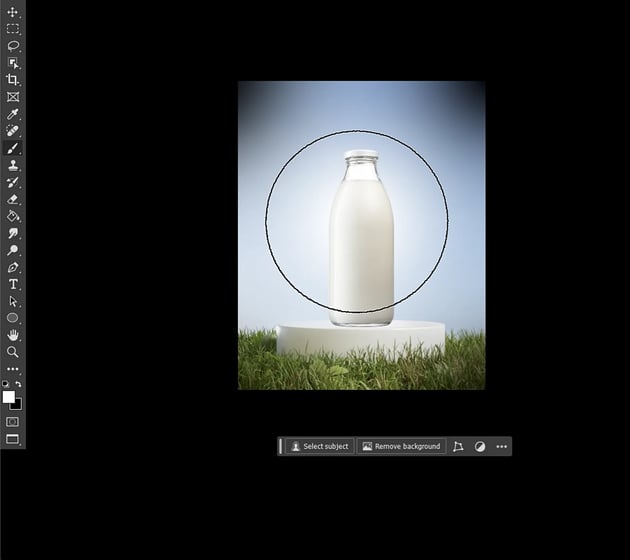
Step 1
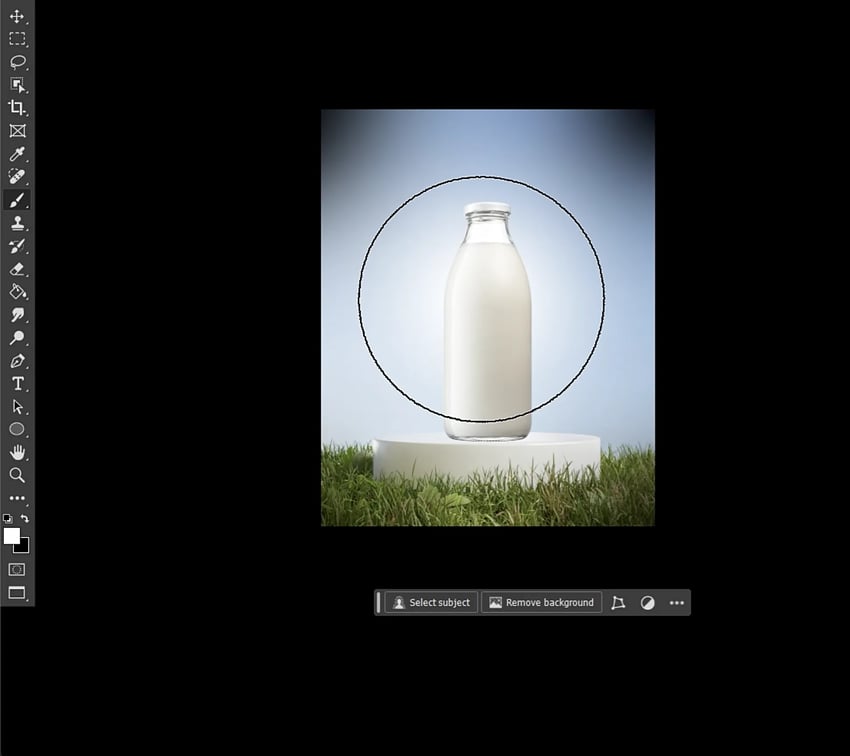
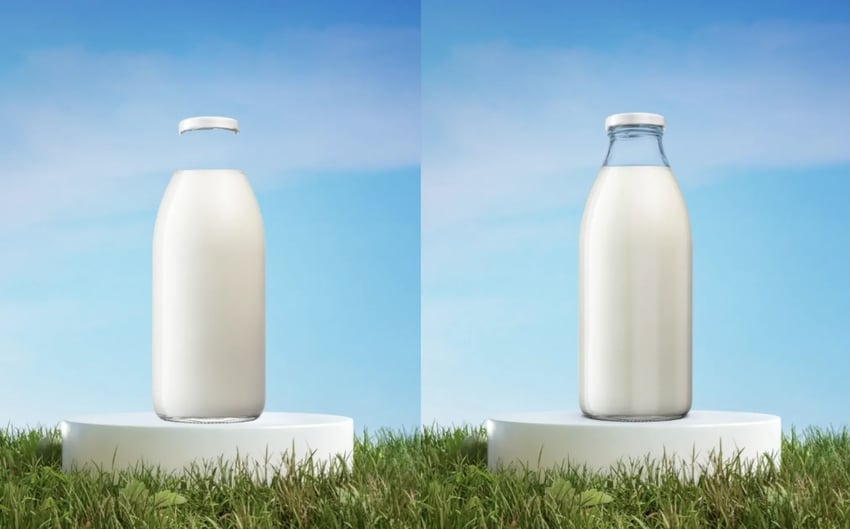
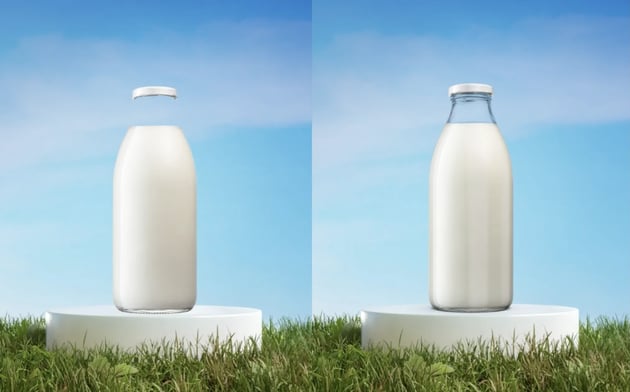
Choose the Object Selection Tool and click on the object you want to select. This method works on busy backgrounds, but it’s particularly effective on simple backgrounds like the one in our example.
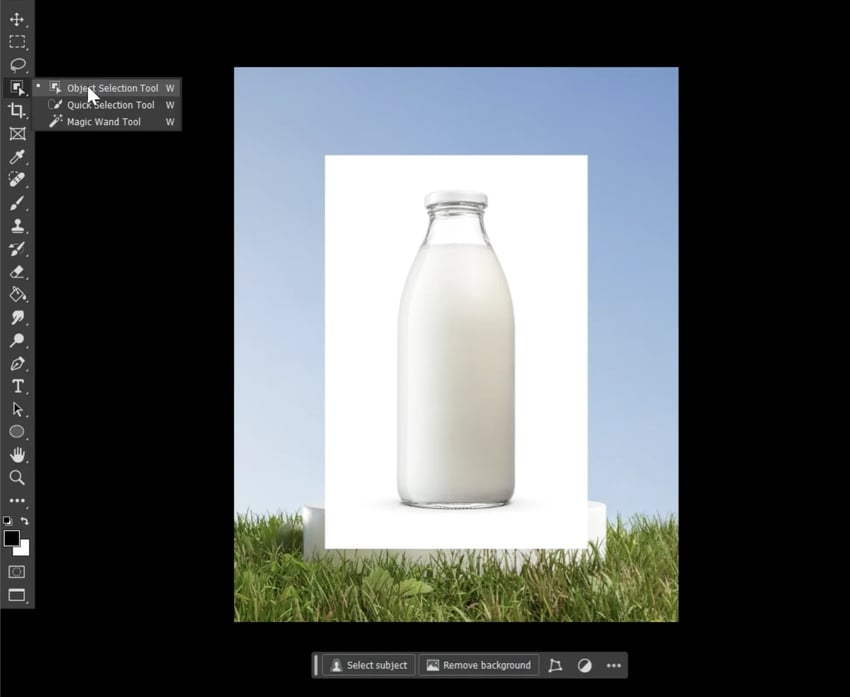

When you click on the object you want to select, it will be highlighted in pink.


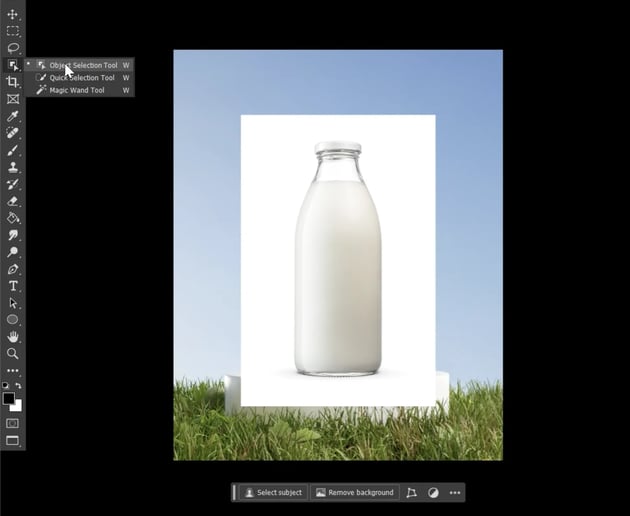
Step 2
With your selection highlighted, go to the bottom of the Layers panel and add a layer mask. The mask will take the shape of the selection, removing the background and leaving just the object. Always use layer masks instead of deleting or erasing the background directly, because automatic selection tools are never perfect and you’ll need to smooth and clean them up.
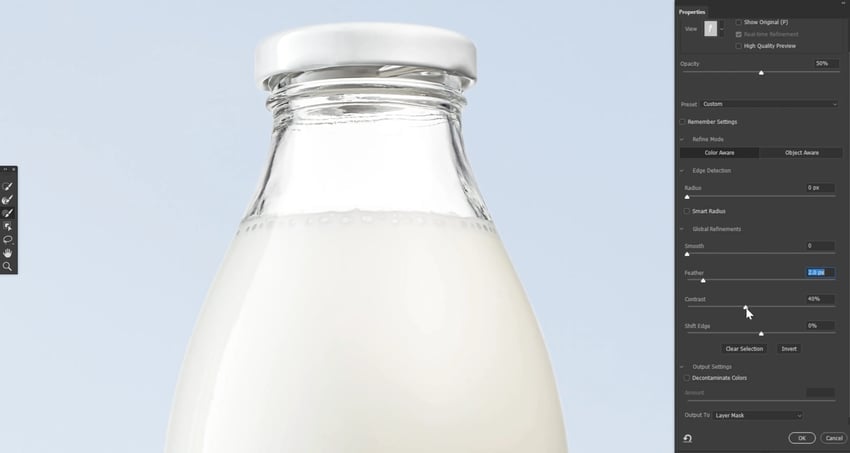
Step 3
To smooth and clean up your selection, double-click on your layer mask to open Select & Mask. You can also find Select & Mask in the Properties panel when a layer mask is active or in the upper options bar when a selection tool is active.
Step 4
Now, you can refine and smooth your mask with the global refinement settings. First, increase the Feather to around 2 px and the Contrast to around 50%, and you’ll start to see the jagged mask smooth out. Keep making small adjustments until the mask is nice and smooth.


Step 5
Next, start shifting the edge inward to get rid of any remnants of the background image. You can always select the brush tool and manually mask away some of the areas that might have been missed, like in the corners.
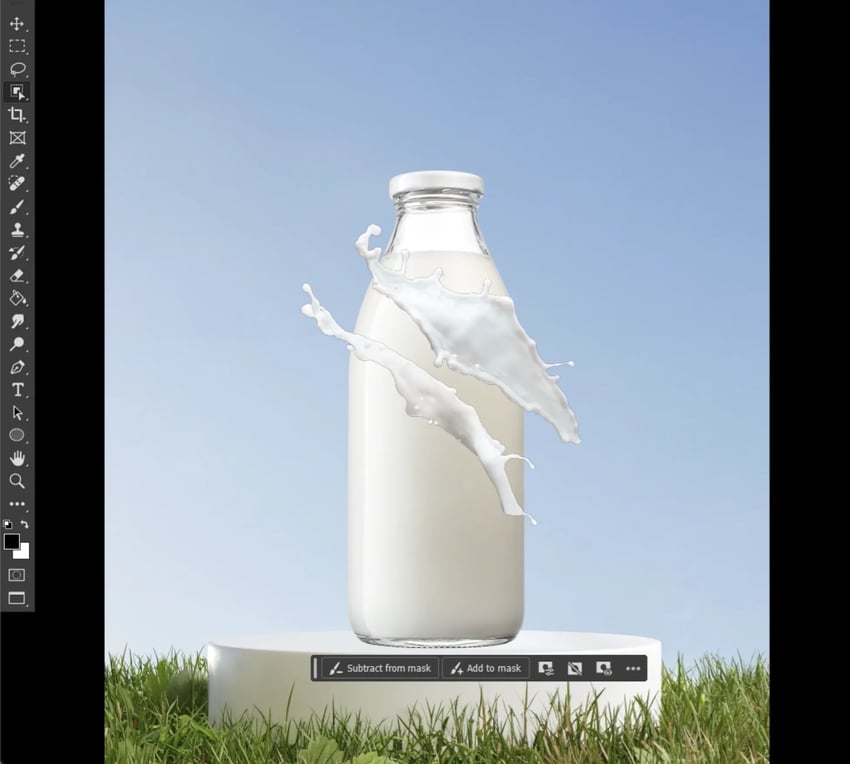
Step 6
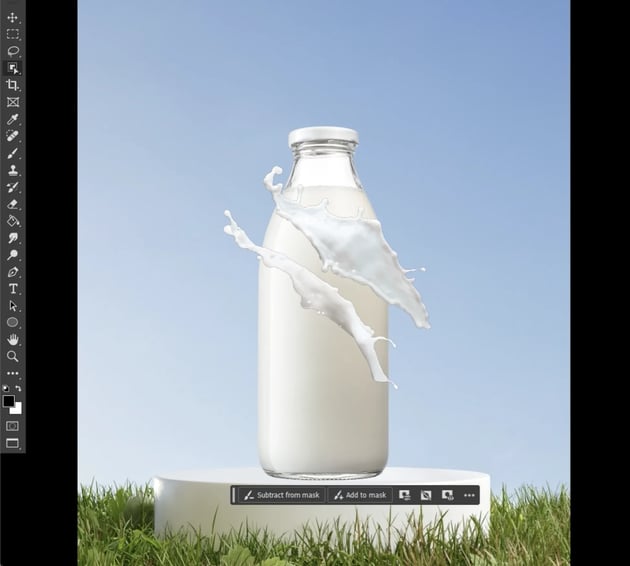
Next, use the Object Selection Tool again to select the milk splashes. Add a layer mask and refine it in Select & Mask, as you did with the bottle.
Step 7
Grab a hard round brush, set to black, and mask out all of the parts of the splash that you don’t want.
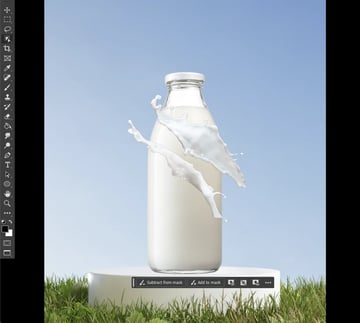
Step 8
Now right-click and Convert to Smart Object.
Layer masks work by using black and white. If you want to hide something, paint it with black; if you change your mind, switch to white and paint over that area, and it’ll come back. This is why layer masks are a better option than the eraser brush. It allows you to work non-destructively, i.e. without permanently changing the pixels. And everything we do can be undone.
Method 2: Blend If
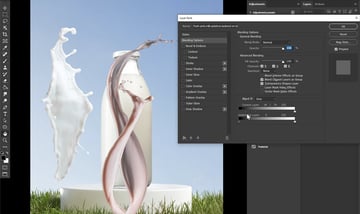
Step 1
With your object selected, double-click the layer to open the Layer Style panel, and choose Blend If. Blend If is simple to use. You can use the white toggles to blend away the lighter values of your image and the black toggles to blend away the darker values. You can also hold Alt to then split these toggles, giving a smoother blend. Once you’re happy, click OK.
Keep in mind that Blend If is non-destructive. You can always come back and adjust these settings by double-clicking the layer.
Blend If is entirely visual, and the values will change from image to image, so just slide the toggles and watch what’s happening.
Step 2
Adding an Inner Glow layer style to an object is an excellent way to quickly add a rim light and remove fringe edges from images that are already very light or from images that may be bright or glowing by their nature, like fire.
Step 3
If that doesn’t quite do it, you can also clean up the edges of an object by holding Control and clicking the object to create a selection in the shape of that layer. Then, in the floating context bar, go to Edit > Options > Contract Selection by one pixel. Add a layer mask, and that edge will be masked.


Using Layer Modes to Achieve Realism
A layer mode dictates how a layer interacts with all of the layers below it. You can use it for everything from lighting and shading to blending and even extracting. In this section, you’ll learn to do all three.
Step 1
Add a new layer over your background, grab a soft round brush set to black, and paint on the edges of the canvas to create a slight vignette effect in the background. Then hit the middle with some white so that the middle of your image is bright and the corners darker.

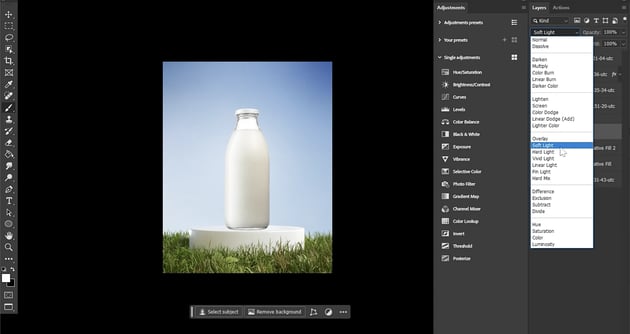
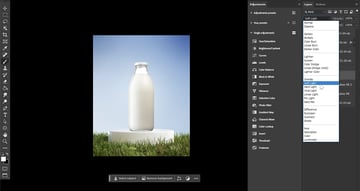
Step 2
Next, go to the Photoshop Layer Blend Modes and add a Soft Light Layer Mode to make it more subtle, and you have a realistic vignette effect.

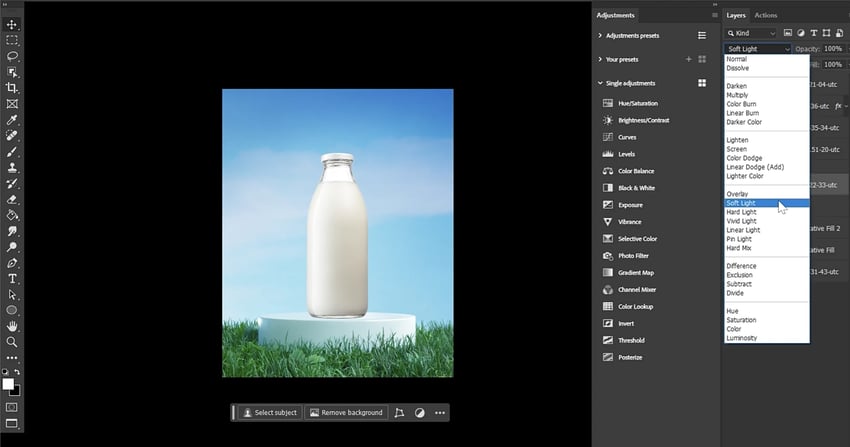
Step 3
Drop some clouds onto the canvas and adjust the size and position by hitting Command-T to enter transform mode. Click and drag on the anchors to size the image. Next, go through all the layer modes to see how they look. Soft Light gives the cloud the subtle effect we’re after.


Step 4
Add a layer mask and use a soft round brush, set to black, to mask the bottom of the clouds and the grass, but keep a small amount on the podium. This will create some ambient light, some bounce light, and some highlights from the blue sky, and it will give things a more cohesive look.
Step 5
Let’s use the layer modes to add shadows and highlights to our bottle and make the glass transparent. First, duplicate the milk bottle by clicking, holding Alt, and then dragging it below the original layer.
Step 6
Right-click on the layer mask and delete it. Then change the Layer Mode to Multiply. Multiply will only show the dark parts of the image, which is perfect because all we want is the shadows.
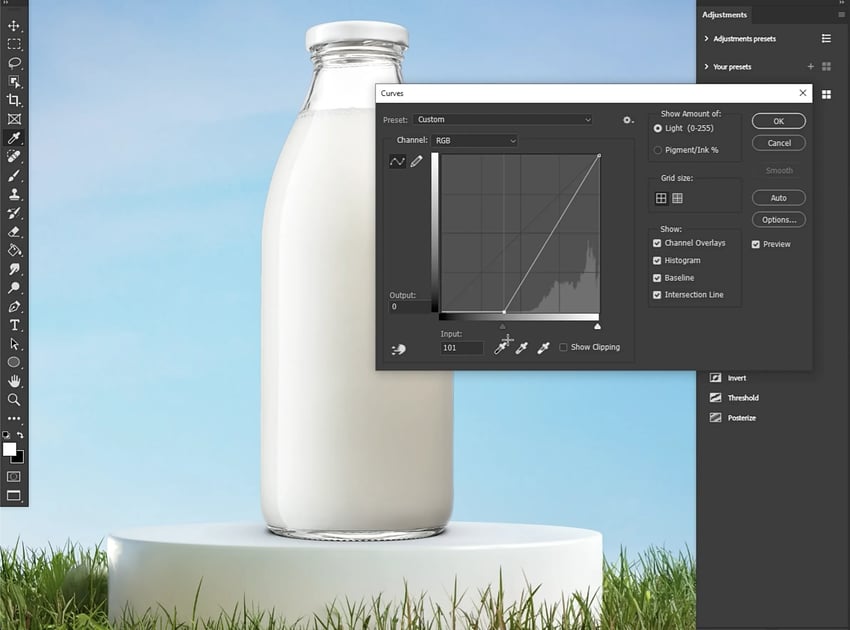
Step 7
Now, if you turn your original layer back on, you can see that you have a perfect shadow cast by the bottle. You can even edit and refine that shadow by using Image > Adjustments > Curves. If you want the shadow to appear lighter, you can bring the top anchor outward; if you want to darken the shadow, you can take the bottom point and drag it inward.
Step 8
It’s important to remember that shadows are never grayscale. They always have a little color in them, so go to Image > Adjustments > Hue/Saturation and click Colorize to add a bit of blue to the shadow.
Step 9
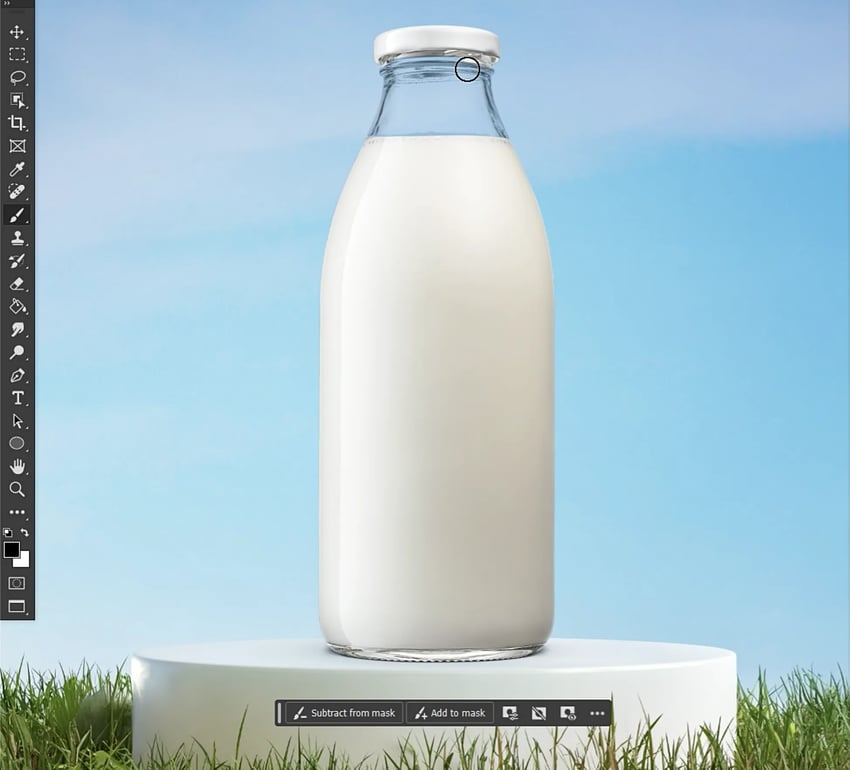
But what about the glass neck of our bottle? You need to turn your original bottle into a smart object and add a new layer mask. Then all you have to do is take a hard round brush, set to black, and remove all of that glass. You want to leave the milk and the cap, so you’re just removing the empty glass. And just like that, you have a transparent piece of glass!


Step 10
You can also use layer modes to add lighting and shading to the bottle. Although I liked the shape of this bottle and its look, I preferred the shine of a different bottle image. Luckily, we can combine them using layer modes. Place the other image on top and size it to be roughly the same. Then hold Alt until you see the icon of a square and an arrow pointing down, and click to clip this layer into its original. This is called a clipping mask. That means this new bottle will be constrained to the pixel boundaries of our original bottle.
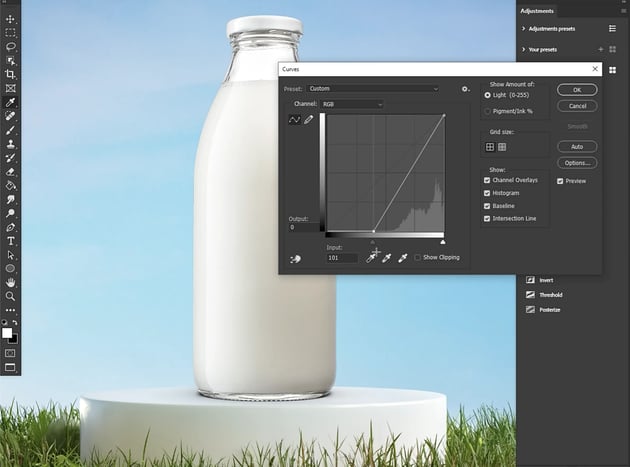
Step 11
Next, change the glass layer to multiply, again, leaving only the darks of the image. Go to Image > Adjustment > Curves to increase the intensity of the shadows by bringing in the bottom point. Also increase the white slightly to define the darker areas. Lower the layer Opacity to 15% to give the glass bottle a nice bit of dimension and shadow.
Using layer modes to grab highlights and shadows from different images is a great way to save time and achieve a realistic look.
Discover More Photoshop Resources and Tutorials
In this tutorial, we covered how to extract an image in Photoshop and then showed you how to make your image look realistic with shadows and highlights. To find more tutorials on Photoshop effects or Photoshop techniques like extending a background, installing brushes, or making a file smaller, head over to Envato Tuts+ and the Envato blog. And for premium digital resources to cover all your creative needs, be sure to visit Envato.
Here are some great resources to get you started: