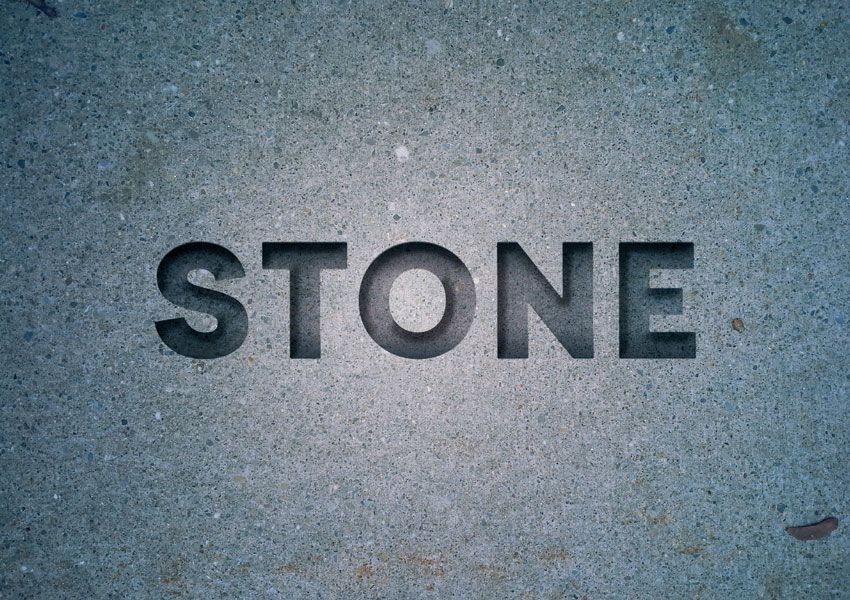
You can’t miss this Games of Thrones-style type effect. Perfect for posters and social media that need to command attention, this effect is also super quick and easy to create using Adobe InDesign.
Learn better with video? Follow along on our Envato Tuts+ YouTube channel:
How to Create an Engraved Stone Text Effect in InDesign
To create this effect, you’ll need a simple stone background (try this texture from PhotoDune for a marble effect or this Pixabay background for a more grungy effect), and a chunky font (here I’ve used Charlevoix Pro ExtraBold).

Step 1
Set up a new document in InDesign (File > New > Document) at A4 landscape size or a page size you prefer. Then create two layers, Background below and Type above. Lock Type to work on the Background layer.
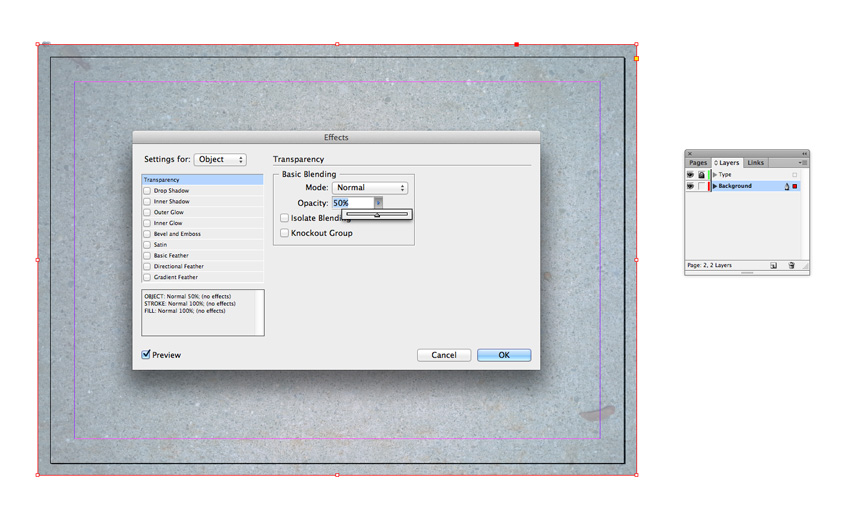
Take the Rectangle Frame Tool (F) and drag to create an image frame that extends across the whole page. Go to File > Place, choose your stone background image, and click Open. Allow it to fill the whole frame. Select the frame and Edit > Copy.
With the frame selected, go to Object > Effects > Transparency, bringing the Opacity down to 50%. Click OK to exit the window.
Edit > Paste in Place a copy of the original stone image frame. Then head to Object > Effects > Gradient Feather. Set the Type to Radial, allowing the gradient to get lighter towards the center of the page.

Step 2
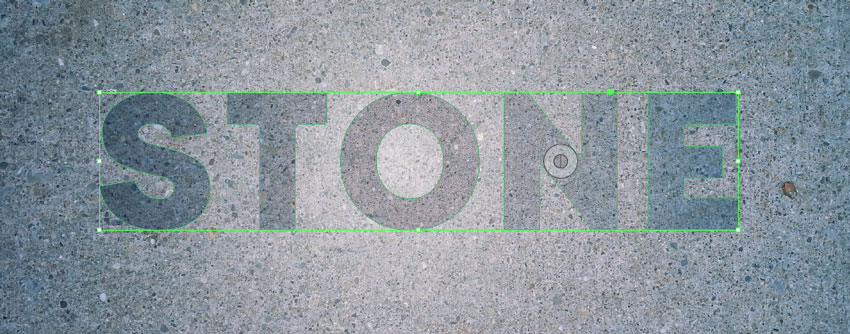
Lock the Background layer and unlock the Type layer above. Create a large text frame in the center of the page using the Type Tool (T) and type in your text. Set the Font to Charlevoix Pro ExtraBold or your font of choice.

When you’re happy with the formatting of your text, head up to Type > Create Outlines to vectorize the text. Edit > Copy the vector to keep a copy to hand for a little later.
With the vector selected, go to File > Place, choose the same stone background image as before, and Open, allowing it to fill the whole text.
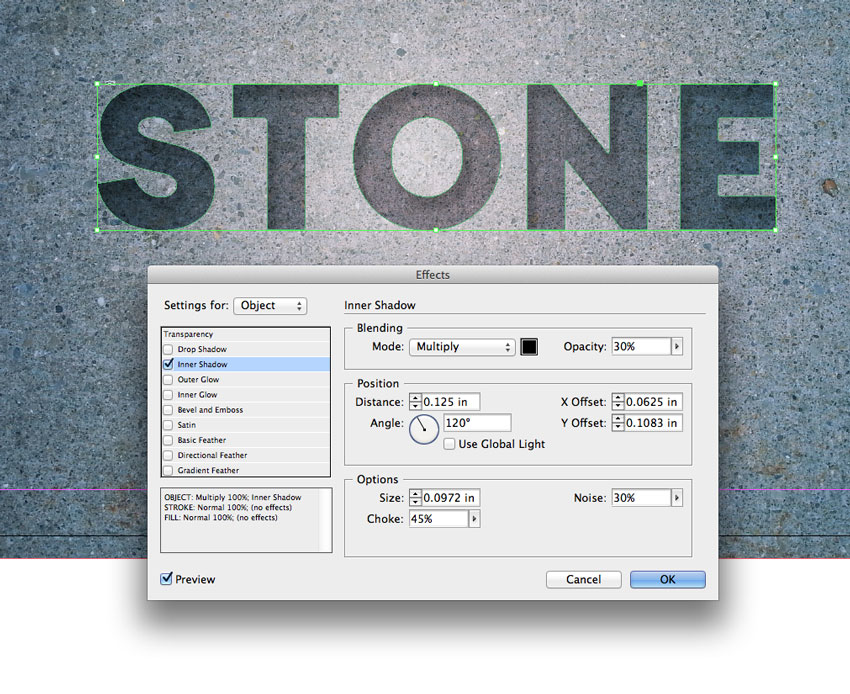
Go to Object > Effects > Transparency and choose Multiply from the Mode menu.

Click on Inner Shadow and bring the Opacity down to 30%. Increase the Choke to 45% and Noise to 30%, before clicking OK.
Step 3
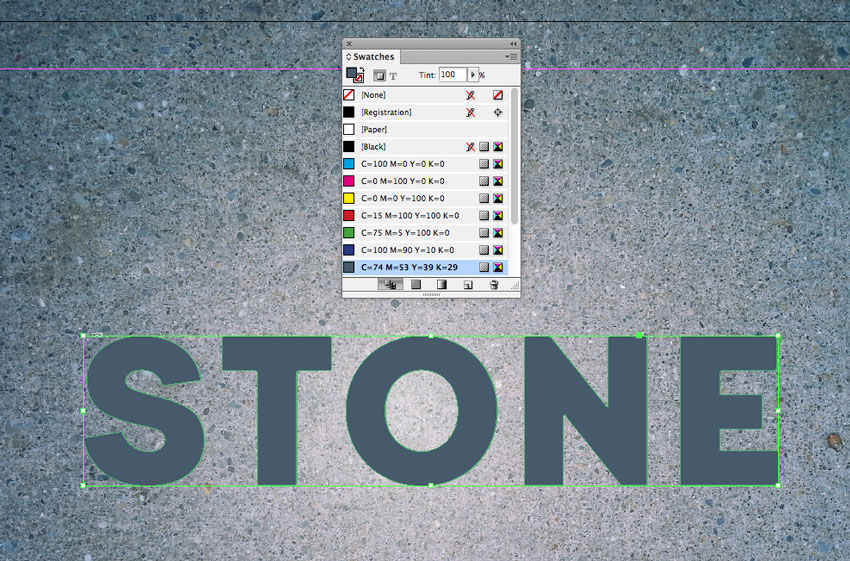
Edit > Paste in Place to drop a copy of the original vectorized text onto the page. From the Swatches panel, create a new CMYK swatch that mimics some of the tones in the darker parts of your stone image. Using the Eyedropper Tool (I) is a quick and simple way to find a suitable color. Here I’ve created a grey swatch, C=74 M=53 Y=39 K=29. Apply your new swatch to the Fill of the new vector.
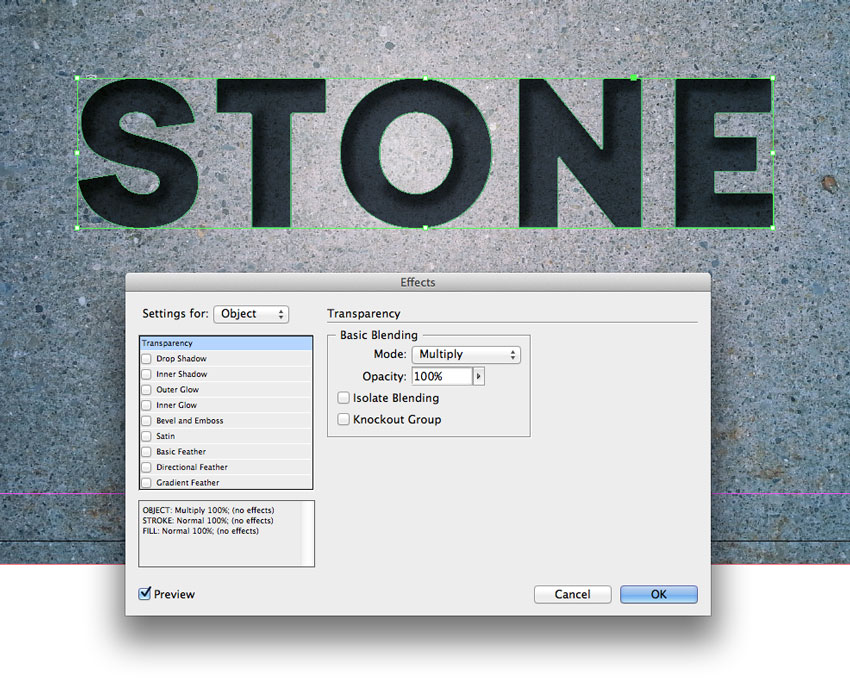
Go to Object > Effects > Transparency and set the Mode of the vector to Multiply.
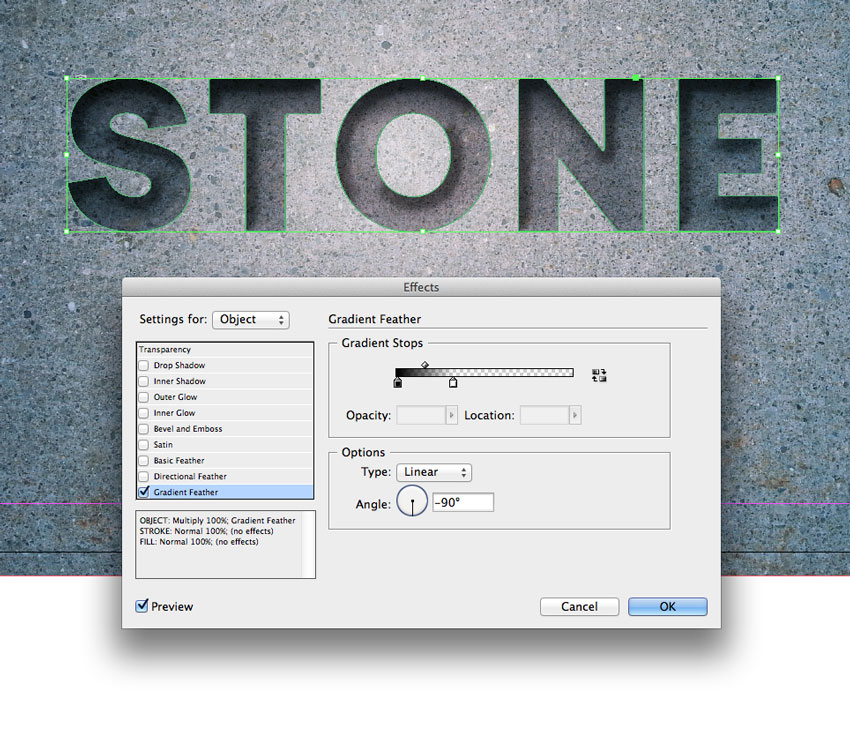
Click on Gradient Feather and create a -90 degree Linear gradient, creating a deep shadow effect inside the text.
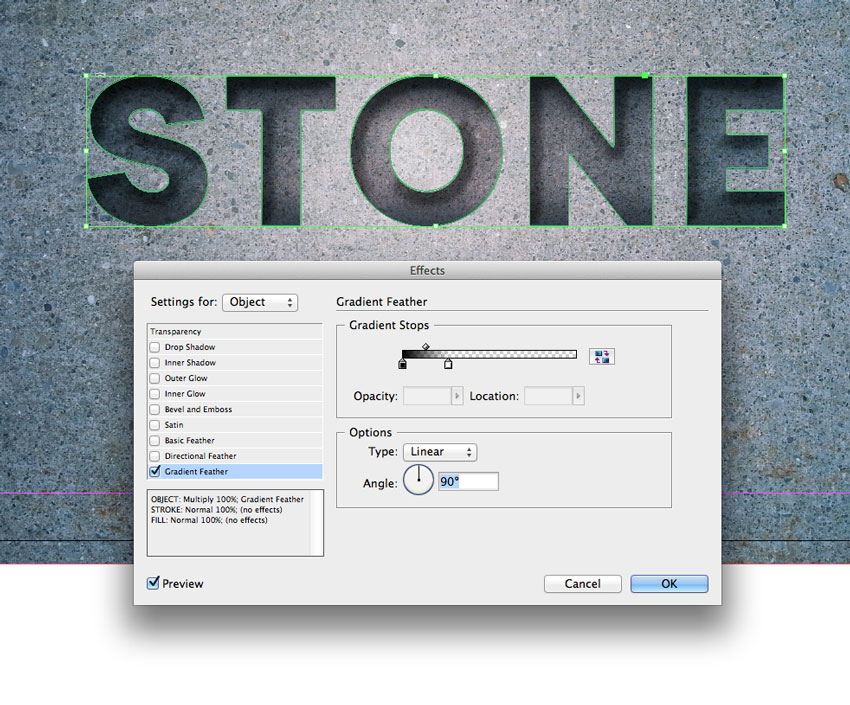
Edit > Copy and Edit > Paste in Place the vector, and then go to Object > Effects > Gradient Feather. Switch the Angle to 90 degrees to flip the direction of the shadow effect.
Click OK, and your engraved stone effect is complete. Awesome job!
Conclusion: Your Finished Type Effect
This sort of type effect brings a majestic, Games of Thrones-style touch to any design, but would look particularly striking on poster layouts or social media banners.
Looking for more display fonts for your next project? Check out the range of headline typefaces available on GraphicRiver and Envato Elements.