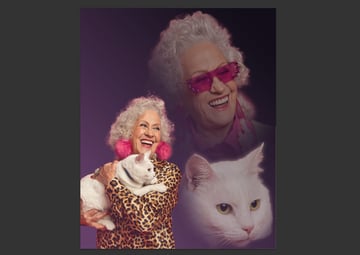
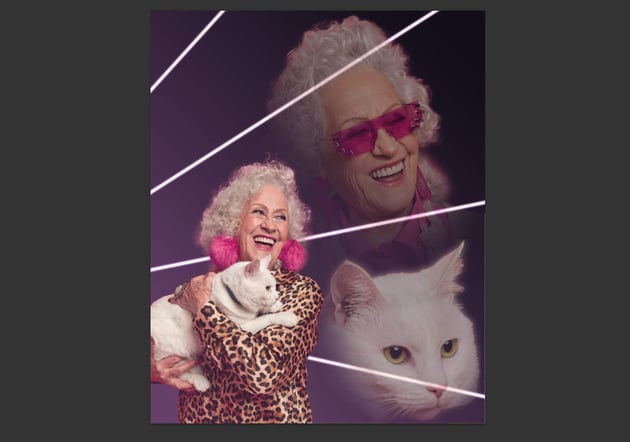
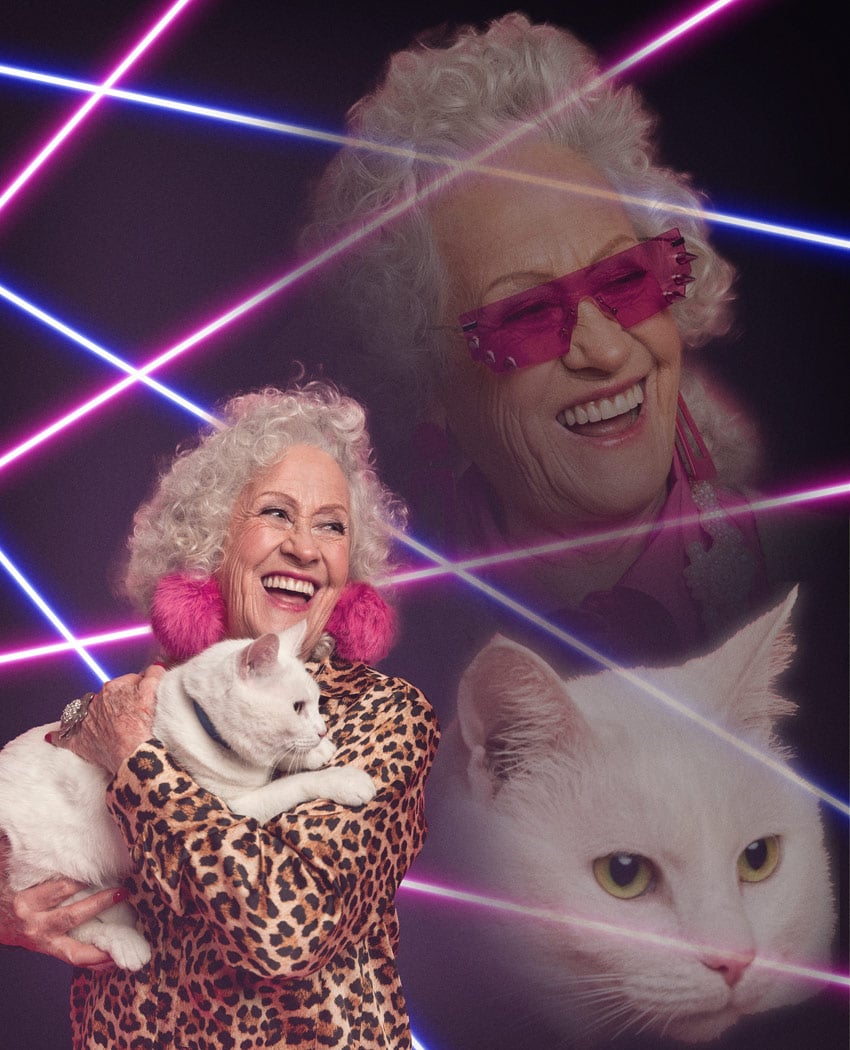
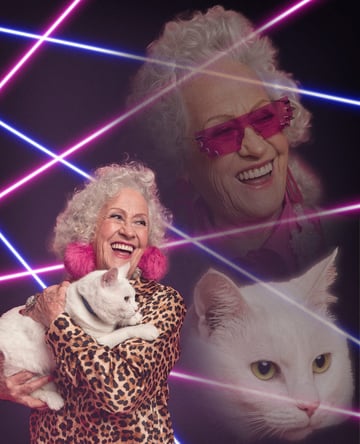
If you’re into the 80s aesthetic, you surely remember the style of 80s graphics—the awkward photos with a family staring off into distance and giant heads floating behind them. These cringy photos used to be cool, then they became cheesy, and now our nostalgia has made them cool again.
In this tutorial, I’ll show you how to create a Photoshop portrait in the 80s aesthetic, so you can create your own cringy 80s family photo!
What you’ll need
You can use your own photos for this tutorial, but if you want to achieve the same effect as me (which may make the learning process easier), here are the photos I’ve used:
1. How to create the composition for a cheesy photo
Step 1
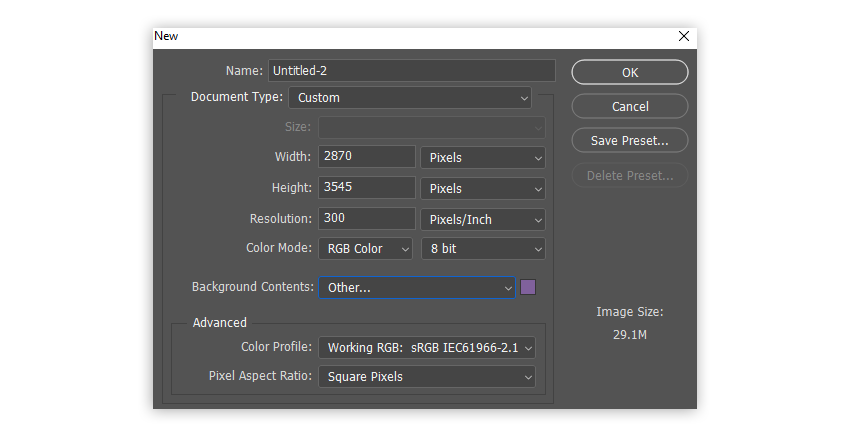
Create a New File, using dimensions of 2870 x 3545 px. For the Background Contents select Other, and use #80619c for the color.
Step 2
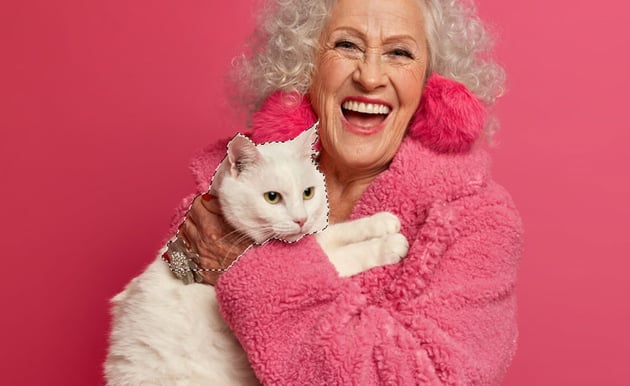
Open Photo 1. Take the Magic Wand Tool (W) and click Select Subject in the upper bar.


Step 3
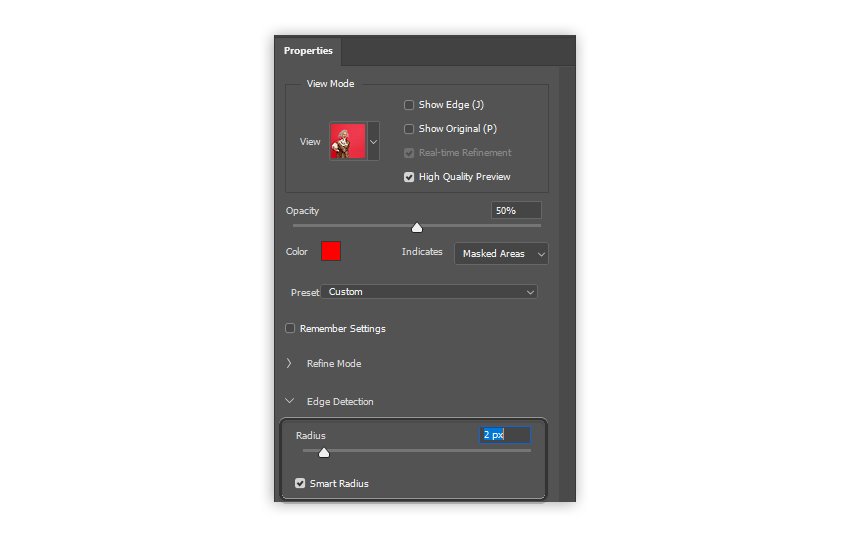
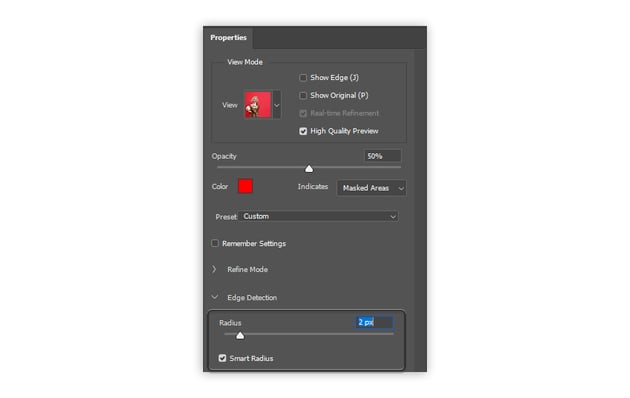
Once the selection appears, click Select and Mask. Check Smart Radius and increase the Radius to make sure the edge of the selection is smooth. If the automatic selection didn’t get everything right, feel free to use the brushes on the left to add/remove something from the selection. When you’re done, click OK.


Step 4
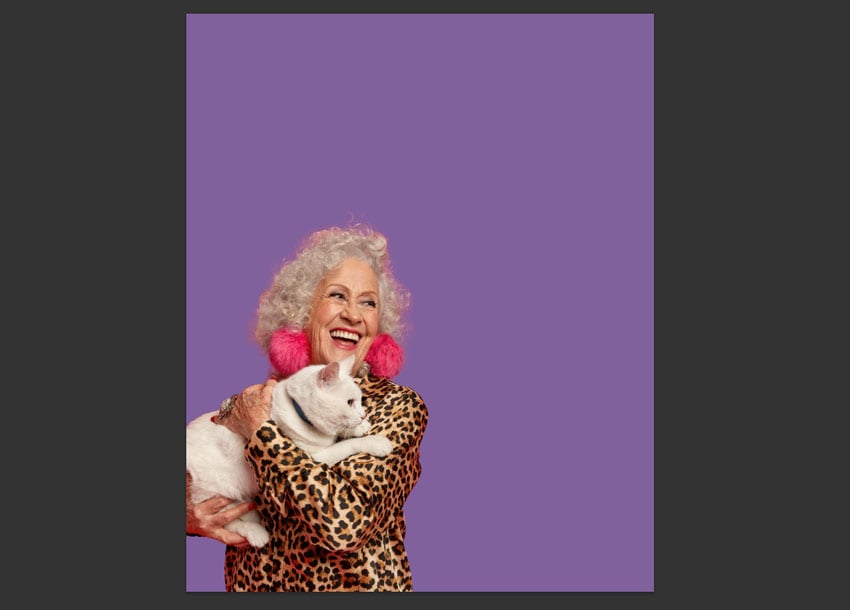
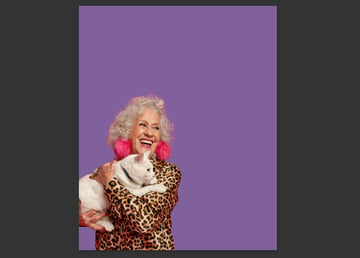
Press Control-C to copy the selected area, and Paste it into the purple file. Use the Free Transform Tool (Control-T) to resize the pasted image and put it in the lower left corner. Name this layer Photo 1, and then right-click > Convert to Smart Object.
Step 5
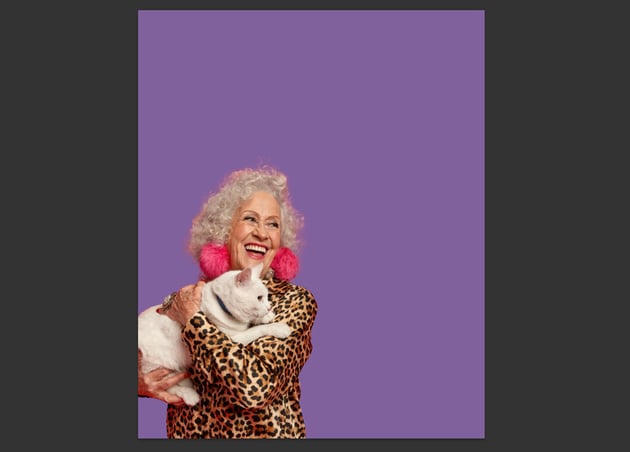
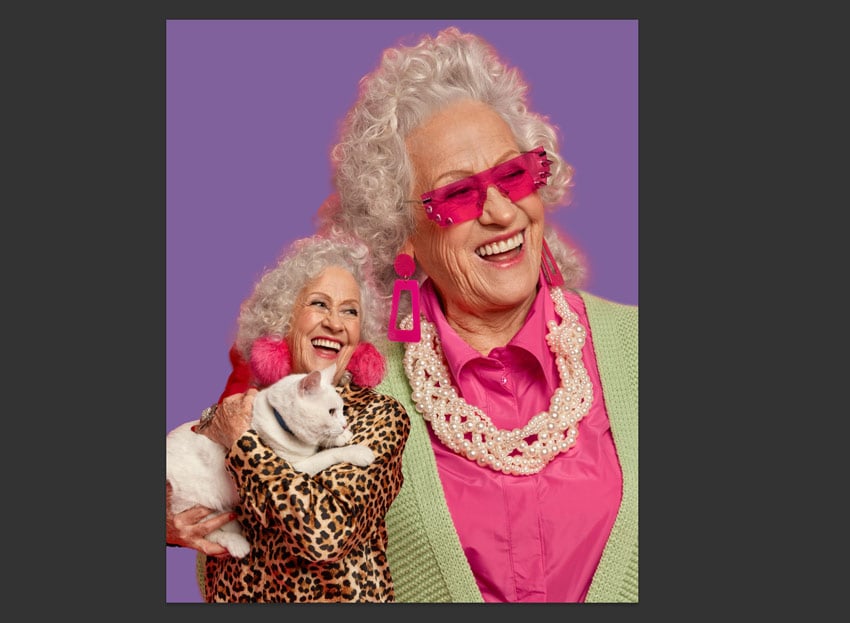
Do the same with Photo 2. Drag it below the Photo 1 layer.
Step 6
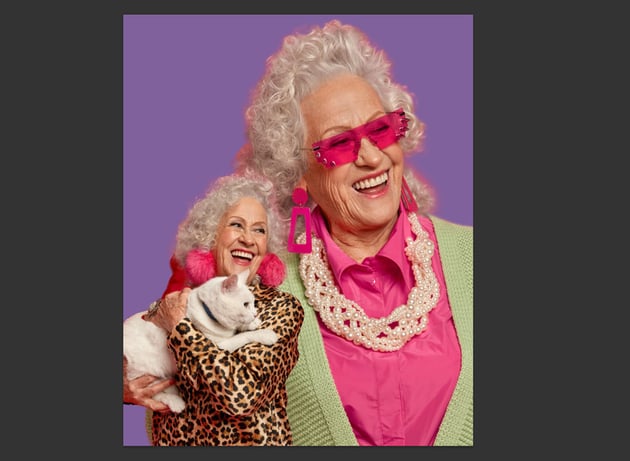
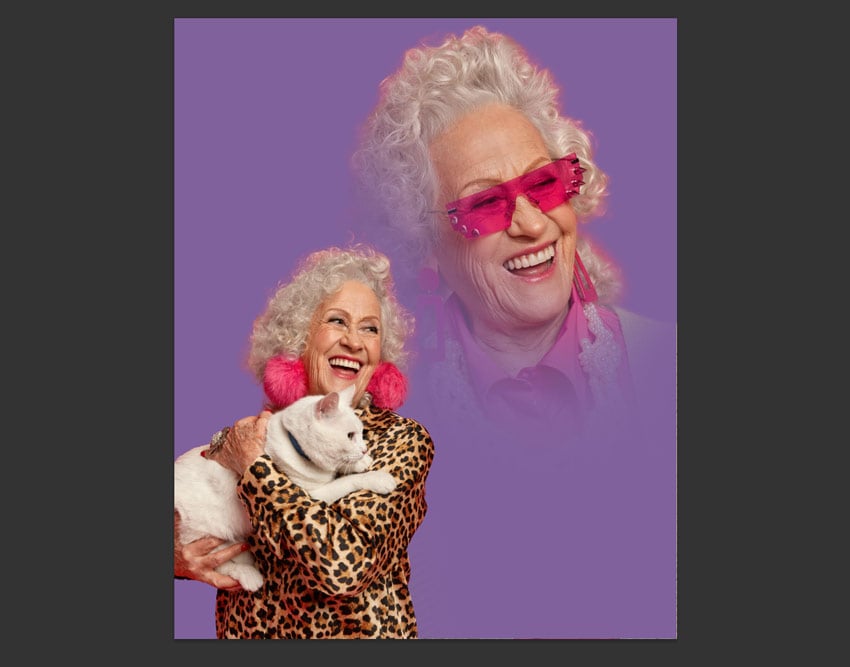
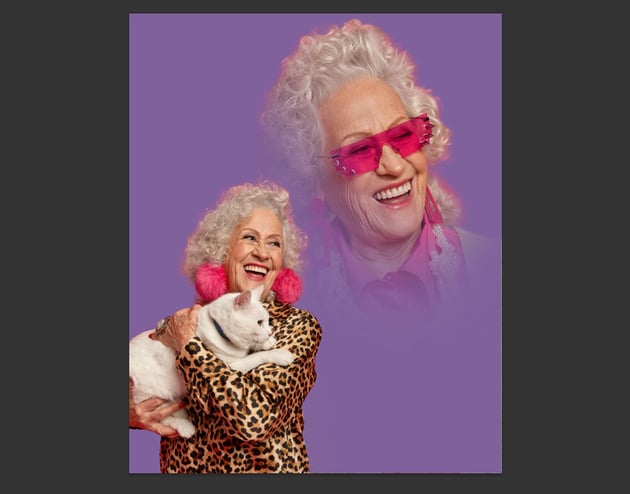
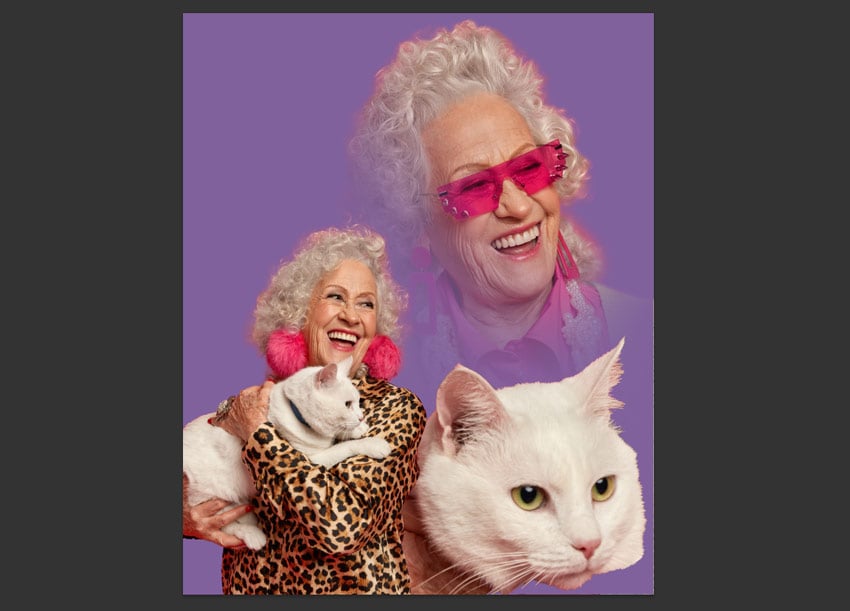
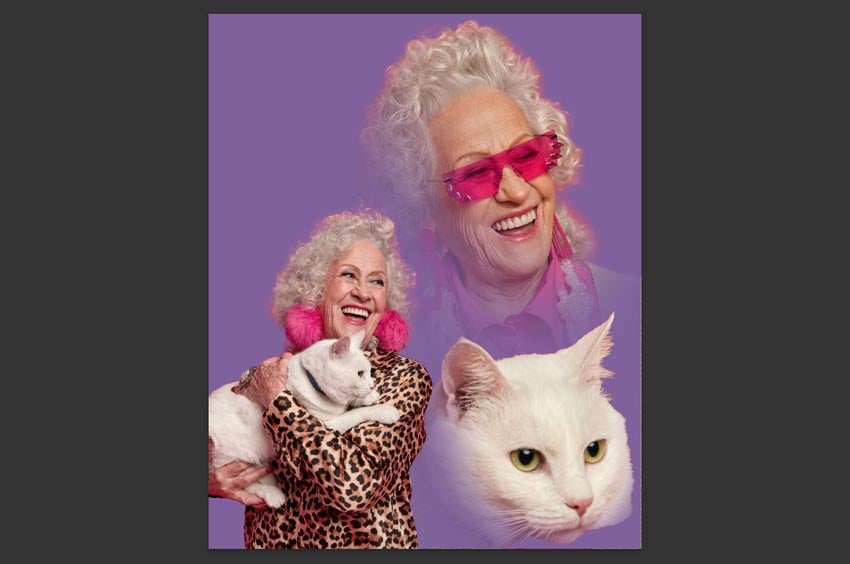
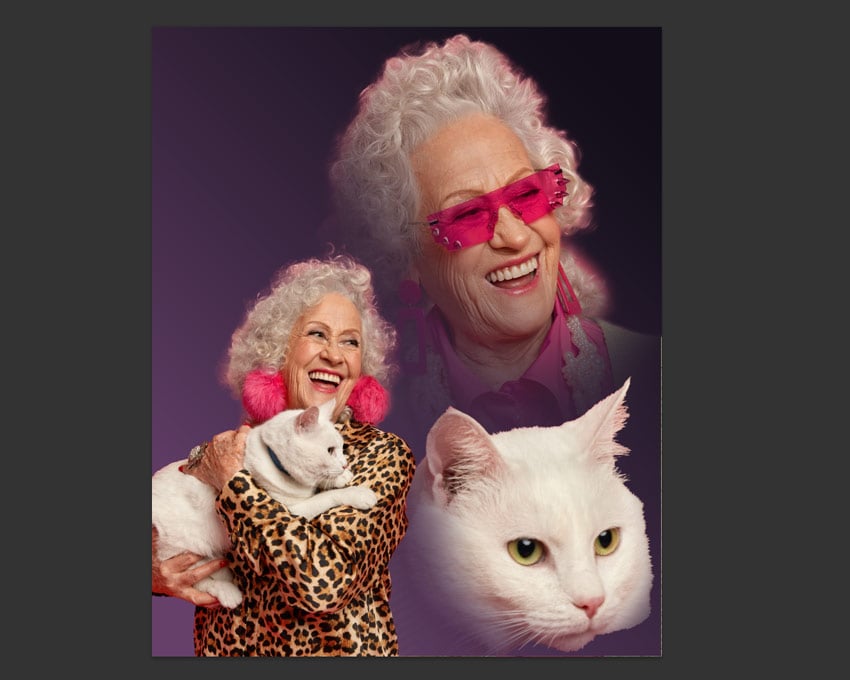
Go to Layer > Layer Mask > Reveal All. Press D and then X (to quickly select black for your brush), and then use a soft brush to paint over Photo 2‘s mask. Blend the photo softly into the background to keep only the head visible and to hide the overlap between the two photos.
If you want to learn more about Layer Masks, check out this tutorial:
Step 7
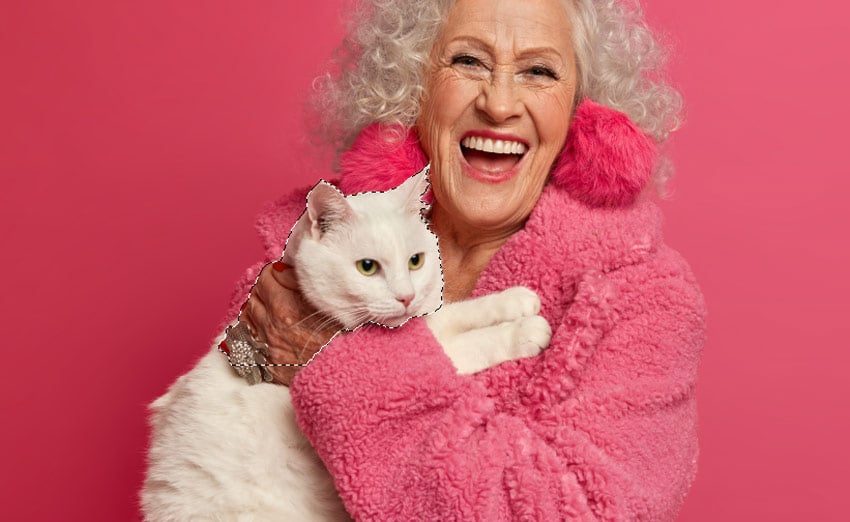
Open Photo 3. This time, select only a part of the photo with the Object Selection Tool (W). Prepare the selection the same way as previously, and paste it in the purple file. Again, turn it into a Smart Object, and name it Photo 3.

Step 8
Add a Layer Mask to Photo 3, too, to blend it the same way as Photo 2.
Step 9
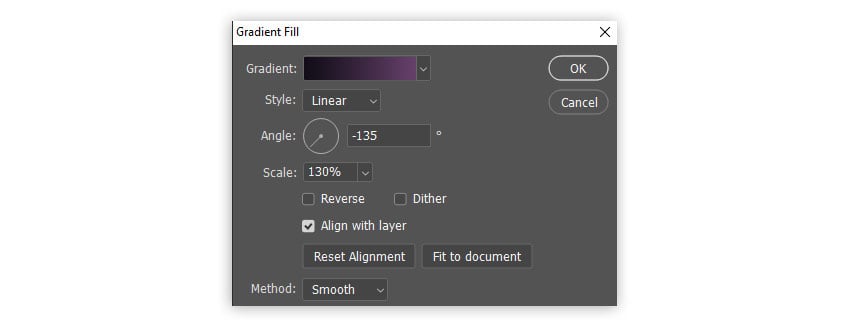
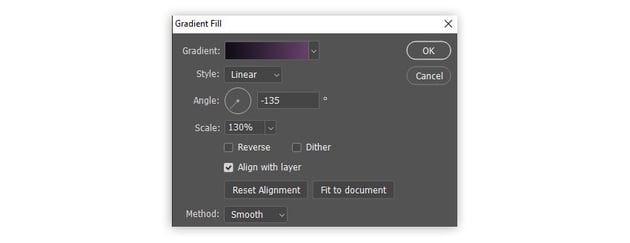
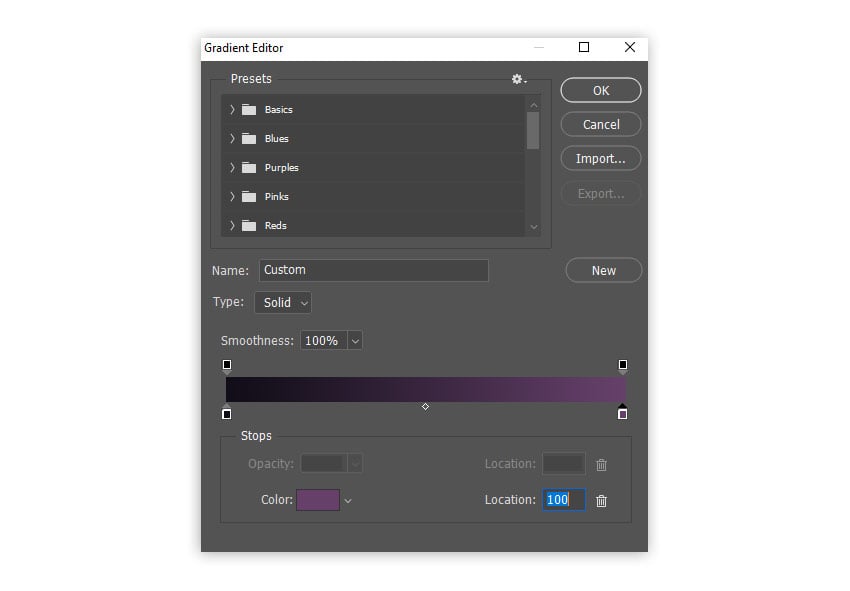
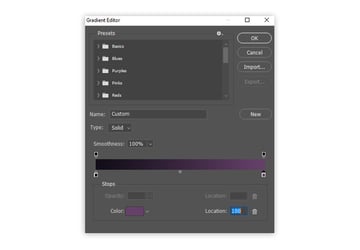
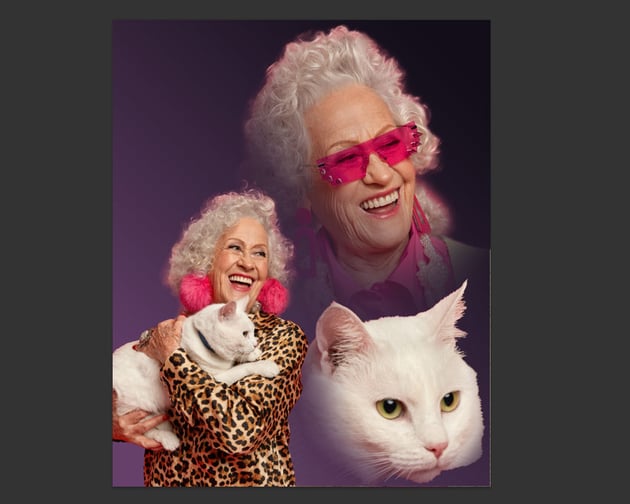
Select the Background layer and go to Layer > New Fill Layer > Gradient. For the Gradient, use #120d18 for the left marker and #66406a for the right one. Use the following settings:
- Style: Linear
- Angle: -135
- Scale: 130%
Step 10
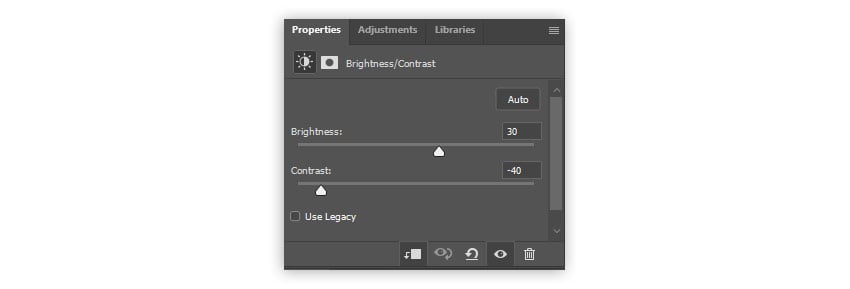
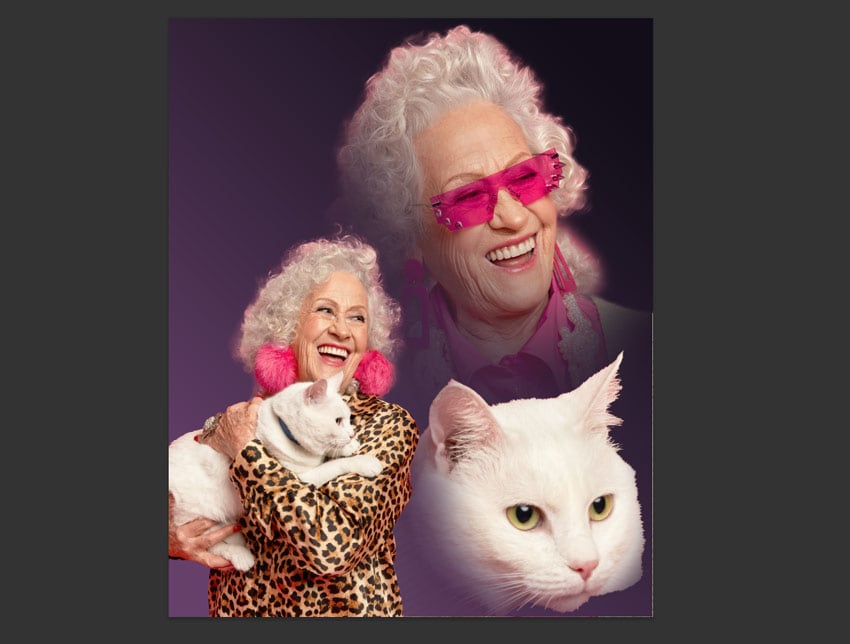
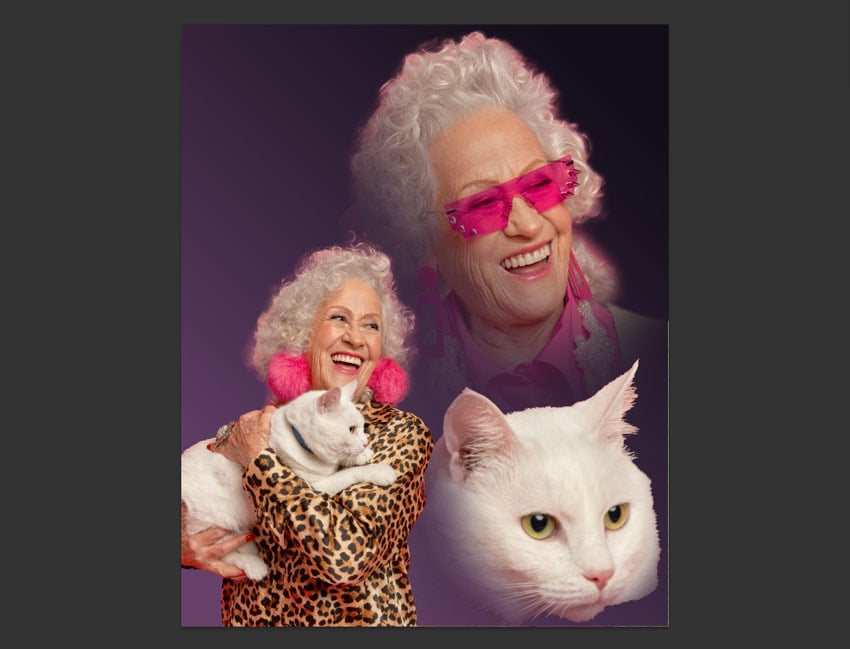
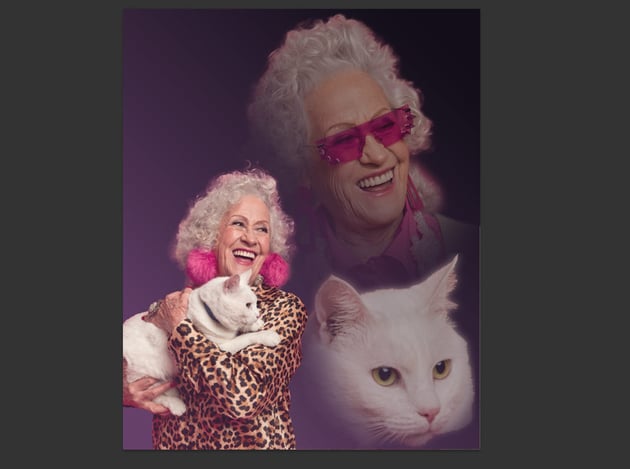
Select all three photo layers, and Group them with Control-G. Go to Layer > New Adjustment Layer > Brightness/Contrast. Press Control-Alt-G to clip it to the group, and set the Brightness to 30 and Contrast to -40. This will lower the range of values to get the characteristic look of 80s graphics.
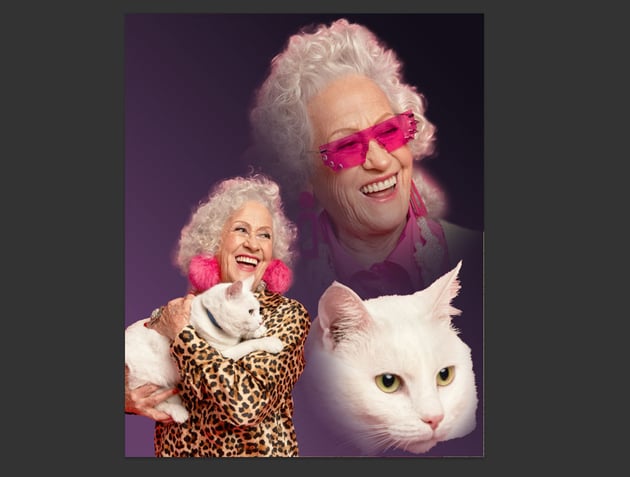
Step 11
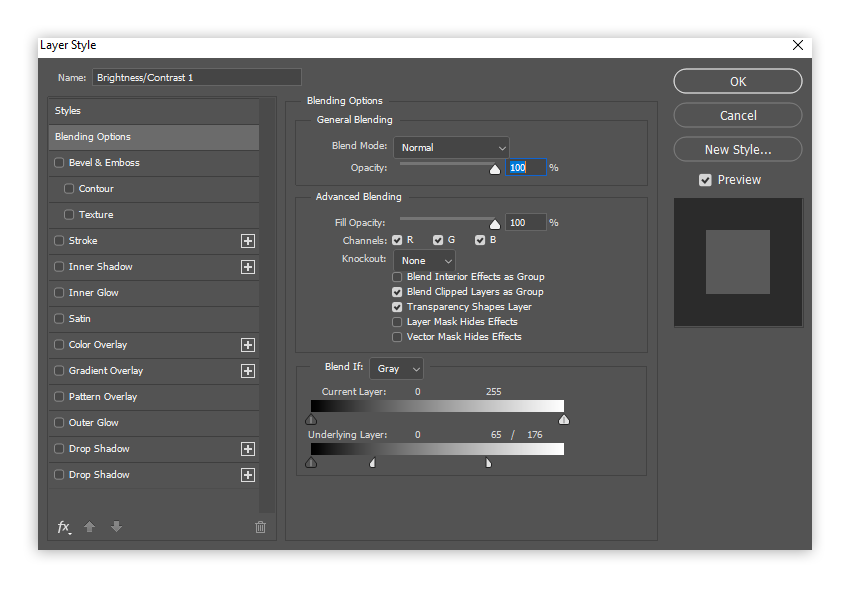
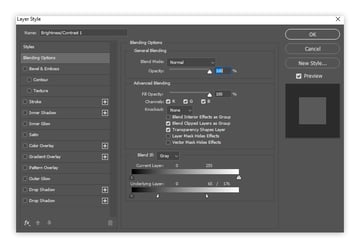
Double-click the adjustment layer and then, in the Blend If section, drag the lower right marker to the left until you reach level 176. Then hold the Alt key and drag it some more, to 65. This will apply the brightening effect to the dark areas only.
Step 12
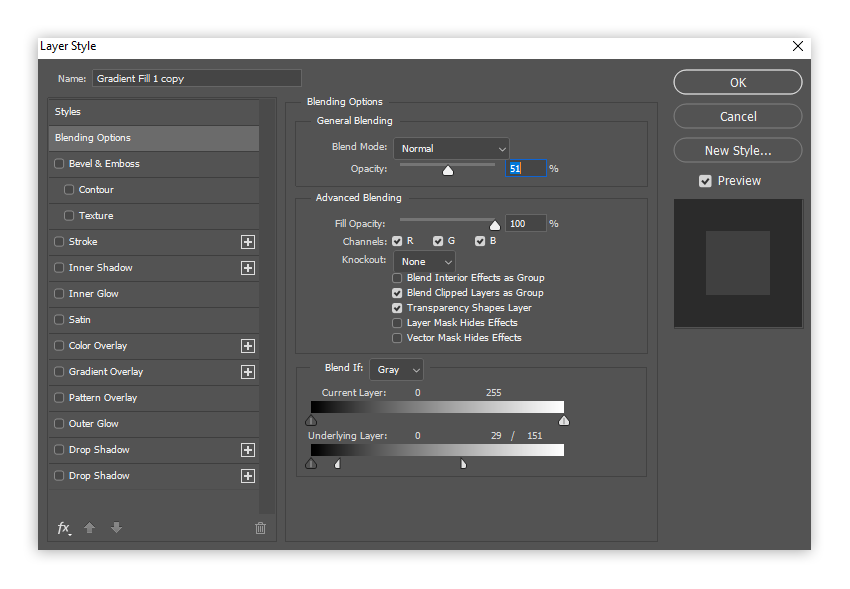
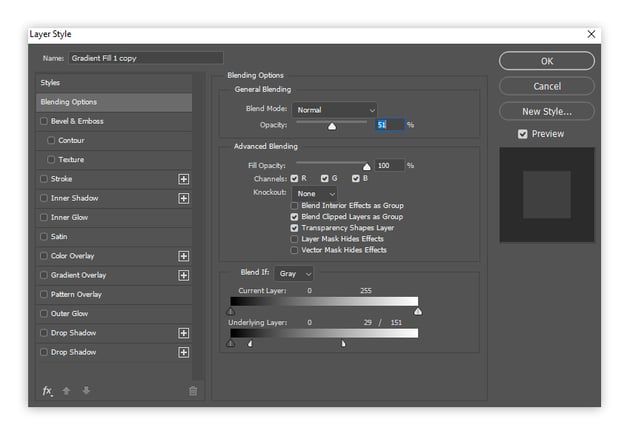
Duplicate the Gradient Fill layer (Control-J), and drag it to the top. Clip it (Control-Alt-G), and then double-click it and change its Blend If settings like so:
- Drag the lower white marker to 151.
- Use the Alt key to split it to 29.
Step 13
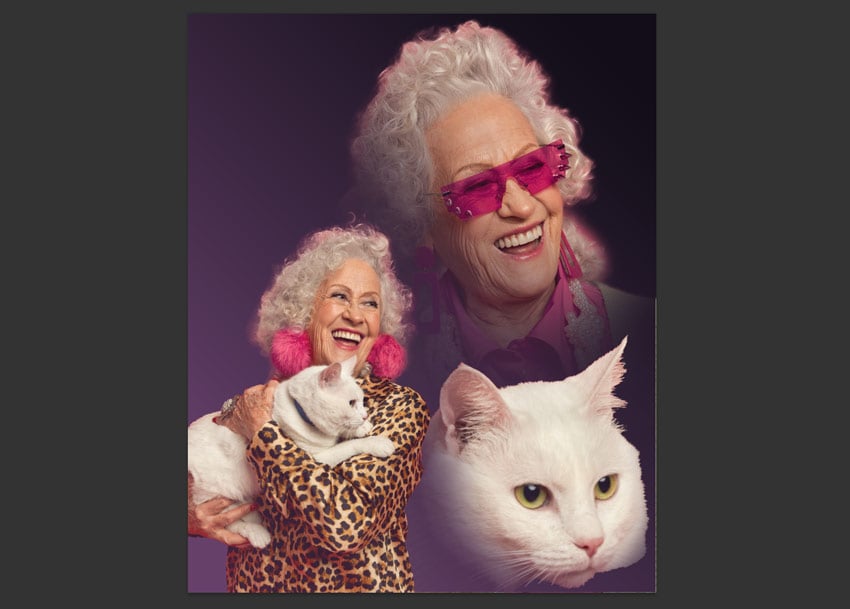
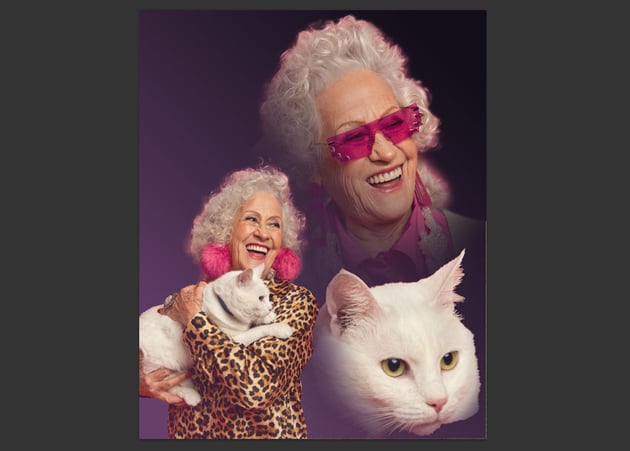
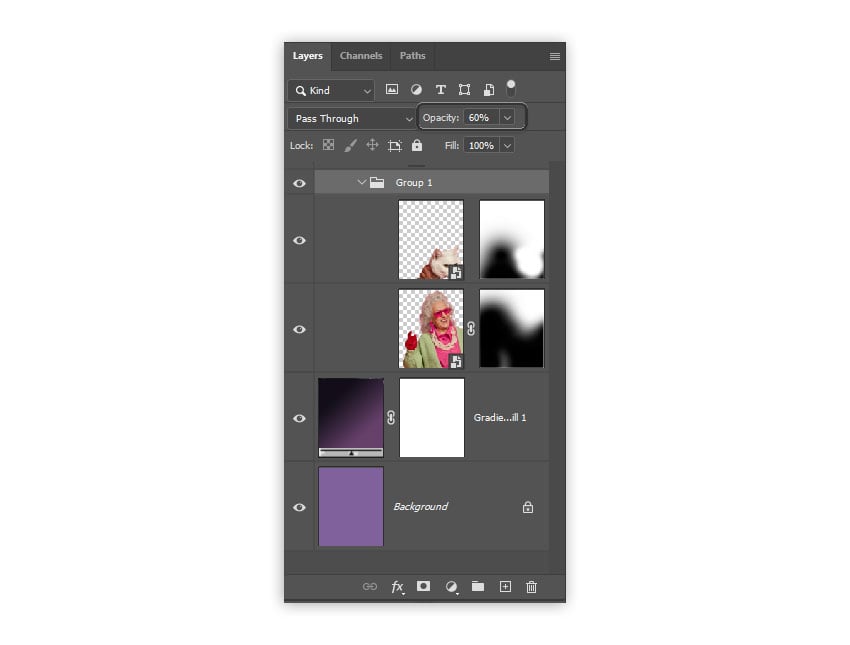
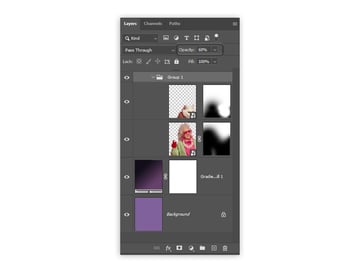
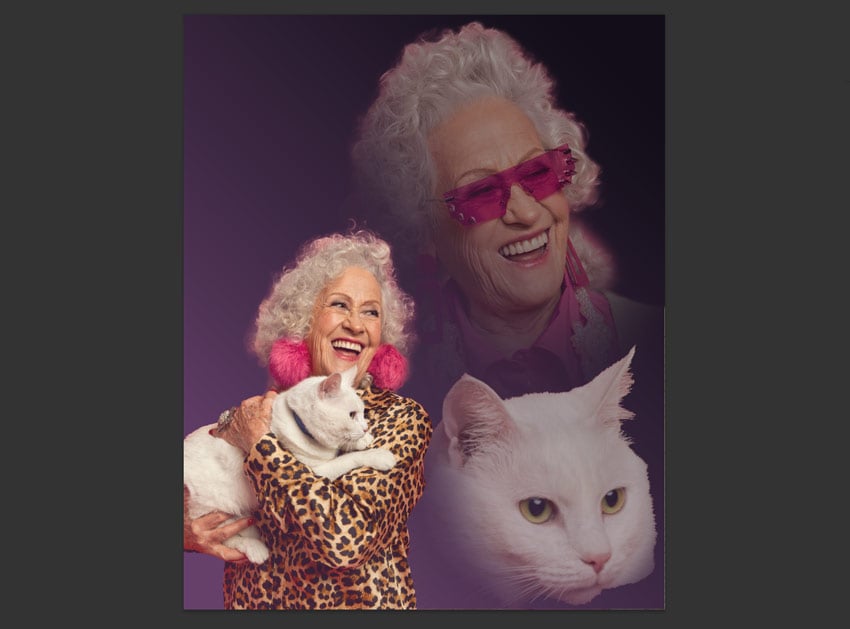
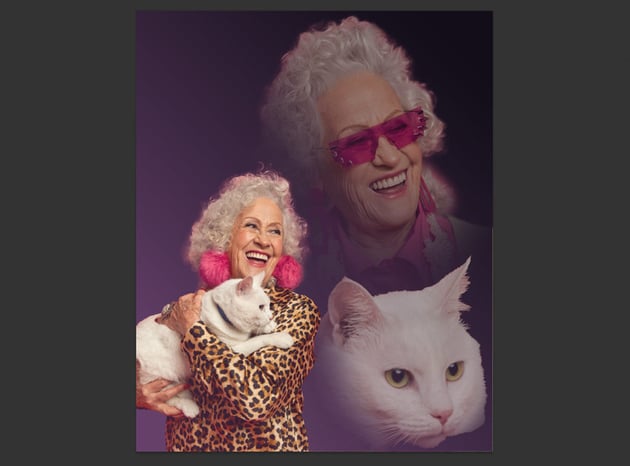
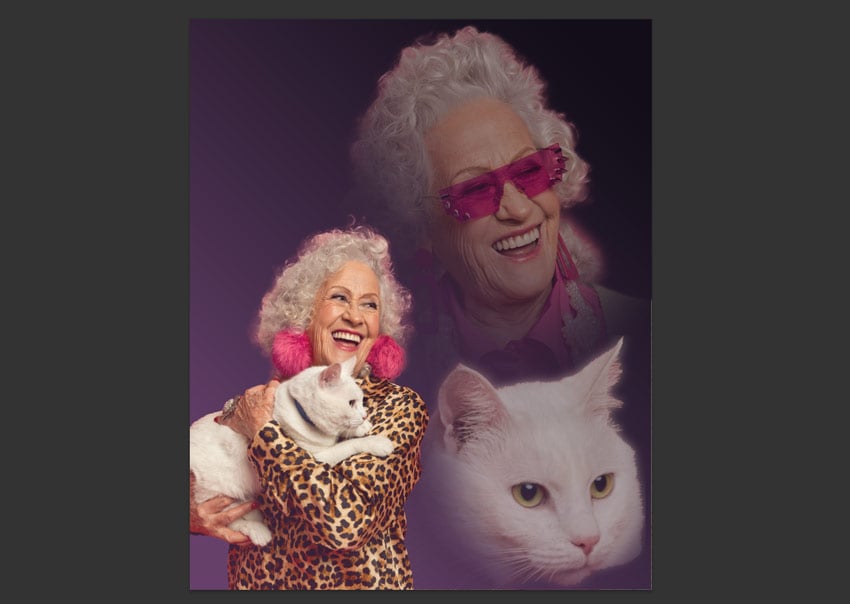
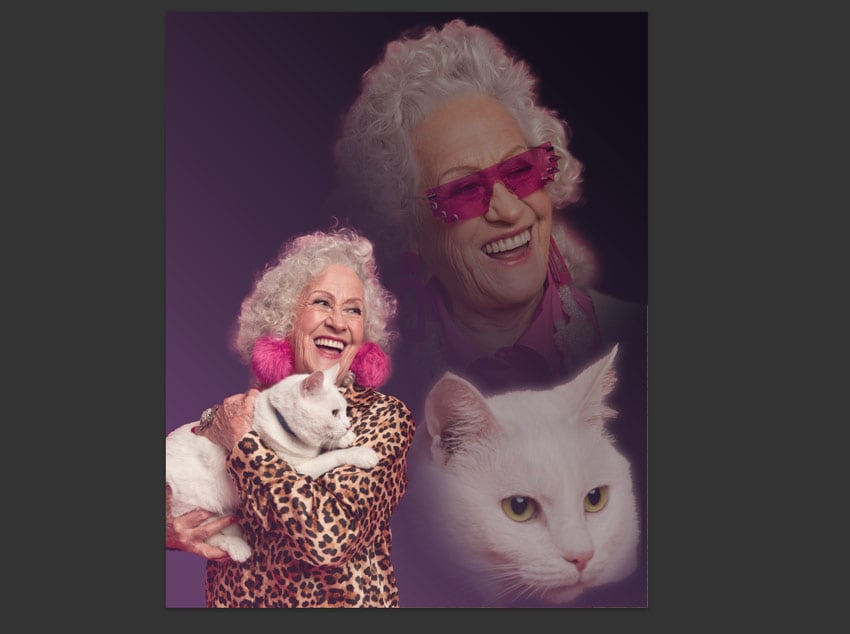
Open the photos group, select Photo 2 and Photo 3, and Group them (Control-G). Set the Opacity of the group to 60%. This will put the main photo more in focus, as it normally was in cringy 80s portraits.
Step 14
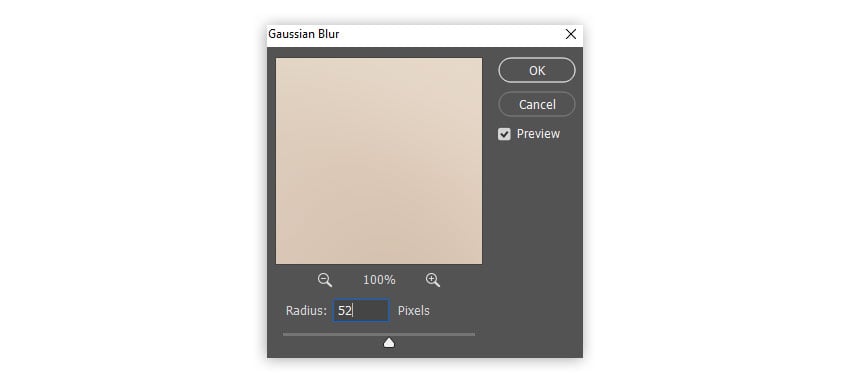
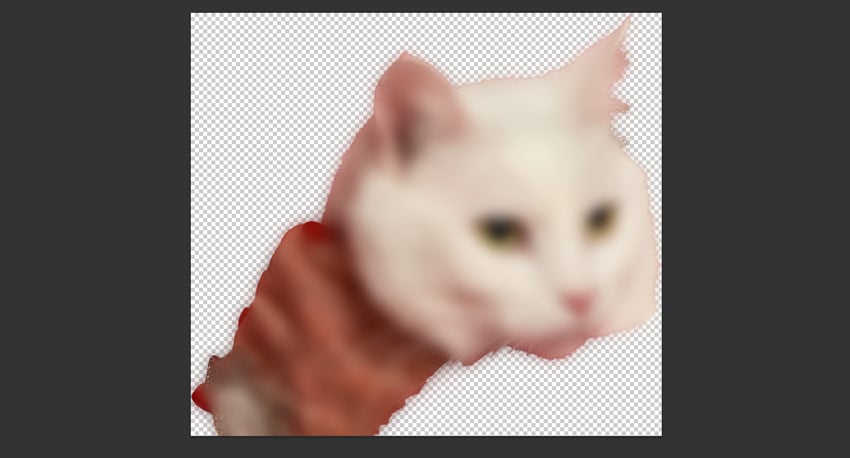
Double-click Photo 3‘s thumbnail to open the contents of the Smart Object. Duplicate the layer (Control-J), and then go to Filter > Blur > Gaussian Blur. Set it to 52 px, drag the copy to the bottom, Save, and Close the file.
Step 15
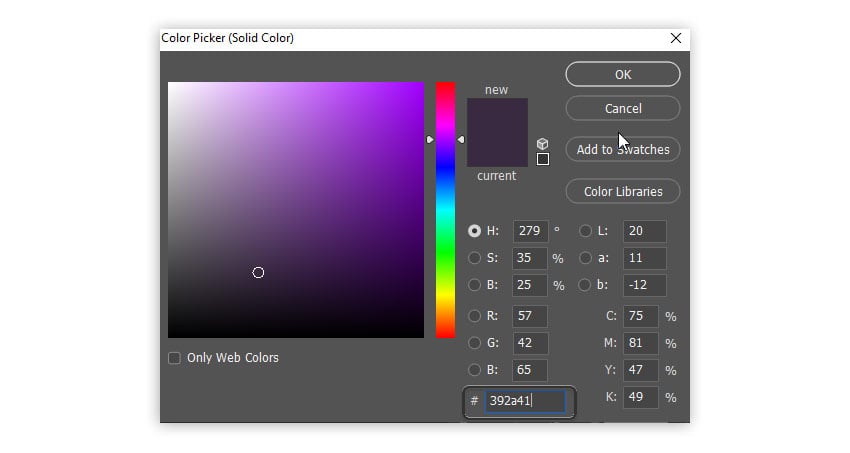
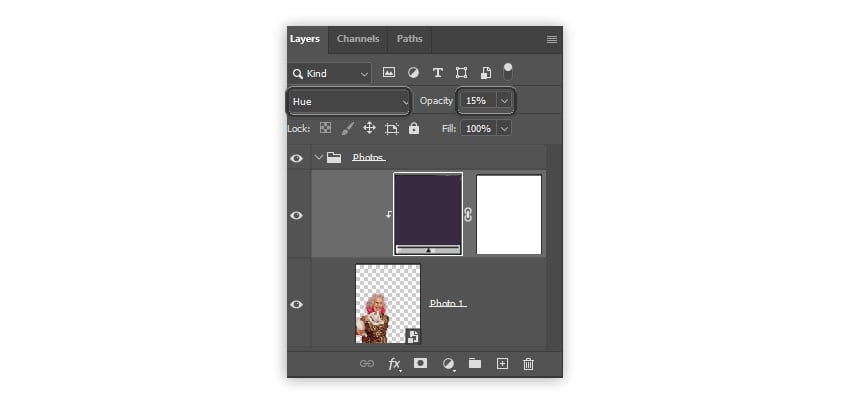
Select Photo 1 and go to Layer > New Fill Layer > Solid Color. Use #392141. Change the Blend Mode to Hue and Opacity to 15%. Clip the layer (Control-Alt-G).
2. How to create lasers for a cringy 80s family photo
Step 1
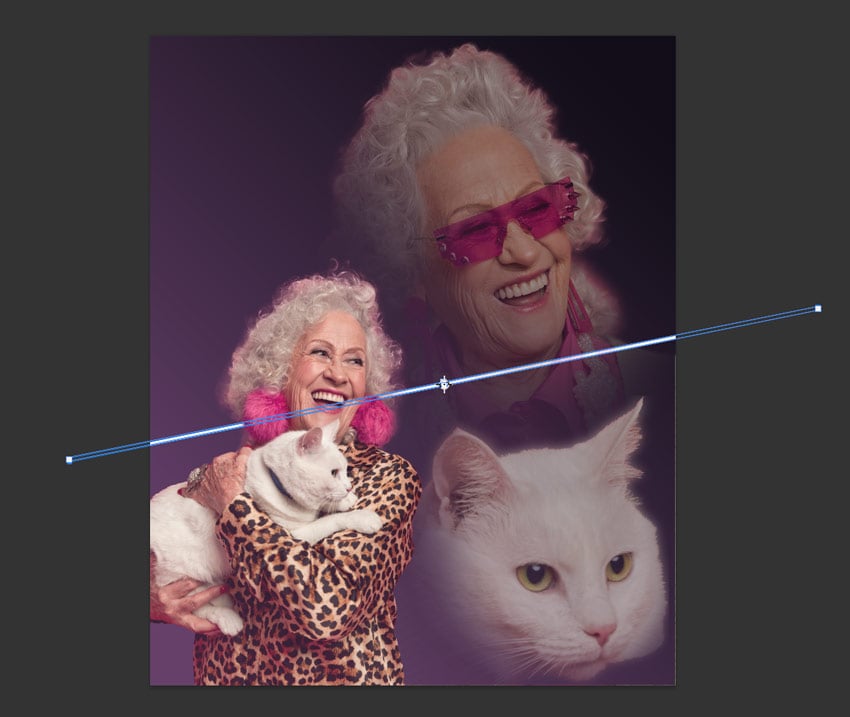
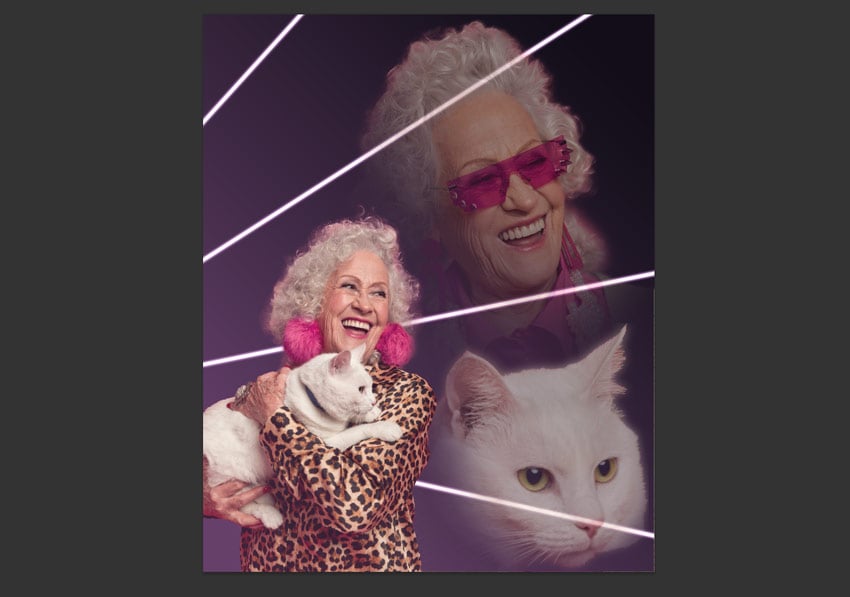
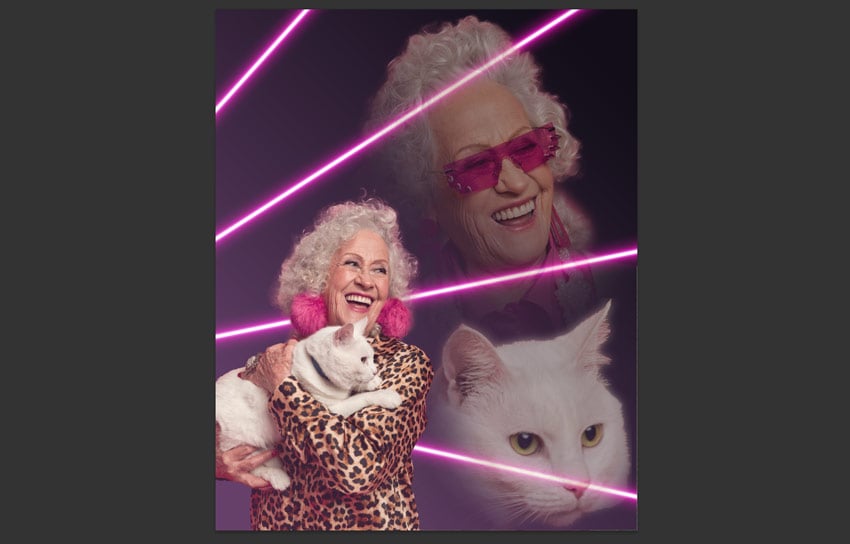
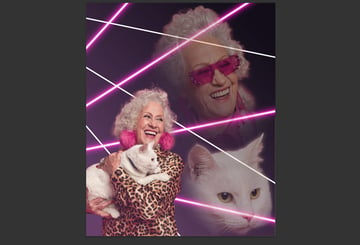
We have a good composition for an awkward photo, but no cheesy photo can be complete without some lasers in the background! Select the Gradient Fill layer and take the Line Tool (U). Draw a white line across the canvas with 20 px Weight and no Stroke.


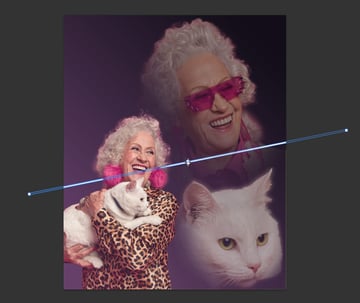
Step 2
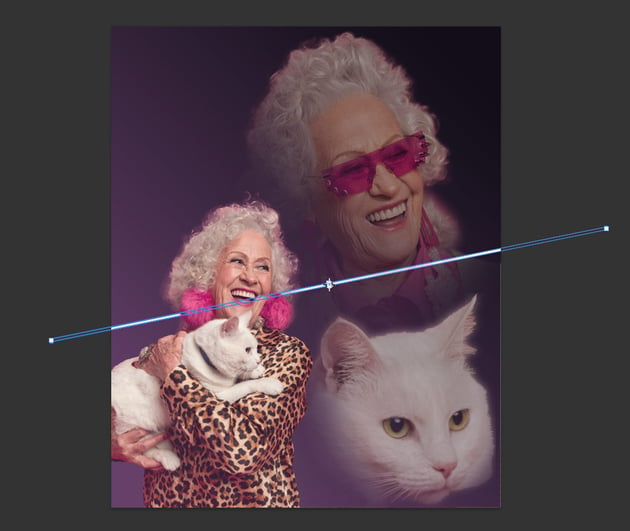
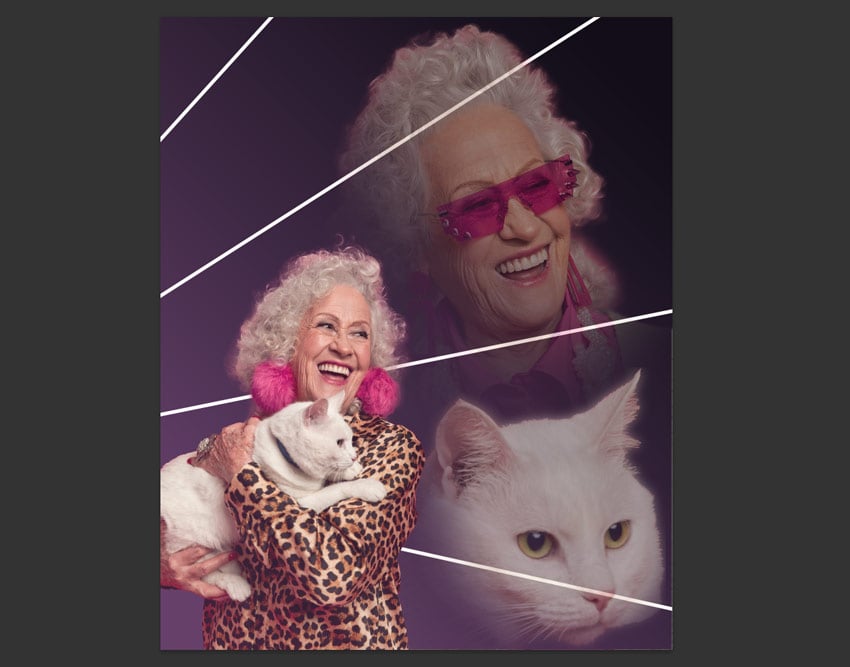
Add more lines like this, all starting somewhere outside the left side of the canvas. Group them (Control-G).
Step 3
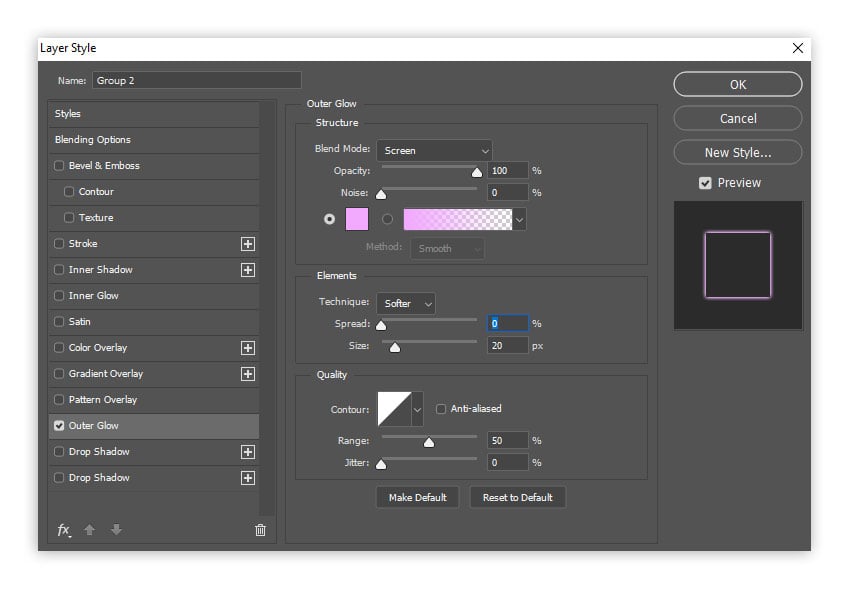
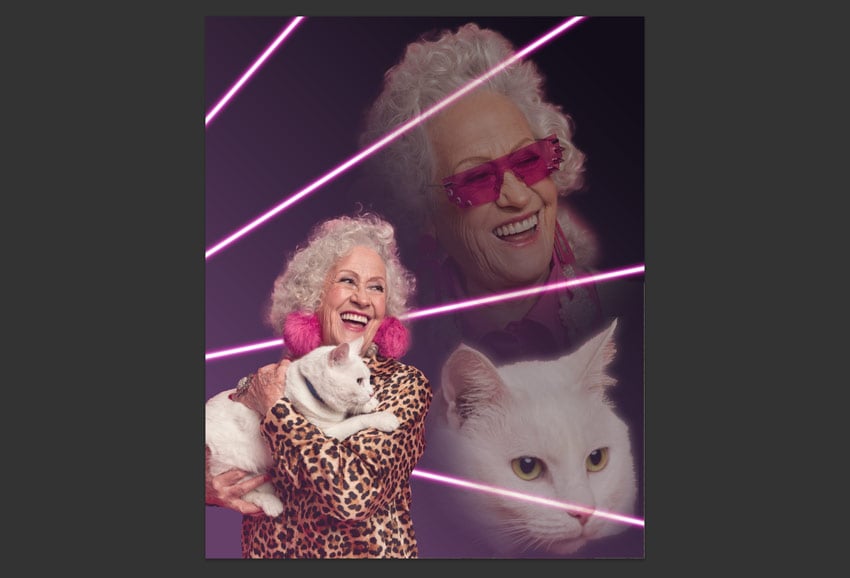
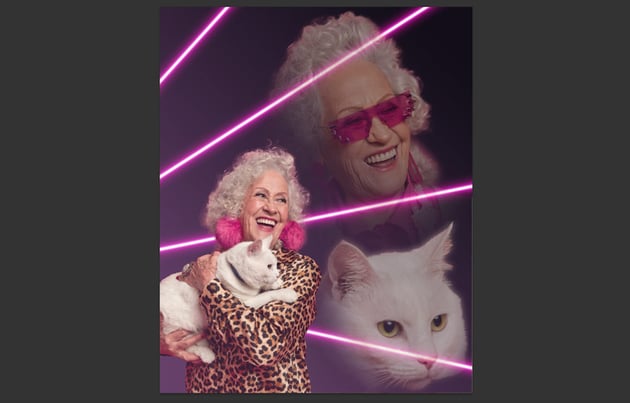
Double-click this group and add an Outer Glow with the following settings:
- Blend Mode: Screen
- Opacity: 100%
- Color:
#f2a9ff - Spread: 0%
- Size: 20 px
Step 4
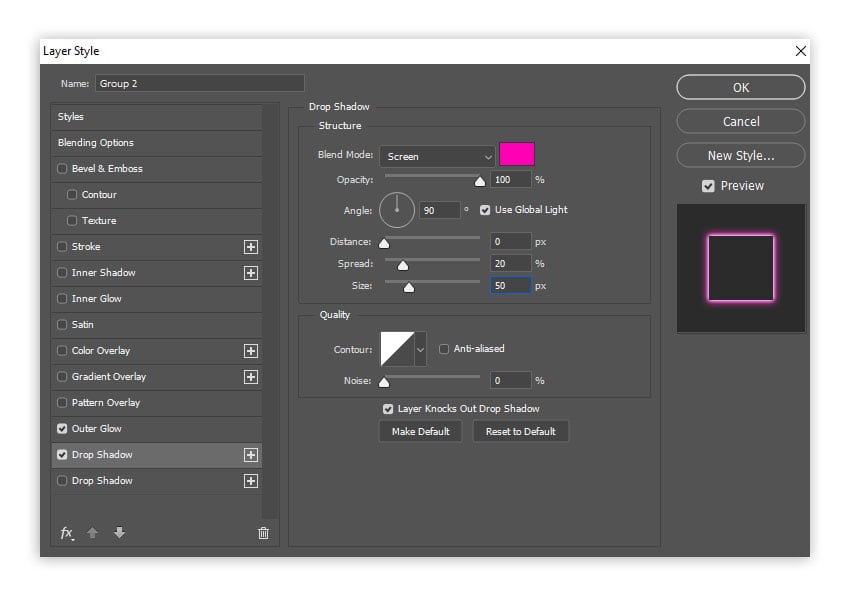
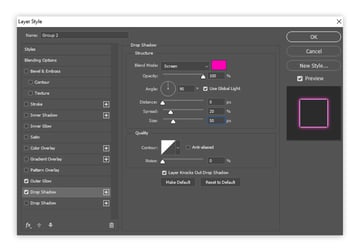
Add a Drop Shadow with the following settings:
- Blend Mode: Screen
- Opacity: 100%
- Color:
#ff00b4 - Distance: 0 px
- Spread: 20%
- Size 50 px
Step 5
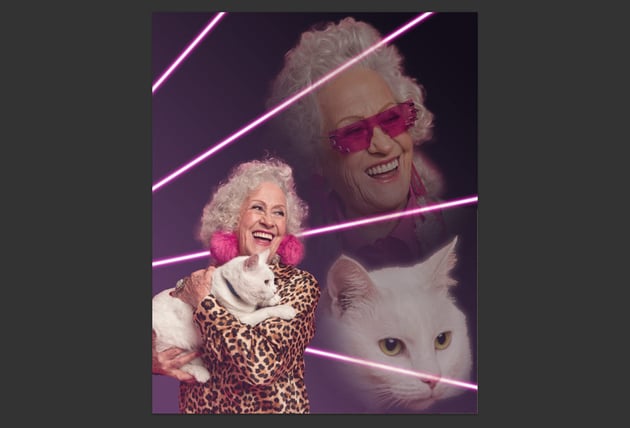
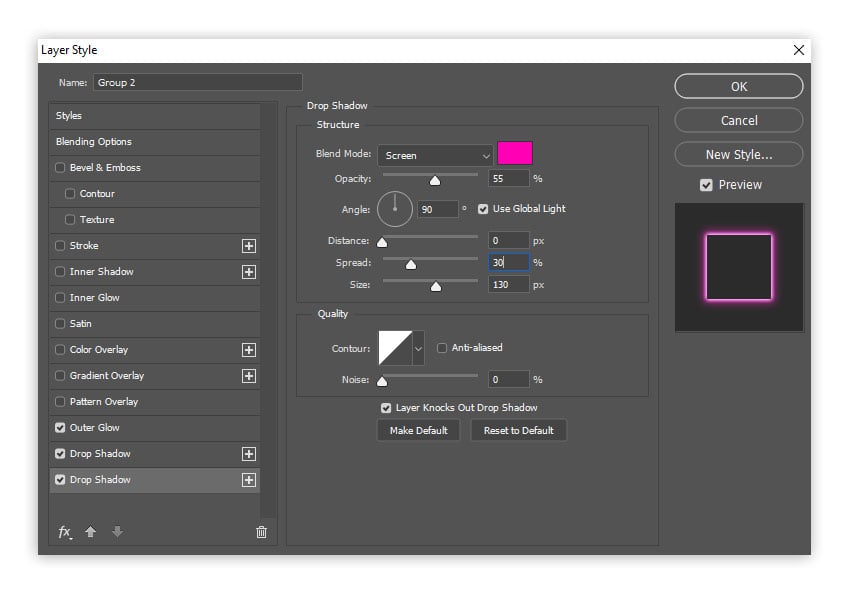
Add another Drop Shadow by clicking the plus icon, and change the settings the following way:
- Opacity: 55%
- Spread: 30%
- Size: 130 px
Step 6
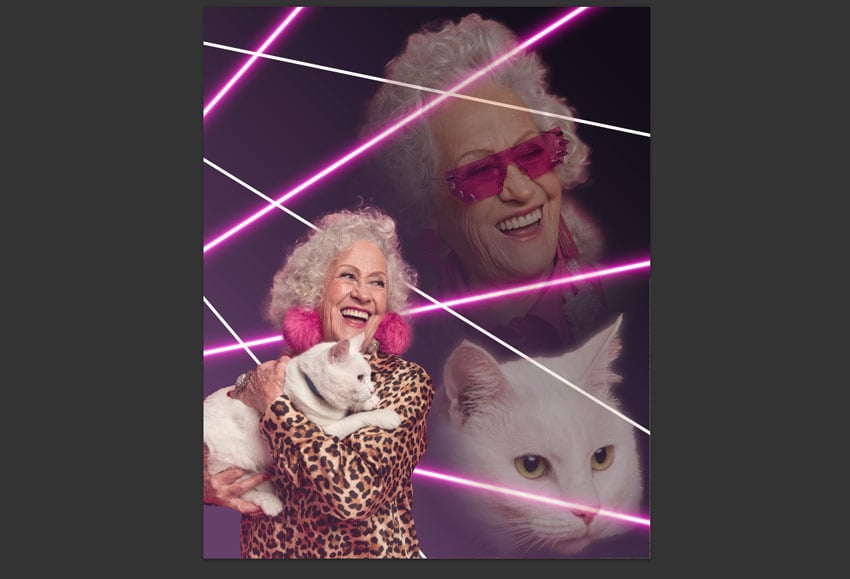
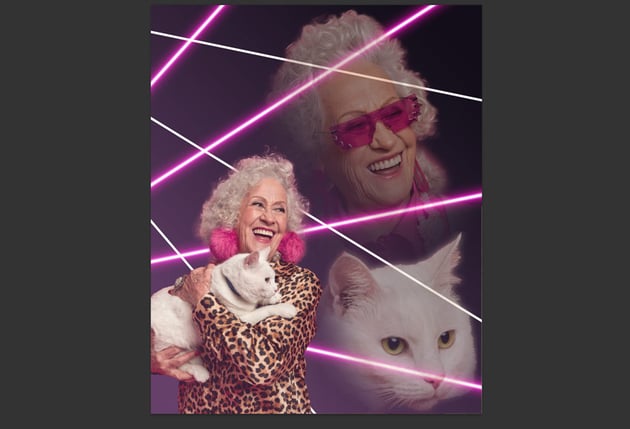
Create another set of white lines, this time coming from the upper corner. Group them too.
Step 7
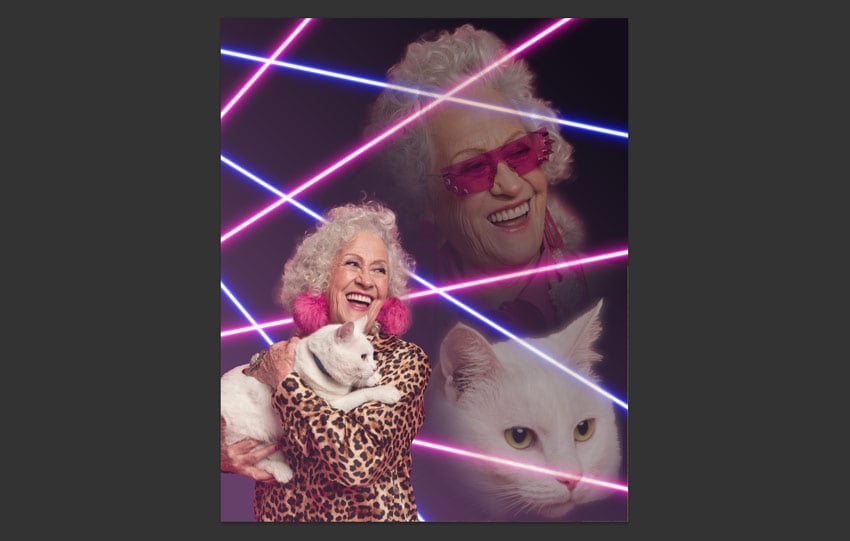
Right-click the group of pink lasers, and select Copy Layer Style. Then right-click the other group, and select Paste Layer Style. Double-click the group and keep all the settings the way they are, changing only the colors used:
-
#a9b9fffor the Outer Glow -
#0024fffor the first Drop Shadow -
#0000fffor the second Drop Shadow
Because blue is darker than pink, feel free to increase the Opacity of the adjustments to make the colors more vibrant.
Step 8
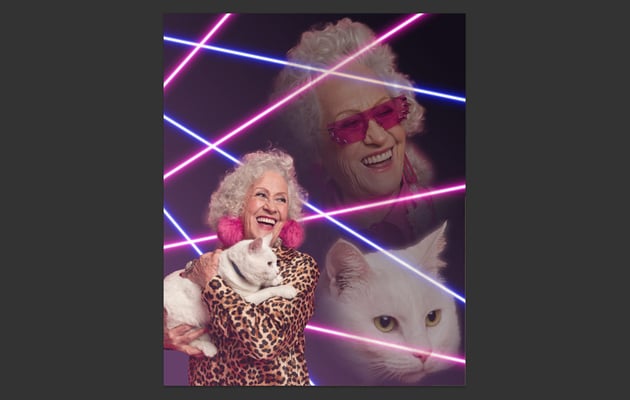
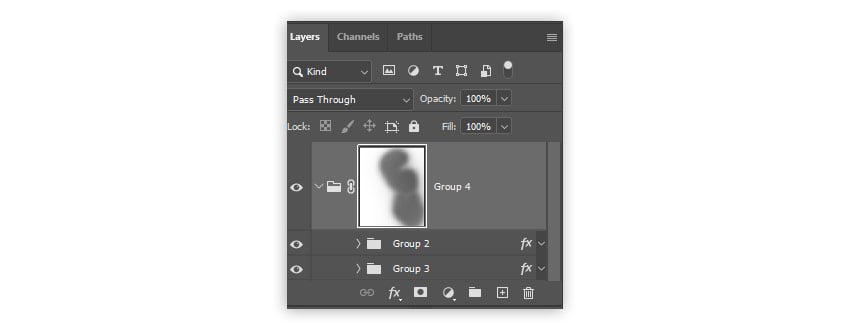
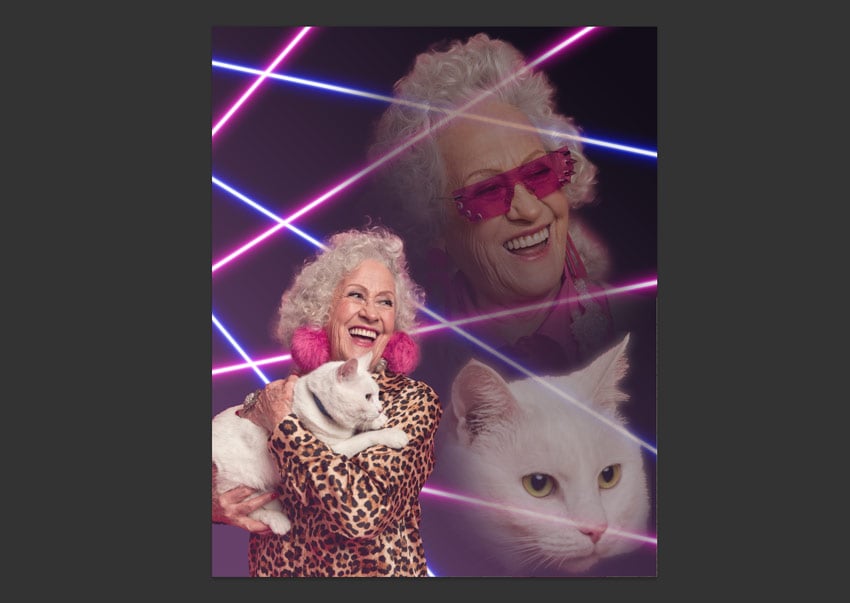
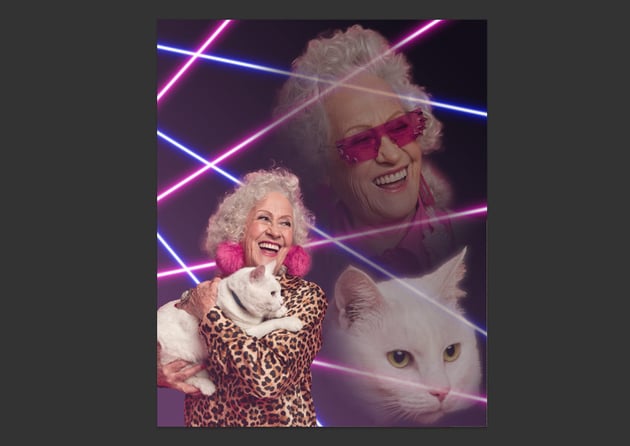
Put both laser groups inside a group with Control-G. Go to Layer > Layer Mask > Reveal All and paint over the mask with a soft grey brush to lower the transparency of the lasers right under the heads.
Step 9
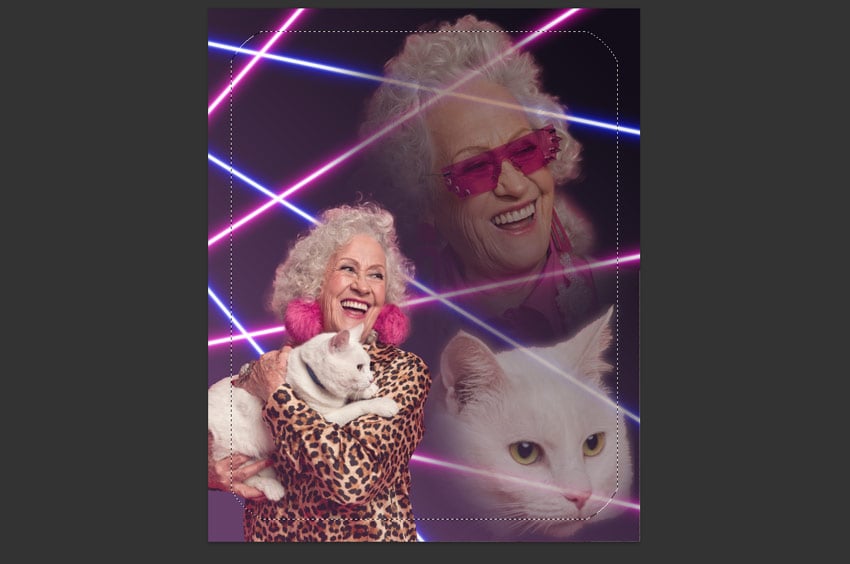
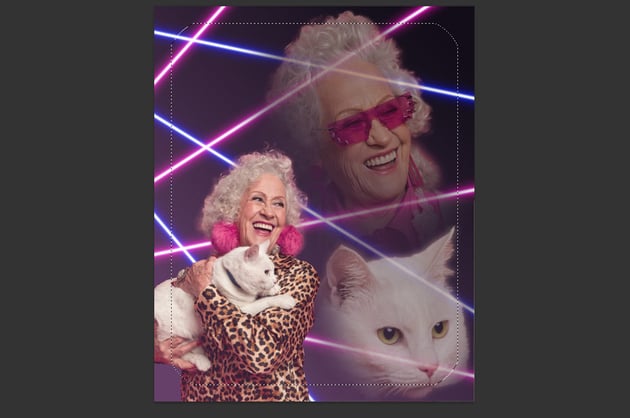
Select the Gradient Fill layer and create a New Layer. Press Control-A to select all, and then go to Select > Modify > Contract > Contract by 150 px. Then Select > Modify > Smooth and use a Sample Radius of 200 px.


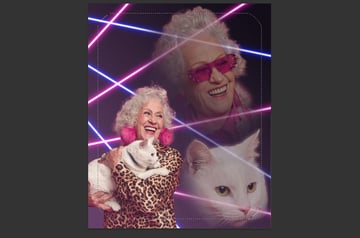
Step 10
Invert the selection with Control-Shift-I and Fill the selection with black using the Paint Bucket Tool (G). Deselect (Control-D).
Step 11
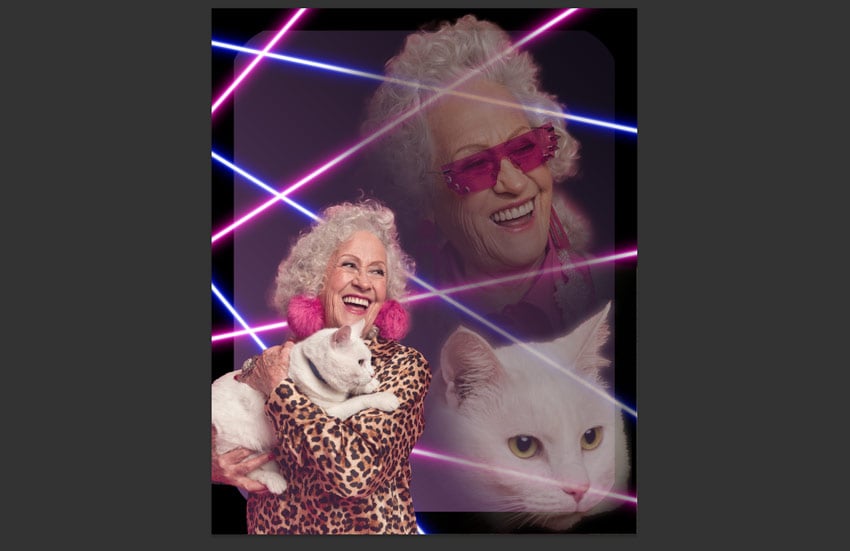
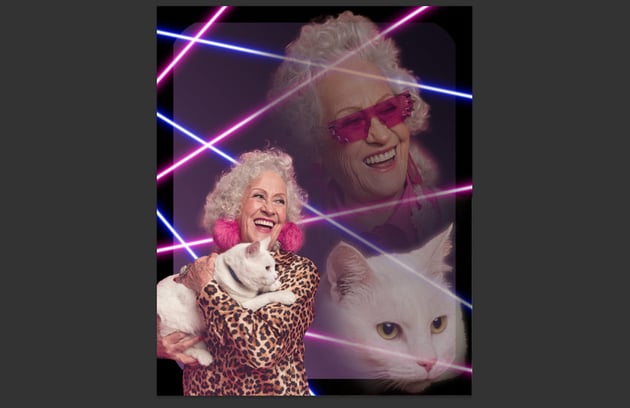
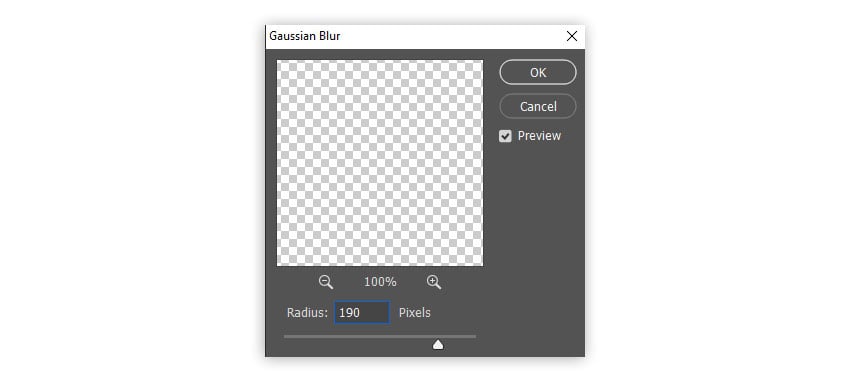
Go to Filter > Blur > Gaussian Blur and set the Radius to 190 px.
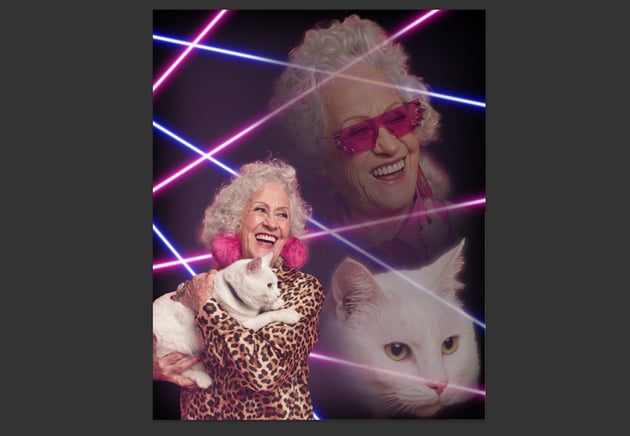
Step 12
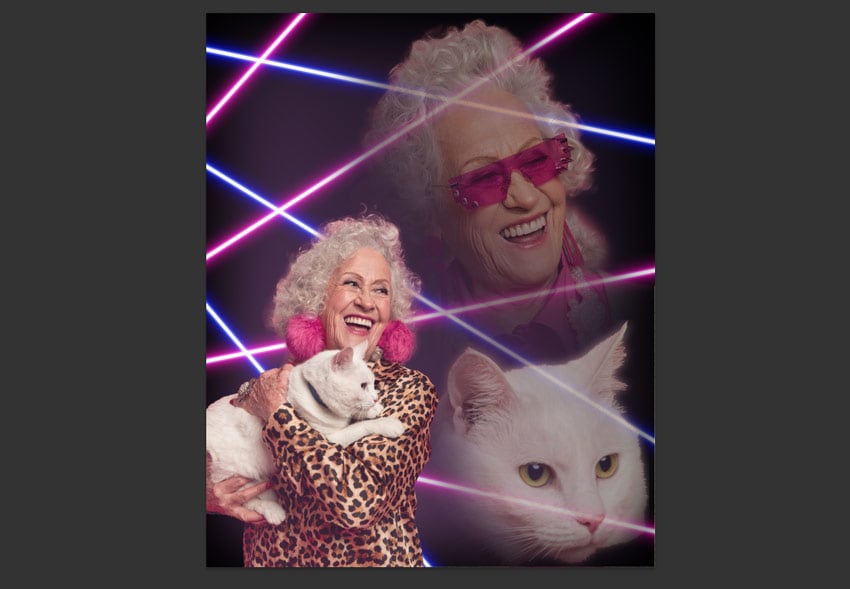
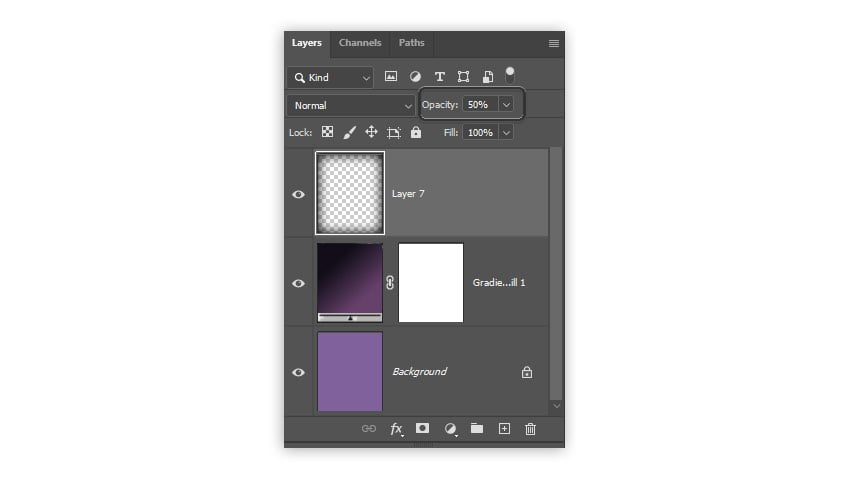
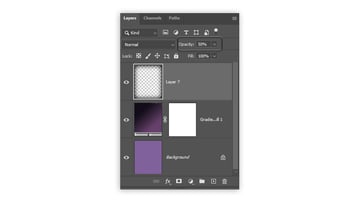
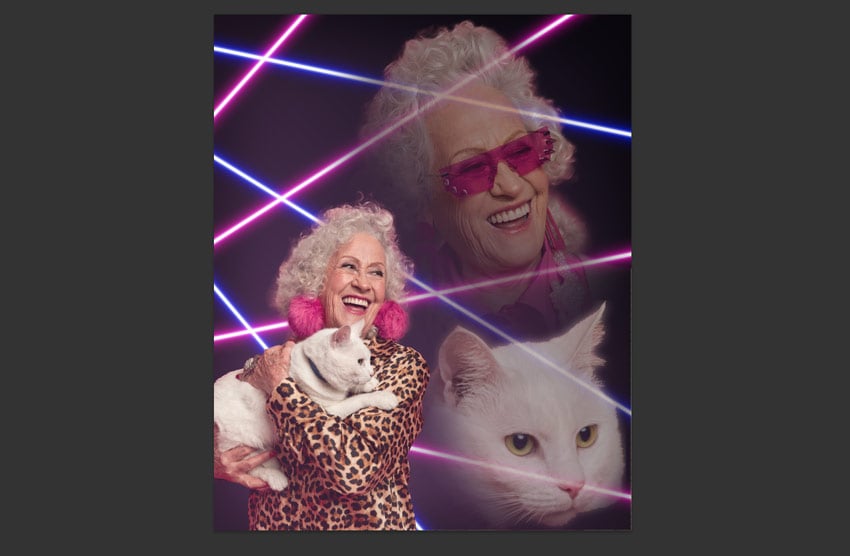
Lower the Opacity of the Vignette to 50%.
Step 13
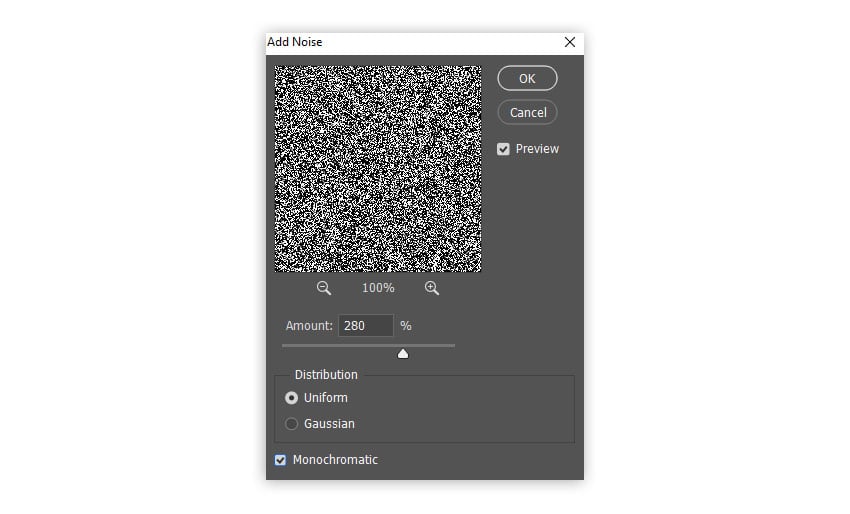
Finally, go to the very top, create a New Layer, and Fill it with black using the Paint Bucket Tool (G). Then go to Filter > Noise > Add Noise and use these settings:
- Amount: 280%
- Distribution: Uniform
- Monochromatic
Step 14
Change the Blend Mode to Soft Light and the Opacity to 20%.
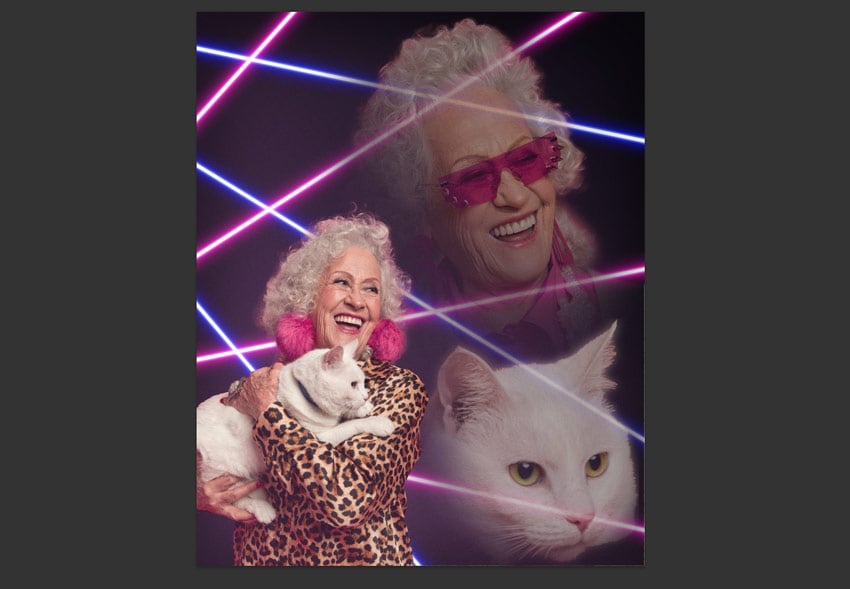
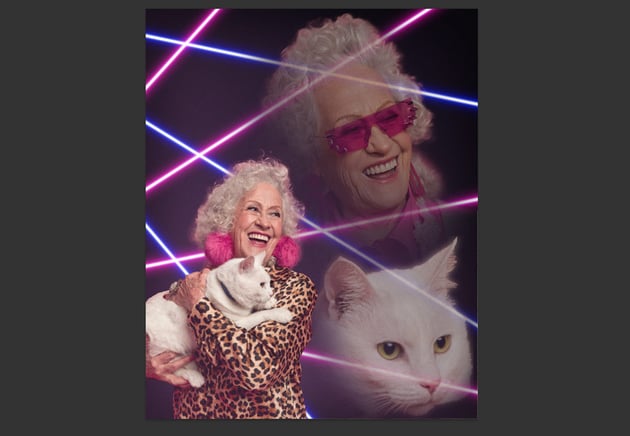
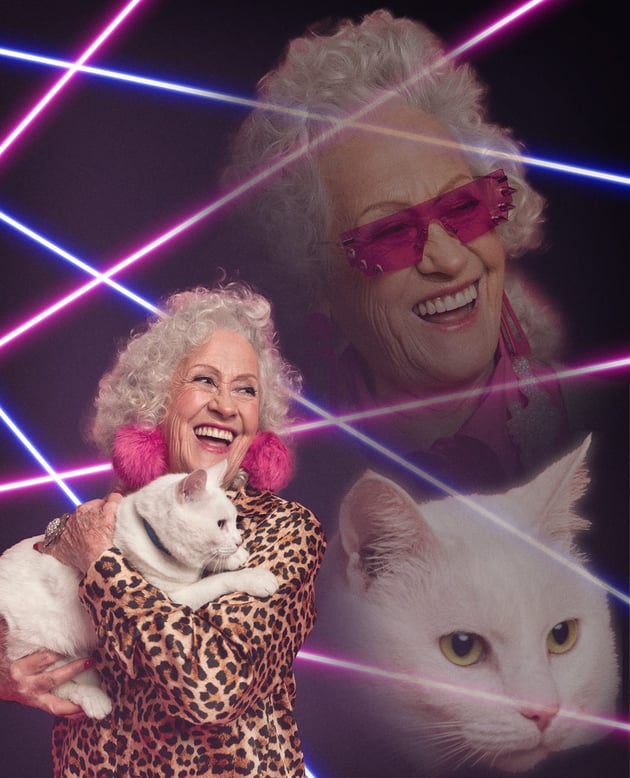
Good job!
Now you know how to create a portrait in Photoshop in an 80s aesthetic. If you want to create an awkward couple photo, a cringy 80s family photo, or any type of awkward photos, you’re all set!
Recommended resources from Envato
If you’re interested in the 80s and 90s aesthetics, check out Envato—a creative platform that gives you access to a huge library of assets for all kinds of creatives. Here are some examples!
Crinkled paper photo effect (PSD)
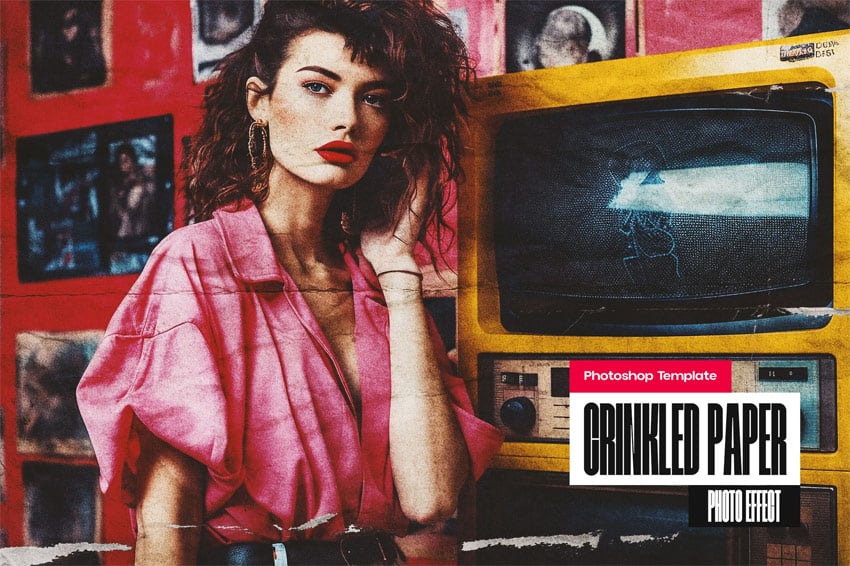
Do you want to give your photo an old magazine look? It’s never been easier—just place your photo inside this Smart Object, and the effect will be applied to it automatically. You can also customize the effect by adjusting the colors afterwards.
80s retro catalog poster effect (PSD)
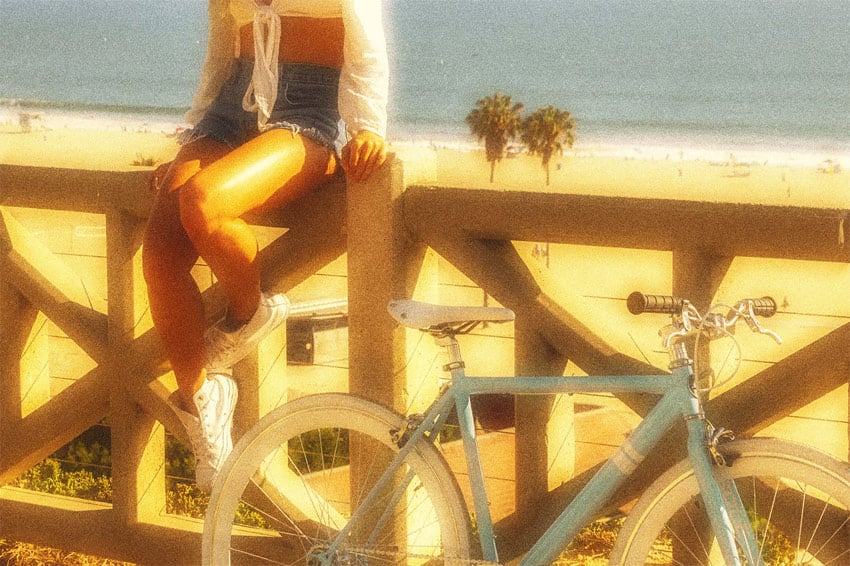
Give your photos a glowing, sunny look with this Photoshop Smart Object! Just replace the image in the file, and see how the effect is magically applied to your picture—complete with characteristic grain and blown-out highlights.
Grunge acid house photo effect (PSD)
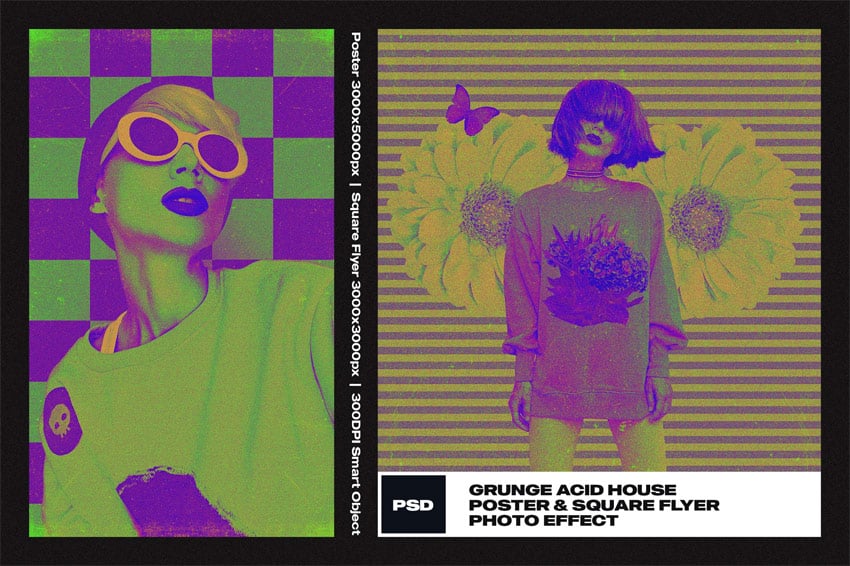
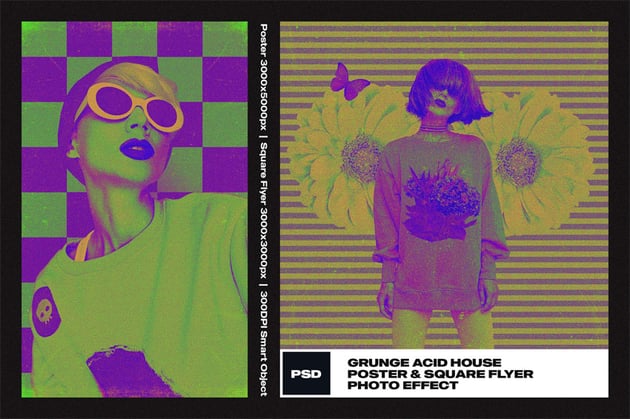
In the times of analog photography, artists could add cool effects to their photos while developing the film—for example, a grunge acid effect with crazy colors. But this effect is available to digital artists as well, thanks to this file—just add your photo and let the magic happen!
Magazine printer Photoshop effect (PSD)
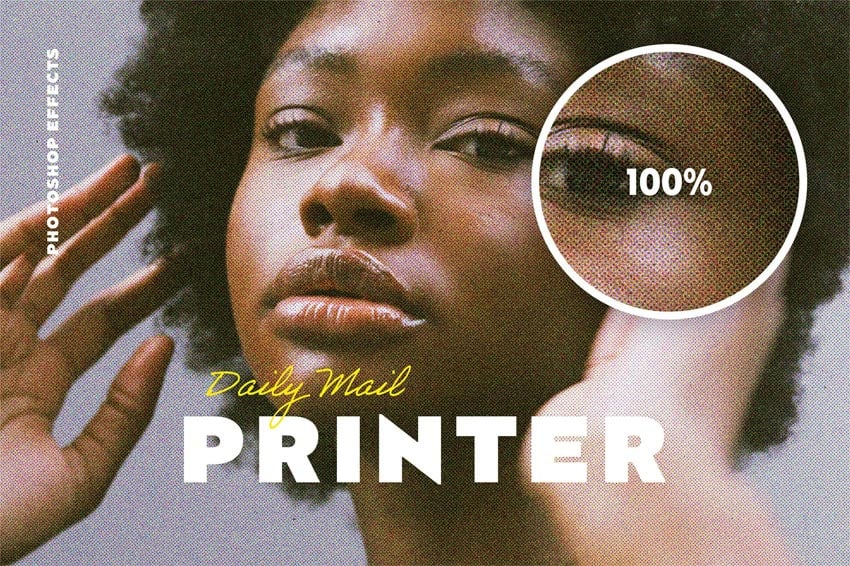
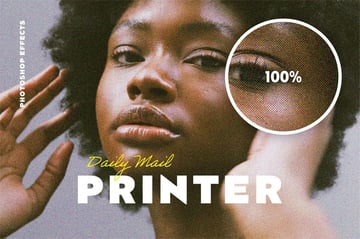
Before the Internet, colorful magazines played an important role in our lives. Because of this, the grainy aesthetic of magazine photos still appeals to many people. If you want to recreate this style in your own photos, you can use this file for it.
Vintage crumpled paper photo effect (PSD)
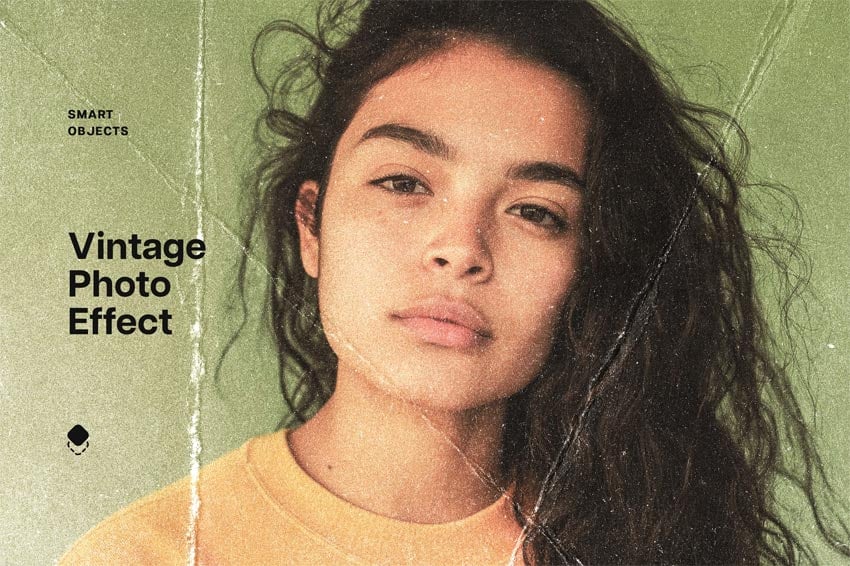
Today we keep our photos on various devices and view them on screens most of the time. This keeps them from being damaged—but you can’t deny that damaged, crumpled analog photos had a certain charm to them! This file will allow you to add a bit of that analog magic to your photos quickly and easily.
Recommended tutorials
If you want to keep learning about achieving 80s and 90s effects in Photoshop, here are a few recommended tutorials from our site: