Lisa Frank is a celebrated artist known for her colorful, whimsical art style. In this tutorial, we’ll learn how to create a Lisa Frank-inspired pattern that beautifully blends a rainbow gradient with a cheetah print design.
Today, we will use tools like the Blob Brush Tool, Pattern Options, and freeform gradients in Adobe Illustrator to design a fun and nostalgic design reminiscent of Lisa Frank’s iconic styles.
Let’s start creating a cheetah print!
What you will learn in this Lisa Frank-inspired cheetah pattern tutorial
- Who is Lisa Frank?
- How to draw a cheetah print using the Blob Brush
- How to add a neon color palette to a cheetah print
- How to generate a Lisa Frank art-style background
- How to create a Lisa Frank-inspired pattern
1. Who is Lisa Frank?
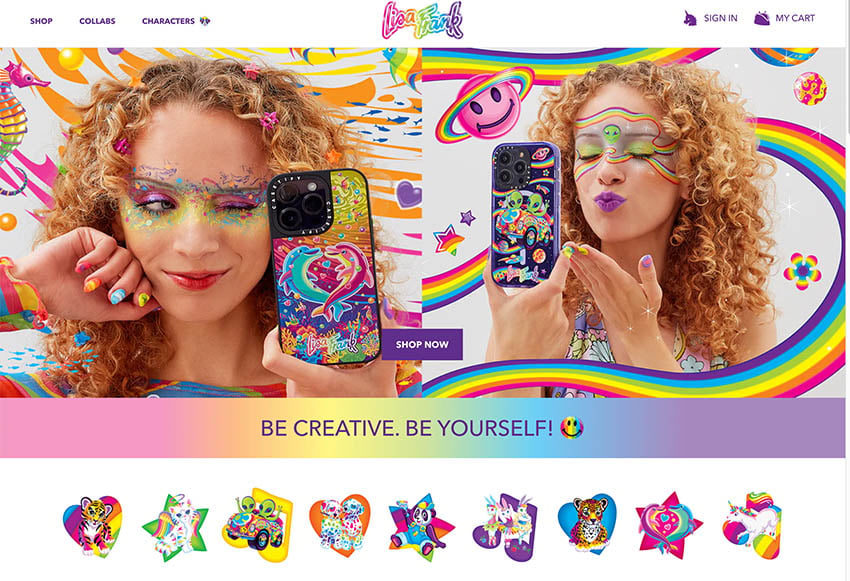
Let’s take a step back to the colorful 80s and 90s, a time closely linked to the whimsical world of Lisa Frank. For those who might not know Lisa Frank, she was a popular American artist and entrepreneur of a brand renowned for its playful, girly designs and rainbow-filled illustrations.
Lisa Frank’s artwork is characterized by bright neon colors and vibrant gradients and features a charming cast of animals like dogs, pandas, dolphins, cats, and unicorns, all set in whimsical landscapes. Her patterns often displayed playful elements like sparkles, glitter, and holographic accents.
Lisa’s signature style has recently made a comeback, riding the wave of nostalgia and sparking a revival of colorful childhood memories. Her dazzling creations are seen on various products—from stationery and art supplies to shoes, lunchboxes, backpacks, toys, and clothing—all primarily aimed at children and young teens.
2. How to draw a cheetah print
Step 1
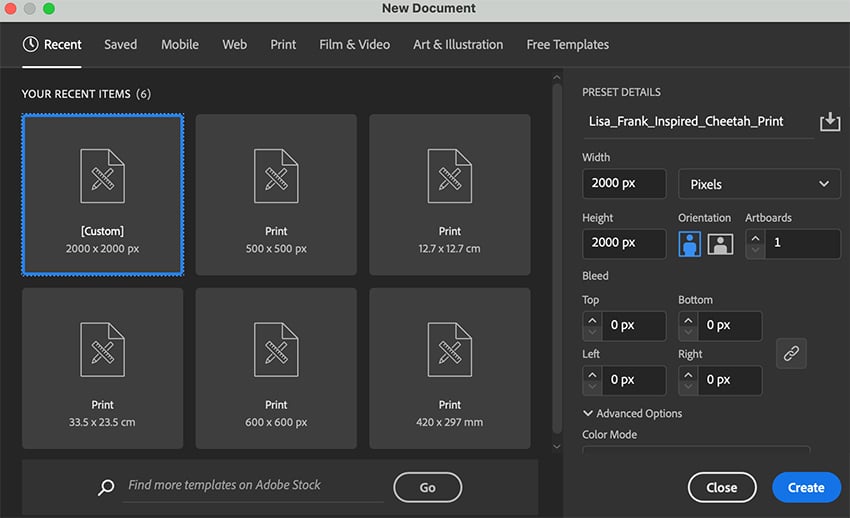
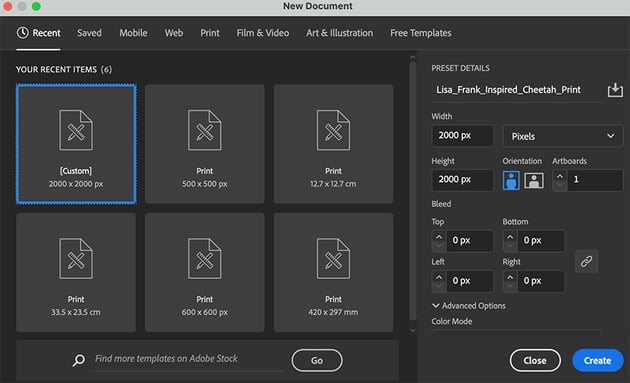
Let’s begin by setting up our artboard. Once you launch Adobe Illustrator, create a new document (File > New). In the new dialogue window, enter 2000 px width and 2000 px height, add a title for your file, and press OK. This will be our artboard for the Lisa Frank cheetah print.
Step 2
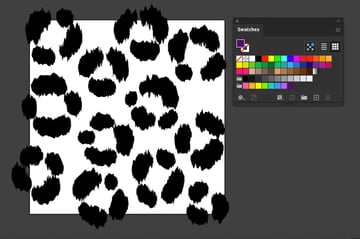
We can think of a cheetah’s print as a constellation of solid, black, rounded C-shapes spaced out evenly. We’ll start to create and draw these circular cheetah spots using the Blob Brush Tool to draw filled shapes.
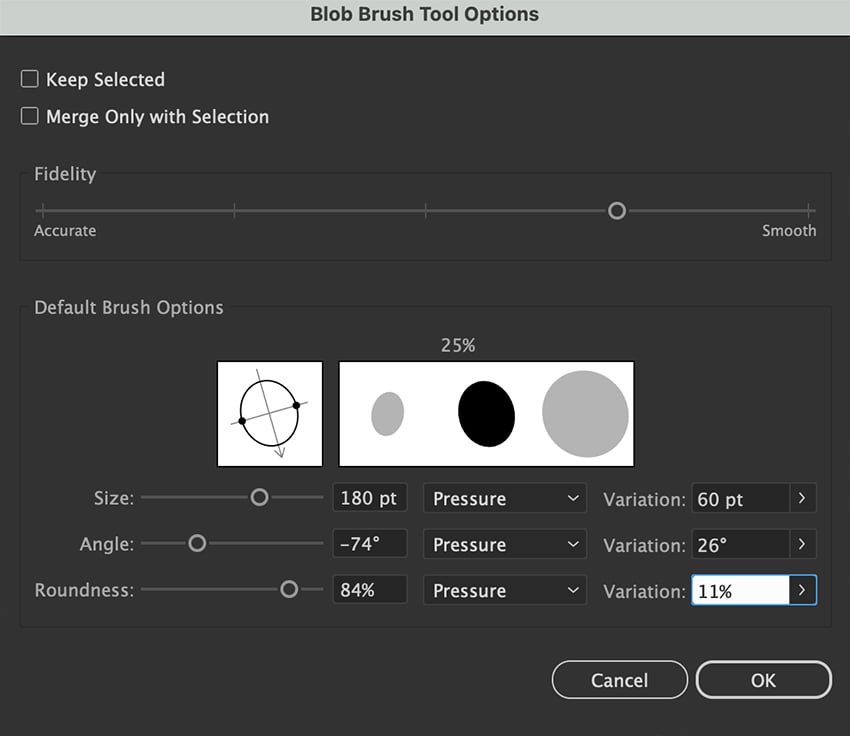
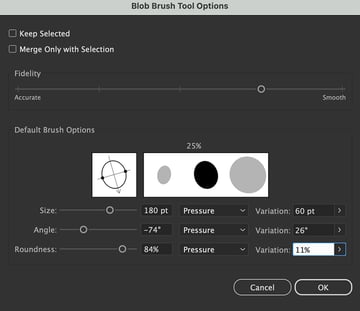
First, select the Blob Brush Tool from the Tools panel or use the shortcut Shift-B. Make sure you have a black swatch Stroke color selected with null fill. Then, double-click on the brush preset to access the Blob Brush Tool Options dialog, where you can adjust the Size, Angle, and Roundness.
Slide the Fidelity pointer range close to Smooth for a soft look. Then set the Size, Angle, and Roundness to Pressure so that they will vary based on the pressure of our drawing stylus. When you select a setting other than Fixed, the Variation fields become active, so you can specify the limits.
Set the Size to 180 pt or larger, with a Variation of 60 pt. The Angle setting should be -74° with a Variation of 26°. Then, set the Roundness to around 84%, with a Variation of 11%.
Step 3
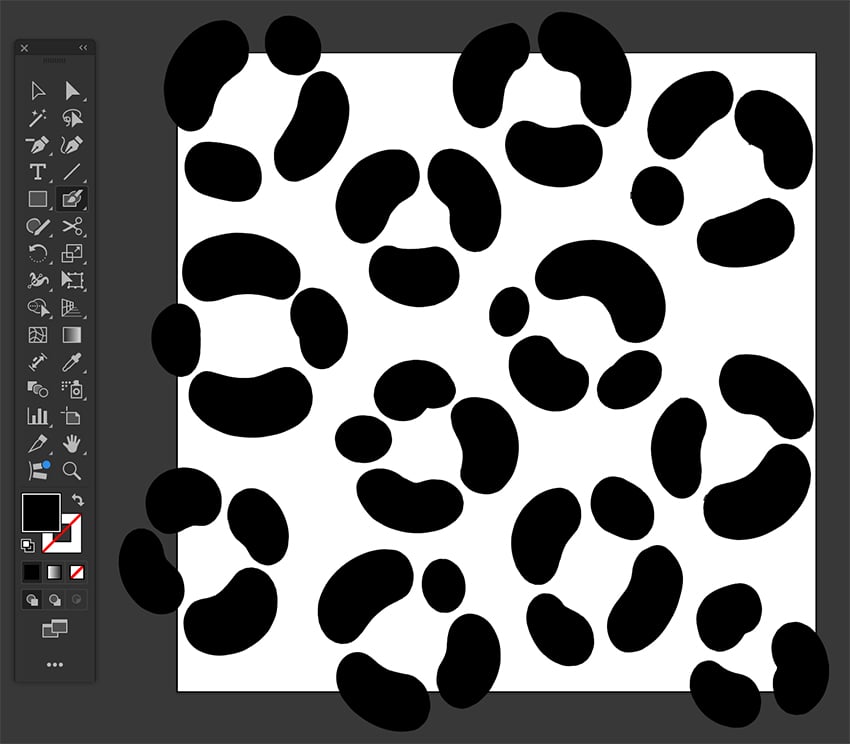
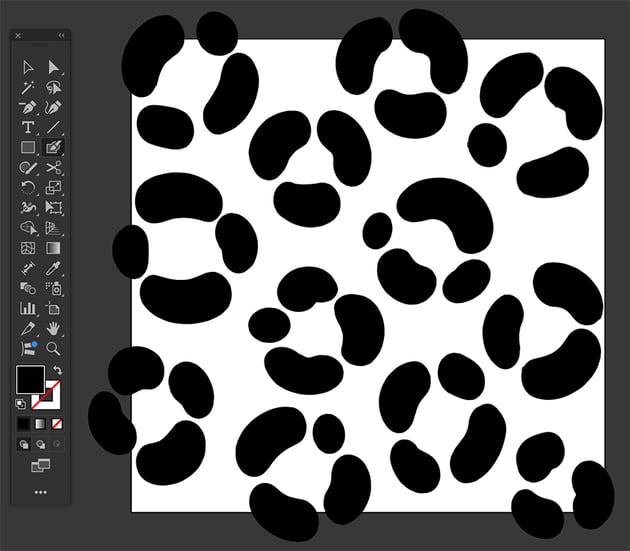
Now, let’s start drawing our black spots. Use pressure to organically hand-draw each shape onto the artboard, filling up the artboard.
Step 4
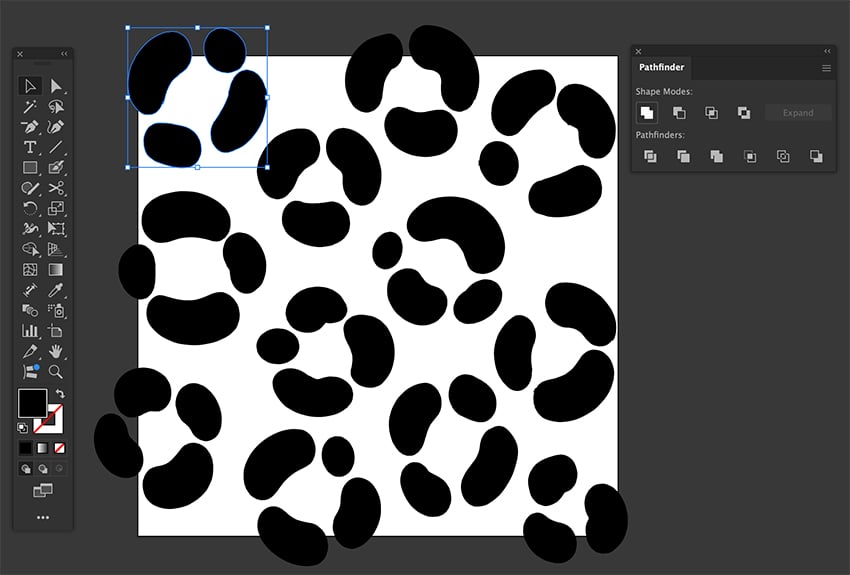
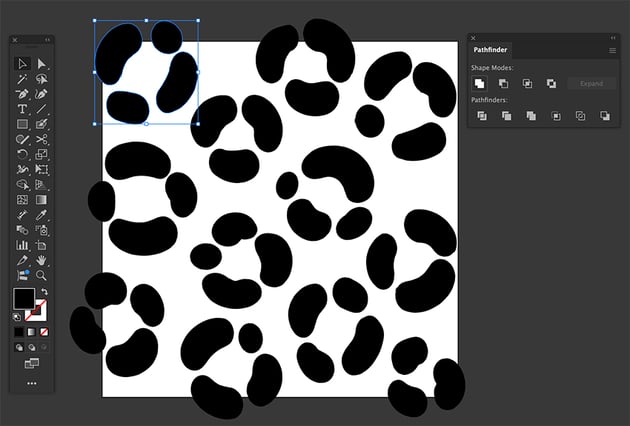
Next, we’ll turn each cluster into a singular object. Open the Pathfinder panel, Window > Pathfinder. Then select each group of cluster shapes and Unite from the Pathfinder panel: Shape Modes. Repeat this action with all the cluster shapes on the artboard.
Step 5
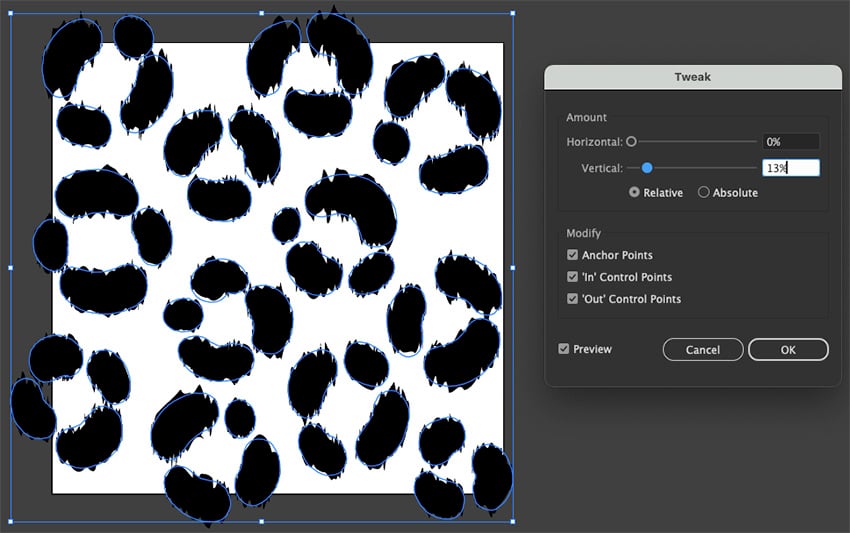
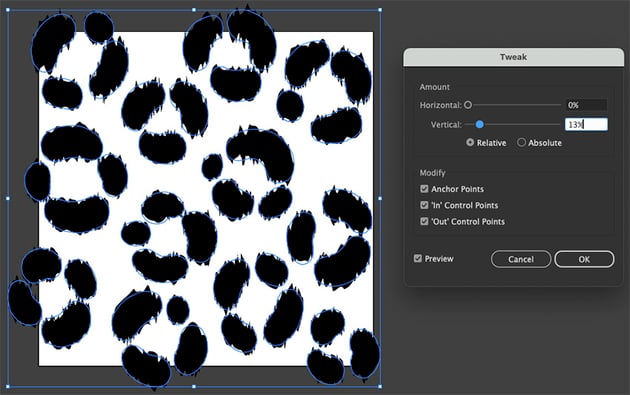
Let’s reshape our spots and apply some streaks to our black pattern to give it a hair-like effect. Command-A to Select All, then Effect > Distort and Transform > Tweak. The Tweak feature randomly distorts and curves paths in and out. So apply a Vertical distortion of 13%, using a Relative amount, making sure the Anchor Points are selected under Modify, and then click OK.
3. How to add a neon color gradient to the cheetah pattern
Step 1
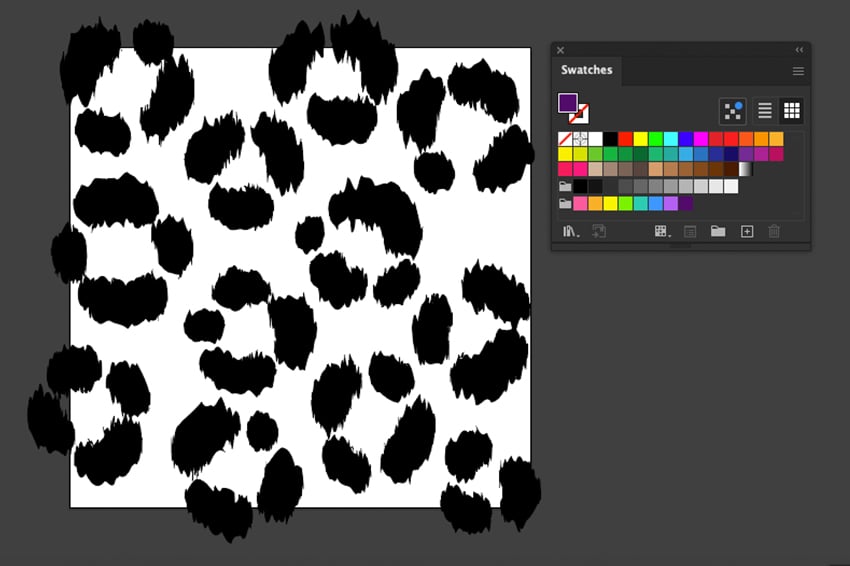
Lisa Frank’s pattern aesthetic was known for using a 90s neon palette of pinks, blues, purple, and green. Let’s upload a neon palette to add color between the black spots.
You can choose a color palette from Adobe Color or generate your colors and upload them to your Swatches panel (Window > Swatches). For this tutorial, I went for this neon color palette:
-
#FB5D99 -
#FAAF3A #FAF300-
#A7F21B #2CCAB2#3D95FF#A060EE#481369
Step 2
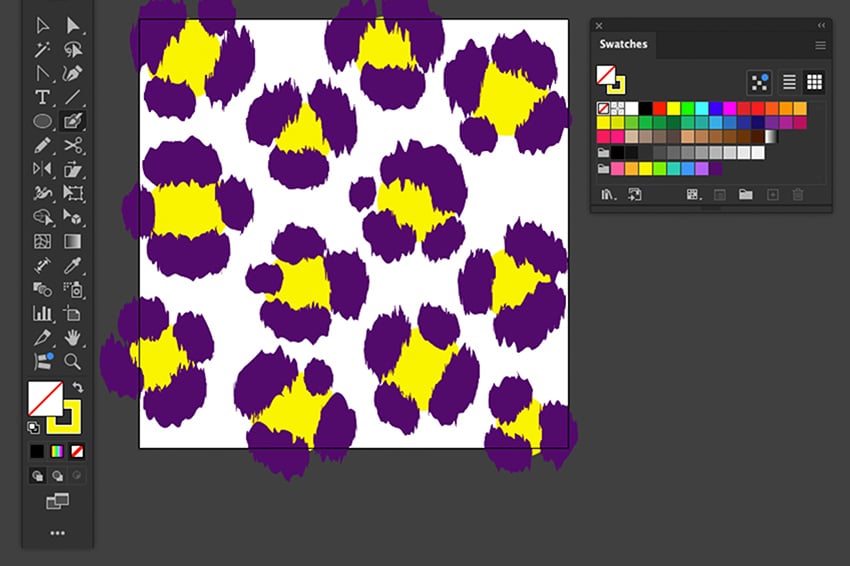
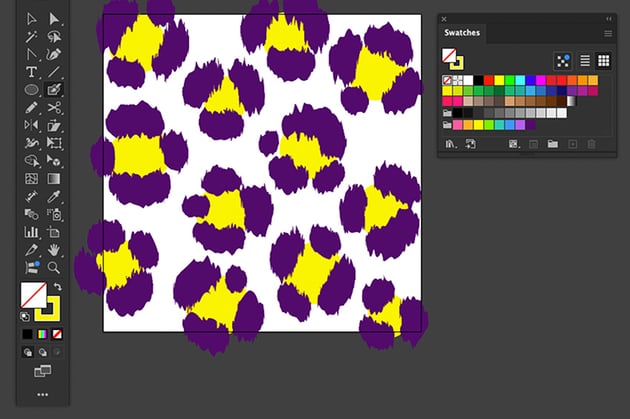
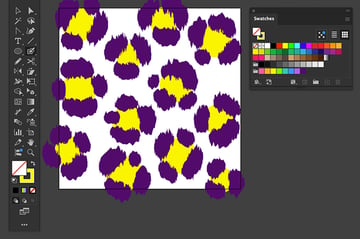
Give the black a dark purple color of #481369. Grab the Blob Brush (B), choose any color for the Fill, and select Draw Behind from the bottom of the toolbar. Draw blob shapes to fill the spaces in the middle of each cluster.
Step 3
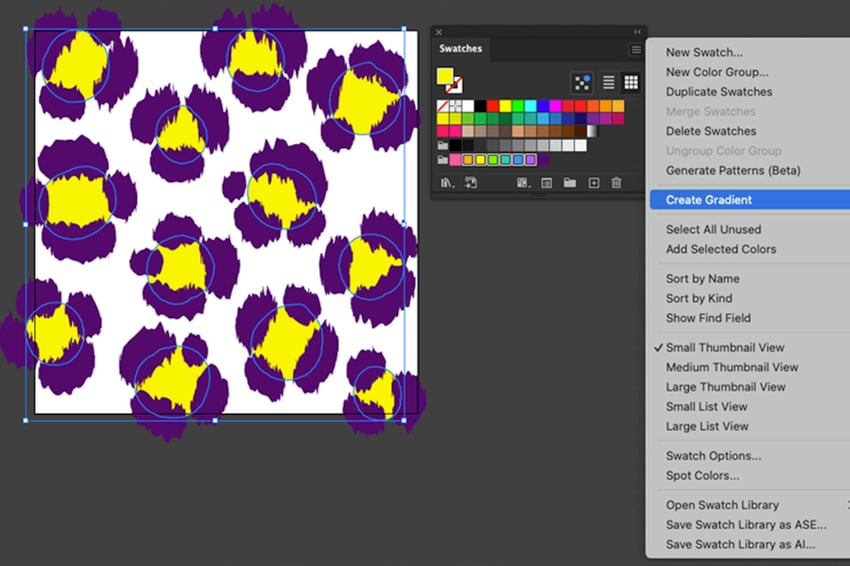
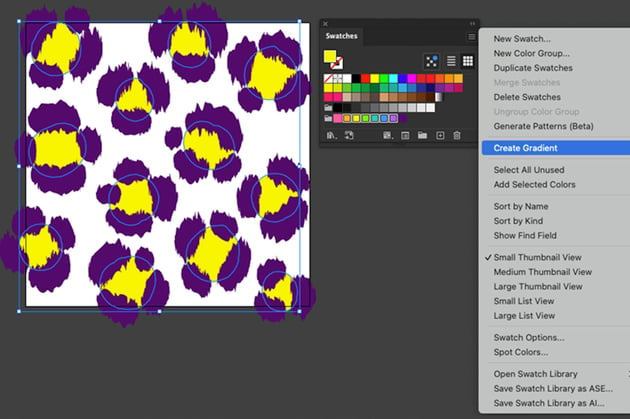
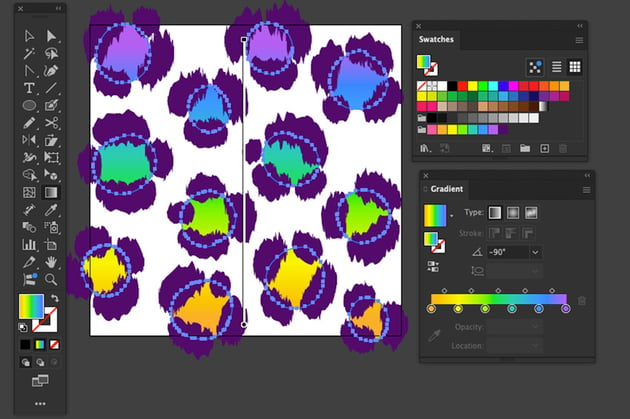
Select one of the inner base shapes, and then Select > Same > Fill Color; this will select all the shapes with the same fill. Let’s apply a neon rainbow gradient to create a Lisa Frank aesthetic. With the base shapes selected, go to the Swatches panel and pick the neon colors from which you wish to make the gradient. Then click the drop-down in the upper-right corner and choose Create Gradient.
This will open the Gradient panel, and a neon gradient will be applied using lighter colors from the 90s neon palette: orange, yellow, green, blue, and purple.
Step 4
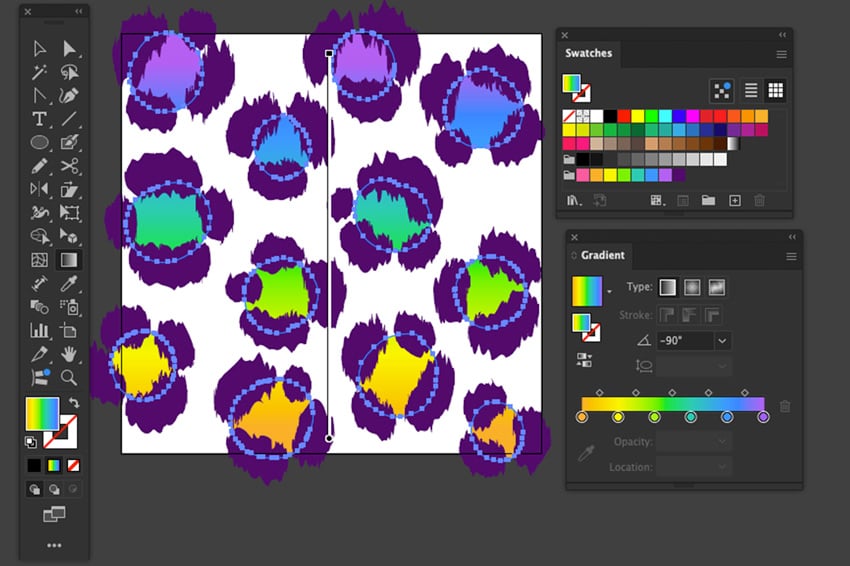
Press and drag the Gradient Tool (G) upwards to change the direction and distance of the gradient. This will create a smooth gradient transition between the cheetah spots and help bring out the Lisa Frank aesthetic of neon rainbows.
Step 5
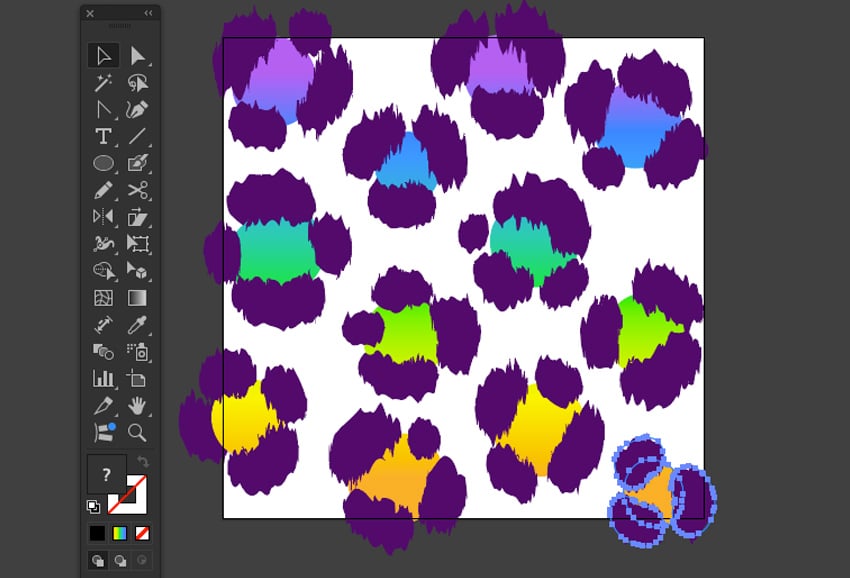
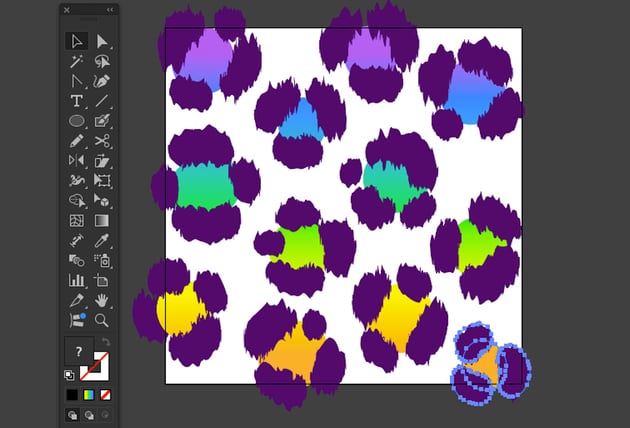
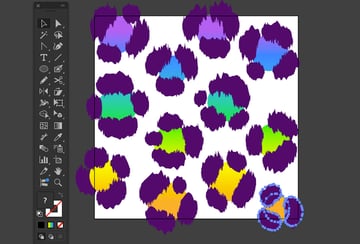
Next, let’s group each black spot with its base shape. Use the Selection Tool (V) to select each spot with its base shape and Group (Command-G).
Step 6
Now, the cheetah spots are spilling out of the artboard area, so let’s bring them in a bit. Select All (Command-A), and then Object > Transform > Scale the cheetah spots at a Uniform value of 90%.


Step 7
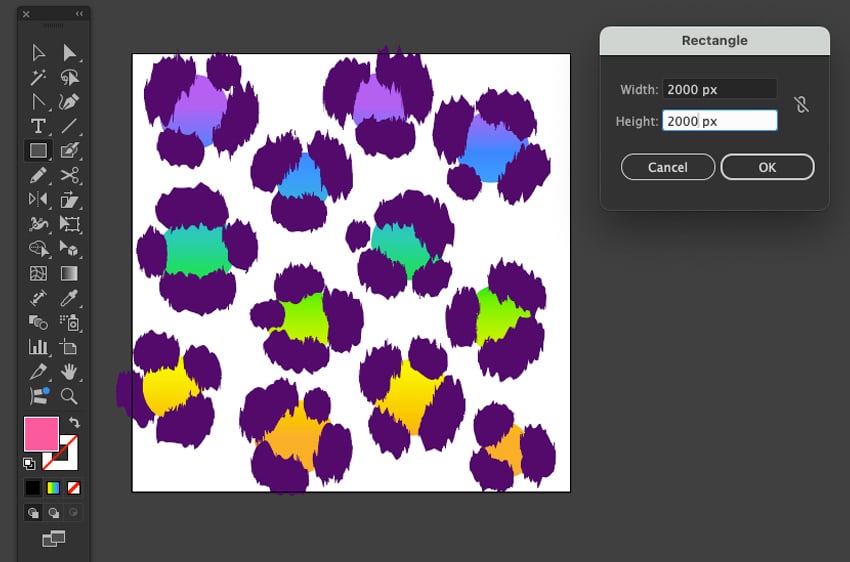
Now, let’s add a neon gradient background behind our cheetah print. Make sure Draw Behind is selected from the bottom of the toolbar, and choose any neon color as a Fill.
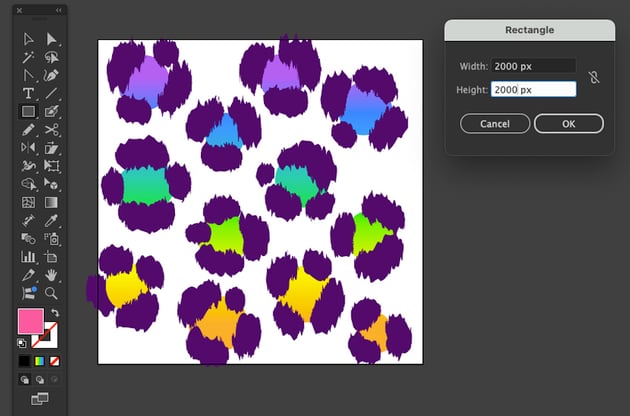
Select the Rectangle Tool (M), click once on the artboard to open the Rectangle dialog box, and choose a Width and Height of 2000px.
Step 8
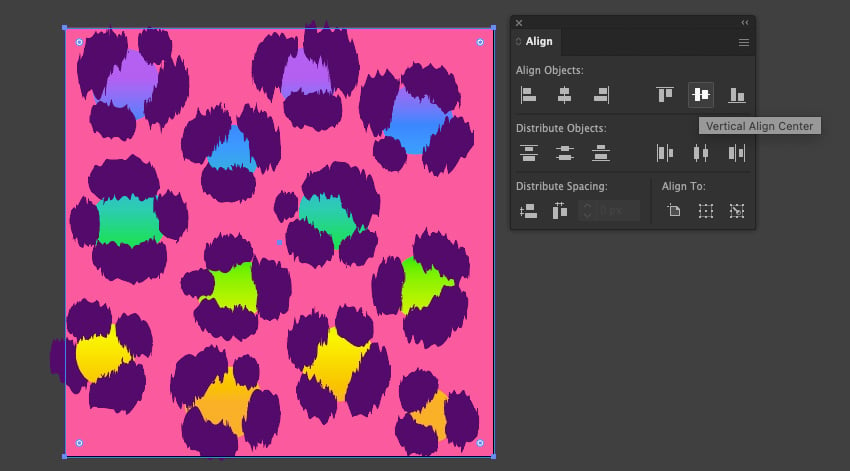
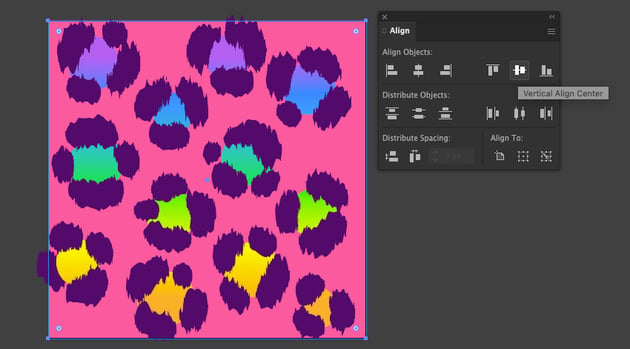
Open the Align panel (Window > Align). Select the square shape and press Horizontal & Vertical Align Center in the Align panel and the Align to Artboard to align the square equally on the artboard.
Step 9
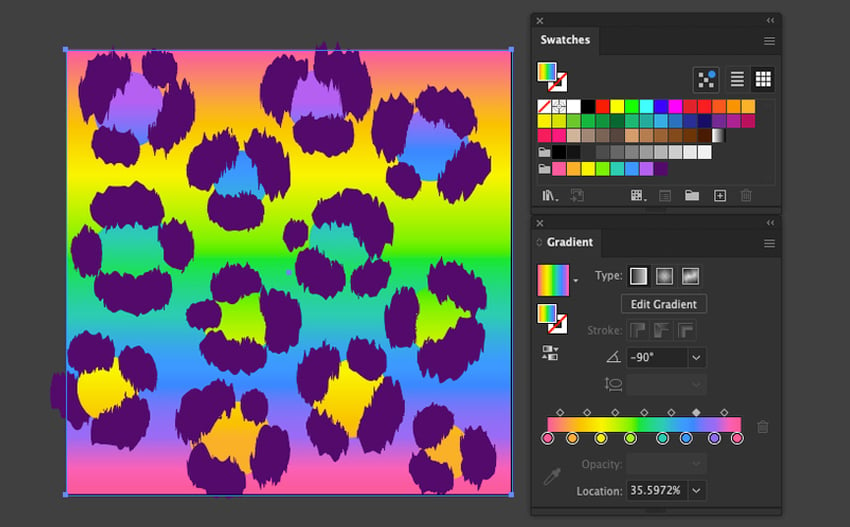
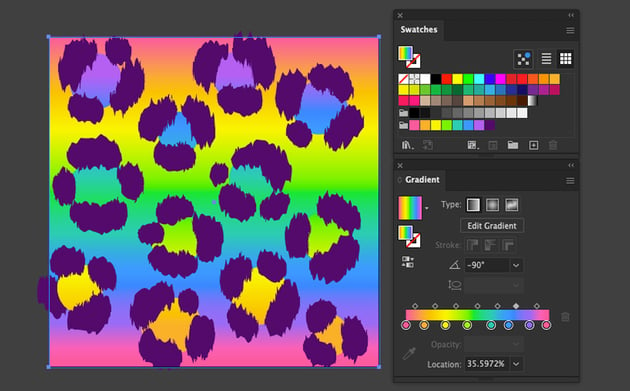
Now we’re going to create a rainbow gradient to mimic a Lisa Frank-style background.
Select the background shape, and then from the Swatches panel, choose all the bright neon colors, and from the drop-down in the upper-right corner, choose Create Gradient. This will open the Gradient properties. Click the Linear Gradient button and set it to -90°.
On the gradient bar, add the same color swatch to the front and end of the bar so we can have a seamlesss gradient blend.
4. How to transform the cheetah print design into a seamless pattern
Step 1
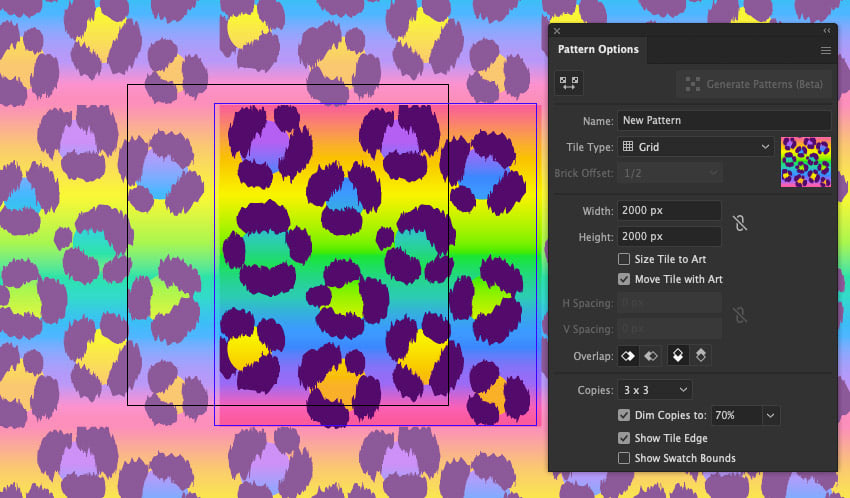
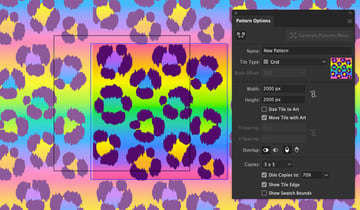
Now it’s time to create a seamless Lisa Frank-style cheetah pattern. Select All (Command-A) and Object > Pattern > Make.
You will see a preview of the repeating pattern tile in the background, and the Pattern Options dialog will open.
By default, the Tile Type is set to Grid. You can set the Width and Height to 2000 px and Overlap to Left in Front and Top in Front.
Step 2
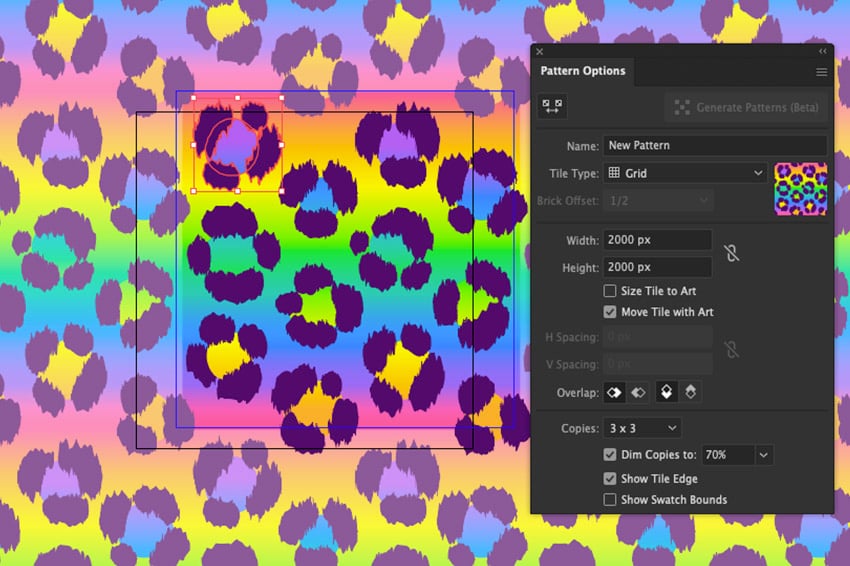
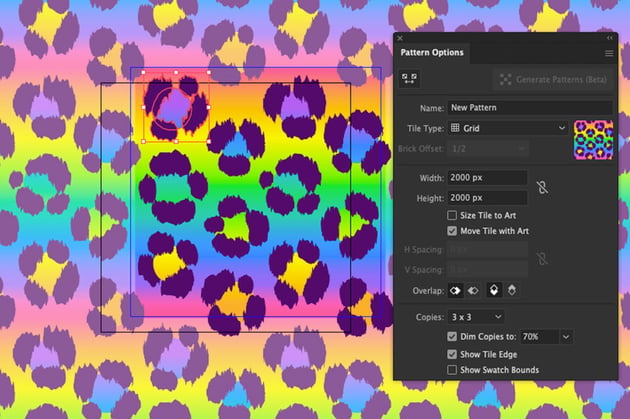
Then, use the Selection Tool (V) to manually reposition the spots around the pattern. Feel free to move them around and rotate them as you see fit, and then click Done.
Step 3
The seamless Lisa Frank-inspired pattern will automatically be added to the Swatches panel. Select the neon cheetah pattern from the Swatches panel, and apply your Lisa Frank art-inspired swatch design to whatever you want.
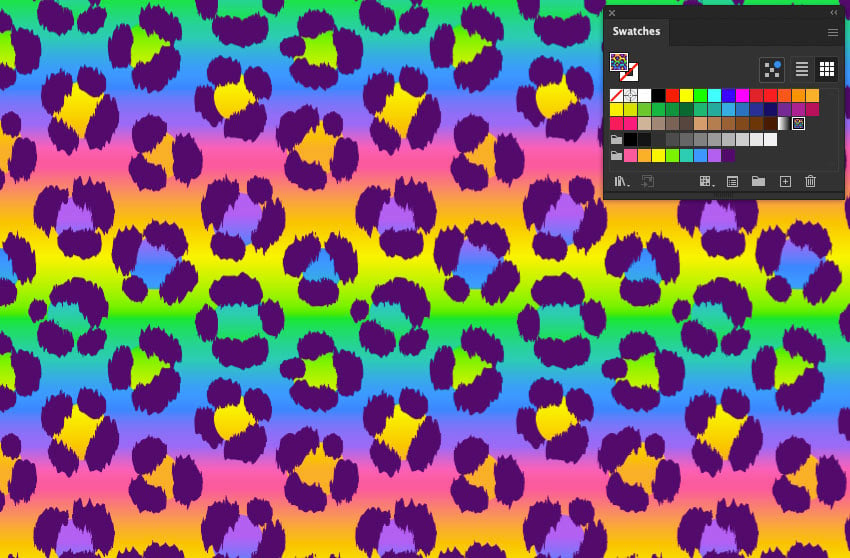
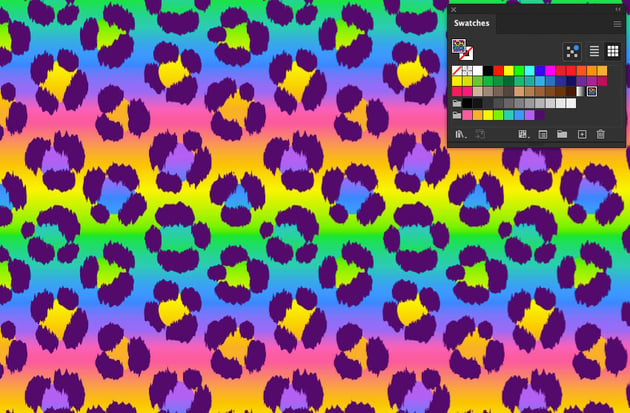
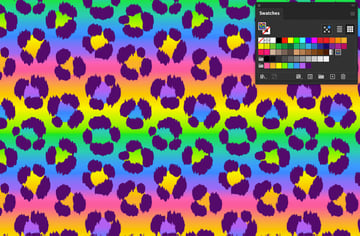
Congratulations! You’re done!
Now that you’ve learned what a Lisa Frank pattern is and how to create one, feel free to adjust the pattern and make your own style of rainbow neon design. You can create different styles of neon cheetah prints, like a Lisa Frank rainbow leopard or tiger variations, or perhaps your own creative version of a Lisa Frank background.
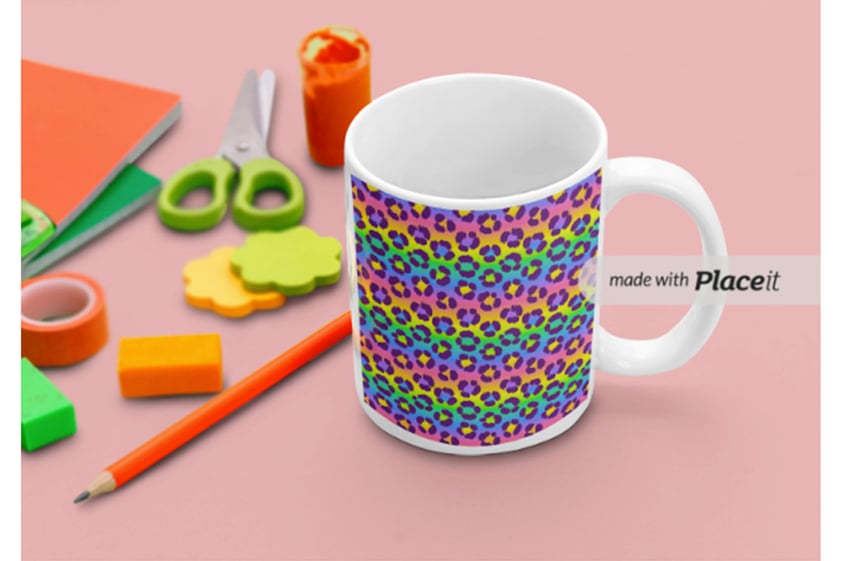
You can find some great sources of inspiration and mockups to apply to your design on Envato.
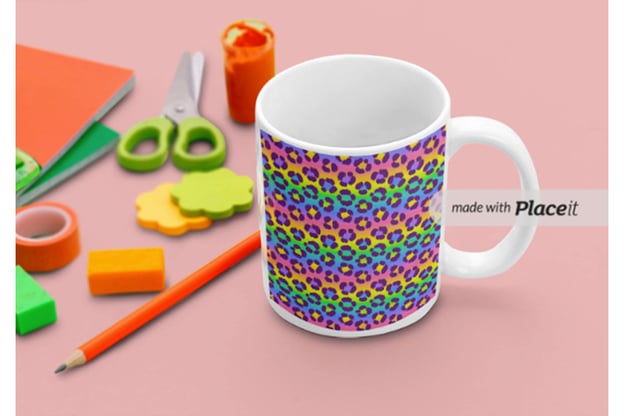
Popular patterns from Envato
Envato is an excellent resource for patterns. Here’s a short list of patterns you may find inspiring—why not use them to bring your ideas to life and help you create a Lisa Frank art print?
1. Vector Animal Print Patterns (AI, PSD)
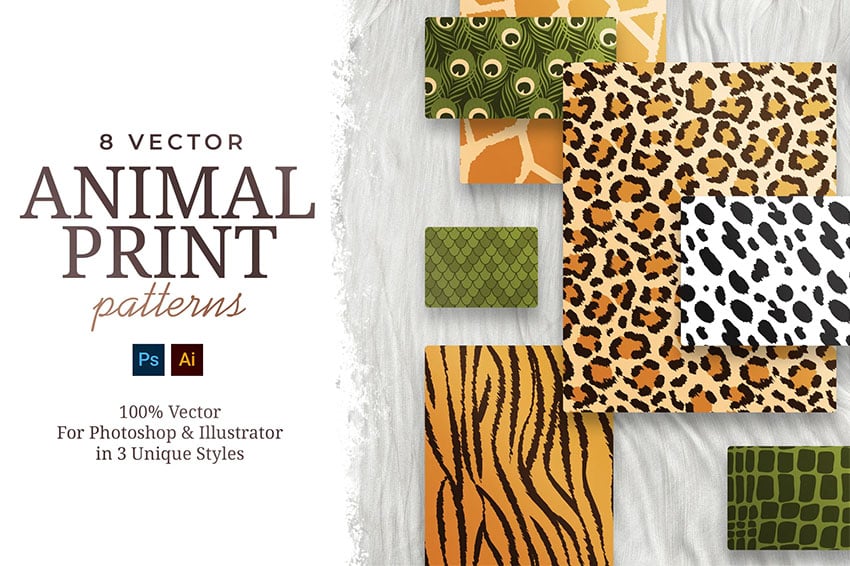
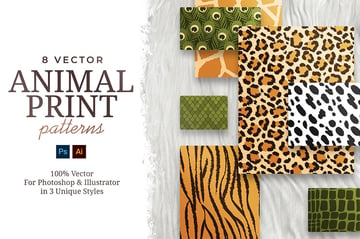
If you don’t know how to draw a cheetah print, this set of eight vector animal patterns might be helpful. Its pattern styles are suitable for various creative projects, from packaging and textiles to digital designs and home decor. The files include AI and PSD, ensuring seamless scaling and customization for each pattern.
2. Animal Skin Seamless Patterns (JPG, PSD)
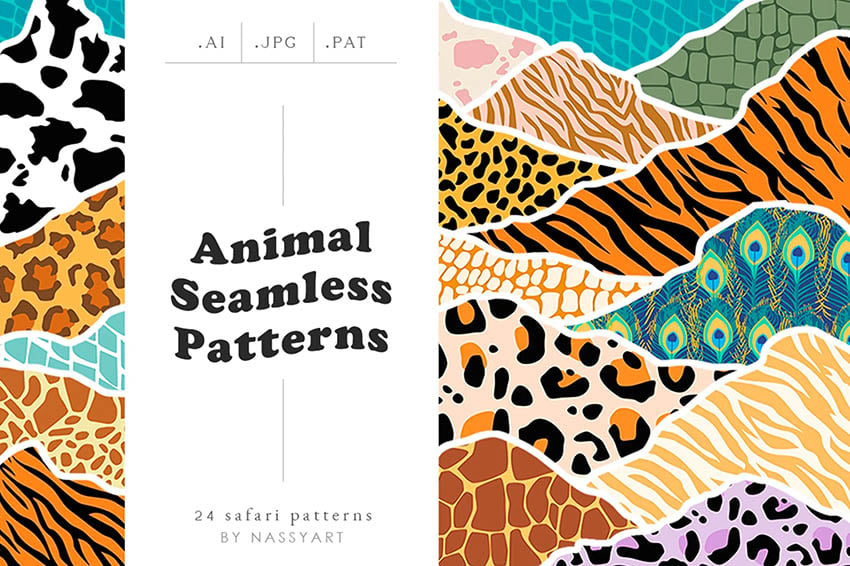
Animal prints are making a comeback. This collection offers a variety of animal skin patterns in PAT Adobe Photoshop format to inspire your creative projects, from background art to fabric design.
3. Neon 90s Squiggle Scribbles Seamless Pattern (AI, EPS, JPG, PNG, SVG)
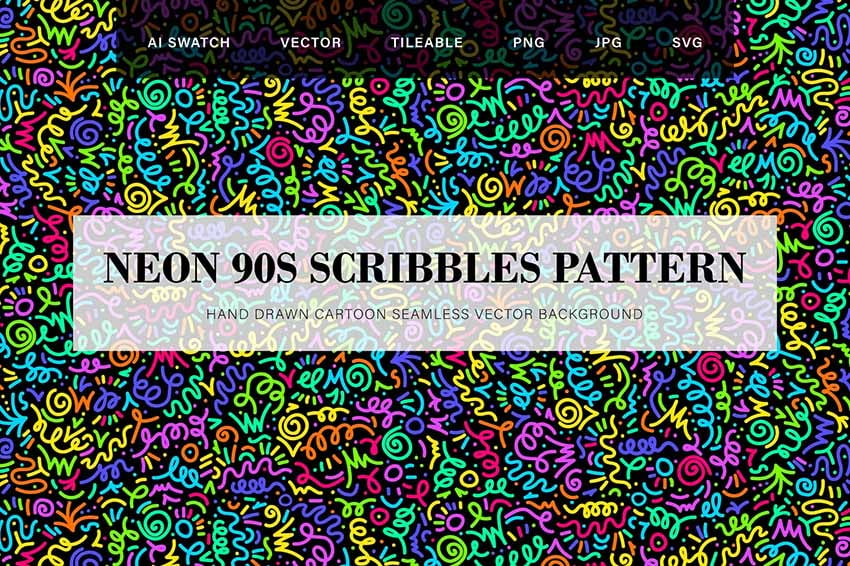
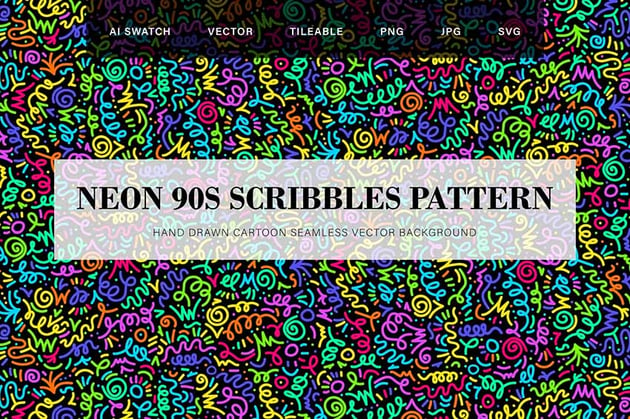
This abstract pattern, inspired by the 90s, features neon rainbow-colored hand-drawn squiggles and doodles against a dark background. It’s ideal for party invitations and other fashionable items.
4. Neon Music Pattern (AI, EPS, JPG, PNG and SVG)
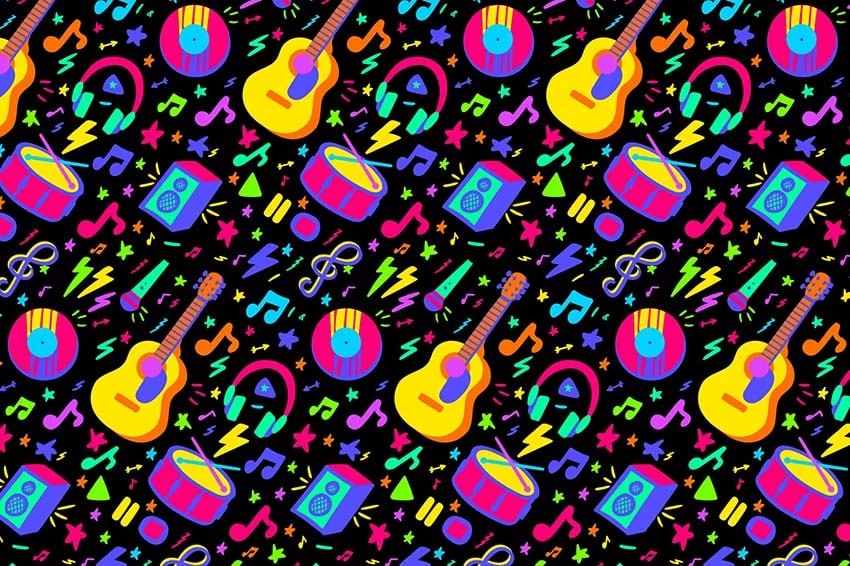
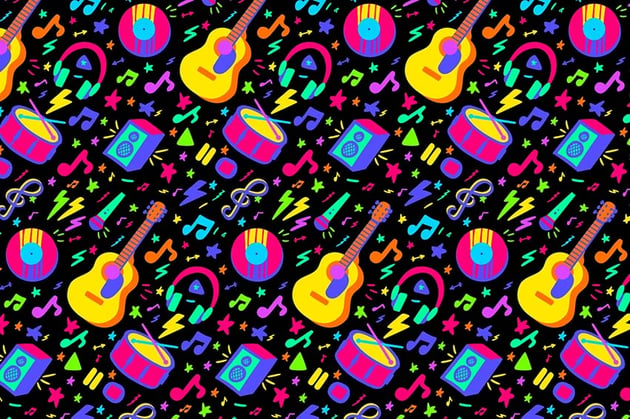
This vibrant and playful pattern is perfect for a variety of creative projects, including social media posts and stories, print templates, presentations and slideshows, website galleries and backgrounds, or invitations for music events.
5. Black pattern with neon hearts (EPS, JPG, PNG, SVG)
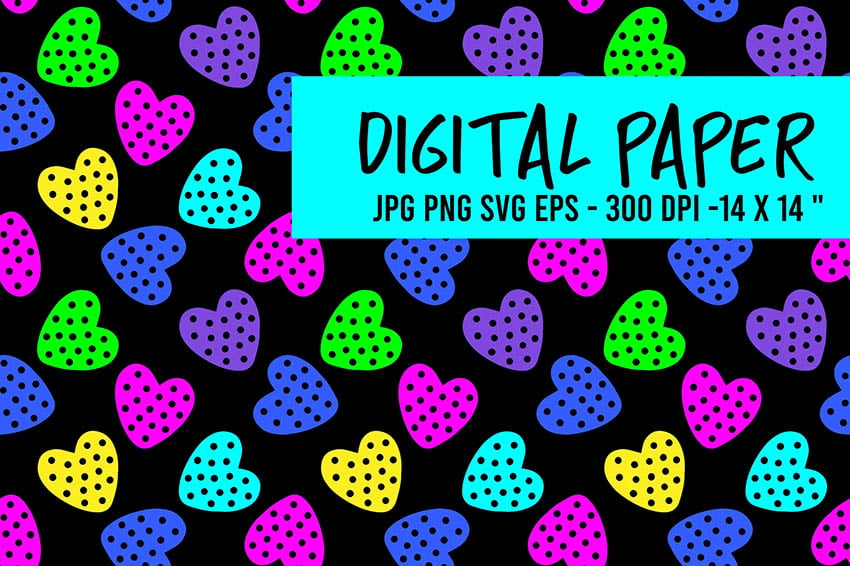
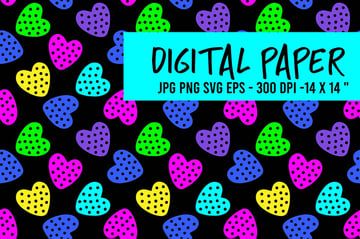
This cute polka dot neon rainbow heart pattern is perfect for kids’ stationery products.
Discover more tutorials and resources
If you enjoyed learning this Illustrator gradient pattern skill, continue to grow your skills with some other pattern tutorials: