Floral typography is a design trend that combines nice floral elements with bold typography, to create some elegant designs. This tutorial will show you how to use a flower stock image, with a simple text, and a couple of layer styles, filters, textures, and adjustments to create your own floral typography design. Let’s get started!
This text effect was also inspired by the many Layer Styles available on Envato Market.
Tutorial Assets
The following assets were used during the production of this tutorial.
The cool thing about the technique used in this tutorial is that it can work for almost any image you use.
High-quality images with slightly large details, however, can create better and neater results.
It’s also important to choose an image that can be isolated from the background pretty easily, so that you can add your own background.
1. Adjust the Flowers Coloring
Step 1
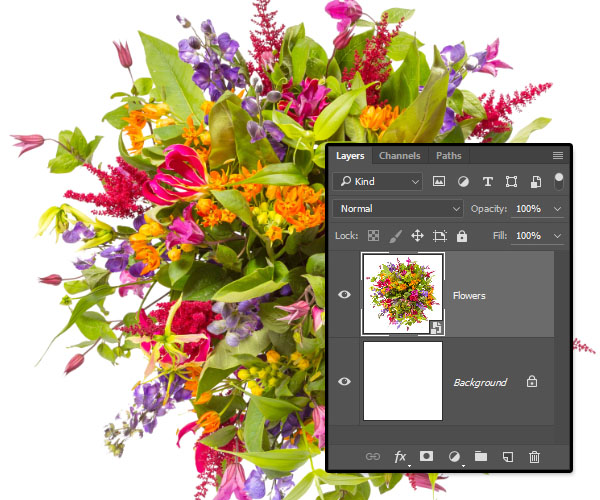
Create a new 3000 x 3000 px document. Place the Bouquet of flowers top view isolated on white image on top of the Background layer, and rename its layer Flowers.
Step 2
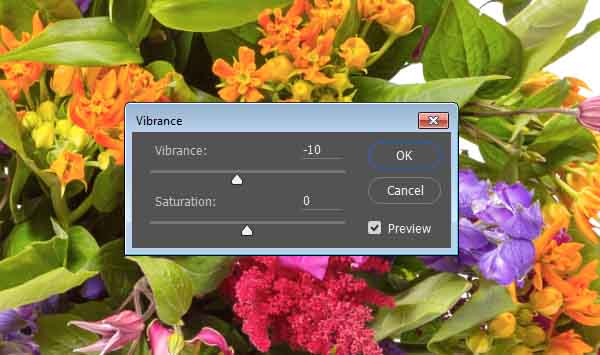
Go to Image > Adjustments > Vibrance, and change the Vibrance value to -10.
Step 3
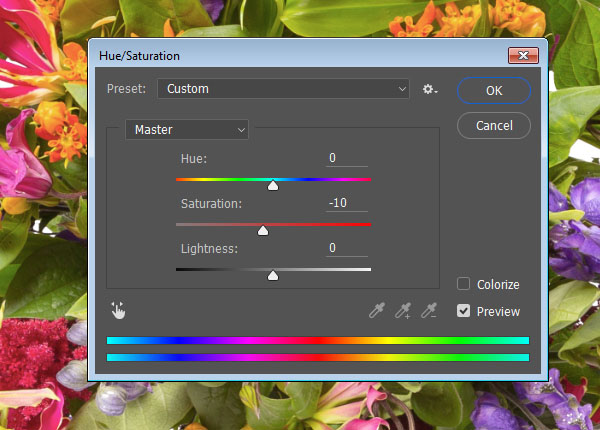
Go to Image > Adjustments > Hue/Saturation, and change the Saturation value to -10.
Step 4
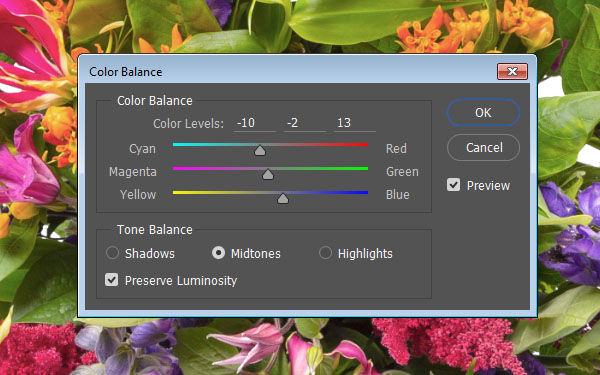
Go to Image > Adjustments > Color Balance, and change the Color Levels to -10, -2, 13.
Step 5
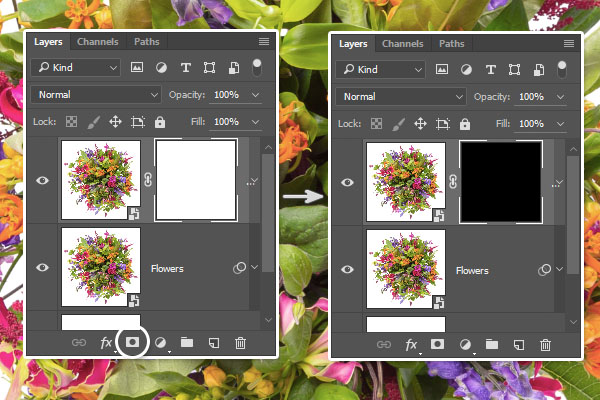
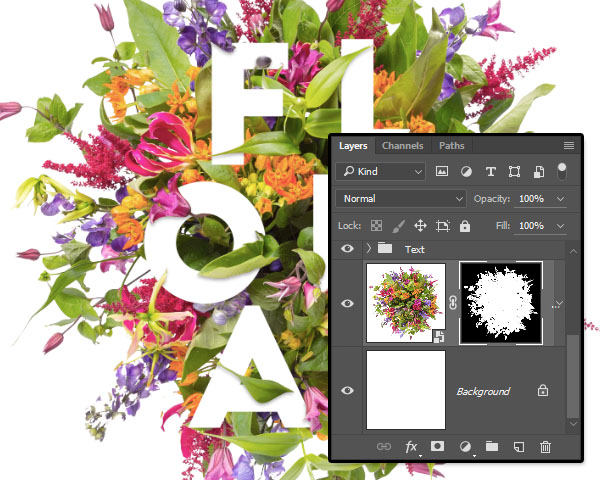
Duplicate the Flowers layer, and then click the Add layer mask icon at the bottom of the Layers panel.
Make sure that the layer mask thumbnail is selected, and fill it with Black.
2. Create the Text
Step 1
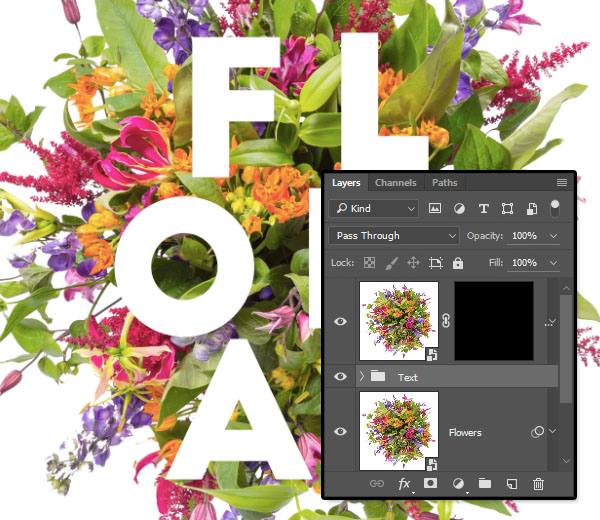
Create the text in White using the font Big John Regular. You can actually use any font and font size you like, but bigger sizes and bolder fonts look better. The Size used here is 765 pt.
If you want to place the letters separately, create each of them in a separate layer, and position them all over the flowers image you have.

Step 2
Group the text layers you have, and call the group Text. Then place that group between the two Flowers layers.
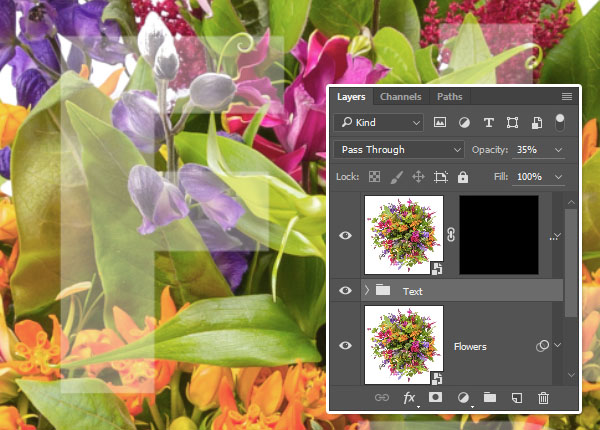
Step 3
Lower the Opacity of the Text group to a value that enables you to see both the text and the background image details clearly.
3. Paint the Front Floral Parts
Step 1
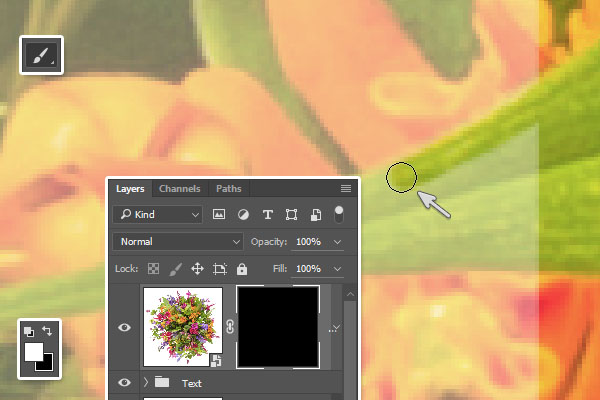
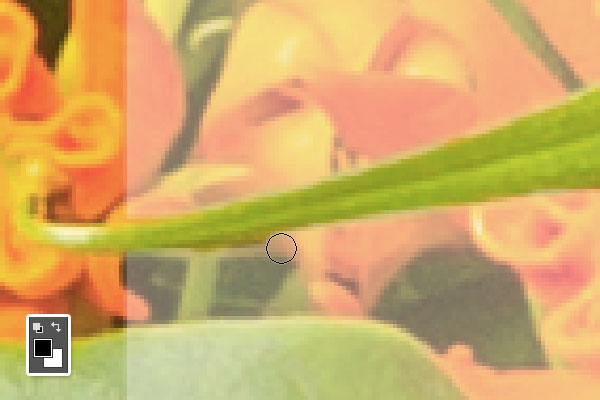
Pick the Brush Tool (B), set the Foreground Color to White, and pick a hard round brush tip.
Click the Flowers copy layer mask’s thumbnail to select it, and then start painting over the parts you want to have in front of the text.
You can use the [ and ] keys to increase or decrease the brush tip size. Just take your time to paint those parts as precisely as possible.
Step 2
If there are any parts that you want to unpaint, you just need to set the Foreground Color to Black and unpaint those areas.
Use the X key to switch between the Foreground and Background (Black and White) colors.
You can also use selection tools to select the parts you want to paint in and out if you like.
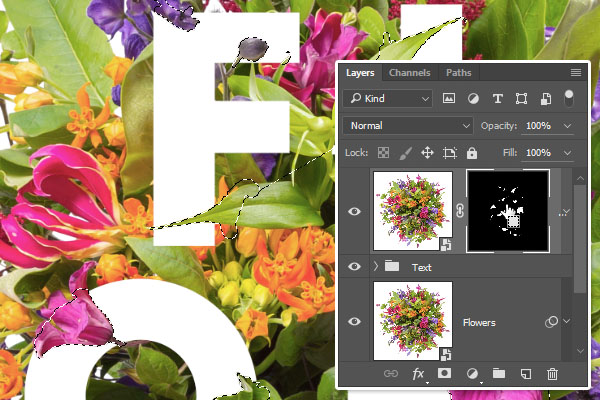
Step 3
Once you’re done, set the Text group’s Opacity to 100% again, and check how everything looks to see if you like it.

Step 4
Zoom in to fix any areas that need more work. It is a slightly time-consuming process, but it is important to get a polished final result.
4. Create the Shadow
Step 1
Command-click the Flowers copy layer mask’s thumbnail to create a selection.
Step 2
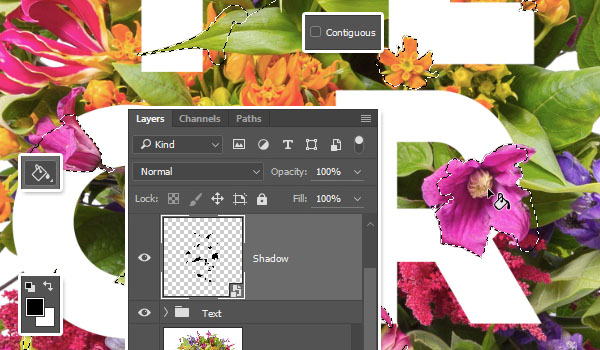
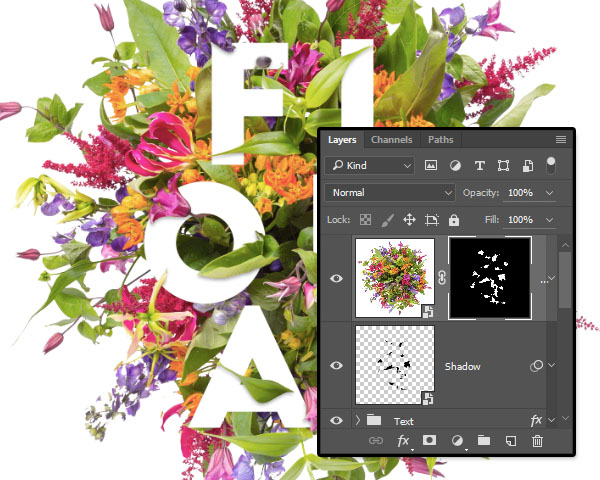
Create a new layer on top of the Text group, and call it Shadow.
Pick the Paint Bucket Tool, uncheck the Contiguous box in the Options bar, and fill the selection with Black.
Right-click the Shadow layer and choose Convert to Smart Object.
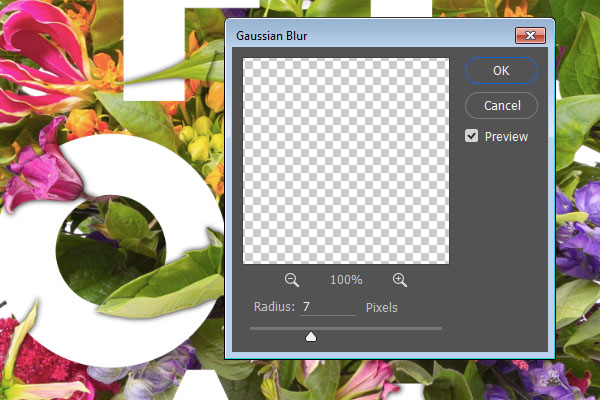
Step 3
Go to Filter > Blur > Gaussian Blur, and set the Radius to 7.
Step 4
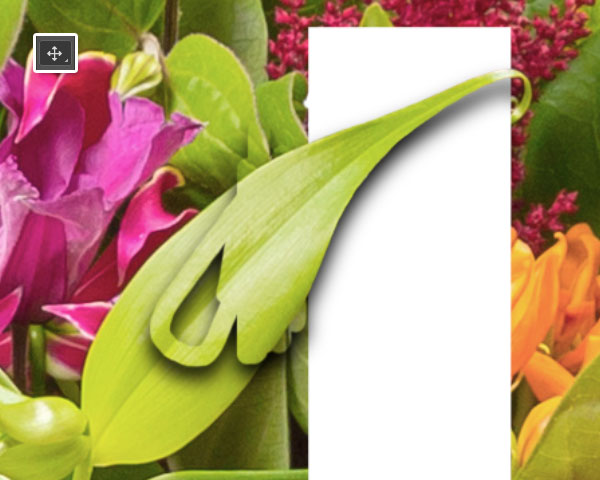
Use the Move Tool to nudge the shadows slightly downwards.
You’ll notice the shadow appearing randomly in some of the erased parts. To fix this, you need to paint those parts in (un-erase them).
So pick the Brush Tool, select the Flowers copy layer mask, set the Foreground Color to White, and paint over the parts you want to cover the shadow.
Step 5
You can use a lower Hardness value to blend those areas seamlessly.
If needed, you can even mask the Shadow layer to erase any extra parts, or open the original layer to add more shadows.

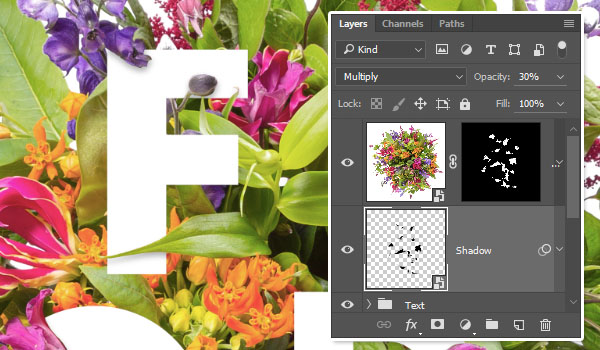
Step 6
Once you’re done, change the Shadow layer’s Blend Mode to Multiply and its Opacity to 30%.
5. Remove the White Background
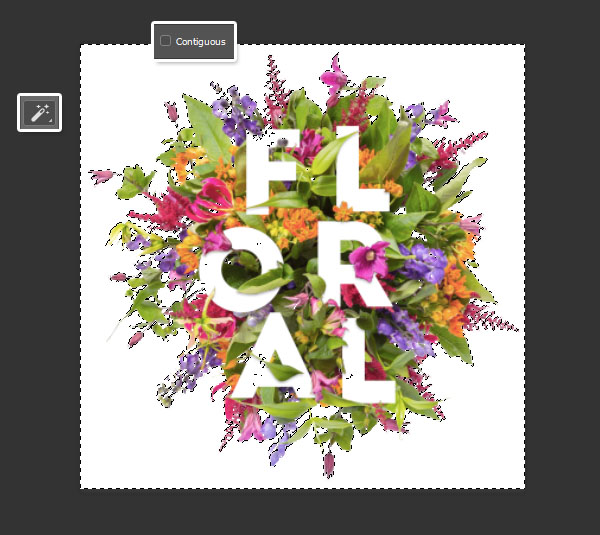
Step 1
Pick the Magic Wand Tool, uncheck the Contiguous box in the Options bar, and then click the white area to select it.
Depending on the flowers image you’re using, you might need to use other tools to select the background, such as the Magnetic Lasso Tool or the Quick Selection Tool. Just make sure to select the image’s background to remove it.
Step 2
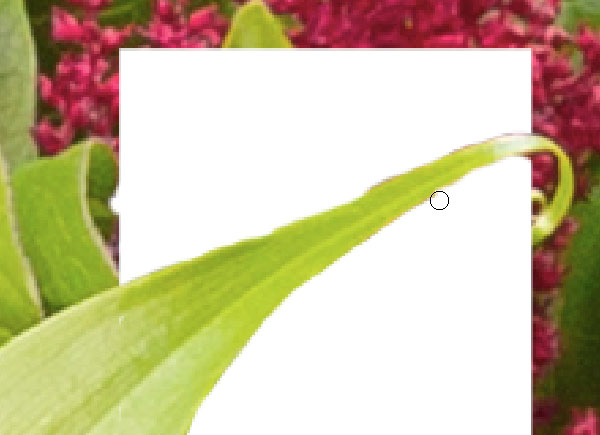
Go to Select > Inverse, and add a layer mask to hide the white background.
Step 3
Select the white area again (the empty part now on the Flowers image), and then click the Flowers copy mask, and fill the selection with Black.
Go to Select > Deselect.
6. Add the Background Gradient Fill
Step 1
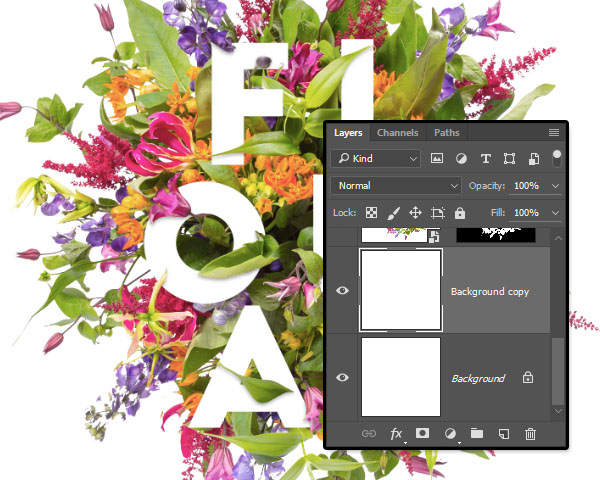
Duplicate the Background layer.
Step 2
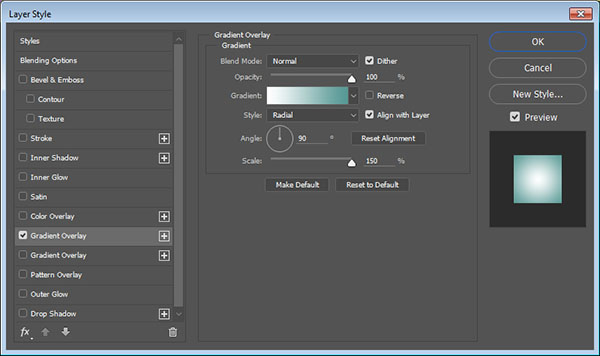
Double-click the Background copy layer to apply a Gradient Overlay effect with these settings:
- Check the Dither box
- Style: Radial
- Scale: 150%
- Click the Gradient box to create the gradient using the colors
#ffffffto the left and#559793to the right.
Step 3
You can use any other gradient fill you like as well.

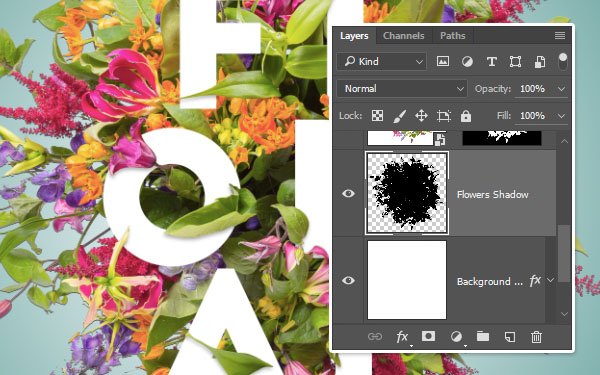
7. Create the Flowers’ Background Shadow
Step 1
Command-click the Flowers layer mask’s thumbnail to create a selection.

Step 2
Create a new layer on top of the Background copy layer, call it Flowers Shadow, and fill the selection with Black, then deselect.
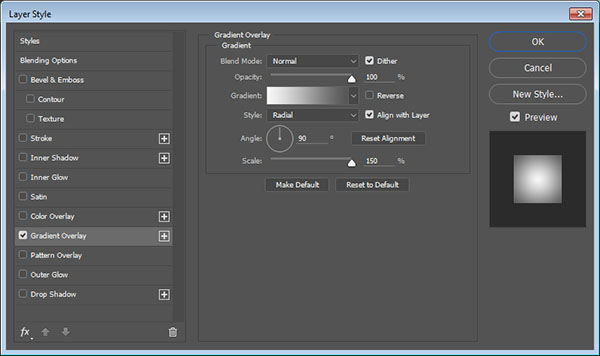
Step 3
Double-click the Flowers Shadow layer to apply a Gradient Overlay effect with these settings:
- Check the Dither box
- Style: Radial
- Scale: 150%
- Click the Gradient box to create the gradient using the colors
#f7f7f7to the left and#555555to the right.
Step 4
Convert the Flowers Shadow layer to a Smart Object, and then change its Blend Mode to Linear Burn and its Opacity to 70%.
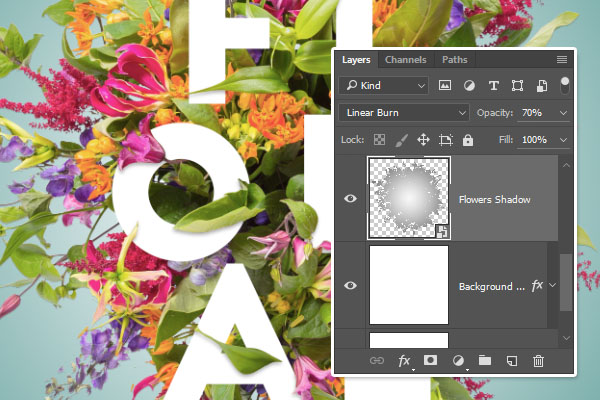
Step 5
Go to Filter > Blur > Gaussian Blur, and change the Radius to 10.

Step 6
Press the Command-T keys to enter Free Transform Mode.
Click the Warp icon in the Options bar, and choose the Fisheye preset. Adjust that if needed, and hit the Return key once to accept the changes.
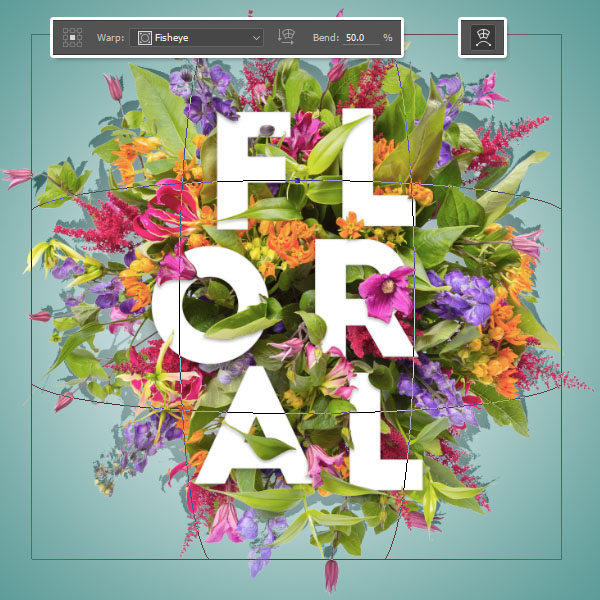
Step 7
Now resize and move the shadow as you like, and hit the Return key again to accept all changes and exit Free Transform Mode.

8. Style the Text
Double-click the Text group to apply the following layer style:
Step 1
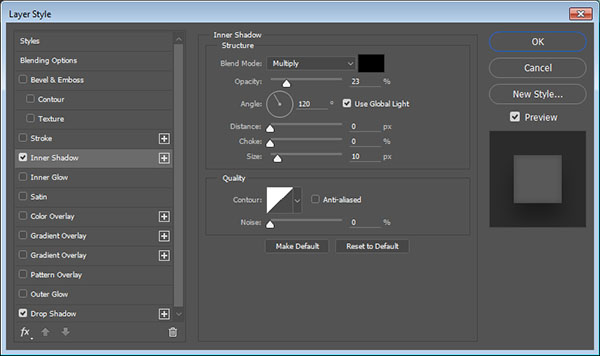
Add an Inner Shadow with these settings:
Step 2
Add a Drop Shadow with these settings:
- Opacity: 35%
- Uncheck the Use Global Light box
- Angle: 90
- Distance: 22
- Size: 57
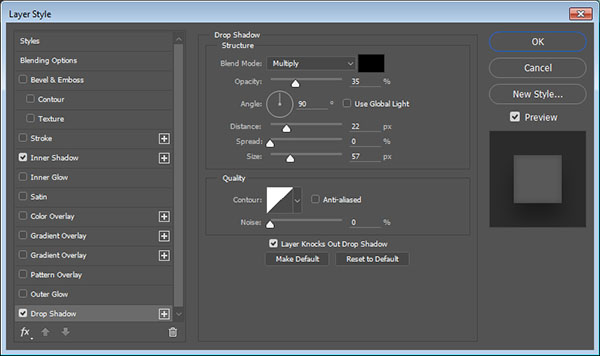
This will add some shadows to the text.

9. Create the Filter Layers
Step 1
Go to Select > All, then Edit > Copy Merged, and Edit > Paste.

Step 2
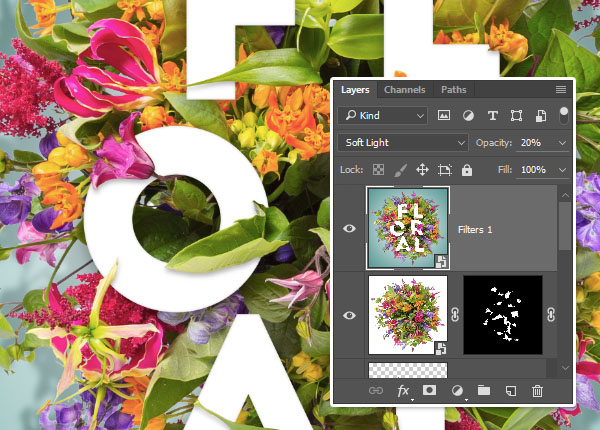
Place the pasted image on top of all layers, rename its layer Filters 1, and convert it to a Smart Object.
Then, change its Blend Mode to Soft Light and its Opacity to 20%.
Step 3
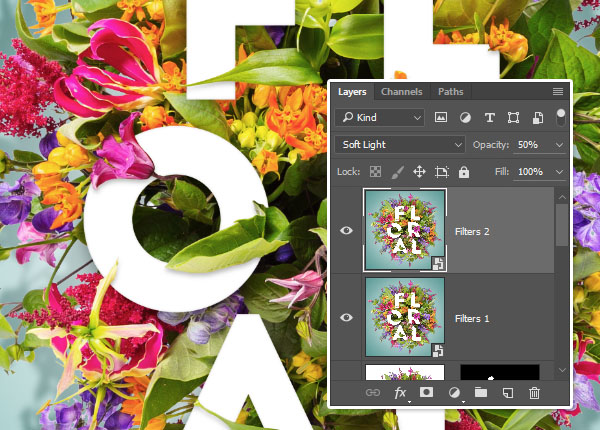
Duplicate the Filters 1 layer, rename the copy Filters 2, and change its Opacity to 50%.
10. Apply the Filters
Step 1
Select the Filters 1 layer, and go to Filter > Filter Gallery > Sketch.
Choose the Stamp filter, and change the Light/Dark Balance to 45 and the Smoothness to 1.
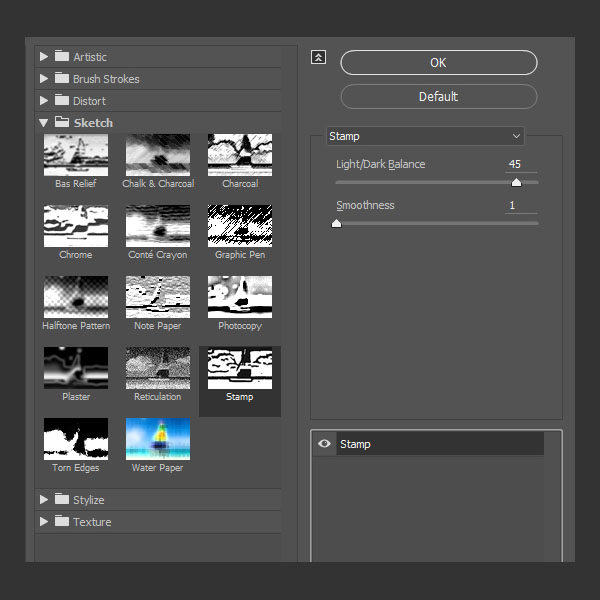
This will make the image look more like an illustration than a photo.

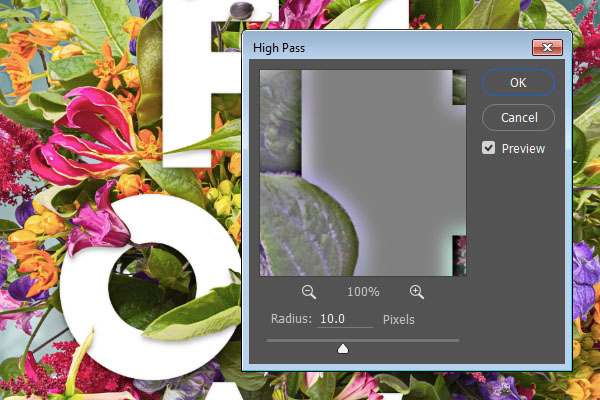
Step 2
Select the Filters 2 layer, and then go to Filter > Other > High Pass, and change the Radius to 10.
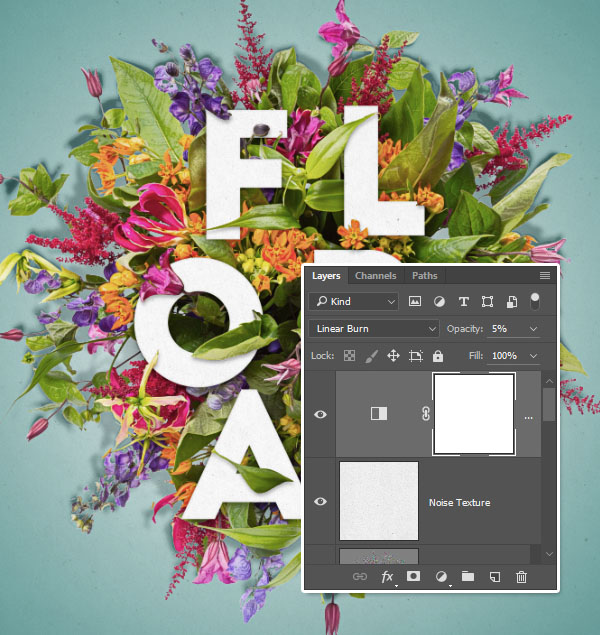
11. Add the Texture and a Final Adjustment Layer
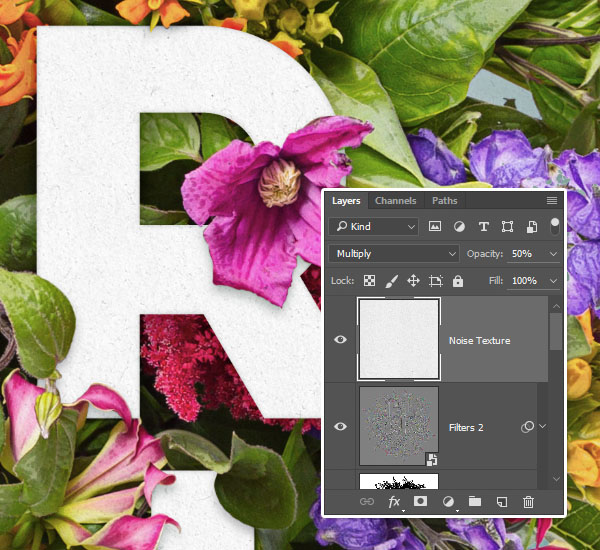
Step 1
Place the Paper Grain Texture image on top of all layers, and resize it as you like. Then change its layer’s Blend Mode to Multiply and its Opacity to 50%.
Step 2
Click the Create new fill or adjustment layer icon at the bottom of the Layers panel and choose Black White.
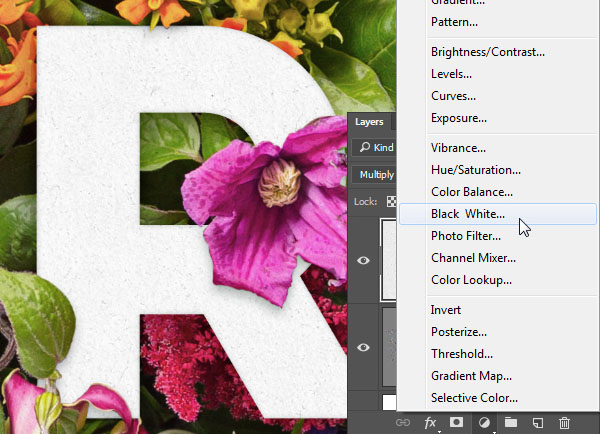
Step 3
Change the adjustment layer’s Blend Mode to Linear Burn and its Opacity to 5%. This will add a very subtle color adjustment to the final result.
Congratulations! You’re Done
In this tutorial, we adjusted the coloring of a flowers image, and used layer masks to add some simple text to it. Then, we styled the layers and added different shadows, as well as a simple gradient background.
After that, we applied a couple of filters to make the image look more interesting and defined. Finally, we added a texture and an adjustment layer to finish off the effect.
Please feel free to leave your comments, suggestions, and outcomes below.