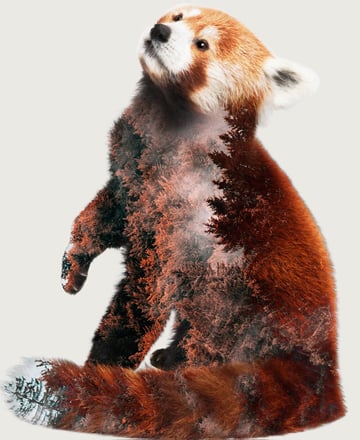
In this tutorial, we will be learning how to create a double exposure in Affinity Photo. We’ll just need two photos and a few layer masks and adjustments for it to all come together in only a few steps. And thanks to being able to nest and create multiple masks, creating a double exposure in Affinity Photo is even quicker than in Photoshop!
Are you interested in video tutorials? Then you can’t miss this new video from the Envato Tuts+ YouTube channel! Follow along to learn how to create a double exposure in Affinity Photo:
What You’ll Learn in This Affinity Photo Tutorial
- How to create a double exposure in Affinity Photo
- How to extract images in Affinity Photo
- How to use Layer Masks in Affinity Photo
How to Create a Double Exposure Effect in Affinity Photo
Step 1
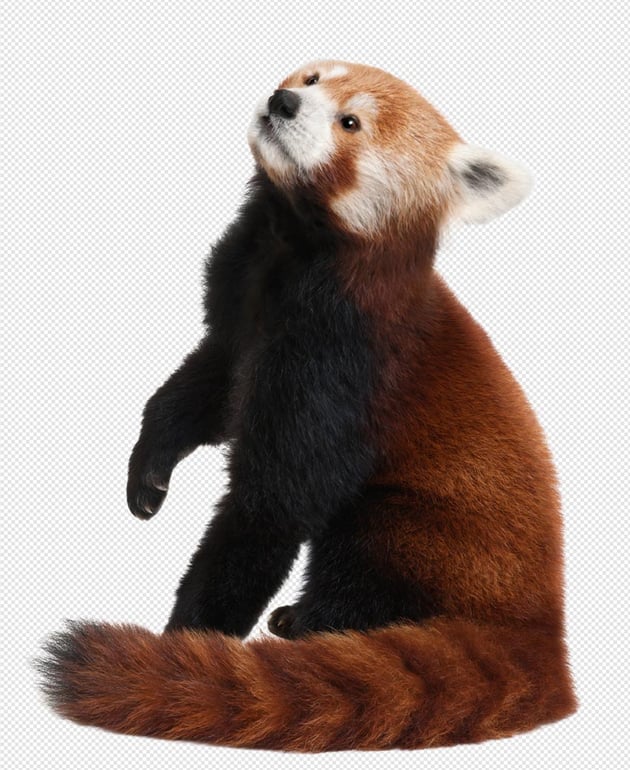
This first step is all about prepping our subject and creating a base mask.
First, we want to create a selection around our subject using the Selection Brush tool.
Then, we’ll add a Mask to our subject’s layer mask and Right-Click > Refine Mask. We just have to drag the Refine Brush over the subject’s edges and let Affinity Photo do the rest.
Now, we’re going to duplicate our subject using Control-J twice. We’re going to set the first copy to Lighten and the second to Screen.
Now, let’s create a new Empty Mask and nest it inside the Screen layer. We’ll be masking this back in later. Right now, your image will look like a typical extracted image.


Step 2
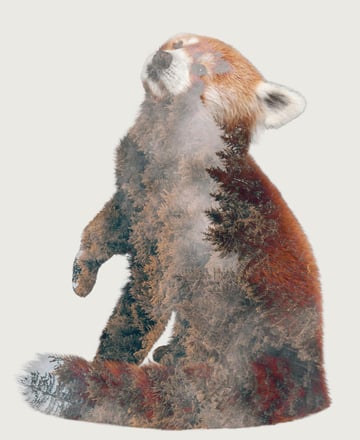
Now, we want to paste the environmental photo between the Normal and Lighten subject layers—in this case, a forest. We’re going to Duplicate the subject’s layer mask and nest it in the forest layer, masking it to the shape of our subject.
Let’s make sure we have the Move tool active and then check Lock Children in the upper options bar. This will make it so we can move the layer around without moving the mask.
Use the Move tool to position the forest in a way that looks interesting. Look for clever shapes and visual elements that match up. You want the areas of the bright white sky to be close to the edge of the panda. That’s how we’ll get those spots of negative space. It won’t look perfect, so don’t worry. We can adjust the placement as we go.
We’ll finish this step by creating a New Layer below our subject and filling it with the color of the forest’s sky—usually a light gray color.


Step 3
So we have our main elements; next, we need to do some image adjusting using adjustment layers.
First, let’s nest a Curves adjustment layer into the Lighten layer. We want to create an “s curve,” which is where you bring up the highlights and bring down the shadows, making an s-like shape in the curve to create contrast.
We’re going to copy that curves layer and nest it into the hidden Screen layer.


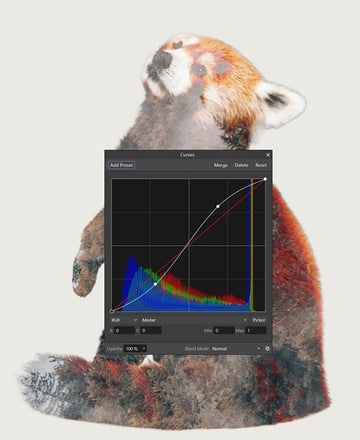
Let’s add an S Curve to the forest. Again, bring up the highlights and lower the shadows. I’ll also add an HSL adjustment to the forest image and do a 13 Hue Shift, making the forest feel more orange.


Step 4
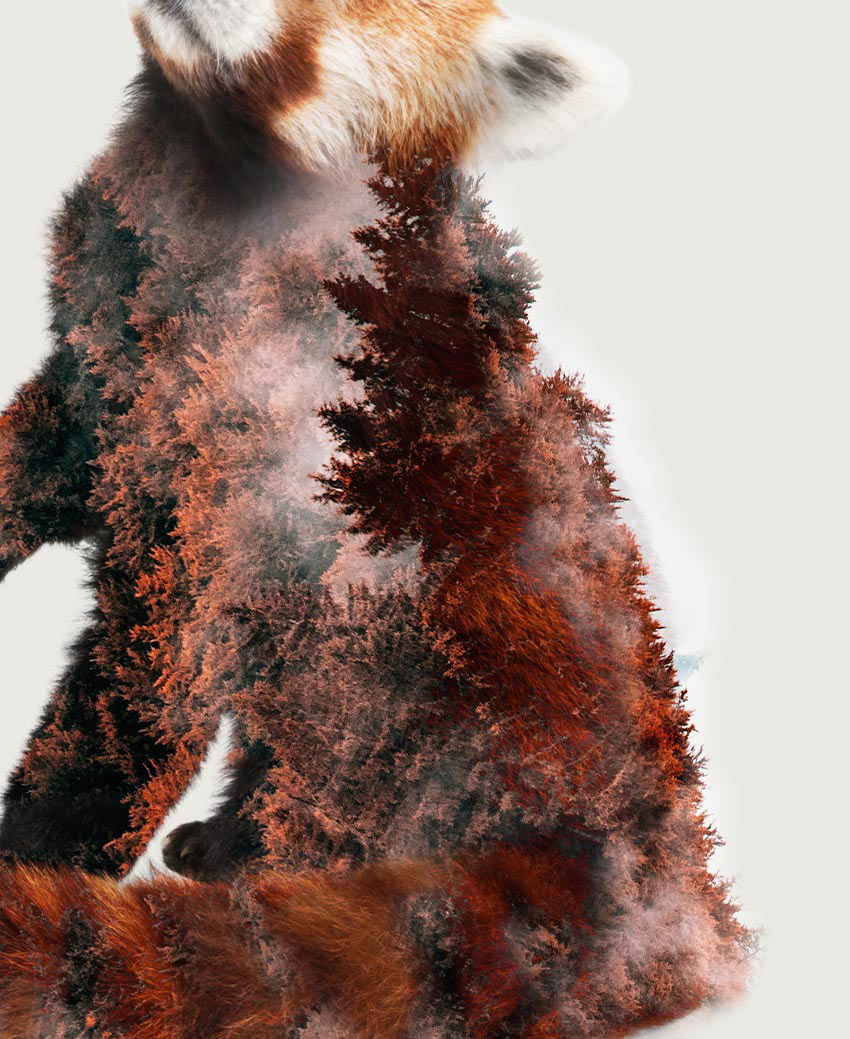
Now, we have to add new Masks to both the Normal and Lighten subjects and the forest layer. And we’re going to mask away different areas from each mask to blend and combine the panda and forest images.
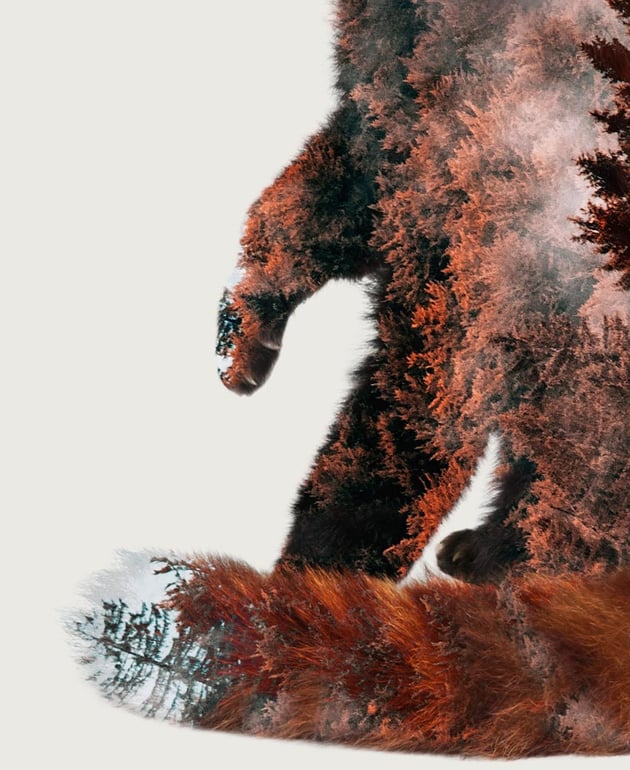
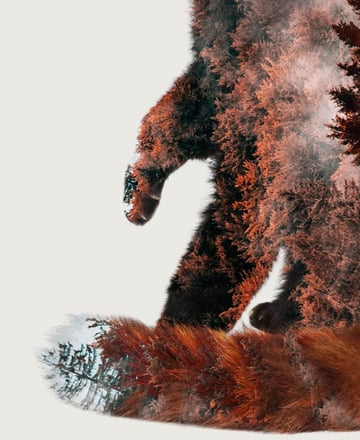
I recommend starting with the forest layer, masking it away from the face and paws, and removing the forest from parts of the tail to create a ringed tail effect.

Next, mask away hard or unwanted edges from the Normal layer, like on the edges of the paw and tail. This will help it blend with the solid background.

And then mask the Lighten layer on any areas that are too bright or solid, like the face.


Step 5
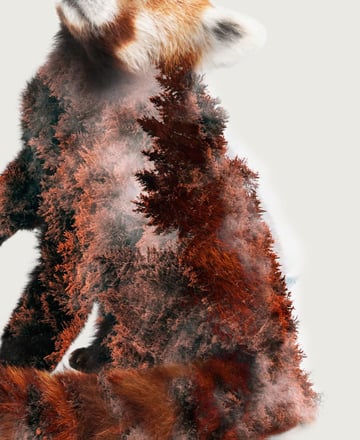
You don’t have to use just one forest layer. We can duplicate our current forest, flip and Transform it, and resize and remask it to create a tree line on the back of our subject.
Again, we’re using the light grey skyline to blend the image into the light gray background.
Unless you get lucky with the shape of your forest, you’ll likely have to do this to sell the effect that the panda’s body is made of trees.

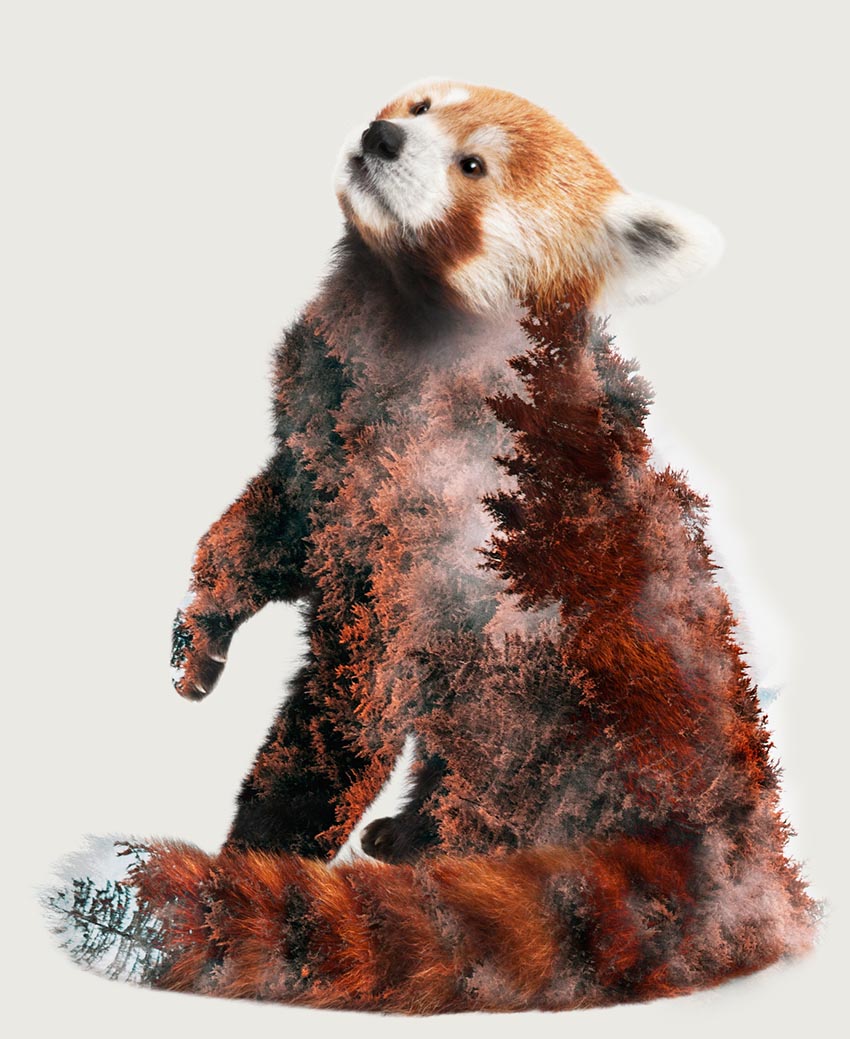
Step 6
Now, remember that Screen layer? We will use that to highlight and bring even more fur onto our panda. Mask in the areas you want to be brighter or have some more of the red panda’s detail.
If you find this layer is too solid or bright, use the Curves layer to deepen the shadows.


Step 7
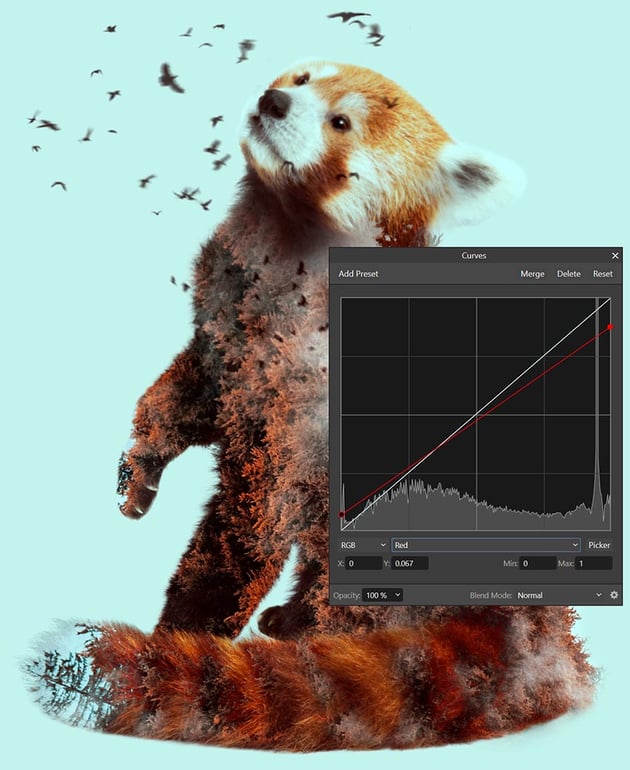
The rest is all optional details. I added some flying birds using this layer with a light background, so all I had to do was set the layer to Multiply and lower the Opacity to 85%.
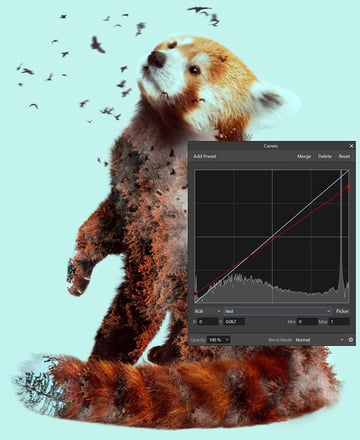
Then I added a quick color grade by creating a Curves layer, going into the Red Channel, bringing down the highlights, and pulling up the shadows. This will bring red into the shadows and blue onto the highlights.
Finally, add a Vibrance adjustment layer set to 55% Vibrance and 12% Saturation for an added punch of color.

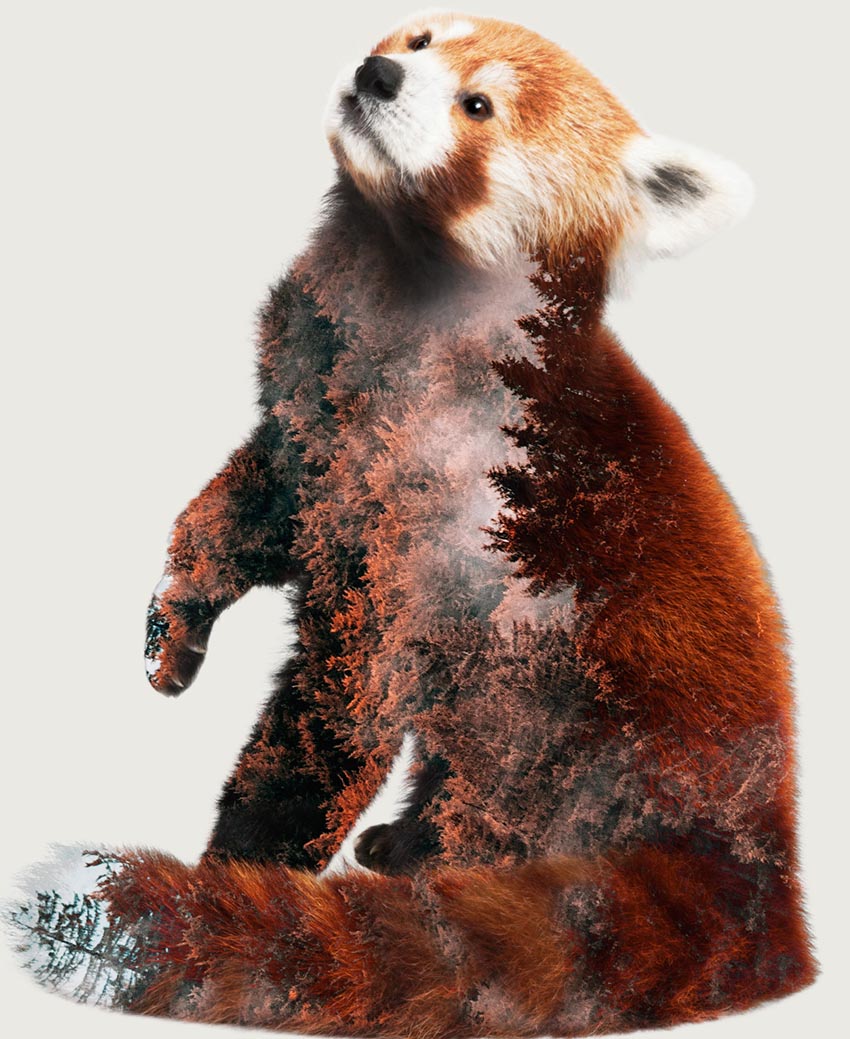
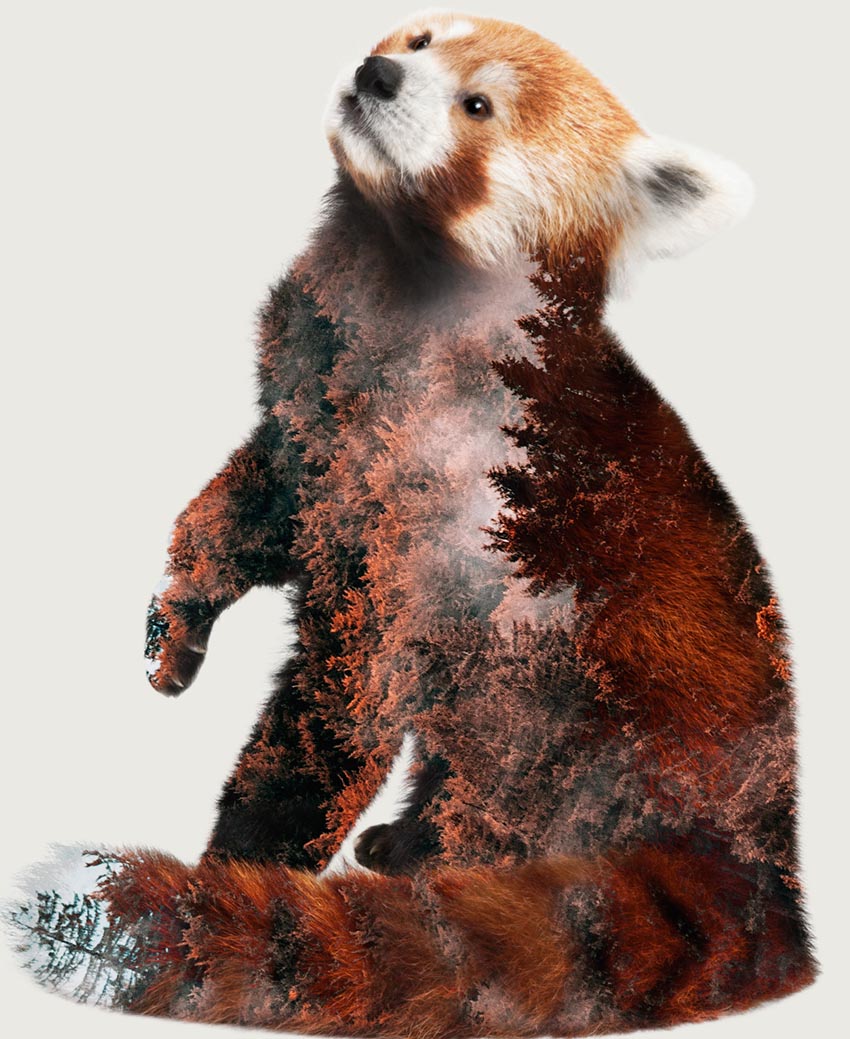
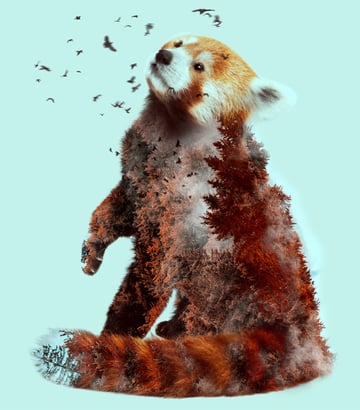
You’re Done!
This Affinity Photo double exposure effect is quick, easy, and highly customizable. Try out different environments and subjects for interesting new results every time. Just remember to look for images with bright, clear skylines so you can get that classic double exposure effect.


You’ve just learned how to create an Affinity Photo double exposure effect! Want to learn more? Check out these other Affinity Photo tutorials.