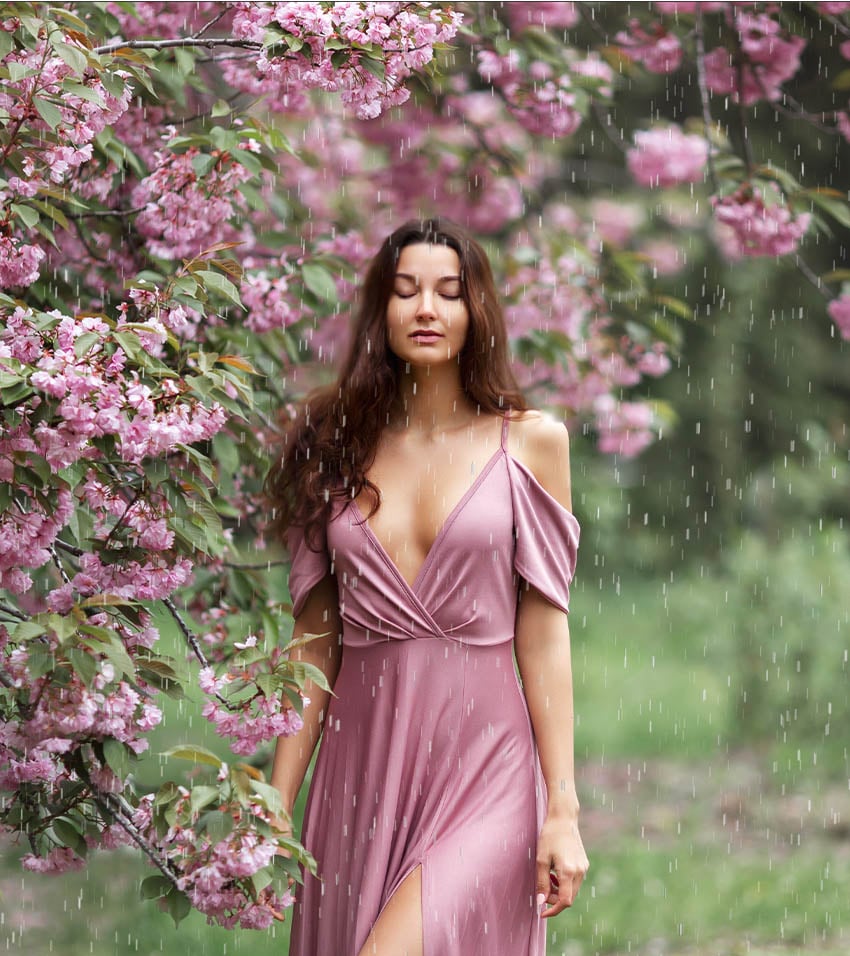
In this tutorial, you’ll learn how to add rain to a photo in Photoshop. This easy technique can simulate all kinds of rain, from light drizzle to a heavy downpour. With a little tweaking, you can even use it to make snow! When I’m wondering how to change the weather in Photoshop, this is always my go-to.
And don’t forget to check out the new video and follow along on the Envato Tuts+ YouTube channel:
How to Add a Rain Effect in Photoshop
Step 1
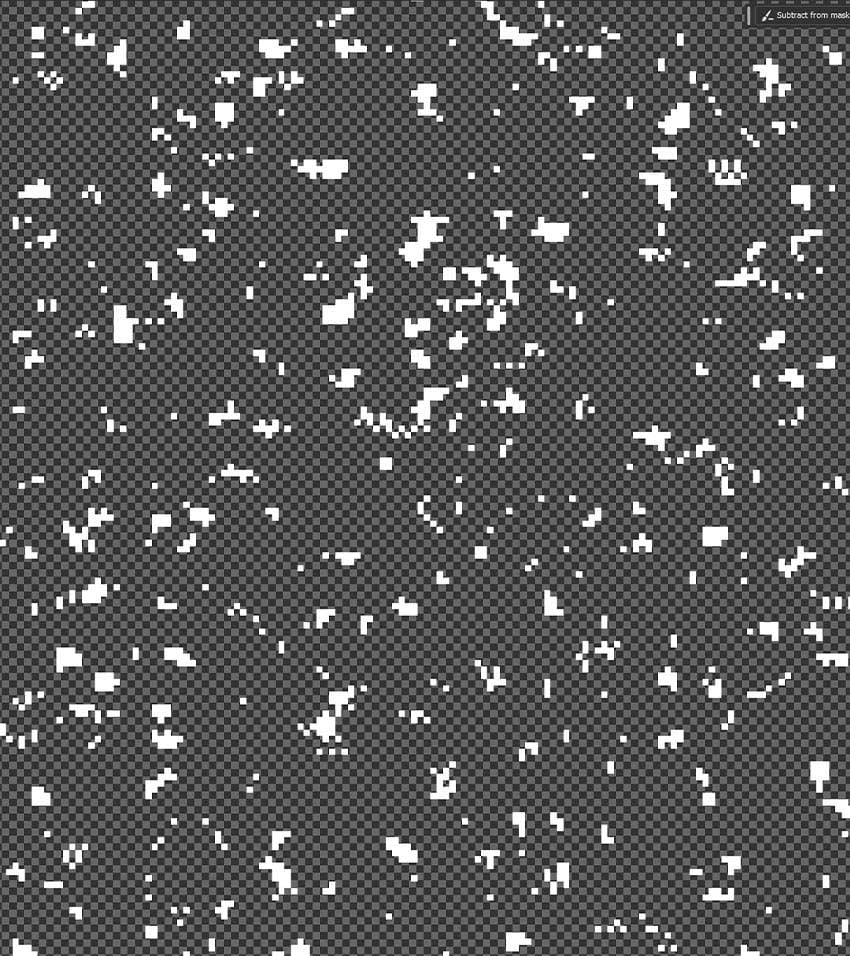
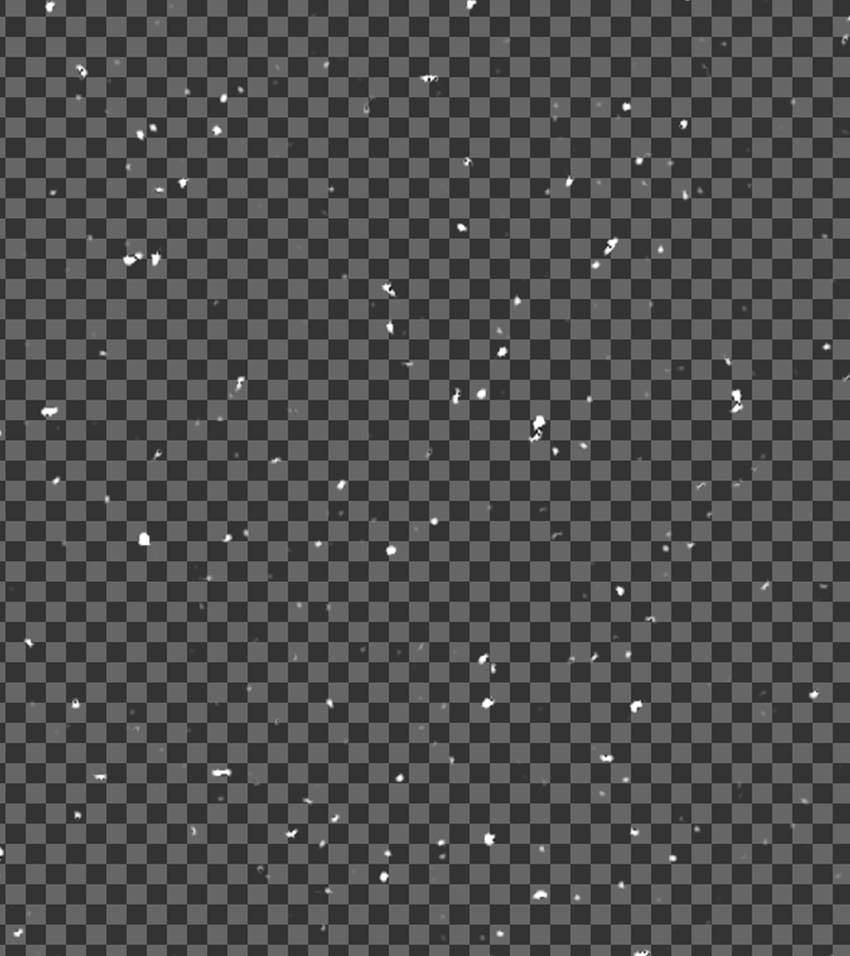
The first thing we need to do when creating a rain effect in Photoshop is to make a rain texture. Let’s create a New Layer and fill it with solid black. Name this layer “Dots.”
Go to Filter > Pixelate > Mezzotint, setting the Type to Coarse Dots.


Step 2
Now, we’re going to Zoom in close and go to Select > Color Range. Here, we’re going to click on a white dot and set the Fuzziness to 200. Press OK. That will select the white dots so we can add a Layer Mask and mask them.

Step 3
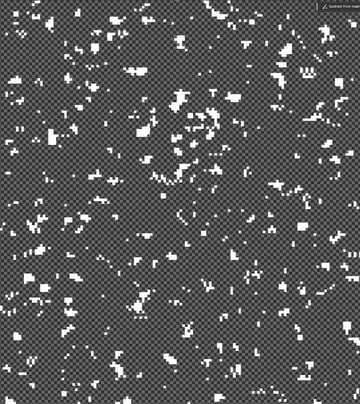
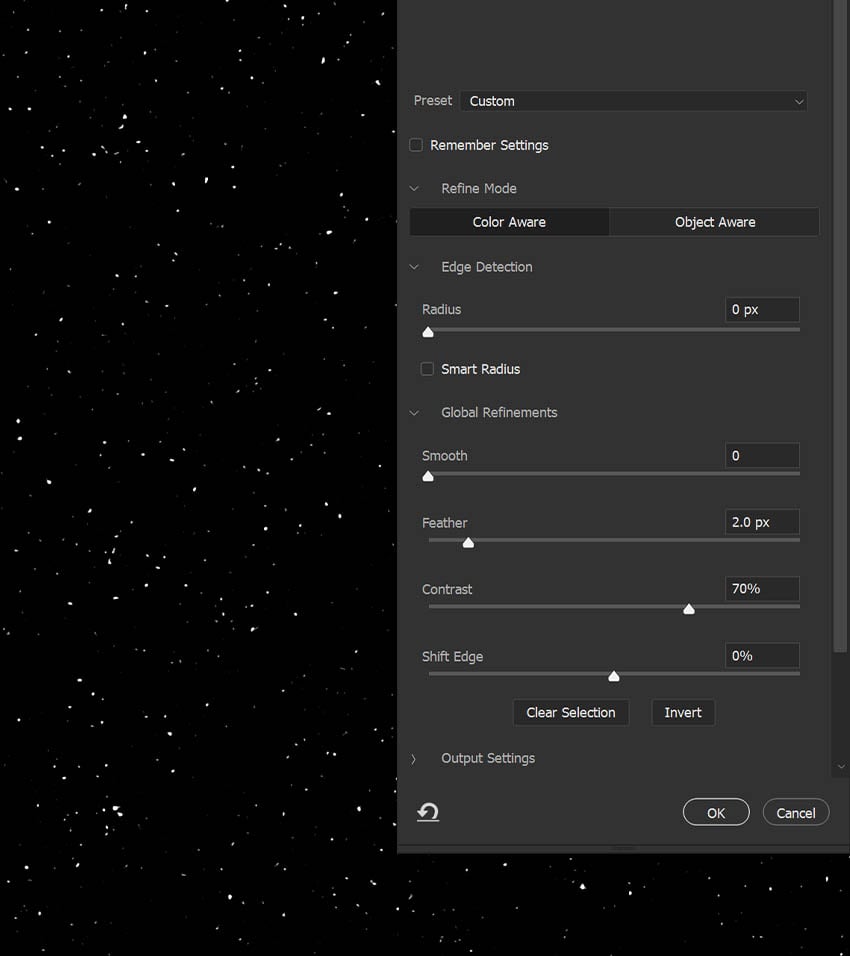
Next, let’s enter Select and Mask, found in the Properties panel when a selection tool is active.
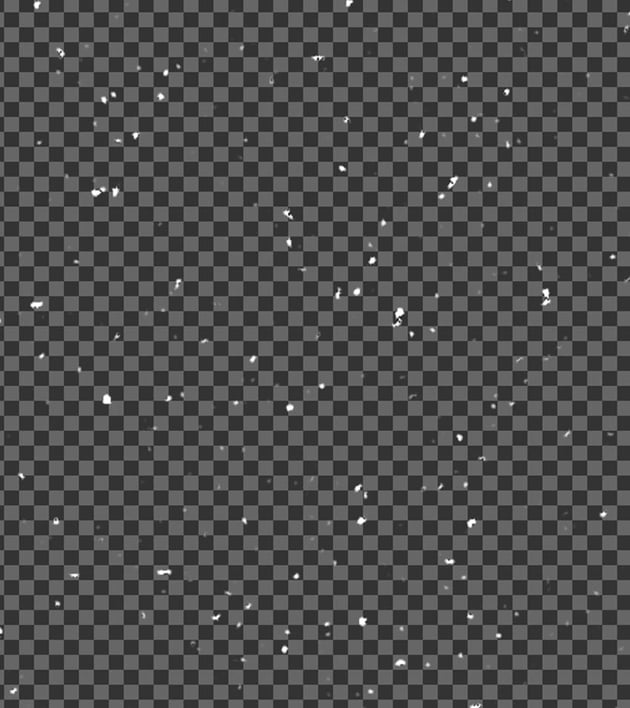
In Global Refinements, set the Feather to 2 px and Contrast to 50%. Press Okay.
This will thin out the dots. The more visible the dots are, the heavier the rain will appear, so feel free to play with these settings.


Step 4
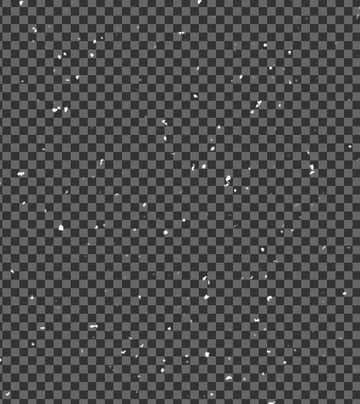
We’re going to Duplicate the “Dots” layer twice using Control/Command-J for a total of three dot layers.
Select all the dot layers and Right-click > Merge Layers. This will make the dots appear stronger.
Because we’re working with a portrait, I’m going to increase the size of the dots using the Transform tool.
The amount you increase the size will depend on how close or large you want the raindrops to appear.
Step 5
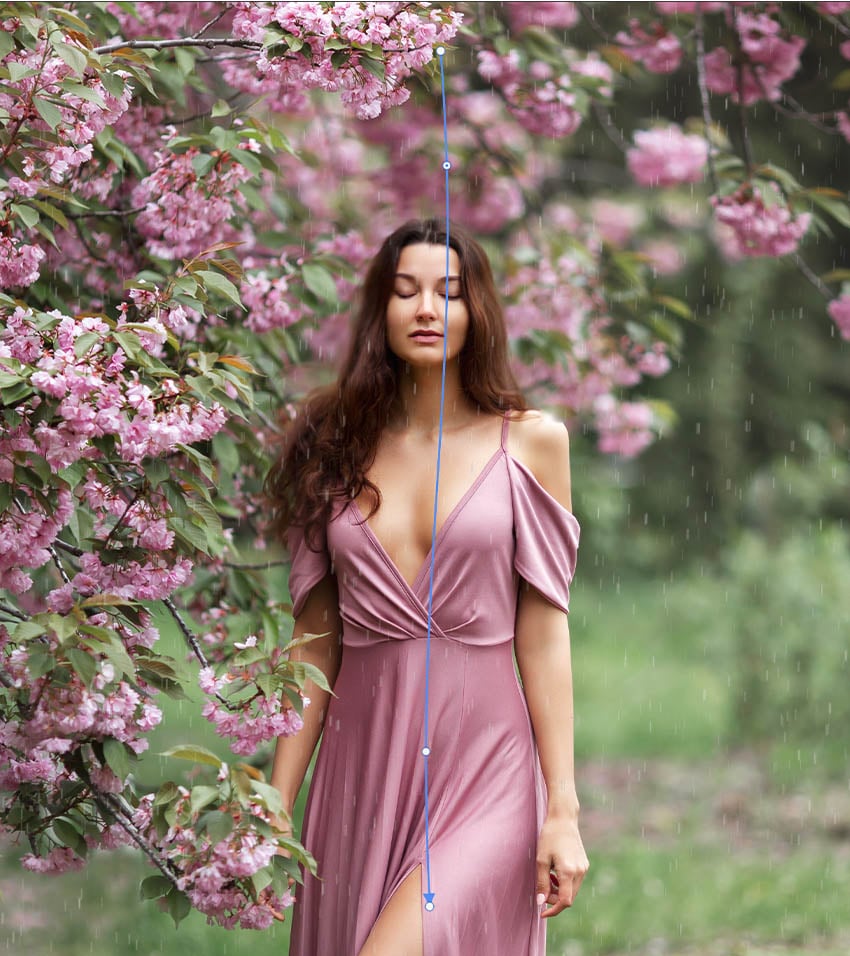
Go to Filter > Blur Gallery > Path Blur. Stretch out the blue blur path so it’s vertical.
Next, we can create variation in movement in the rain by placing two points on the path and pulling them in opposite directions.
You always want your rain to be going in more than one direction, even if it’s very subtle. Ultimately, we want the rain to be vertical, but adding a slight wave will give us a more organic effect.
This brings us to Movement Speed. If we want a full-blown downpour, 50–75% works well. However, we want a more photographic-style rain. So let’s bring the Movement Speed down to 20–25% and press OK.


Step 6
Let’s Duplicate this rain texture a couple more times to make it appear stronger and then Right-click > Merge Layers again.
This is going to be our base rain effect texture. How you edit this texture will depend on the effect you want and the image you’re applying it to.
I highly recommend making a copy of this rain layer so you can use it over and over, and not have to remake it.

Step 7
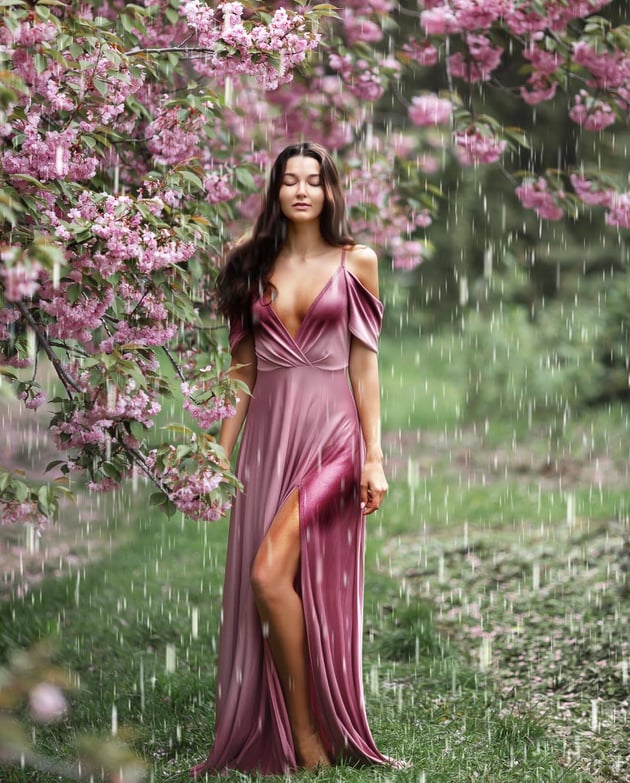
Layer the rain in front of and behind your subject. You can also adjust the brightness, size, and color of the rain textures as needed.
Let’s look at how to adjust the color. The easiest option is to go to Image > Adjustments > Hue/Saturation and check Colorize. Here you can use Hue and Lightness to adjust the color of your rain. Below, I added a slight green hue.
We can also change the Layer Modes. I like to experiment with combining layer modes like Overlay, Soft Light, Color Dodge, and Screen.
I never recommend pure white rain.


How to Make Hair and Clothes Wet in Photoshop
Step 1
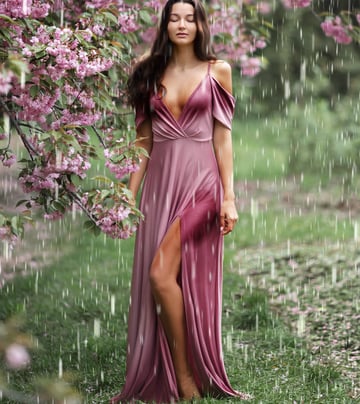
The following steps are optional. If you have a subject with clothes and hair, here’s how you can make them appear wet from the rain. First, let’s start with the hair. Extract your subject using your preferred method; I like Select Subject and a Layer Mask.
Use the Smudge tool to smudge the hair. We want the hair to look heavy and wet, not fluffy. Try to remove any flyaway hair strands as well.
Create and Clip a Brightness/Contrast layer into the subject, setting it to Contrast 100. Use a Layer Mask to remove the Brightness/Contrast layer from everywhere but the hair.
If needed, use a Vibrance adjustment layer to remove some saturation from the hair, as adding contrast can sometimes oversaturate pixels.


Step 2
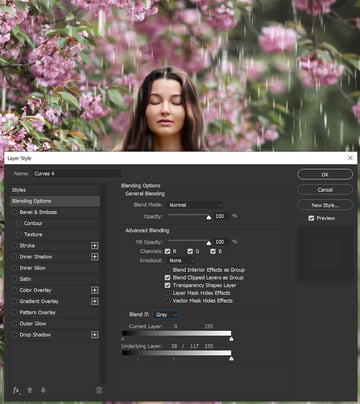
Next, create and Clip a Curves layer above the Brightness/Contrast layer, bringing up the highlights. Use Blend If to target the highlights of the hair.
Use a Layer Mask to remove the Curves layer from everywhere but the hair. This will bring out the highlights in the hair, making it appear wet.
Hold Alt to split the Blend If toggles.

Step 3
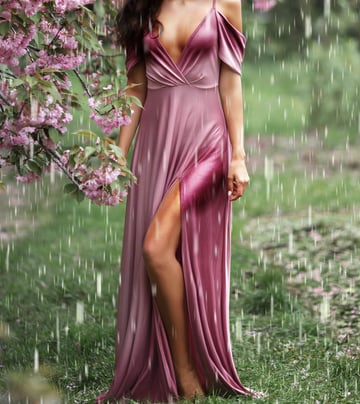
Create and Clip a New Layer into the subject, setting it to Soft Light. Use a semi-soft round Brush with Wet checked in the Brush Settings to paint wet spots on the high parts of the clothes—in this case, the chest and the leg of the dress.
Use multiple layers to slowly build up the wet look. Adjust the Opacity of layers as needed.


Step 4
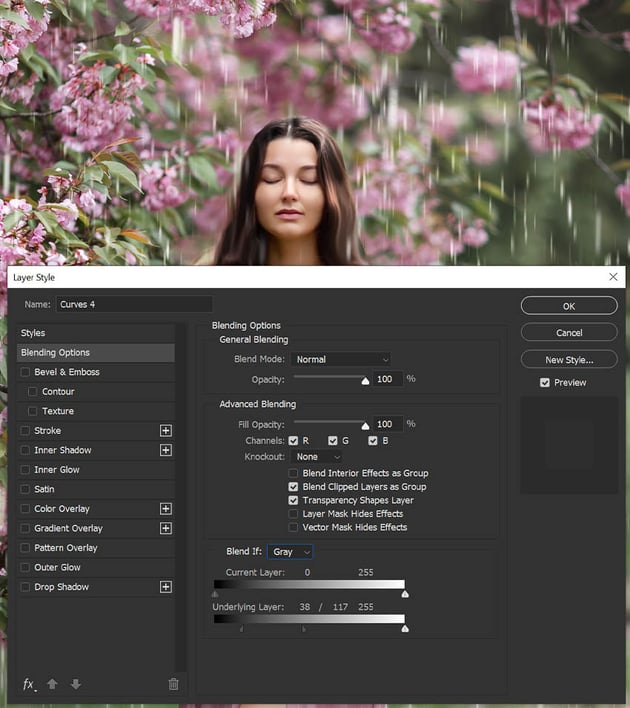
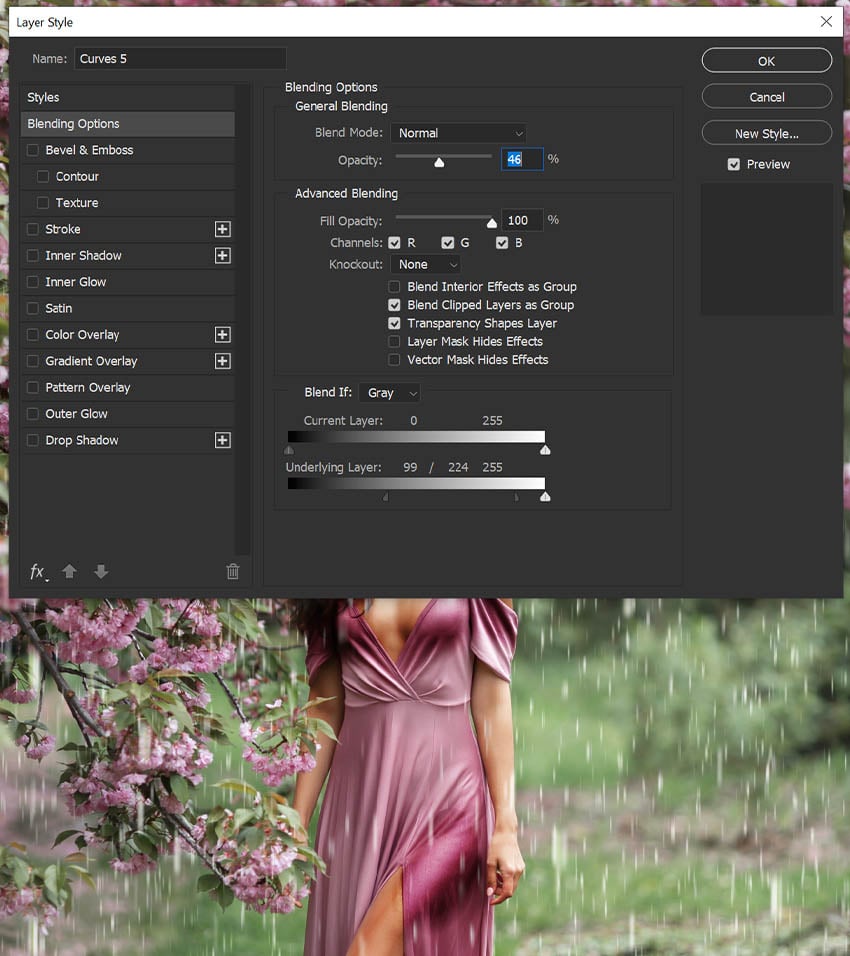
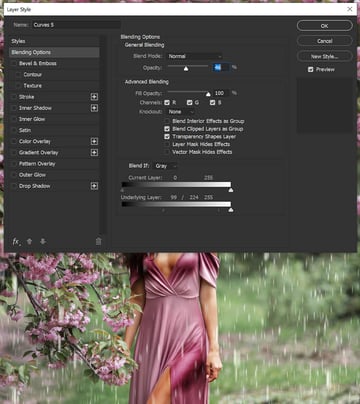
Create and Clip another Curves layer above all current layers in the subject. Increase the highlights, and use Blend If to target the highlights in the image.
Invert the Layer Mask using Control/Command-I, turning the layer mask black. Mask in the curves layer over the wet parts of the subject—in this case, her leg and chest.

Step 5
Repeat the above step until you have a bright sheen on the subject.


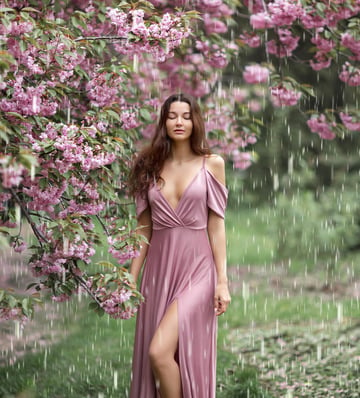
That’s How to Add a Rain Effect in Photoshop!
That’s how to add rain to a photo in Photoshop! Try saving each rain texture you create so you can add rain quickly in future, without having to make the same texture over and over. And hey, why not play around with other weather effects too? Give snow a shot using the same technique! Just make the rain a bit thicker and add less Movement Speed, and you’ll get an instant snowstorm.


Looking for More Photoshop Weather Effects?
If you need even more Photoshop weather effects, try out some of the amazing rain overlay Photoshop assets from Envato Elements.
Realistic Rain Stamp Brushes (ABR, BRUSHSET)
These are some of the best rain brush Photoshop assets you’ll find. This brush pack contains ten high-resolution and realistic rain brushes that each create a different type of rain effect. From a straight downpour to a windy rain, it’s all here!

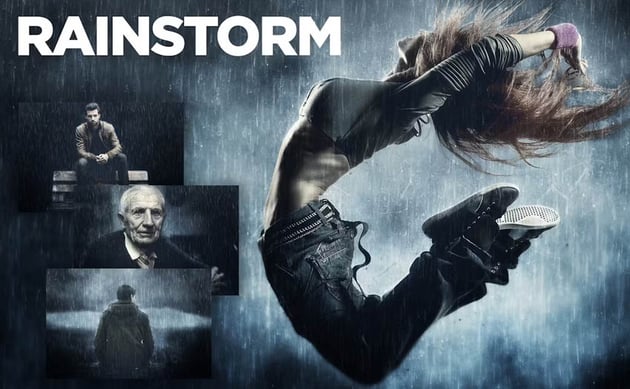
Rainstorm Photoshop Action (ABR, ATN)
Want to create a downpour in an instant? This rainstorm Photoshop action is perfect for you. The effect is non-destructive and customizable, so you’ll always have the final say on how your image turns out. It’s the perfect rain overlay for Photoshop.


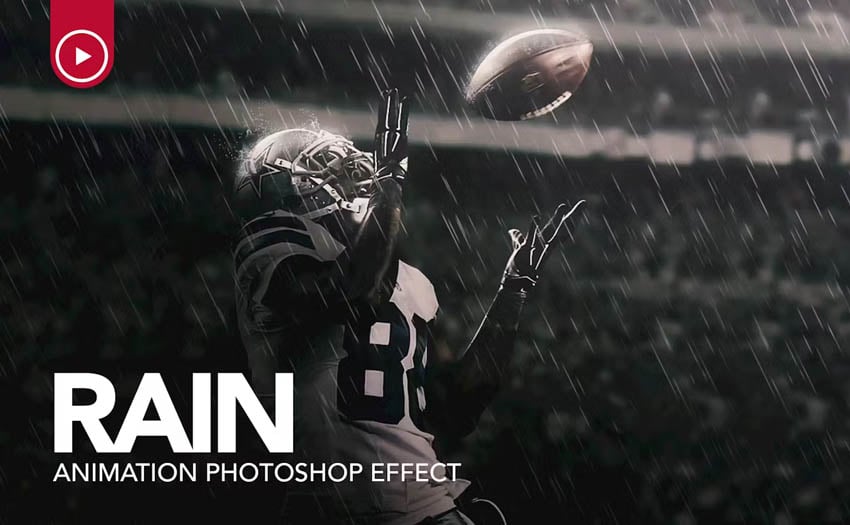
Rain Animation Photoshop Action (ABR, ATN, PAT)
Add a touch of drama to your sports images with this instant action. With just a click of a button, a stylistic Hollywood-inspired rain effect will be added to your photos. Never wonder how to add rainy weather in Photoshop again.


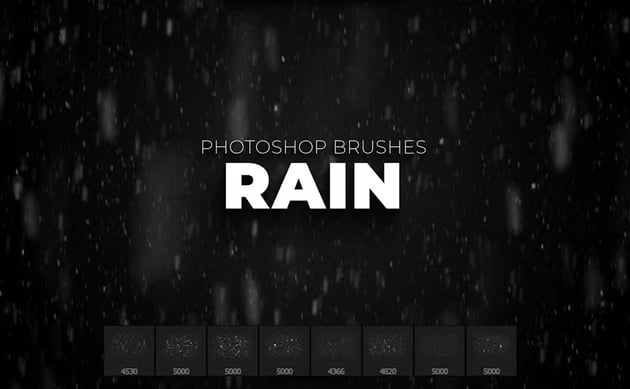
8 Rain Photoshop Brushes (ABR)
This is how to change the weather in Photoshop quickly. This rain brush Photoshop pack is a favorite. Quickly add rain to any scene with a click of your mouse. It comes with eight brushes that all have soft edges for easy blending. At 5000px in size, these brushes are high-resolution.


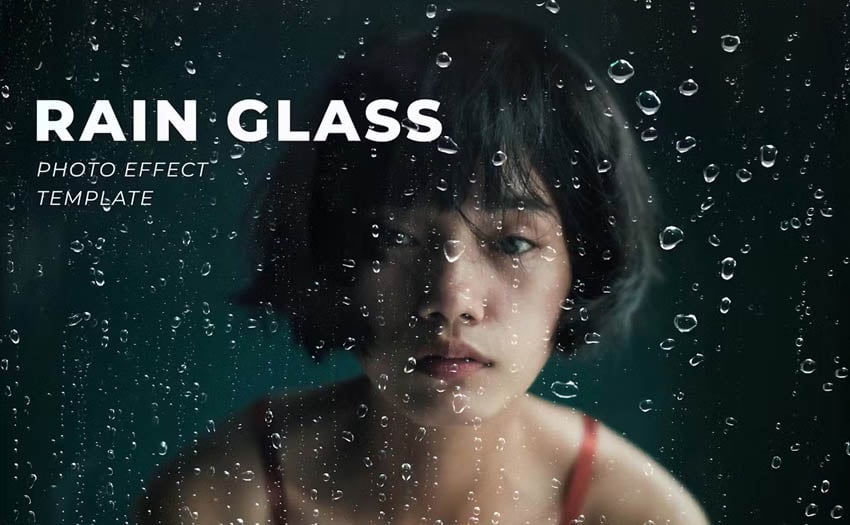
Rain on the Glass Photo Effect Mockup (PSD)
Want to learn how to add rainy weather in Photoshop in an instant? Transform your photo into a rain-kissed masterpiece with this rain-on-the-glass effect. Simply drag and drop for a touch of realism. Experience a unique and lifelike rain texture for that perfect rainy-day vibe in your pictures.