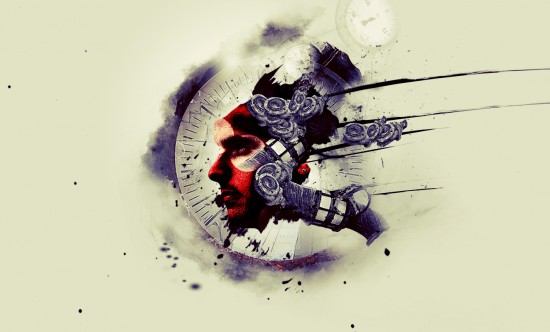
In this tutorial, I will show you the process of creating this “Mechanical Man” digital art in Photoshop. We will use a number of photo manipulation techniques to merge several objects into one piece, and apply image adjustments to fine-tune each of the objects to achieve the desired effect.
This is an immediate level tutorial and some steps can be a little tricky, have a try!
Note: The Photoshop tutorial is done in CS6 – therefore some screenshot may have slighting different layout as in the earlier version. Some brushes are exclusive to Photoshop CS6.
Here is a preview of the final effect I have for this tutorial: (click to enlarge)
OK Let’s get started!
To complete this tutorial, you will need the following stocks:
Abstract Brushset (pick a few sets from the list)
Note: This tutorial utilises heavily on layer mask techiques – if you have any difficulty with layer mask, please check out this video tutorial below:
Step 1
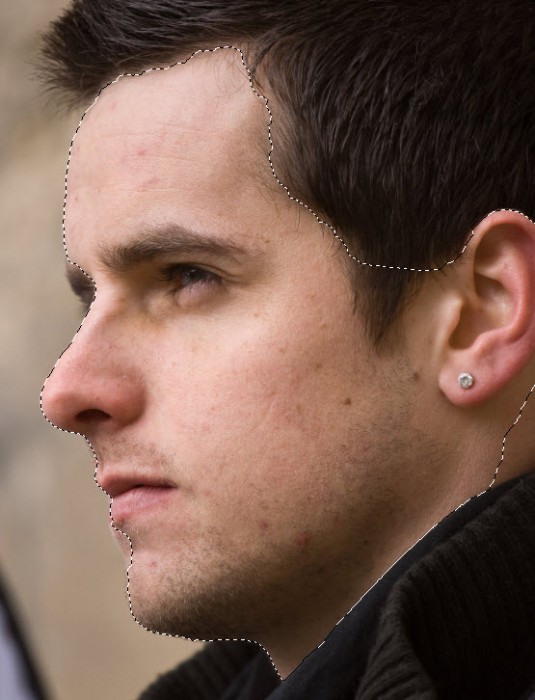
Create a new document sized 1400px * 800px with white background. Load the model stock into Photoshop and select the facial area as shown below:
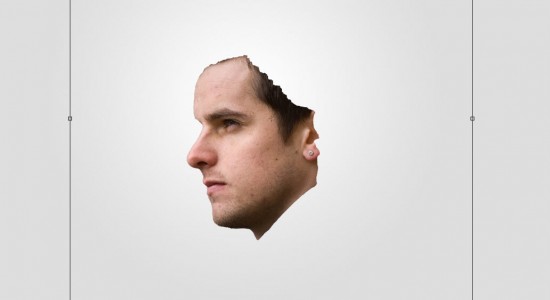
Copy and paste the selection over to our document, reduce its size and place it at the center of the canvas:
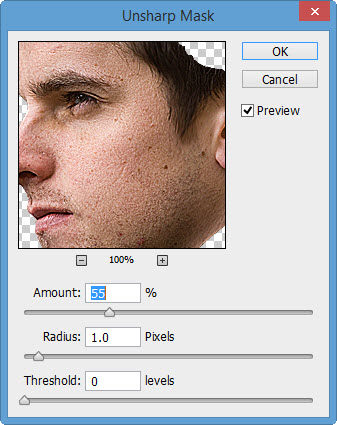
Apply the following Unsharp Mask filtter settings to sharpen this face layer a little:
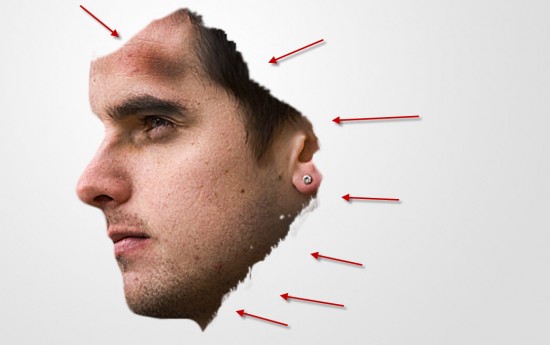
Use the eraser tool to fade the edges of the face as shown below:
Add the following 2 adjustment layers as clipping mask to the face layer:
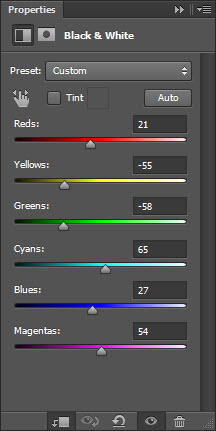
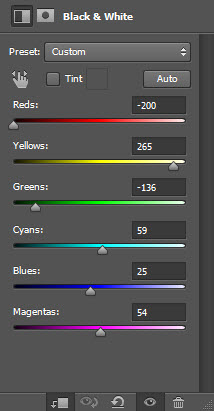
Black and White
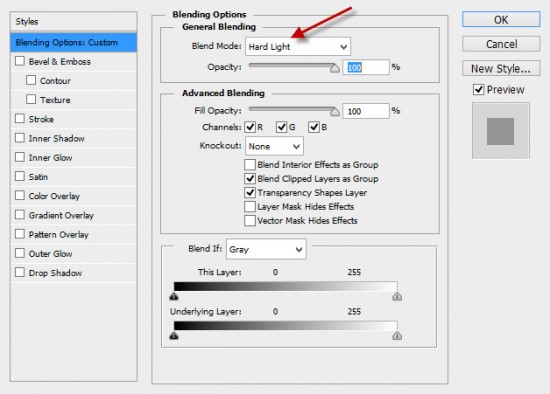
Set the layer blending mode of this black and white adjustment layer to “Hard Light”:
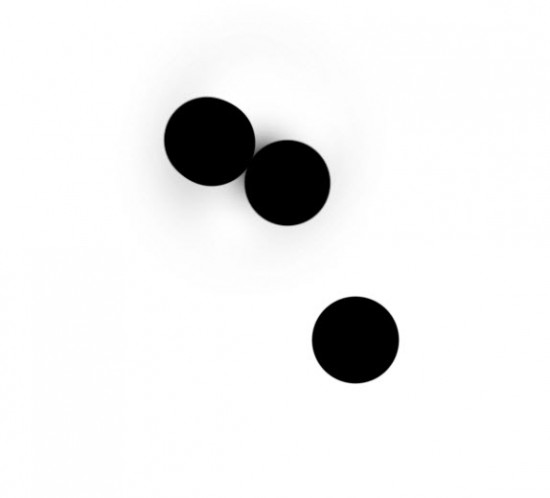
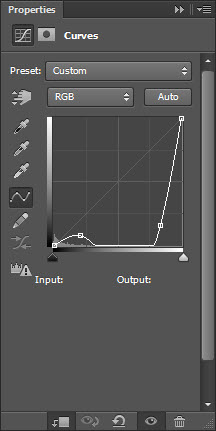
Then add the following layer mask on this black and white adjustment layer:
Curves
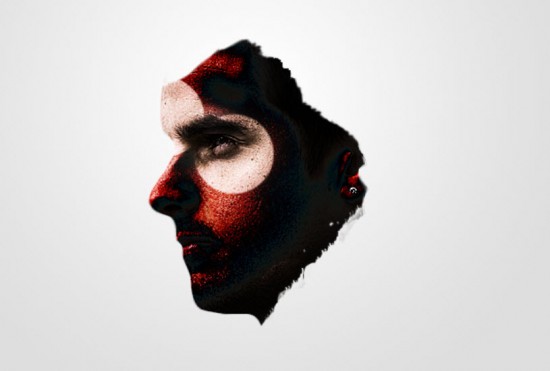
and here is the effect so far:
Step 2
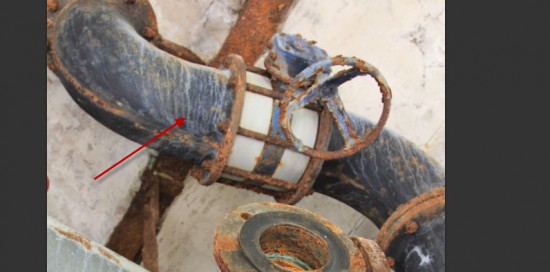
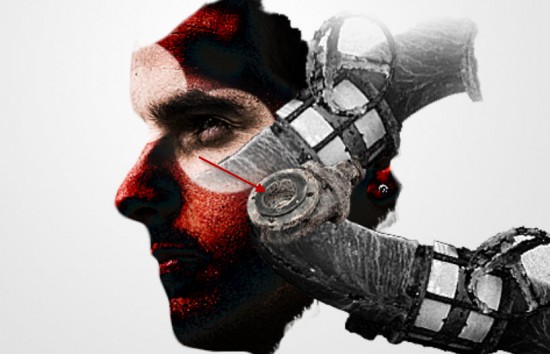
We will starting the mechanical parts into the image in the step. Load the “Factory stock 1″ image into Photoshop and select the pipe on the top:
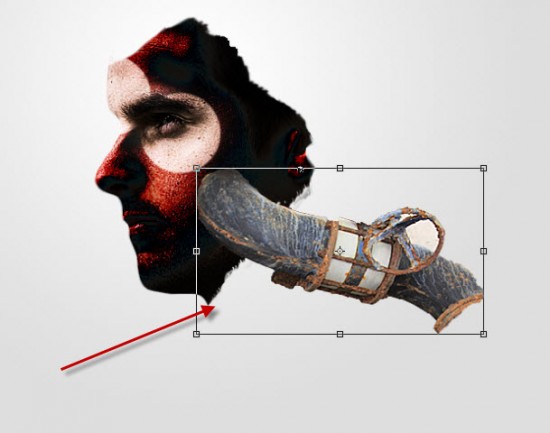
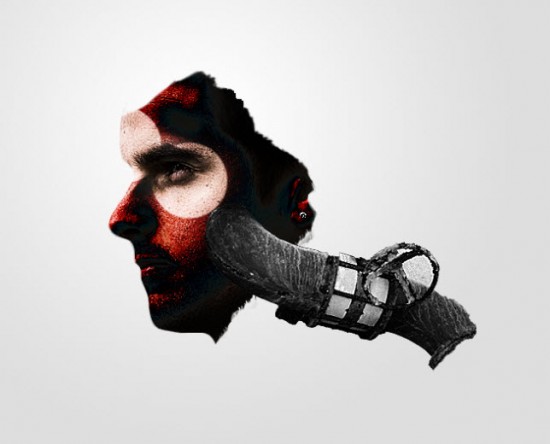
Copy and paste the selection over to our image and adjust its size as shown below:
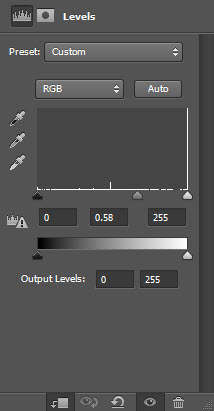
Add the following 2 adjustment layers as clipping mask to this new pipe layer:
Black and White
Levels
and here is your effect so far:
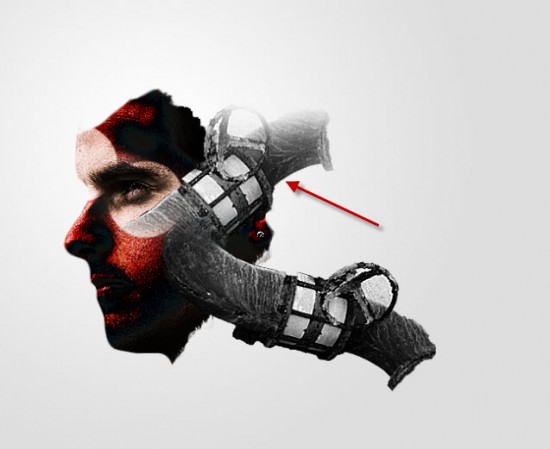
Repeat the above steps and add another pipe on top: (with a different angle)
Step 3
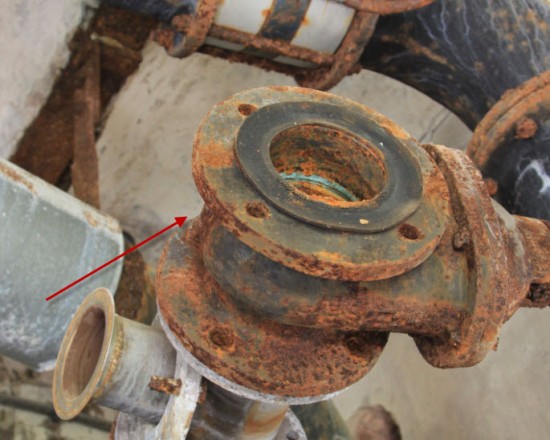
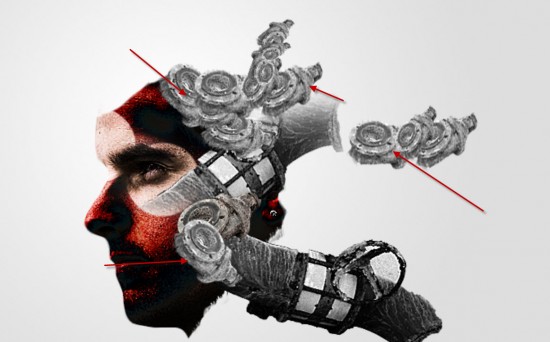
We will keep adding more mechanical parts to the image. Select this round piece from the “Factory stock 1″ image:
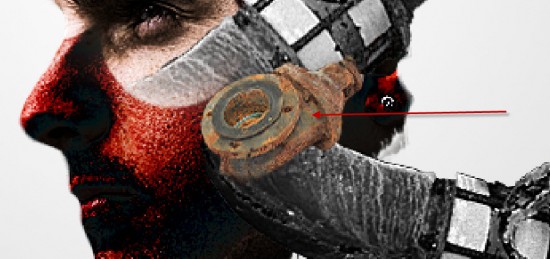
Copy and paste the selection over to our document, resize and place it onto the following position:
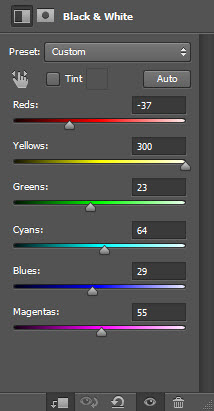
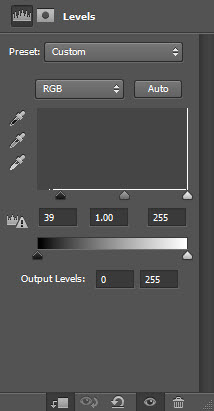
Add the following 2 adjustment layers as clipping mask to it:
Black and White
Levels
and here is the effect you will have so far:
Repeat the above step and add more of these mechanical pieces to our image – use free transform tool to rotate and resize the pieces as you see fit.
You will aim to achieve the following effect:
Step 4
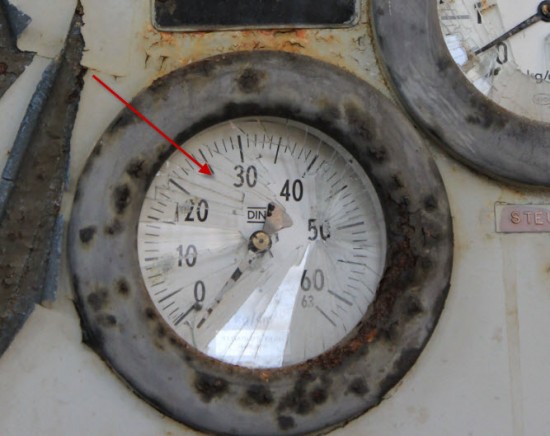
We will add more mechanical piece into the image. Load the “Factory stock 2″ image into Photoshop and select the bottom one as shown below:
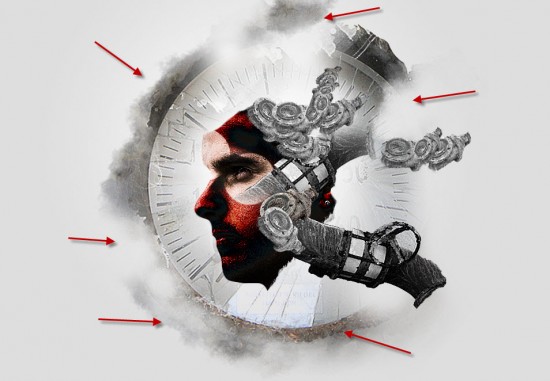
Copy and paste the selection over to our image, place the new layer below the face layer and use a cloud or smoke brush (you should find lots of them on Google) as eraser, remove portions of it as shown below:
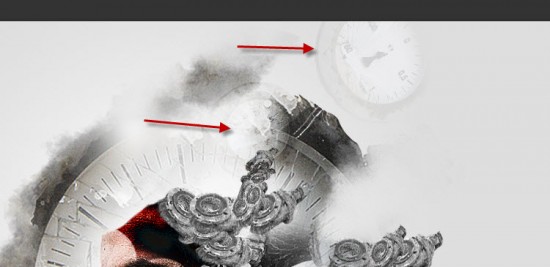
Optionally, you can a few low visibility meters to the image (set layer opacity to around 20%):
Step 5
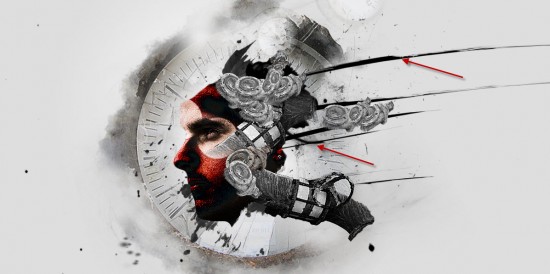
We’re almost done! For final touches, we can add a few brush patterns below the face with the abstract brush sets you downloaded:
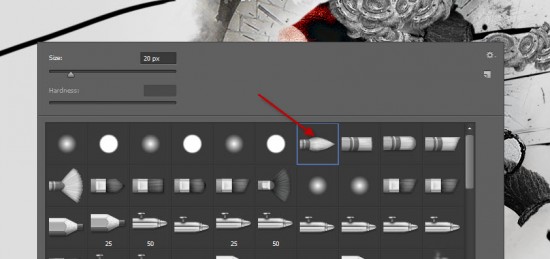
The strokes on the right were added with a 20px Round Point Stiff brush:
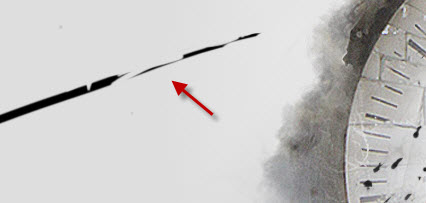
and erase parts of it with the eraser tool:
I further added the colour balance of this image with a few colour balance and curves adjustment layers, and here is my final effect: (click to enlarge)
You can check out the following video tutorial on how to add colours with adjustment layers:
That’s it for this tutorial! Hope you enjoy going through it and find it useful. Drop me a comment below if you have any question.
Till next time, have a great day!
The post The Creation of “Mechanical Man” Photo Manipulation in Photoshop appeared first on PSD Vault.

