In this tutorial, I will show you the process of Creating this Unique Floating Rock Typography in Photoshop. You will learn a number of brush tricks, image adjustment tips and practice your selection techniques.
This is an intermediate level tutorial so some steps can be tricky, but why not have a try!
Note: The Photoshop tutorial is done in CS6 – therefore some screenshot may have slighting different layout as in the earlier version. Some brushes are exclusive to Photoshop CS6.
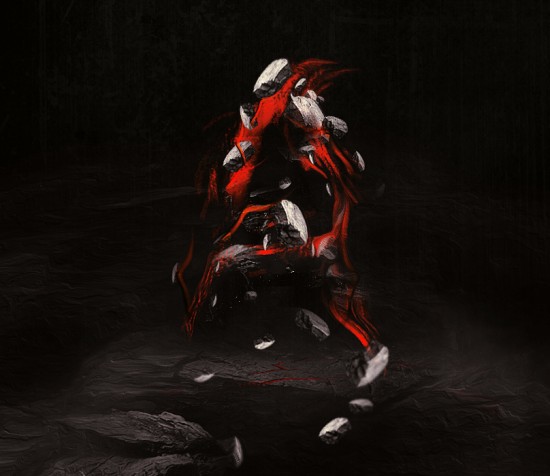
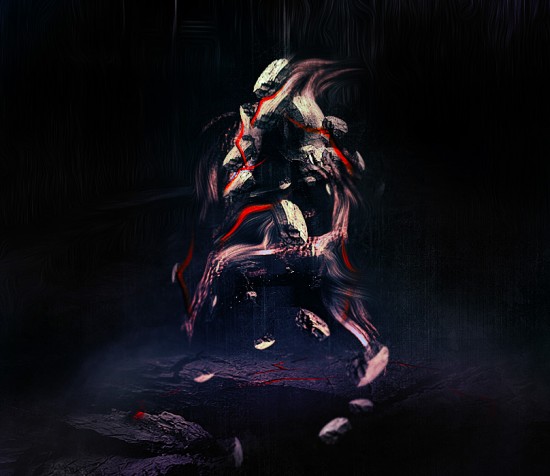
Here is a preview of the final effect I have for this tutorial: (click to enlarge)
Version 1
Version 2
OK Let’s get started!
To complete this tutorial, you will need the following stocks:
Step 1
Create a new document sized 800px * 700px with black background. We will now prepare the ground area to support the typo, which we will add onto it later on.
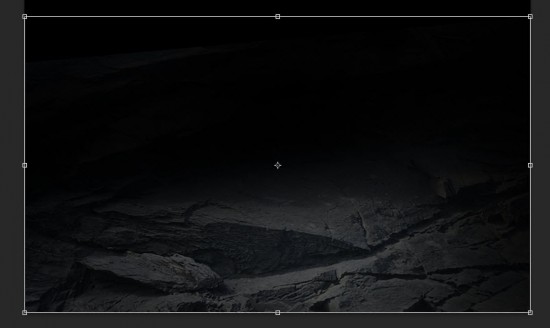
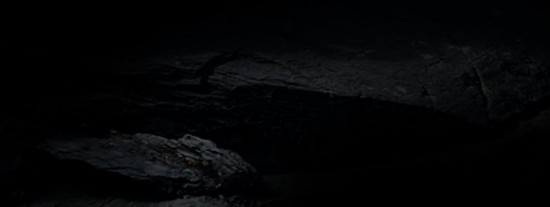
Load the “Rock 1″ stock image into Photoshop and select a portion of it, copy and paste the selection over to our document, and place it onto the canvas as shown below:
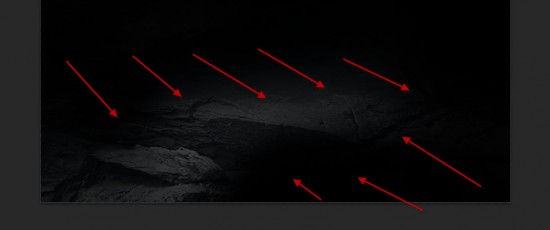
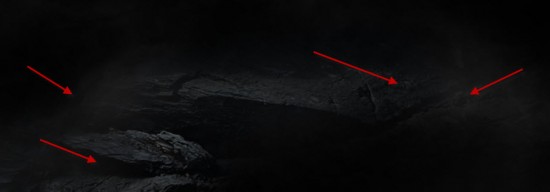
Use a soft eraser, remove the following area of the rock texture:
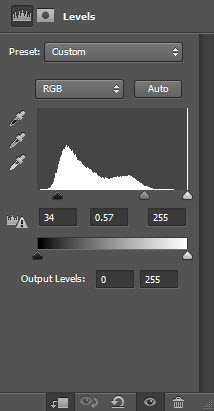
Add the following adjustment layers on top:
Levels
Curves
and you will have the following effect so far:
Optionally, you can render some subtle cloud to the following area over the ground for extra effect:
Step 2
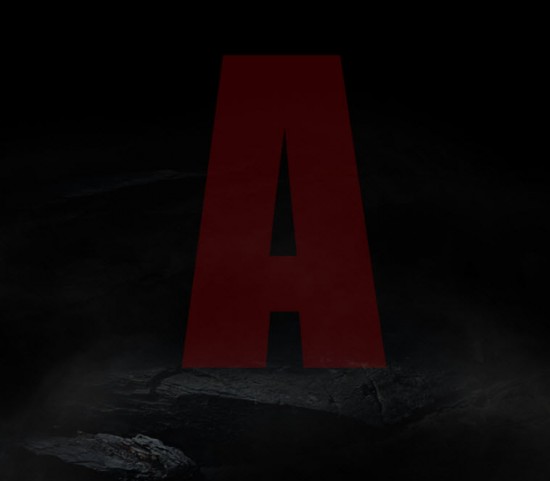
Use the type tool, add a letter over the ground with any font you like – I chose the letter “A” and the “Impact” font, which should come with your Photoshop installation:
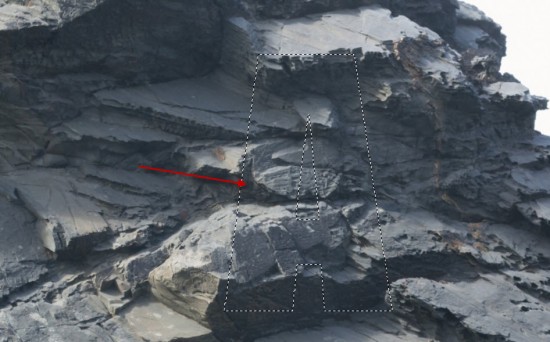
Select the type layer, and drag it over to the “Rock 1″ texture:
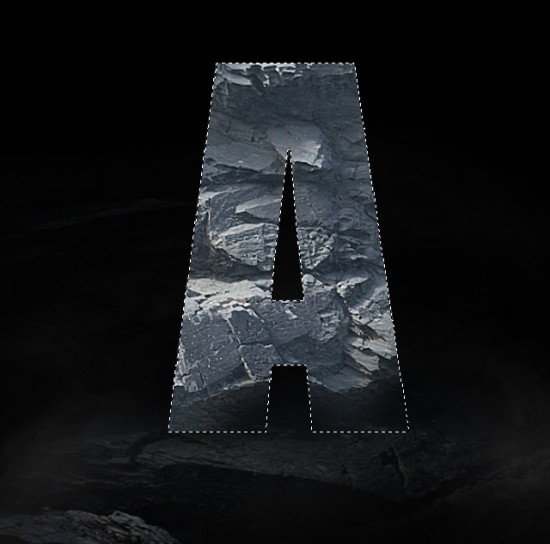
Copy and paste the rock texture over to our text, then hide the original text layer:
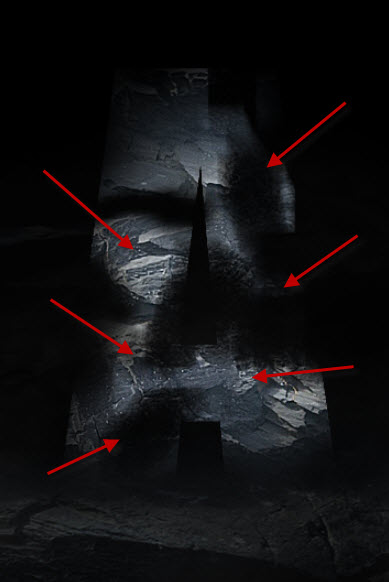
Use a soft eraser, remove the following parts of the rock texture as shown below:
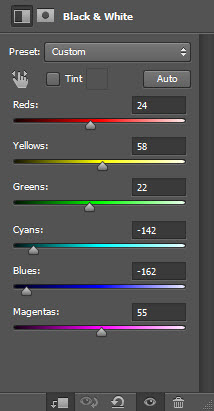
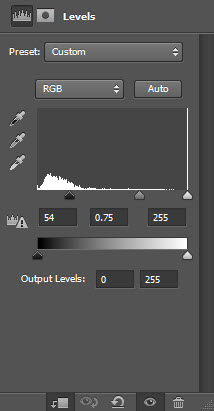
Add the following adjustment layers as clipping mask to this rock texture layer:
Black and White
Levels
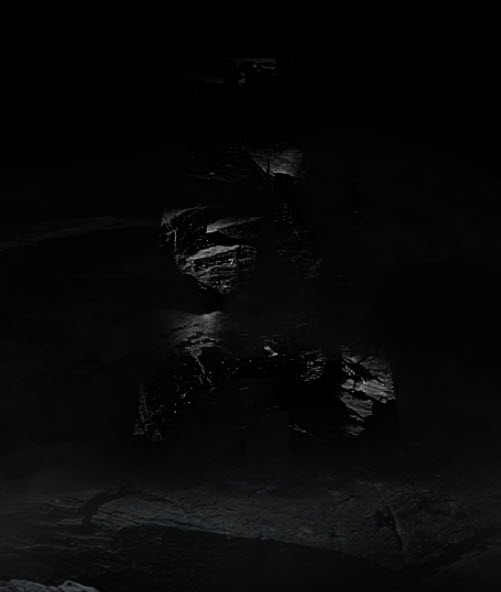
and you will have the following effect so far:
Step 3
We will add some floating rock around the above rock foundation. Load the “Rock 2″ image into Photoshop and use the Quick Selection Tool to select the big rock as shown below:
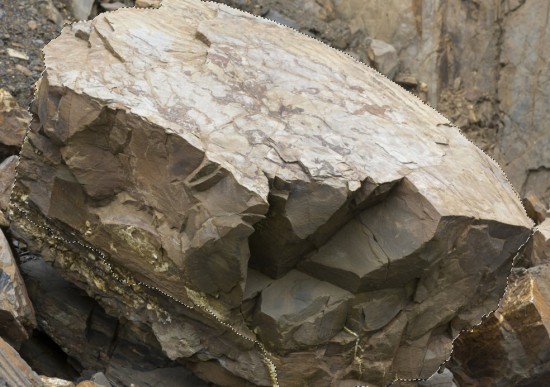
Copy and paste the selection over to our document and resize it to a small rock as shown below:
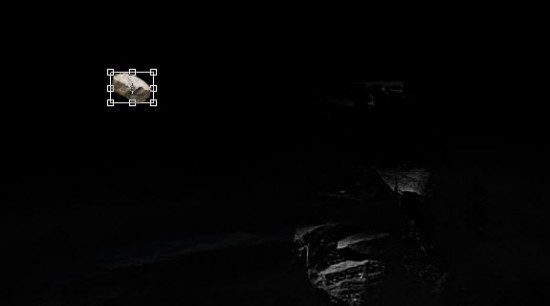
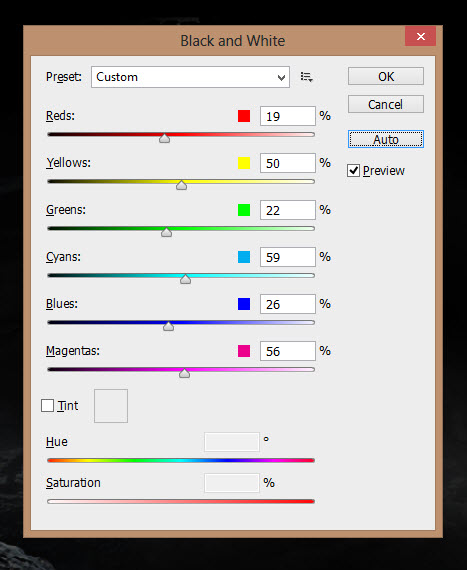
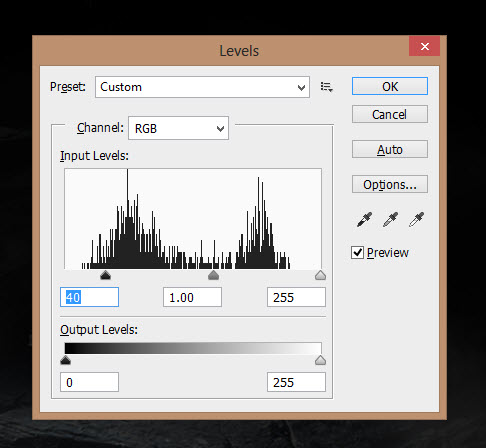
Apply the following image adjustments to this rock:
Black and White
Levels
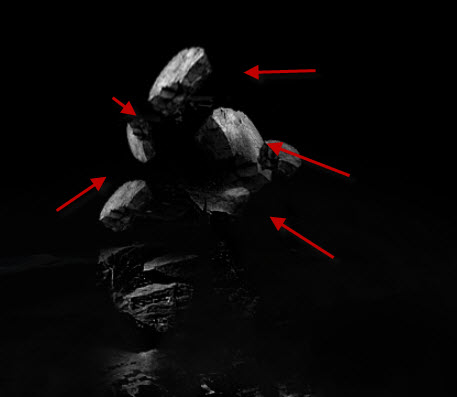
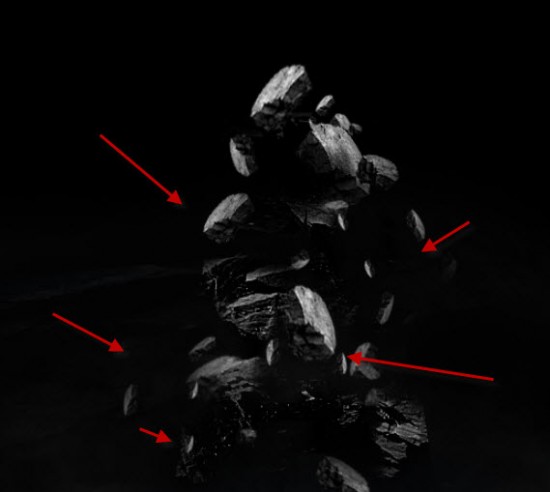
We will then duplicate this rock a few times, rotate, resize each of the rock until they form into an abstract pattern as shown below:
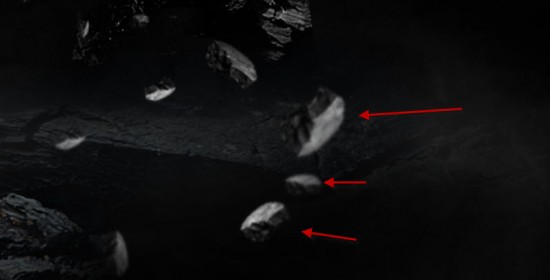
Use the blur tool to blur out some of the rock to add some dynamics and depths for the image:
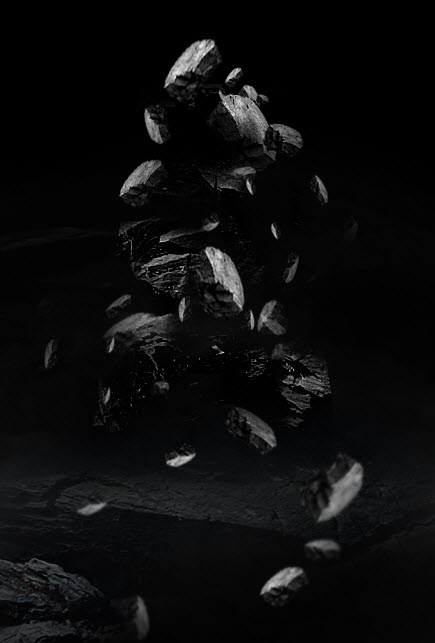
and here is the effect so far:
Step 4
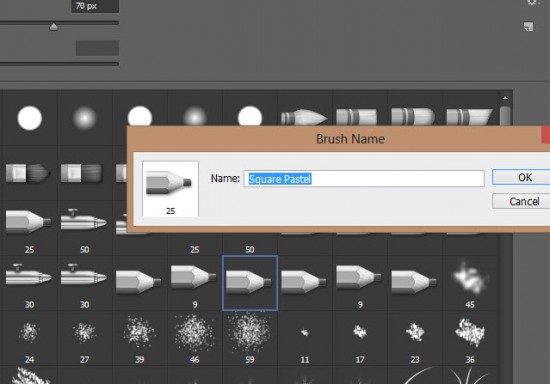
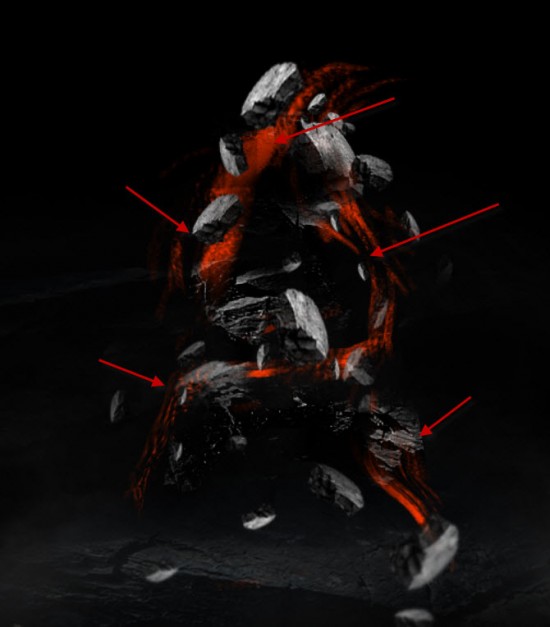
We will add some brush painting to connect the rocks. Grab the “Square Pastal” brush from the brush pane:
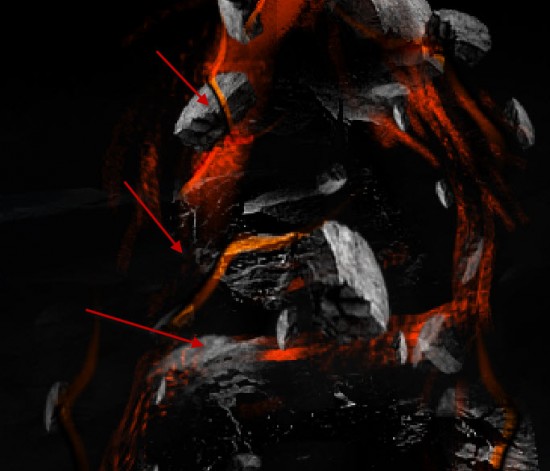
Use the red colour and paint the pattern as shown below:
You can add some yellowish coloured brush strokes onto the image, as shown below:
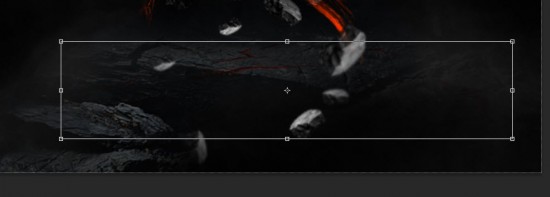
Then, duplicate this painting layer once and compress the duplicated layer down, place it above the ground as shown below:
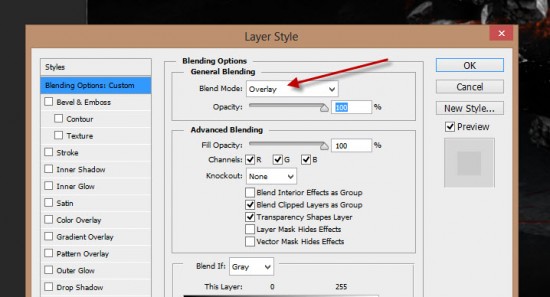
Make sure you set this duplicated brush painting layer’s blending mode to “overlay”:
And you will the following effect so far:
I add some further colour balance adjustments to the image, and came up with this alternative version:
You can further add some filter effects such as liquify, distort and perhaps water colour, but that’s totally up to you!
That’s it for this tutorial! Hope you enjoy going through it and find it useful. Drop me a comment below if you have any question.
Till next time, have a great day!

