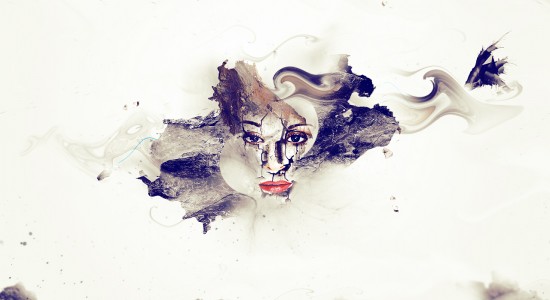
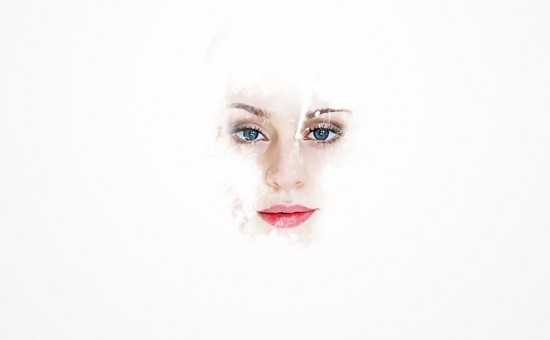
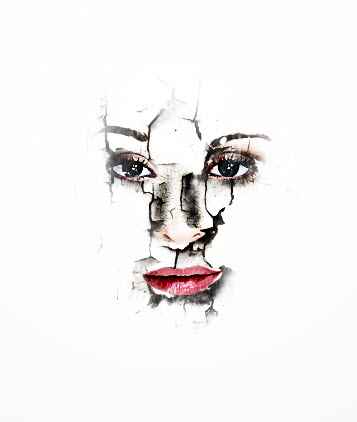
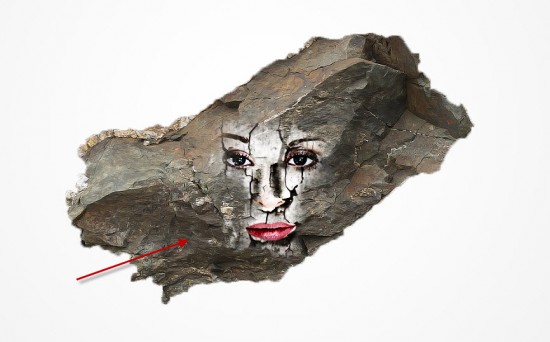
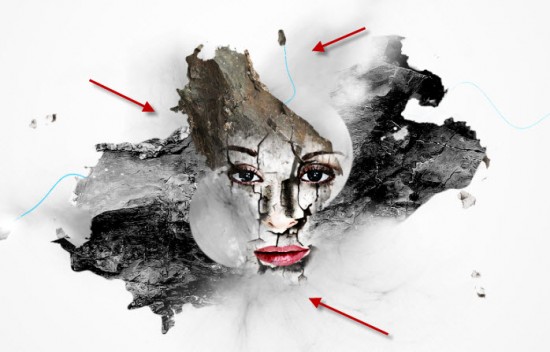
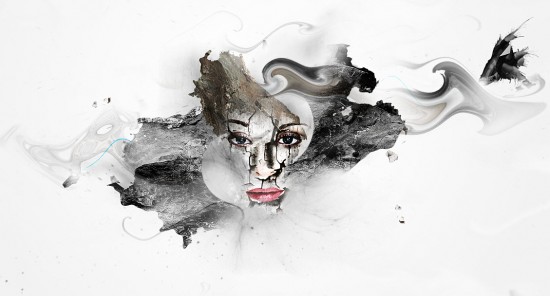
In this Photoshop tutorial, I will show you the process of creating this Artistic Photo Manipulation with Cracked Face Effect in Photoshop. We will practice a number of layer masking techniques and image adjustment tricks along the way, as well as applying some interesting filter effect to our image.
This is an intermediate level tutorial so some steps can be tricky, but why not have a try!
Note: The Photoshop tutorial is done in CS6 – therefore some screenshot may have slighting different layout as in the earlier version. Some brushes are exclusive to Photoshop CS6.
Here is a preview of the final effect I have for this tutorial: (click to enlarge)
OK Let’s get started!
To complete this tutorial, you will need the following stocks:
Step 1
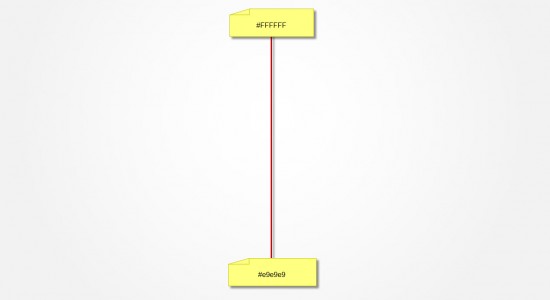
Create a new document sized 1280px * 700px with white background. Grab the gradient fill tool and fill the background layer as shown below:
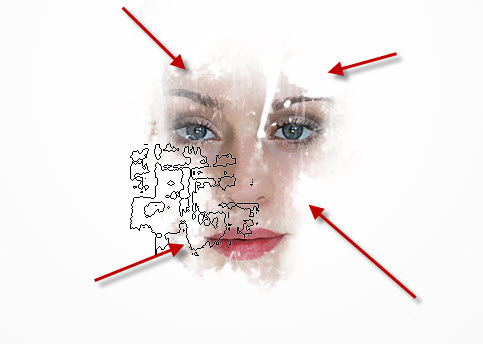
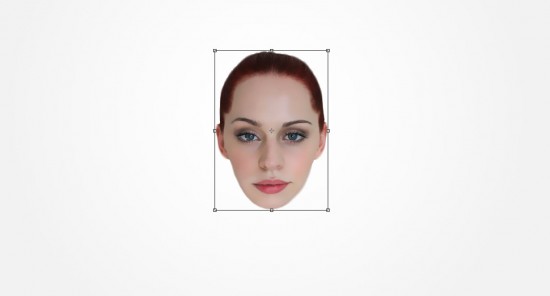
Load the model image into Photoshop and copy and paste its facial area into our document:
Select the eraser tool with a grunge brush set:

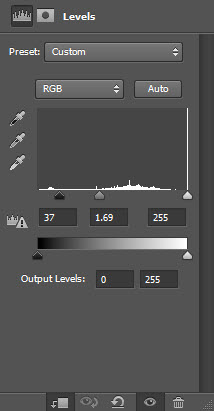
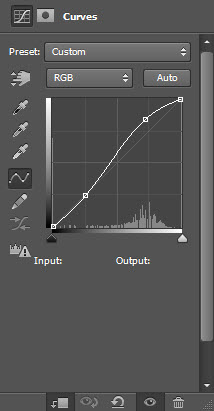
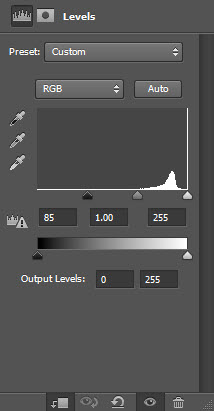
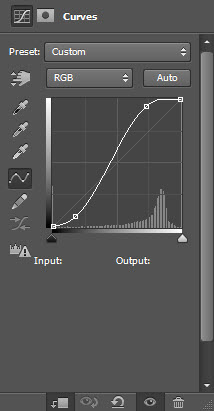
Add the following 2 adjustment layers as clipping mask to this face layer:
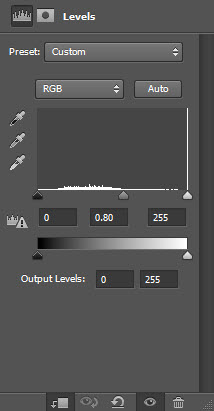
Levels
Curves
and here is the effect so far:
Step 2
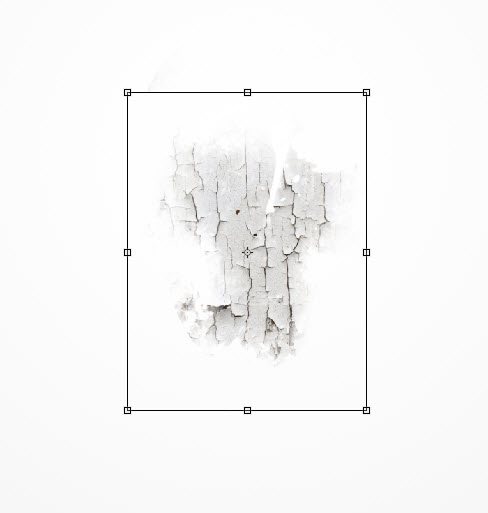
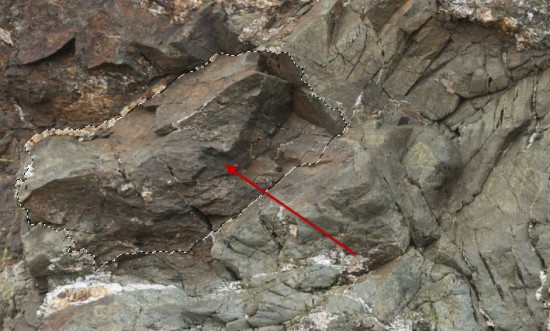
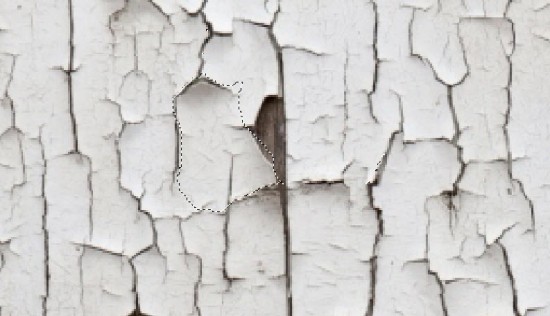
We can apply the crack texture to the facial area. Load the wall stock image into Photoshop and select a portion of the image as shown below:
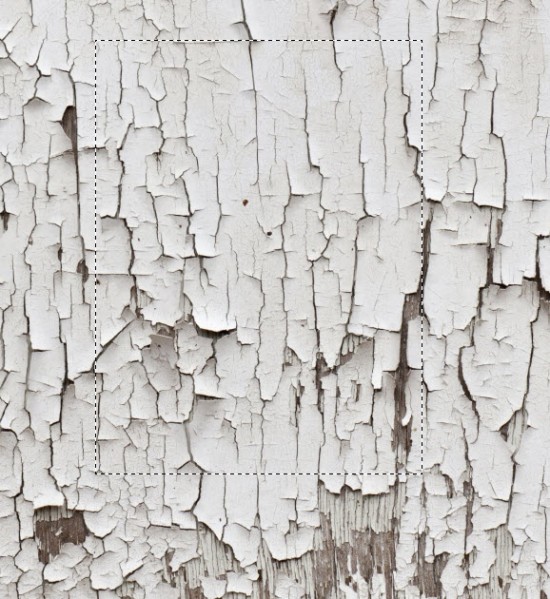
Copy and paste the selection over to our image and place it above all previous layers. Adjust its size slightly with the free transform tool, and set it as a clipping mask to the layer below:
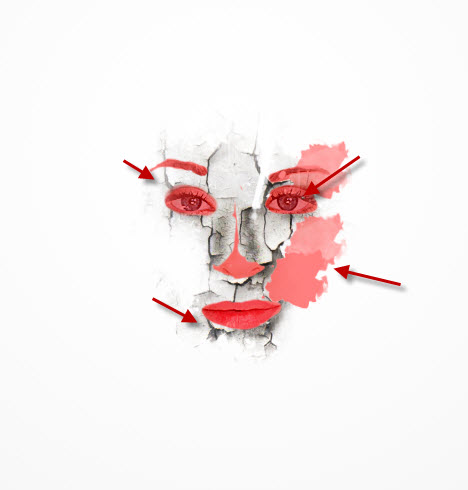
Apply the following layer mask on this crack texture layer to reveal the eyes, nose and lips area:
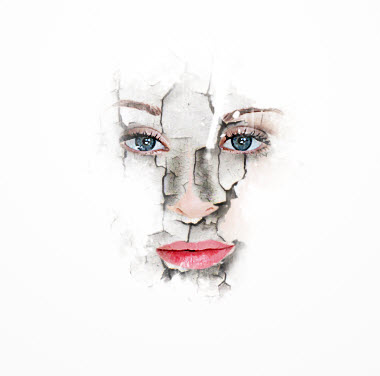
and you will have the following effect:
Add another 2 adjustment layers as clipping mask to this crack layer:
Curves
and here is the effect so far:
Step 3
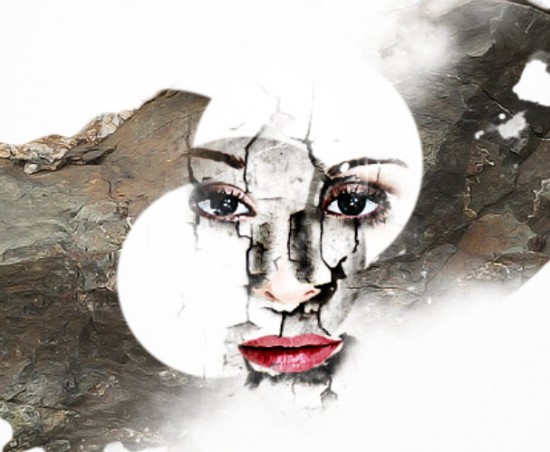
Let’s add the abstract pattern into the image with the help of the rock stock image we downloaded at the beginning of this tutorial. Load the image into Photoshop and select a piece as shown below:
Copy and paste the selection behind the face as shown below:
Apply the following layer mask over the rock texture layer:
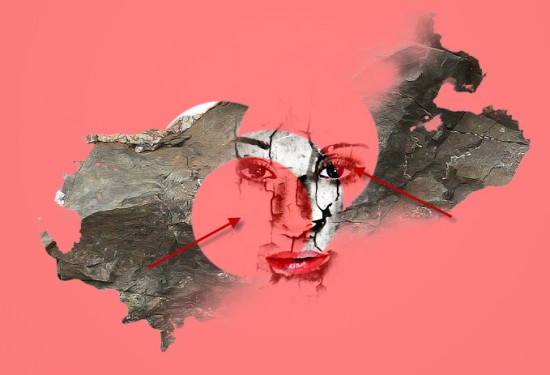
You will have the following effect:
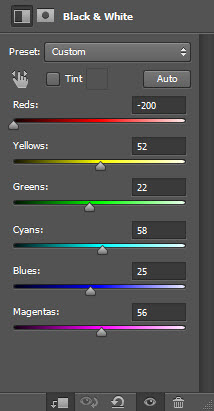
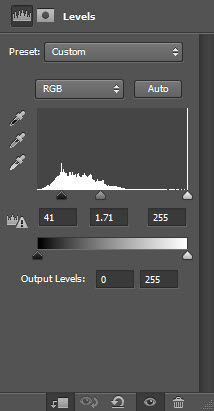
Add the following 2 adjustment layers to this rock layer as clipping masks:
Black and White
Levels
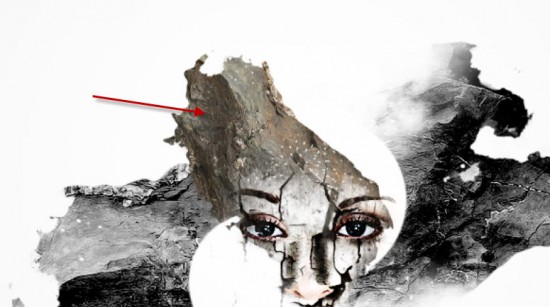
Let’s add another piece of rock texture on top of the face as shown below:
Slightly adjust the contrast of this new piece of rock with the following settings:
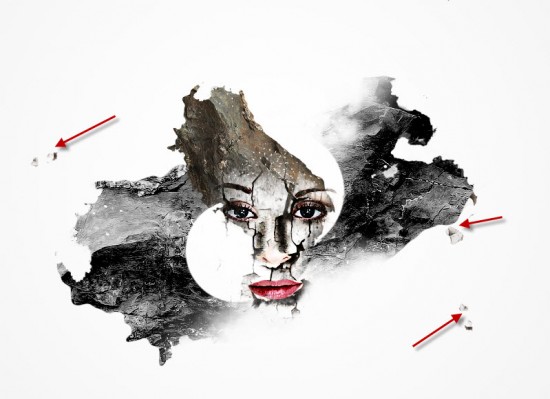
Optionally, we can add some small particles by selecting a few small pieces from the wall stock image:
And copy and paste them over to our image:
Step 4
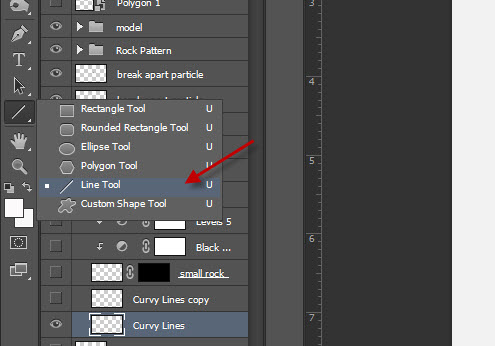
We will draw a few curvy lines onto our image to spice up the effect a bit. Grab the Line Tool from the toolbox:
Set its fill color to light blue with no stroke:
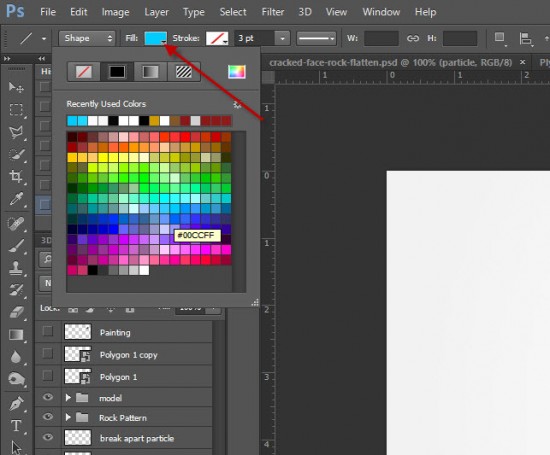
and draw a thin line as shown below:
Then go to Filter > Distort > Wave:
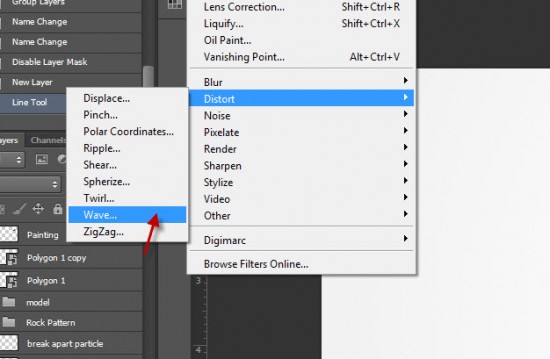
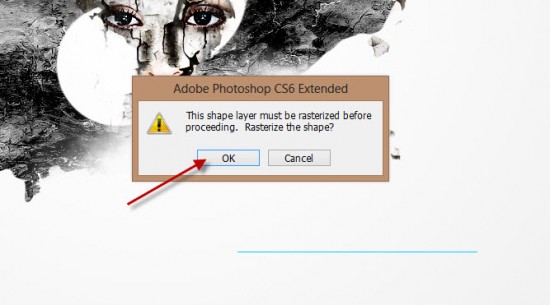
You will have the following dialog window pop up, just click on “OK” to proceed:
Use the following settings for the wave filter:
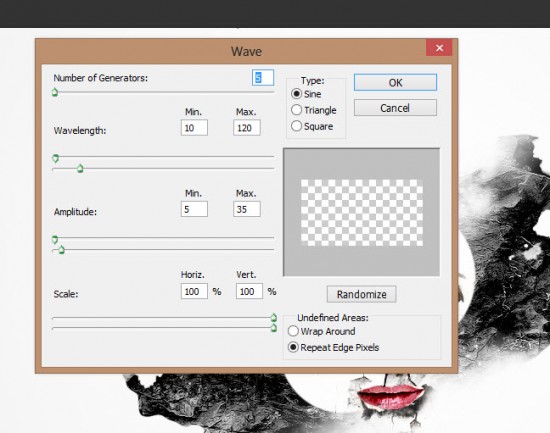
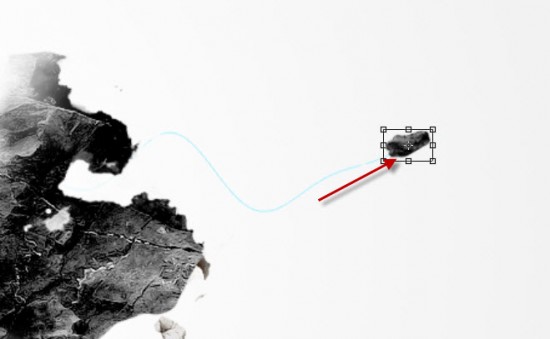
and here is effect for the line:
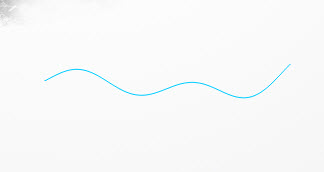
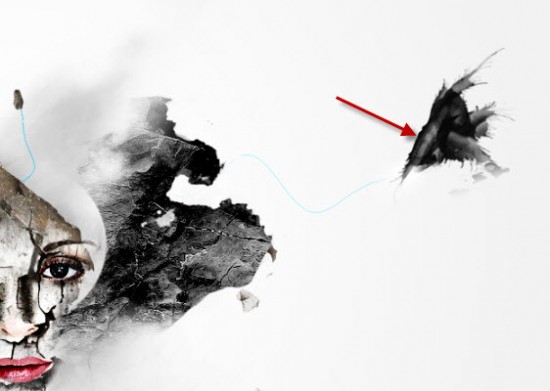
We will add a small piece of flyer rock to the end of the line:
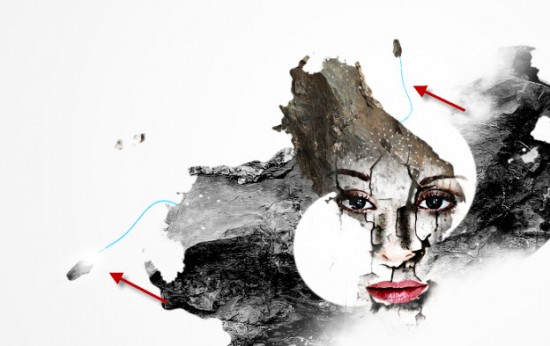
Repeat the process above to add a few more of the lines and rock to our image, as shown below:
Step 5
We’re almost done! For final touches, we can add some cloud effect behind the facial area:
We can also paint some extra abstract patterns onto the canvas:
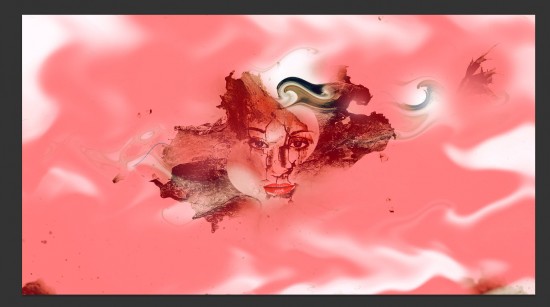
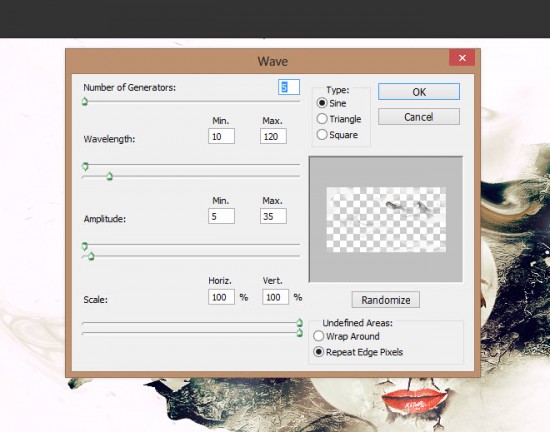
Once you’re happy with the overall effect, flatten the image and duplicate the background layer, apply the following Wave filter to the duplicated layer:
Add the following layer mask to the duplicate layer to reveal the background layer:
and here is the effect so far:
I further enhanced the image by adding some color effect with the color balance layer, and here is the final effect: (click to enlarge)
That’s it for this tutorial! Hope you enjoy going through it and find it useful. Drop me a comment below if you have any question.
Till next time, have a great day!

