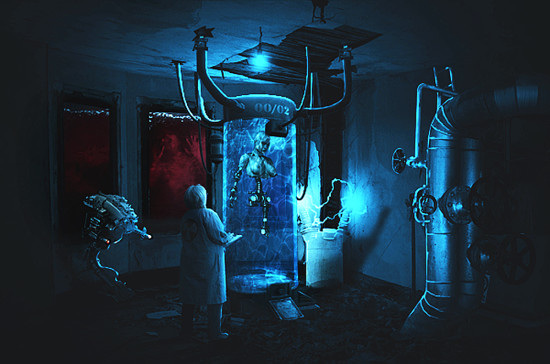
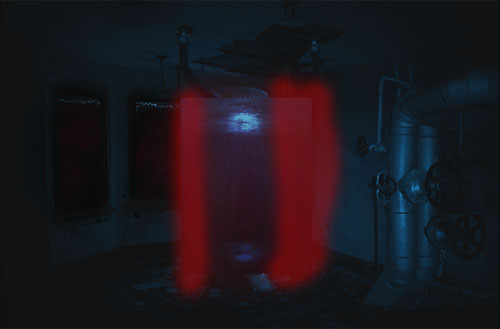
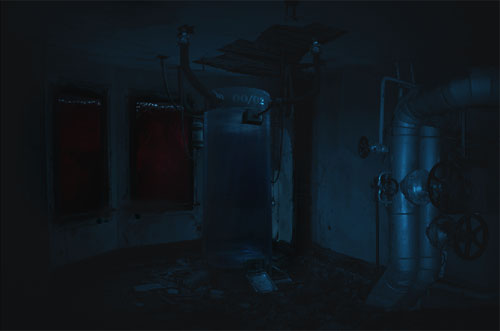
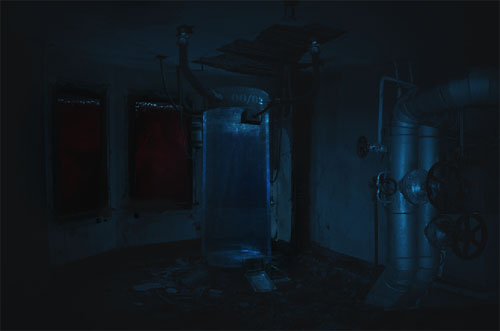
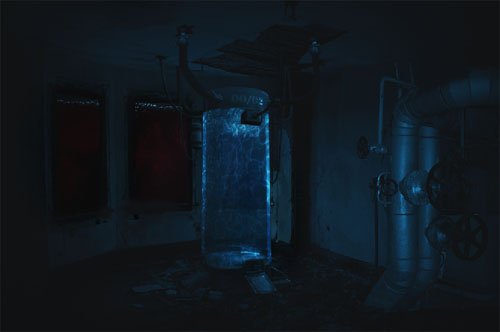
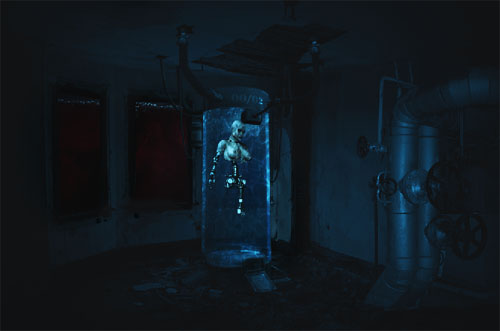
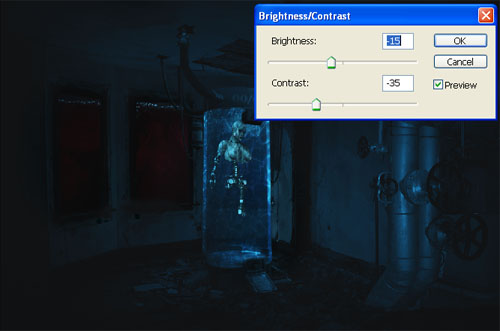
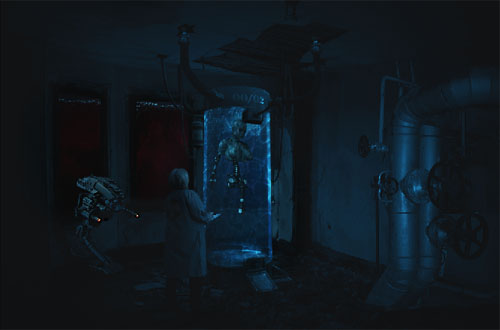
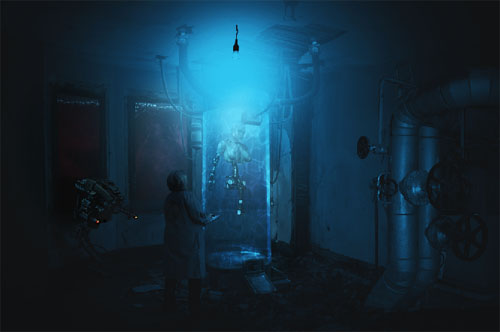
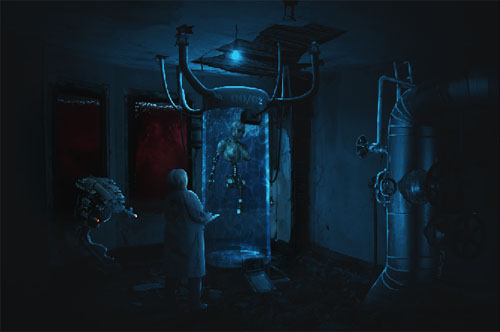
In this tutorial, we will learn how to create an conceptual surreal photo-manipulation. We are going to learn the process of creating depth of field using a few advance tools. We are going to learn how to blend images so seamlessly that it would look like a single image using the Brush tool, the Eraser tool and several adjustment layers.
Furthermore, we will learn how to create light and darkness to make the background look seamless. We are going to learn how to use textures and give life to our image, and we are going to learn how to create a moody, dreamy tone using a few adjustment layers and lighting effects.
Final Image (click to enlarge)
OK Let’s get started!
To complete this tutorial, you will need the following stocks:
- Haunted House stock 9 – FairieGoodMother
- dark gray storm – night-fate-stock
- Mad Scientist – 15 – hyenacub-stock
- ELECTRIC POWER STATION – Idal
- Halloween Stock – Y – 2 – mjranum-stock
- Halloween Stock – Y – 3 – mjranum-stock
- Regenerator – daz3d.com
- Sci-fi_Prop 4 – Stock – Inadesign-Stock
- V4 THE ROBOT 02 – CHEYENNE75
- Swimming pool – sxc.hu
- Old Fire Protection Valve Prop – FantasyStock
Step 1
Create a new file with a width of 1000 px and a height of 664 px at 300 dpi (Dots per Inch). Background Contents should be White.
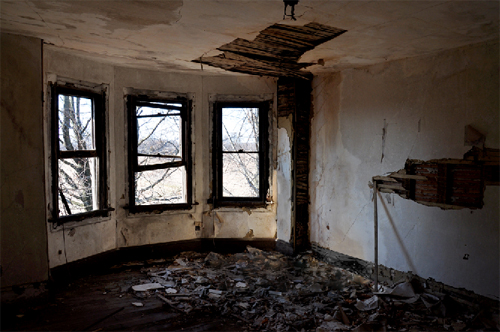
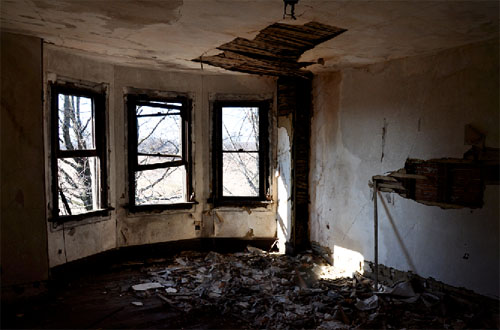
Now,let’s open the Haunted House stock 9 in Photoshop. We will be using the room from this stock image so we will need to transfer it to our main canvas.
Click the Haunted House stock 9 and press V to activate the Move Tool. Left-click the image and drag the image to the main canvas and change layer name to “Room”.
Step 2
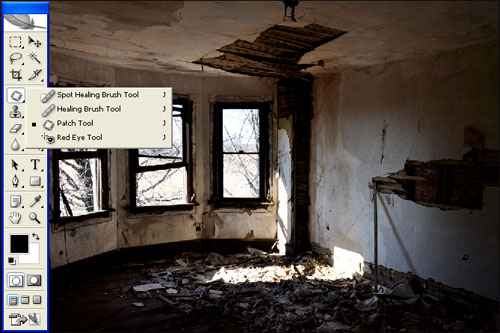
Now activate Patch tool .
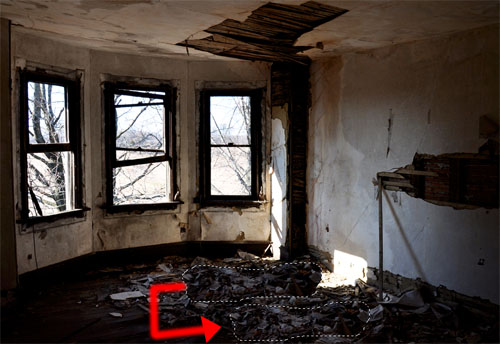
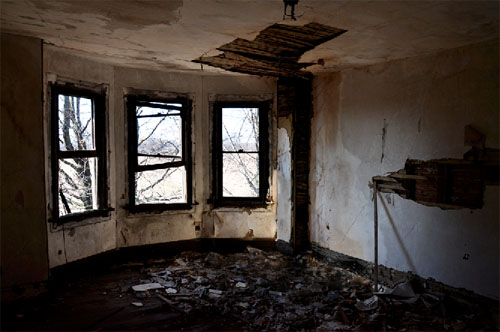
Now use Patch tool over the part where we can see the sun light .
The result should be similar to this:
The result should be similar to this:
Now with the use of patch tool remove all the sun light parts .
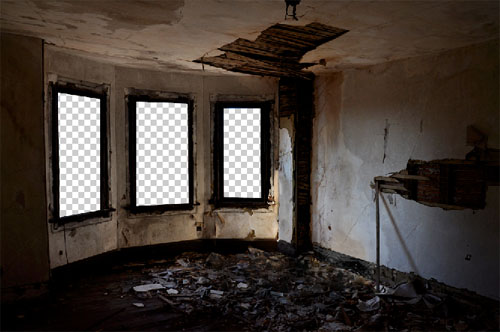
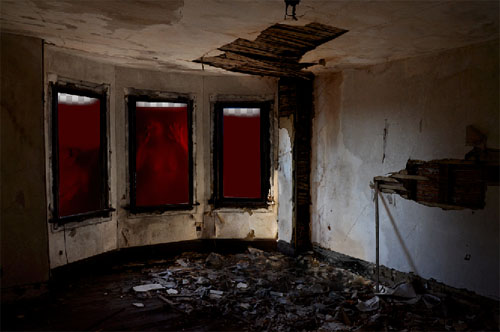
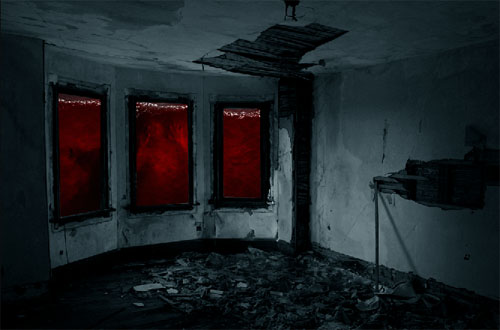
Now add layer mask to room layer and paint over the windows to remove them.
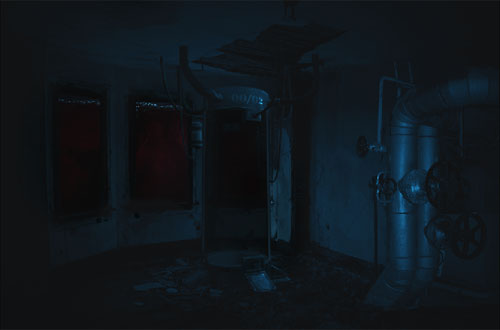
The result should be similar to this:
Step 3
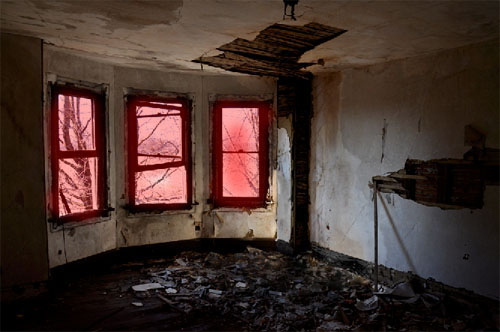
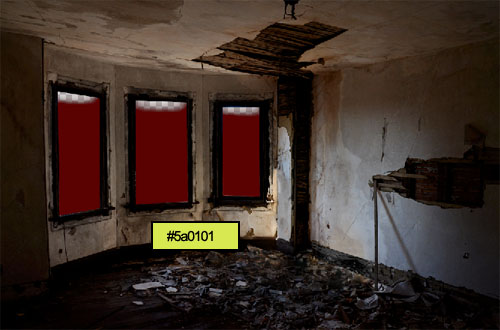
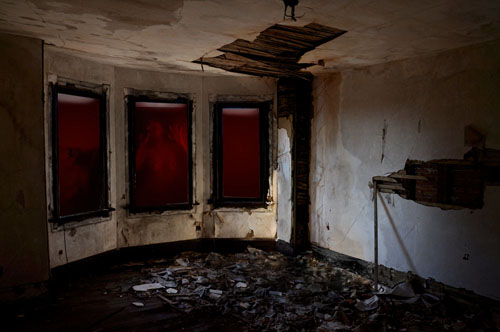
Now,make a layer below the room layer and name it “Red” fill it with #5a0101 color .
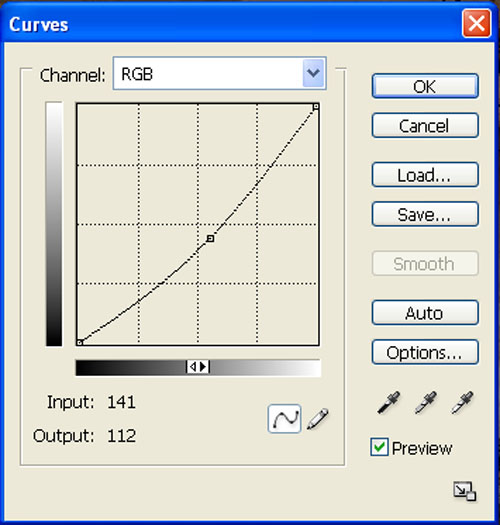
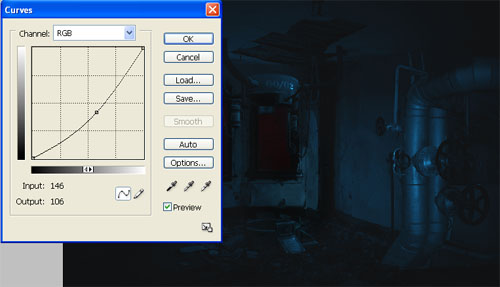
Now create new Curves adjustment layer from the bottom of layers palette .Press Alt+left click in between 2 layer’s (Red layer and Curves) to make a mask.
When the Curves box opens, input the following:
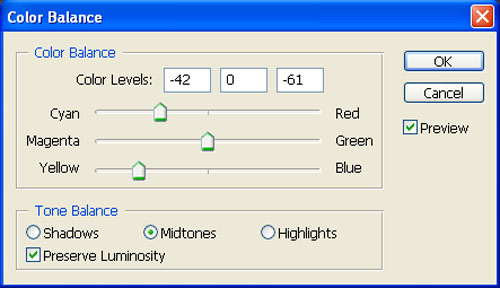
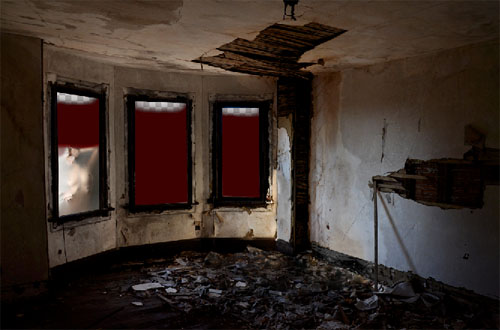
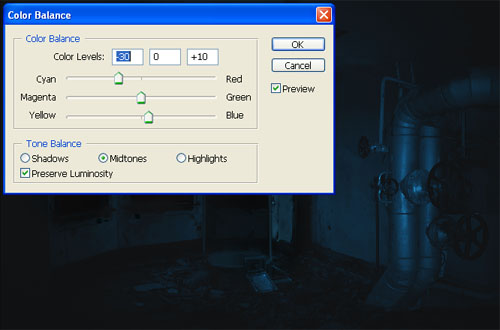
Now create new Color Balance adjustment layer from the bottom of layers palette .Press Alt+left click in between 2 layer’s (Red layer and Color Balance) to make a mask.
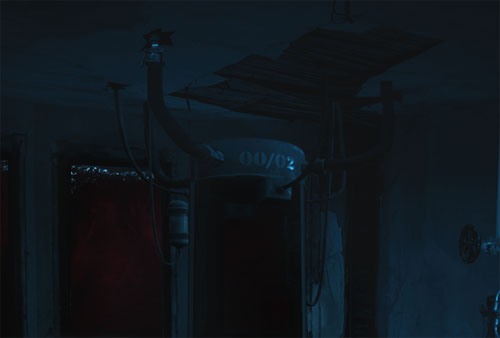
When the Color Balance box opens, input the following:
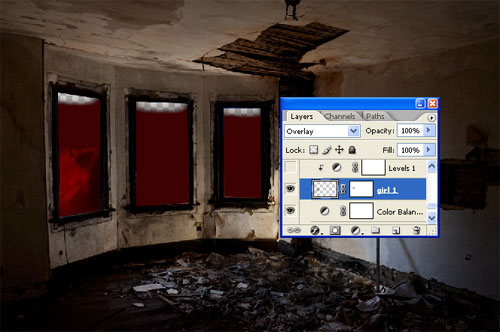
Now,let’s open Halloween Stock – Y – 2 in Photoshop. We will be using the girl from this stock image so we will need to transfer it to our main canvas.
Click the Halloween Stock – Y – 2 and press V to activate the Move Tool. Left-click the image and drag the image to the main canvas and change layer name to “girl 1″.
Step 4
Now change it’s layer mode to “Overlay” .
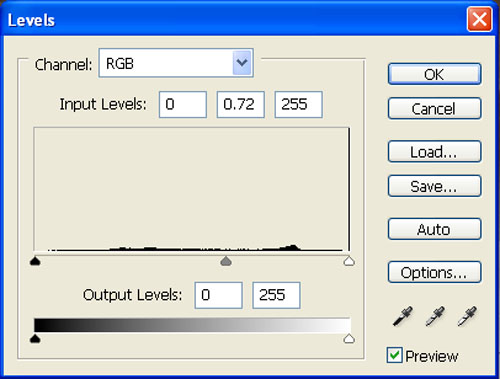
Now create new Levels adjustment layer from the bottom of layers palette .Press Alt+left click in between 2 layer’s (Girl 1 layer and Levels) to make a mask.
When the Levels box opens, input the following:
Step 5
Now follow the same steps and add one more girl .
Now Make a new layer above girls layer and name it shadow .
Now activate Brush tool (B) with these settings :
- Brush size: 400px
- Hardness: 0%
- Opacity: 40%
- Flow: 100%
- Color: #000000
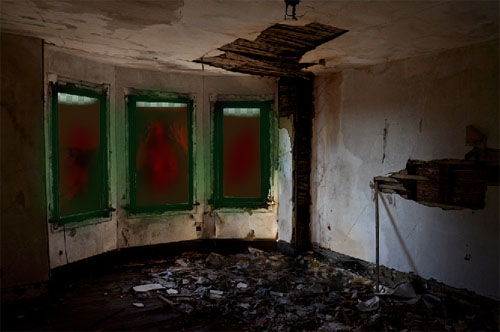
- Now paint over the highlighted area.
The result should be similar to this:
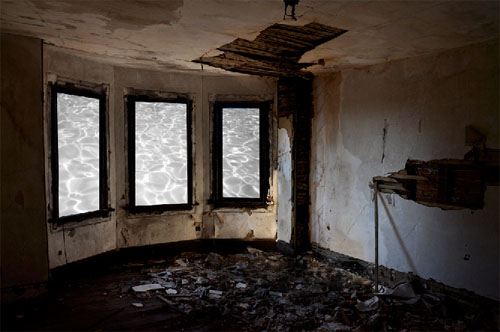
Now,let’s open the Swimming pool in Photoshop. We will be using the sky from this water image so we will need to transfer it to our main canvas.
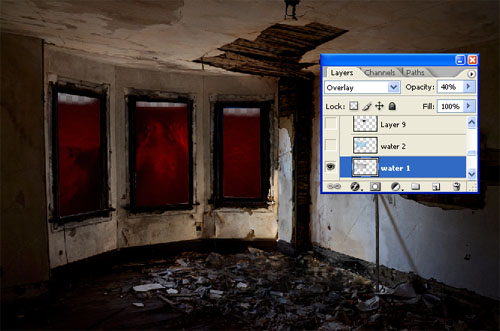
Click the Swimming pool and press V to activate the Move Tool. Left-click the image and drag the image to the main canvas and change layer name to “water 1″.
Now Desaturate the image .
Now Change it’s layer mode to “Overlay” and opacity to “40%” .
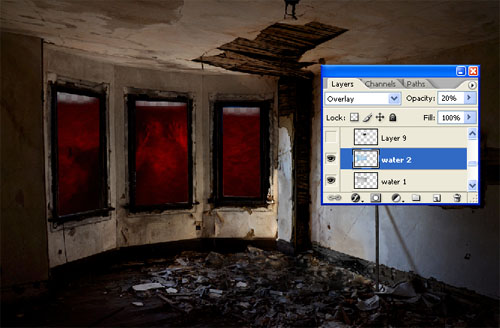
Again,let’s open the Swimming pool in Photoshop. We will be using the sky from this water image so we will need to transfer it to our main canvas.
Click the Swimming pool and press V to activate the Move Tool. Left-click the image and drag the image to the main canvas and change layer name to “water 1″.
Now Change it’s layer mode to “Overlay” and opacity to “20%” .
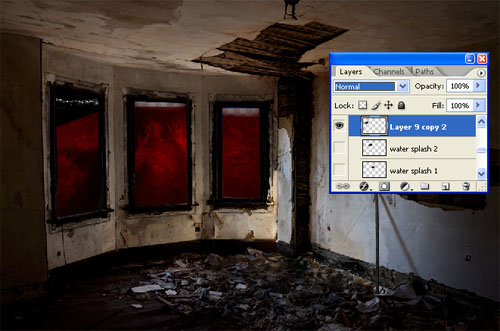
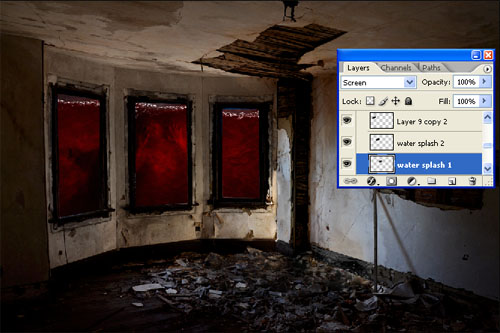
Now bring splash image to our canvas and place it over the water 1 layer and mane it “Water splash 1″ .
Now add more splash to over canvas and change the layer mode to “screen” .
Now lets get back to the room layer .
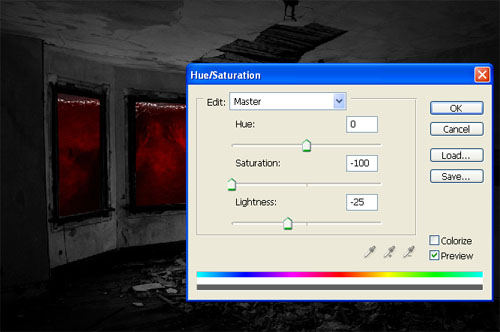
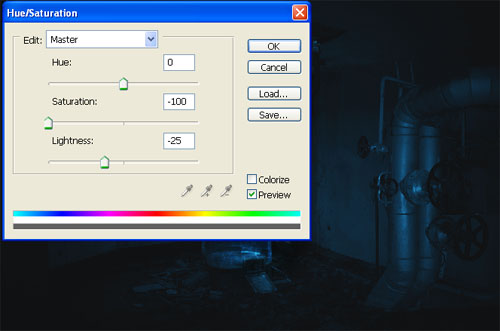
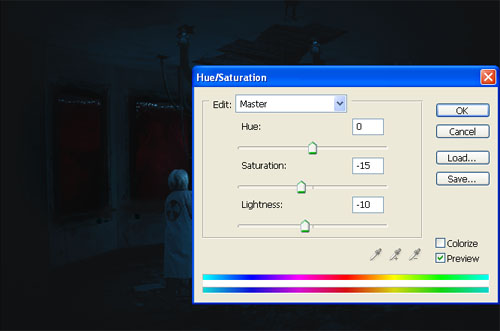
When the Hue/Saturation box opens, input the following.Press Alt+left click in between 2 layer’s (Room layer and Hue/Saturation) to make a mask.
When the Hue/Saturation box opens, input the following:
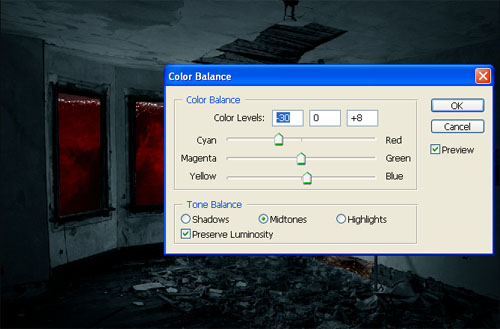
When the Color Balance box opens, input the following.Press Alt+left click in between 2 layer’s (Room layer and Color Balance) to make a mask.
When the Color Balance box opens, input the following:
The result should be similar to this:
Now lets do some color corrections.
IMPORTANT: We’re going to apply a series of adjustment layers above all other layers. Even though we still have more aspects of our piece to work on, these adjustment layers should remain as the top layers for the rest of the tutorial.
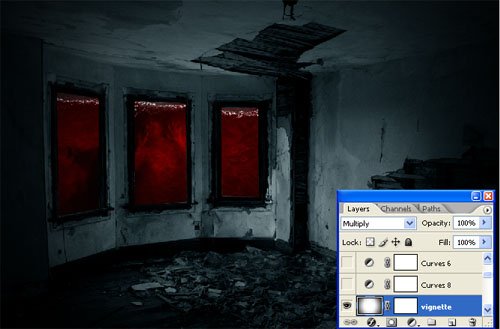
Now we will add Vigntte .So add one more layer and name it “Vigntte” and fill the layer with white color .
Now goto Filter > Distrot > Lens Correction .
When the Lens Correction box opens, input the following:
Now change it’s layer mode to “Multiply” .
Step 6
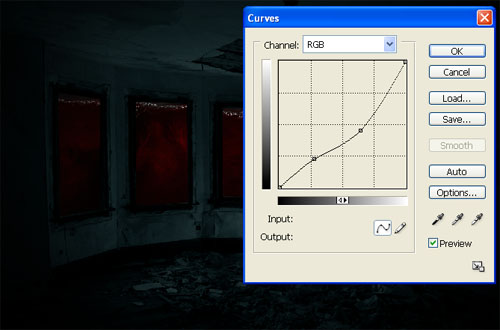
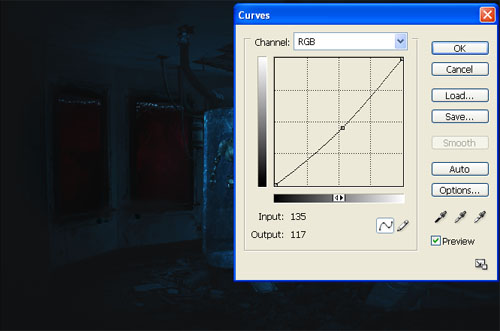
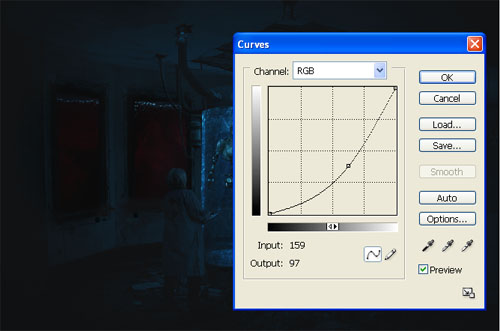
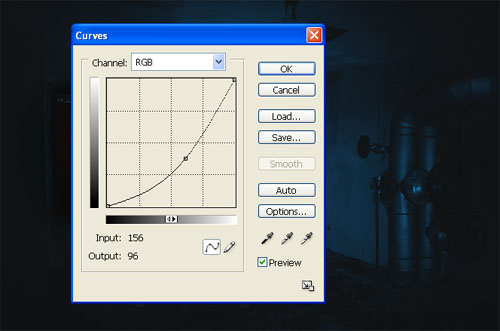
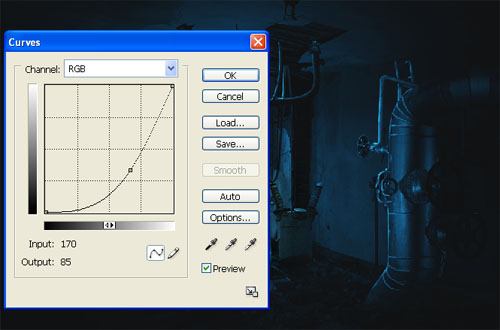
Now create new Curves adjustment layer from the bottom of layers palette .
When the Curves box opens, input the following:
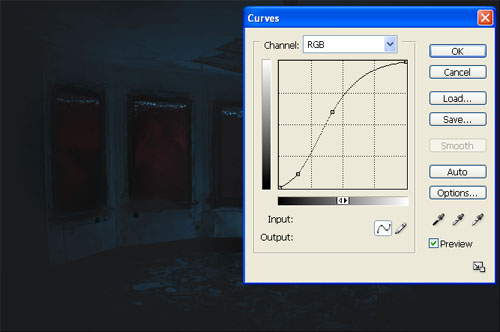
Now create new Curves adjustment layer from the bottom of layers palette .
When the Curves box opens, input the following:
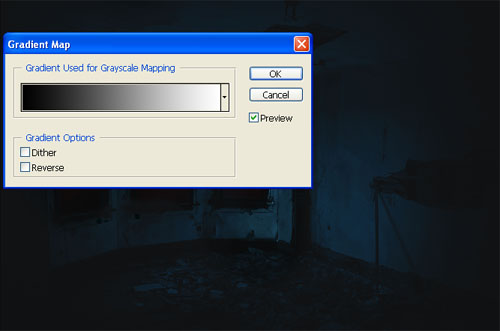
Now create new Gradient map layer from the bottom of layers palette .
When the Gradient map box opens, input the following:
Now create new Curves adjustment layer from the bottom of layers palette .
When the Curves box opens, input the following:
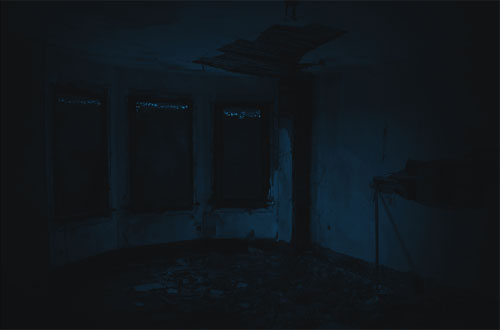
Now create new Gradient map layer from the bottom of layers palette .
When the Gradient map box opens, input the following:
Change it’s layer mode to “Luminosity”
Step 7
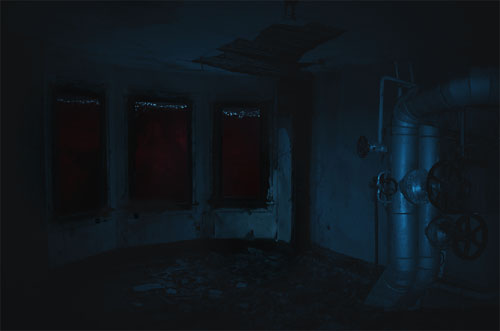
The result should be similar to this:
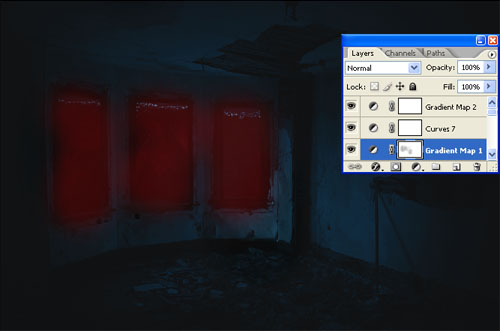
Now select the mask of Gradient map 1 .
- Brush size: 400px
- Hardness: 0%
- Opacity: 40%
- Flow: 100%
- Color: #000000
Now paint over the highlighted area.
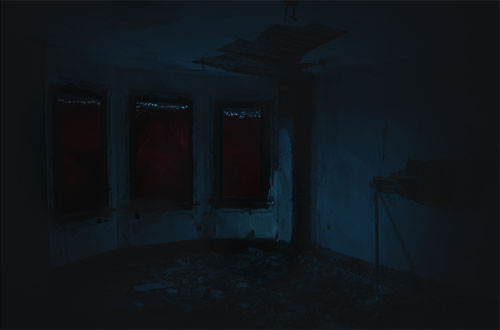
The result should be similar to this:
Step 8
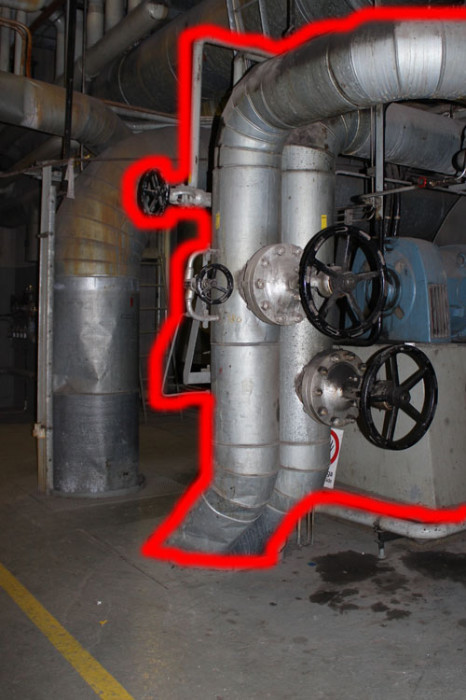
Now,let’s open Pipes image in Photoshop from our source file folder. We will be using the Pipes from this stock image so we will need to transfer it to our main canvas.
Click the Pipes and press V to activate the Move Tool. Left-click the image and drag the image to the main canvas and change layer name to “Pipes”.
Next, activate the Transform tool (Ctrl/Cmd +T), then while the “Pipes” layer is selected and then resize it as shown below:
Now,let’s open the Regenerator in Photoshop. We will be using the top part from this stock image so we will need to transfer it to our main canvas.
Click the Regenerator and press V to activate the Move Tool. Left-click the image and drag the image to the main canvas and change layer name to “Top part”.
Now,let’s open the Regenerator in Photoshop. We will be using the Bottom part from this stock image so we will need to transfer it to our main canvas.
Click the Regenerator and press V to activate the Move Tool. Left-click the image and drag the image to the main canvas and change layer name to “Bottom part”.
Now create new Curves adjustment layer from the bottom of layers palette .Press Alt+left click in between 2 layer’s (Bottom part layer and Curves) to make a mask.
When the Curves box opens, input the following:
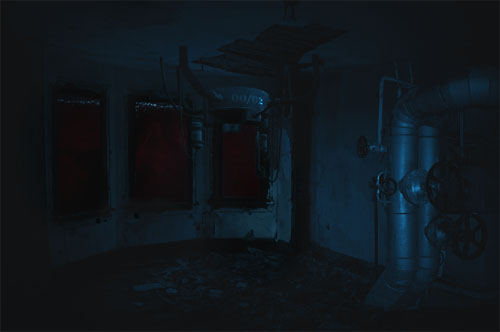
The result should be similar to this:
Now create new Color balance layer from the bottom of layers palette .Press Alt+left click in between 2 layer’s (Bottom part layer and Color balance) to make a mask.
When the Color balance box opens, input the following:
Now,let’s open the Old Fire Protection Valve Prop in Photoshop. We will be using the Valve from this stock image so we will need to transfer it to our main canvas.
Click the Old Fire Protection Valve Prop and press V to activate the Move Tool. Left-click the image and drag the image to the main canvas and change layer name to “Valve”.
Now,let’s open the water image in Photoshop . We will be using the water image from this stock image so we will need to transfer it to our main canvas.
Click the water image and press V to activate the Move Tool. Left-click the image and drag the image to the main canvas and change layer name to “water 1″.
Now add vector mask from the bottom of layers palette .
Now activate Brush tool (B) with these settings :
- Brush size: 400px
- Hardness: 0%
- Opacity: 40%
- Flow: 100%
- Color: #000000
Now paint over the highlighted area.
The result should be similar to this:
Step 9
Now,let’s open the Swimming pool image in Photoshop . We will be using the water image from this stock image so we will need to transfer it to our main canvas.
Click the Swimming pool image and press V to activate the Move Tool. Left-click the image and drag the image to the main canvas and change layer name to “water 2″.
Now add vector mask from the bottom of layers palette .
Now activate Brush tool (B) with these settings :
- Brush size: 400px
- Hardness: 0%
- Opacity: 40%
- Flow: 100%
- Color: #000000
Now paint over the highlighted area.
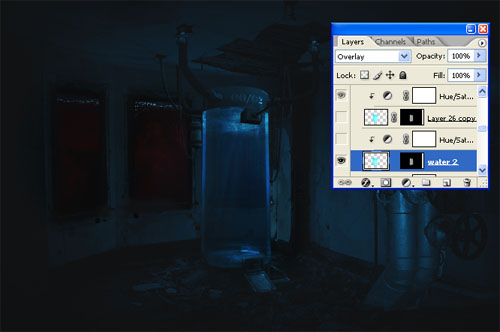
Now change it’s layer mode to “Overlay” .
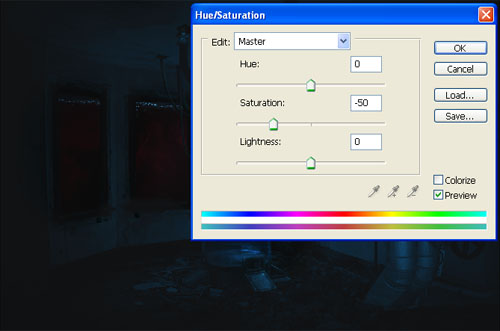
Now create new Hue/Saturation adjustment layer from the bottom of layers palette .Press Alt+left click in between 2 layer’s (water2 layer and Hue/Saturation) to make a mask.
When the Hue/Saturation box opens, input the following:
Step 10
The result should be similar to this:
Now,make a duplicate of Water2 layer with its Hue/Saturation adjustment layer .
Step 11
Now,let’s open the V4 THE ROBOT 02 in Photoshop. We will be using the Cybog from this stock image so we will need to transfer it to our main canvas.
Click the V4 THE ROBOT 02 and press V to activate the Move Tool. Left-click the image and drag the image to the main canvas and change layer name to “Cybog”.
Now create new Brightness/Contrast adjustment layer from the bottom of layers palette .Press Alt+left click in between 2 layer’s (Cybog layer and Brightness/Contrast) to make a mask.
When the Brightness/Contrast box opens, input the following:
Now create new Hue/Saturation adjustment layer from the bottom of layers palette .Press Alt+left click in between 2 layer’s (Cybog layer and Hue/Saturation) to make a mask.
When the Hue/Saturation box opens, input the following:
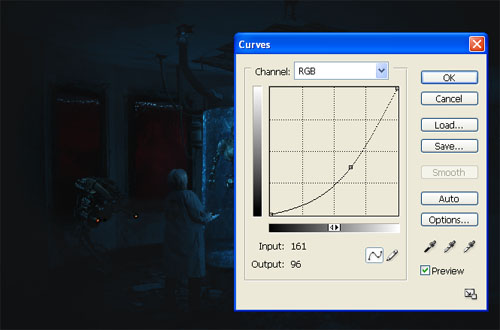
Now create new Curves adjustment layer from the bottom of layers palette .Press Alt+left click in between 2 layer’s (Cybog layer and Curves) to make a mask.
When the Curves box opens, input the following:
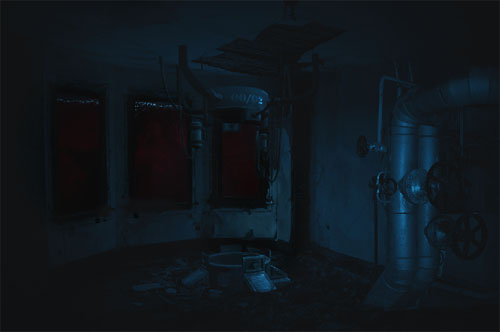
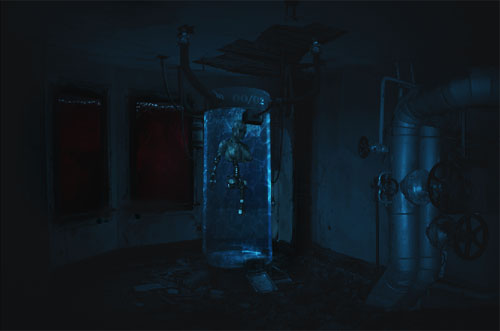
The result should be similar to this:
Now,let’s open the Mad Scientist – 15 in Photoshop. We will be using the Scientist from this stock image so we will need to transfer it to our main canvas.
Click the Mad Scientist – 15 and press V to activate the Move Tool. Left-click the image and drag the image to the main canvas and change layer name to “Mad Scientist”.
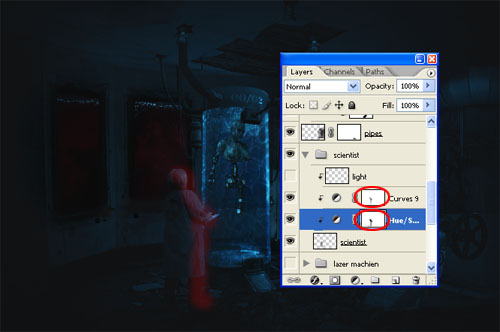
Now create new Hue/Saturation adjustment layer from the bottom of layers palette .Press Alt+left click in between 2 layer’s (Mad Scientist layer and Hue/Saturation) to make a mask.
When the Hue/Saturation box opens, input the following:
Step 12
Now create new Curves adjustment layer from the bottom of layers palette .Press Alt+left click in between 2 layer’s (Mad Scientist layer and Curves) to make a mask.
When the Curves box opens, input the following:
Now select the mask layer of both curves and hue/saturation layer .
Now activate Brush tool (B) with these settings :
- Brush size: 400px
- Hardness: 0%
- Opacity: 40%
- Flow: 100%
- Color: #000000
Now paint over the highlighted area.
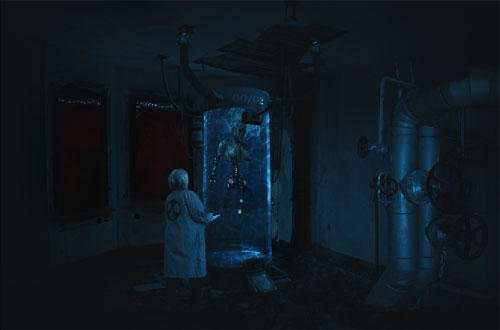
The result should be similar to this:
Step 13
Now,let’s open the Sci-fi_Prop 4 – Stock in Photoshop. We will be using the Machine from this stock image so we will need to transfer it to our main canvas.
Click the Sci-fi_Prop 4 – Stock and press V to activate the Move Tool. Left-click the image and drag the image to the main canvas and change layer name to “Machine” 1″.
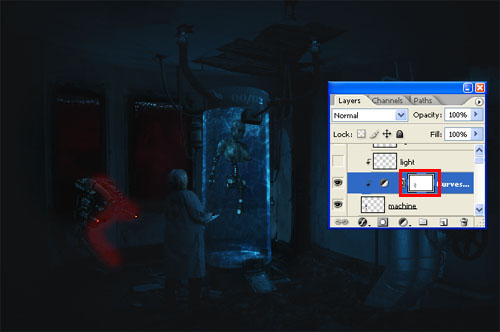
Now create new Curves adjustment layer from the bottom of layers palette .Press Alt+left click in between 2 layer’s (Machine layer and Curves) to make a mask.
When the Curves box opens, input the following:
Step 14
Now select the mask layer of both curves layer .
Now activate Brush tool (B) with these settings :
- Brush size: 400px
- Hardness: 0%
- Opacity: 40%
- Flow: 100%
- Color: #000000
Now paint over the highlighted area.
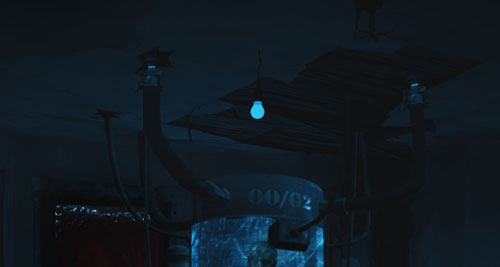
Now bring bulb image to our canvas :
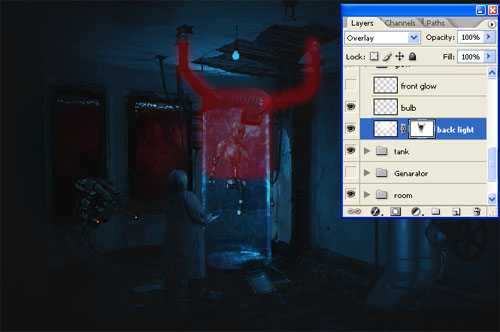
Now make a new layer below bulb layer and name it “Below Light” .
Now activate Brush tool (B) with these settings :
- Brush size: 400px
- Hardness: 0%
- Opacity: 100%
- Flow: 100%
- Color: #ffffff
Now paint over the highlighted area.
Now change it’s layer mode to “Overlay” .
Now add vector mask from the bottom of layers palette .
Now activate Brush tool (B) with these settings :
- Brush size: 400px
- Hardness: 0%
- Opacity: 40%
- Flow: 100%
- Color: #000000
Now paint over the highlighted area.
Now add a layer above the bulb layer and name it “Top light” .
Now get back to our pipes layer.
Now create new Curves adjustment layer from the bottom of layers palette .Press Alt+left click in between 2 layer’s (Pipes layer and Curves) to make a mask.
When the Curves box opens, input the following:
Now select the mask of curves layer .
Now activate Brush tool (B) with these settings :
- Brush size: 400px
- Hardness: 0%
- Opacity: 40%
- Flow: 100%
- Color: #000000
Now paint over the highlighted area.
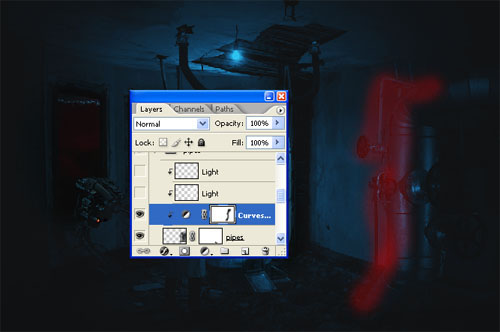
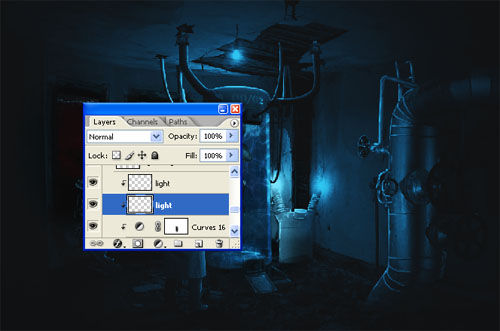
Now Make a new layer and name it “light” and make it a layer mask .
Now activate Brush tool (B) with these settings :
- Brush size: 400px
- Hardness: 0%
- Opacity: 40%
- Flow: 100%
- Color: #ffffff
Now paint over the highlighted area.
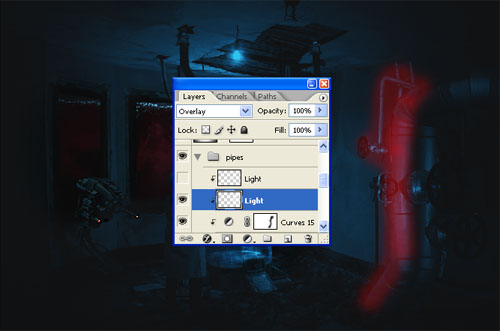
Now Make a new layer above light layer and name it “light” and make it a layer mask .
Now activate Brush tool (B) with these settings :
- Brush size: 50px
- Hardness: 0%
- Opacity: 100%
- Flow: 100%
- Color: #ffffff
Now paint over the highlighted area.
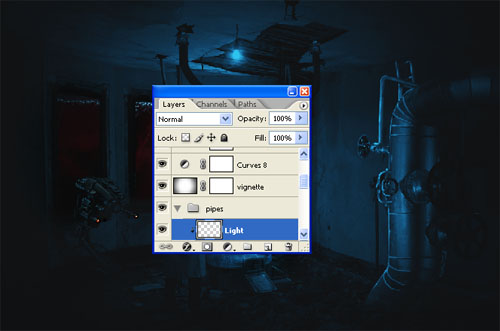
Repeat the same process and add light to the Scientise,Machine and Regenerator :
Now,let’s open the ELECTRIC POWER STATION in Photoshop. We will be using the Generator from this stock image so we will need to transfer it to our main canvas.
Click the ELECTRIC POWER STATION and press V to activate the Move Tool. Left-click the image and drag the image to the main canvas and change layer name to “Generator”.
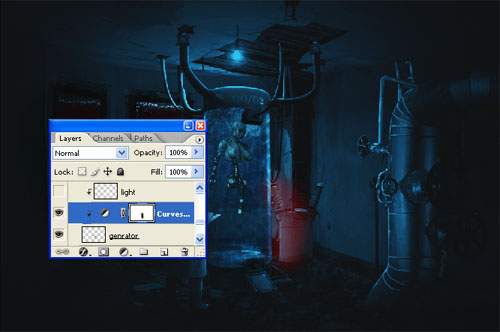
Now create new Curves layer from the bottom of layers palette .Press Alt+left click in between 2 layer’s (Generator layer and Curves) to make a mask.
When the Curves box opens, input the following:
Now select the mask of curve layer .
Now activate Brush tool (B) with these settings :
- Brush size: 400px
- Hardness: 0%
- Opacity: 40%
- Flow: 100%
- Color: #000000
Now paint over the highlighted area.
Step 15
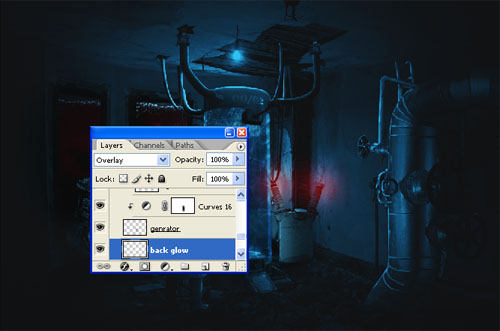
Now make a new layer below the generator layer and name it “Back glow” .
Now activate Brush tool (B) with these settings :
- Brush size: 400px
- Hardness: 0%
- Opacity: 40%
- Flow: 100%
- Color: #ffffff
Now paint over the highlighted area.
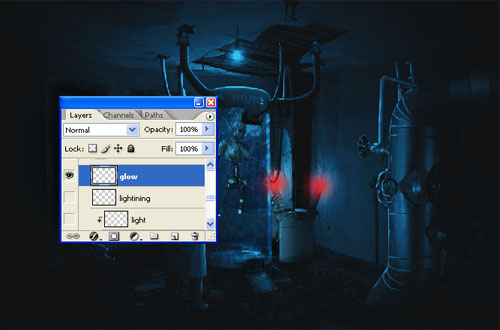
Now make a new layer below the generator layer and name it “top glow” .
Now activate Brush tool (B) with these settings :
- Brush size: 50px
- Hardness: 0%
- Opacity: 100%
- Flow: 100%
- Color: #ffffff
Now paint over the highlighted area.
Now we will add light to our generator so repeat the same process as we have done with others.
Step 16
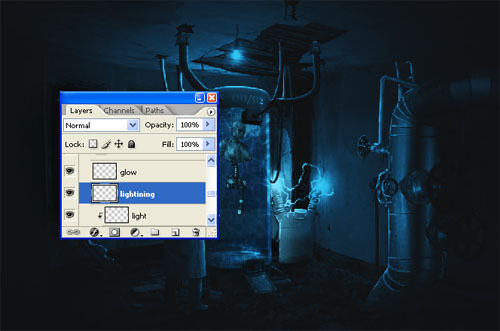
Now Install the lightning brush and draw some lightning take white (ffffff) as color .
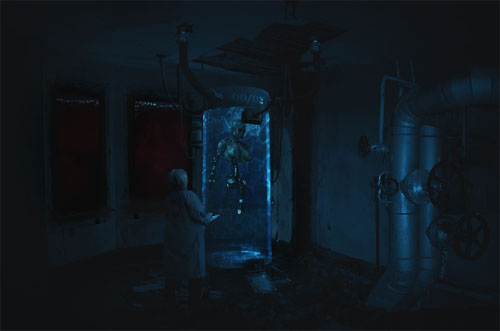
And this is the final result for this tutorial: (click to enlarge)
That’s it for this tutorial! Hope you enjoy going through it and find it useful. Drop me a comment below if you have any question.
Till next time, have a great day!

