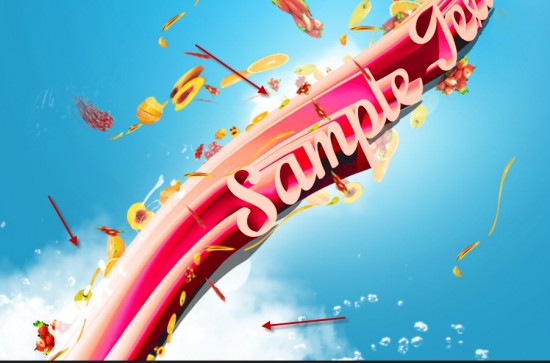
In this Photoshop tutorial, I will show you the process of creating fresh fruit 3D text effect in Photoshop. You will learn a few trick to render a nice and unique 3D text effect and apply various fruits around it. We will use a number filter to add some extra effect for our text.
This is an intermediate level tutorial so some steps can be tricky, but why not have a try!
Note: The Photoshop tutorial is done in CS6 – therefore some screenshot may have slighting different layout as in the earlier version. Some brushes are exclusive to Photoshop CS6.
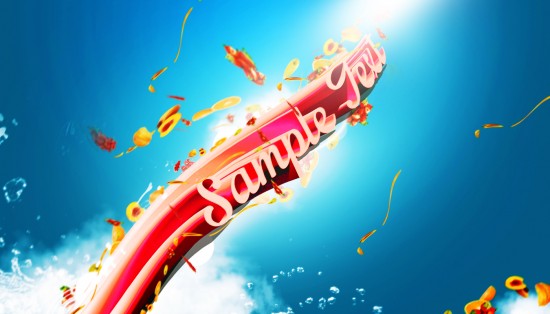
Here is a preview of the final effect I have for this tutorial: (click to enlarge)
PSD File Download
OK Let’s get started!
To complete this tutorial, you will need the following stocks:
Step 1
Create a new document sized 1400px * 800px with the standard white a light blue background:
Create a new layer and use a soft white brush to paint a dot in the centre of the canvas:
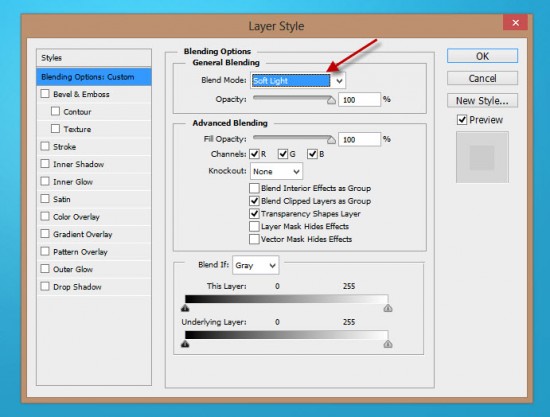
Set this new layer’s blending mode to “Soft Light”:
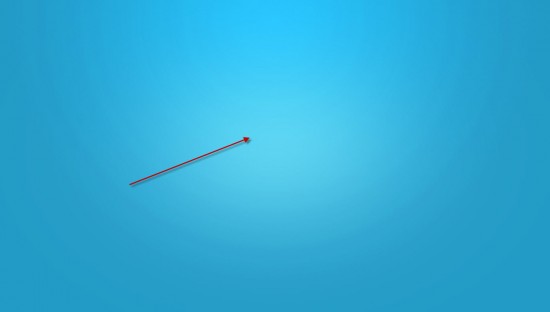
And you will have the following effect:
Step 2
We will add the 3D text onto our canvas in this step. Firstly, use the type tool to type some texts on our canvas with a light pink colour:
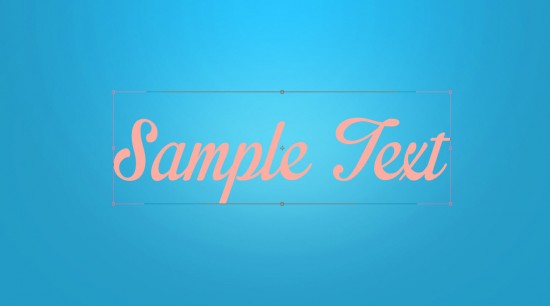
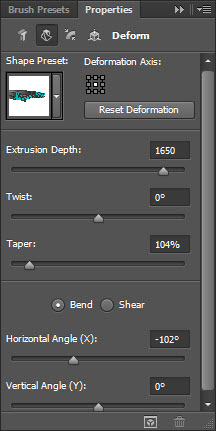
Then, if you have Photoshop CS6, you can go to 3D > New 3D Extrusion from selected layer (make sure the text layer is selected) and apply the following effect:
Note: You can download this 3D text render here if you don’t have CS6, or simply want to skip this step. I have the render in a different text colour but you can simply change it via the Hue tool.
Mesh
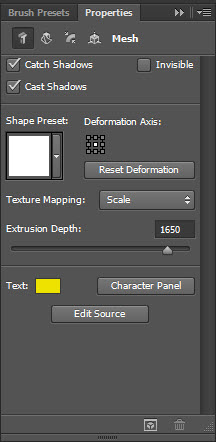
Deform
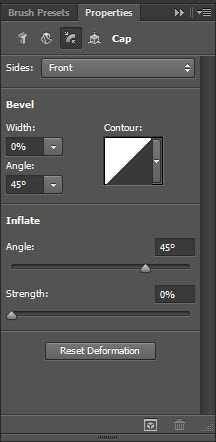
Cap
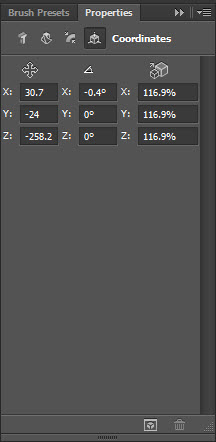
Coordinates
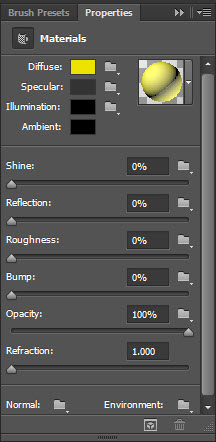
Materials
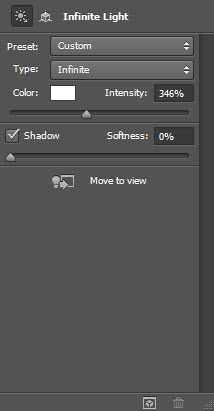
Infinite Light
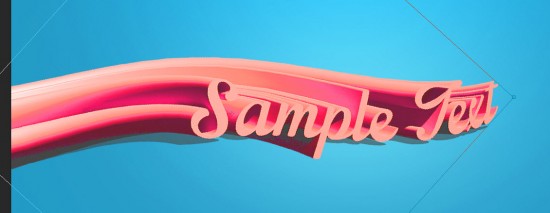
Render the 3D text and convert it into a smart object, you will have the following effect:
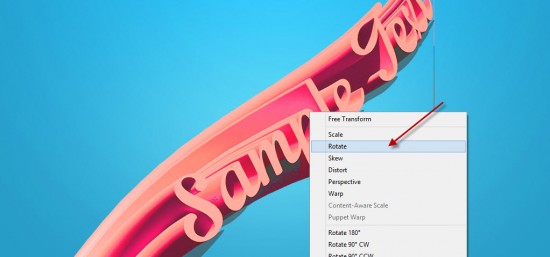
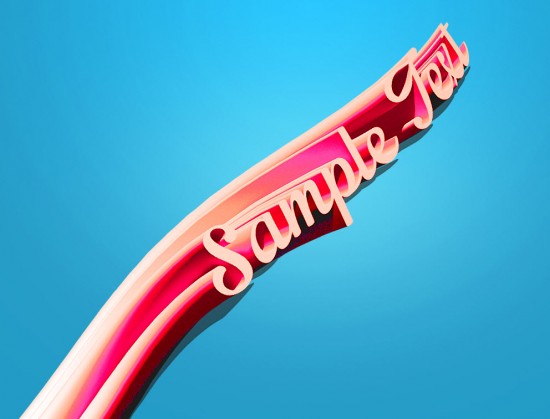
Rotate the text to the following angle with the free transform tool:
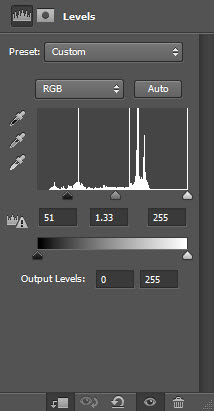
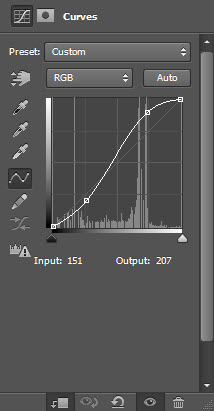
Add the following 2 adjustment layers as clipping mask to this text layer:
Levels
Curves
and you will have the following effect:
Step 3
We will add some fruits into the image. Load the fruit stock photos into Photoshop and select it as shown below:
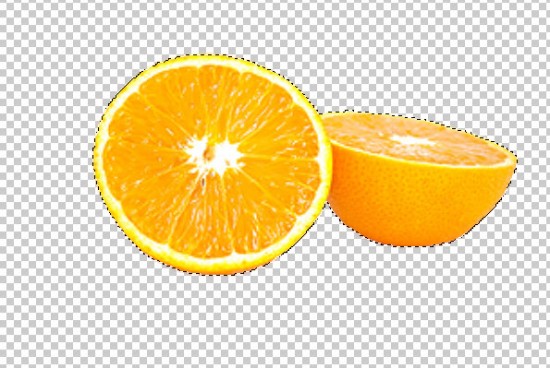
Copy and paste the selection onto our document, resize it as shown below:

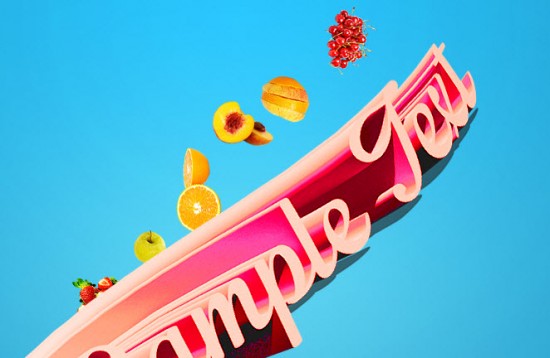
Repeat the process above and add more variety into the mix:
Merge all these layers and duplicate it several times, attach each duplicated layer around the text.
On the top-most layer, apply the Wave filter from Filter > Distort > Wave, using the following settings:
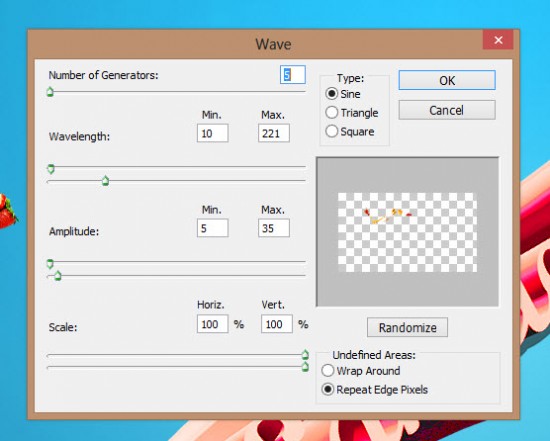
And you will have the following effect:
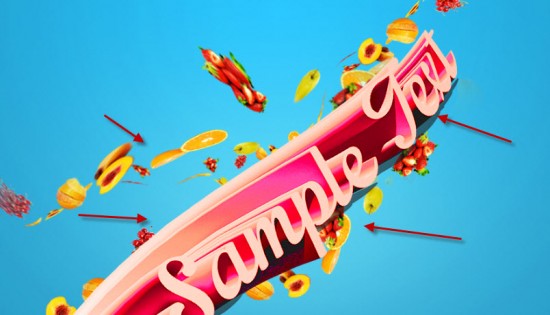
Duplicate this wave layer a few times as welll and attache them around the text as shown below:
Step 4
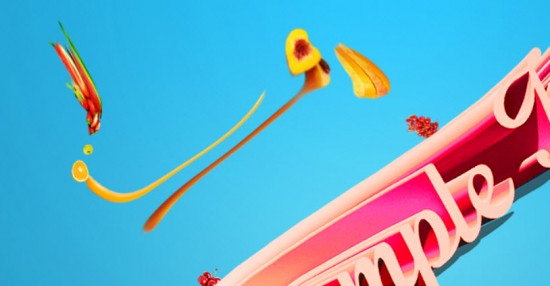
We’re almost done! We can add some liquify filter effect on the fruits layer to add some flowing effect:
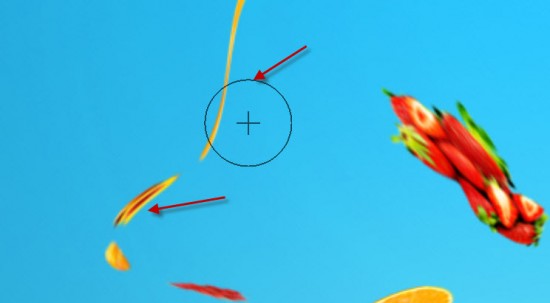
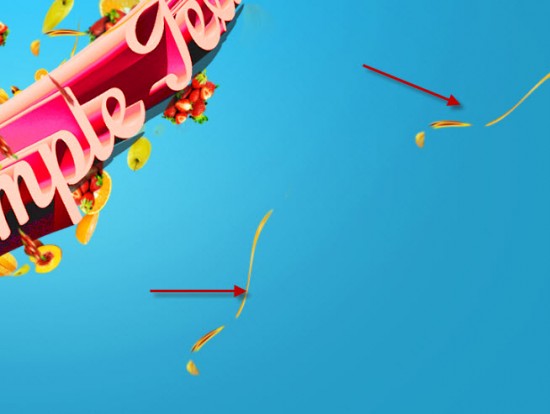
We can also add some cloud and water splash effect with cloud brush and water brush (you can find plenty of these on the net):
and here is my final effect: (click to enlarge)
That’s it for this tutorial! Hope you enjoy going through it and find it useful. Drop me a comment below if you have any question.
Till next time, have a great day!

