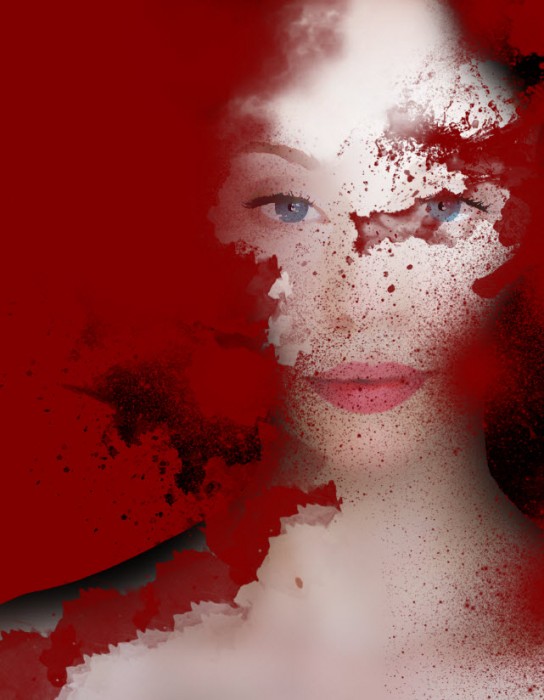
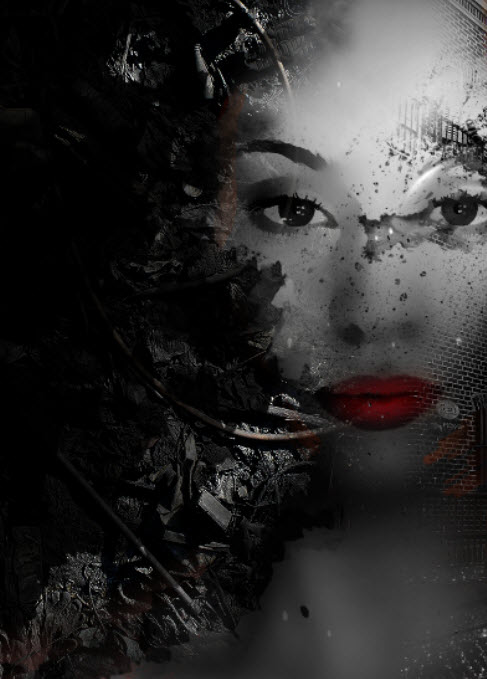
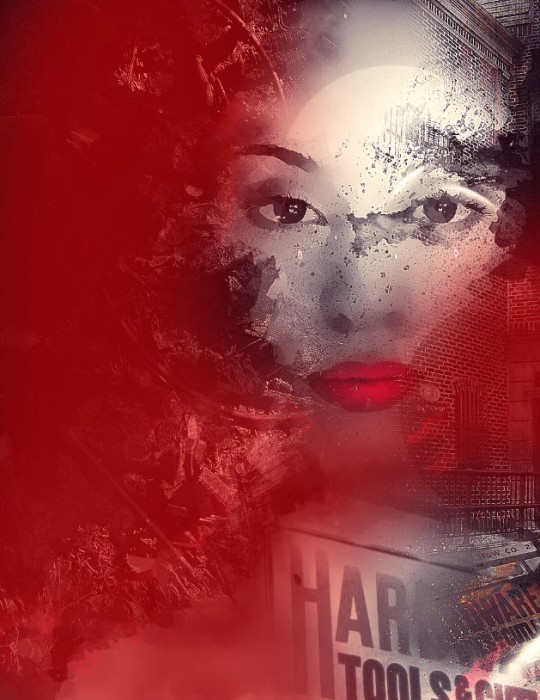
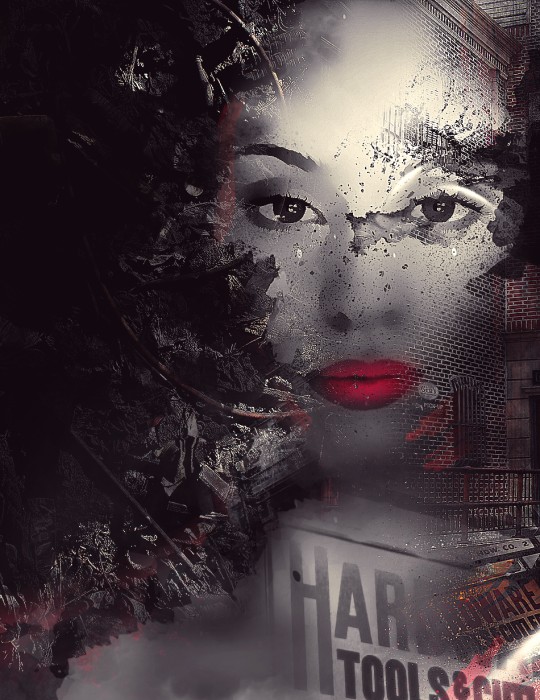
In this tutorial, I will show you the process of creating this “Urbanized” photo manipulation in Photoshop. The concept behind this work is that human is increasing living in a confined urban space and being consumed by the endless expansion of the cities.
I used 3 elements in this manipulation to represent the theme “Urbanized”:
- Human Portrait
- Urban Street Sign and Building
- Scraps
This is an intermediate level tutorial so some steps can be tricky, but why not have a try!
Note: The Photoshop tutorial is done in CS6 – therefore some screenshot may have slighting different layout as in the earlier version. Some brushes are exclusive to Photoshop CS6.
Here is a preview of the final effect I have for this tutorial: (click to enlarge)
OK Let’s get started!
To complete this tutorial, you will need the following stocks:
Grunge Brushset (Pick one set from the list)
Step 1
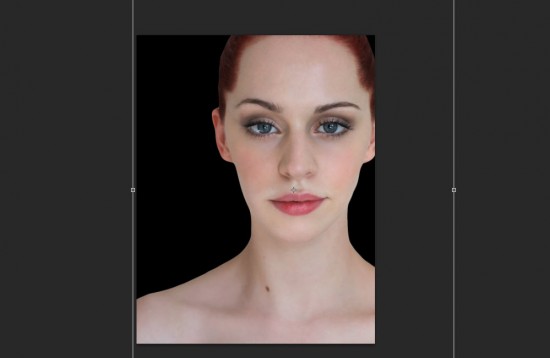
Create a new document sized 950px * 1230px with black background. Load the model image into Photoshop and cut out the model part, paste it onto our document. Adjust the size to fit our canvas:
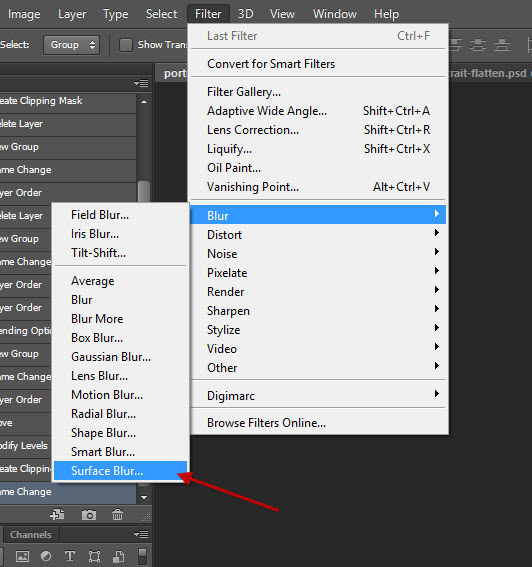
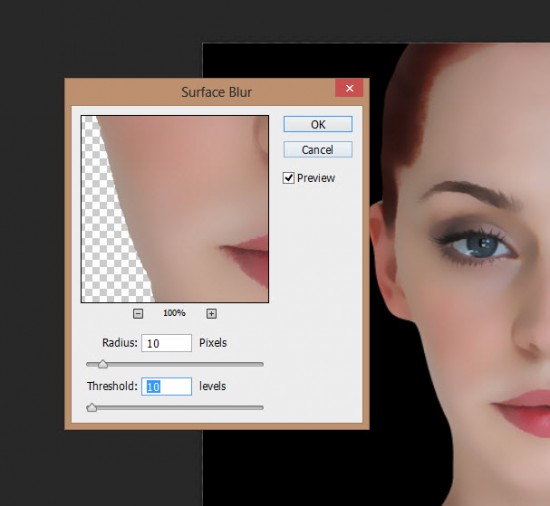
I wanted to smooth out the skin a bit, by applying the following Surface Blur setting:
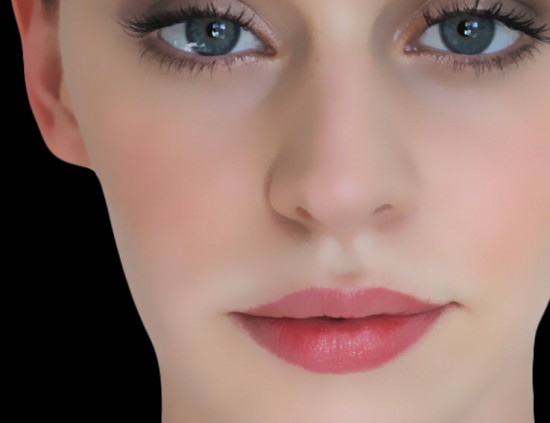
and here is the effect so far:
Step 2
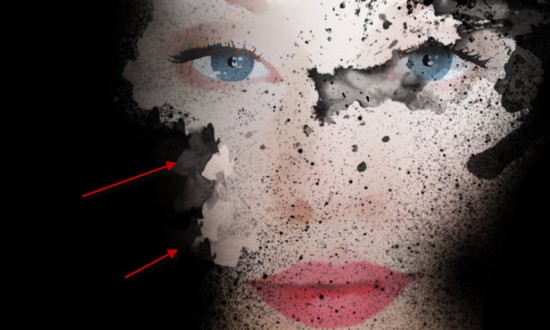
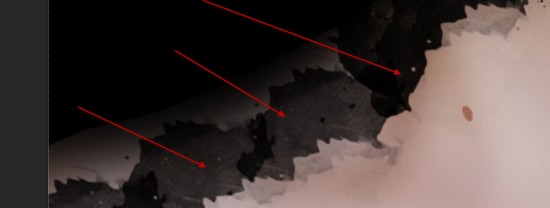
You can use the grunge brushset you download as eraser, remove the red (mask) past of the human layer:
As you can see, I deliberately applied the erase around the cheek, and the shoulder area: (This will make way for our next step, which is to add the building and scrap texture around the model)
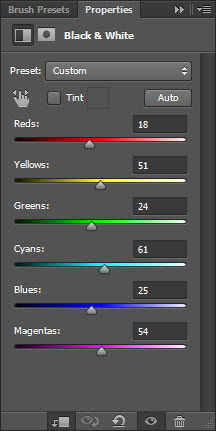
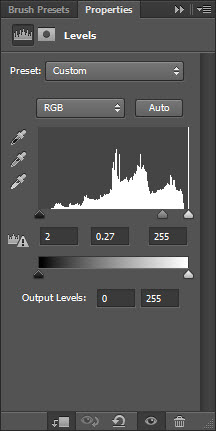
Add the following adjustment layers as clipping masks to this model layer:
Black and White
Levels
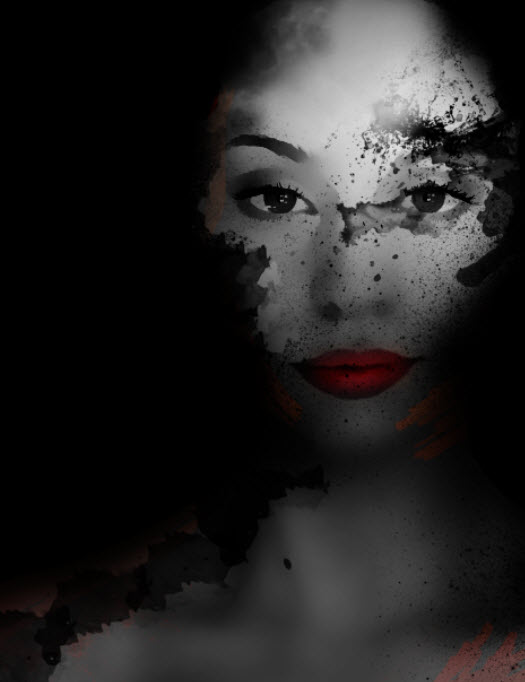
and you will have the following effect so far:
Step 3
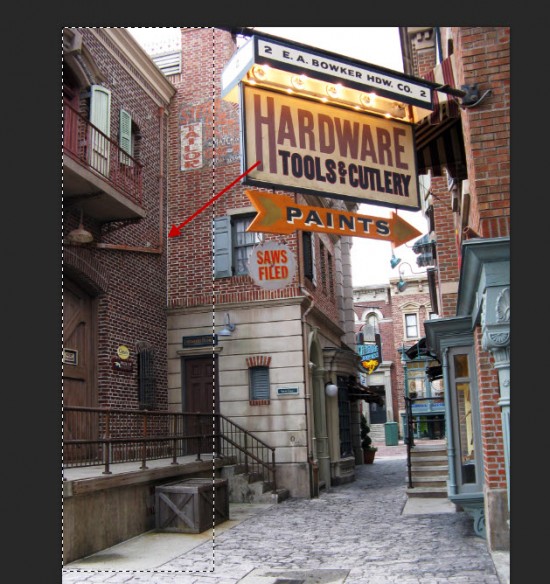
We will add some city settings into the image. Load the city image into Photoshop and select the left portion as shown below:
Copy and paste the selection over to our document, place it on the right side of the canvas, and put the layer below the model layer.
Then, add the following adjustment layers as clipping masks to this new building layer:
Black and White
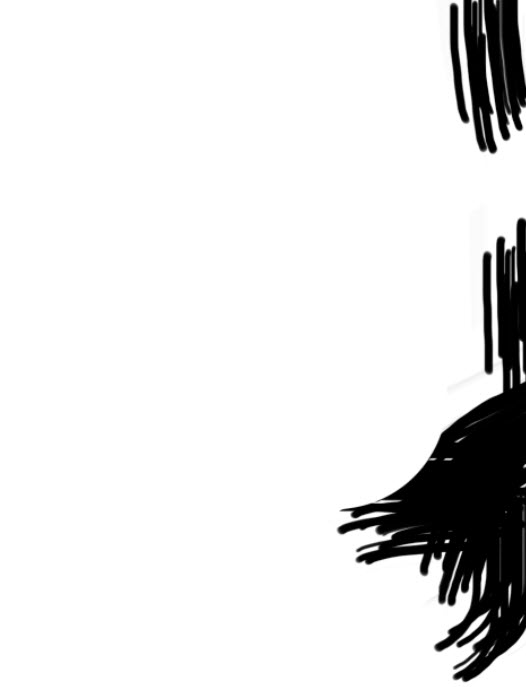
Layer mask on this black and white adjustment layer:
Levels
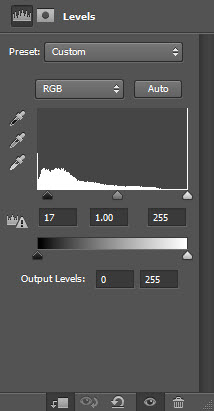
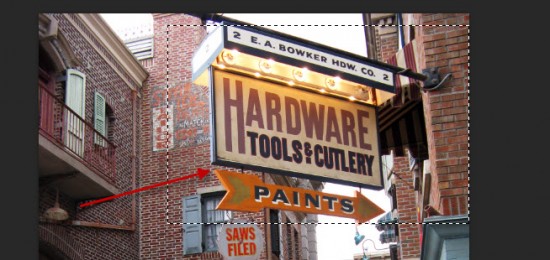
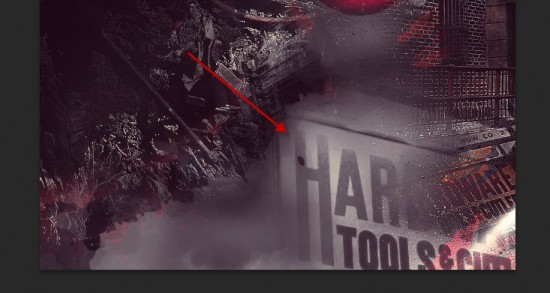
Go back to the city image and select the shop sign:
Copy and paste the selection to our document and place it down the bottom right, and set the blending mode to “Overlay”:
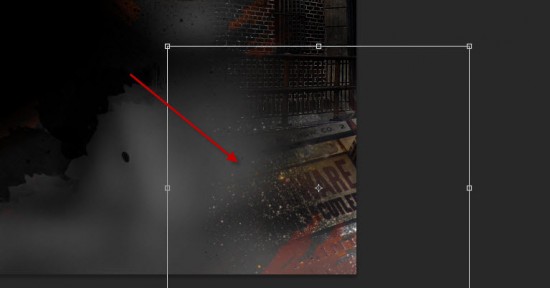
Step 4
We can add the scrap texture into our image. Load the Scrap stock into Photoshop and use the Quick Selection tool to select a piece as shown below:
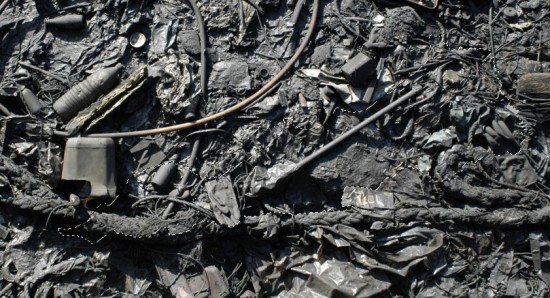
Copy and paste the selection over to our document, use the Warp option in the Free Transform Tool to adjust its shape as shown below:
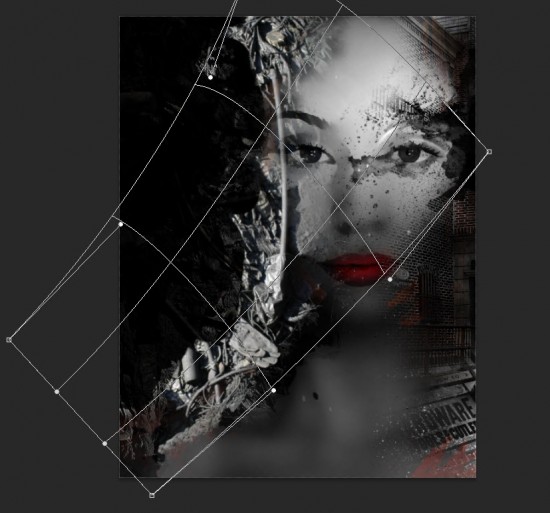
Once you’re happy with the shape, add the following Levels adjustment layer as clipping mask to this scrap layer:
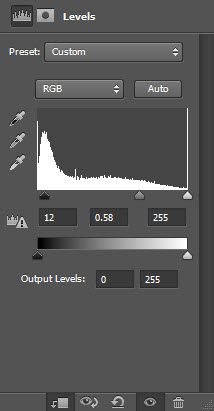
And this is the you should be aiming to achieve:
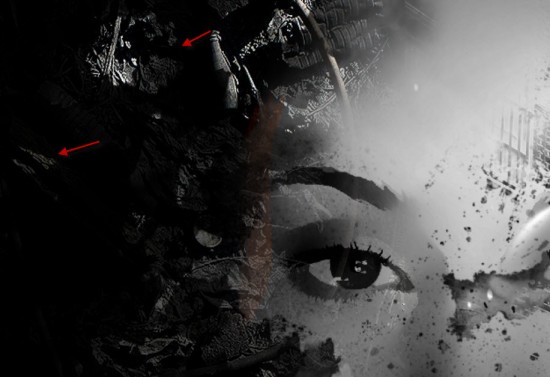
We can go back to the Scrap stock image and select a few small pieces of the scrap, and paste them back to our document. This gives the image a break-apart effect:
Step 5
We’re almost done! To add some final touches to the photo, I flattened the image and duplicated the background layer, apply the following Smart Sharpen filter to the duplicate layer:
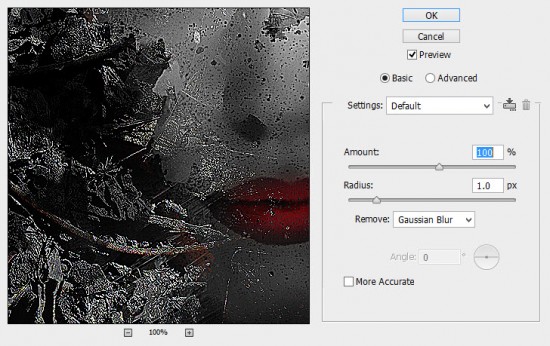
Apply the following layer mask to this sharpened layer to hide some parts of it:
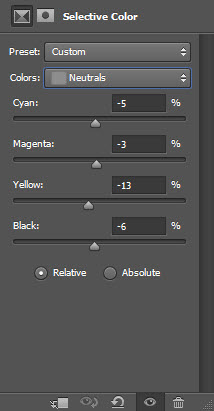
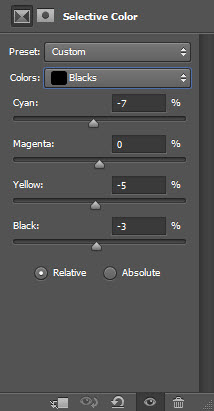
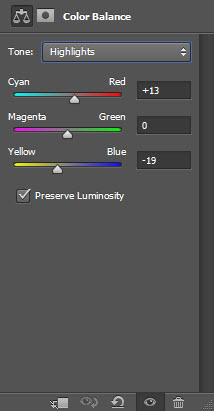
Apply the following adjustment layers to add some color to the image:
Selective Color
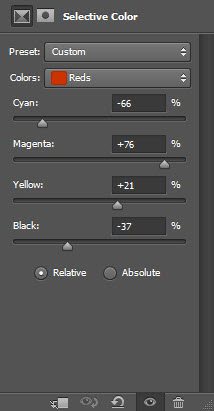
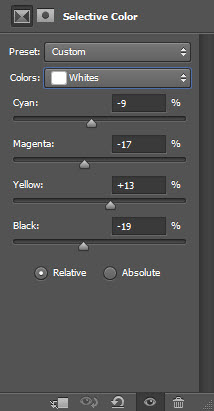
Color Balance
Optional Step: I added a bigger sign on top, with the “Overlay” layer blending mode:
and here is the final effect: (click to enlarge)
Hope you enjoy this tutorial and find it useful. Drop me a comment below if you have any question.
Till next time, have a great day!

