
If you shoot with ultra wide angle lens, you know the distortions it creates. Photoshop has a tool called “Adaptive Wide Angle” which can correct this but it has its flaws including the amount of time it takes to do it. In this tutorial, you’ll learn a technique called “Volume Deformation” which will save you loads of time and effort.
Problems with Photoshop’s Adaptive Wide Angle Tool
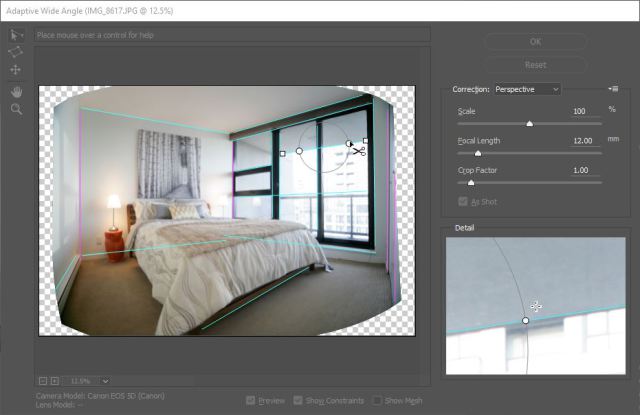
Typically you would go to Filter > Adaptive Wide Angle and draw an array of lines.
It works (most of the time). It can correct distortions. It’s built into Photoshop.
But it’s a lot of work and if you’re not careful you’ll get weird wavy anomalies. You most likely need to crop it and sometimes it just won’t work on your photo.
Volume Deformation is Easier and Faster
Volume Deformation is another technique you can use. You’ll find it way easier and faster than the Adaptive Wide Angle.
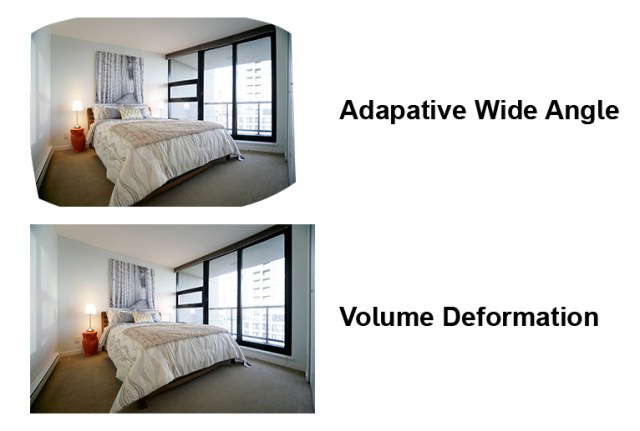
First of all, let me state the downsides of this. It “fishes” your photo slightly and creates slight curvatures around the edge of your photo. It’s also not built into Photoshop which means you need to download an add-on for it.
So why use it?
1. It fixes perspective.
2. No thinking required. You don’t need to do the monotonous work of drawing a bunch of lines.
3. Results are more consistent.
4. You don’t need to crop so you get the widest results.
Step 1
To volume deform your photo, you need to gradually shrink the edges of your photo 20 times. But why do that when there is already a Photoshop action out there that will do it for you?
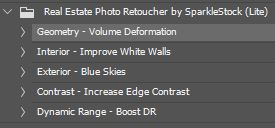
Download the free version of Real Estate Photo Retoucher. This product is a set of Photoshop actions made specifically for real estate photography. Inside it is a Volume Deformation action.
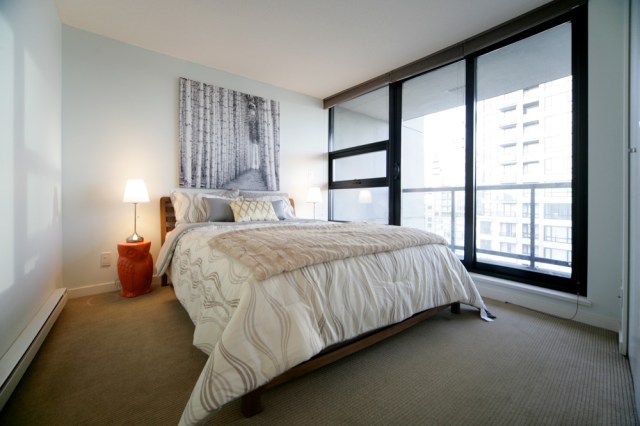
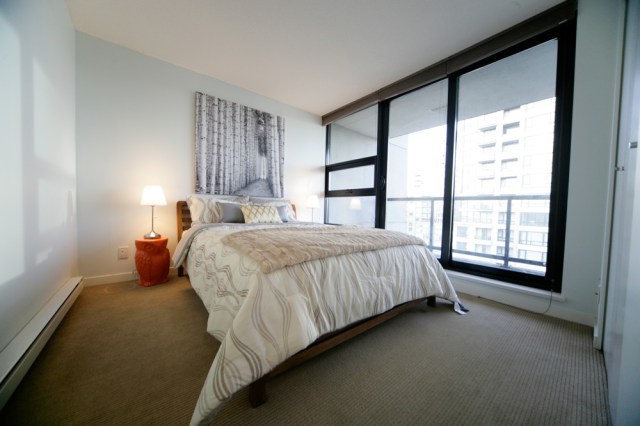
Here is the photo that I’ll be starting out with. Notice how the window on the right-side looks significantly larger than the other two? That is what we’ll fix in this tutorial.
Step 2
After downloading and extracting the files, doubleclick on the ATN file. Go to your Actions panel (Window > Actions) and you’ll find the actions there. Open your image in Photoshop then play the “Geometry – Volume Deformation” action.
Step 3
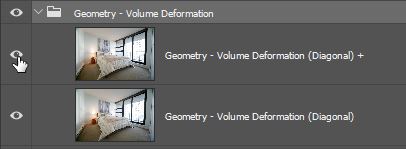
Once it’s done running, hide/show the layers in the Volume Deformation layer group to preview the results. If it’s not strong enough, the pro version has an action that will give you 5 levels of volume deformation. Or you can just play the Volume Deformation action again which is the free way of doing it.
Typically 2 levels is all you need. Once you start increasing it, the amount of curvature/fisheye effect starts to increase around the edges.
Step 4 (Optional)
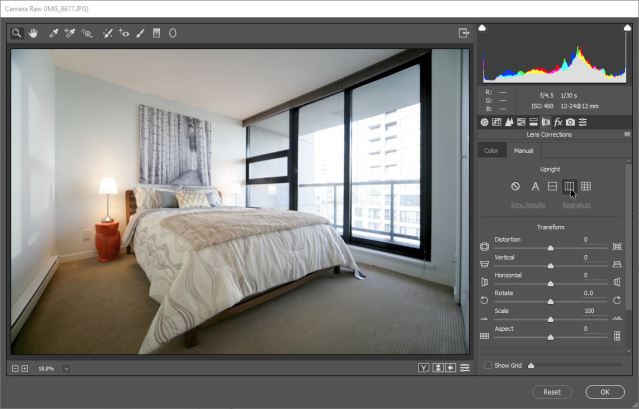
After volume deformation, we can straighten the lines automatically by going to Filter > Camera Raw Filter. Go to the Lens Correction > Manual tab then click on the vertical upright button which will straighten the vertical lines in your photo.
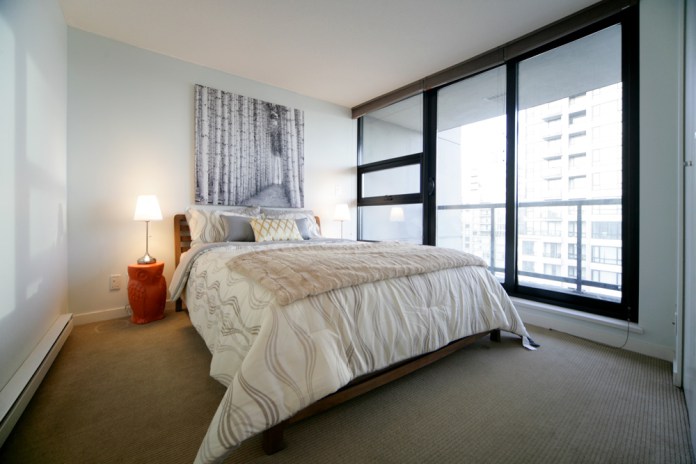
Final Results