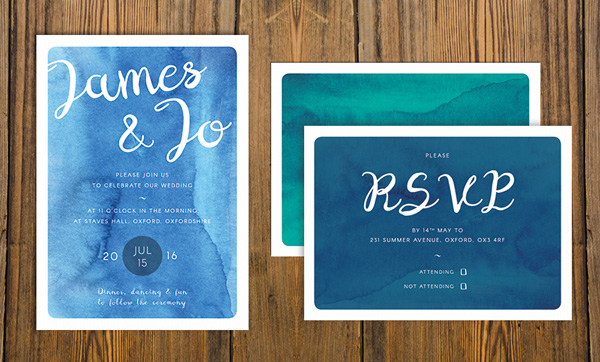
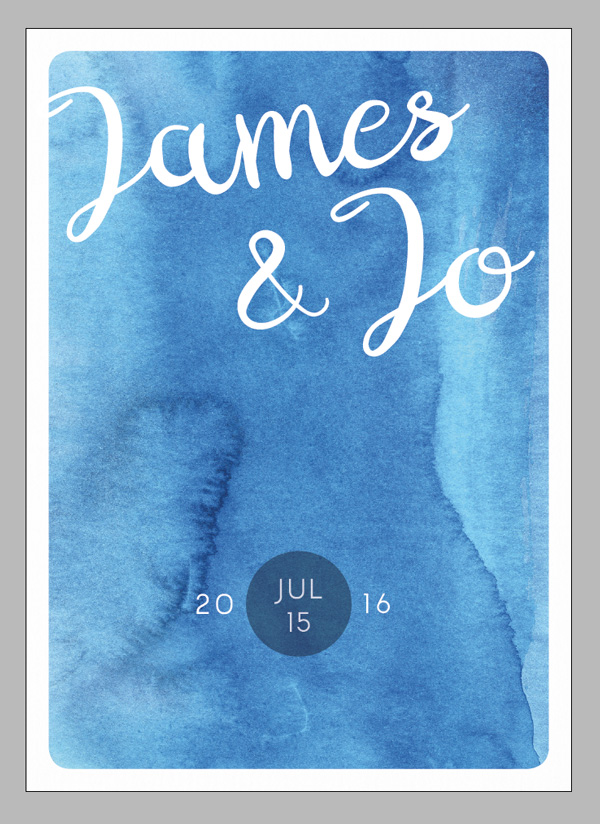
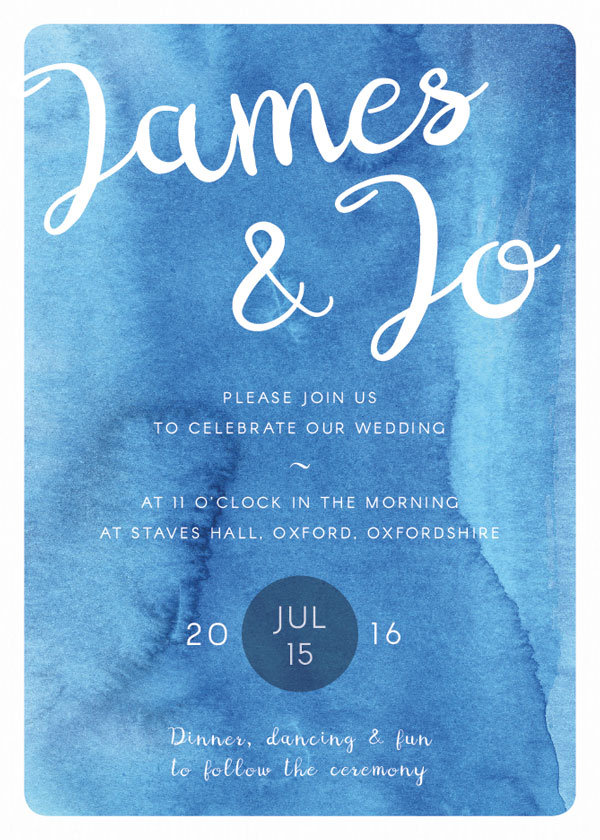
Painterly designs are a big trend for wedding invitations right now. Romantic without being overly feminine or floral, they have an effortlessly cool, beachy style which is perfect for outdoor or more laid-back ceremonies.
In this tutorial that’s suitable for beginners to the software, we’ll walk through the steps of creating an invite and matching RSVP card in Adobe InDesign. You’ll learn how to set up a professional, uber-cool invite which is ready to send straight off to the printers.
Looking for the perfect wedding invite? Make sure to take a look at the range of stylish wedding invite templates on Envato Market.
1. What You’ll Need for Your Invite Design
There are loads of cool watercolor images and textures you can find in stock libraries, and you can adapt the color of the paint to your own preference. For this tutorial, I’ve gone for a sea-blue color scheme, but, if you prefer, you can adapt the color of the watercolor image to suit your own tastes.
For this tutorial you’ll need:
- A watercolor background image—I’ve used this one

Download the image, and install the fonts. Then we’re ready to get started!
2. Create the Invitation Template
Step 1
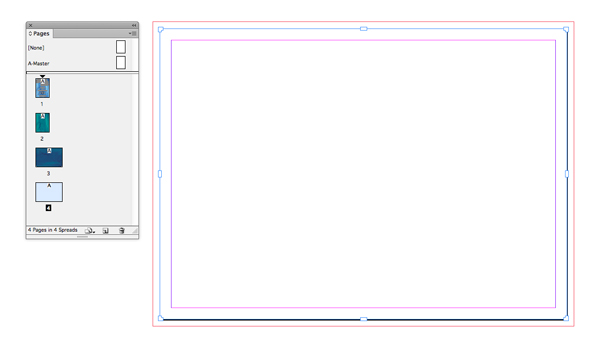
Open up Adobe InDesign and go to File > New > Document.
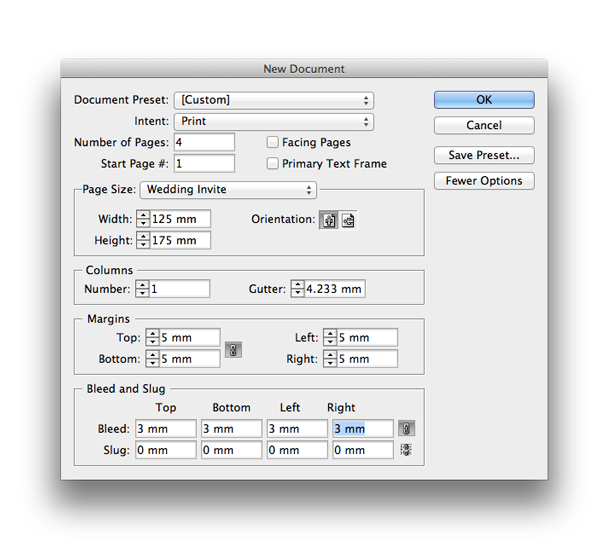
Keep the Intent set to Print, and increase the Number of Pages to 4. Deselect Facing Pages.
Set the Width of the page to 125 mm, and Height to 175 mm.*
Set the Margins on all sides to 5 mm and add a Bleed of 3 mm around the edge of the page.
* Important Note: Make sure you track down envelopes that will accommodate the size of your invites well before you commit to printing!
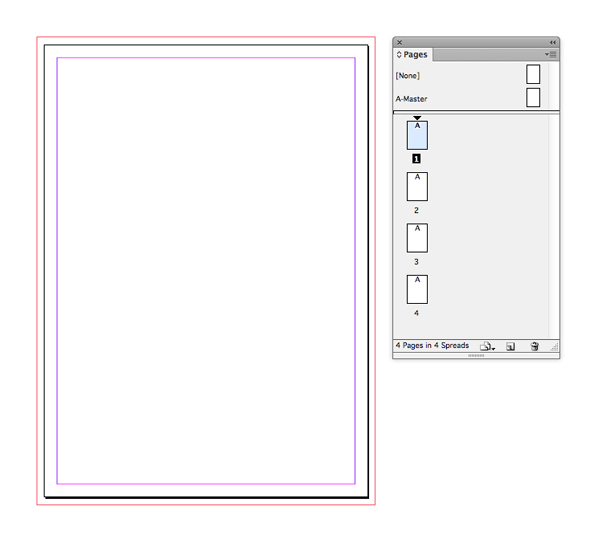
Click OK to create your new document.
Step 2
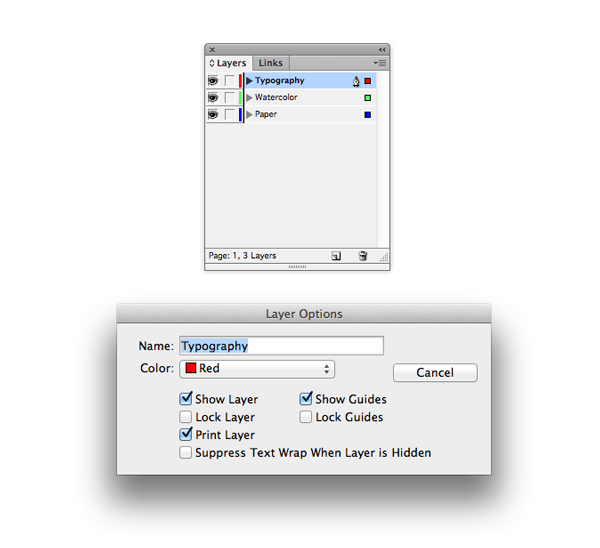
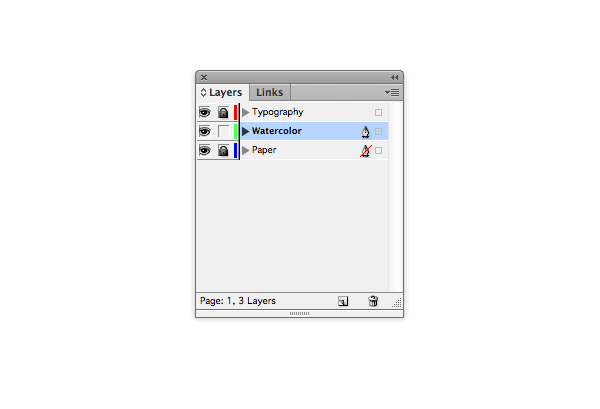
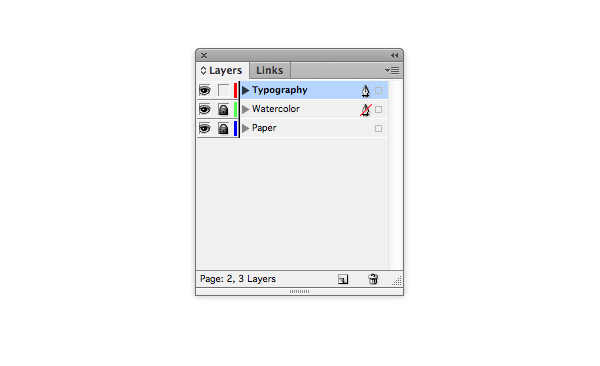
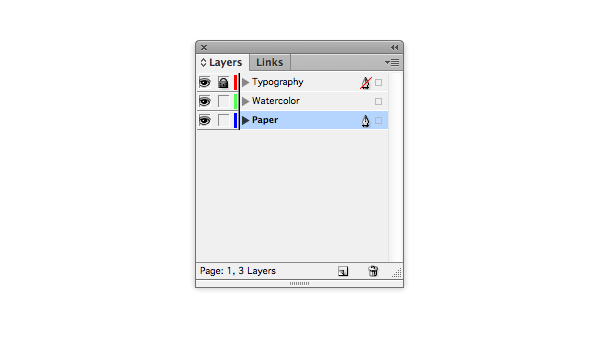
Expand the Layers panel (Window > Layers) and double-click on the default Layer 1 to edit it. Rename the layer Paper and click OK.
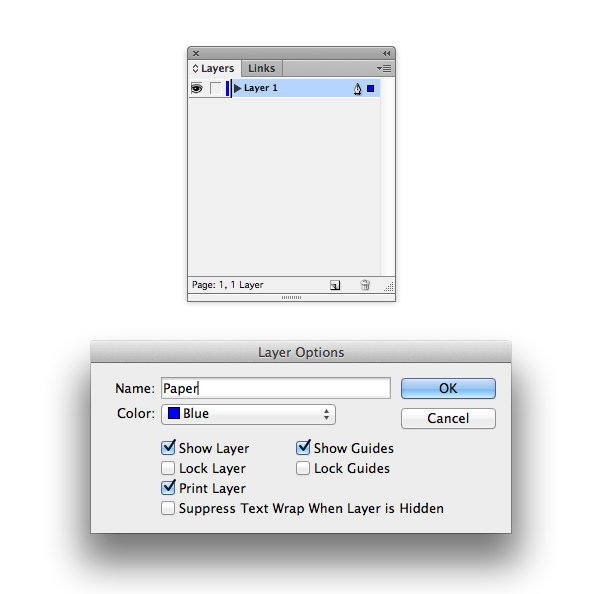
Click on the Create New Layer button at the bottom of the panel, and create and rename two further layers: Watercolor and then Typography.
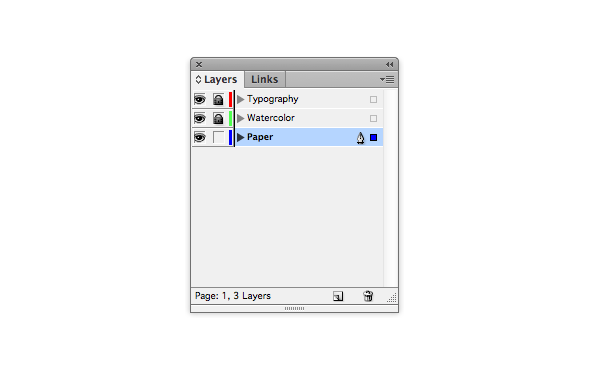
Lock all layers except the Paper layer, and click on its name to activate it.
Step 3
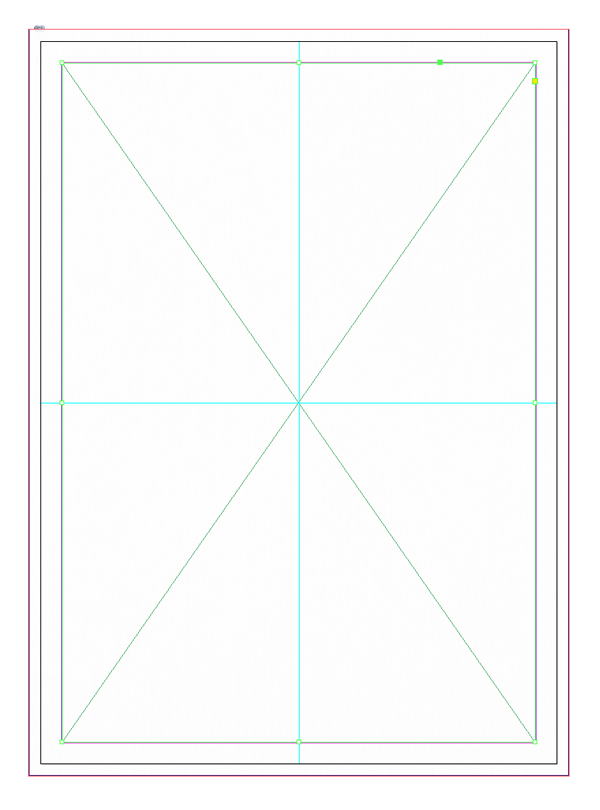
With the rulers visible (View > Show Rulers), drag a guide out to the vertical center point of Page 1 (at X position 62.5 mm), and drag a second down to the horizontal center point (Y position 87.5 mm).
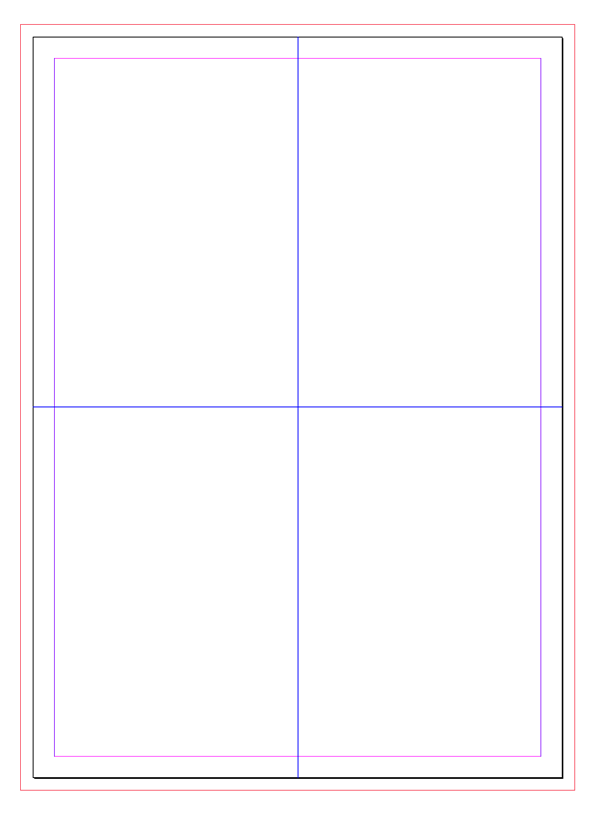
This will just help you to center content on the page.
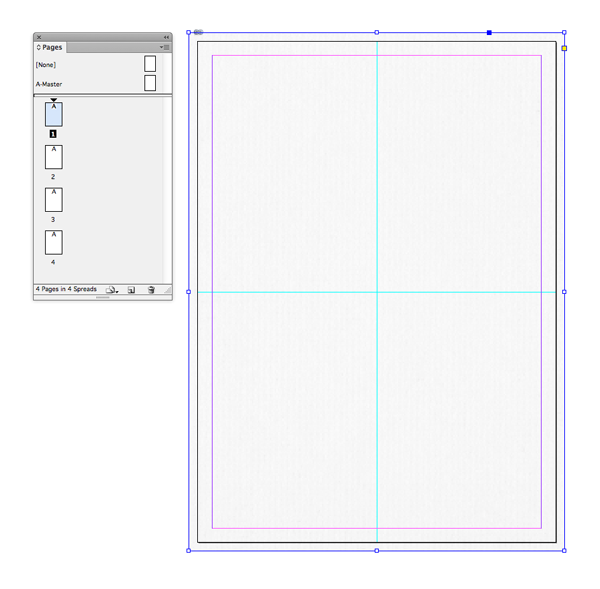
3. Build Up Papery Texture
Whether you’re printing on heavy-weight, textured card or opting for a lower-weight paper to keep costs down, adding a ‘fake’ paper texture to the background of your invite will help give it that extra luxurious look…
Step 1
Remaining on Page 1 and on the Paper layer, take the Rectangle Frame Tool (F) and drag across the whole page to create a frame that extends up to the edges of the bleed.
File > Place and choose your paper texture image, Open.
Click on the Fill Frame Proportionally button on the top Controls panel to arrange the image nicely in the frame.
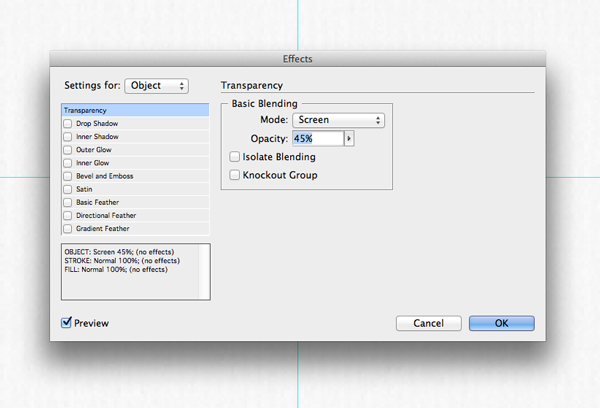
With the frame selected, go to Object > Effects > Transparency. Choose Screen from the Mode options, and reduce the Opacity to 45%.
Step 2
Take the Rectangle Tool (M) and drag onto the page to create a rectangle the same size as the frame sitting below. Set the Fill Color to [Paper].
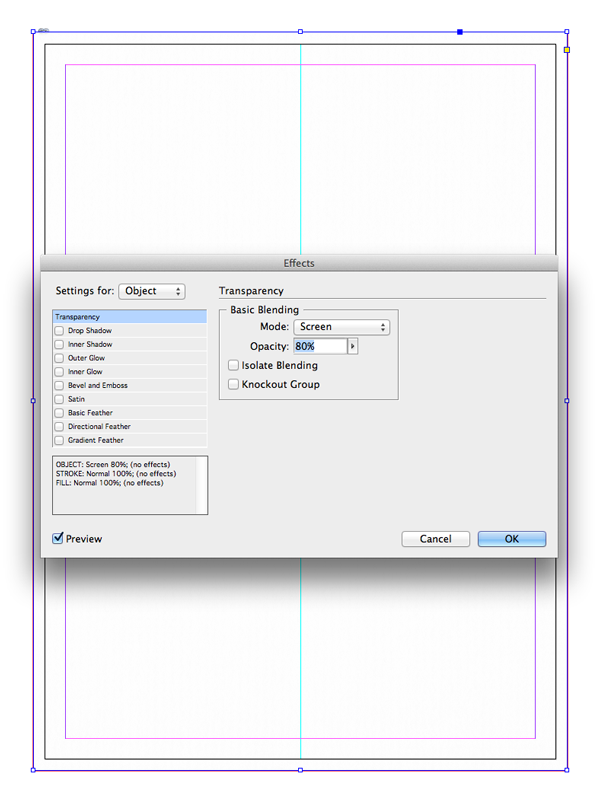
Then, with the rectangle selected, go to Object > Effects > Transparency. Select Screen for Mode, and set the Opacity to 80%.

4. Bring in an Artistic Touch
Step 1
Return to the Layers panel and lock the Paper layer. Unlock the next layer up, Watercolor.
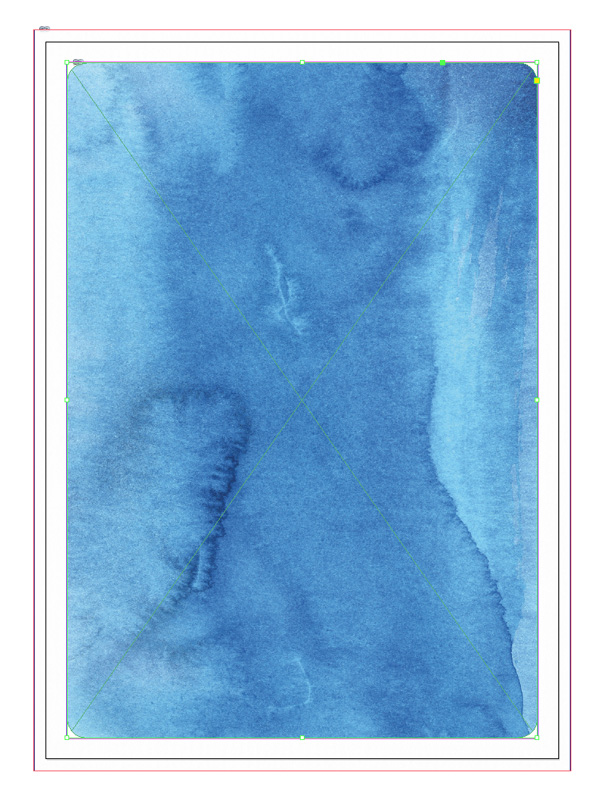
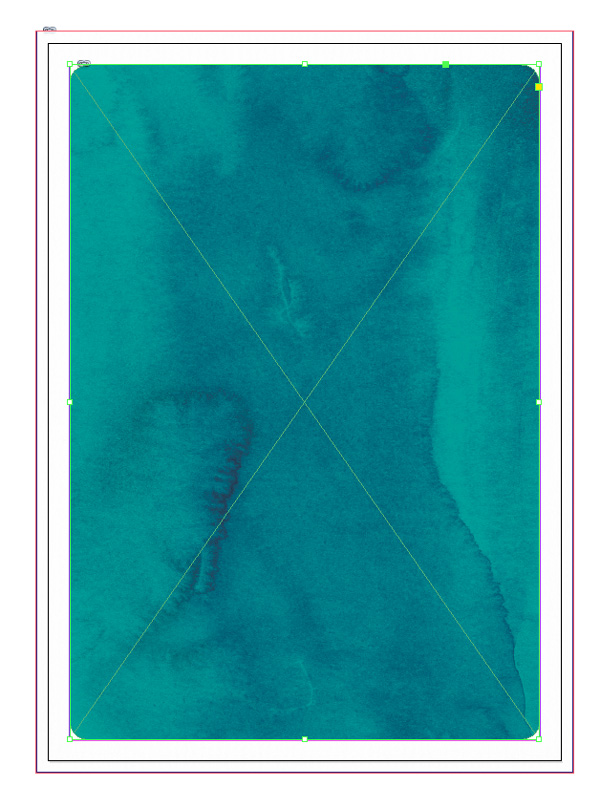
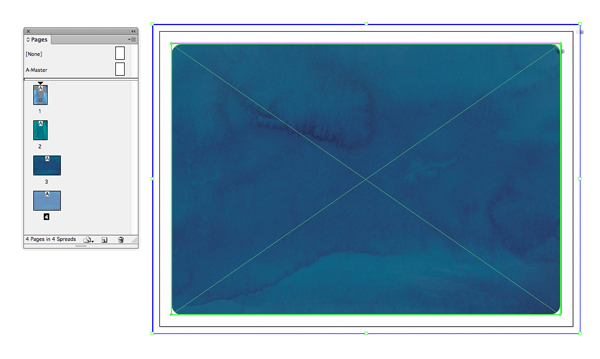
Take the Rectangle Frame Tool (F) and create a frame that extends up to the margins of Page 1, and center it on the page.
Step 2
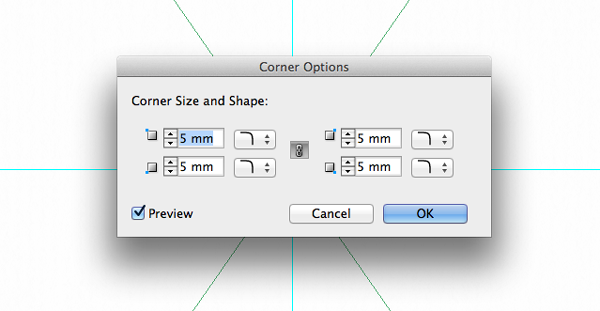
With the frame selected, go to Object > Corner Options. Set the Size of all corners to 5 mm and the Shape to Rounded. Click OK.
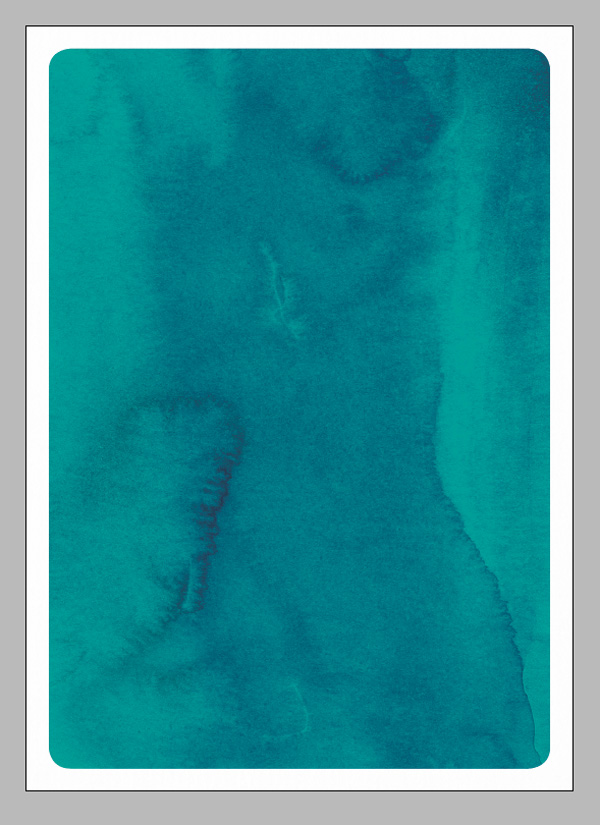
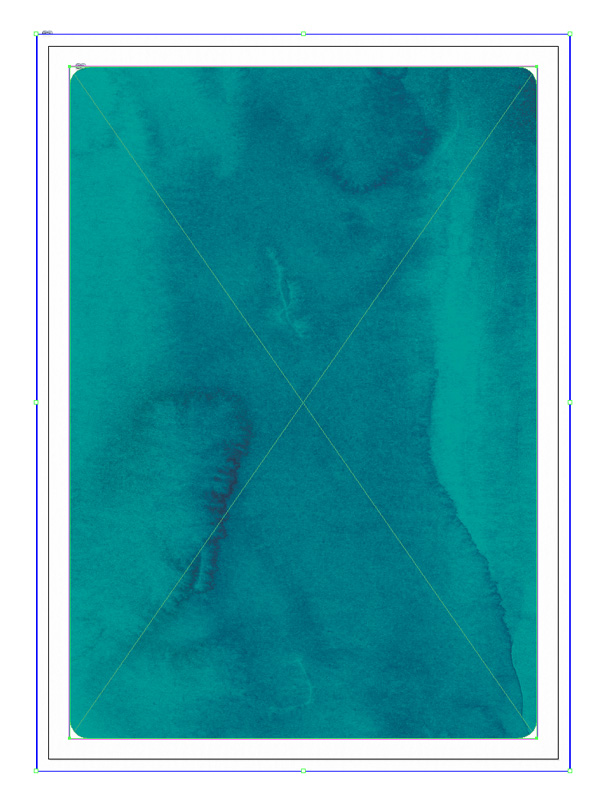
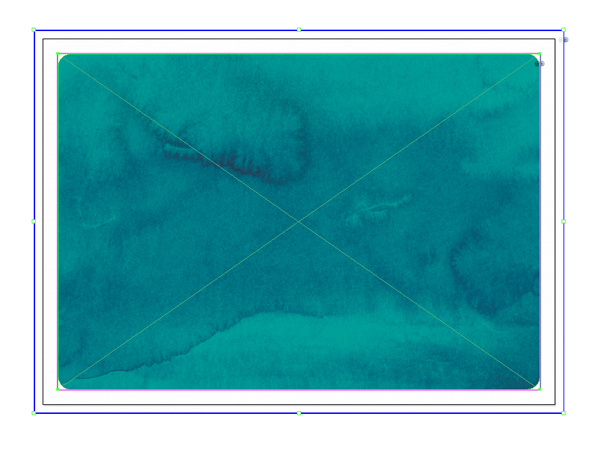
Go to File > Place, and navigate to your watercolor background image. Click Open, and arrange in the frame so that no rough edges of the image are visible.

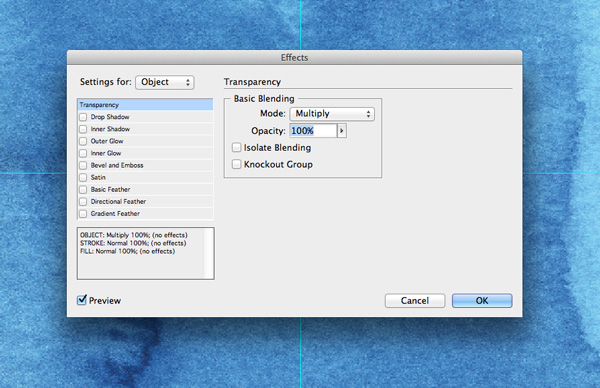
Go to Object > Effects > Transparency, and set the Mode to Multiply. This will bring through some of the papery texture sitting below.

Step 3
Unlock the Paper layer, and drag across Page 1 to select all elements from both the Paper and Watercolor layers.
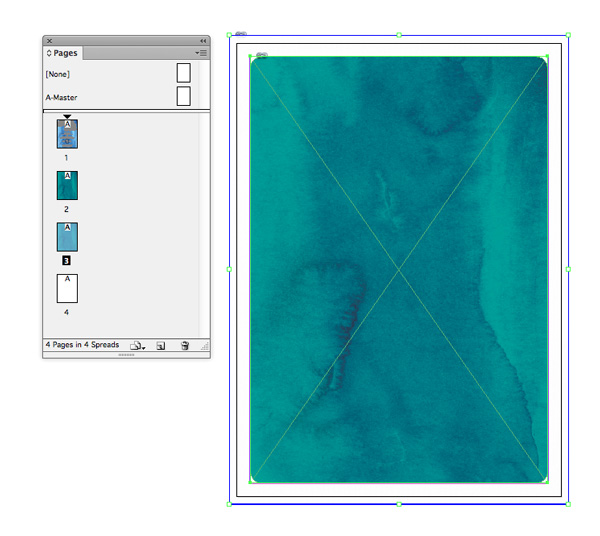
Go to Edit > Copy. Scroll down to Page 2 of your InDesign document and Edit > Paste in Place.
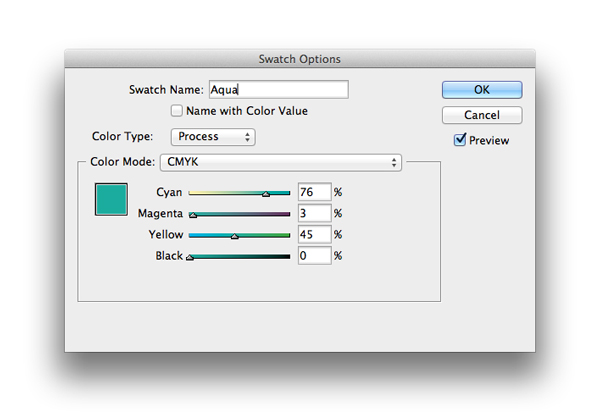
From the Swatches panel (Window > Color > Swatches), choose New Color Swatch from the panel’s drop-down menu.
Name the swatch Aqua, and set the Color Type to Process and Color Mode to CMYK. Set the values to C=76 M=3 Y=45 K=0. Click OK.
Step 4
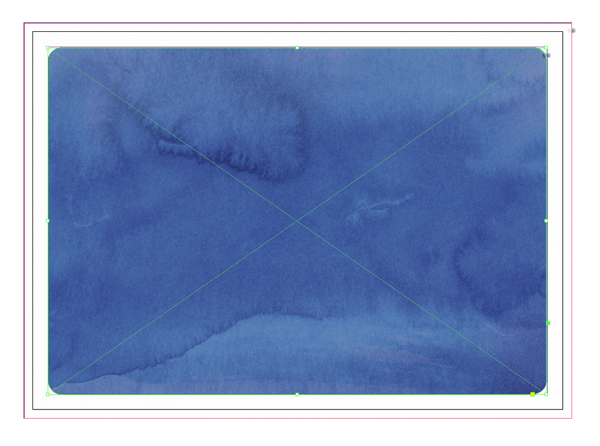
Select the image frame that contains the watercolor image and Edit > Copy, Edit > Paste in Place. Double-click inside the pasted frame to select the image inside, and delete it.
Set the Fill Color of the frame to your new swatch, Aqua.
5. Introduce Some Beautiful Typography
Step 1
Return to the Layers panel and lock both the Paper and Watercolor layers. Unlock the top layer, Typography.
Scroll back up to Page 1 of your document.
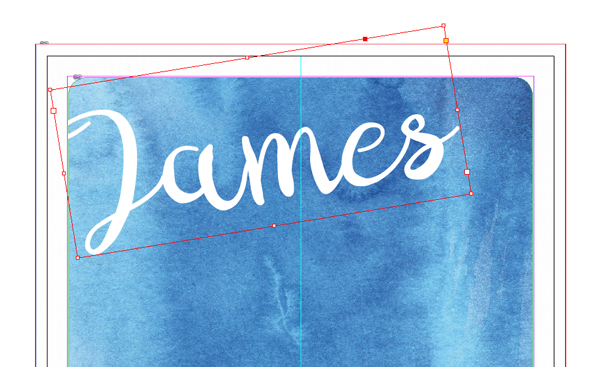
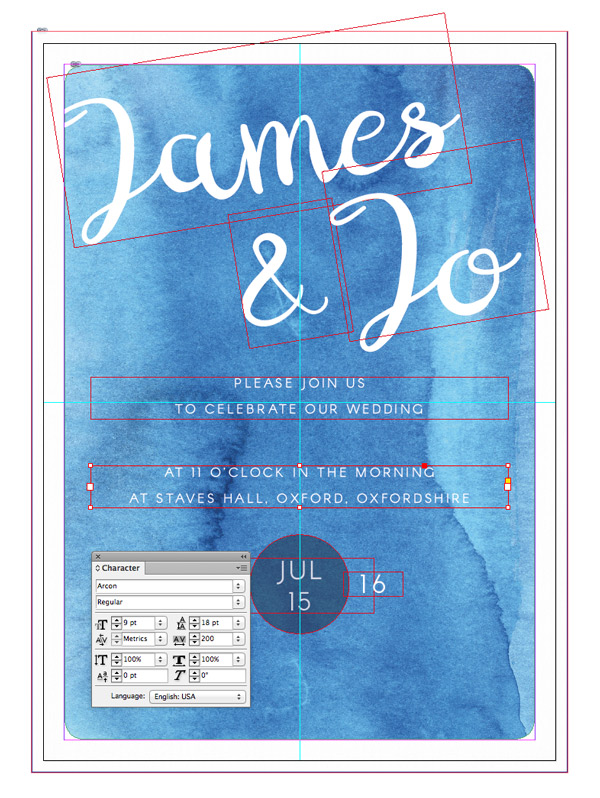
Take the Type Tool (T) and create a new text frame at the top of the page. Type in ‘Name 1’.
From either the Character panel (Window > Type & Tables > Character) or the Character Formatting Controls panel running along the top of the workspace, set the Font to Digory Doodles, Size 60 pt. Adjust the Font Color to [Paper].
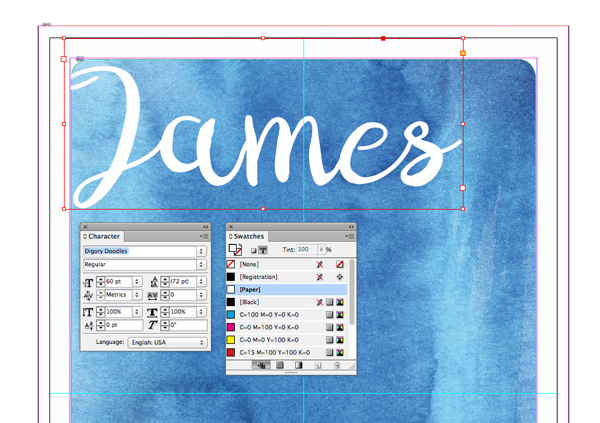
Hover over the right corner of the text frame until your cursor changes to a rotate icon. Rotate the frame anti-clockwise a little to give it a slight tilt.
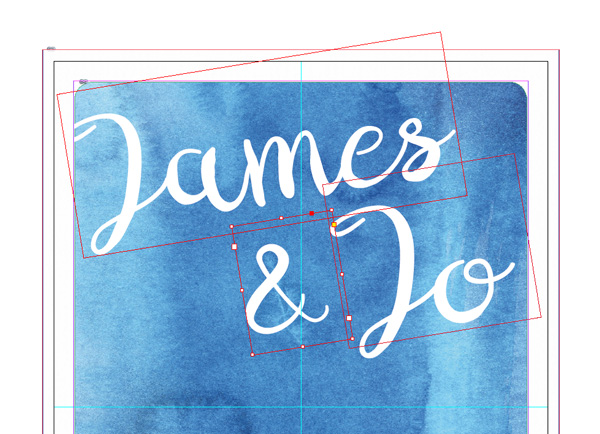
Copy and Paste the text frame, position it below and to the right side of the page, and adjust the text to read ‘Name 2’.
Paste another text frame, adjusting the text to a simple ampersand (‘&’).
Step 2
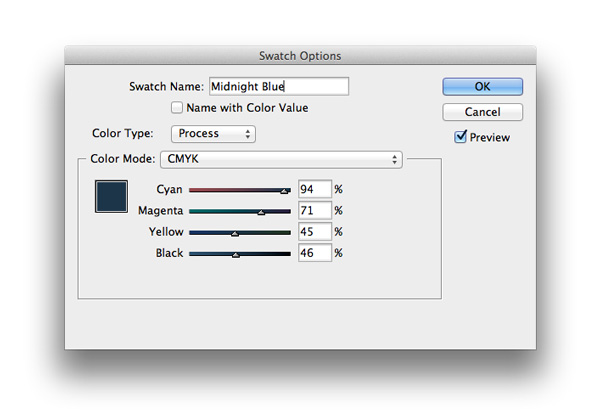
From the Swatches panel, choose New Color Swatch from the panel’s drop-down menu. Name the swatch Midnight Blue, and set the Color Type to Process and Color Mode to CMYK. Set the values to C=94 M=71 Y=45 K=46. Click OK.
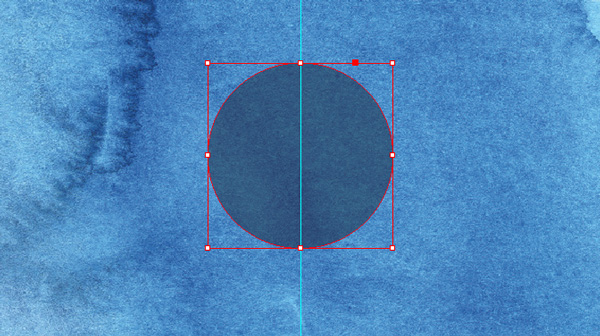
Take the Ellipse Tool (L) and, holding Shift, drag onto the page to create a circle about 24 mm in diameter. Set the Fill Color to Midnight Blue.
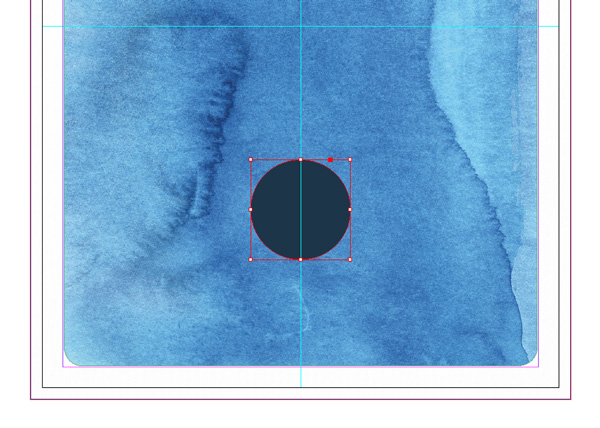
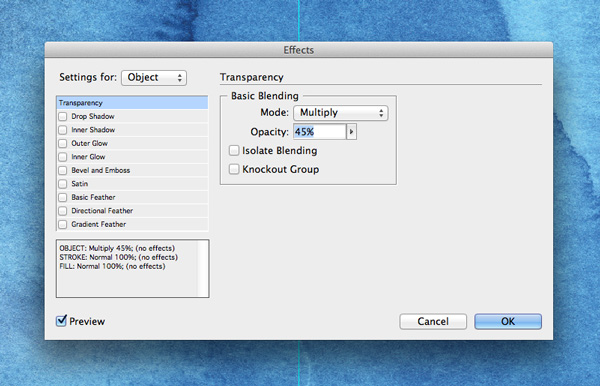
Go to Object > Effects > Transparency, and set the Mode to Multiply and Opacity to 45%.
Step 3
Take the Type Tool (T) and create a new text frame layered over the circle shape. Type in ‘Month (paragraph break) Day’, and set the Font to Arcon, All Caps, Size 18 pt, Tracking 90. Set the Font Color to [Paper] and Transparency to Multiply, 45%.
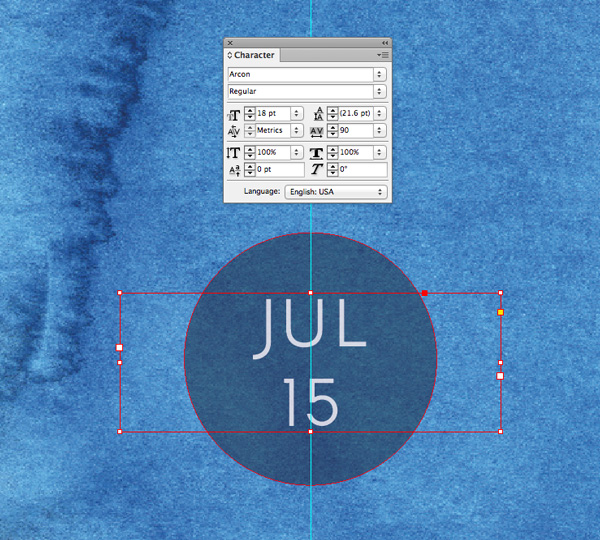
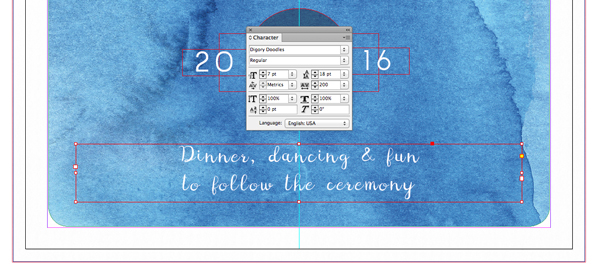
Add two more text frames on either side of the circle, splitting the year between the two, and using the same Arcon formatting as above.

Step 4
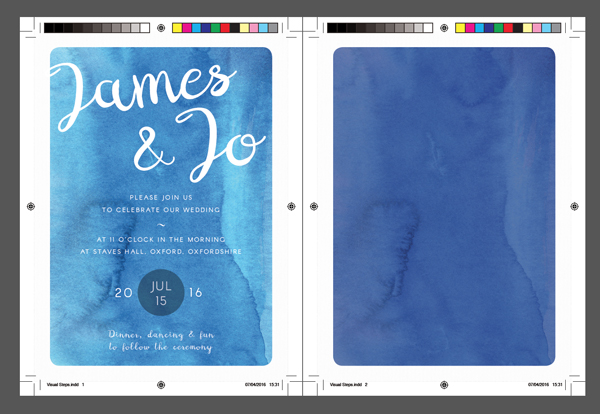
Create a longer, narrower text frame and place it along the center point of the page. Type in something along the lines of ‘Please join us (paragraph break) to celebrate our wedding’ and set the Font to Arcon, All Caps, Size 9 pt, Leading 18 pt, Tracking 200, and adjust the Font Color to [Paper].
Copy and Paste the text frame, positioning below the first, with a gap in between. Adjust the text to read ‘At [time] (paragraph break) at [place]’.
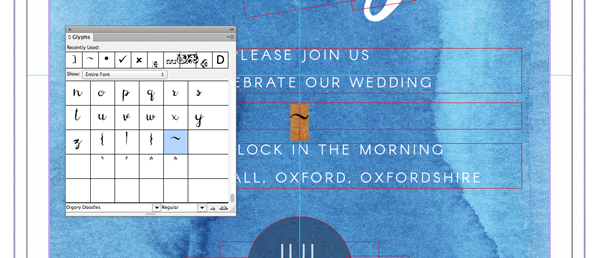
Add a new text frame with a simple tilde (find in the Glyphs panel—Window > Type & Tables > Glyphs), centered, in [Paper].
Step 5
As a final touch on the front of your invite, add a text frame below the circle, at the bottom of the page, reading something like ‘Dinner, dancing & fun to follow the ceremony’, setting the text in Digory Doodles.
6. Create Your RSVP Card
Step 1
Head back to the Layers panel and lock the Typography layer. Unlock the Watercolor and Paper layers below.
Scroll down to Page 2 of your document (which is the reverse side of your invitation), drag your mouse across the whole page, and Copy all the elements on the two layers.
Head down to Page 3 of your document. This will be the front of your RSVP card. Edit > Paste in Place.
Step 2
Select the Page Tool (Shift-P) and click on Page 3 to select it. From the top Controls panel, switch the orientation of the page to Landscape.

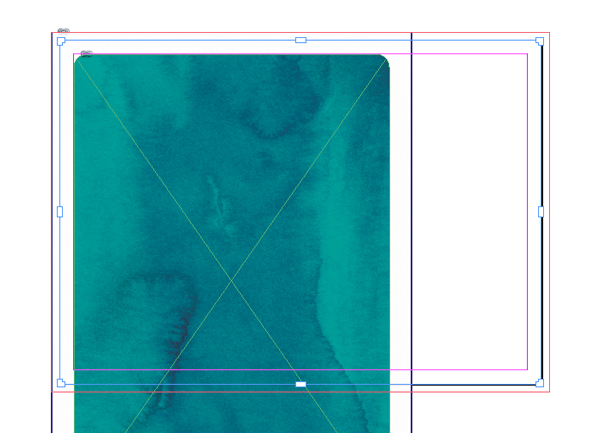
Then select all the pasted elements on the page, and Right-Click (Windows) or Control-Click (Mac OS) > Transform > Rotate 90 Degrees.
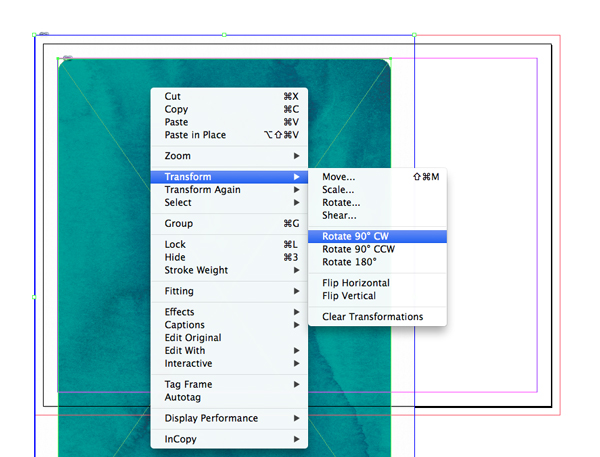
Center the rotated elements on the page.
Step 3
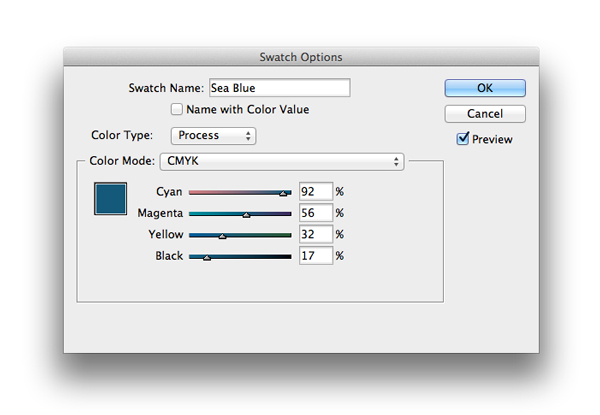
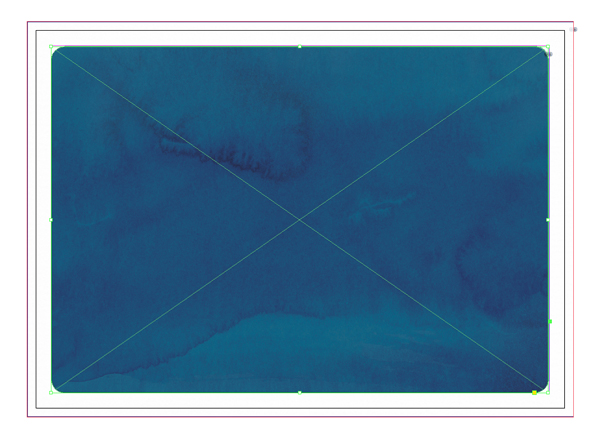
Create a new CMYK Process swatch, name it Sea Blue and set the values to C=92 M=56 Y=32 K=17.
Adjust the Fill Color of the top rectangular frame from Aqua to Sea Blue.
Step 4
Drag your mouse across the whole of Page 3 and Edit > Copy.
Scroll down to Page 4, which will be the reverse side of your RSVP card. Take the Page Tool (Shift-P) and adjust the orientation of the page to Landscape as we did for Page 3.
Then go to Edit > Paste in Place.
Create a new CMYK Process swatch, name it Purple and set the values to C=48 M=52 Y=5 K=0.
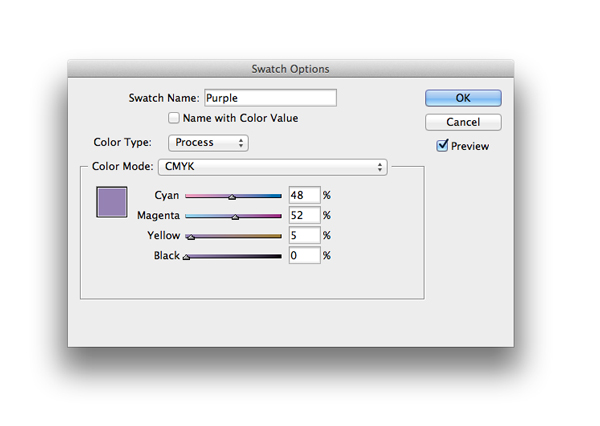
Adjust the Fill Color of the top rectangular frame from Sea Blue to Purple.
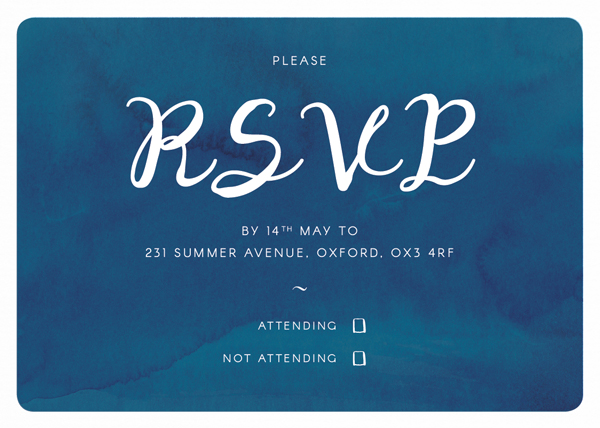
Step 5
Head back up to Page 3, the front side of your RSVP card. Lock the Paper and Watercolor layers and unlock the Typography layer.
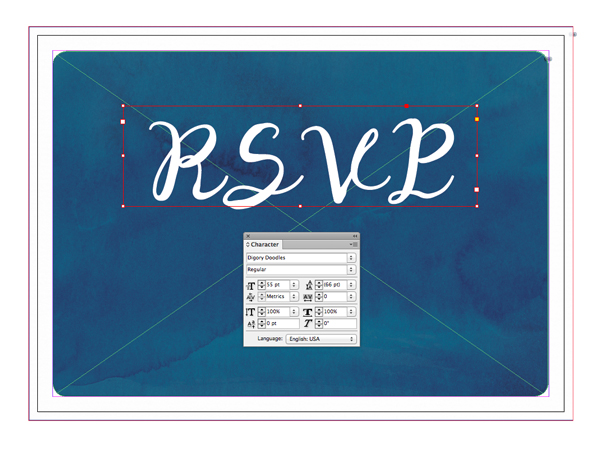
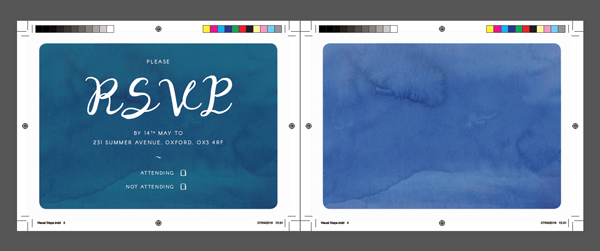
Take the Type Tool (T) and create a new text frame. Type in ‘RSVP’ and set the Font to Digory Doodles, Size 55 pt, Align Center, and a [Paper] color. Center on the top half of the page, as shown below.
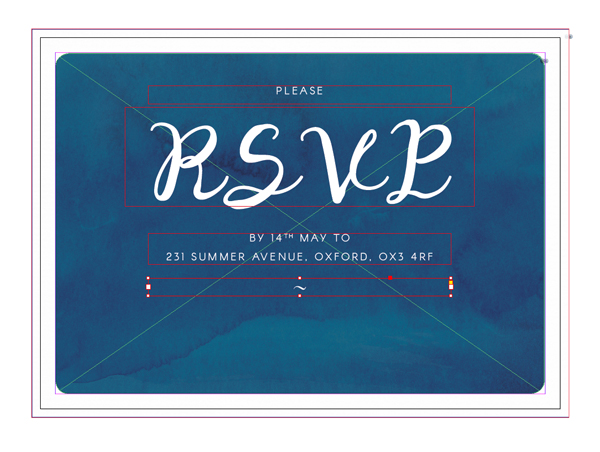
Add text frames above and below the RSVP set in Arcon. Add another tilde (find it in the Glyphs panel—Window > Type & Tables > Glyphs) to help divide up the information.
Step 6
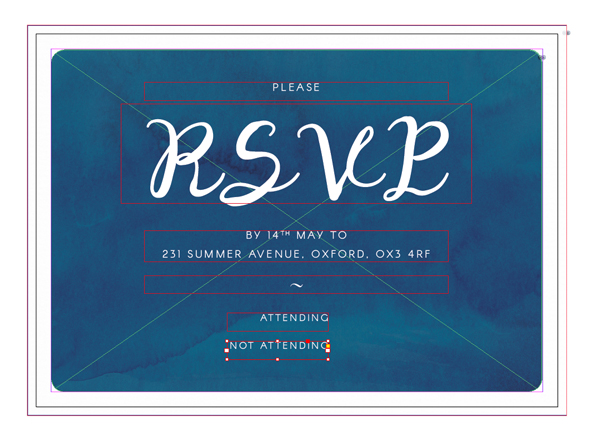
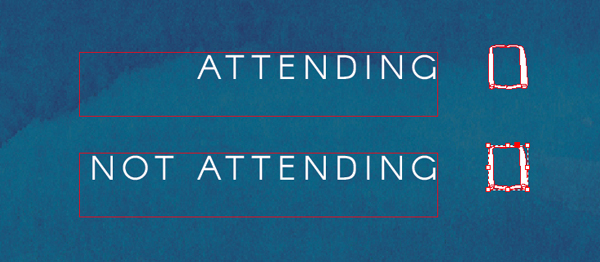
Add two more text frames with ‘Attending’ and ‘Not Attending’, set in Arcon below the tilde.
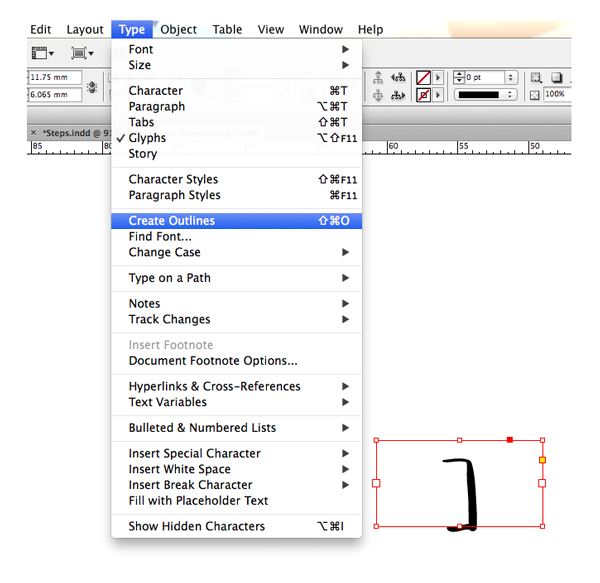
To create a check-box that has a more painterly look, create a new small text frame, expand the Glyphs panel, and set the Font to Digory Doodles.
Choose a square bracket to insert from the Glyphs panel.

Go to Type > Create Outlines to turn the glyph into a vector shape.
Copy and Paste the shape, and then Right-Click (Windows) or Control-Click (Mac OS) > Transform > Flip Horizontal. Move alongside the original shape to create a square shape. Rotate the shapes a little if needed to make them look seamless.

Adjust the shapes’ color to [Paper], create two copies, and position them next to the ‘Attending’/‘Not Attending’ text frames.
Awesome work! Both your invitation and RSVP cards are finished—all that’s left to do is export them as a print-ready file…
7. Export Your Invitation for Print
Step 1
First, File > Save your InDesign artwork to a safe place.
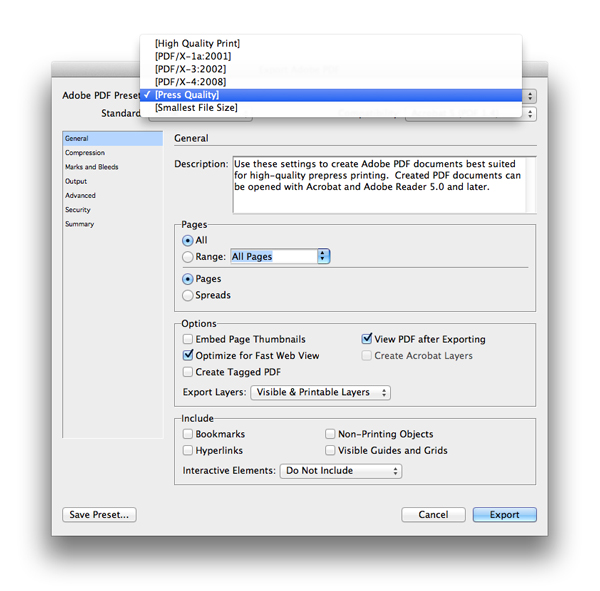
Then go to File > Export. Choose Adobe PDF (Print) from the Format drop-down menu. Click Save.
In the window that opens, select [Press Quality] from the Adobe PDF Preset menu at the top.
Step 2
Click on the left-hand Marks and Bleeds option in the window.
Check All Printer’s Marks and Use Document’s Bleed Settings.
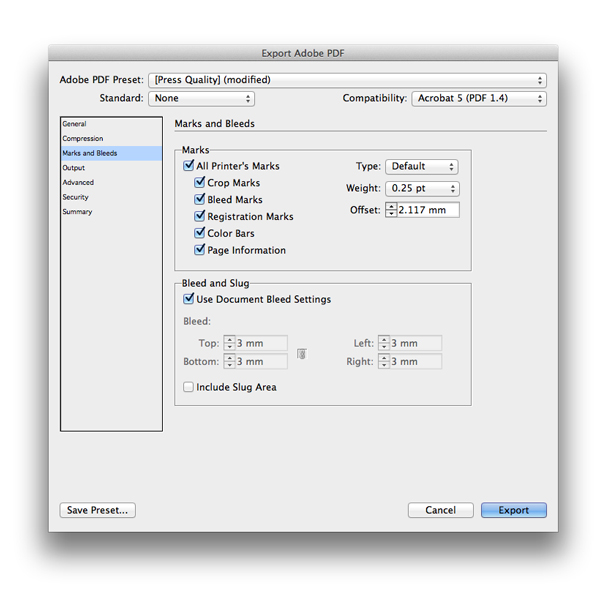
Click Export to create your print-ready invitation and RSVP card file.
And You’re Done!
You can send this artwork file straight off for professional printing. You can ask your chosen printer to advise you on paper stock (the weight and finish), and they can suggest what might best suit your design and budget.
In this tutorial you’ve learned how to create a beautiful watercolor-style wedding invitation and matching RSVP card. The style is perfect for more laid-back ceremonies—it has an outdoorsy, modern feel that’s really versatile.

If you’re still on the hunt for the perfect wedding invite, be sure to check out the range of stylish wedding invite templates on Envato Market.