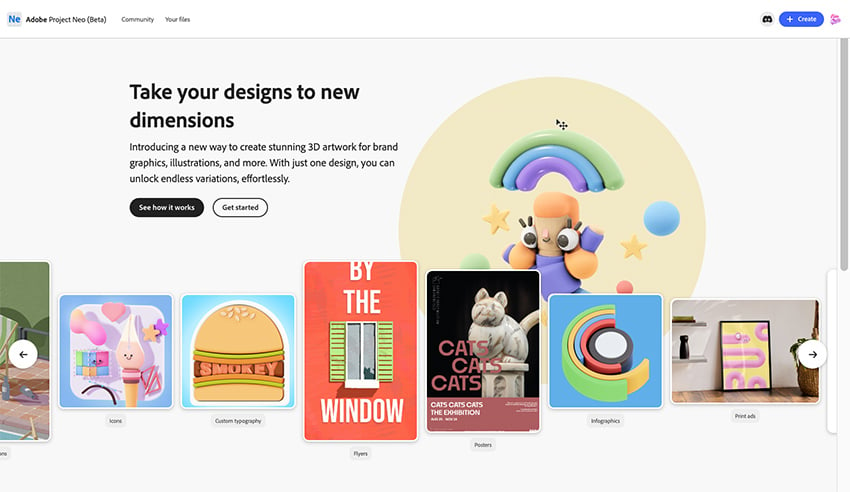
Today, we’ll explore Adobe’s new web-based design tool, Project Neo. It’s currently in beta and accessible to the public on the Adobe website. Project Neo allows users to easily create and edit volumetric designs, drawings, text, and shapes with simple turns and tweaks to create unique 3D artwork.
This tool can be handy for creating 3D designs, brand graphics, product designs, and digital art. And the best part? It’s joined forces with Adobe Firefly, where Project Neo provides the foundation of the 3D models and Adobe Firefly adds the creative flair and customization, opening up a world of possibilities for your designs.
Let’s explore some of the features of the Project Neo web app while we learn how to turn text into a neat 3D image. We’ll start by selecting the text tool, typing our desired text, and applying embossing and extruding effects. Then, we’ll jump into its add-on feature, Adobe Firefly, to add depth and customization to the design.
1. How to access Project Neo (beta)
You will need an Adobe ID to access and participate in Project Neo’s private beta. If you don’t have an Adobe ID, you can create a free account on the Adobe website. Once you’ve signed in, you can access the Project Neo app through the official website. Project Neo is currently in beta version, so make sure that your browser and system requirements are compatible. The app only runs on desktops, and it’s best to use a Chrome or Safari browser.
2. How to build 3D text effects on the Project Neo app
Step 1
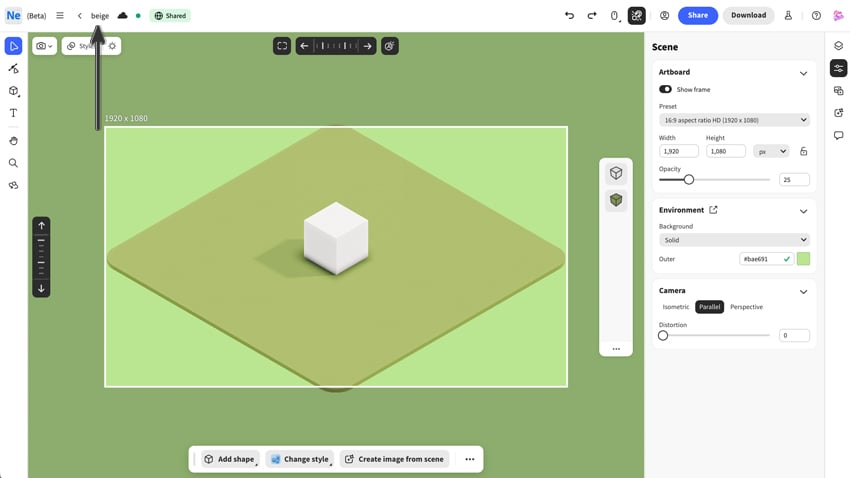
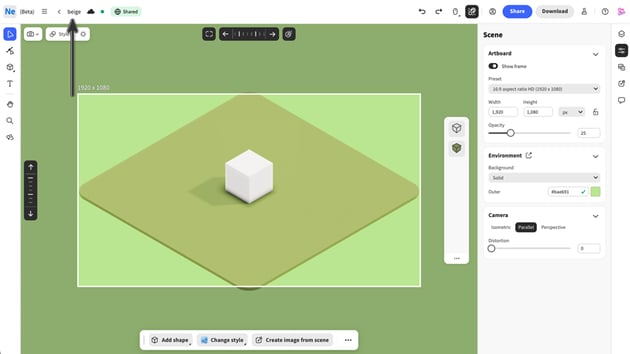
Once you’ve launched Project Neo, click Create in the top-right corner to start a new design project. This will get you into the UI, where you’ll see the main tools on the left, with rendering options for different artistic styles and environment settings in the top-left menu. The middle is the viewport preview area with a contextual bar below, and we have the properties section on the right.
Adobe Neo will automatically give the project a unique and interesting name—in this case, it’s called ‘beige’. By default, a plane surface with a cube will appear in the viewport.
Step 2
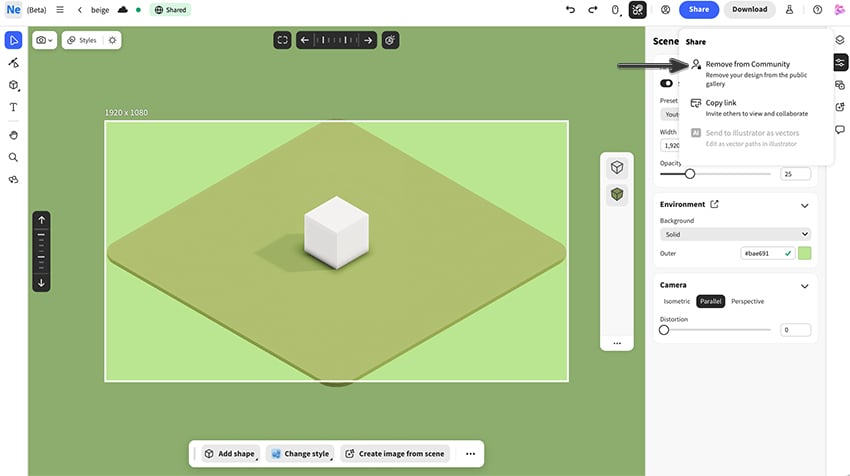
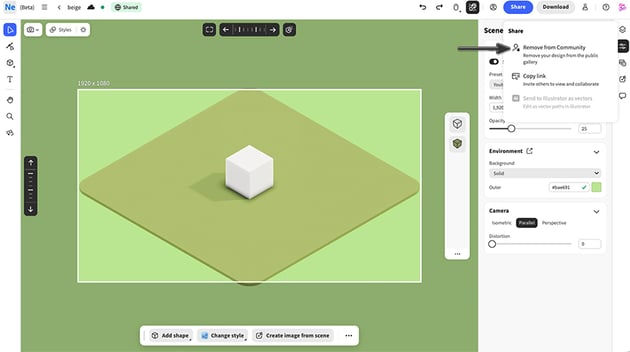
Project Neo has a co-edit or co-viewing feature where people can see or edit your project. In the top menu, you will notice a Shared box highlighted in green, which indicates that the project is visible to the community. If you prefer to keep your design private, you can turn sharing off by selecting the Share tab in the top-right menu and choosing Remove from Community to exclude the design from the public gallery.
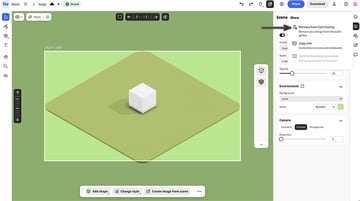
Step 3
Now, let’s set our Scene properties. Under Artboard, disable Show frame to turn off the frame and clear our visual space. Set Environment: Outer color to white, #ffffff.
By default, the viewport Camera is set to Parallel, but you can shift it to Isometric or Perspective if you find it more suitable visually. Note that if you select any object on the Artboard, you won’t be able to access the viewport settings because the Properties menu switches to the properties of the selected object. So, to access the viewpoint settings, make sure you click outside the scene.
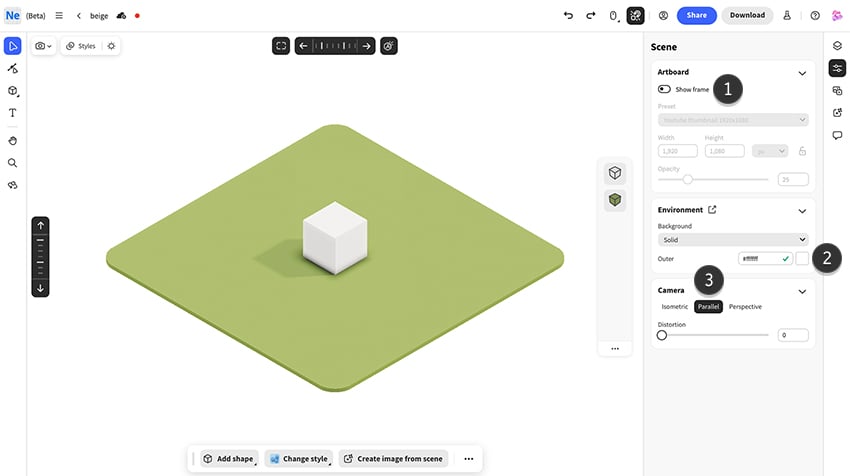
Step 4
Let’s delete the cube since we’re just creating 3D text for this tutorial. Select the cube and hit Delete.
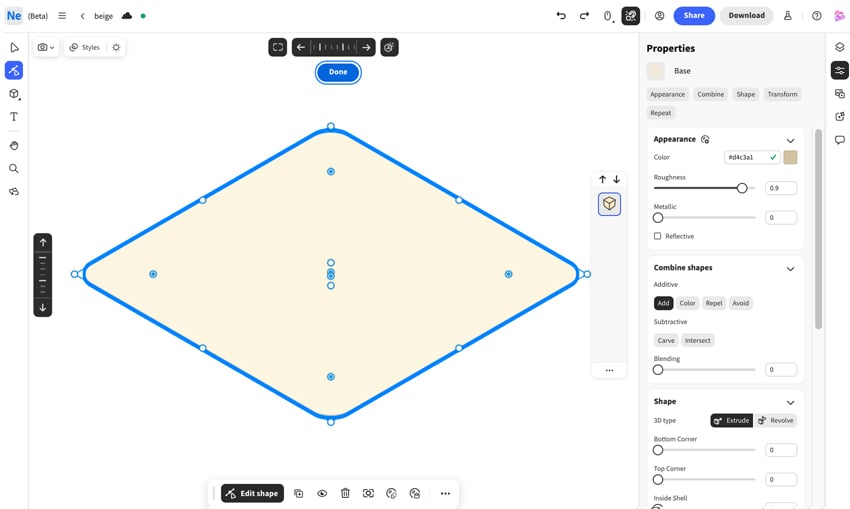
Next, select the base object. In the Properties panel, under Appearance, give the base object a Color of #d4c3a1, set the Roughness (how much the light affects the shape) to 0.9, and click Done.
Step 5
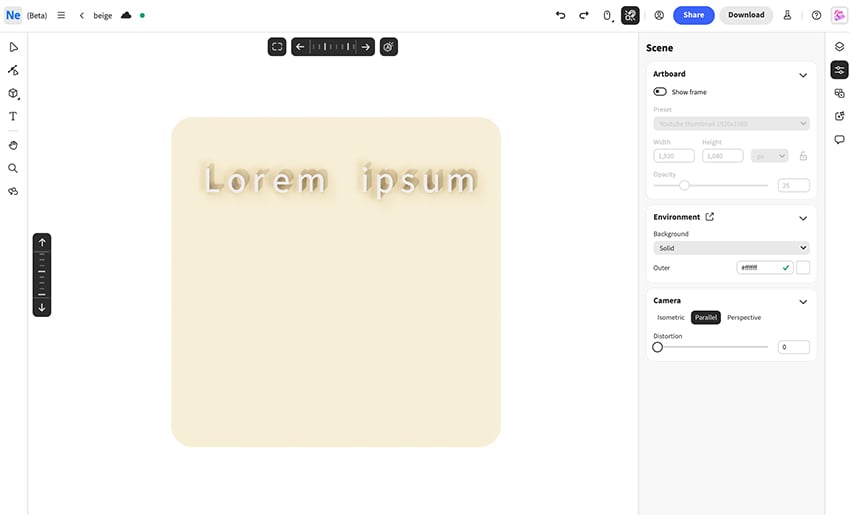
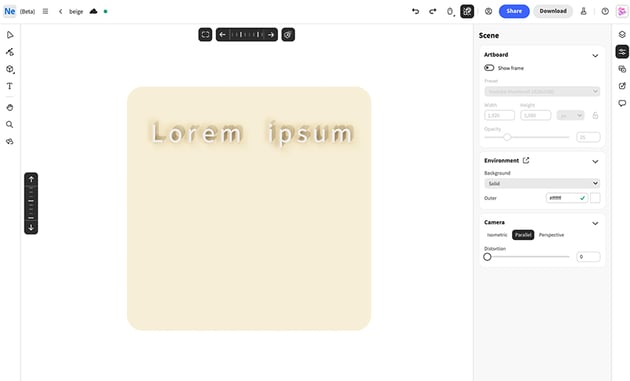
Next, click the Tilt Down arrow (Command-Down Arrow) once and the Turn Left arrow (Command-Left Arrow) once to view the base object’s flat front.
Now, let’s add our text by selecting the Add Text Tool. Place the cross cursor in the middle of the frame and drag to insert the default text.
Step 6
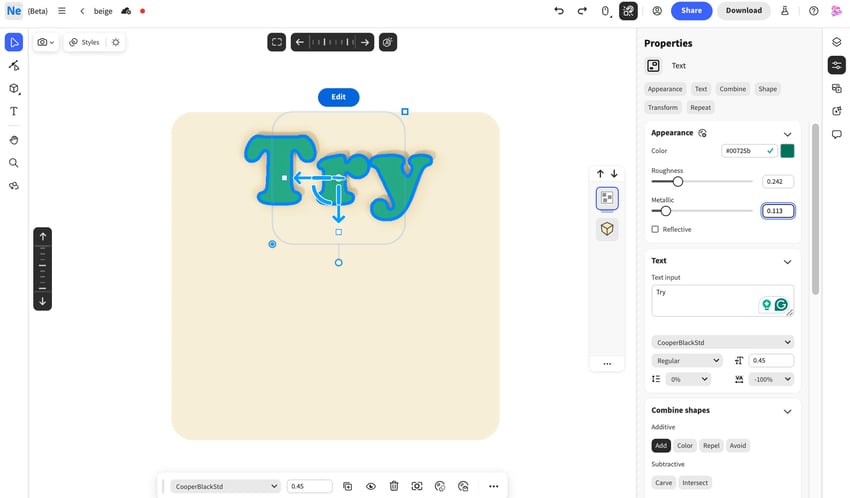
We’re going to learn how to make the 3D text: “Try NEO things”. Let’s start by editing the word “Try”. Select (V) the text, and then use the arrow handles to move it along the axis. Next, head over to the Properties section on the right-hand side so we can edit the text.
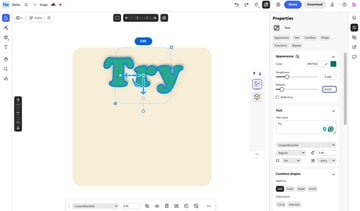
Apply the following settings under the Text section:
- Text Input:
Try - Font: CooperBlackStd Font, Regular
- Font Size: 0.45
- Text Spacing: -100%.
Under the Appearance section, set the following values for a soft reflection:
-
Color:
#00725b - Roughness: 0.242
- Metallic: 0.113
Step 7
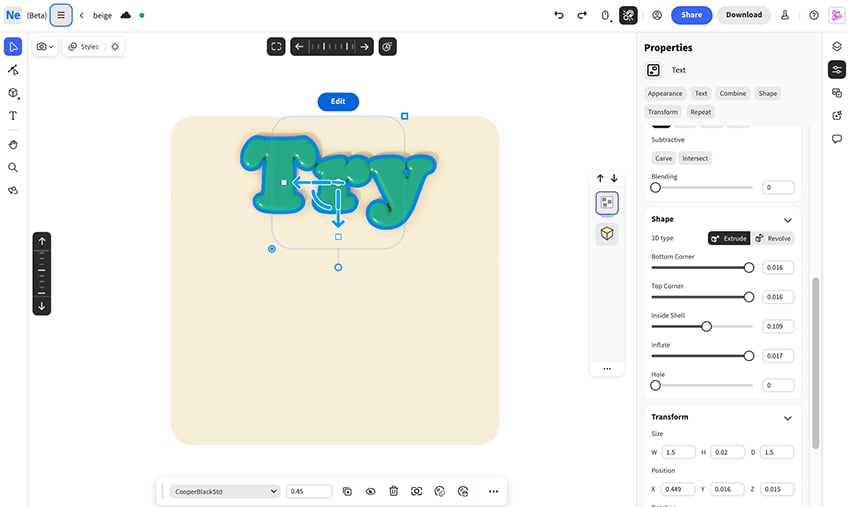
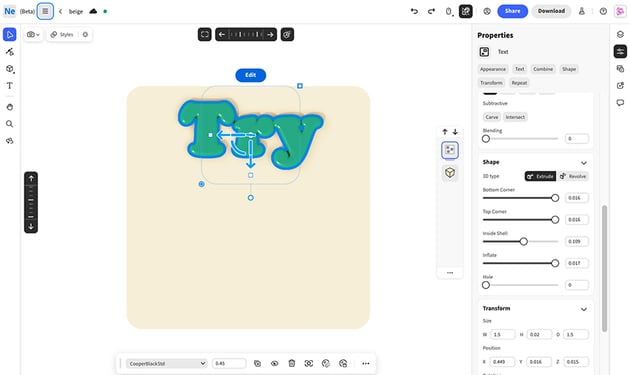
You can experiment with the settings, but I went with these values for this tutorial:
- Bottom Corner (for softer edges): 0.016
- Top Corner (for softer edges): 0.016
- Inside Shell: 0.109
- Inflate: 0.017
Step 8
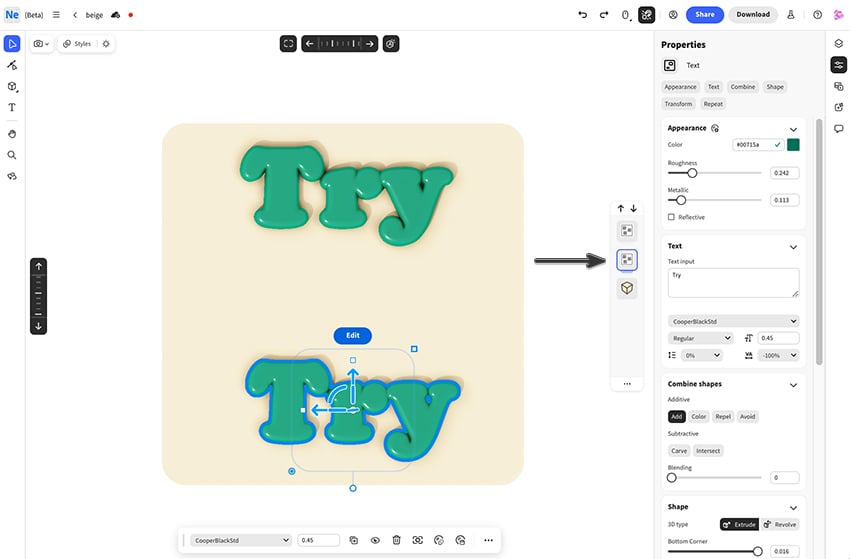
Let’s move on and create the text “things” in 3D using the same settings. We can do this easily by duplicating the “Try” text using the Duplicate shortcut, Command-D. You will automatically see the new shape appear in the Layers widget. Select (V) the text shape and drag it down.
Step 9
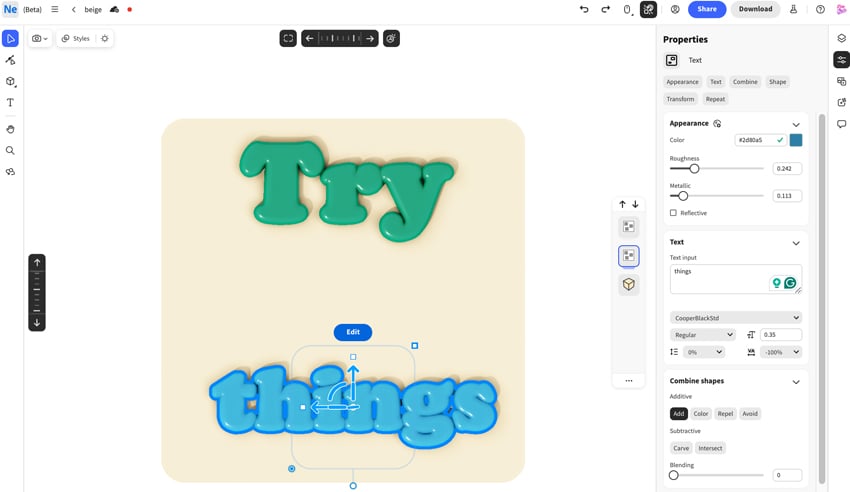
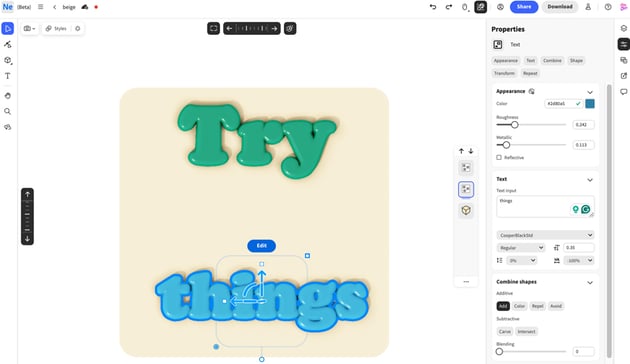
Change the Text Input from “Try” to “things”, apply a new Color of #2d80a5, and set the Font Size to 0.35.
Step 10
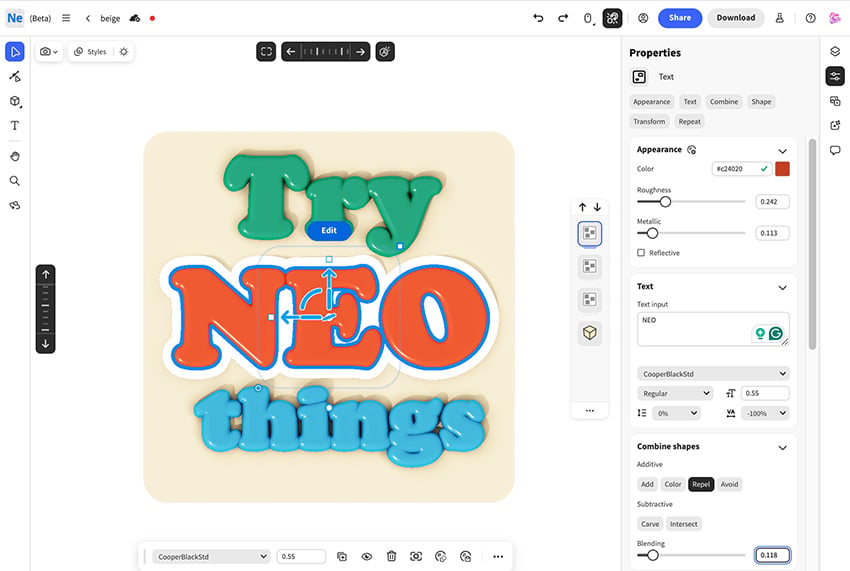
Let’s add the word “NEO” on top, between the two words. Select (V) and Duplicate (Command-D) the word “Try”. Change the Text Input to “NEO”, and change the Color to #c24020.
Change the Font Size to 0.55, and under the Shapes section, select the Repel effect. The Repeleffect will make sure that the shapes push off each other and don’t merge when we bring them together.
Apply a Blending of 0.118.
Step 11
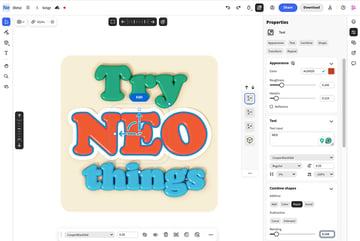
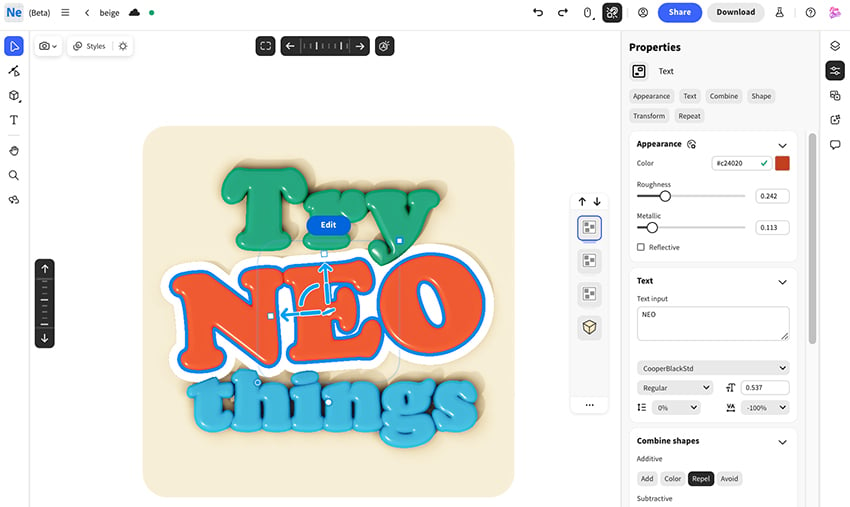
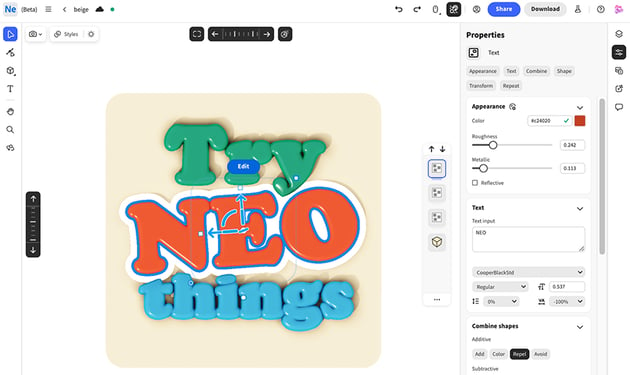
Use the Select (V) tool to select each word and the handlebars to move the words close to one another, and then rotate “Neo” slightly.
Step 12
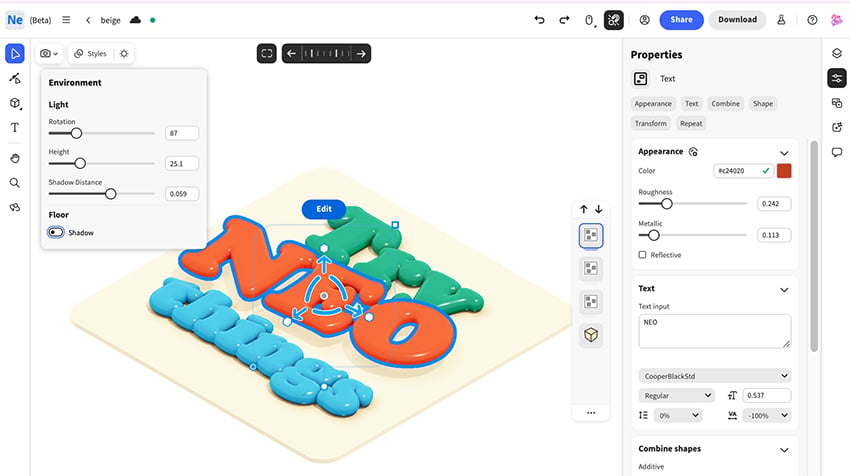
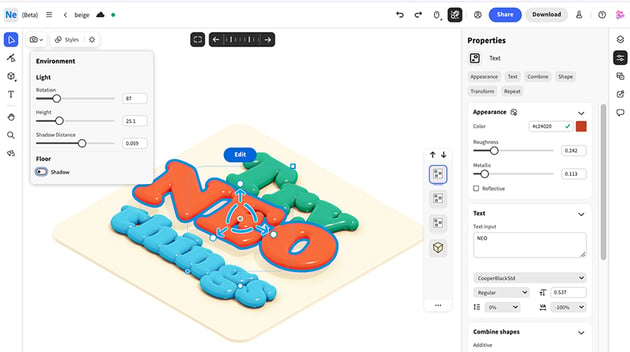
Tap once on the viewport and switch the camera to Isometric. Use the handlebars to lift “NEO” up slightly to float above the base object. Then head over to the top-left menu and select the sun icon to enter the Environment section so we can adjust the lighting.
Set the Light Rotation values to 87, Height to 25.1, and Shadow Distance to 0.059.
To manipulate the viewport, roll the mouse to zoom in or out, and right-click it to rotate.
Step 13
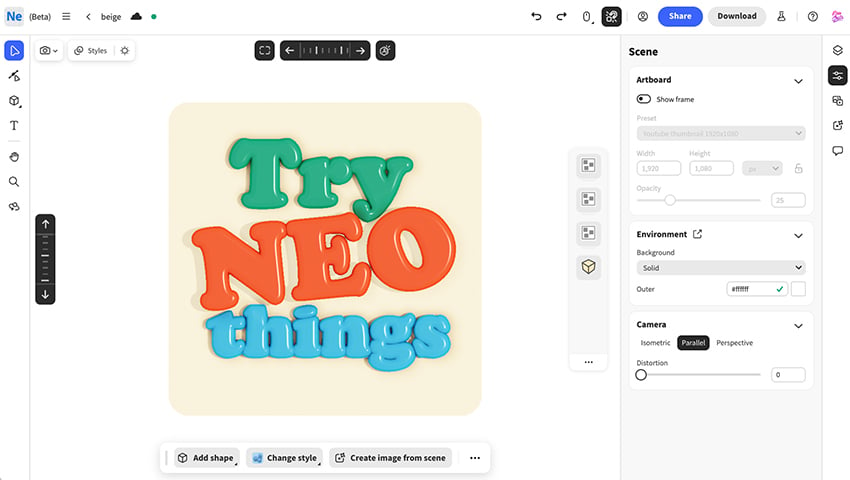
Set the viewport Camera back to Parallel, and use the tilt arrows to make the frame face forward.
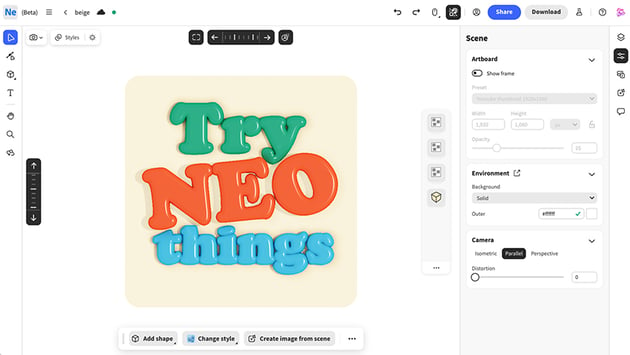
3. How to use Adobe Firefly to stylize the 3D scene
Step 1
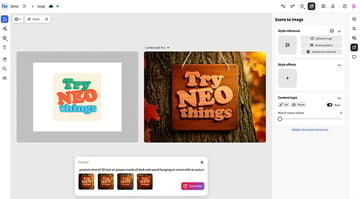
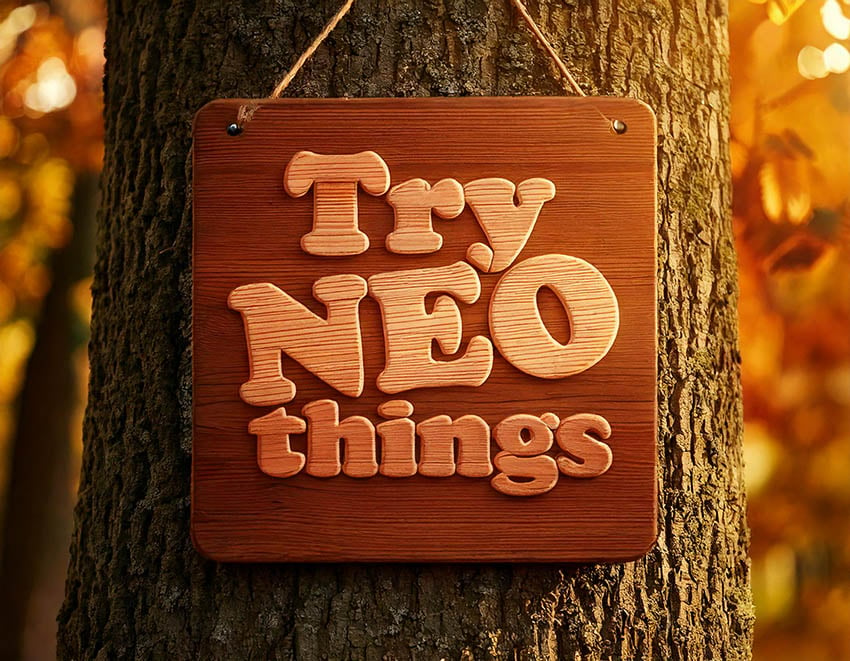
Once you’ve blocked out your 3D text idea in Project Neo, head over to the contextual bar below and select Create image from scene to access another section which features Adobe Firefly. Here, we’ll use the structure of our model to stylize the scene with textures and materials and create a realistic image based on a prompt. It’s an incredible feature that allows you to move from 3D models to art within minutes.
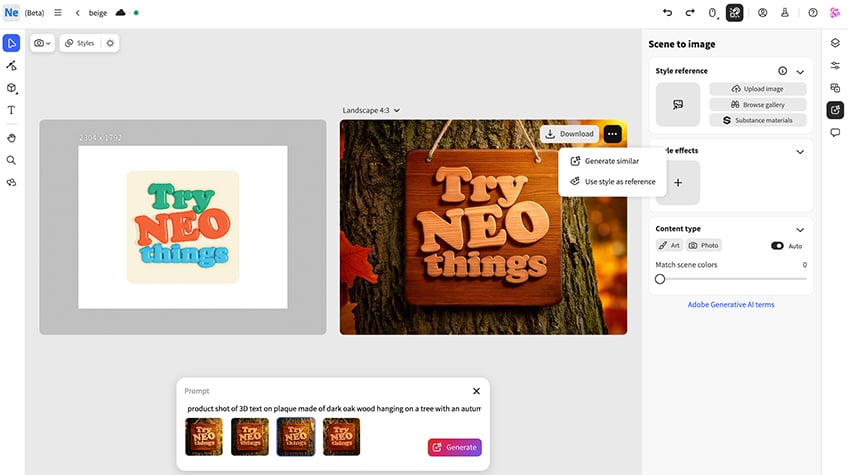
Enter the desired Prompt. In this case, I used:product shot of 3D text on plaque made of dark oak wood hanging on a tree with an autumn background leaves and indirect sunlight.
Click Generate. Adobe Firefly will instantly generate four 3D design options based on your prompt, or you can upload your own style reference to create other artistic styles.
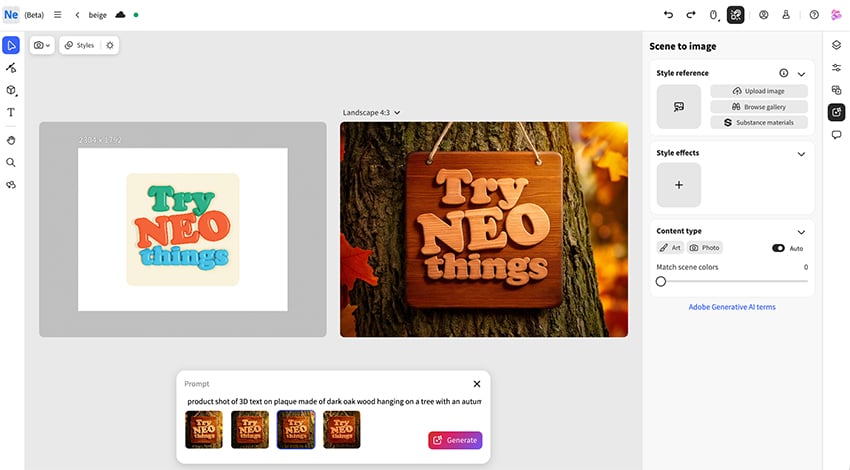
Step 2
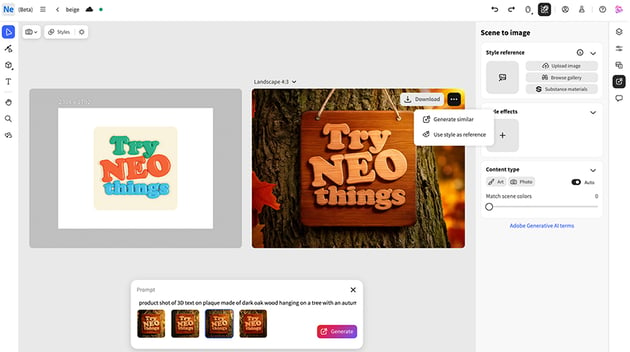
Once Adobe Firefly has generated the 3D text effects, you can either tap on the generated image of your choice and Download or click the … icon to Generate similar.
Congratulations! You’re done!
You have learned how to create text in 3D in Project Neo and how to use Adobe Firefly to stylize your scene and make 3D art. It’s very easy to create 3D text effects, and the possibilities are endless. Now that you know how to make 3D art, you can head over to Envato, where you can get unlimited downloads of graphics, 3D models, and much more to use in your projects.

More 3D design tutorials on Envato Tuts+
Learning how to make 3D text? We have plenty of great tutorials for you to check out: