Businesses all around the world regularly roll out new products and services. Simply developing a great product isn’t a guarantee of success. Internet and social media regularly bombard us with new information about exciting products being launched.
One way to increase your chances of success with the launch of any new product or service is to create an amazing and well-thought-out landing page. WordPress is an awesome CMS that allows you to add new pages to your website at will. What makes it even more awesome is the fact that there are some great page or website builder plugins such as Elementor to make the whole process incredibly easy.
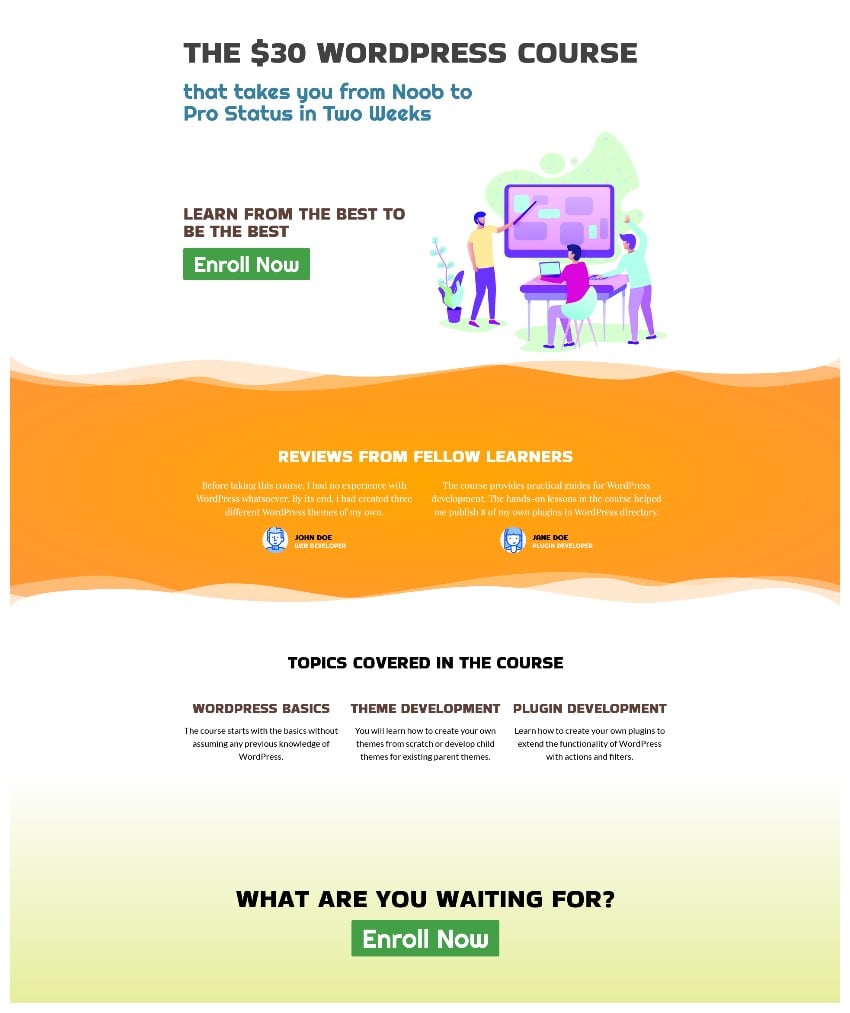
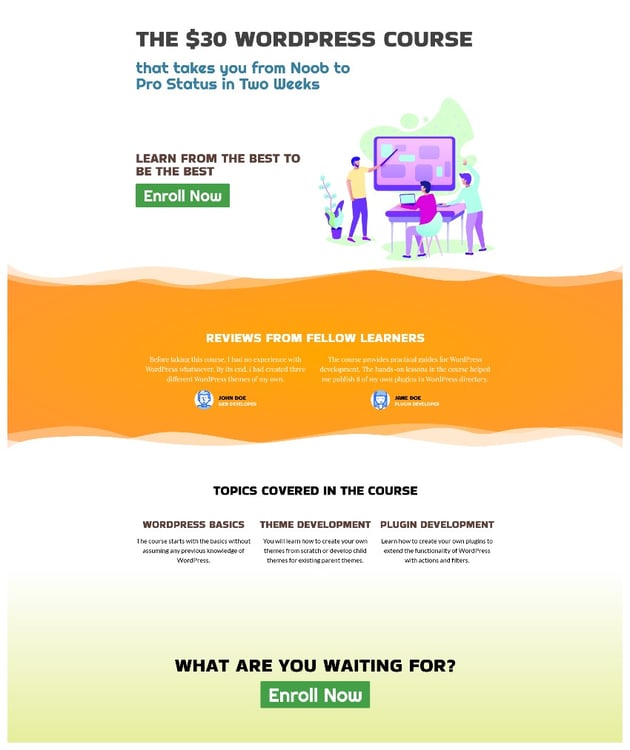
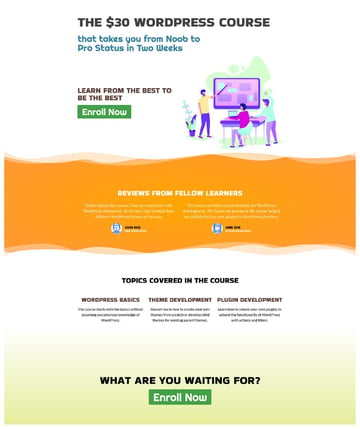
In this tutorial, I will show you how to create the following landing page in WordPress using Elementor for free without writing a single line of code.
Important Components of a Landing Page
You can find a lot of examples of landing pages all over the web. Not all landing pages are going to get you high conversion rates or any other goal that you want to accomplish.
Let’s begin with a brief discussion of all the important things that make a great landing page.
Stay Focused on the Message
A landing page should make it very clear what product or service you are selling. It is better to narrow down your focus and highlight what exactly the consumers are going to get out of your offering.
We will do that with the help of a catchy, informative headline at the top of the landing page.
Include a Call to Action
The main purpose of creating a landing page is to get your visitors to take an action. It could be anything like signing up for a newsletter, enrolling in a course, making a booking, or buying a product.
You should include prominent call-to-action buttons on your landing page. We will have two such buttons on our page: one at the top, above the fold, and one at the bottom. Ideally, all the call-to-action buttons should encourage the user to take the same action. For example, don’t add three different CTA buttons to get users to sign up for a newsletter, buy a product, and do something else as well.
If you want to sell a particular product, the CTA should only be about making the sale and nothing else.
List Important Features or Benefits
We mentioned what our product could do for visitors. Now we need to tell them how it will do that.
If you are selling an electric car, you could mention features like rapid charging, long range, 360-degree view with cameras, or a fantastic infotainment system. Similarly, when selling a course, you could mention things like coverage of important topics, any practical skills that will be taught, etc.
Add Some User Reviews
People are more likely to purchase a product when they see that others have already done the same and were happy with the quality.
We will add a section to our page where users will see reviews from other customers who were satisfied with the product or service. This will lend credibility to whatever we are selling and increase our chances of making a sale.
Creating the Landing Page With Elementor
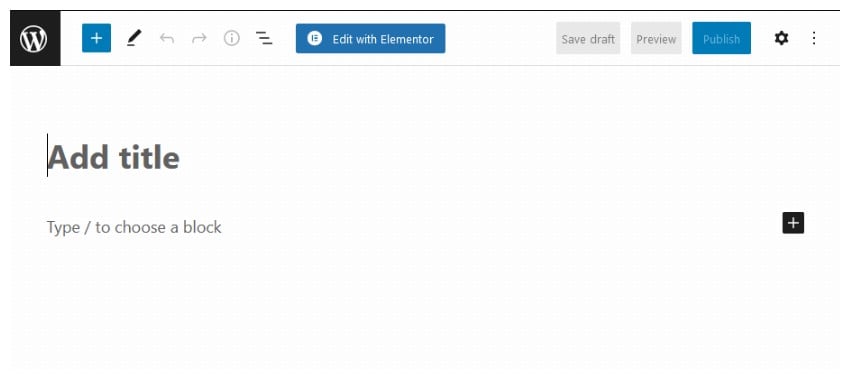
We will begin by creating a new page. Go to Pages > Add New from the WordPress dashboard. Since we want to create our landing page with Elementor, we click the Edit with Elementor button. This will open up the Elementor editor to create our page.


Now click on the Settings icon in the bottom left corner of the page, and you will be shown a bunch of options to tweak the general settings.
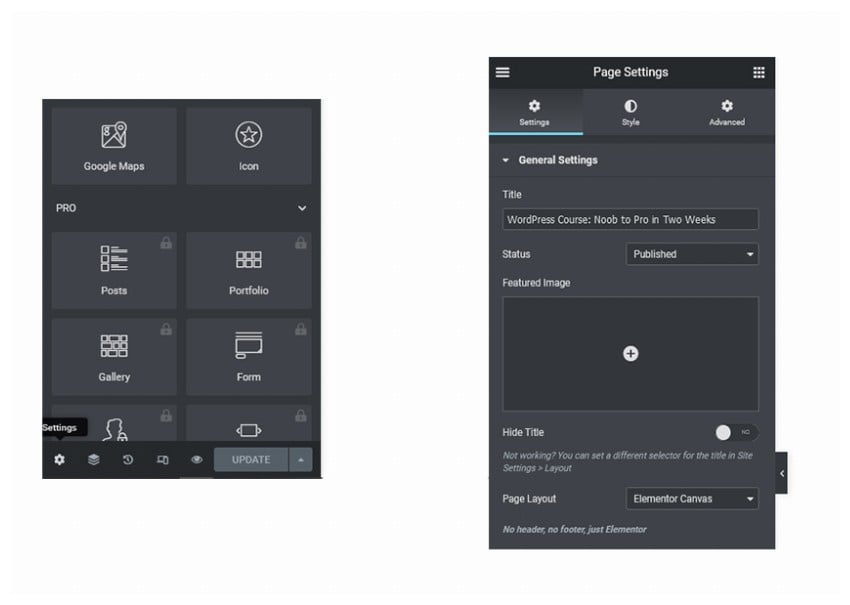

We don’t want any of the filler content that is shown on regular pages of the website in the header and footer to take up any space on the landing page. So we will start clean by setting the Page Layout to Elementor Canvas.
Set the page title to “WordPress Course: Noob to Pro in Two Weeks“. The page title won’t appear anywhere on the landing page when we use the Elementor Canvas page layout. However, it will still show up in the browser tab when someone visits the webpage.
Creating the Top Section
You should see a bunch of elements listed in the left tab of the Elementor editor. We will only be using the elements from the Basic tab to design our page. The basic tab includes elements for adding a heading, image, button, and other basic elements to the webpage.
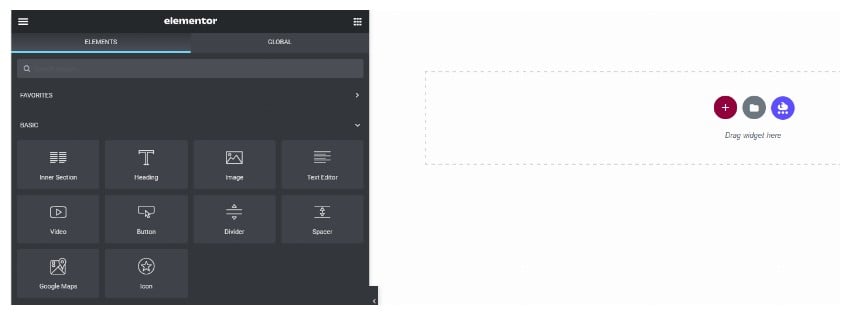

We will begin by dragging and dropping the Heading element onto the webpage. Change the heading text to “The $30 WordPress Course“. Change the HTML tag from H2 to H1.
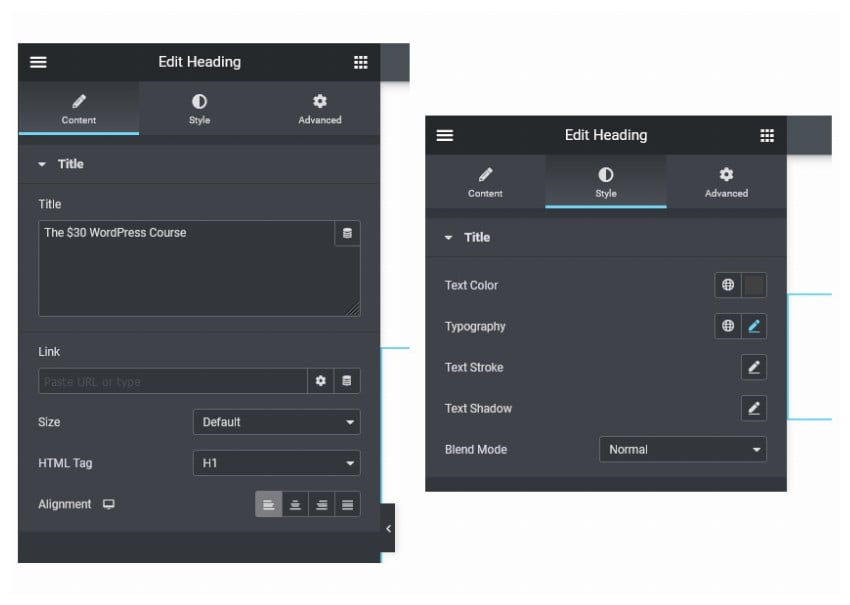
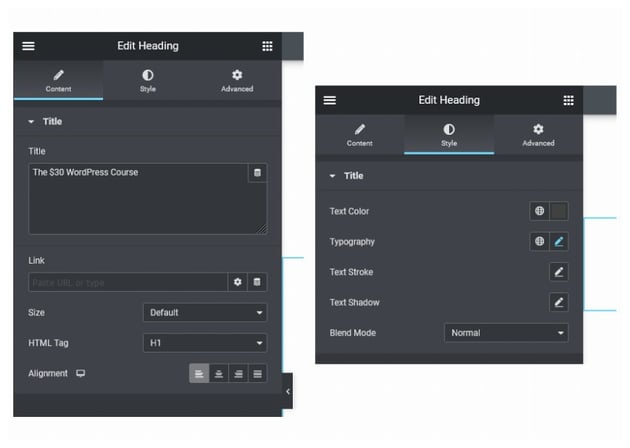
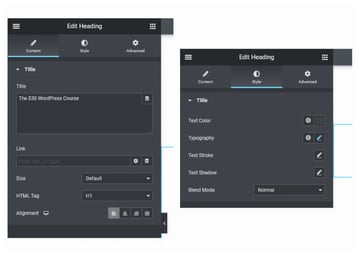
Now switch to the Style tab and change the text color to #424242 or any other color that you like by clicking on the Text Color icon. Next, click on Typography to set the Family to Bakbak One, the Size to 72 pixels, and Transform to Uppercase.
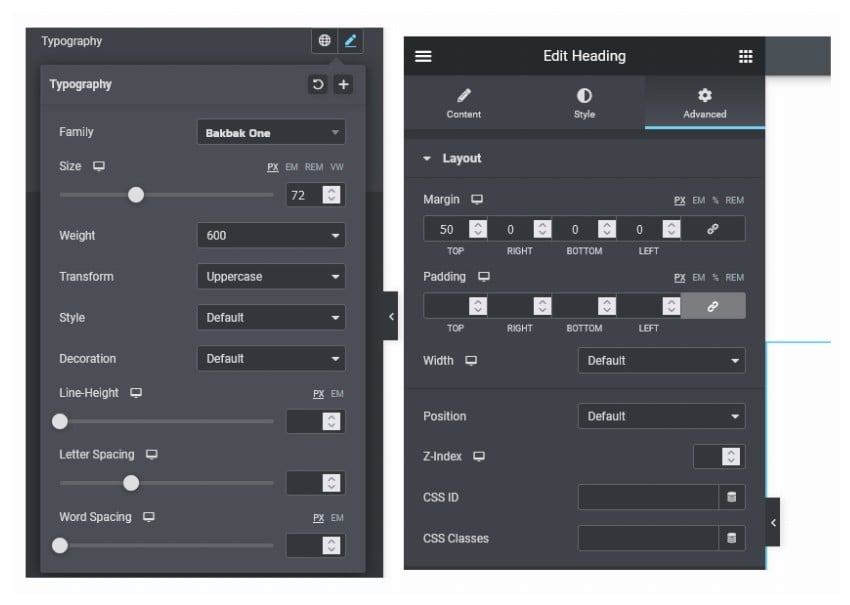

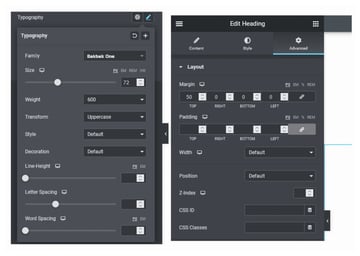
Move over to the Advanced tab and set the top margin to 50 px. The margin and padding values are linked among themselves by default. Make sure that you unlink the margins by clicking on the little link icon on the right.
Now drag and drop another heading element below the first one with the text “that takes you from Noob to Pro Status in Two Weeks”. Head over to the Style tab for this heading and set the color to #37809F. Click on the Typography icon and change the font family to Righteous. You can just start typing “Righteous”, and it will appear in the dropdown. Set the font size to 48 px and line height to 50 px.
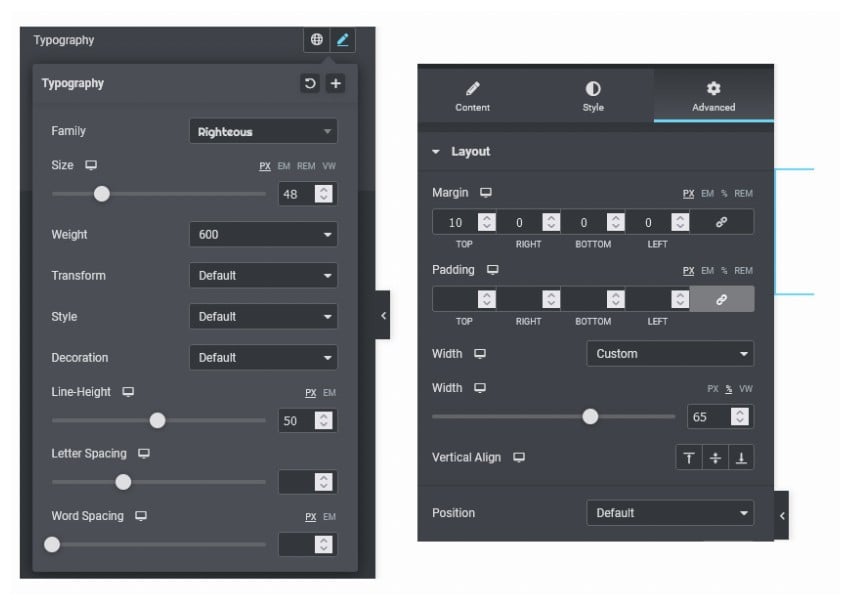
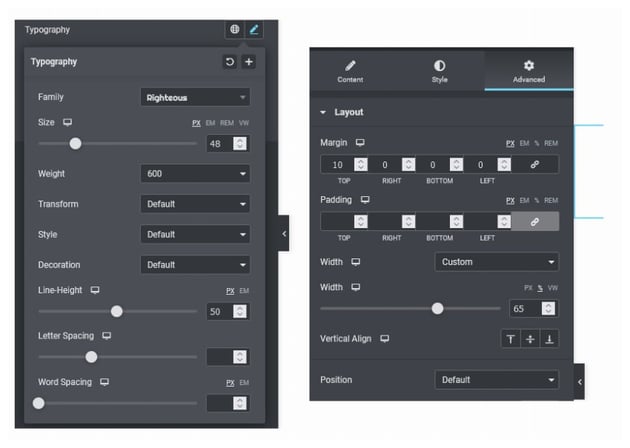
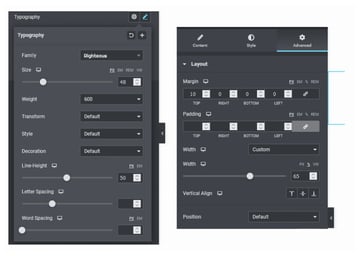
Move over to the Advanced tab and set the top margin to 10 px while unlinking the other margins. Now, click on Width and choose Custom from the dropdown menu. Set the Width of the heading to 65%.
We will now add the Inner Section element below the second heading. This will create two different columns for us to place other elements. Drag an image element to the right column and place it there. Under the Content tab, select a new image to replace the placeholder by clicking on Choose Image. I went ahead with this illustration. You are free to pick any image you like.
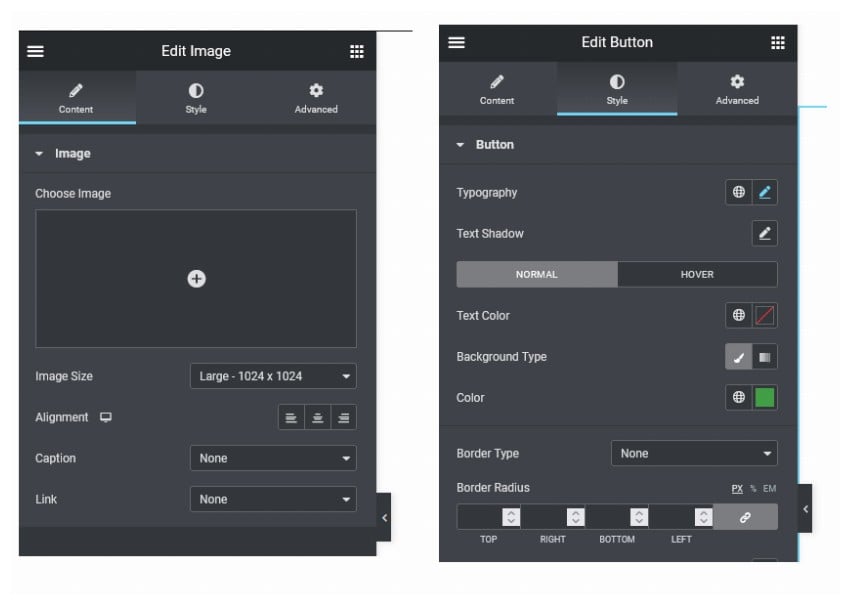
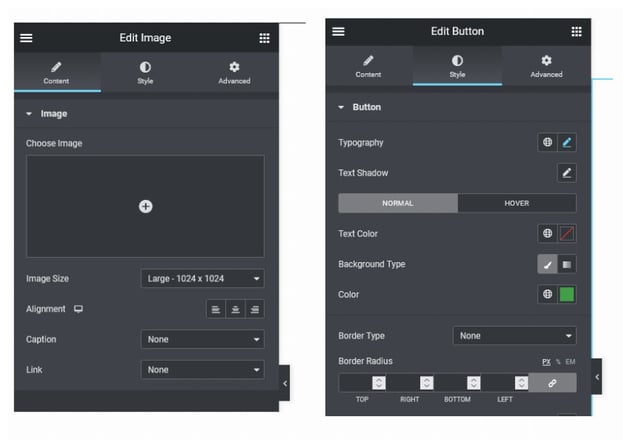
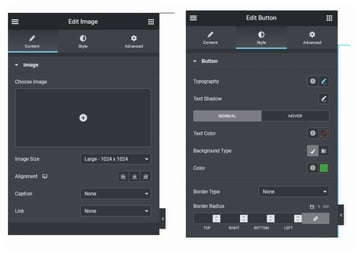
Now drag a heading element to the left column and set its content to “Learn from the Best to Be the Best“. Under the Style tab, set the Text Color to #5D4037. Set the font family to Bakbak One and font size to 40 px under Typography. Also set Transform to Uppercase.
Finally, add a Button element below the heading and set its color to #43A047 in the Style tab. Under Typography, set the font family to Righteous and font size to 50 px. Make sure that you change the value of Text under the Content tab for the button to “Enroll Now“.
One more thing that you need to do is click the Edit Inner Section button, as shown in the image below. After that, simply select Middle for the value of Vertical Align in the dropdown menu. The option is available under the Layout tab.
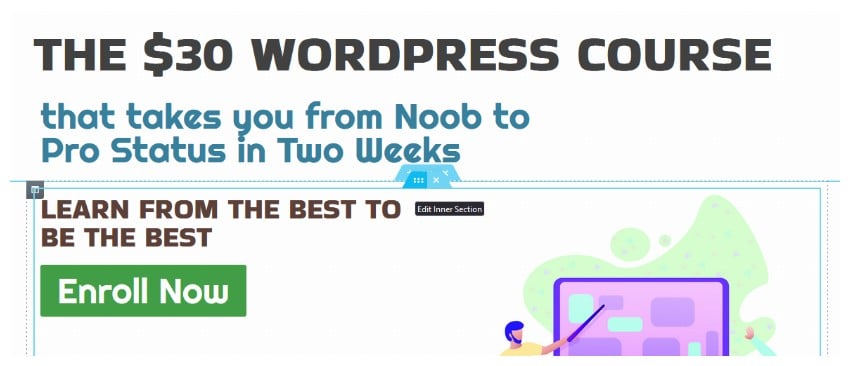
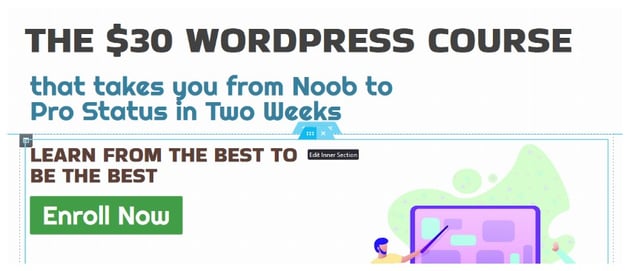

At this point, the top of the page should look like the following image. Pretty neat, right?


Adding a Testimonials Section
The customer testimonials will act as social proof that our course is actually pretty good. The first step in adding customer testimonials is to click the Round Red Button to add a new section. Now head over to the Style tab for the section element and set the Background Type to Gradient. Set the first color to #FFA600 and the secondary color to #FF9639. Select Radial for the Type dropdown menu, and set the Position to Center Center. These settings will apply a radial gradient to the background of our section element.

Now, head over to the Shape Divider section in the Style tab and set the value of the Type dropdown to Mountains. Don’t set any colors, but make sure the Width is set to 100 and the Height is set to 80. Apply the same settings to the Bottom shape divider.
Drag a heading element inside the section and set its content to “Reviews from Fellow Learners“. Also change its Text Color to white and font family to Bakbak One. The Transform setting should be set to Uppercase and the Size to 40 px.

Now add another inner section element below the heading, where we will put two testimonials. We simply need to drag a Testimonial element to each column of the inner section and add our own text. You can provide any avatar image or text content for the testimonial by updating it under the Content tab.
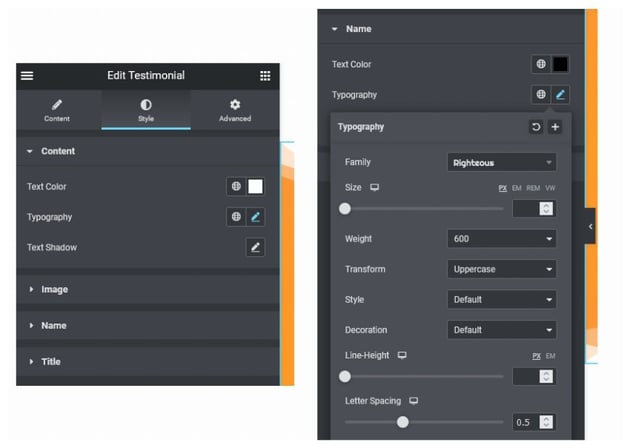
The Style tab for the testimonial will have different subsections for the main content, the image, the name of the person, and the job title of the reviewer. Click on these subsections one by one and update them with the following values. Set the Text Color to white for the main content and its font family to Playfair Display.
For the Name section, set the Text Color to black and font family to Righteous. The value of the Transform property should be set to Uppercase. Also make sure that the Letter Spacing is set to 0.5. For the Title section, set the family to Righteous and Transform to Uppercase. The Letter Spacing should be set to 0.8.
Apply these same values to the other testimonial. You should now have something similar to the image below.


Adding a Course Details Section and Footer CTA
Now we only need to add a section with some details about the course to the landing page. This part would contain a list of product features if we were selling something like a car or smartphone.
As usual, we begin by adding a Heading element. Set the content of the heading to “Topics Covered in the Course” and align it centrally. After that, go to the Style tab and change the Text Color to black. Also set the font family to Bakbak One and font size to 40. The Transform property should be set to Uppercase. Head over to the Advanced tab and apply a margin of 100 px on the top and 50 px on the other sides.
Add another section below the heading with three columns. Inside each of these columns, add a heading and some simple text related to the heading. Set the Text Color for the headings to #5D4037 and the font family to Bakbak One. The Transform should be Uppercase. For the accompanying text, set the Alignment to Center and font family to Lato with the size set to 20.
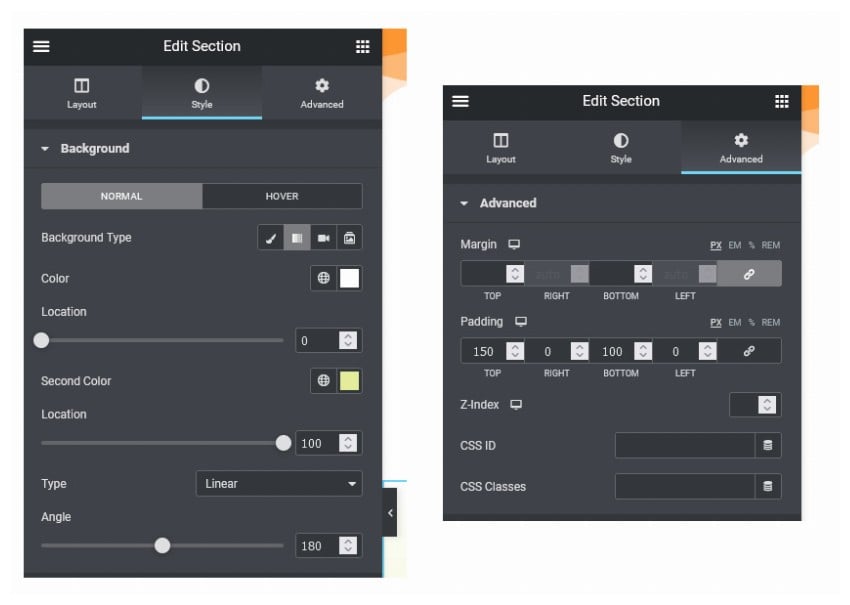
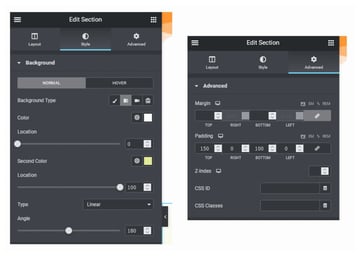
Finally, we’ll add one more section to our page with some extra spacing provided by the 150 px top padding and the 100 px bottom padding. The option to set the padding values is available under the Advanced tab. Under the Style tab, set the Background Type to Gradient with Color set to white and Second Color set to #E6EE9C. This will add a subtle gradient to the background of our bottom CTA, which fades away at the top as it merges with the course content.

Add a heading element to the bottom section with its content set to “What are you waiting for?“. For the font family, pick Righteous and increase the font Size to 60px. Do you remember the big green button we added to the top section with its text set to “Enroll Now“? Add a similar but larger button at the bottom. The size for the font will be set to 60 this time.
After following all these steps, the landing page should look something like the following image.
Final Thoughts
As you saw in this tutorial, Elementor makes it incredibly easy for us to create our own custom landing page without writing any code. If you followed all the steps and applied the same styling values, I would recommend that you try to create another landing page with a different layout to see how much you have learned.