


In the following tutorial, you will learn how to create a gradient blended text effect inspired by the Spotify Wrapped 2024 design.
If you don’t have the time to create this Spotify branding design from scratch, then Envato is the solution. This creative platform offers over 2,000 Illustrator add-ons you can download without restrictions! Check it out and you’ll find plenty of gradient shapes, text effects, fonts, and more.
What you’ll need
You will need the following font in order to complete this Spotify Wrapped inspired text effect:
1. How to create a new document and add text
Step 1
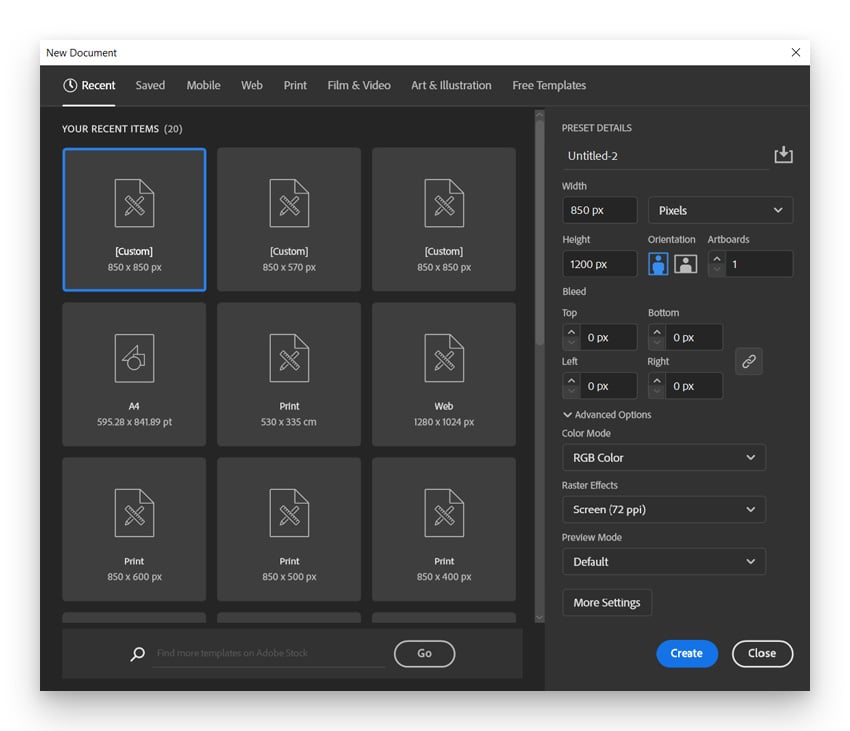
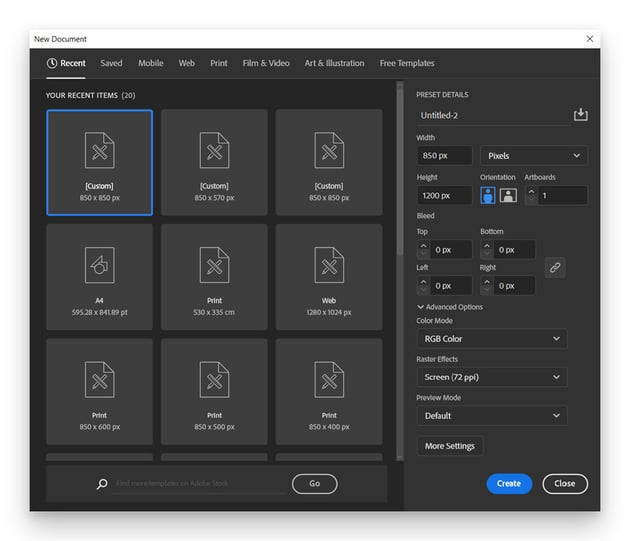
Hit Control-N to create a new document. Select Pixels from the Units drop-down menu, set the Width to 850 px and the Height to 1200 px, and then click that Advanced Options button. Select RGB for the Color Mode, set Raster Effects to Screen (72 ppi), and click Create.
Step 2
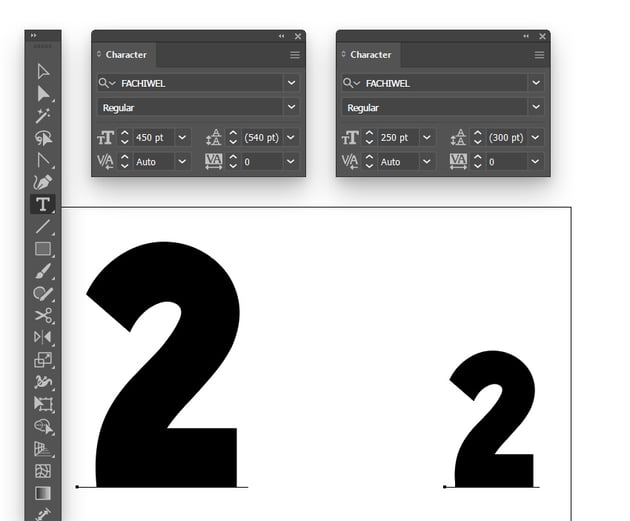
Pick the Type Tool (T) and open the Character panel (Window > Type > Character) or focus on the Control panel (Window > Control) to choose the settings for the text that you’re about to add.
We’ll use the Fachiwel font. First, set the Size to 450 pt. Click on your artboard to type in a “2”. Duplicate this text, select the copy, and lower its Size to 250 pt. Place the text roughly as shown in the following image.


Step 3
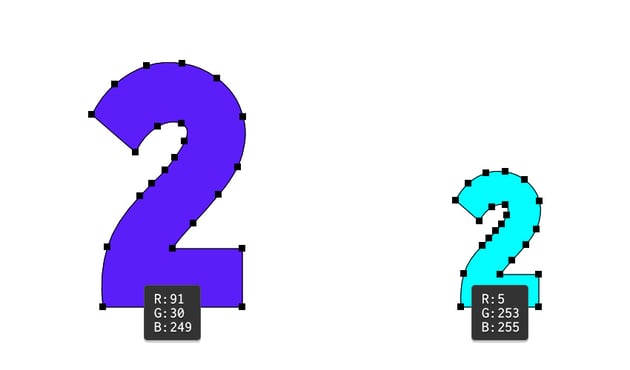
Make sure that both pieces of text are selected and turn them into vector shapes by going to Type > Create Outlines. Select the large one and set its color to R=91 G=30 B=249, and then select the other one and replace the existing fill color with R=5 G=253 B=255. Now that you’re set, let’s continue with the blend, and then you’ll learn how to make a gradient in Illustrator.


2. How to create a blended text effect
Step 1
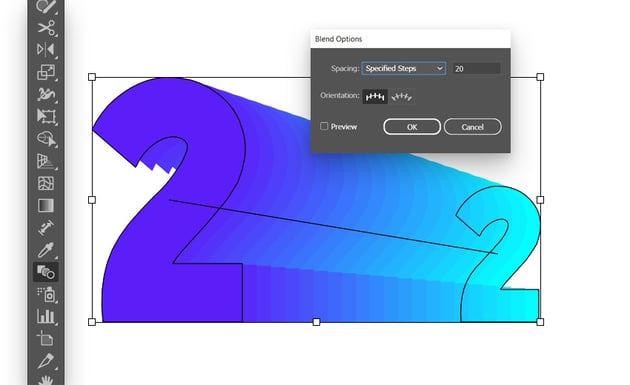
Select the larger shape and bring it to the front (Control-]). Select both of your shapes and go to Object > Blend > Make, and then go to Object > Blend > Blend Options. Select Specified Steps from the Spacing menu, and set the value to 20.

Step 2
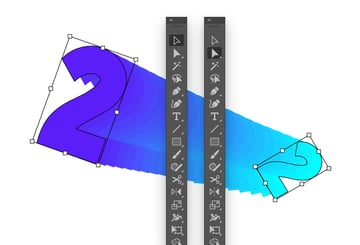
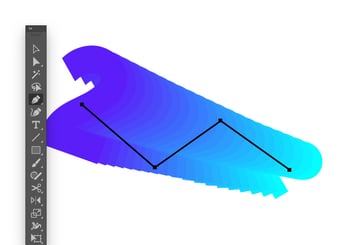
Use the Direct Selection Tool (A) to select just one of your shapes, and then switch to the Selection Tool (V). Use the bounding box to rotate your selection as shown below. Repeat the procedure for the other shape.


Step 3
Pick the Pen Tool (P) and use it to draw a simple path, roughly as shown below.


Step 4
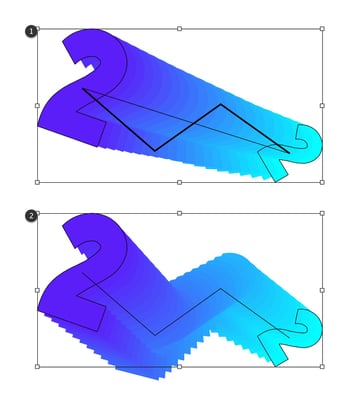
Select the path along with your blend, and go to Object > Blend > Replace Spine.


3. How to add a gradient to text in Illustrator
Step 1
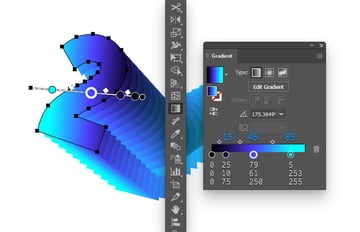
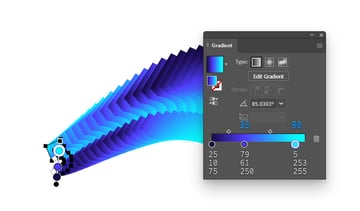
Again, use the Direct Selection Tool (A) to select the front number shape, and replace the existing fill color with the linear gradient shown below (Window > Gradient). Simply click the gradient bar to add a new gradient slider, and keep in mind that the blue numbers stand for the Location percentage. Once you’ve applied the gradient, use the Gradient Tool (G) to adjust its length and angle as shown in the following image.


Step 2
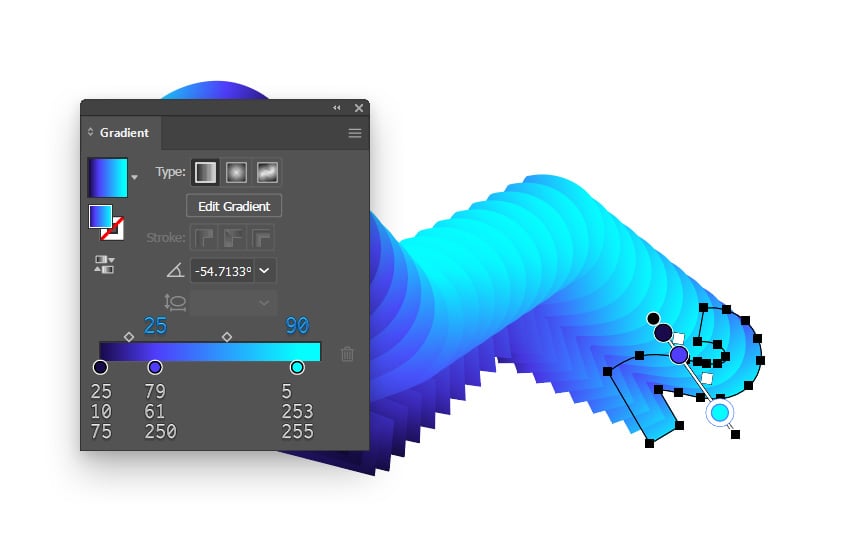
Use the Direct Selection Tool (A) to select the front number shape, and replace the existing fill color with the linear gradient shown below. Simply click the gradient bar to add a new gradient slider, again keeping in mind that the blue numbers stand for the Location percentage. Again, use the Gradient Tool (G) to adjust the gradient’s length and angle as shown in the following image.


4. How to add a second blend text effect
Step 1
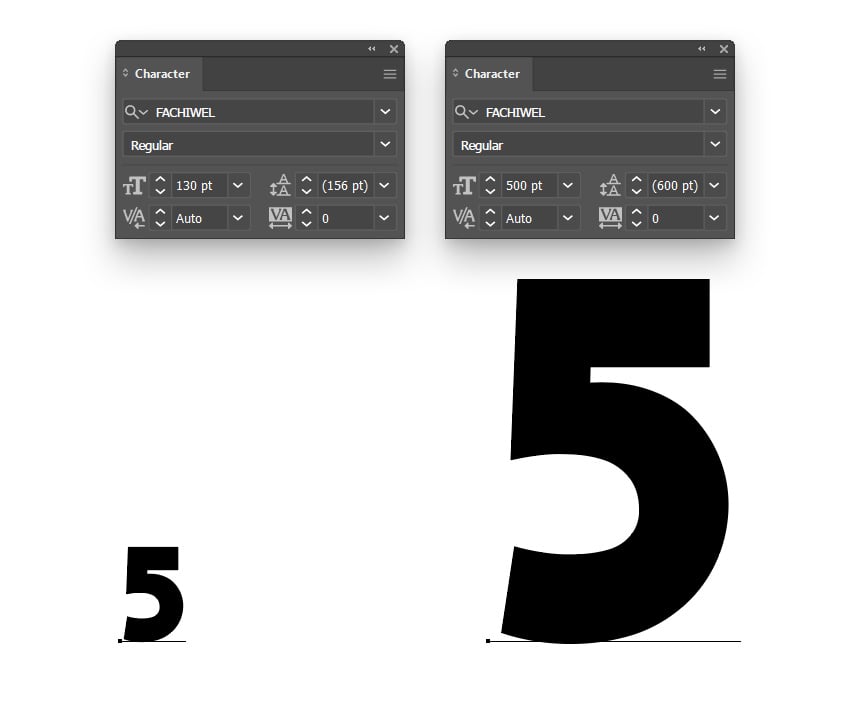
Using the same font, let’s add two “5”s as shown below.


Step 2
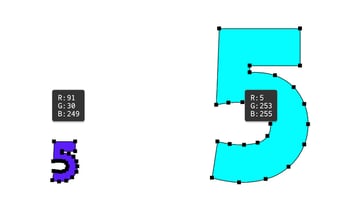
Expand the numbers (Type > Create Outlines) and use the fill colors shown below.


Step 3
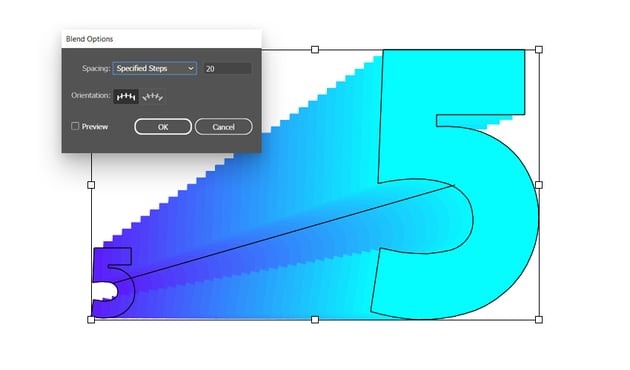
Select your two numbers and create a blend (Object > Blend > Make or Alt-Control-B).


Step 4
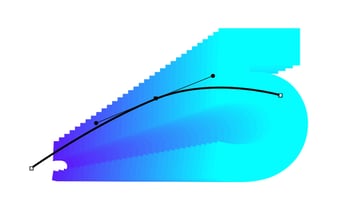
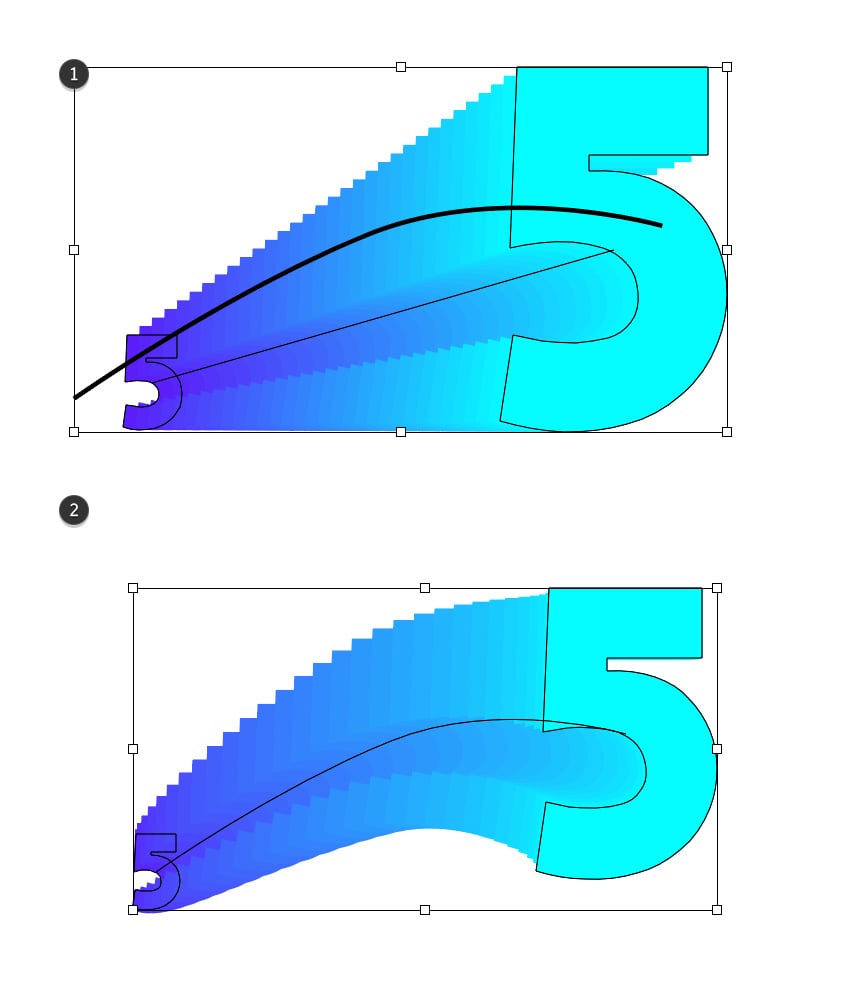
Use the Pen Tool (P) to draw a curved path on top of your new blend, roughly as shown below.


Step 5
Select the path along with your blend, and go to Object > Blend > Replace Spine.

Step 6
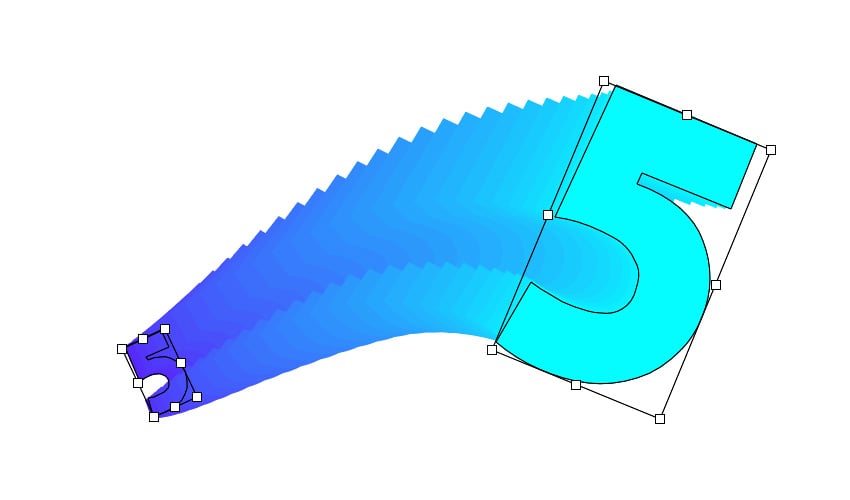
Use the Direct Selection Tool (A) and the Selection Tool (V) to select and rotate your “5”s as shown in the following image.


5. How to add a gradient to text in Illustrator
Step 1
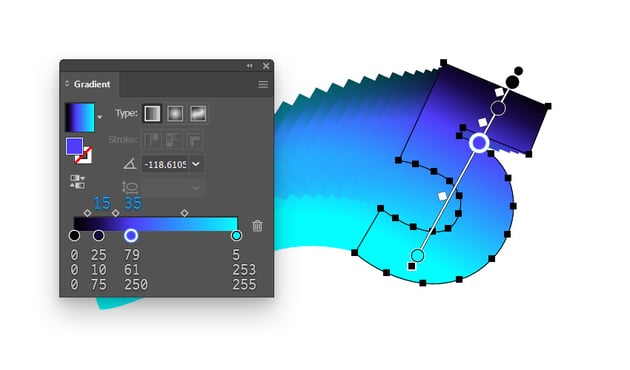
Use the Direct Selection Tool (A) to select your large “5”, and fill it with the linear gradient shown below.


Step 2
Select the other “5” and fill it with the linear gradient shown below.


6. How to add a background to your gradient text
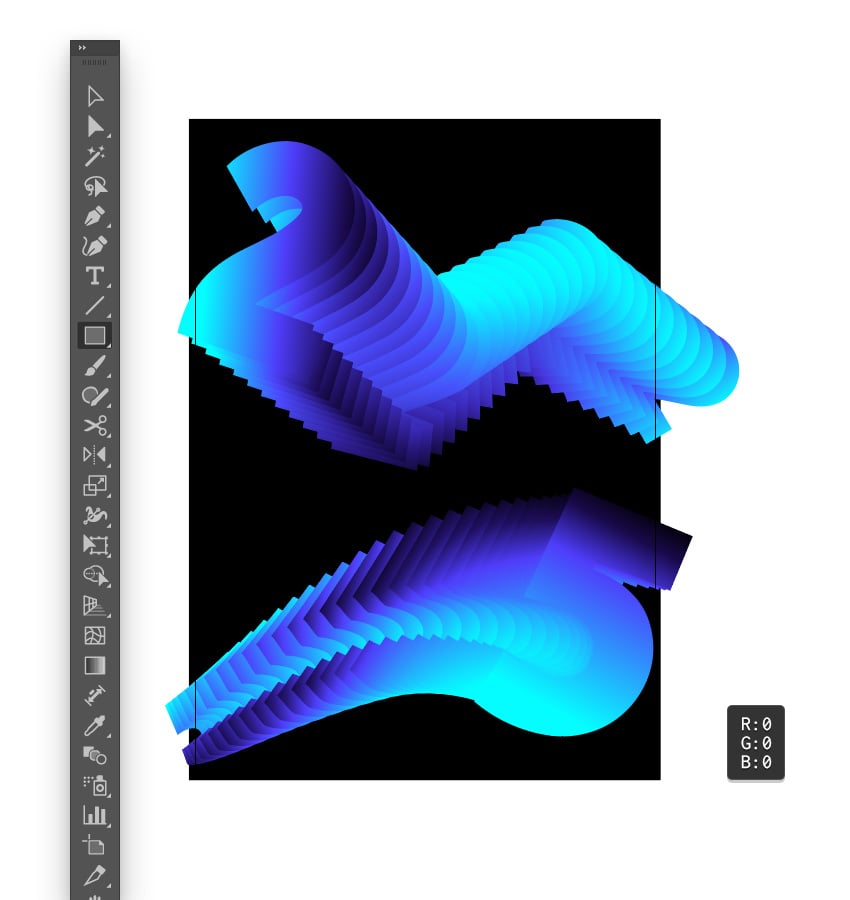
Finally, place your blends roughly as shown below. Use the Rectangle Tool (M) to create a shape that covers your entire artboard, make it black, and send it to the back (Shift-Control-[). With this final touch, your “Spotify Wrapped 2024” inspired design is complete.


Congratulations! You’re done!
Here is how your Spotify Wrapped branding design should look. I hope you’ve enjoyed this tutorial and can apply these techniques in your future projects.
Feel free to adjust this Spotify branding design and make it your own. You can find some great sources of inspiration at Envato, with interesting color alternatives for your Illustrator gradients.



Popular gradient shapes from Envato
Envato is an excellent resource for geometric gradients. Here’s a short list of some of the most popular geometric gradients that you can find.
Gradient font (JPG)
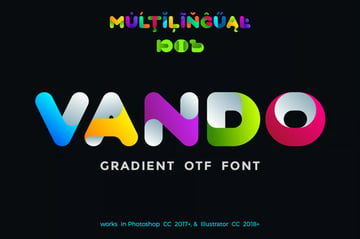
Check out this vibrant and modern gradient font, and use it to add depth, visual interest, and a dynamic feel to digital content.


Gradient text (GRD, PDF)
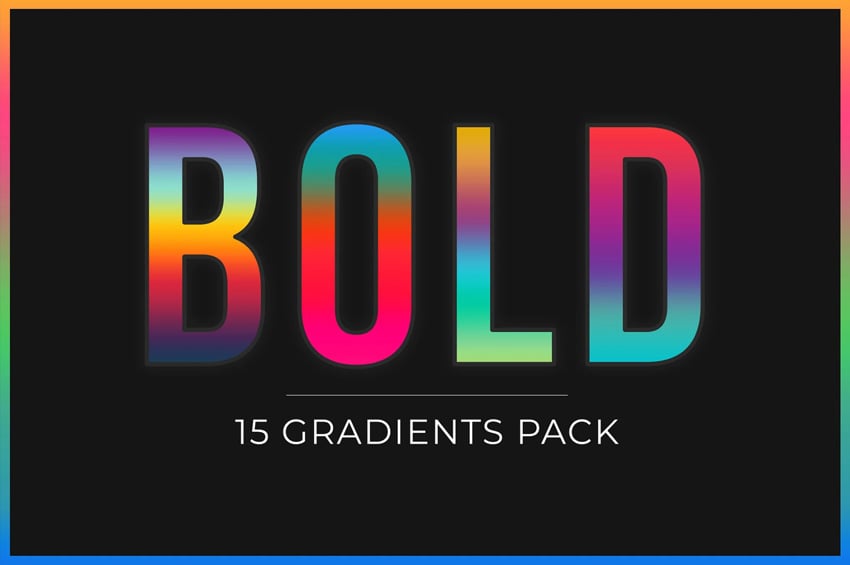
Whether you’re designing social media posts, websites, logos, or digital artwork, a gradient text pack like this one offers ready-to-use options.


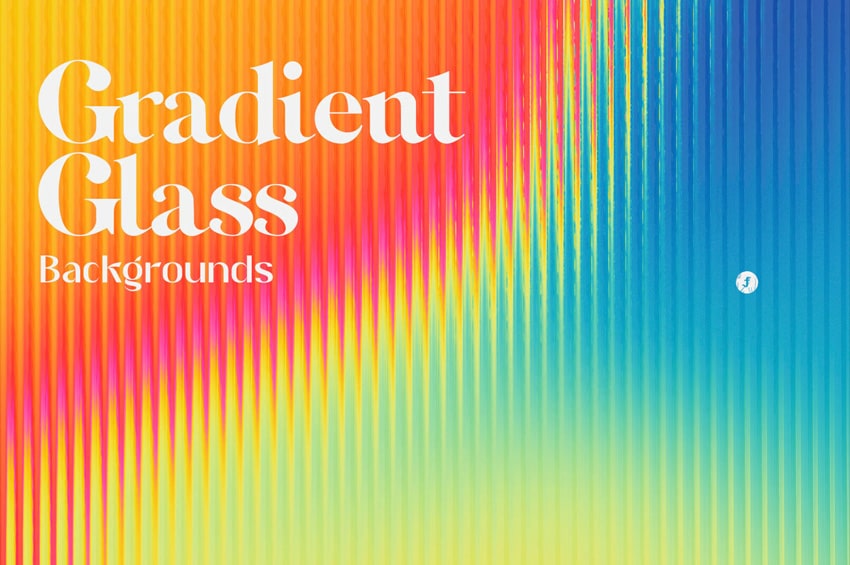
Gradient glass backgrounds (JPG)
These gradient backgrounds combine the sleek look of frosted or semi-transparent glass with the vibrant interplay of gradient colors.


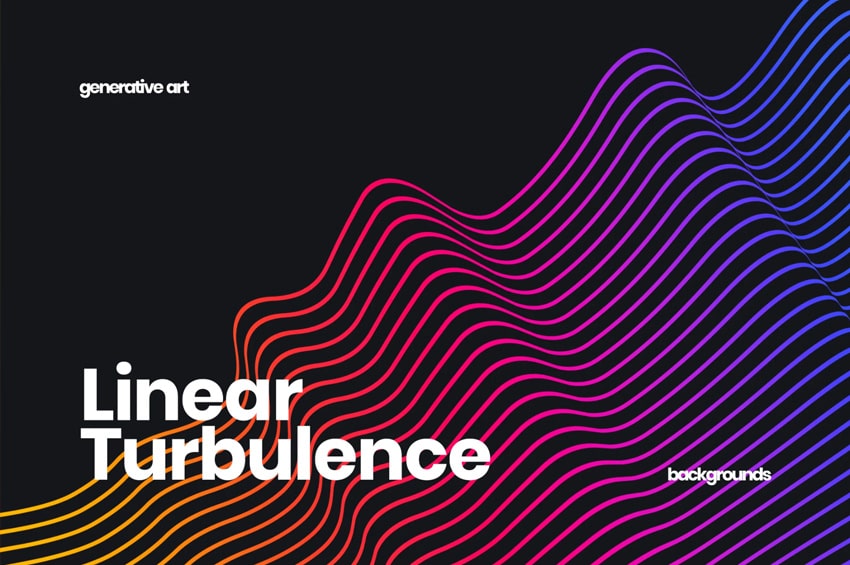
Gradient linear turbulence backgrounds (JPG, PNG)
Using these gradient linear backgrounds, you can add depth and a polished look to any project, from websites and app interfaces to presentations and digital artwork.

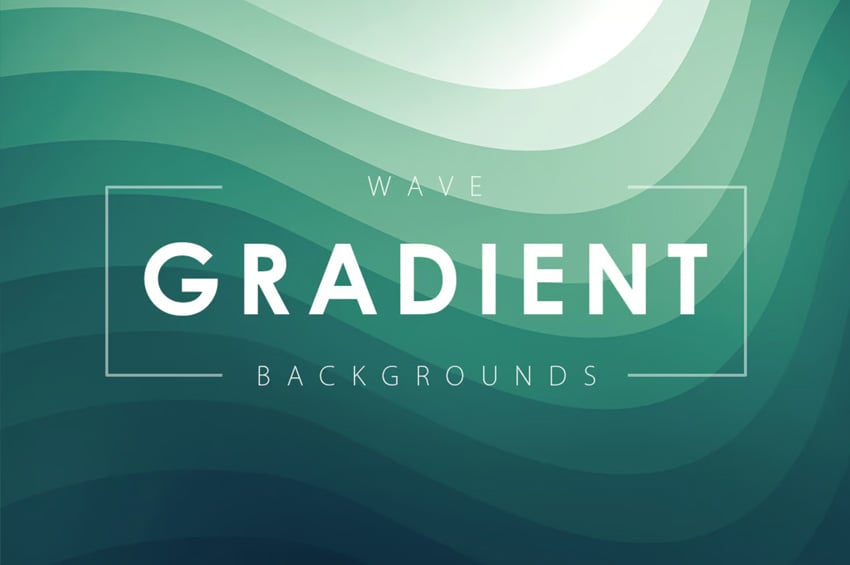
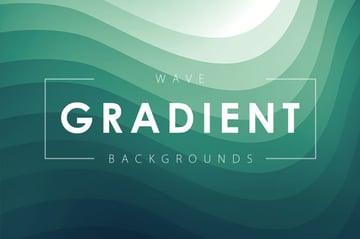
Wave gradient backgrounds (JPG)
Now that you’ve learned how to add a gradient to text in Illustrator you can save some time and use one of these wave gradient backgrounds to complete your designs.

Want to learn more?
We have loads of tutorials on Envato Tuts+, from beginner to intermediate level. Take a look!