Learn how to make the famous Sonic the Hedgehog logo from scratch with minimal font adjustments and a few simple appearances. This Sonic text effect is easy to achieve, and you can apply this style to create other bold logos in your projects.
If you don’t have the time to learn how to draw Sonic the Hedgehog logo, you can always try Envato Elements, where you’ll find a large selection of fonts and graphics that are ready to be used for logos.
What You’ll Learn in This Tutorial
- How to make the Sonic logo font
- How to color the Sonic the Hedgehog logo
Tutorial Assets
You’ll need the following resources in order to complete this project:
1. How to Make a New Document in Adobe Illustrator
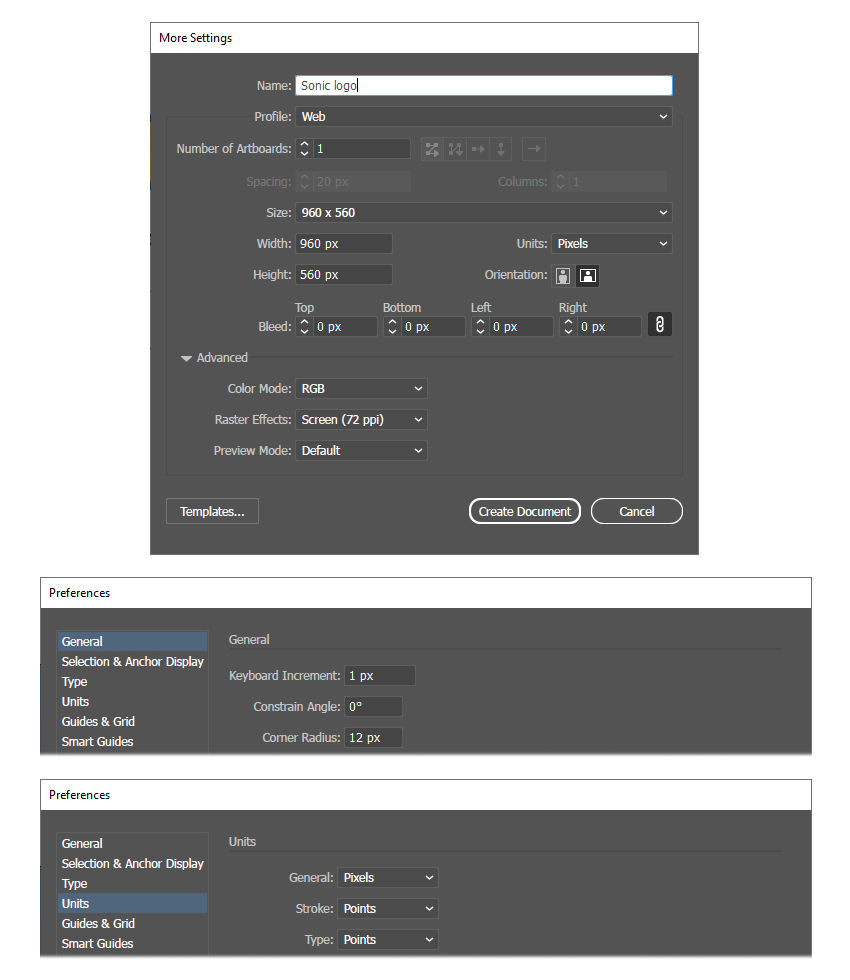
Launch Illustrator and go to File > New to open the New Document window. There, type the name of the document and set the dimensions as shown. Keep the Units set to Pixels and the Color Mode to RGB. Once you’re done, hit Create Document.
In the image below, you can see the other settings that I prefer to use while working in Illustrator. You can access them by going to Edit > Preferences.
2. How to Make the Sonic Logo Font
Step 1
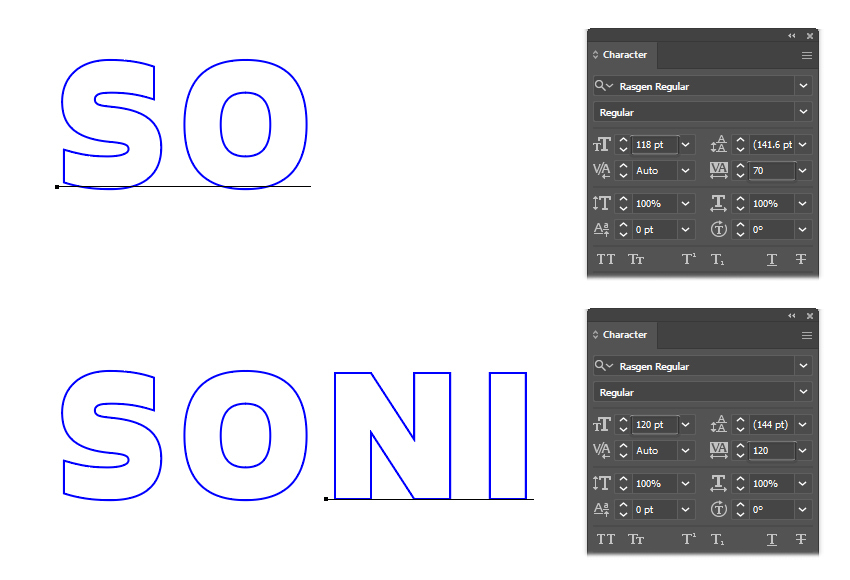
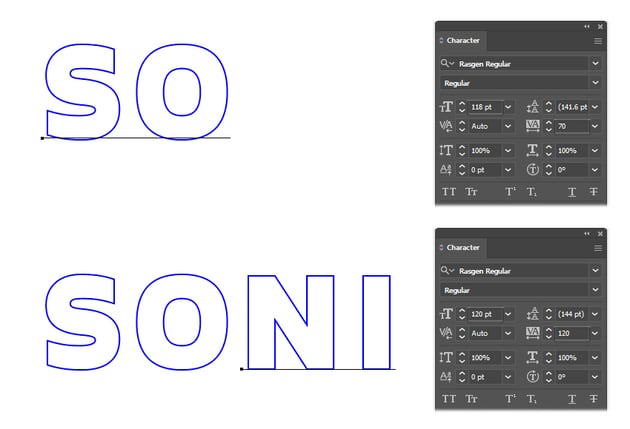
Grab the Type Tool (T) and write the letters “SO” on your artboard using the Rasgen Regular Font, with these Character panel settings:
- Size: 118 pt
- Set the tracking for the selected characters: 70
Next, write the letters “NI” using the same font and apply these settings:
- Size: 120 pt
- Set the tracking for the selected characters: 70
Step 2
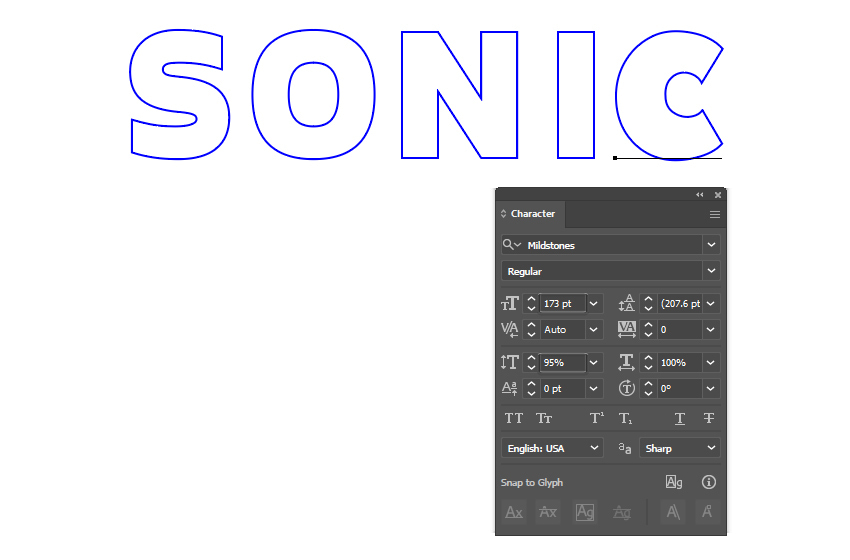
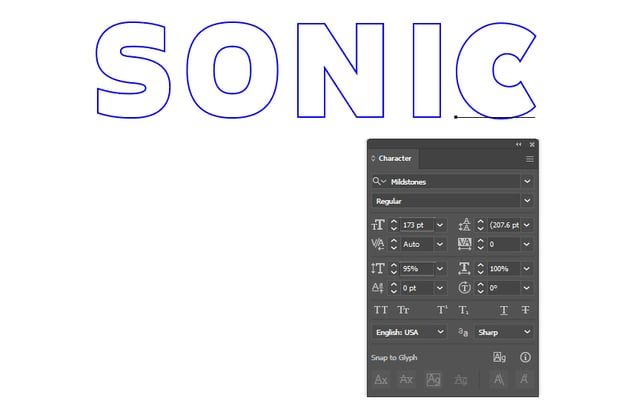
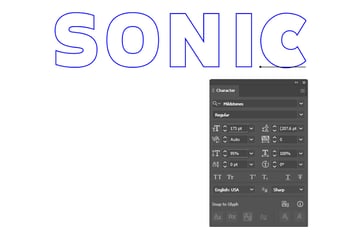
Still using the Type Tool (T), write the letter “C”. This time, use the Mildstones Font, which is very similar to the original Sonic logo font. Apply these Character panel settings:
- Size: 173 pt
- Vertical Scale: 95%
Step 3
In the following steps, we will distort the letters so that the Sonic text effect is more similar to the original. Only minimal adjustments are needed.
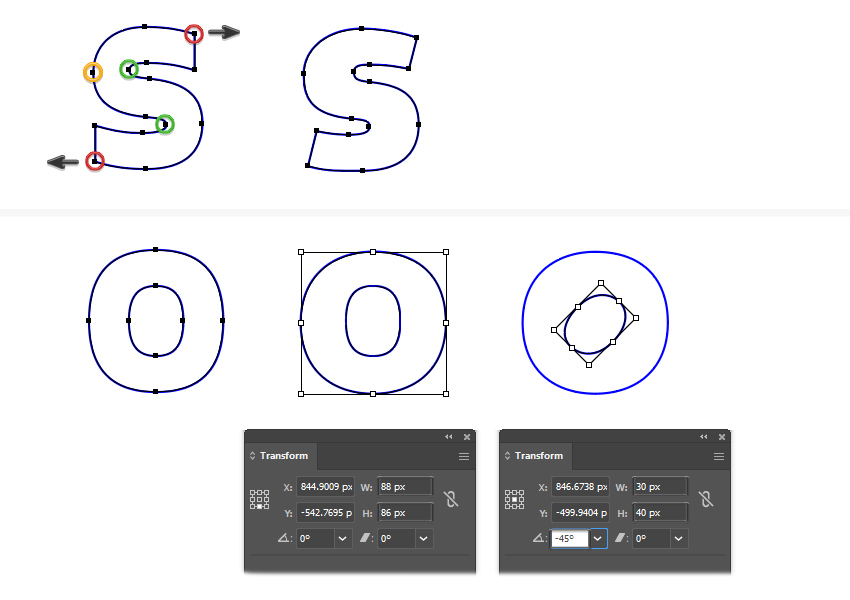
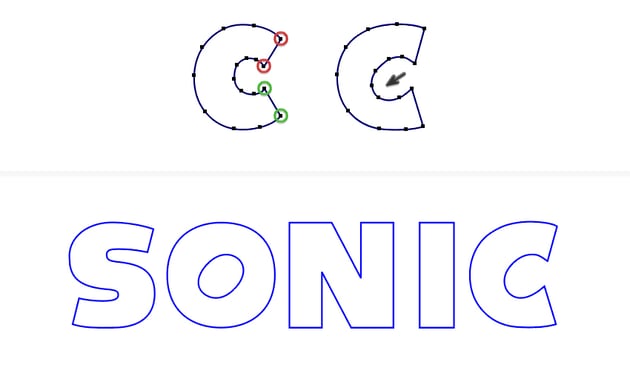
Focus on the letter “S” and use the Direct Selection Tool (A) to select and move certain points. Move the points highlighted with red outwards to obtain a slanted look, move the points highlighted with green inwards, and finally, move the point highlighted with orange a little to the left to make the letter more chubby.
For the letter “O”, first go to Object > Compound Path > Release to separate the two round shapes. With the bigger shape still selected, type 88 px as the Width and 86 px as the Height in the Transform panel. This will make the shape wider and rounder. Now, select the smaller shape, and type 30 px as the Width and 40 px as the Height. Also, Rotate the shape -45 degrees. Once that’s done, you can select both shapes and go back to Object < Compound Path > Make (Control-8).
Step 4
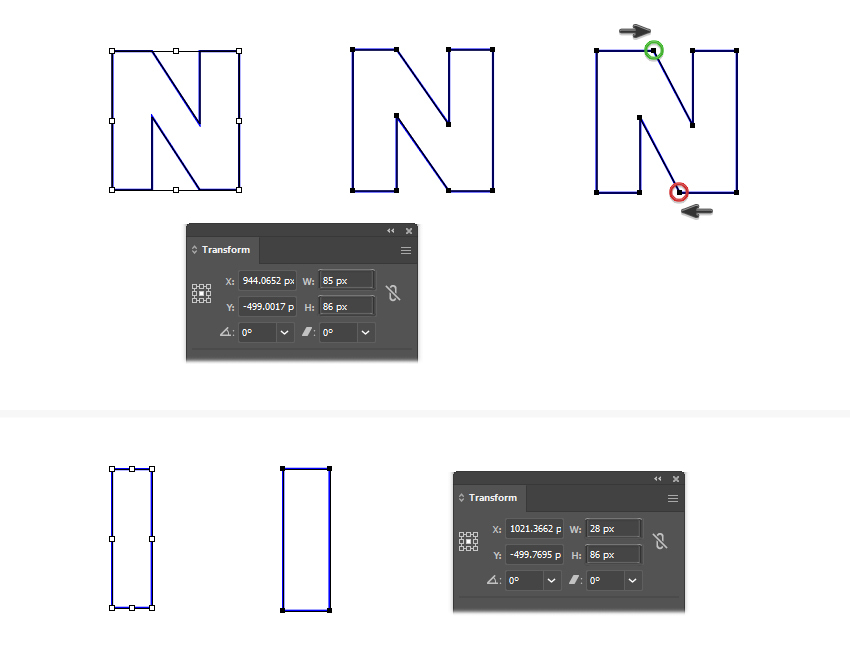
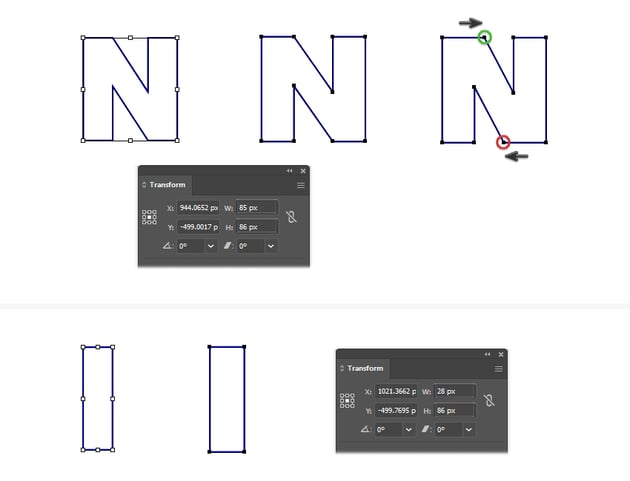
Focus on the letter “N” and change its size to 85 x 86 px in the Transform panel. Use the Direct Selection Tool (A) to select and move the point highlighted with green about 8 px to the right; then select and move the point highlighted with red about 8 px to the left.
For the letter “I”, just change the size to 28 x 86 px in the Transform panel.
Step 5
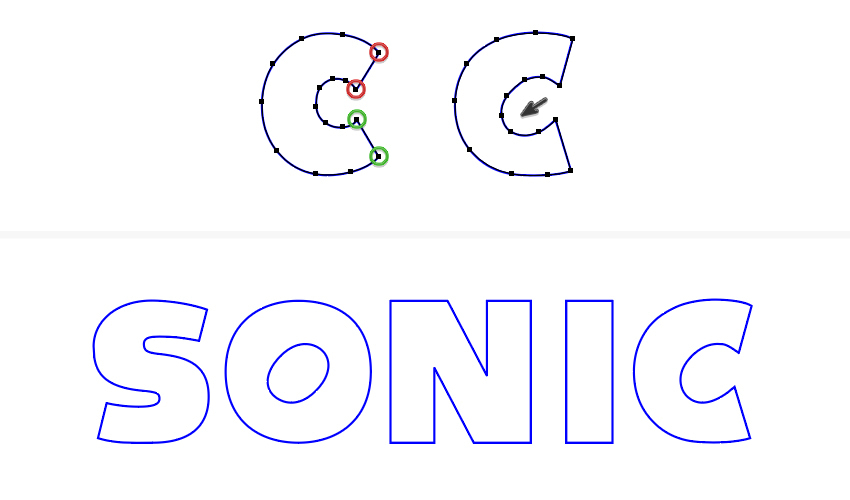
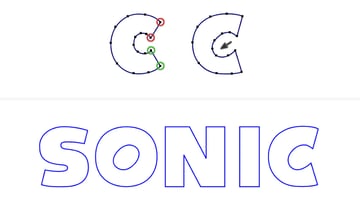
The last letter is “C”. Use the Direct Selection Tool (A) to move the position of the end points highlighted to obtain a slightly different look, and adjust the handles if needed. Finally, make the inner curve more elongated.
At this point, the Sonic logo letters are done, and we can continue with the coloring part.
3. How to Color the Sonic the Hedgehog Logo
Step 1
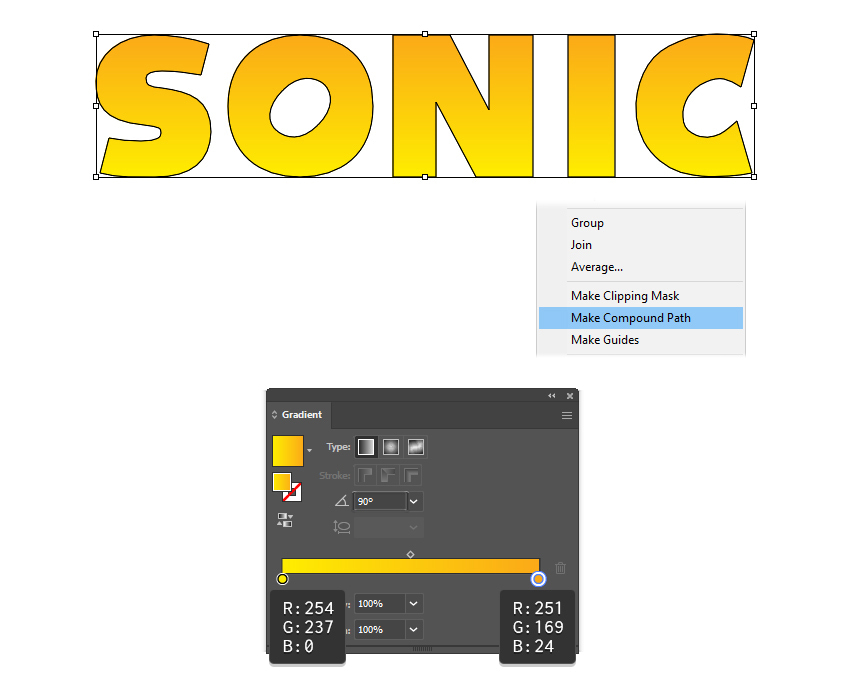
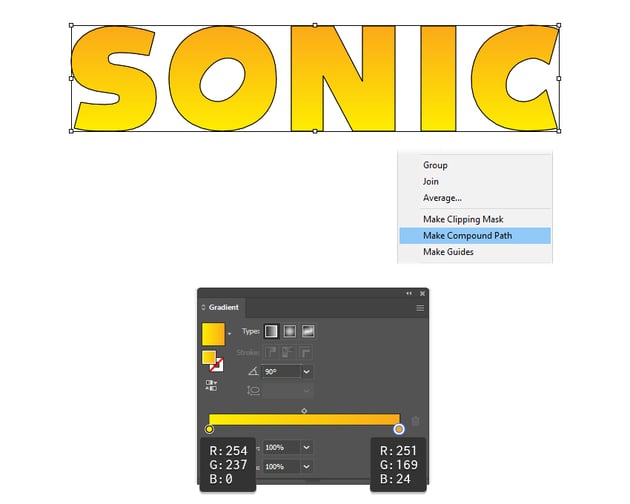
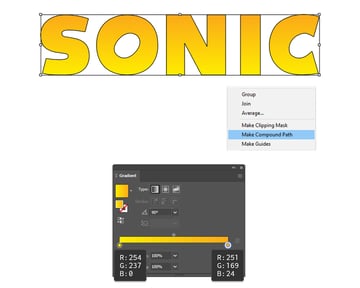
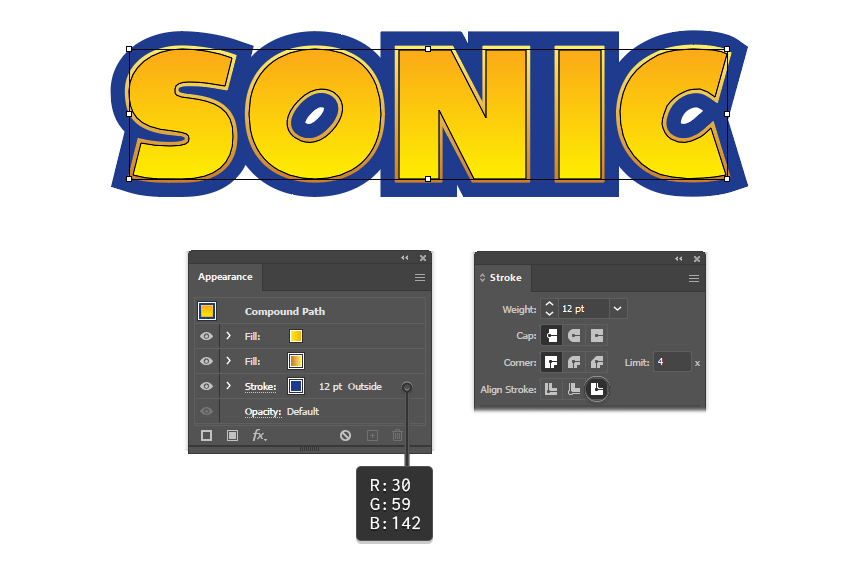
Select all the letters and go to Object < Compound Path > Make (Control-8). Fill the resulting compound path with a yellow-to-orange linear gradient, and set the Angle to 90 degrees.
Step 2
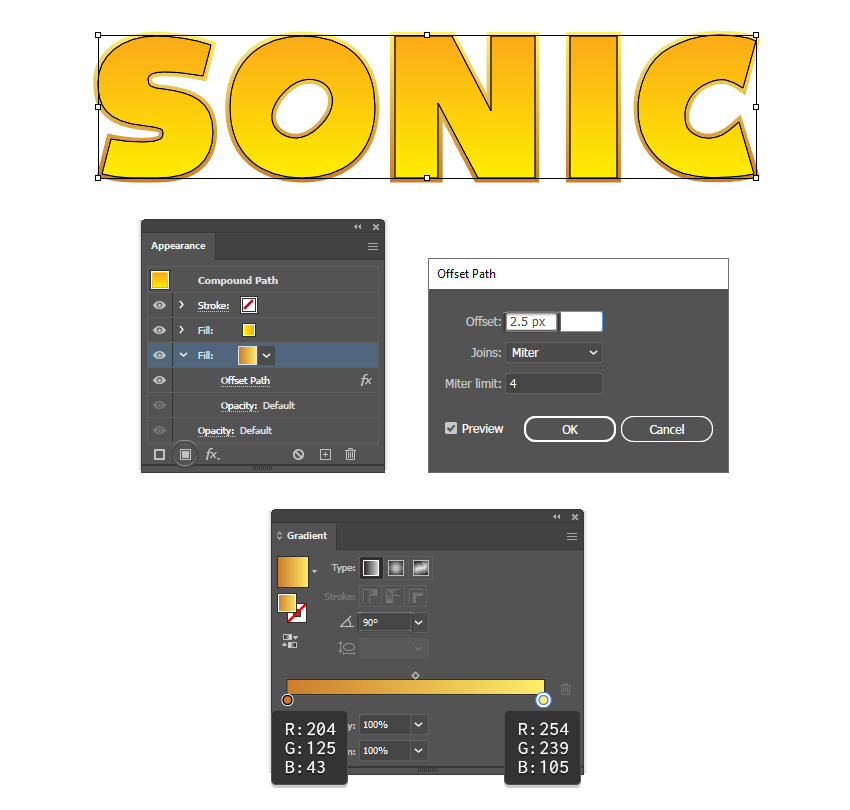
With the text still selected, click on Add New Fill in the Appearance panel. Keep the new Fill attribute at the bottom and change the linear gradient as shown. Next, go to Effect > Path > Offset Path and apply an Offset of 2.5 px. As a result, you will get the appearance of an outline around the letters.
Step 3
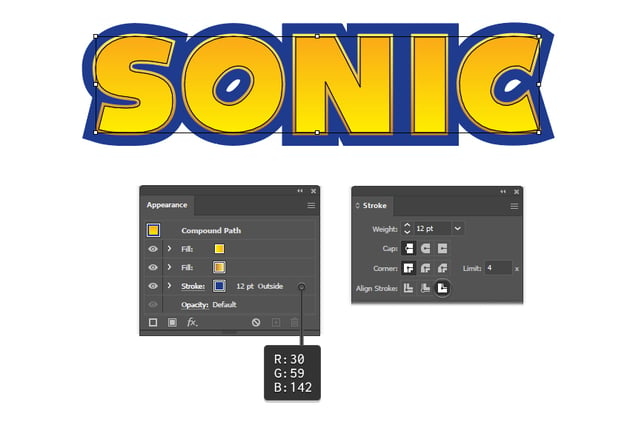
Next, apply a 12 pt Stroke using blue, and drag it at the bottom of the Appearance panel. Click on Align Stroke to Outside in the Stroke panel.
Step 4
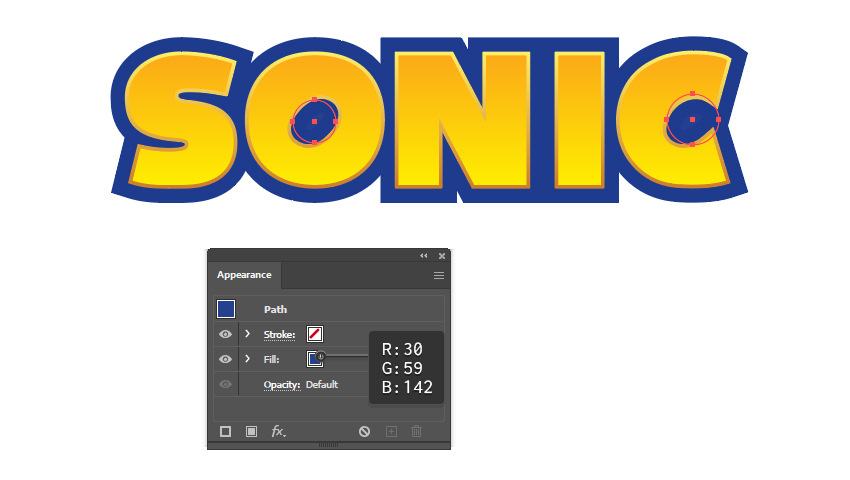
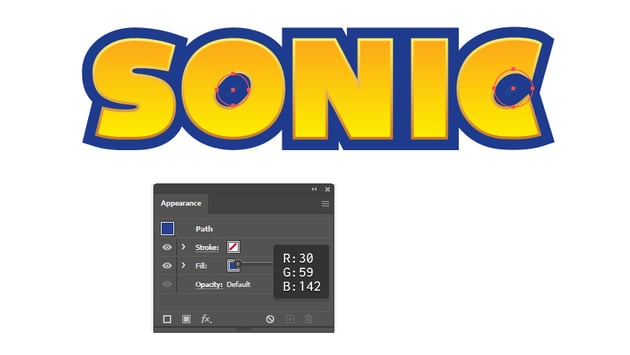
Use the Ellipse Tool (L) to draw two circles big enough to cover the space inside the letters “O” and “C”. Color them with the same shade of blue, and send them to the back by going to Object > Arrange > Send to Back (Shift-Control-[).
Step 5
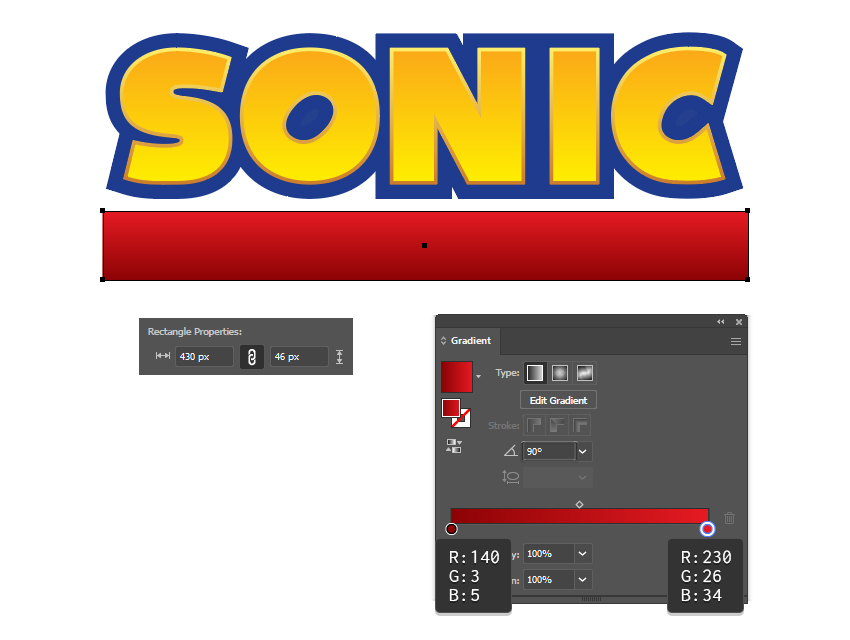
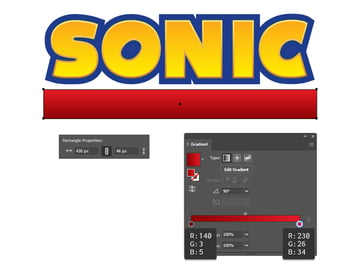
Grab the Rectangle Tool (M) and draw a rectangle the same length as the Sonic text effect, which is 430 x 46 px. Fill it with the red linear gradient shown, and set the Angle to 90 degrees.
Step 6
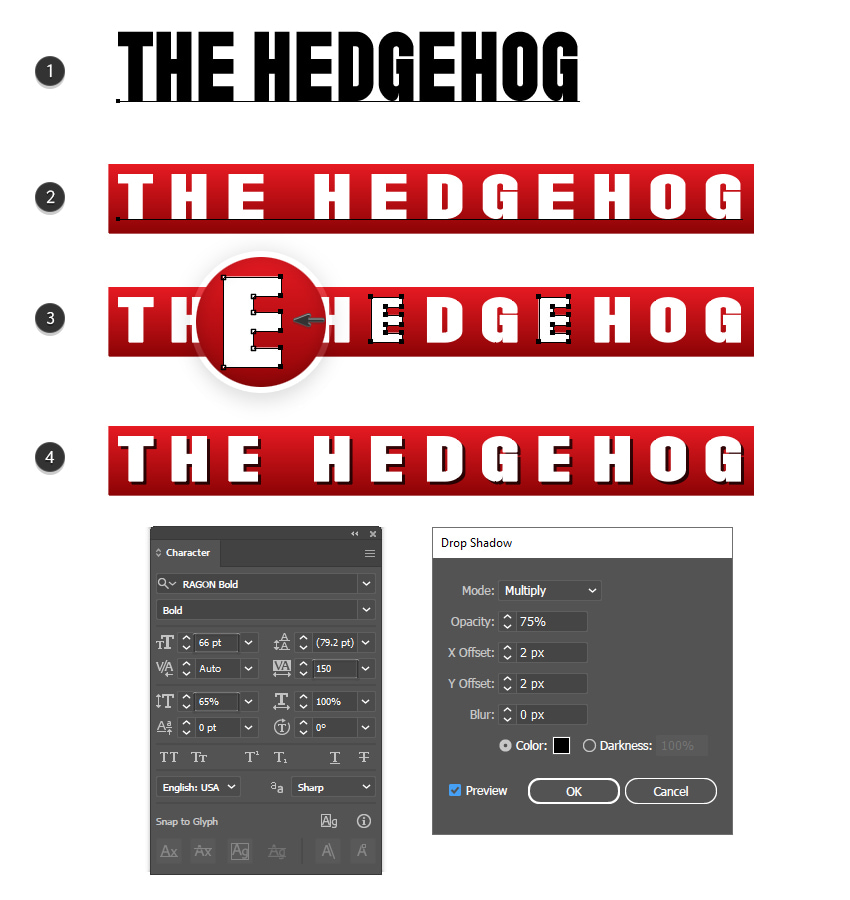
It’s time to make the second piece of text. Write “THE HEDGEHOG” on your artboard using the Ragon Bold Font (1), which will be almost identical to the original text after making the following adjustments in the Character panel:
- Set the font size: 66 pt
- Set the tracking for the selected characters: 150
- Vertical Scale: 65%
Change the fill color to white and position it on the red rectangle (2). Go to Type > Create Outlines followed by Object > Ungroup (Shift-Control-G) to get the individual letters. The arms of the letter “E” are a bit too long, so let’s fix that quickly. Use the Direct Selection Tool (A) to select only the six end points, and move them a few pixels to the left to make the arms shorter. Do the same thing for the other two “E”s (3).
Group (Control-G) all the letters, and then go to Effect > Stylize > Drop Shadow and apply the settings shown (4).
Step 7
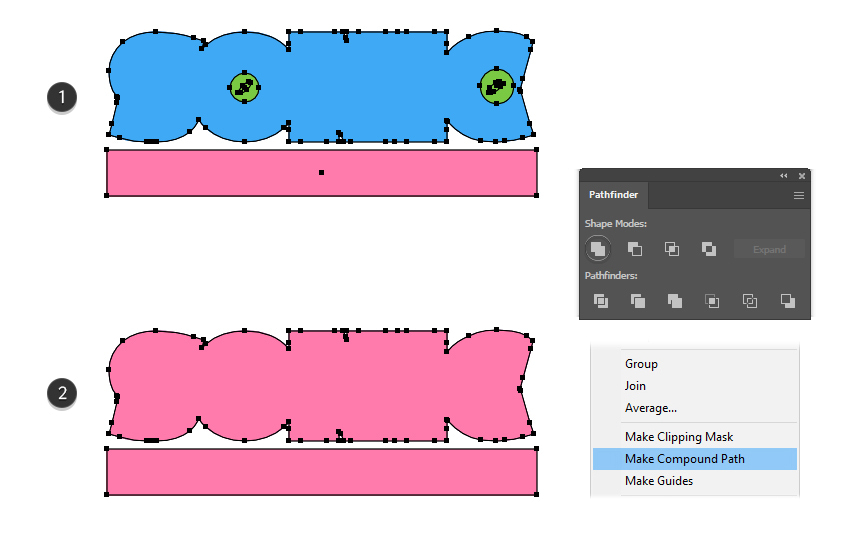
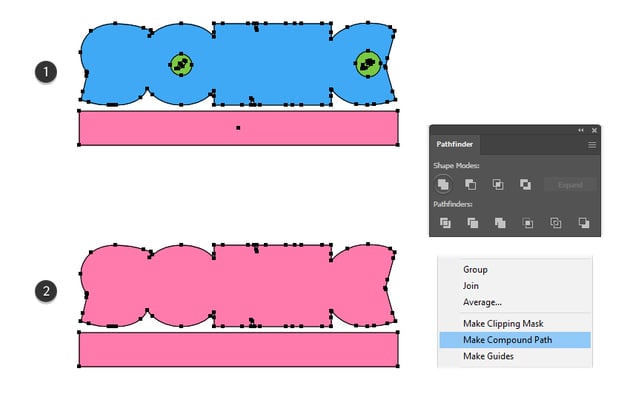
Select the “Sonic” text and Copy and Paste in Front (Control-F) to make a copy of it. Go to Object > Expand Appearance and then click on Unite in the Pathfinder panel to obtain the blue shape shown below. Also, Copy and Paste in Front (Control-F) the two circles and the rectangle (1).
Keep the text, circles, and rectangle copies selected, and press Unite in the Pathfinder panel followed by Object > Compound Path > Make (Control-8). As a result, you will get a compound path of the entire Sonic logo (2).
Step 8
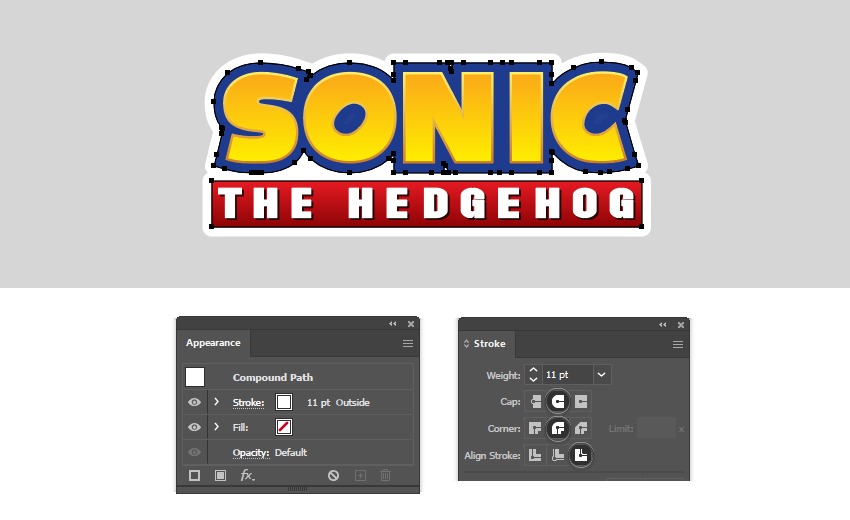
Send the compound path obtained in the previous step behind everything by going to Object > Arrange > Send to Back (Shift-Control-[). Give it an 11 pt Stroke using white. Activate Round Cap, Round Join, and Align Stroke to Outside in the Stroke panel.
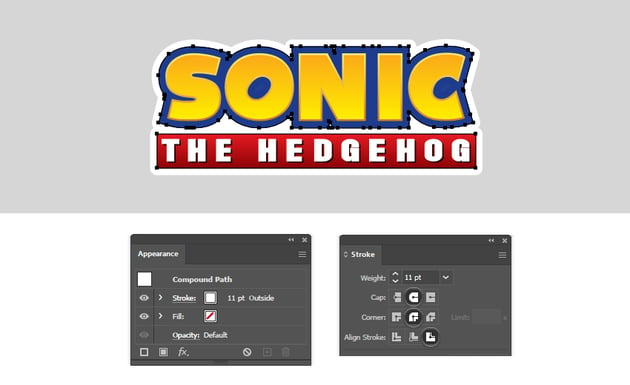
Congratulations! You’re Done
You have successfully learned how to draw the Sonic the Hedgehog logo. Even with simple techniques and a few steps, you can make great logos. Feel free to make it your own and be inspired to create other bold and colorful logos in future projects.
Make sure to check out Envato Elements, where you’ll find many logos and fonts that you can use for inspiration or download and use.



Popular Resources From Envato Elements
Envato Elements is an excellent resource for logos. Let’s explore some ready-to-use alternatives that you can download right now and create your desired logo.
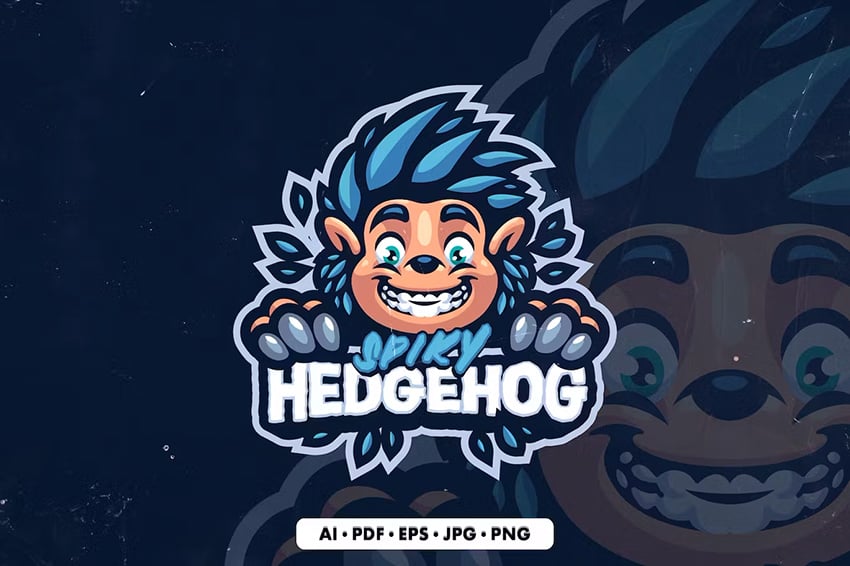
Hedgehog Mascot Logo Template (AI, EPS, JPG, PDF, PNG)
If you’re interested in a hedgehog logo that is already made, then take a look at this mascot logo. Make it your own by quickly editing the text, and the character will be the perfect addition to make your logo stand out.


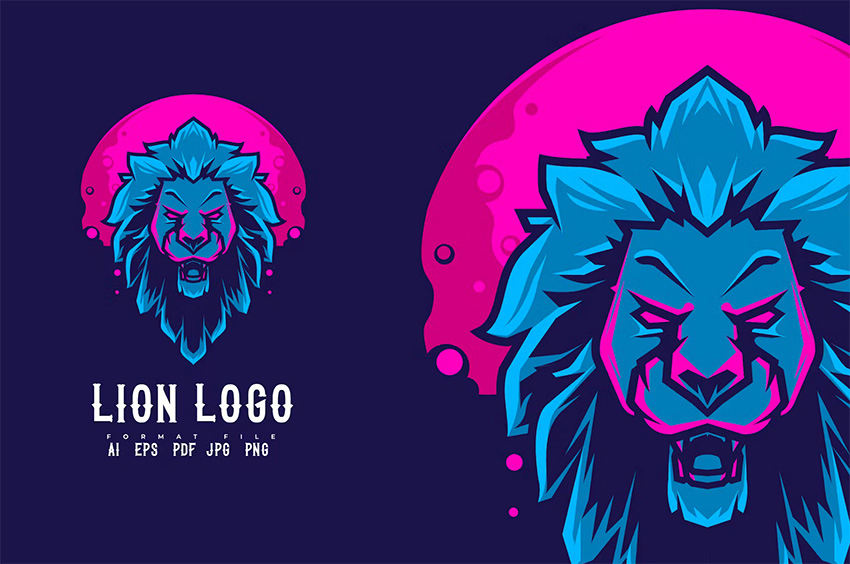
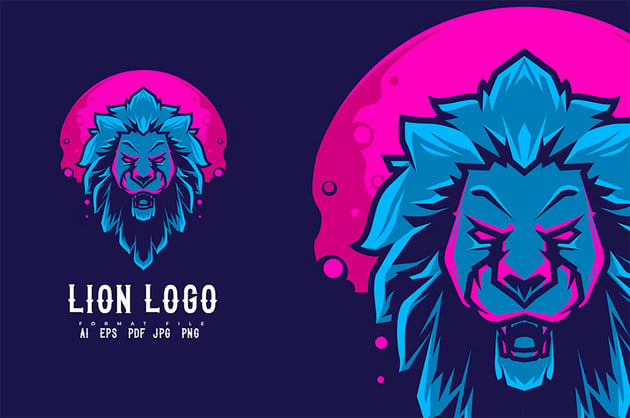
Lion Logo Template (AI, EPS, JPG, PDF, PNG)
This fierce lion logo uses a red and pink color scheme, making it both exciting and well balanced at the same time. The text is also bold, making your logo very visible and eye-catching. Give it a try!
Want to Learn More Illustrator Skills?
We have loads of tutorials on Envato Tuts+ that teach many other useful techniques. Here’s a list of tutorials specially made for you. Take a look!