Wondering how to change the weather in Photoshop? Today, we’ll be covering my favorite fog effect Photoshop technique! It’s fast, customizable, and perfect for both landscape and portrait weather effects.
And if you prefer videos, don’t miss this new video from the Envato Tuts+ YouTube channel:
How to Make Fog in Photoshop
Step 1
To start our fog effect Photoshop tutorial, we’re going to go to Filter > Neural Filters and turn on Depth Blur.
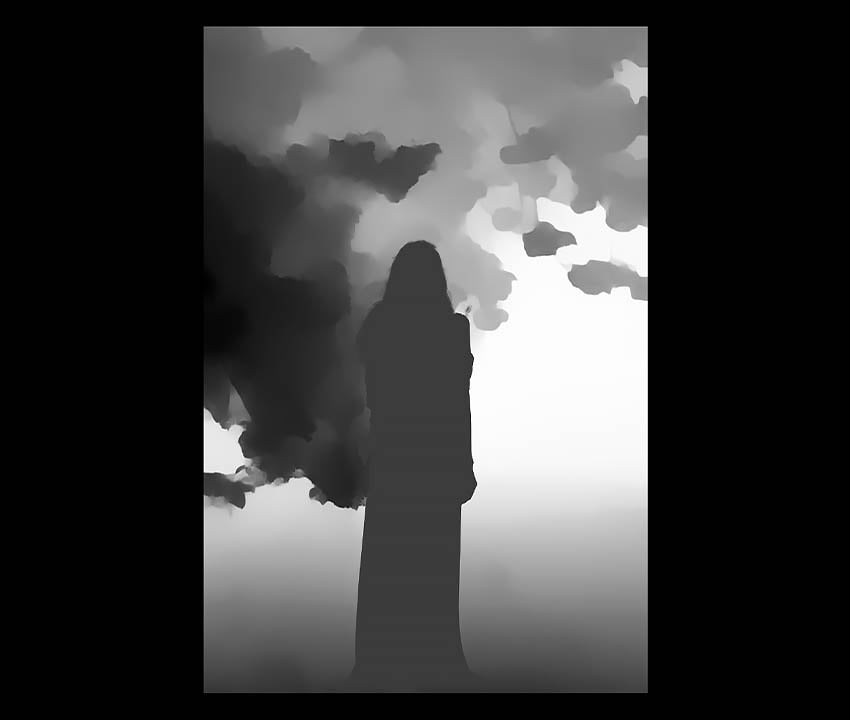
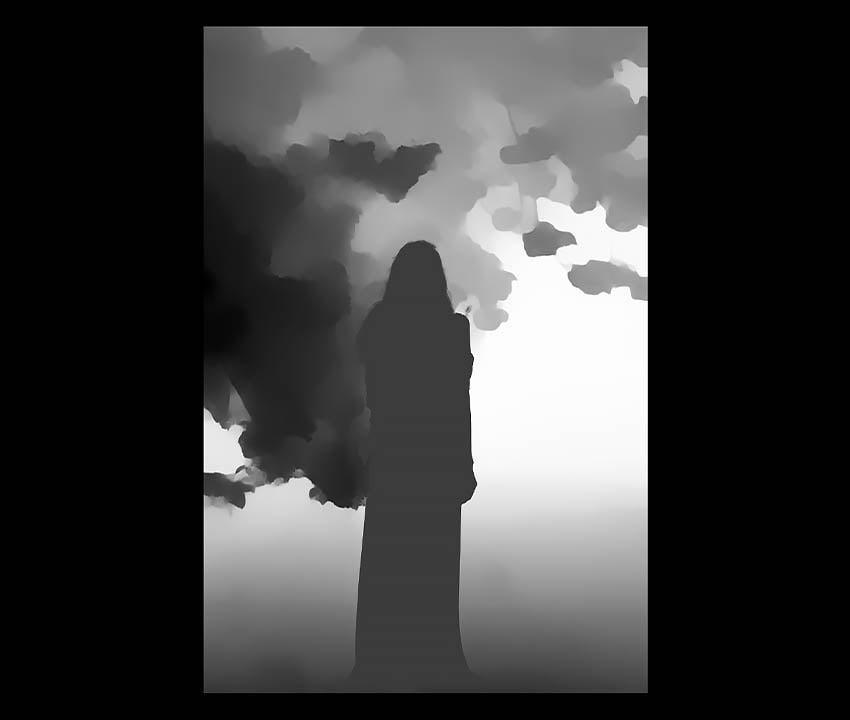
Leave the default settings and Check Output Depth Map Only. You’ll be left with something like what you see below.
Step 2
Set the Depth Map layer to Screen. This is the base of our fog, but some fog layers will need a little refining before we move forward.
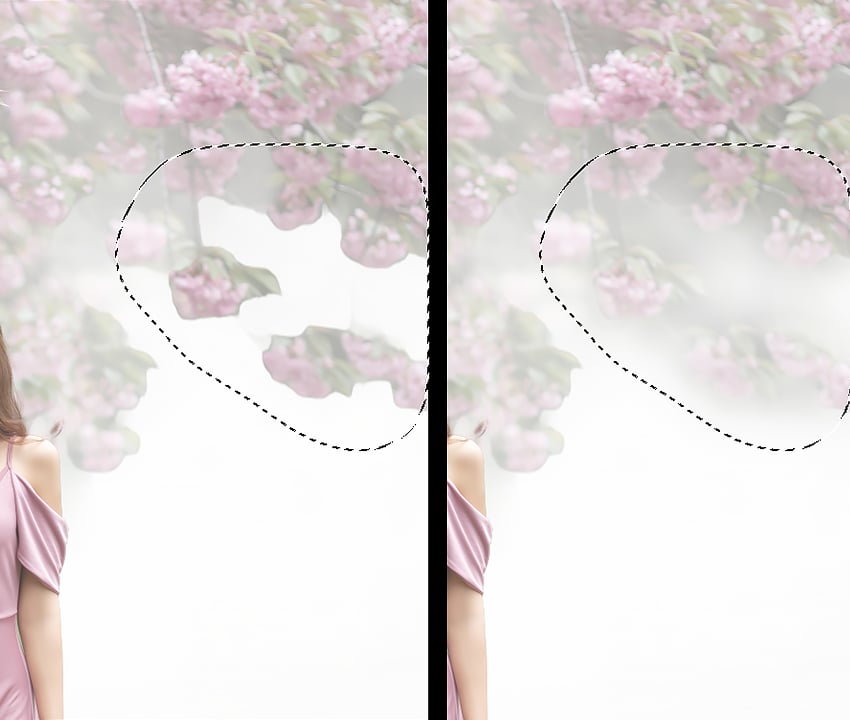
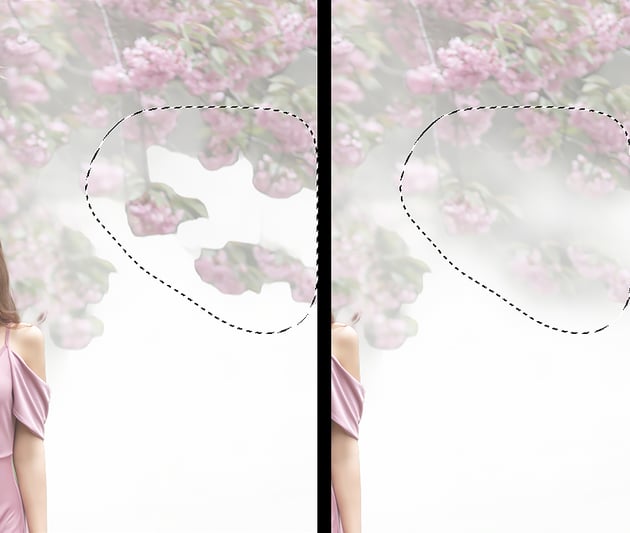
Choose the Lasso Tool and set the Feather to 100 px. Select the areas where the Depth Map might look too harsh. In this image, it’s the flowers on the right.
Go to Filter > Blur > Gaussian Blur and set the Radius higher until the edges are softened—in my case, a Radius of 120 px did the trick.
When you’re happy, Right-click > Convert to Smart Object to make the fog base layer into a Smart Object.
Step 3
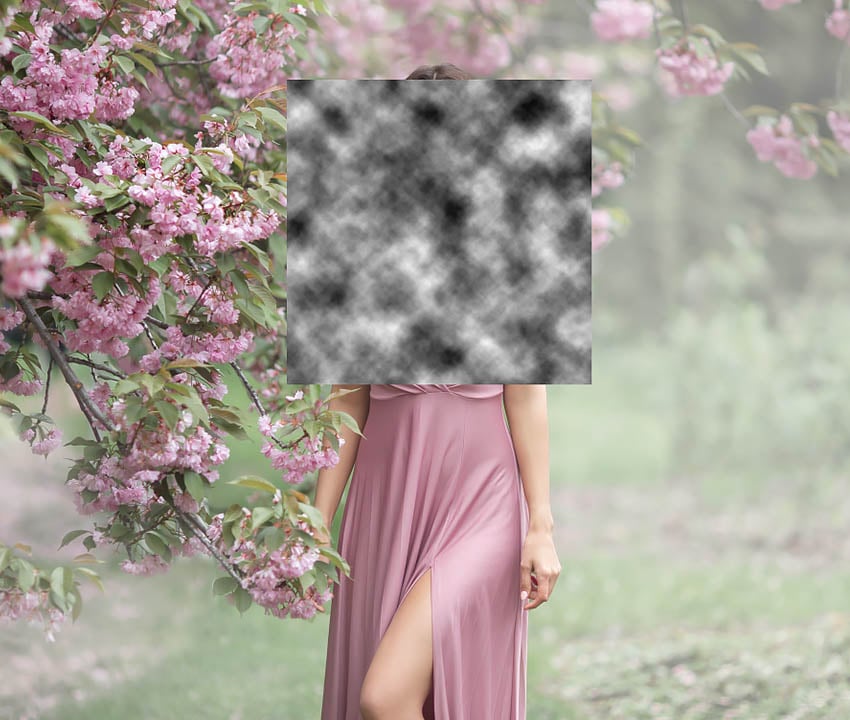
Create a New Layer and set the Foreground and Background color to black and white. Go to Filter > Render > Clouds.
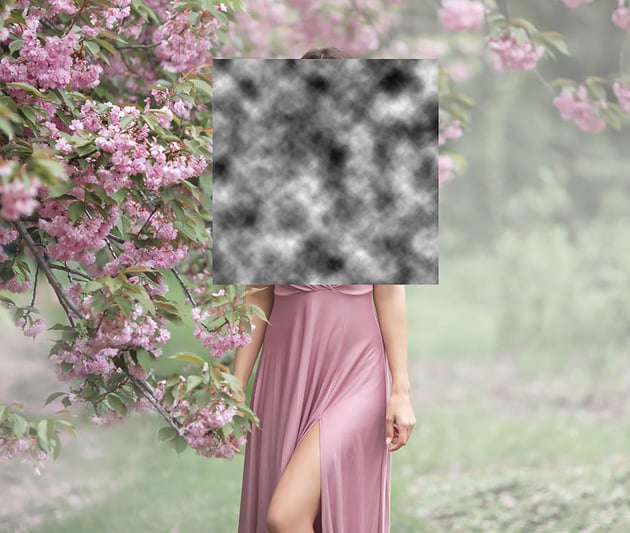
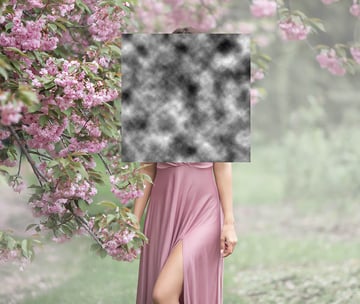
Use the Rectangular Marquee tool to Select, Copy, and Paste a square portion of the clouds onto a New Layer. Delete the original rendered clouds layer.
Step 4
Use the Transform tool to increase the size of the clouds to fill the canvas.
Set the layer to Overlay and clip it into the fog base layer. This will give the fog more texture and a feeling of motion. This is also a great way to make a fog overlay in Photoshop on the fly.
You can also save the rendered clouds to make your own fog overlay Photoshop textures.


Step 5
Lower the fog base layer’s Opacity until it’s your desired strength. Below, I set the Opacity to 50%.
You can use any level-adjusting tool to control the strength of your fog. Below, I used Curves to bring down the darks in my base fog layer, removing some of the fog covering my subject and foreground.
To increase the intensity of the fog, brighten the highlights of the fog base layer. You can use Curves, Levels, or Brightness/Contrast adjustments.


Step 6
Finally, Duplicate the rendered cloud layer, set it to Screen, and bring it above your subject. Use Curves to bring down the darks of the layer to bring some visible fog above your subject.
You can use Hue/Saturation with Colorize Checked to adjust the color of the fog. For a realistic effect, bring in color from the surrounding ambient light, like a golden yellow from the sun. You can also use this to achieve a more fantasy-like effect.


Step 7 (Optional)
You can Duplicate the depth map layer, bring it below all the other fog layers, and set it to Overlay to further deepen the shadows of the image.
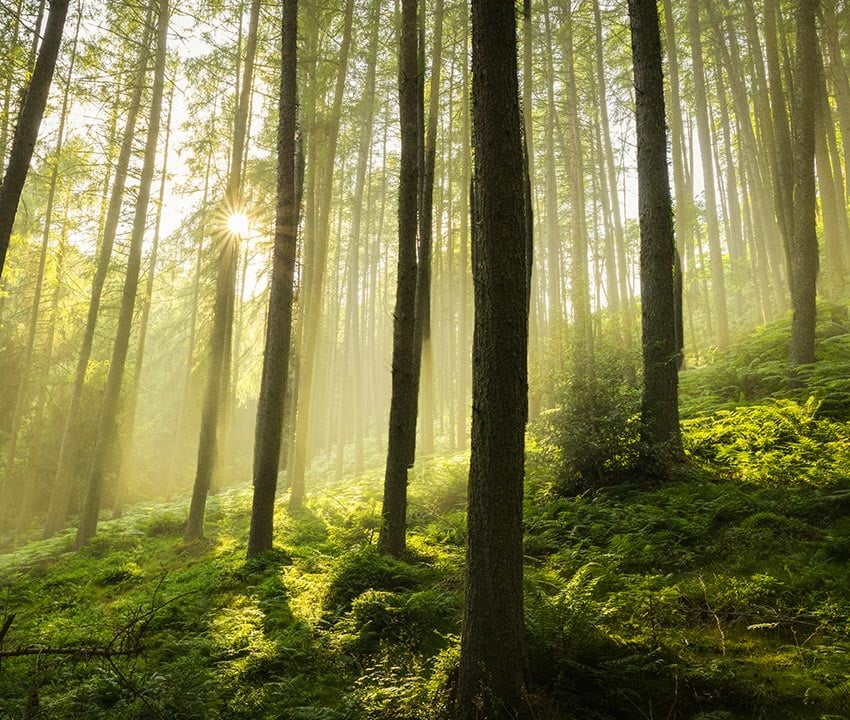
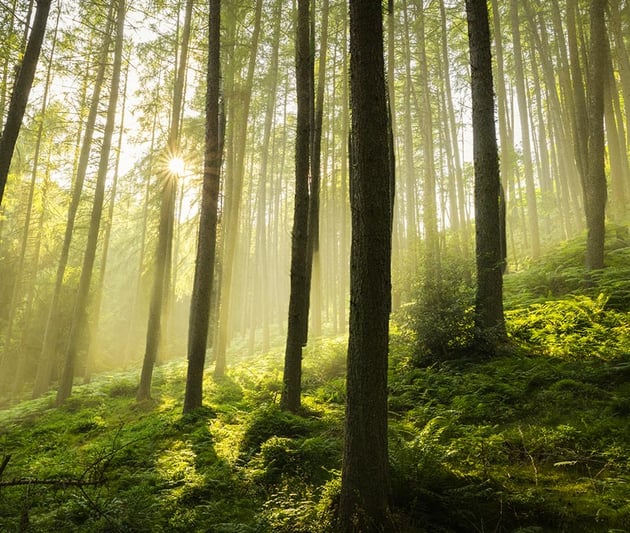
This technique works particularly well with landscapes.
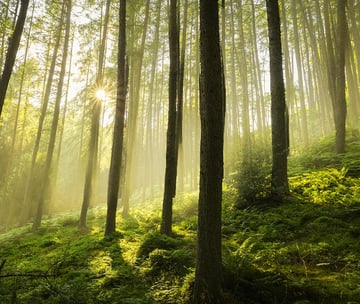
That’s How to Add Fog in Photoshop
That’s how to add fog in Photoshop! This effect all starts with that depth map, and from there it’s just about customizing how you want your fog to be, creating any effect from photo-realistic to fantasy, just by adding a bit more color. The best part? With just a little tweaking, you can also use these new tools to create mist and smoke just as easily.


Need More Fog Brush Photoshop Resources?
Envato Elements has you covered. Envato Elements has everything you need when wondering how to change the weather in Photoshop.
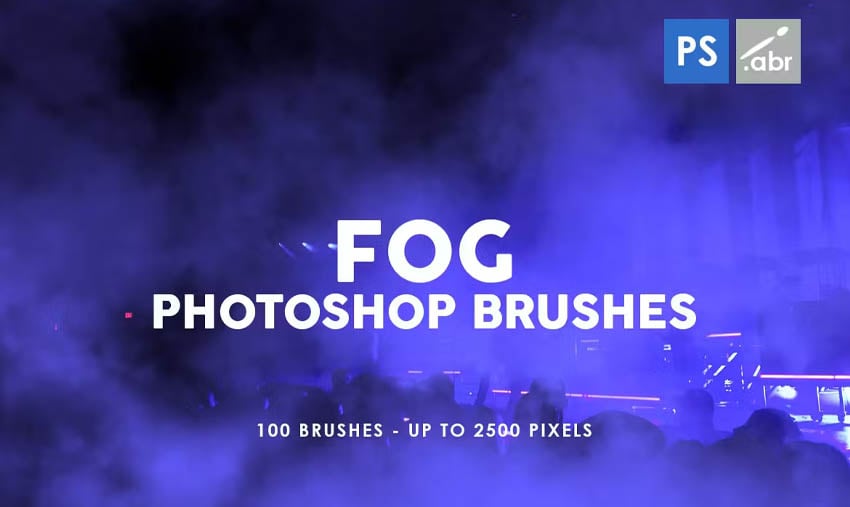
100 Fog Photoshop Stamp Brushes (ABR)
These high-resolution fog brushes for Photoshop are perfect for enhancing any photo. Use them as fog overlays for digital manipulation, visual effects in games or artwork, or to add decorative flair—the possibilities are endless!
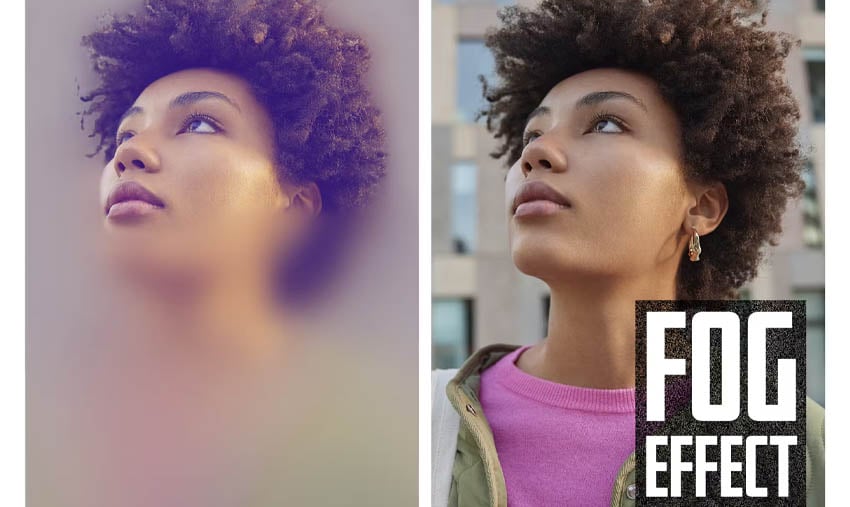
Fog Effect (PSD)
Transform your photos with this mesmerizing fog action for Photoshop. Instantly add a touch of elegance with a customizable fog effect, created using smart objects for complete control over the result.
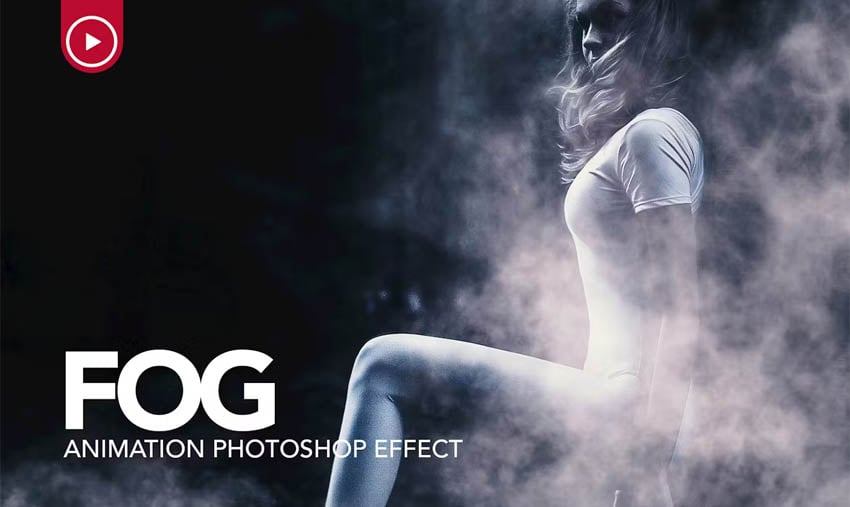
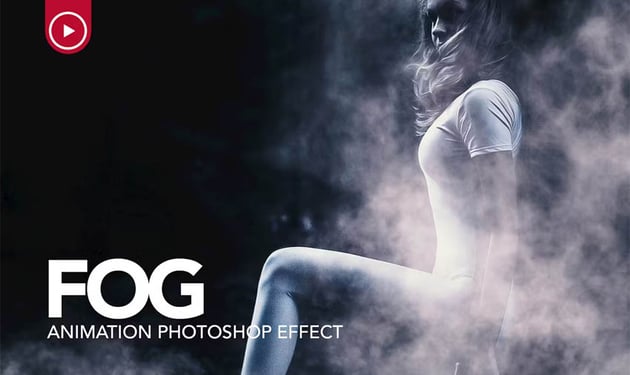
Fog Animation Photoshop Action (ABR, ATN)
The Fog Animation Photoshop Action stands out as a top-tier choice for creating multiple kinds of Photoshop weather effects. Crafted with care, this add-on is a game-changer and a great addition to an editor’s toolbelt.
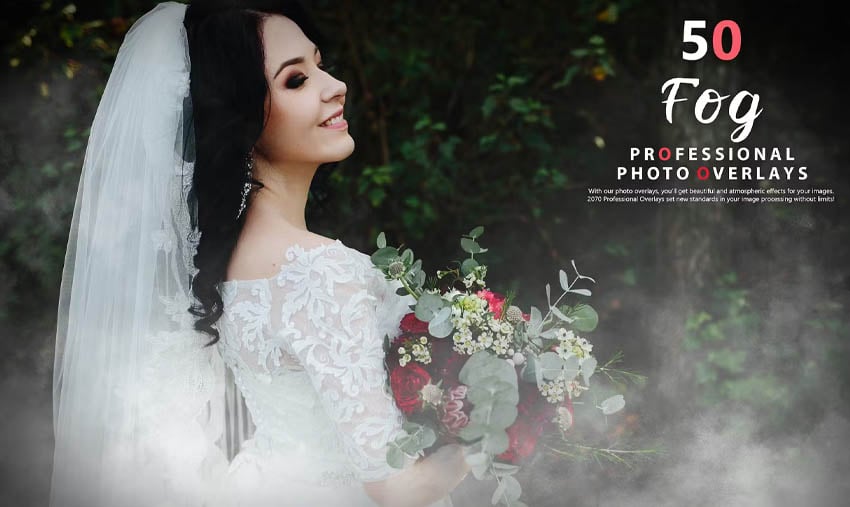
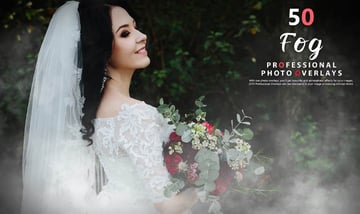
50 Fog Photo Overlays (ATN)
Supercharge your workflow with a complete bundle of cinematic fog overlays. Transform every photo into a work of art. Whether it’s for yourself or your clients, these versatile overlays will help you create captivating designs time and time again.
Ultra-Realistic Fog Overlays for Photoshop (JPG)
Create the perfect atmosphere in any picture, no matter the setting, with these high-resolution fog overlays. Whether you’re a photography novice or a seasoned pro, elevate your images to a professional level. This package offers a range of high-resolution fog overlays and is easy to use, delivering realistic results every time.
Discover More Photoshop Tutorials
Want to learn more? Check out these Photoshop tutorials to learn more techniques.
