Images are an essential aspect of any mobile app. This tutorial will introduce you to the image component and show you how to use images in your React Native app. You will also learn how to create your own photo gallery!
Prerequisites to Create a React Native App
We will use the Expo CLI for this project. With Expo, developers can create React Native apps without all the frustrations that come with installing and configuring software dependencies such as Android Studio, Xcode, or all the other tools which are needed to develop and run a React Native app. If you want to learn more about Expo, check out our post on how Expo makes React Native app development easier.
If you don’t already have Expo CLI, first ensure you have Node.js installed. Then install the Expo CLI (command-line interface) globally on your machine:
npm install expo-cli --global
Then, use the expo command to initialize a new project.
expo init project_photos
If you need to use images when testing, add them to the assets folder of the project.
Add Images to a React Native App
To add images in the application, you first need to import the Image component from react-native. The React Native image component allows you to display images from different sources, such as:
- network images
- static
resources - temporary local images
- local disk images, i.e. from the camera roll
To import the Image component, add it to the import statement at the top of app.js, as shown below.
import { View, Text, Image, StyleSheet } from 'react-native'
Display Static Images
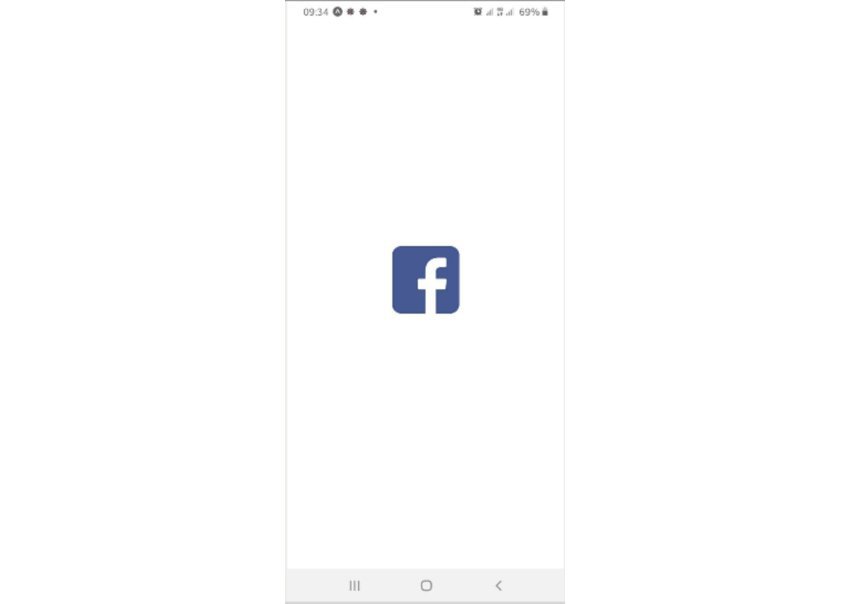
To display a static image, the first thing to add is the image file in the assets folder of the project. Static images are loaded by providing the image path. The code for displaying a static image will look something like this:
import { StatusBar } from "expo-status-bar";
import React from "react";
import { StyleSheet, Text, View, Image} from "react-native";


export default function App() {
  return (
    <View style={styles.container}>
        <StatusBar style="auto" />
        <Text>.........................</Text>

        <Image
          style={{ width: 100, height: 100, marginBottom: 15 }}
          source={require("./assets/facebook.png")}
        />

    </View>
  );
}
Here is the result.

Displaying Web-Based Images or URI Data Images
Displaying an image from a network or web-based source is similar to displaying a static image. Within the Image component, use the source attribute and set the path of the image in an object with the uri key, as shown below.
import { StatusBar } from "expo-status-bar";
import React from "react";
import { StyleSheet, Text, View, Image } from "react-native";


export default function App() {
  return (
    <View style={styles.container}>

        <StatusBar style="auto" />

        <Text>....................</Text>

        <Image
          style={{ width: 100, height: 100 }}
          source={{ uri: "https://reactjs.org/logo-og.png" }}
        />

    </View>
  );
}
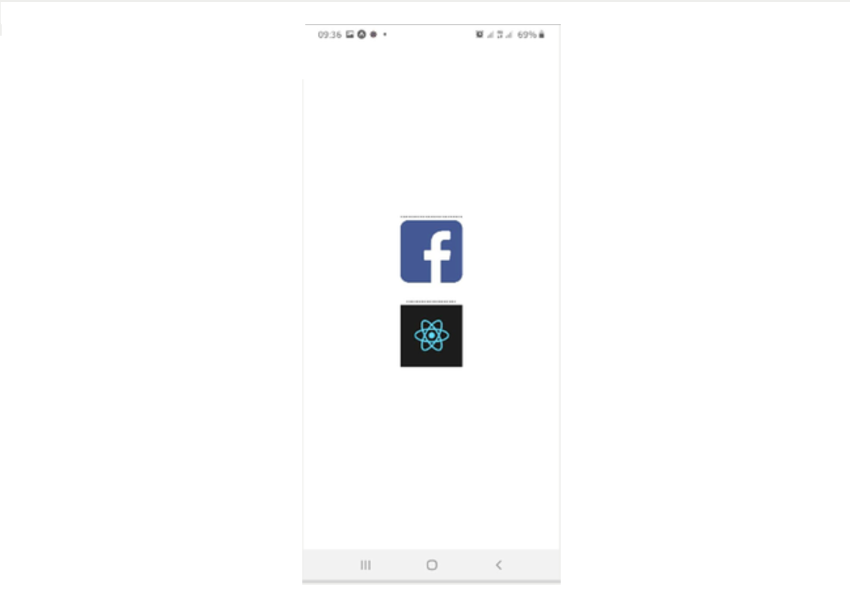
You’ll also need to add the dimensions of the image with a style attribute, just like you would in HTML. Here is the final result for both images.

You can also display images via a data URI, in which case all the image data is actually encoded in the URI. This is only recommended for very small or dynamic images. For a URI-encoded image, you’ll provide the image data with a source attribute like source={{ uri:'data:image/png;base64,iVBOR...=='}}.
Don’t forget that for network and URI-encoded images, you will need to manually specify the dimensions of your image.
Background Images
You can also use an image as the background for your screen. To do so, get a background image of your choice and add it to the assets folder. Next, import the ImageBackground component from react-native as shown below.
import { StyleSheet, Text, View, Image, ImageBackground } from 'react-native';
The ImageBackground component wraps and displays a background for whatever elements are inside it. In this case, we will replace the View tag with the ImageBackground tag and wrap it around all the content in the app.
export default function App() {
  return (

      <ImageBackground
        source={require("./assets/back.jpeg")}
        style={styles.back_image}
      >
        <Text>.........................</Text>
        <StatusBar style="auto" />
        <Image
          style={{ width: 100, height: 100, marginBottom: 15 }}
          source={require("./assets/facebook.png")}
        />
        <Text>..............</Text>

        <Image
          style={{ width: 100, height: 100 }}
          source={{ uri: "https://reactjs.org/logo-og.png" }}
        />
      </ImageBackground>

  );
}
Create a Photo Gallery
In this section, I’ll show you how to display a grid of photos in a FlatList. This component is used to display large quantities of scrollable content and can scroll horizontally or vertically.
A FlatList uses the renderItem prop to render each item in its input data. The renderItem prop is a function that takes an item from the data array and maps it to a React element. Each item in the data needs a unique id. This is found in item.key by default, though you can specify another way to find or build the id by using the keyExtractor function prop.
We will use useState to append to an array of images. The useState hook can store any type of value: a number, a string, an array, an object, etc. Add the following code to app.js.
import React, { useState} from 'react'

export default function App() {

  const [images, setimages] = useState([
    require('./assets/image.jpg'),
    require('./assets/image1.jpg'),
    require('./assets/image2.jpg'),
    require('./assets/image3.jpg'),
    require('./assets/image4.jpg'),
    require('./assets/image5.jpg'),
    require('./assets/image6.jpg'),
    require('./assets/image7.jpg'),
    require('./assets/image8.jpg')
  ]);
  }
Note that you’ll need to have these images in the assets folder.
Next, we’ll return a FlatList that renders those images:
  return (
    <FlatList
      data={images}
      key={"2"}
      numColumns={2}
      renderItem={({ item }) => (
        <Image
          source={item}
          style={{
            width: 180,
            height: 220,
            borderWidth: 2,
            borderColor: "#c35547",
            resizeMode: "contain",
            margin: 6,
          }}
          keyExtractor={(item) => item.id}
        />
      )}
    />
  );
We set up the FlatList element to use the images array as its data source. Then we defined a custom render function that takes an item in the images array and generates an Image component to display it.
Here is the complete photo gallery:

Conclusion
As you have seen, working with images in React Native is very easy!
If you want to jump start your next React Native app, or to learn from a professionally built app, check out the mobile app templates on CodeCanyon. CodeCanyon is an online marketplace that has hundreds of mobile app templates—for Android, iOS, React Native, and Ionic. You can save days, even months, of effort by using one of them.

If you have trouble deciding which template on CodeCanyon is right for you, these articles should help:


