Plain type is rarely enough to achieve the strength and distinction that you want in your messaging. Most designers tailor their type to match their design and carry strong connotations. Text effects are amazing; you can really play with styles and techniques and convert anything boring into an art piece. So, today I am going to show you how to create a fun retro text effect in Photoshop. We will learn how to use some interesting techniques to achieve the desired effect. We will use different patterns and blending options. So, let’s get started!
Final Result: (Download the finished, layered file.)

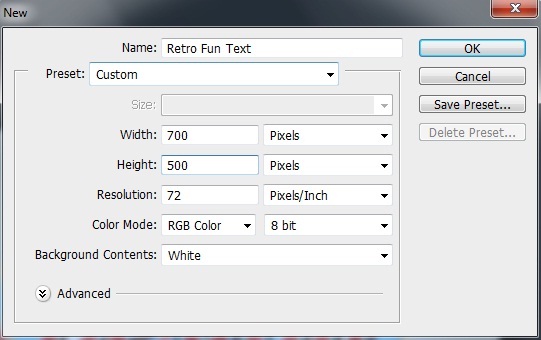
Step 1
Open Photoshop and create a new file with a 700px width and a 500px height.
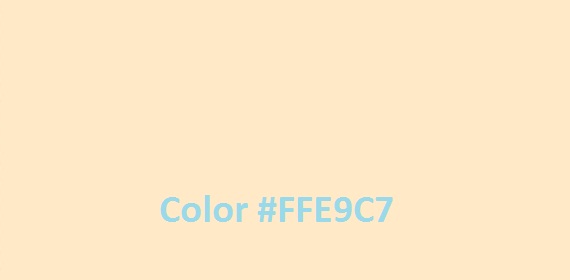
Step 2
Select the paint bucket tool and fill the background with color #ffe9c7.
Step 3
Click on “Layer” > “Layer styles” and add a gradient overlay using the following settings.

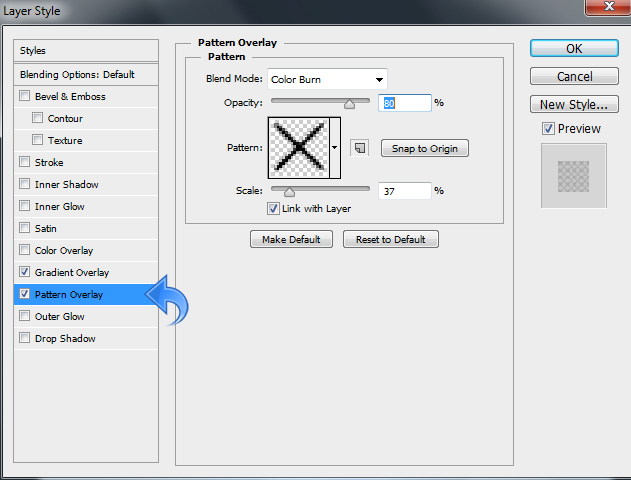
Step 4
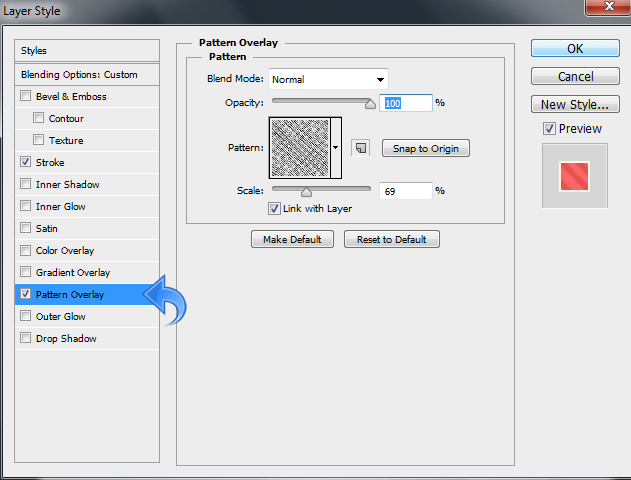
Again, click on “Layer styles” to add a pattern overlay using the settings shown below.
Step 5
Create a new layer (“Layer” > “New” > “Layer”) and select the pen tool to create a stripe using color #ff7f66.

Step 6
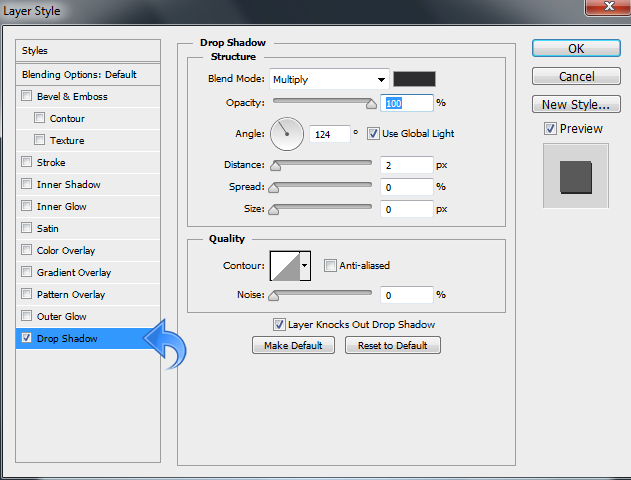
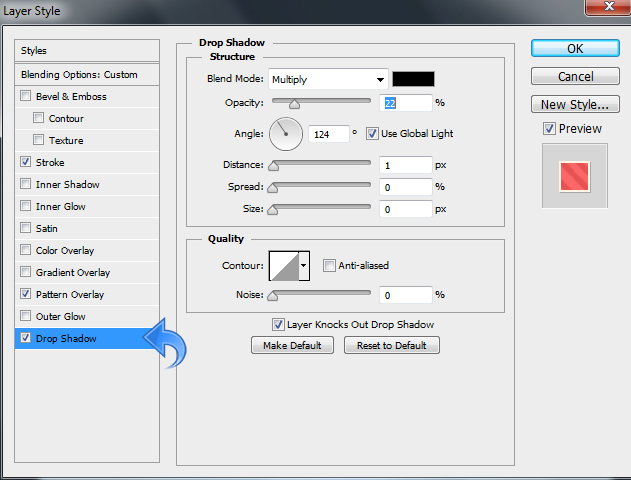
Now, click on “Layer styles” to add a pattern and a drop shadow. Use the following settings.


Step 7
Now, create two more stripes using colors #fff6e5 and #7ecefd.

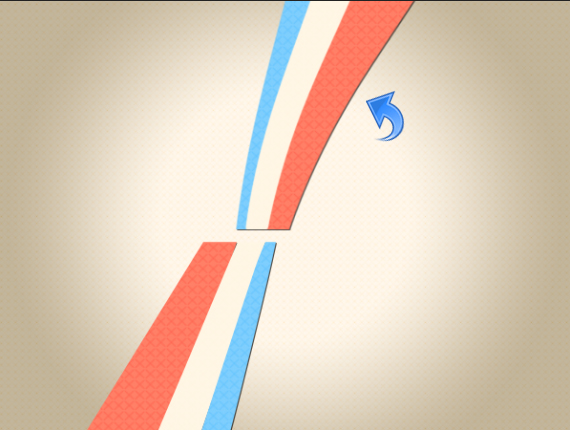
Step 8
Repeat the same process and create more stripes descending from the top.
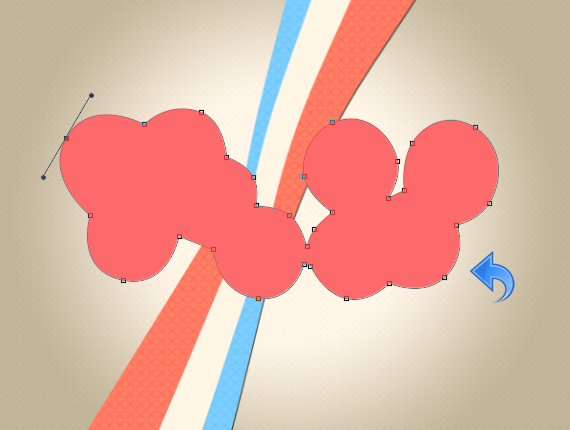
Step 9
Select the pen tool and create a rough shape using color #fd6a6b. You can also do this by using the hard round bush or the ellipse tool.
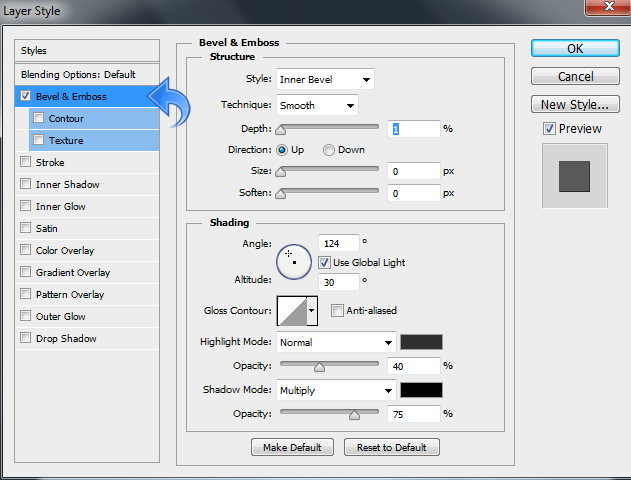
Step 10
Now, click on “Layer styles” and add some bevel & emboss.
Step 11
Repeat the same process and create more circles, this time using color #fed891.

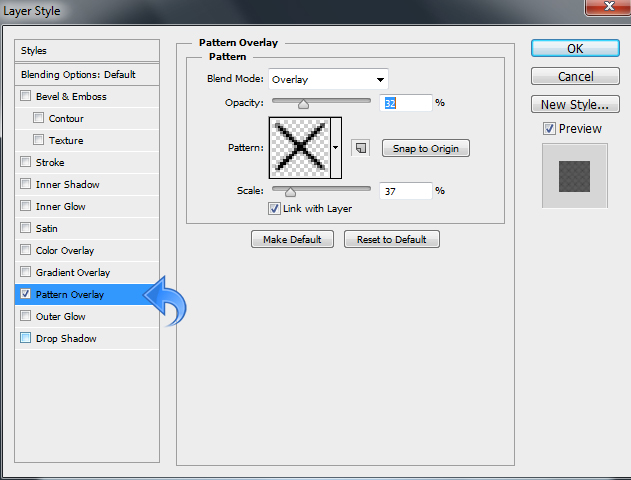
Step 12
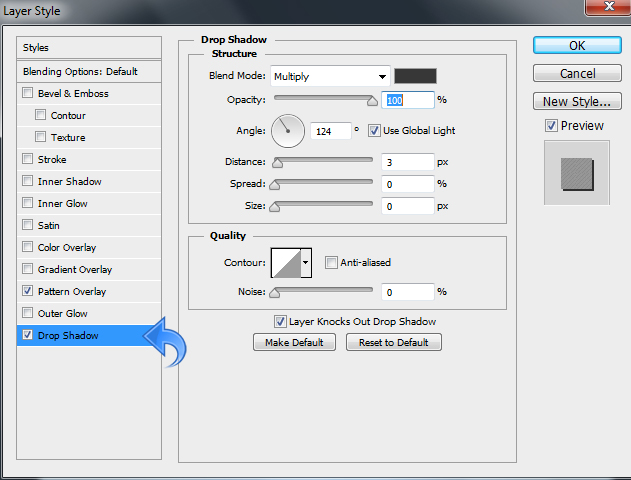
Now, click on “Layer styles” to add a pattern and a drop shadow to the above circles. Use the following values.

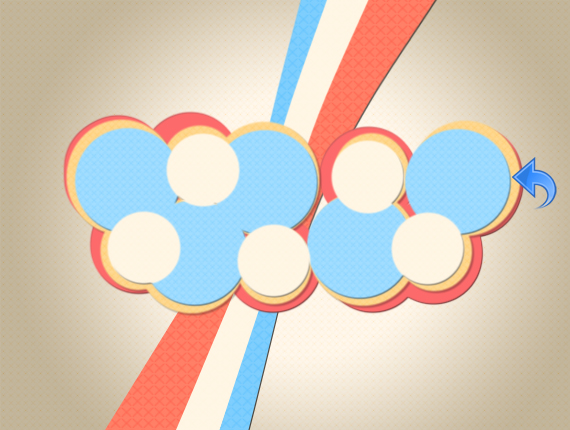
Step 13
Again, create more circles, this time using the hard round brush and colors #a2ddff and #fff6e5. Now, add the same layer styles used above.
Step 14
Now, let’s start with the text, so select the type tool and add some text using color #ff7f66. Then, click on “Layer styles” and add some drop shadow using the following settings.
Step 15
Duplicate the above text layer (right-click on the layer and select “Duplicate layer”) and move it a bit to the left. Now, change the duplicate text color to #7ecefd.

Step 16
Now, click on “Layer styles” to add a pattern and a drop shadow. Use the following values.

Step 17
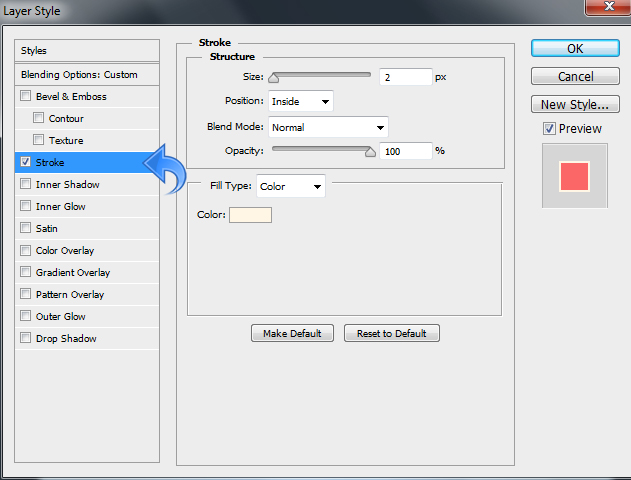
Again, duplicate the text layer and change the duplicate color to #f46a6a. Now, click on “Layer styles” to add a stroke, a patten, and a drop shadow.
That’s it! I hope you enjoyed the tutorial and learned something fun. I’ll be back with more soon. Take care!