In this tutorial, you will learn how to use Adobe Firefly. I’ll show you how to set up your document and give you some tips on describing the image you want so you can get the best results. We’ll also dive into some ways to change the style and add reference images for more accurate outcomes.
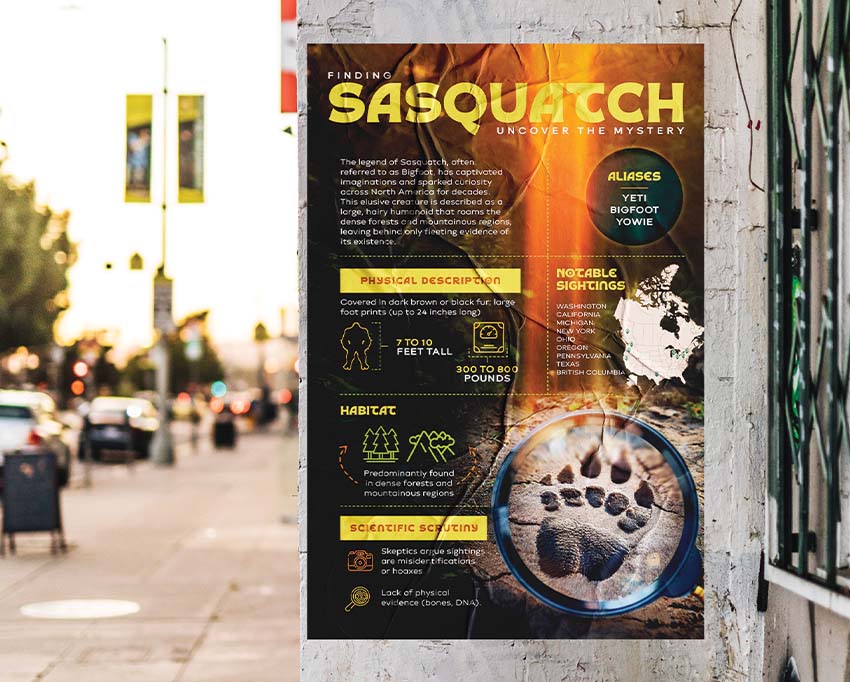
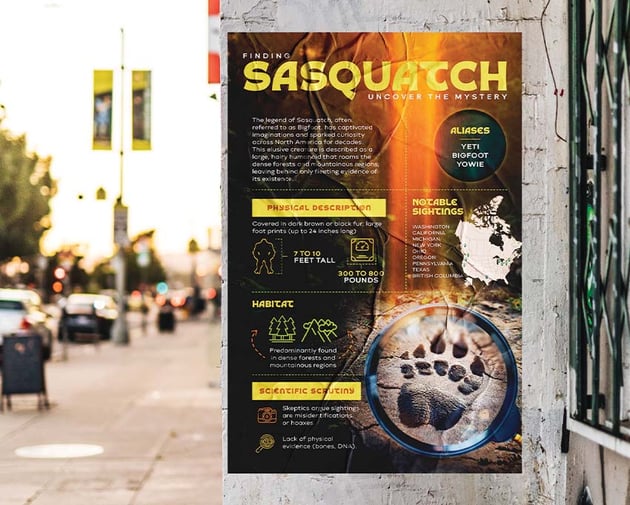
If you’re interested in displaying your Firefly creation, don’t miss the chance to use this glued poster mockup on the street via Envato. Before we dive in, I know you’re probably wondering, “What is Firefly?” Well, let me break it down for you in the next section.
1. What is Adobe Firefly?
Adobe Firefly is a machine learning AI tool developed by Adobe to enhance the creative process of its users. It can do things like generating images and extending backgrounds based on user input.
2. How to use AI in InDesign
Step 1
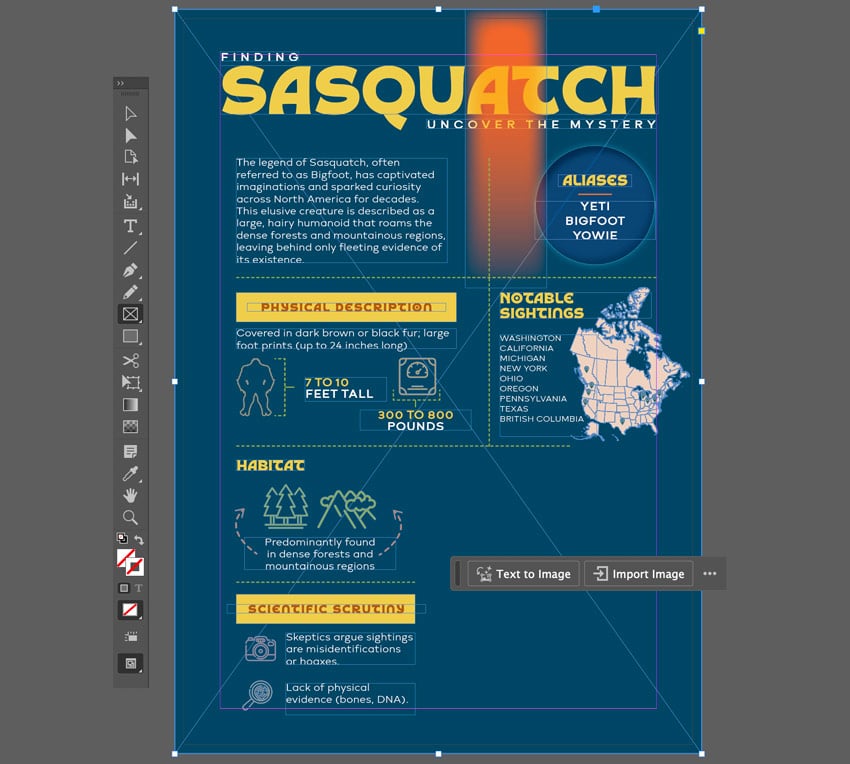
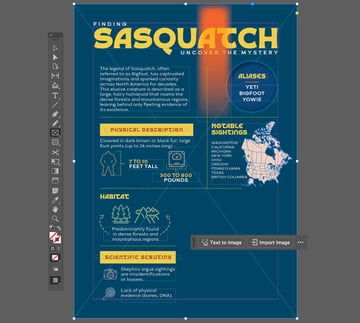
Let’s get started with learning how to use AI in InDesign. After creating a new document in InDesign, select the Rectangle Frame Tool (F). Bring up the Contextual Task Bar by going to Window > Contextual Task Bar.
Step 2
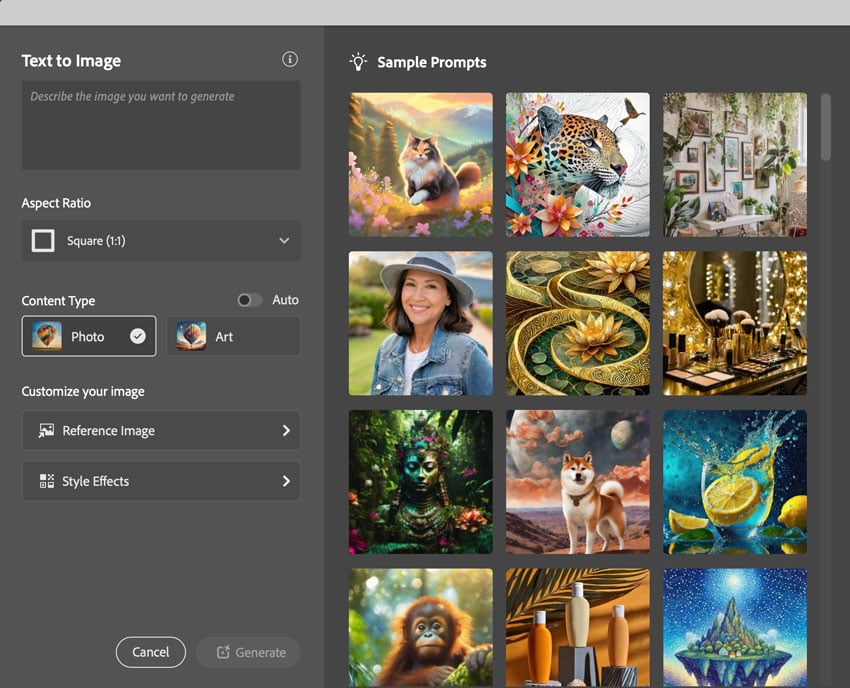
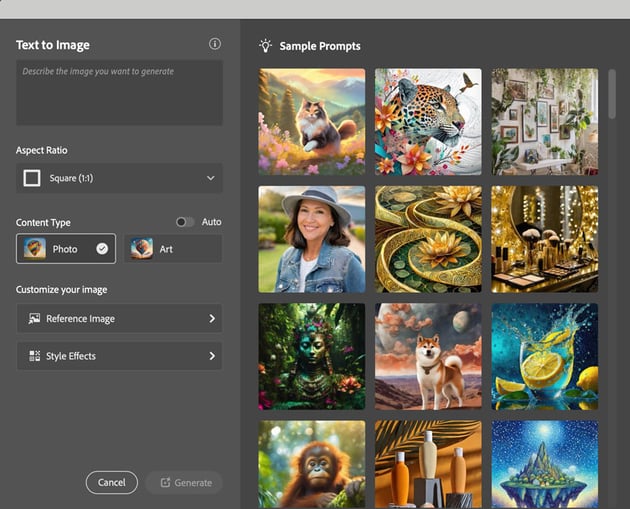
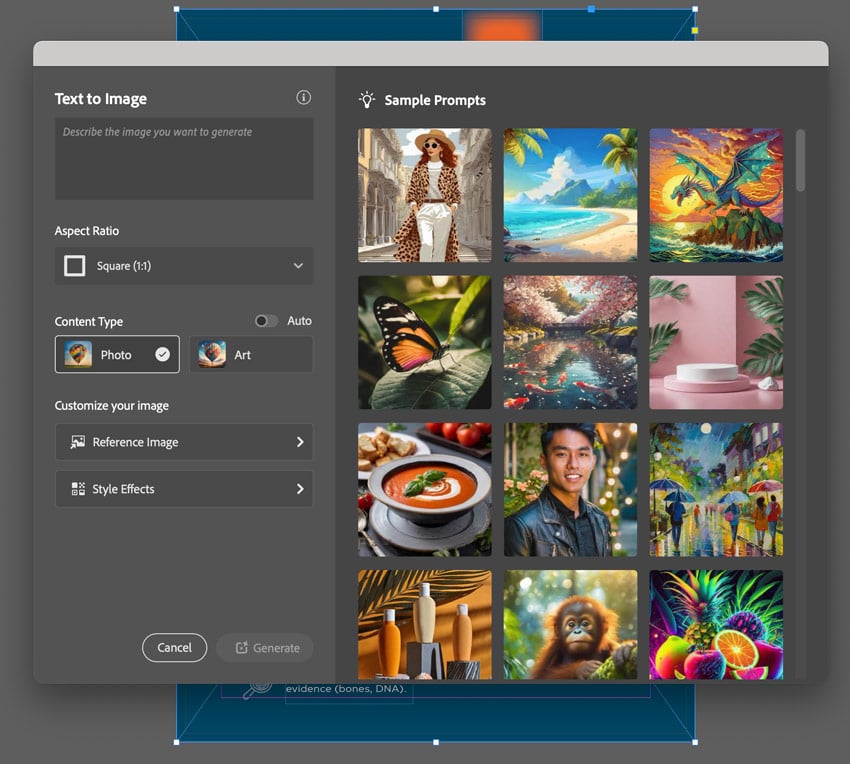
With the frame still selected, click on Text to Image on the Contextual Task Bar. The Text to Image panel should appear.
Step 3
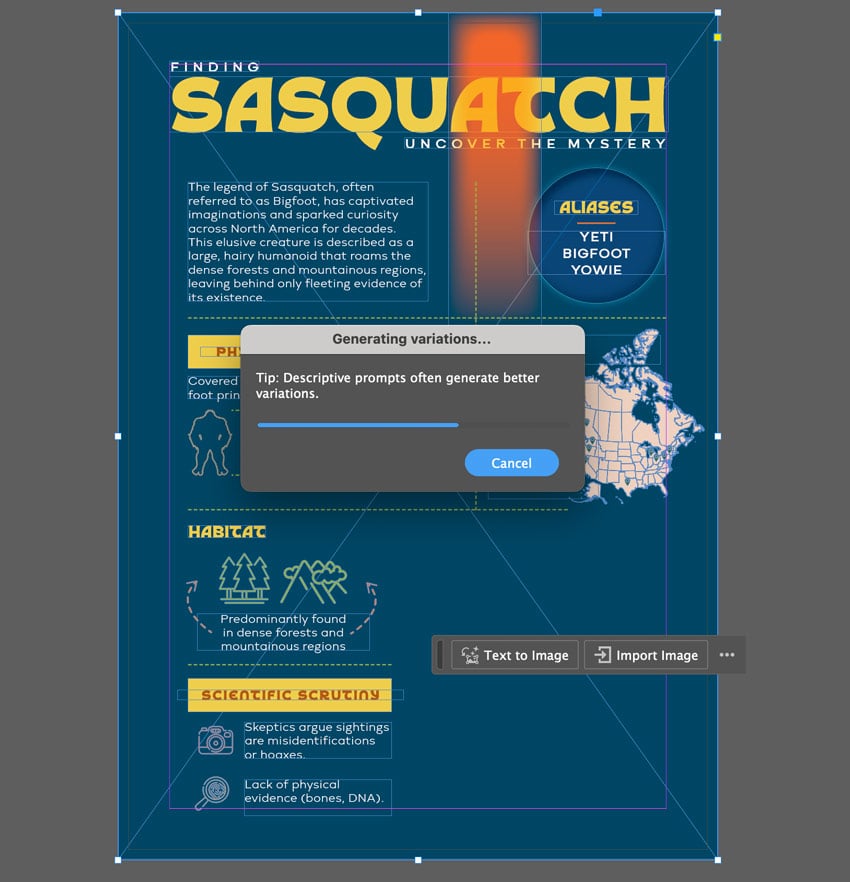
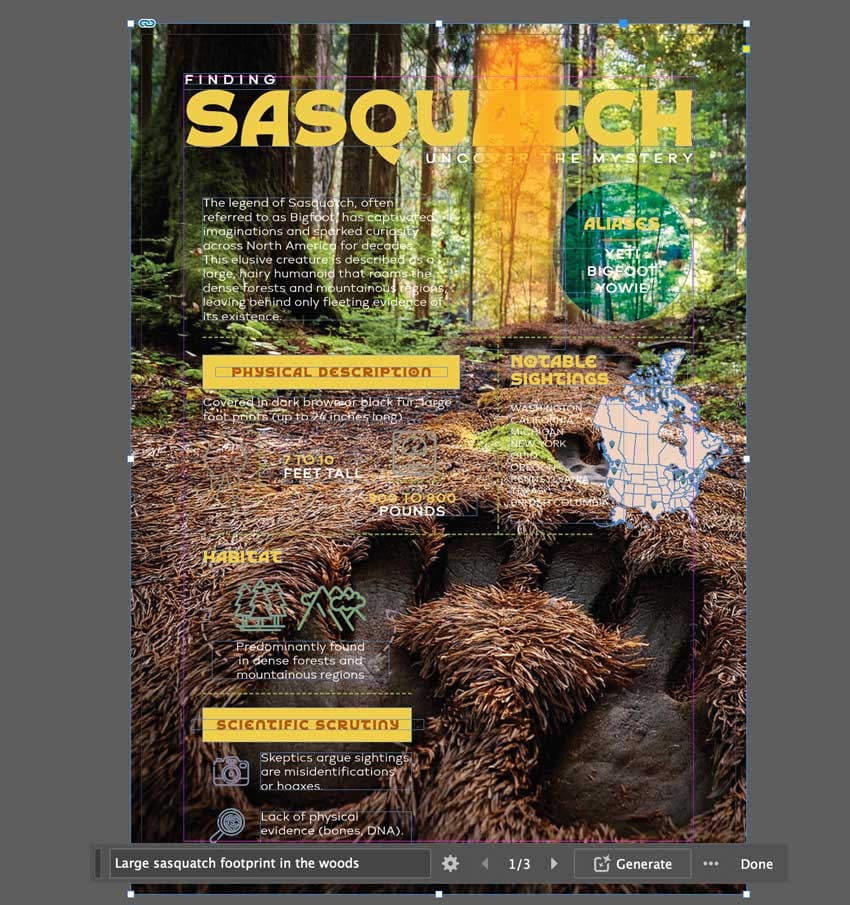
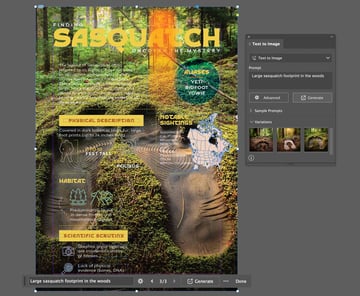
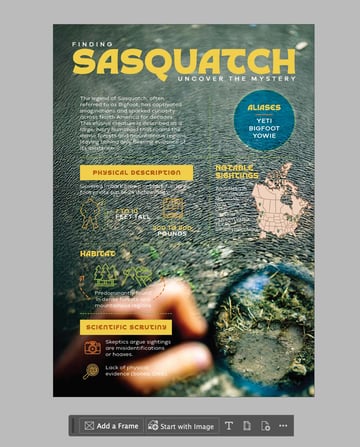
You can either start off with a sample prompt or create your own. In this example, I’ll create my own. As you can see, I’ve created a Sasquatch infographic poster, and now I need an eye-catching background to bring my design together. In the Text to Image field, I’ll use the prompt Large Sasquatch footprint in the woods. I’ll leave the rest of the settings as the default (we will go over them later). Click Generate when you’re done.
Step 4
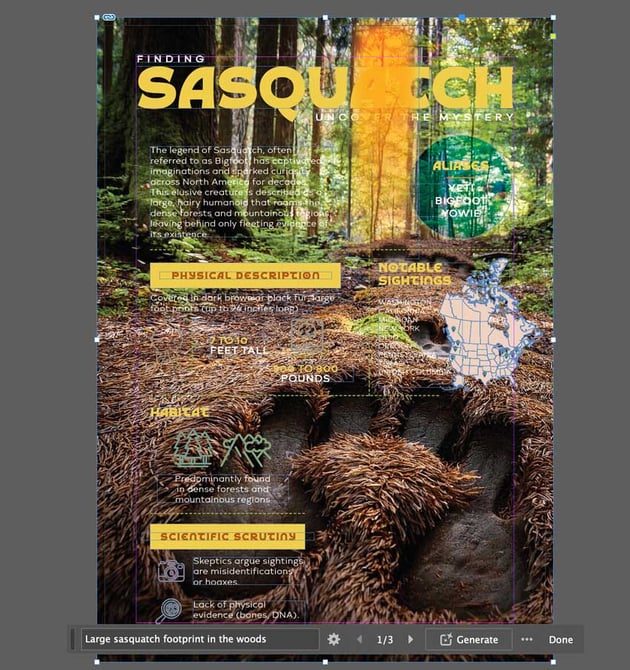
The output takes a few seconds to generate three variations. Below is the very first variation. The background is too busy and clashes with the type on the poster. I will need to alter this, but first, let’s look at the other two variations.
Step 5
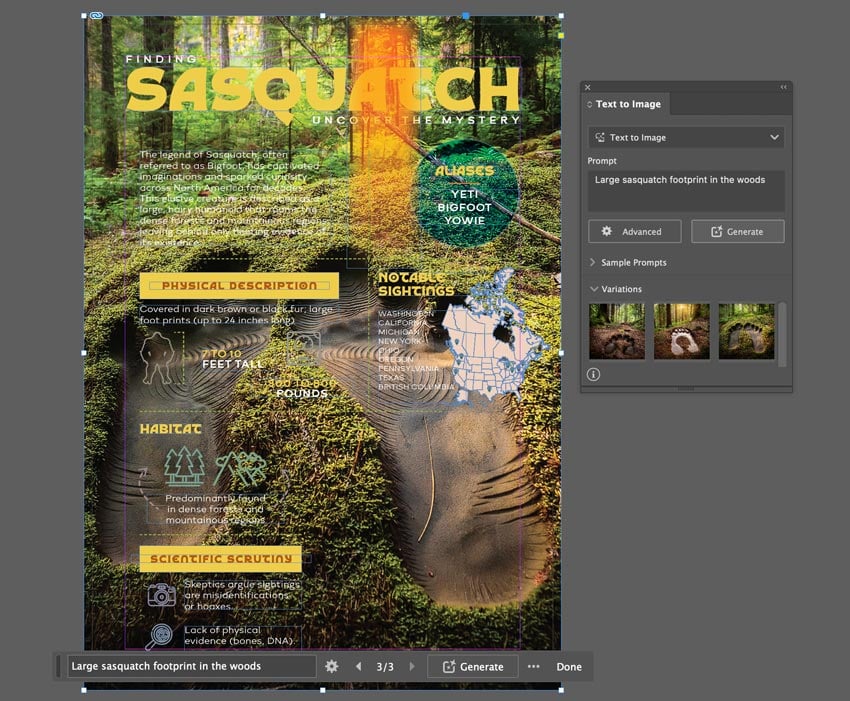
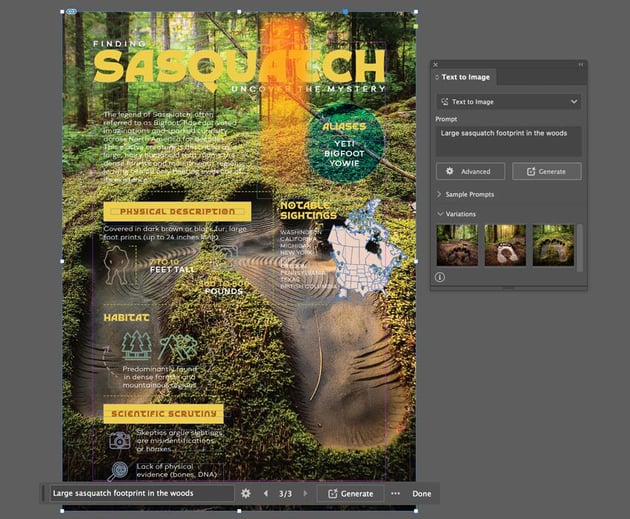
If the Text to Image panel is not open, select the three dots on the Contextual Task Bar, and then select Show Text to Image Panel. Here, you can see all three variations. I’m still not satisfied with the output, so in the next step, I will revamp my prompt and use a reference image.
Step 6
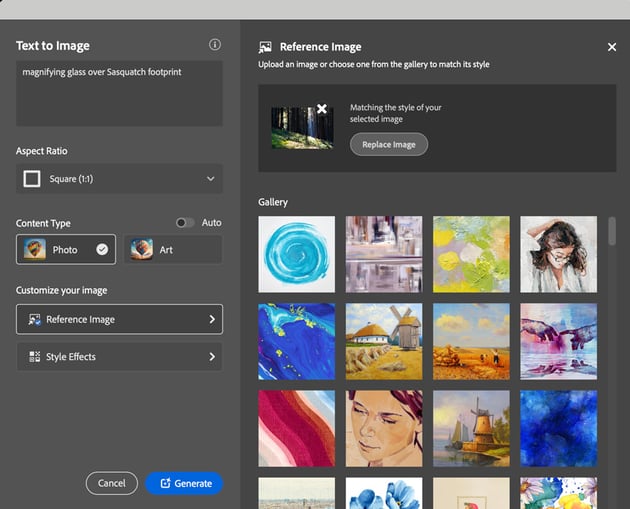
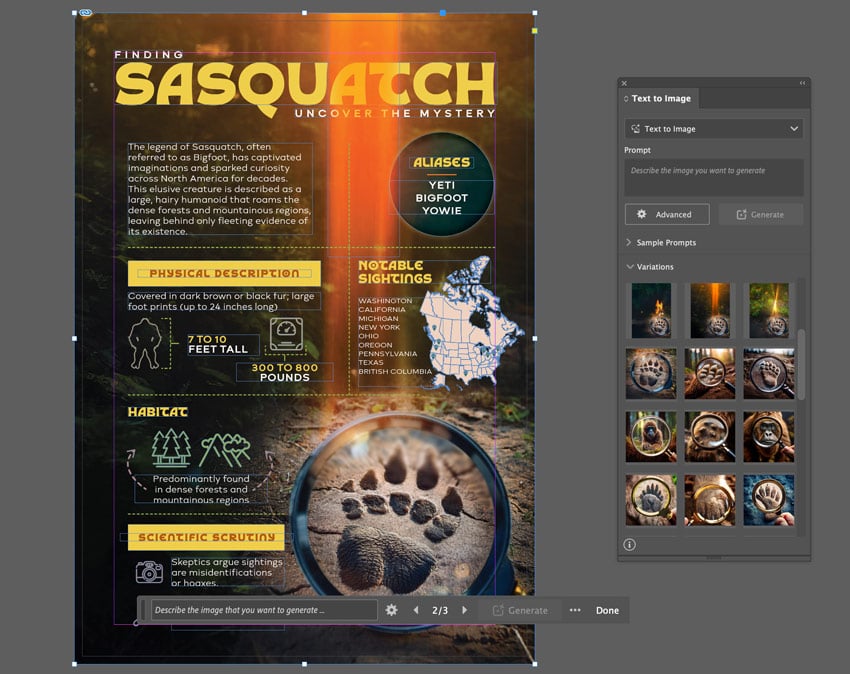
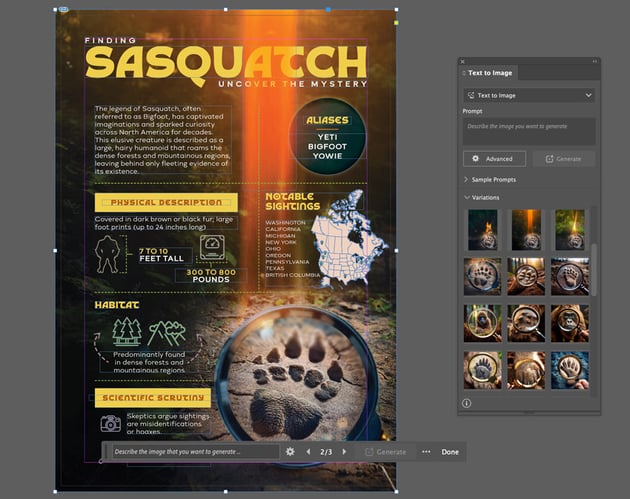
I decided to change my prompt and add a reference image to match the style I’m going for. Change the prompt to magnifying glass over Sasquatch footprint. In the Text to Image panel, click Advanced. On the Reference Image tab, upload an image of a pine forest on a steep slope to use as an example.
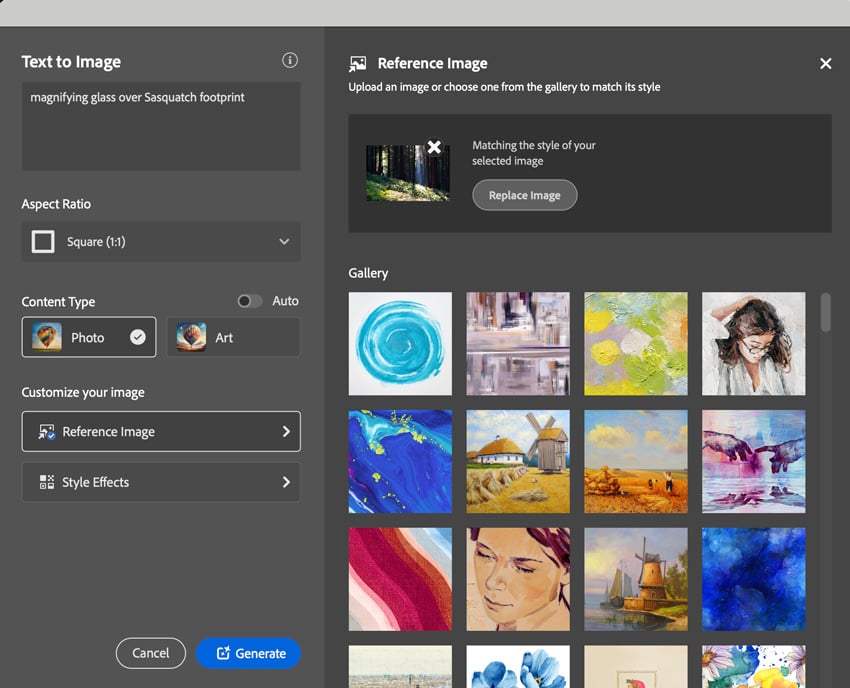
After a few generations, I finally found one I’m pleased with.
tip
Keep altering your prompt. The more descriptive the better.
Step 7
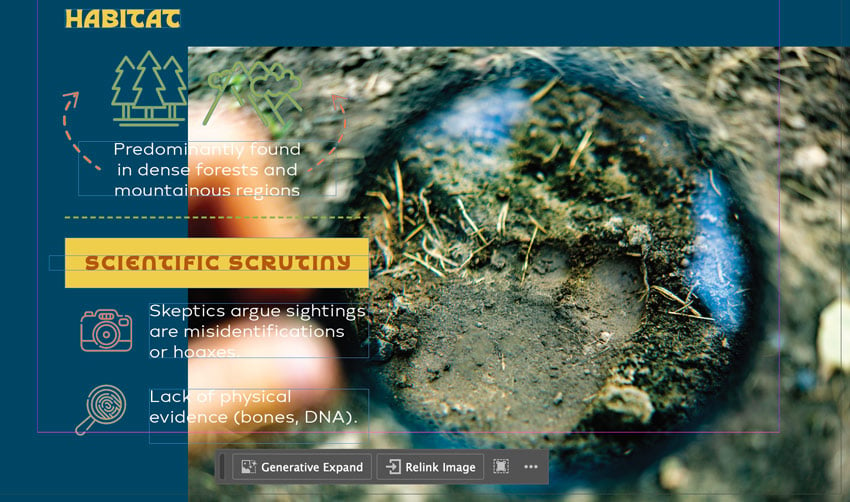
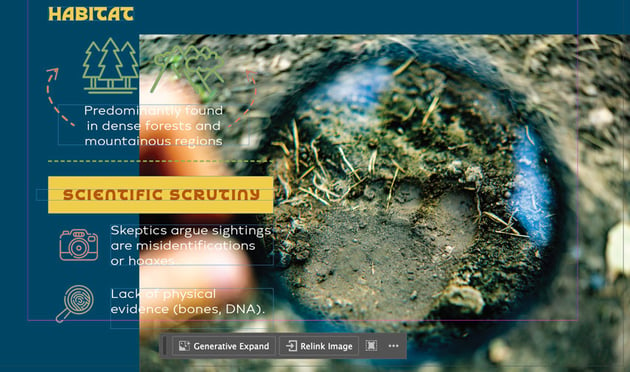
On the other hand, let’s say I found an image online like this hand holding a magnifying glass that I wanted to use as my background instead, but it doesn’t quite fill the background like I want it to. After placing the image in the frame, you’ll see that your Contextual Task Bar now has a Generative Expand option.
Step 8
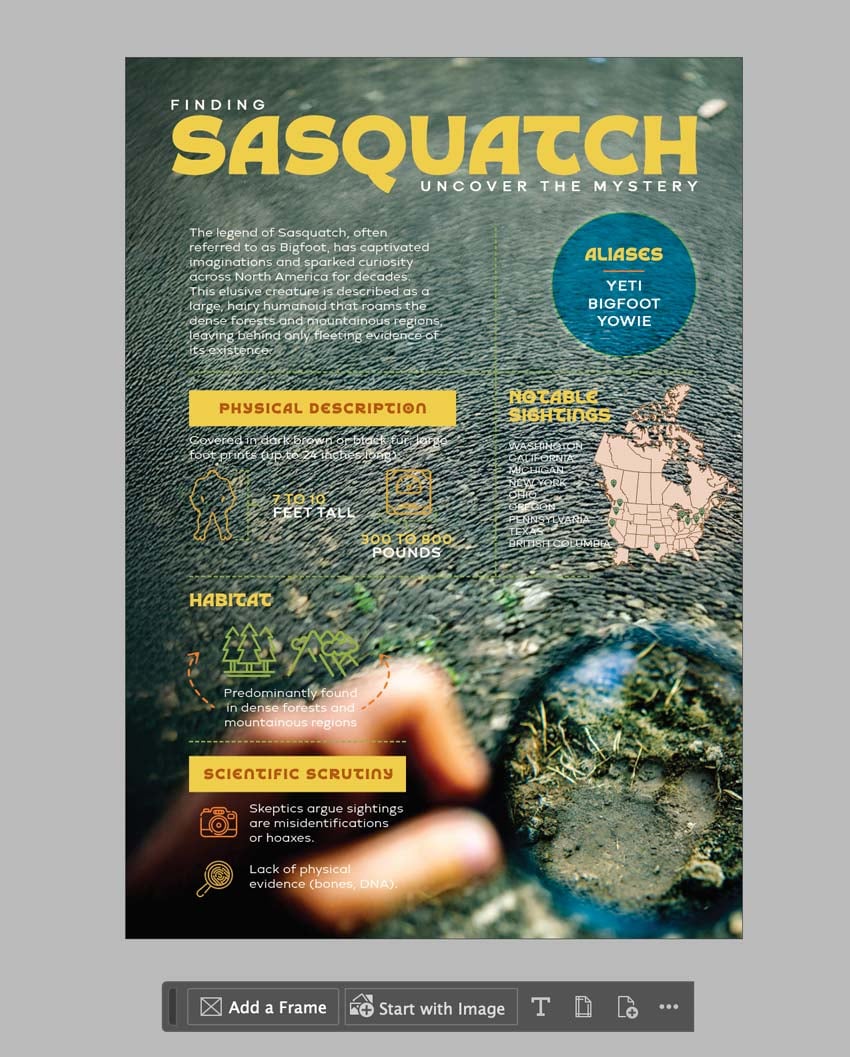
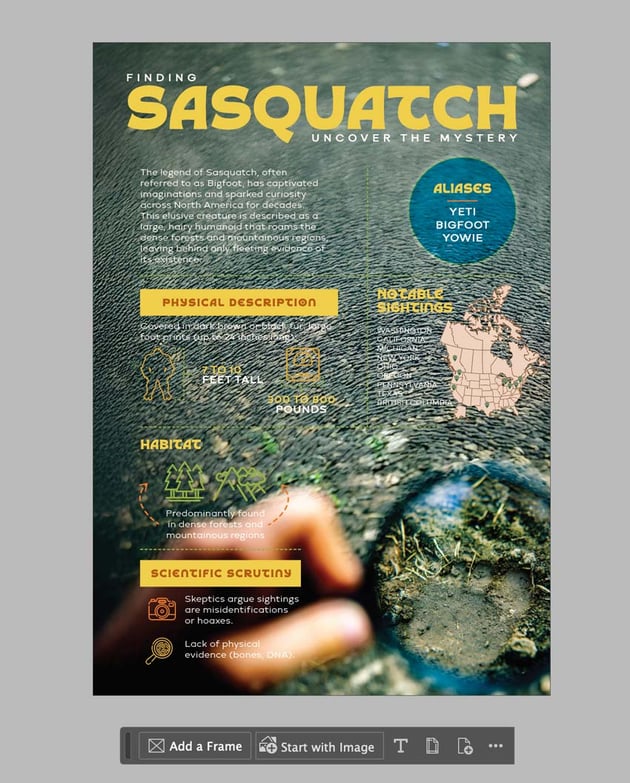
Click the Generative Expand button. You can add an optional prompt if you like, but for this example, let’s see what the generator comes up with on its own. In the image below, you can now see that our image has been filled in and covers our background.
Step 9
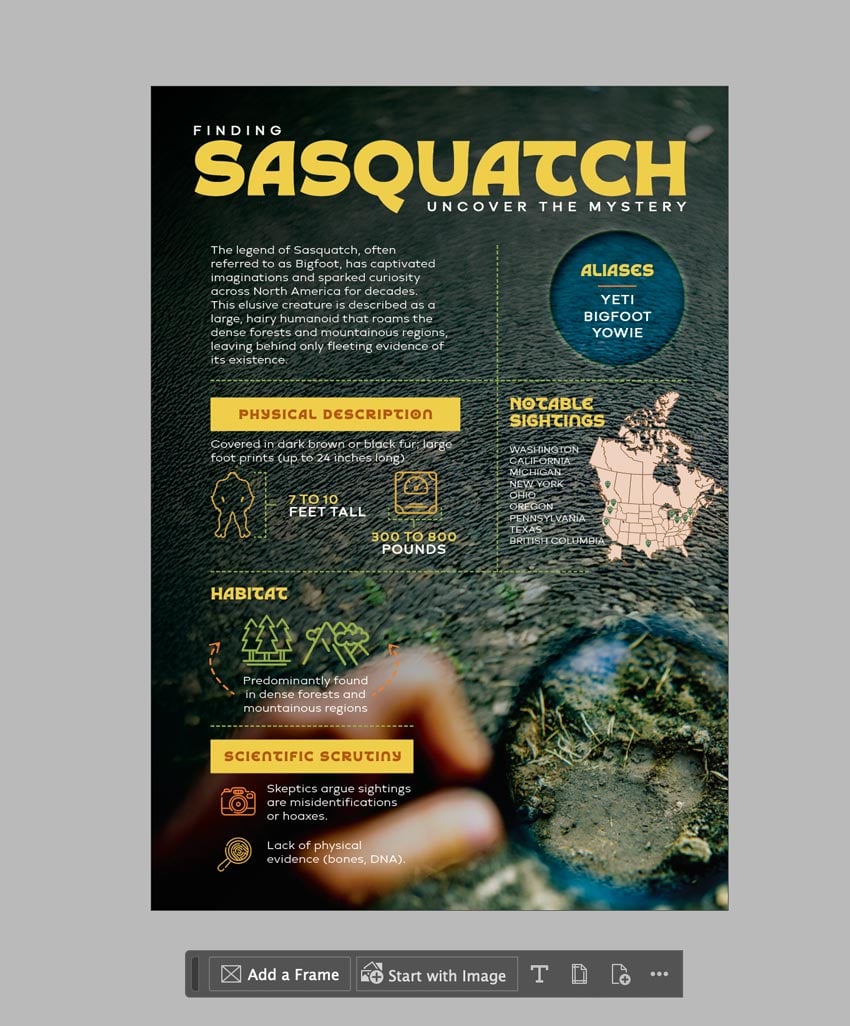
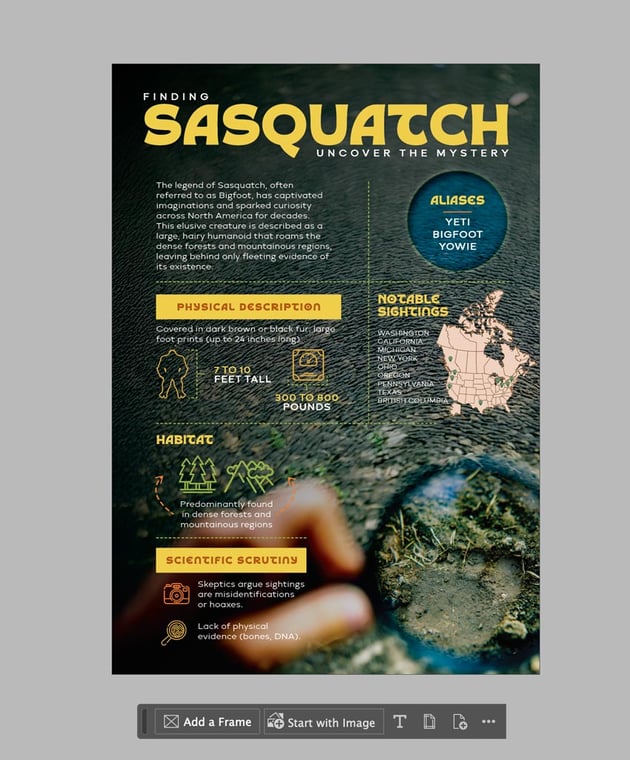
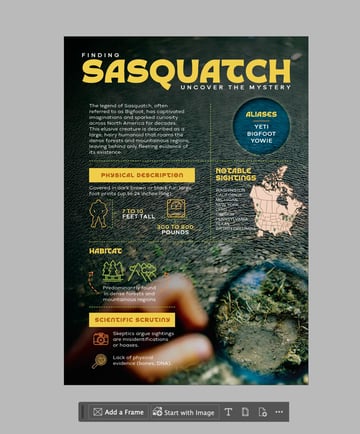
Make adjustments to the image to fit your design. I added a Black filled frame, applied a Gradient Feather to it, and changed the Transparency to Multiply. In the next section, I’ll show you how to create vector style graphics and patterns using InDesign’s AI.
3. How to create vector-style graphics using InDesign’s AI features
Step 1
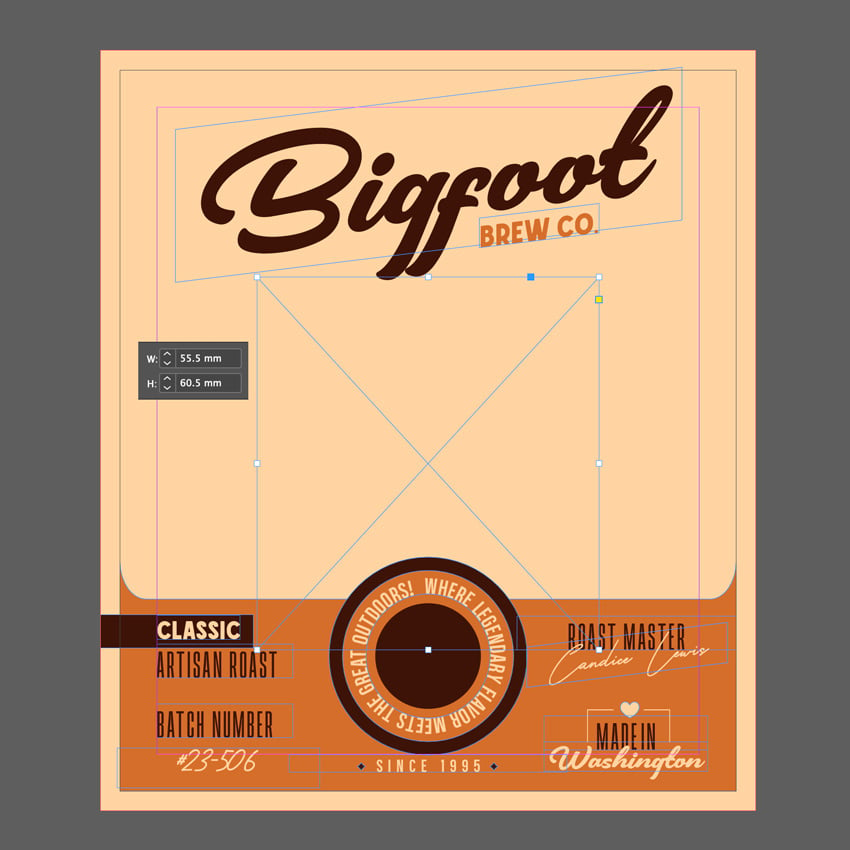
I’ve started a new design in a document with dimensions of 100 mm x 117 mm and a bleed of 3.175 mm to create a Sasquatch-themed coffee bag. I need a mascot for my Bigfoot coffee brand, so use the Rectangle Frame Tool (F), size it to 55.5 mm x 60.5 mm, and place it in the middle.
Step 2
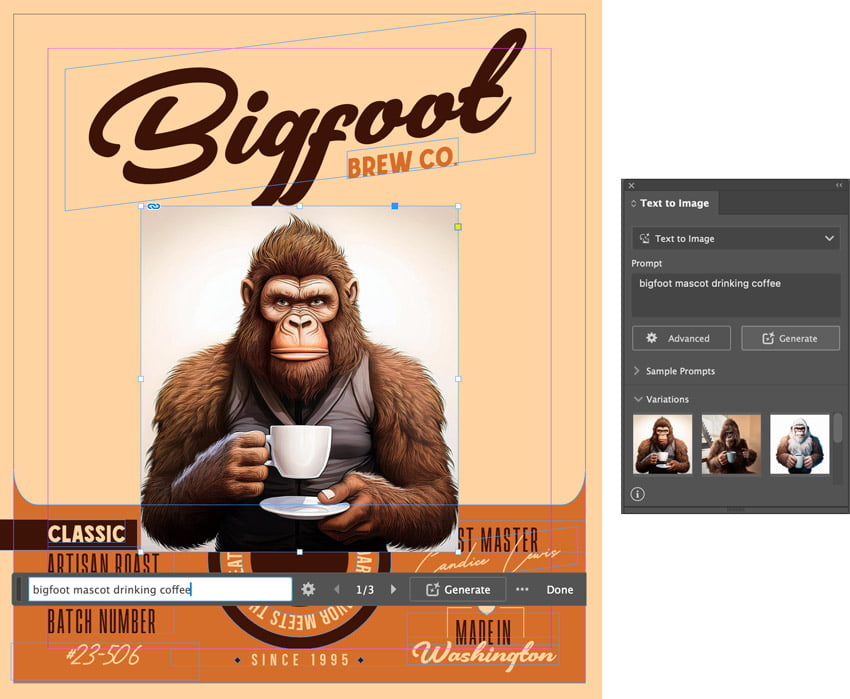
In the Contextual Tool Bar, click on Text to Image. For my prompt, I’ll be using Bigfoot mascot drinking coffee. In the next step, we’ll refine our image a bit more.
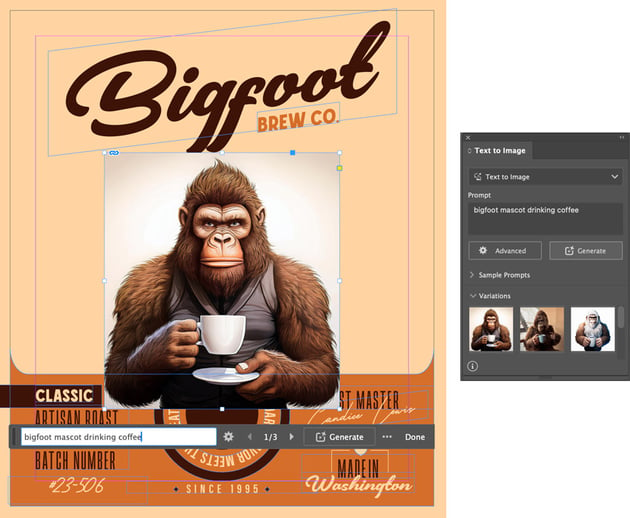
Step 3
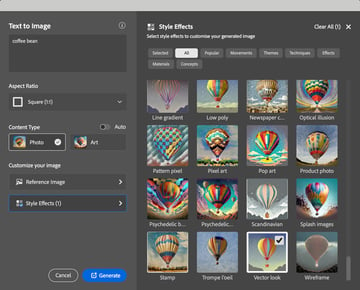
Click on Advanced in the Text to Image panel. Change the prompt so that it now says Happy Bigfoot mascot drinking coffee. Select Art for the Content Type and click on Style Effects to expand this tab.
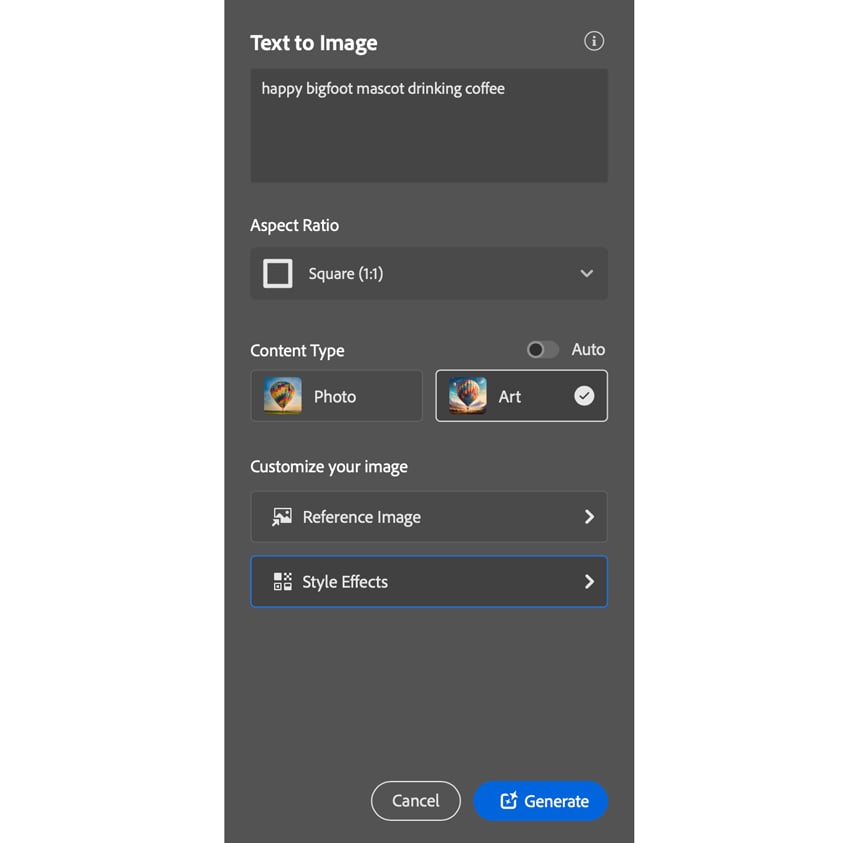
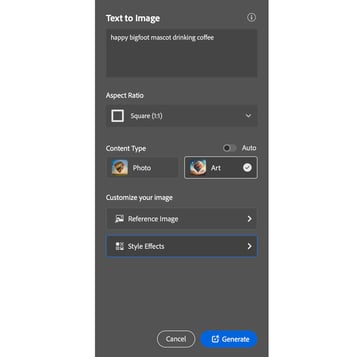
Step 4
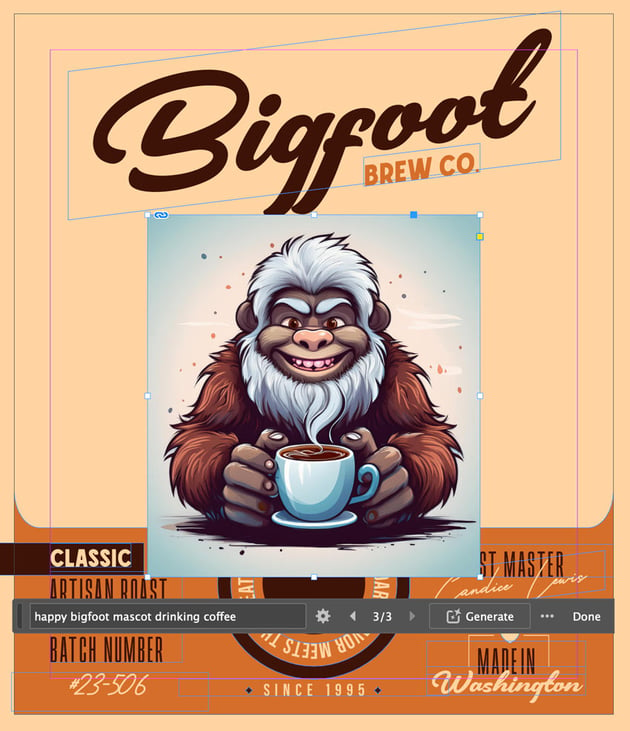
In the Style Effects section, select Digital Art and Vector Look, and then click Generate. These are a bit too cartoony for me, so let’s change it one more time to see if we get better results.
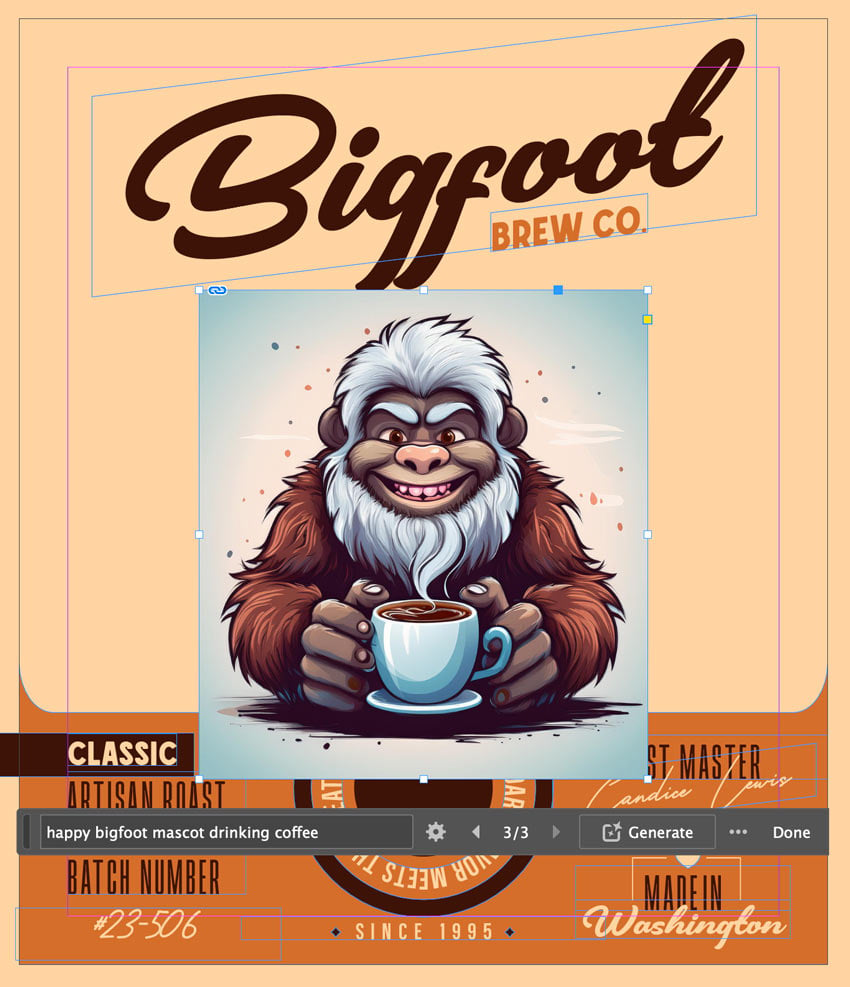
Step 5
Click on Advanced and select Clear All in the top-right corner. This time, we will only select Anime, and I will retype my prompt again so it says happy sasquatch drinking coffee mascot and change Content Type back to Photo. Click Generate.
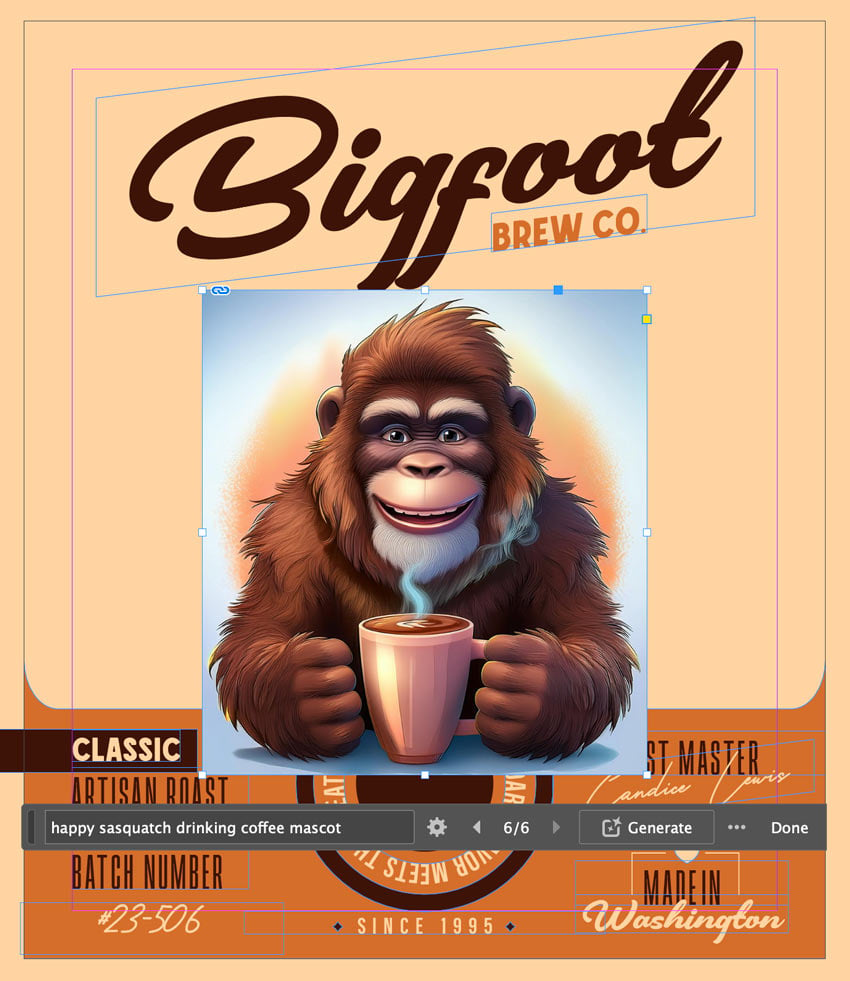
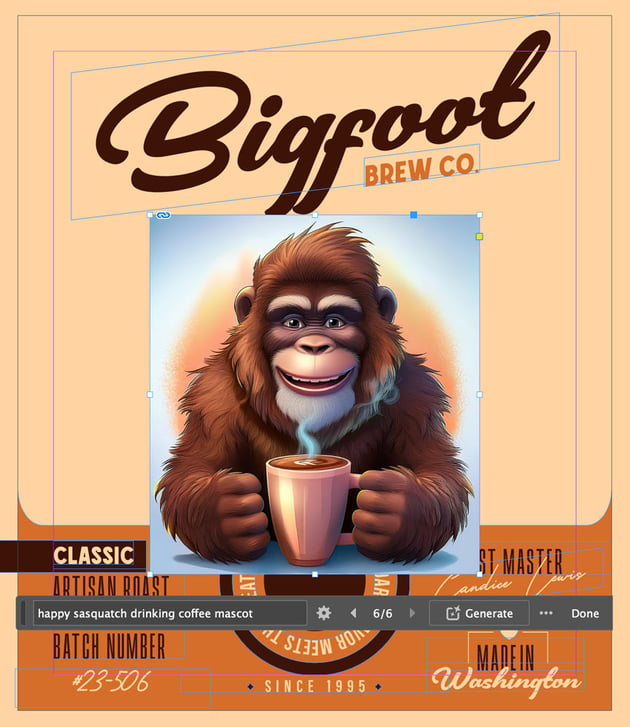
I’m satisfied with this result. In the next step, I’ll show you a trick to remove the background behind the Sasquatch.
Step 6
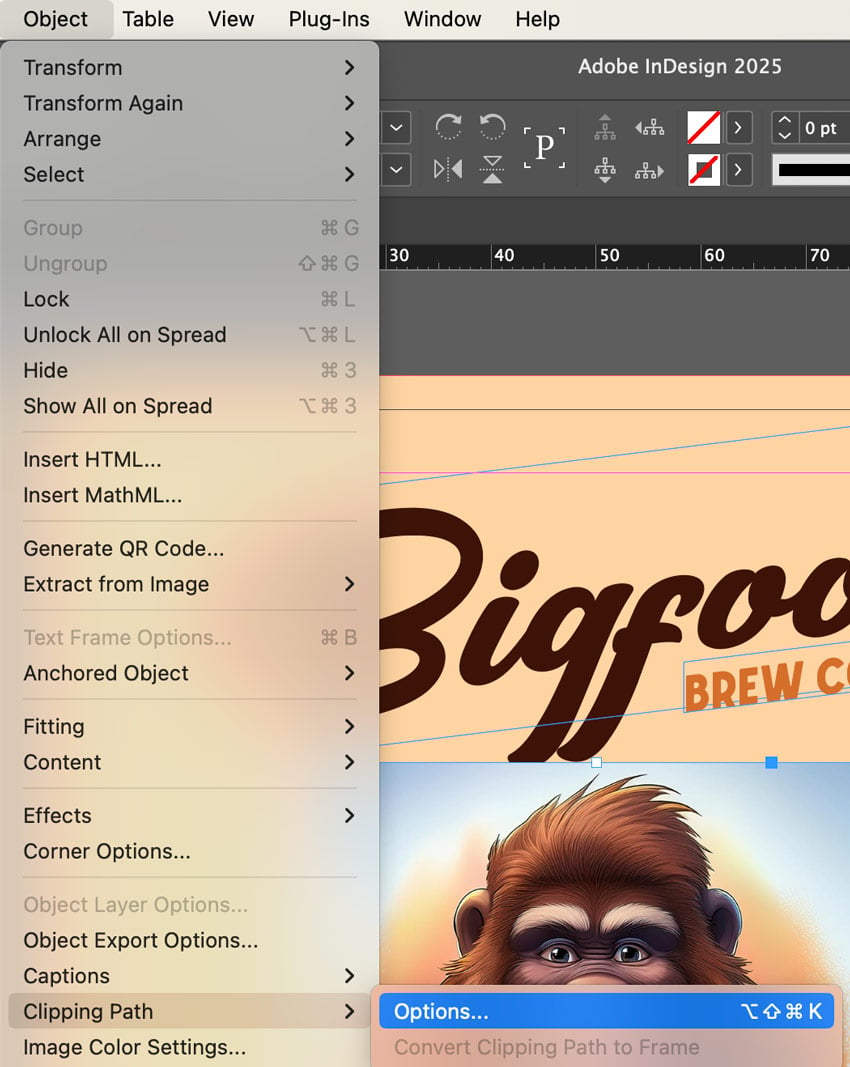
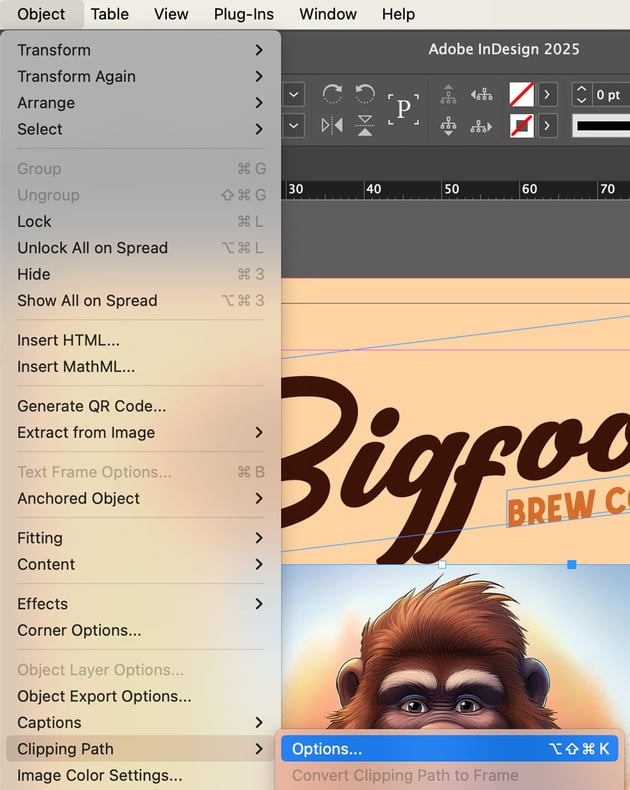
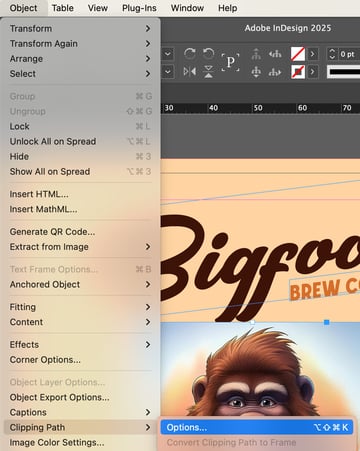
With the image selected, go to Object > Clipping Path > Options.
Step 7
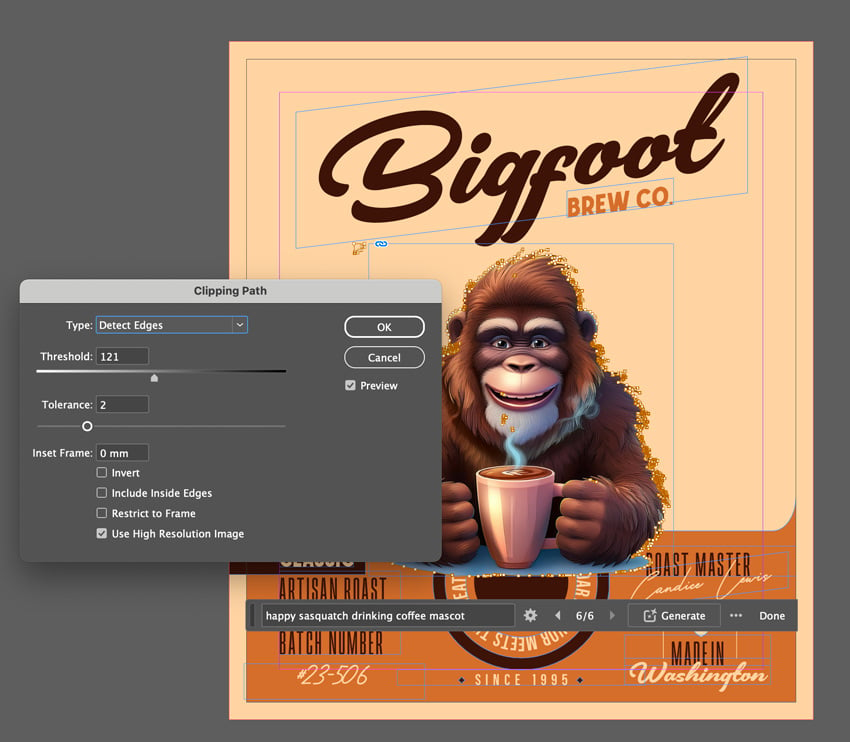
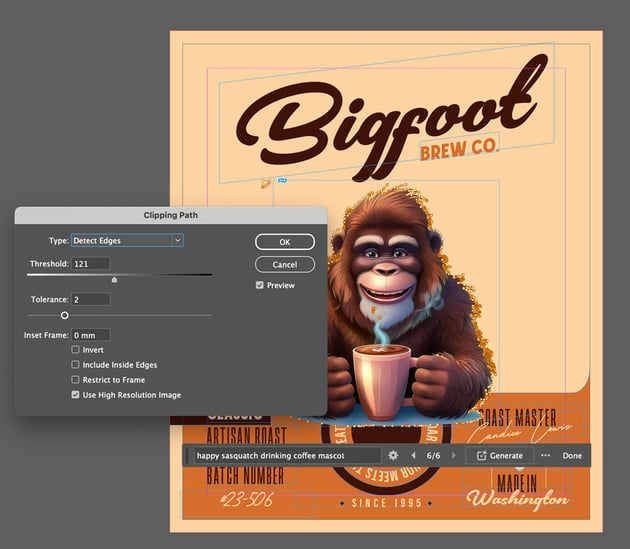
Change Type to Detect Edges, Threshold to 121, and Tolerance to 2. Check Use High Resolution Image, and click OK.
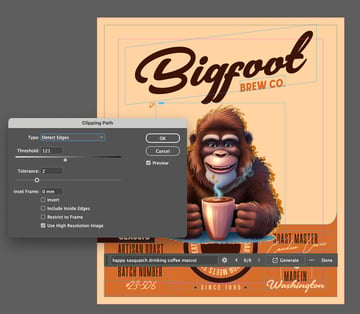
Step 8
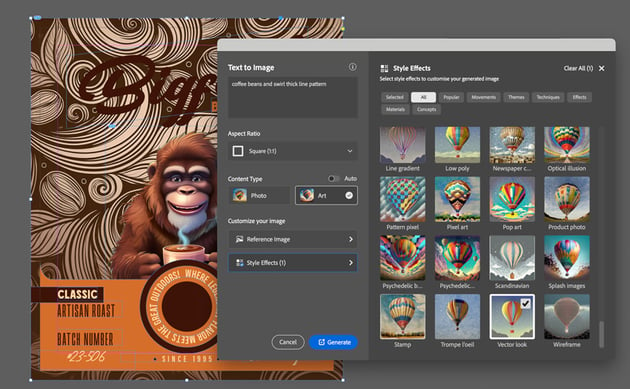
Now, we’ll add a vector pattern to the background so that it’s not so plain. Use the Rectangle Frame Tool (F) and cover the entire background. Click Text to Image in the Contextual Task Bar. Change the prompt to coffee beans and swirl thick line pattern, Content Type to Art, and Style Effects to Vector Look. Click Generate.
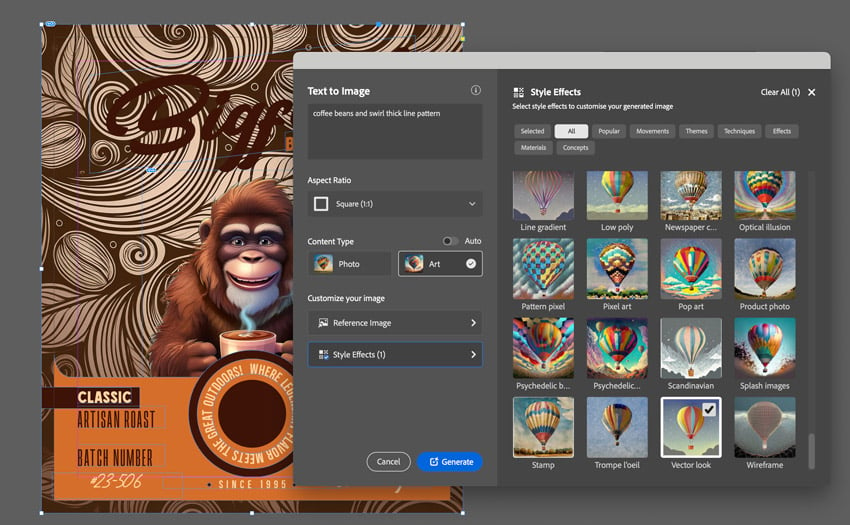
Step 9
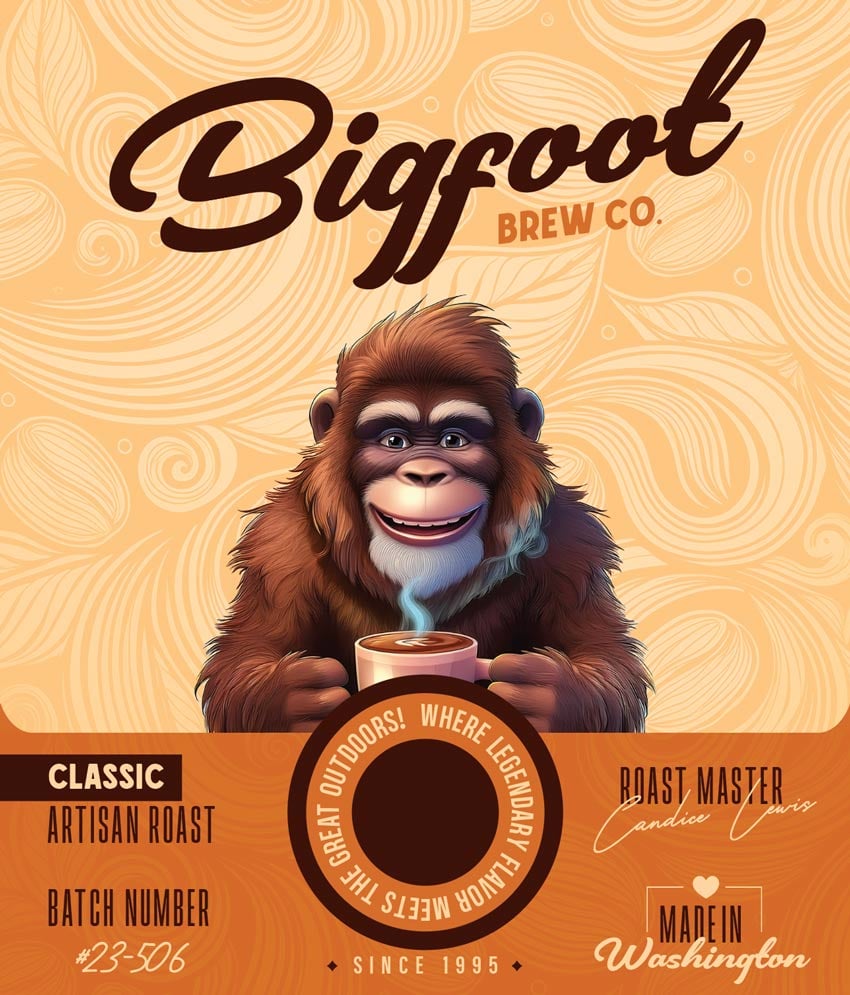
The swirl results are perfect, so now I’ll just change the Transparency to Soft Light by going to Object > Effects > Transparency. Copy (Command-C) and paste (Command-V) this pattern so that it overlaps the orange bar at the bottom of our coffee label.
Step 10
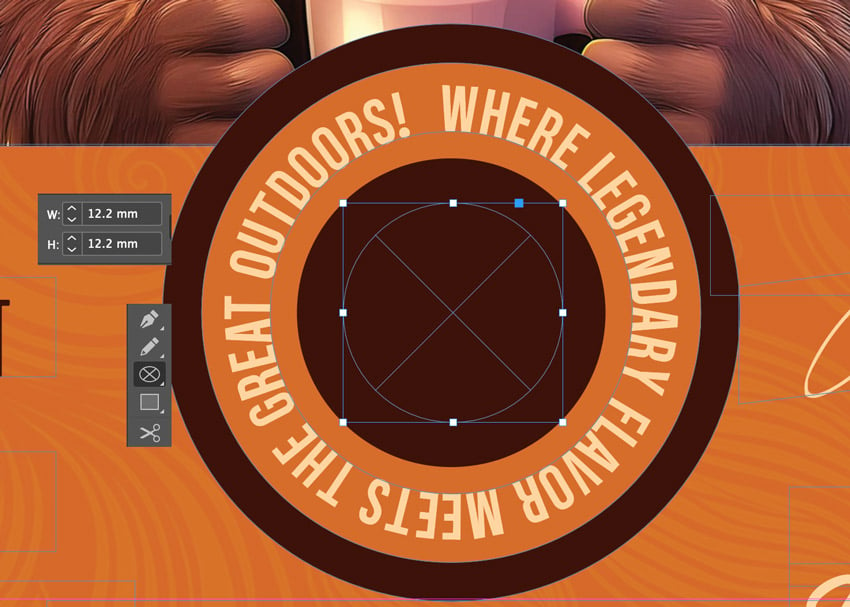
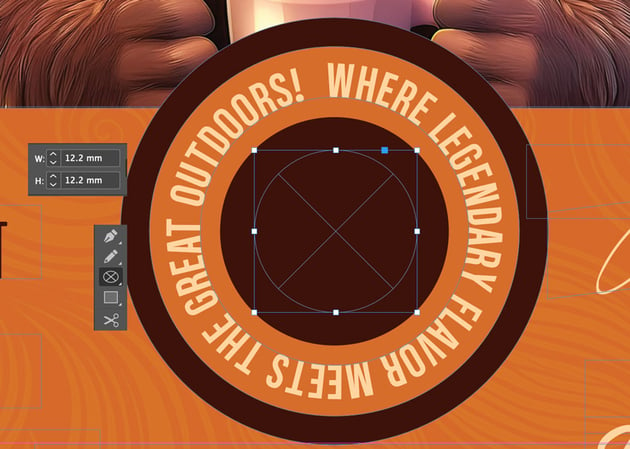
Use the Ellipse Frame Tool to make a circle that’s 12.2 mm in diameter so that it fills in the space in the center.
Step 11
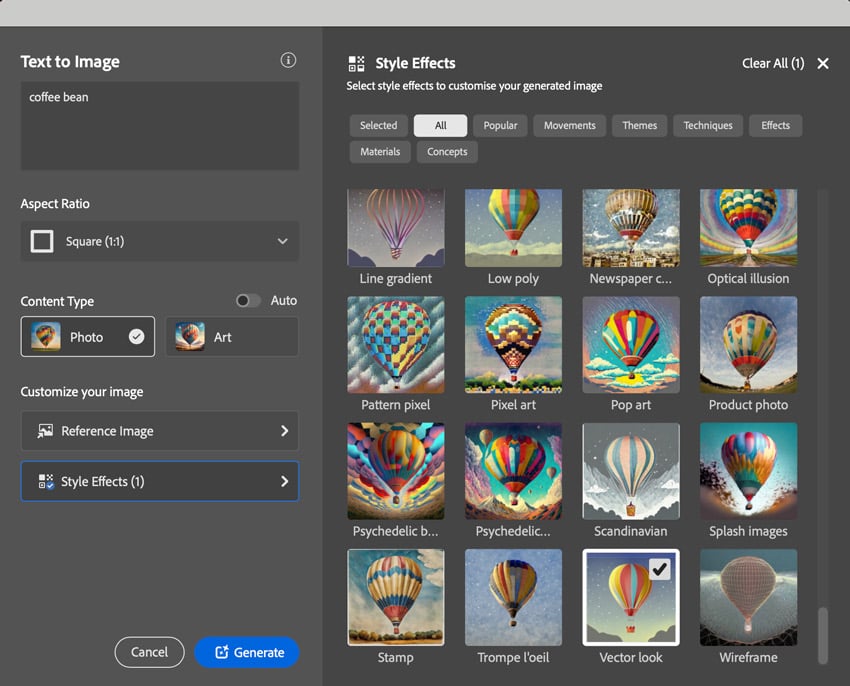
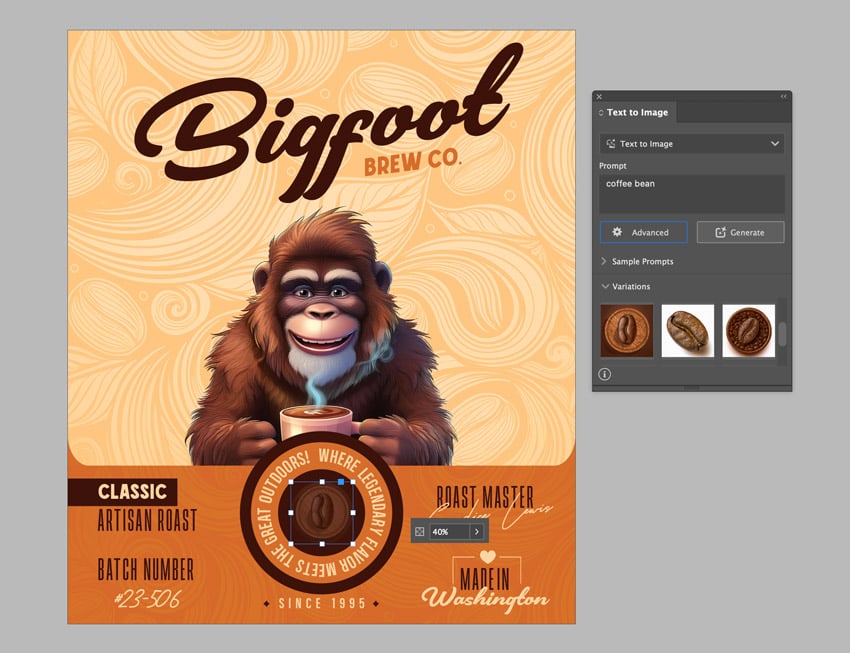
Select Text to Image, and use the prompt coffee bean. Change Content Type to Photo and Style Effects to Vector Look. Click Generate.
Step 12
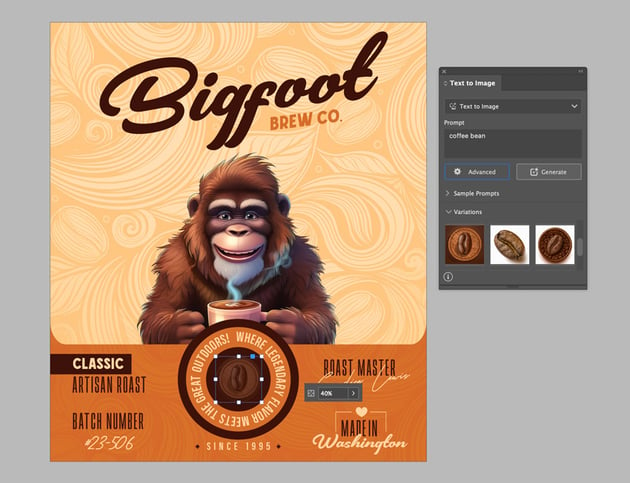
Finish your design by changing the coffee bean’s Transparency to 40%.
Try out Adobe InDesign’s AI features with these assets from Envato
Throughout this tutorial, we tackled the question of what Adobe Firefly is and showed how to use Firefly. Explore the features of Adobe InDesign AI; these creative assets from Envato are perfect for transforming premade products into unique designs.
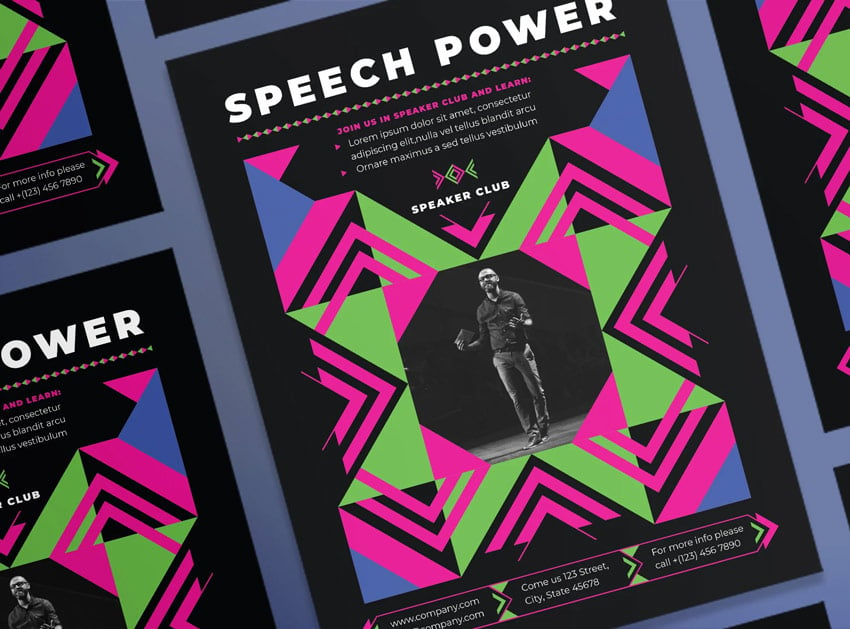
Speaker poster (AI, EPS, INDD, PSD)
Enhance your creativity with this eye-catching speaker poster. You don’t have to start from scratch as this premade template is fully customizable in terms of colors, fonts, and layout.
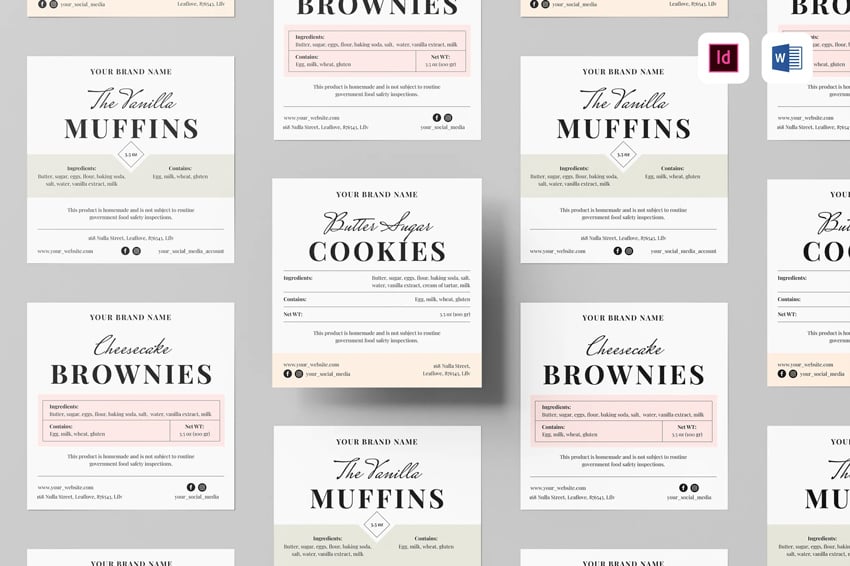
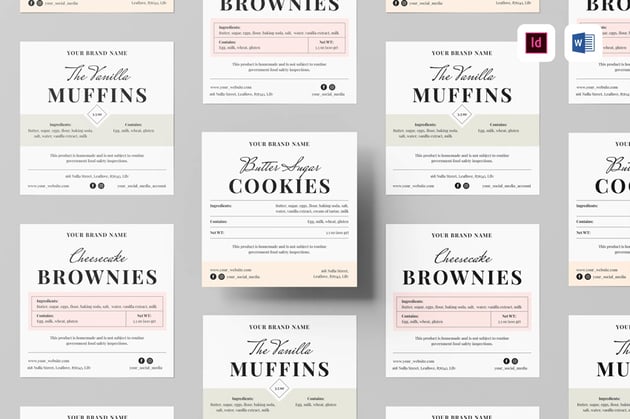
Cottage food label (INDD, DOCX)
Whether you own an established bakery or are operating one from home, food labels are essential. These labels can easily be customized to suit your needs. Use InDesign’s AI features to change the colors or add patterns, allowing you to create food labels that truly reflect your brand.
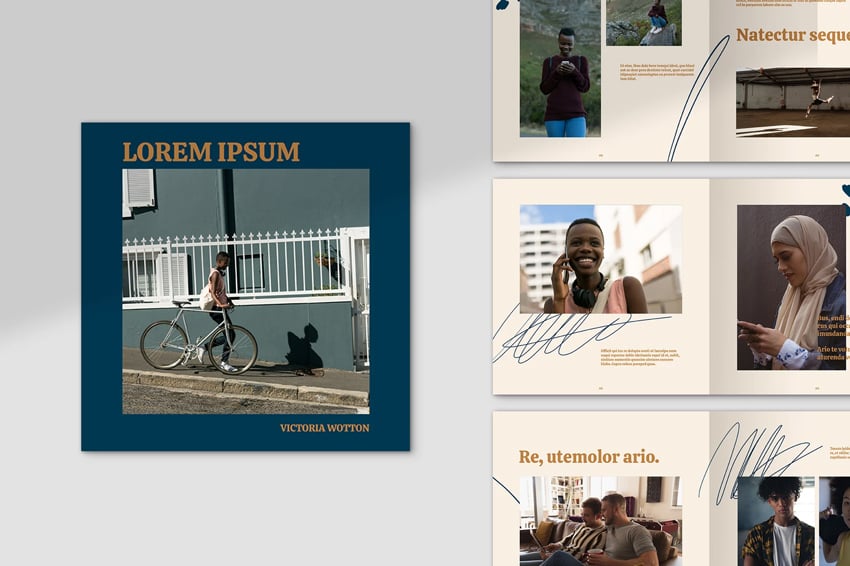
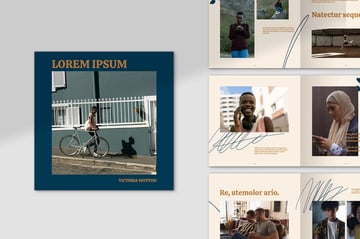
Blue and beige photo book layout (INDD)
Create a timeless photo book with this blue and beige template made for InDesign. Using Adobe InDesign AI, you can easily whip up a template that perfectly balances these two colors, making your photos pop while maintaining a minimalist vibe.
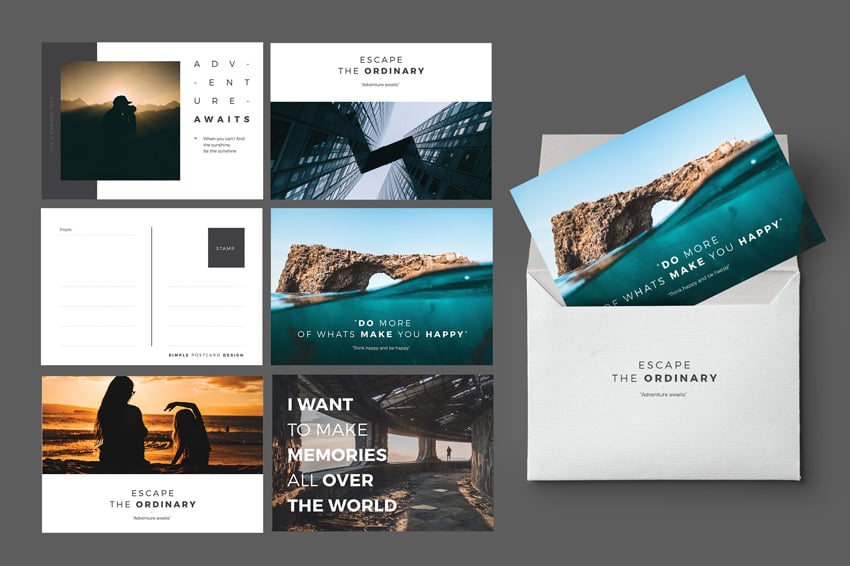
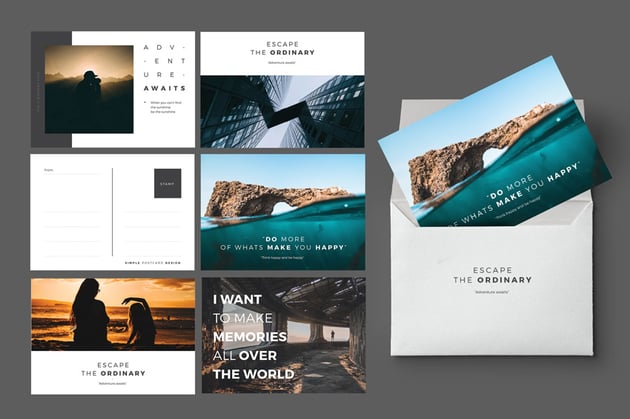
Postcard template (INDD)
Create lasting memories with this postcard template your family will cherish. With Firefly integrated into the platform, designing your postcard template has never been easier or more intuitive.
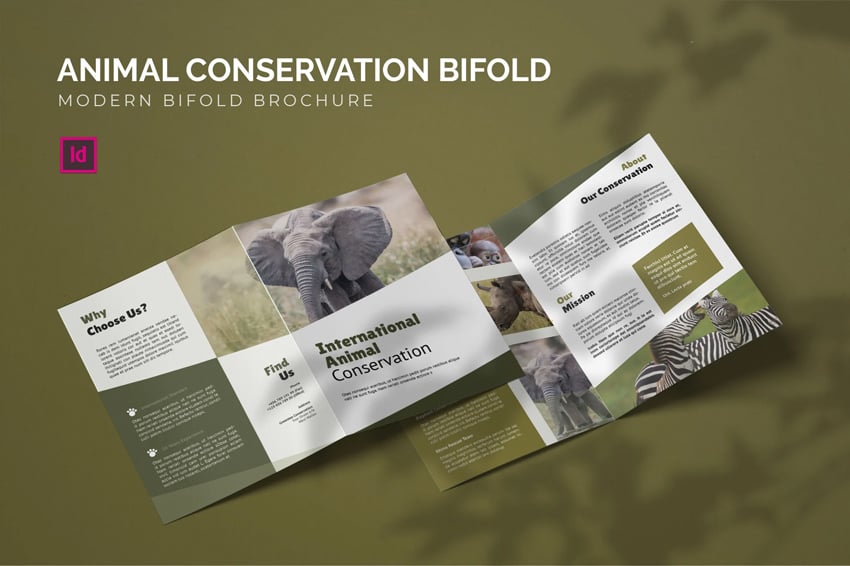
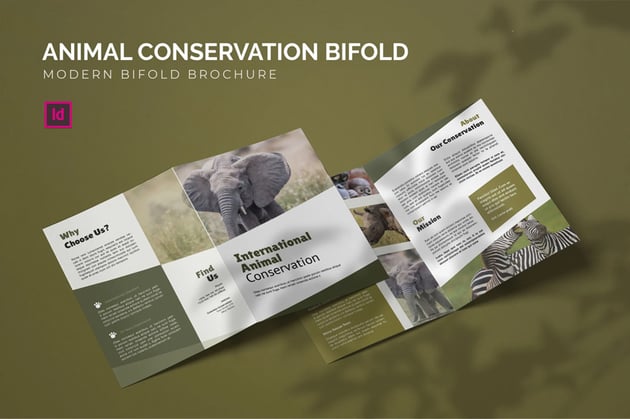
Animal conservation brochure (INDD)
Nothing says “Save the animals” like a conservation brochure. With tools like Adobe InDesign AI at your disposal, this will be a quick and easy way to create something impactful. If you’re looking to spread awareness about endangered species or local wildlife preservation efforts, this is the template for you.
Master Adobe Firefly with these resources
Whether you’re facing a creative block or need to make an image pop, Adobe Firefly generative AI can guide you. Explore what Firefly has to offer with this collection of AI resources.