The anti-design movement, as the name implies, is a style that ignores all rules proposed by traditional graphic design. Many artistic movements are considered anti-design, like Dada and De Stijl, due to their strong opinions on politics, society, and art.
While some of these anti-design styles are rooted almost 100 years ago, this is a style that has never stopped evolving. Recently, we’ve seen the popularity of the ‘graphic design is my passion’ meme, poking fun at graphic designers and their intense love for design.
Inspired by the latest memes, we have a tutorial for you that will make you explore design in a different way. Anti-design often means free expression, tons of personality, strong vibes, fun, and rebellion. Let’s get started!
What you’ll need
For this tutorial, you’ll need access to Adobe Photoshop and Adobe InDesign. You’ll also need a few graphic assets from Envato:
What you’ll learn
In the process of creating this anti-design poster, you’ll learn to:
- Create a diffused, grungy background
- Use guides in Adobe InDesign
- Break all the rules you’ve learned about graphic design
- Explore different approaches to an anti-design poster
1. Create the background in Photoshop
Step 1
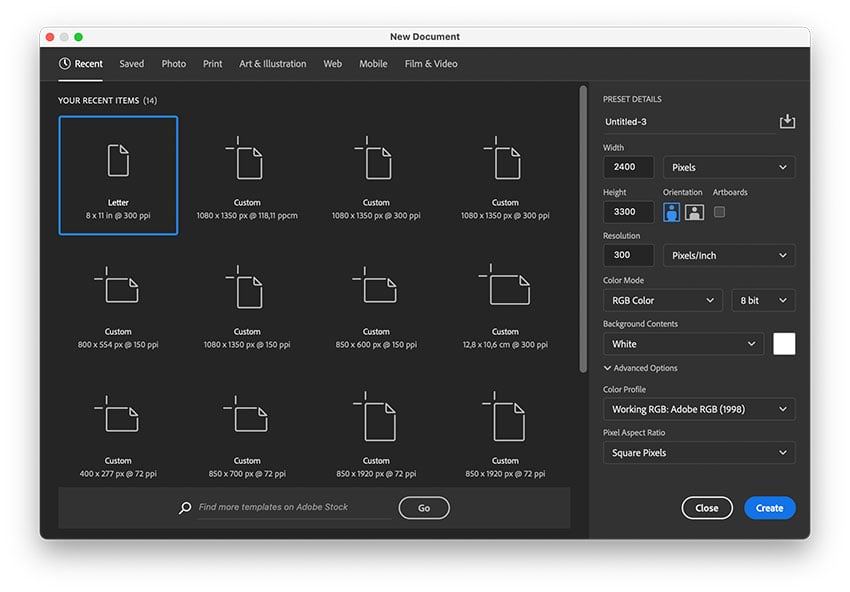
In Adobe Photoshop, create a New Document. Set the Width to 2400 and Height to 3300. Select Pixels from the dropdown menu. Set the Resolution to 300 Pixels/Inch. Set the Color Mode to RGB. Click Create.
Step 2
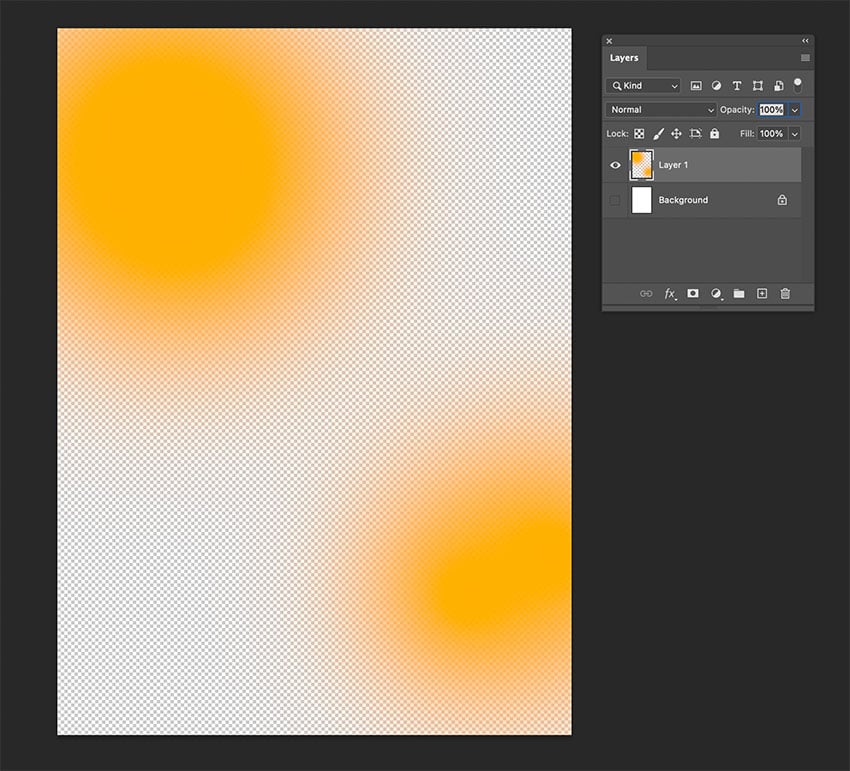
On the Layers panel, press Shift-Command-N to add a New Layer. Deactivate the Background layer.
On the Tools panel, select the Brush Tool (B). Double-click on the Foreground Color. On the Color Picker window, select anything in the orange range. Click OK.
Add a couple of brush strokes on the page.
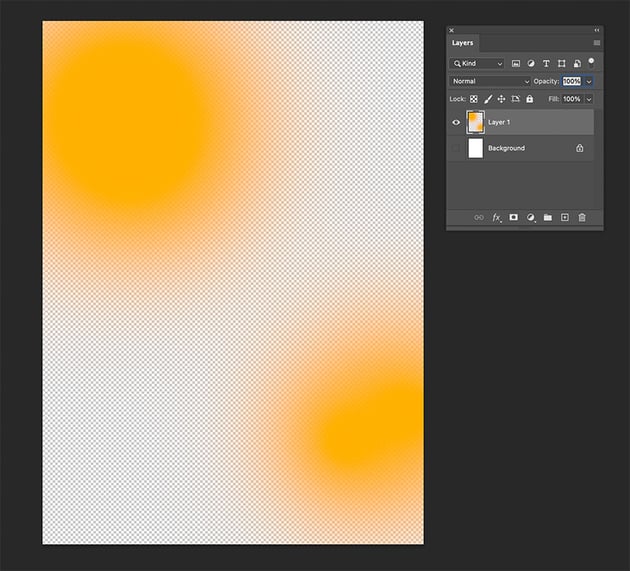
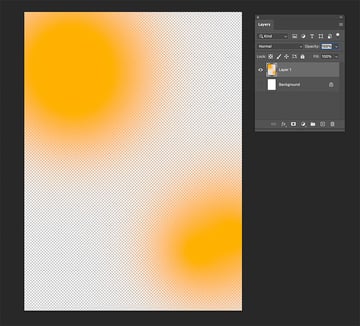
Step 3
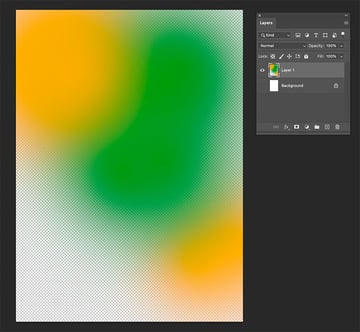
Double-click on the Foreground Color. On the Color Picker window, select anything in the green range. Click OK.
Add a couple of brush strokes on the page.
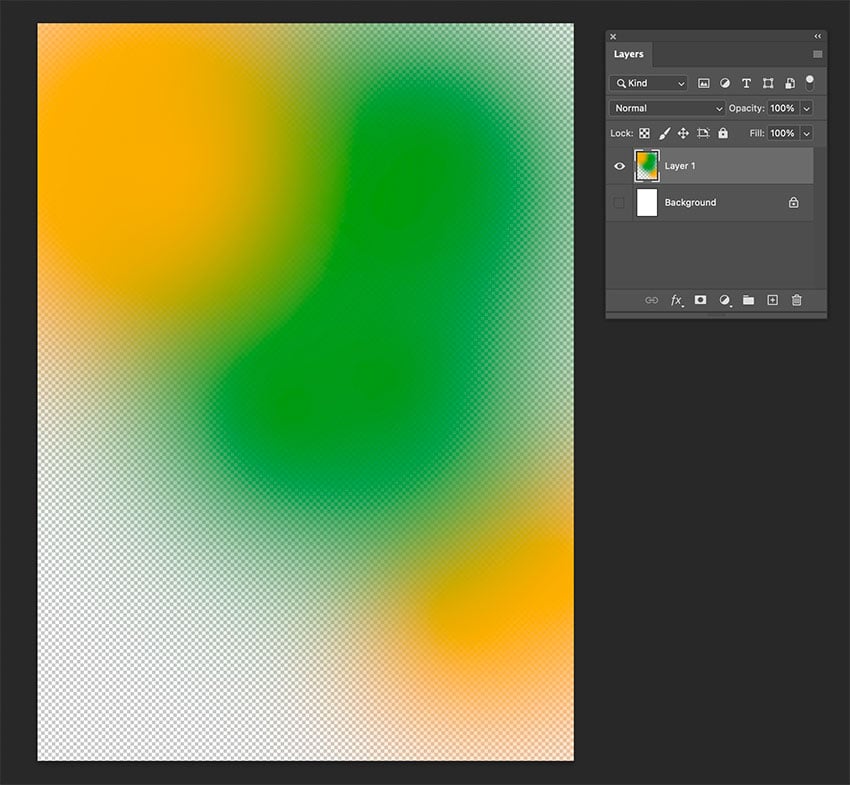
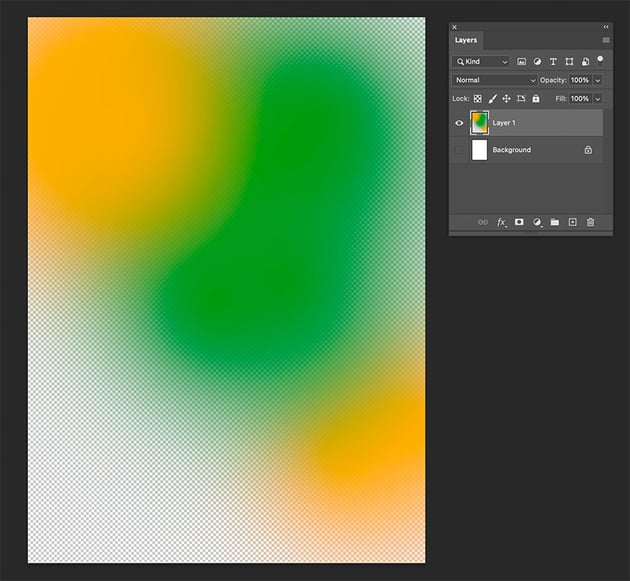
Step 4
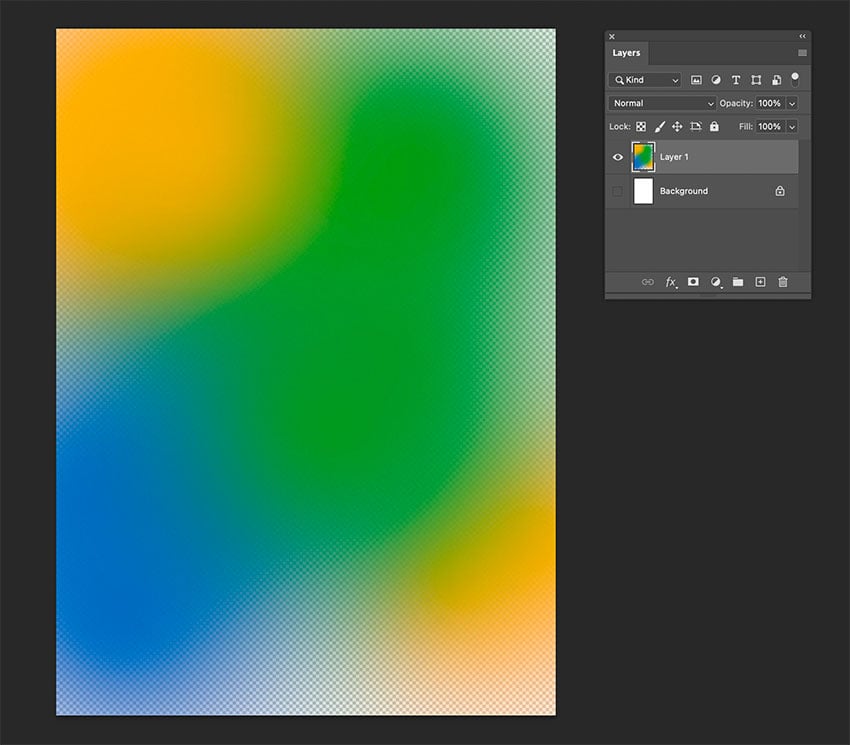
Double-click on the Foreground Color. On the Color Picker window, select anything in the blue range. Click OK.
Add a couple of brush strokes on the page.
Step 5
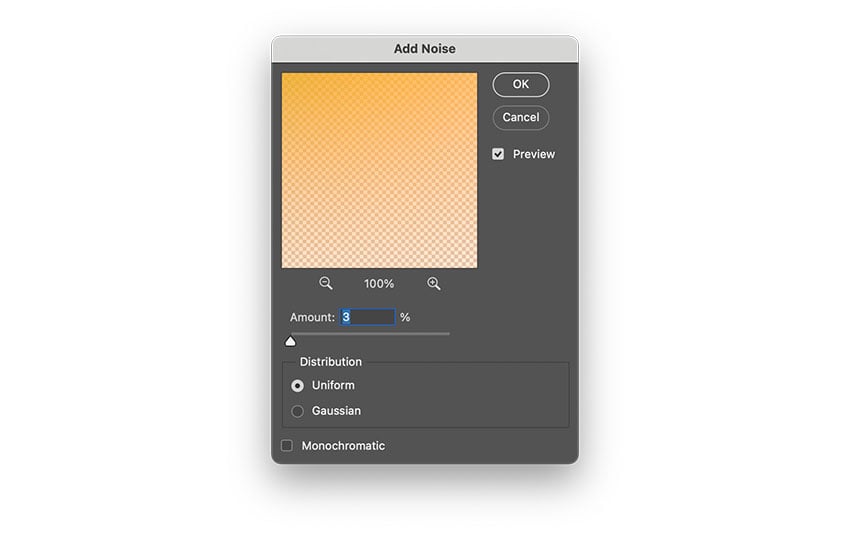
Go to Filter > Noise > Add Noise.
On the Add Noise pop-up window, set the Amount to 2% and the Distribution to Uniform. Click OK.
Step 6
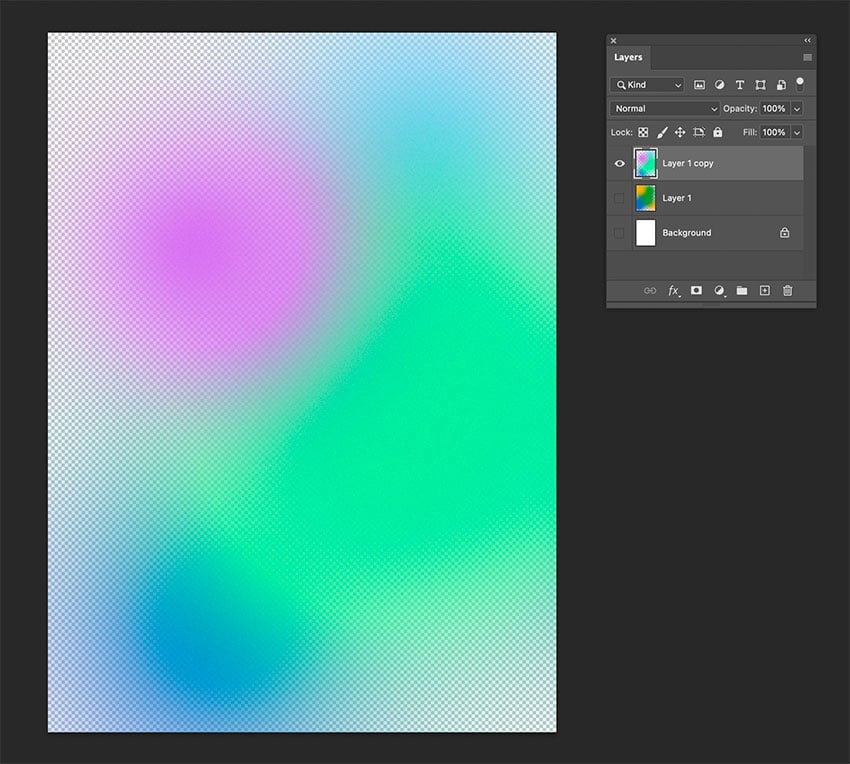
Repeat steps 2-5 but with different colors. Try to choose contrasting and neon colors that would clash with the layer before.
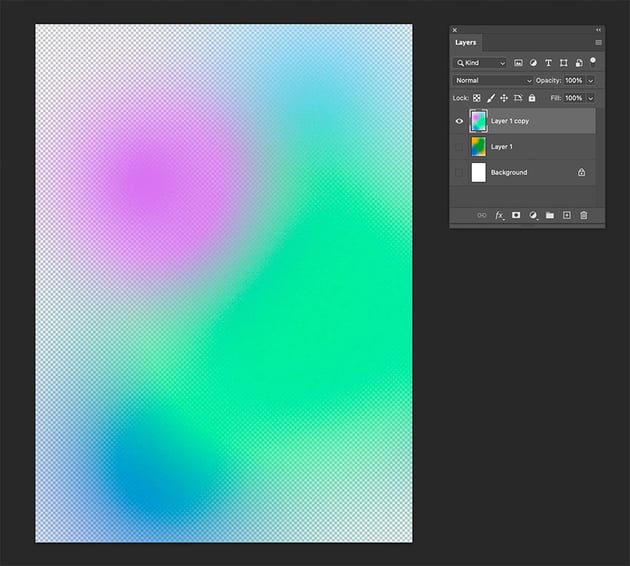
Step 7
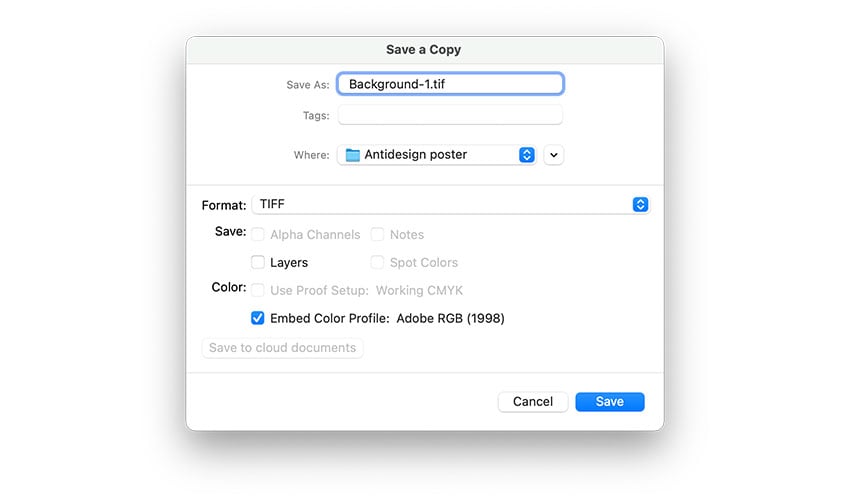
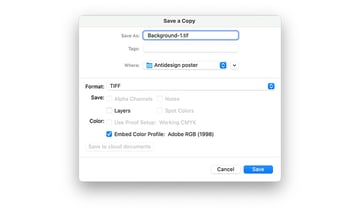
Save each layer as a separate TIFF file. On the TIFF Options pop-up window, check the Save Transparency option. Click OK.
2. Create the anti-design poster in InDesign
Step 1
Since this graphic is intended to be used on social media, we’ll create a file with Instagram vertical/portrait dimensions.
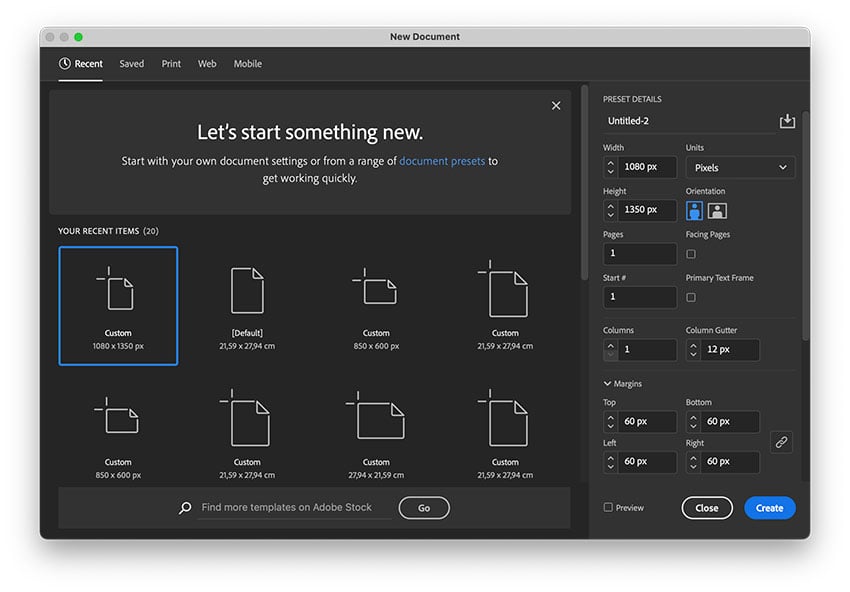
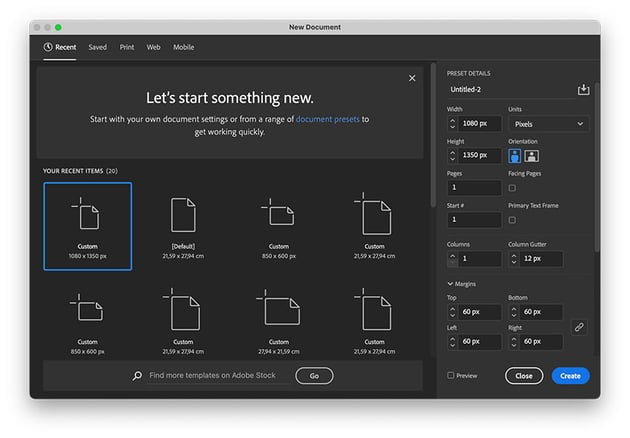
In InDesign, create a New Document. On the New Document pop-up window, set the Width to 1080 px and the Height to 1350 px. Set the Margins to 60 px. Click OK.
Step 2
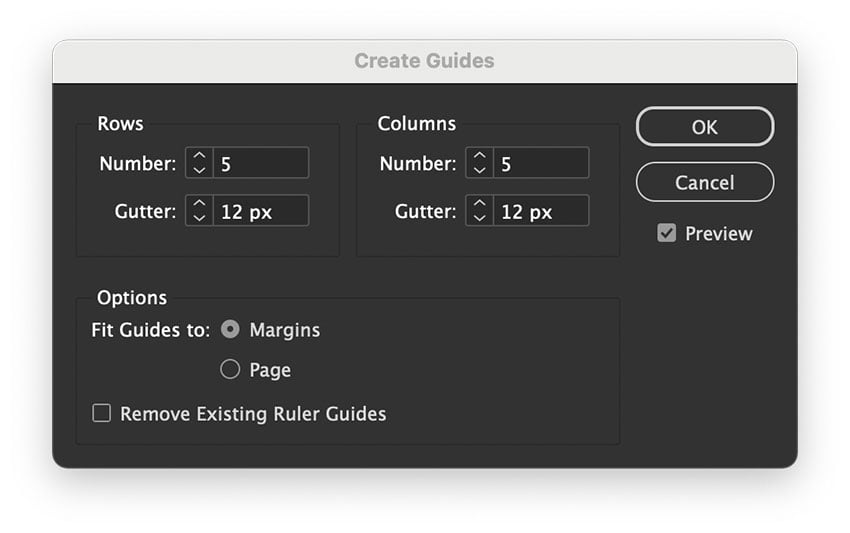
Go to Layout > Create Guides. On the Create Guides pop-up window, set the Rows to 5 and Columns to 5. Set the Gutters to 12 px. Under Fit Guides to: Margins. Click OK.
Step 3
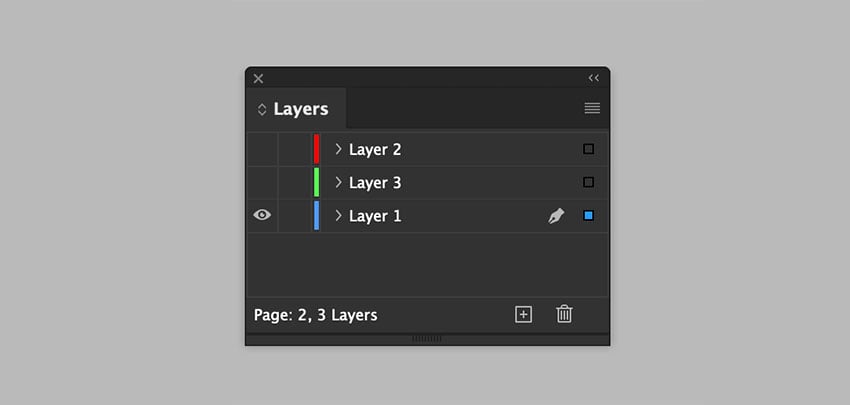
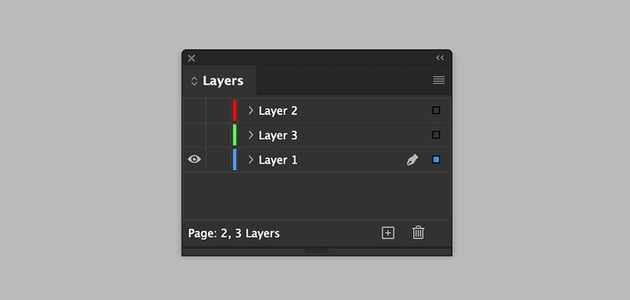
On the Layers panel, add two more layers. We’ll have many elements to work with, and we want to create some kind of organization even though anti-design is about chaos.
Step 4
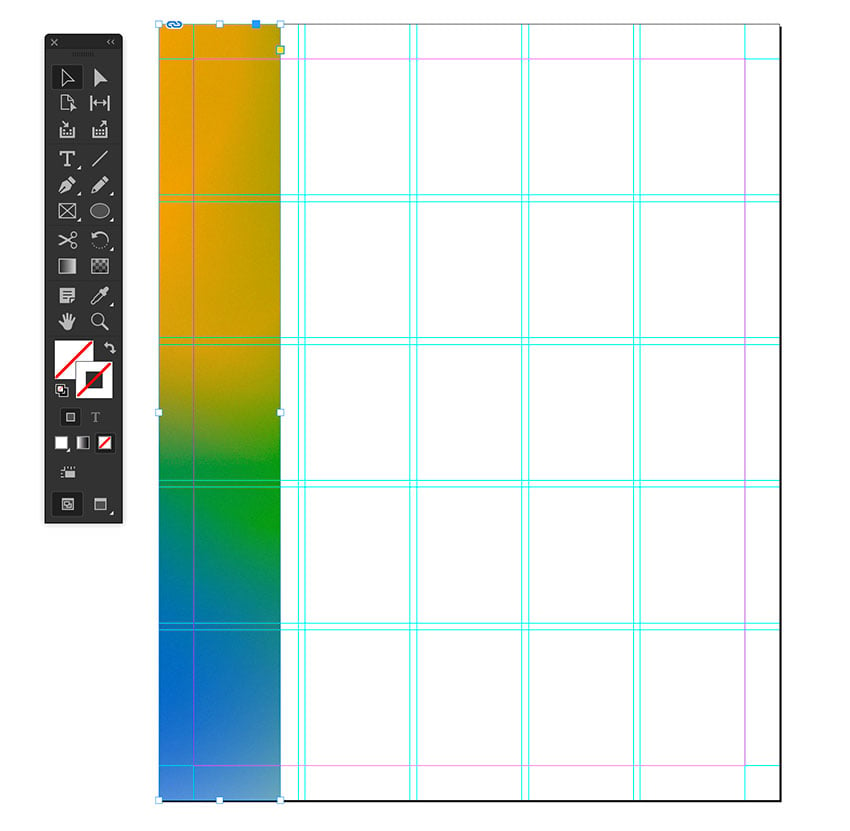
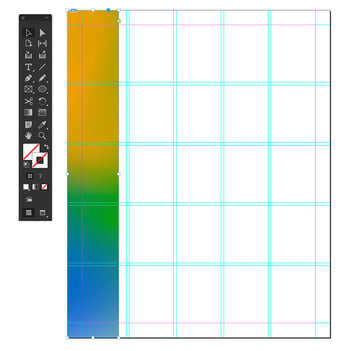
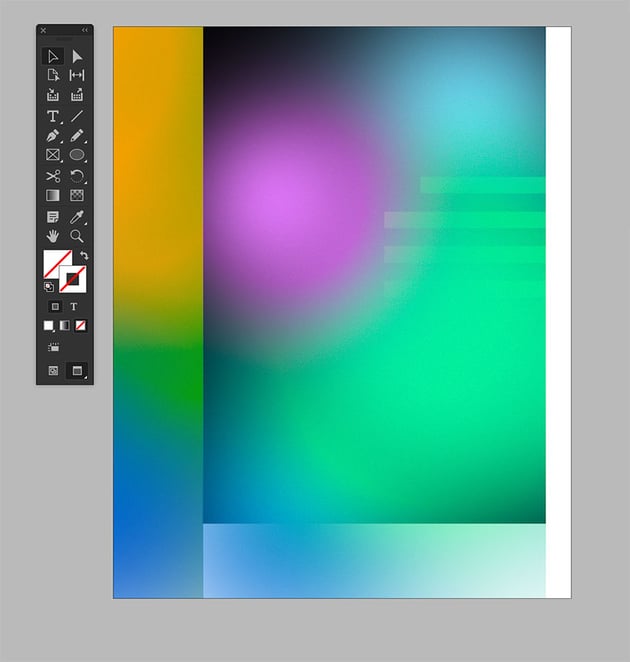
I’ll grab one of the gradient TIFF files I created in Photoshop and drop it into the InDesign file. Resize the gradient and frame to almost fit the first column to the left of the page.
Step 5
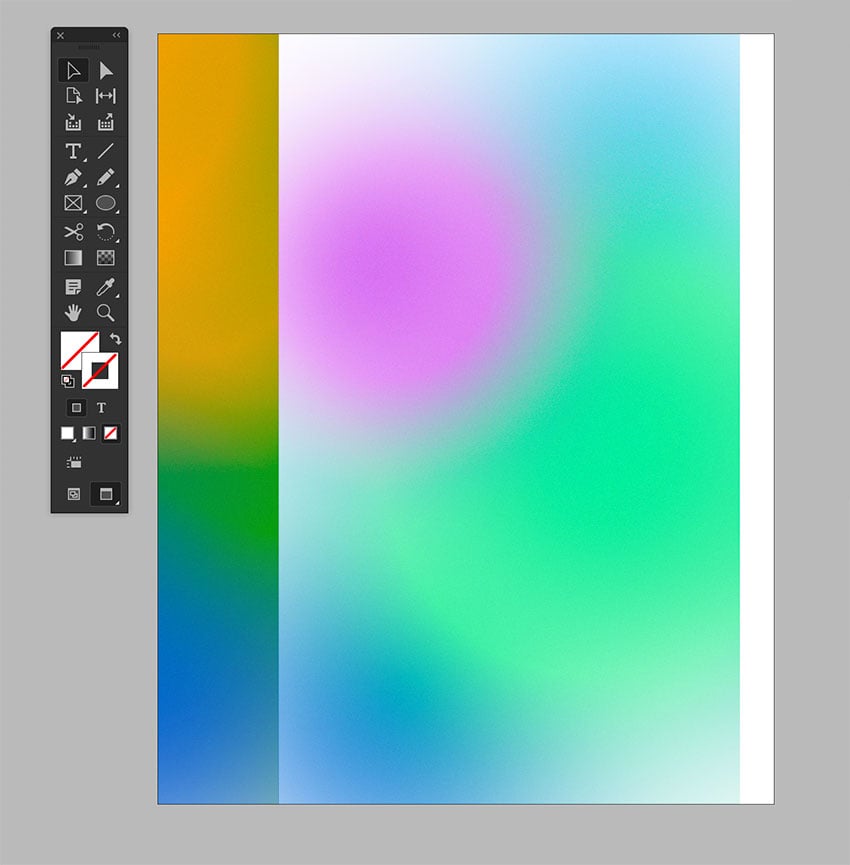
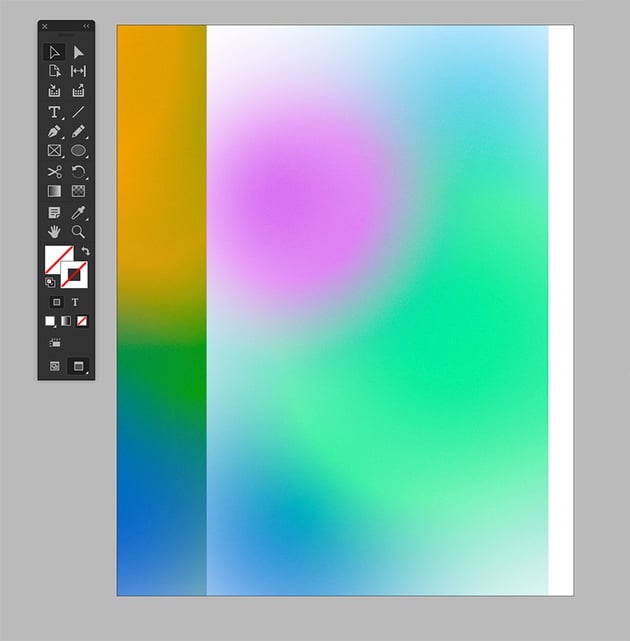
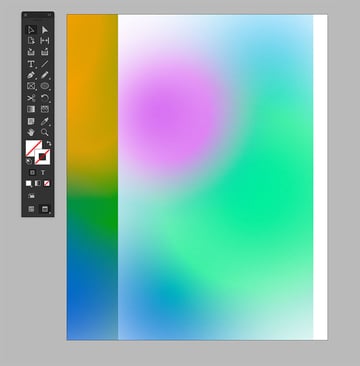
Grab the other TIFF file and place it into the InDesign file. This time, resize the frame to take up the rest of the white area of the page, leaving the margin white.
Step 6
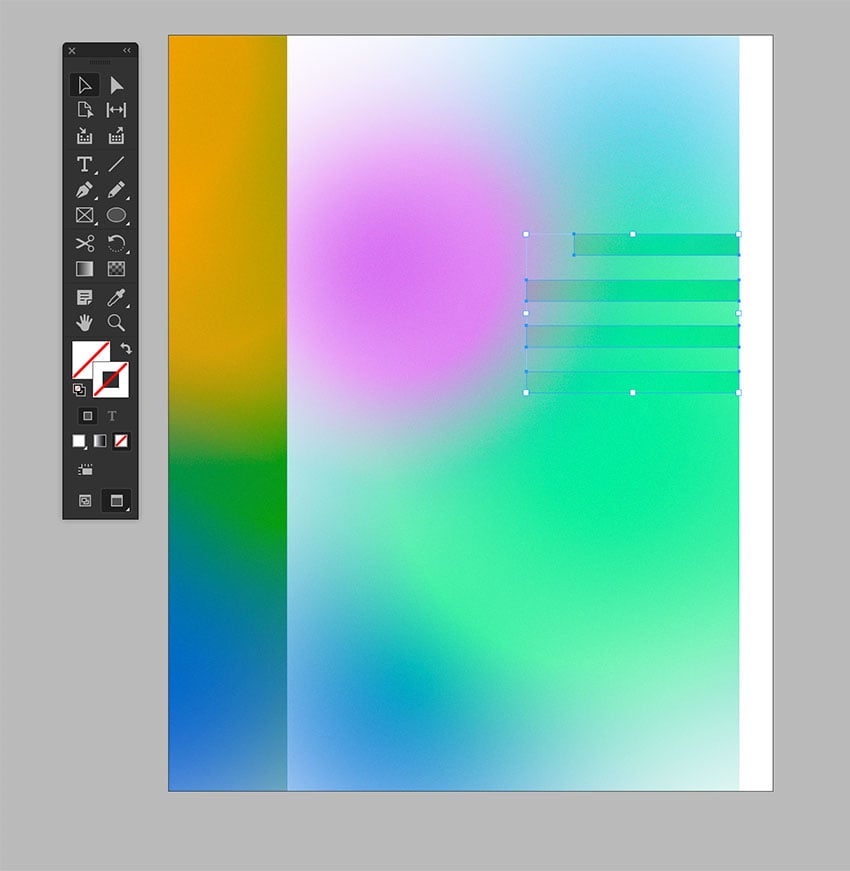
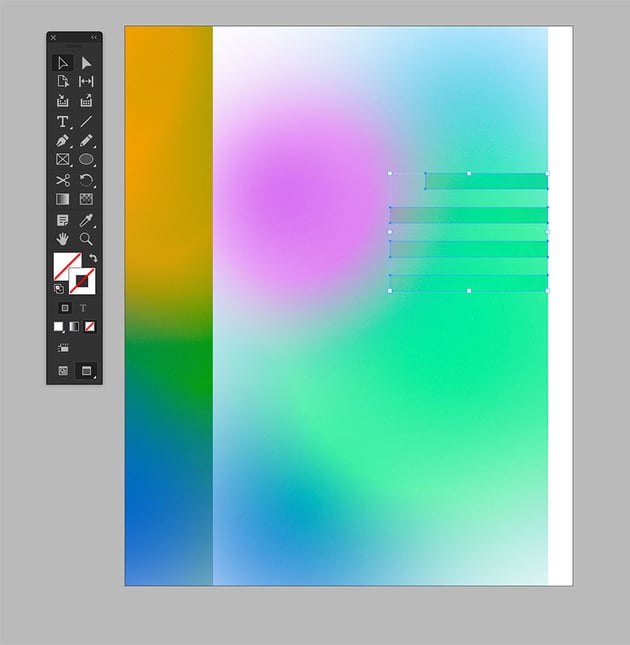
Duplicate the same frame and create small rectangles. We’re trying to design a chaotic background that’s in line with the anti-design style. There’s no right or wrong way to do this. Try using different sizes or placing these smaller elements behind the main element. Since we saved the files with transparency, we’ll get different effects depending on where we place them.
Step 7
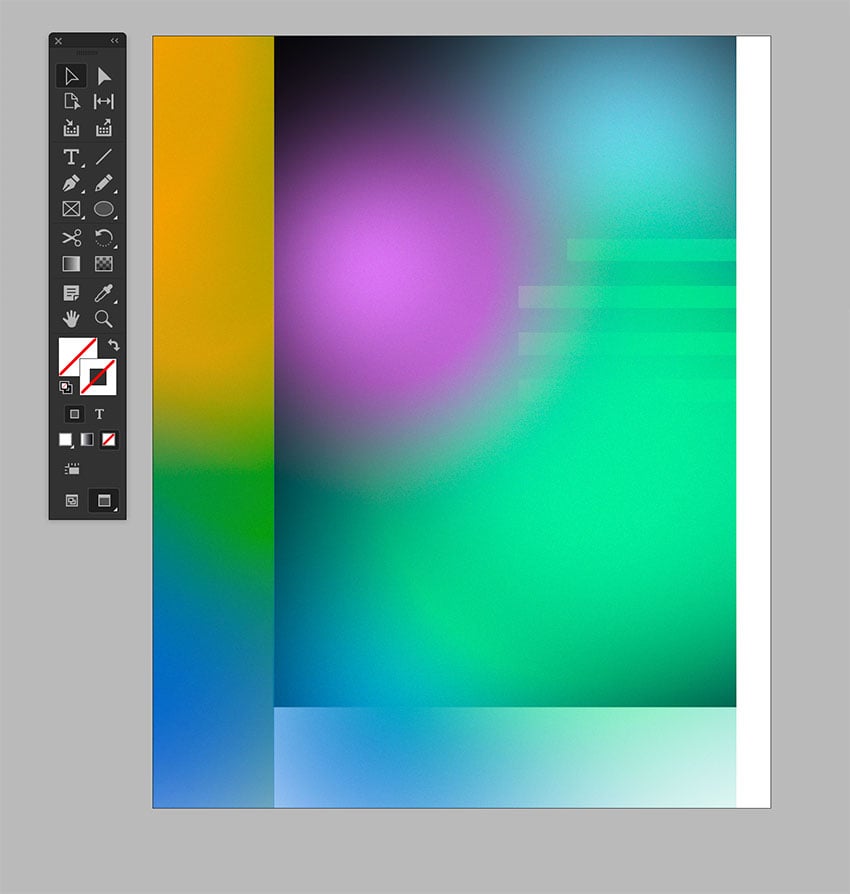
To create some dimension, I added a solid black background behind the main element.
Step 8
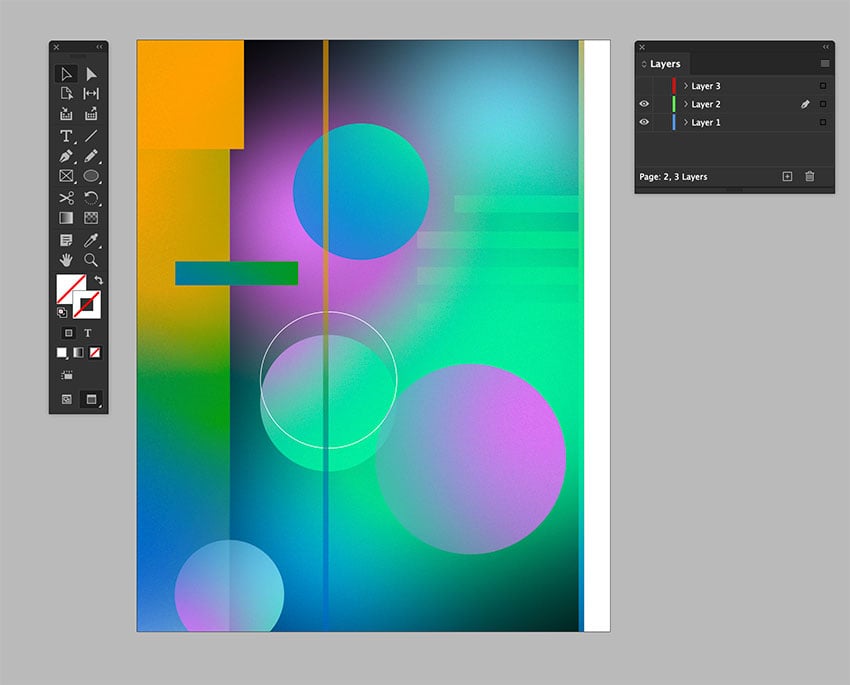
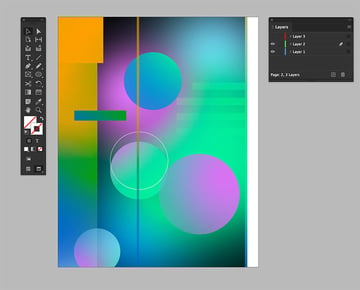
On the Layers panel, select Layer 2. Create a series of shapes, rectangular and spherical, using the TIFF gradients. On the Tools panel, select the Ellipse Tool (L) to create a circle. Drop one of the TIFF files inside the shape. Resize and move as you wish.
Repeat the same process but with rectangular shapes.
Step 9
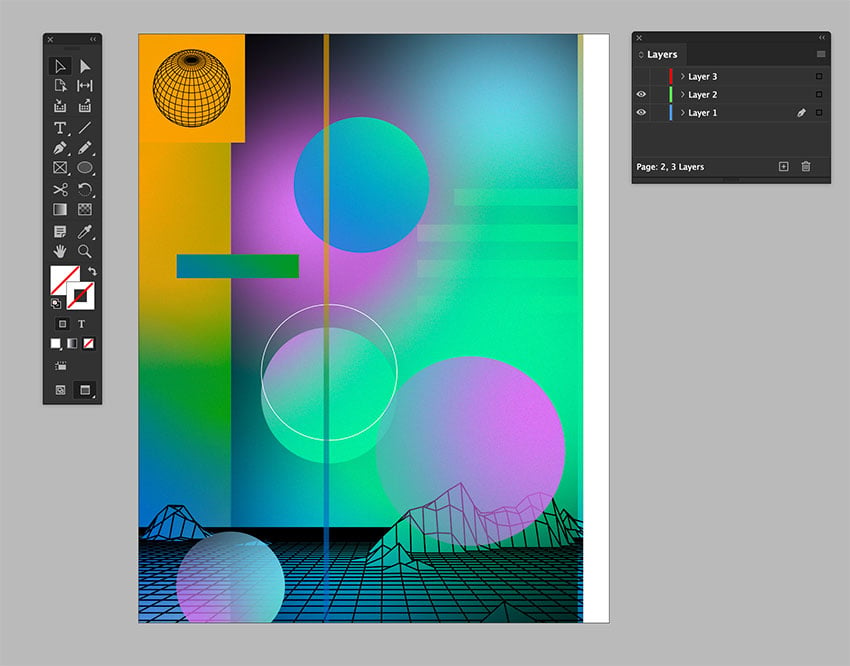
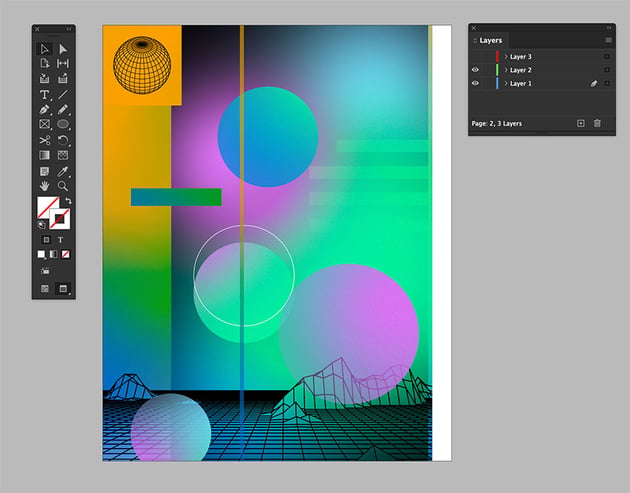
Locate the Earth & World Maps & Icons files on your computer. I added wireframe shapes, one for the ground and one for the top left of the page.
Step 10
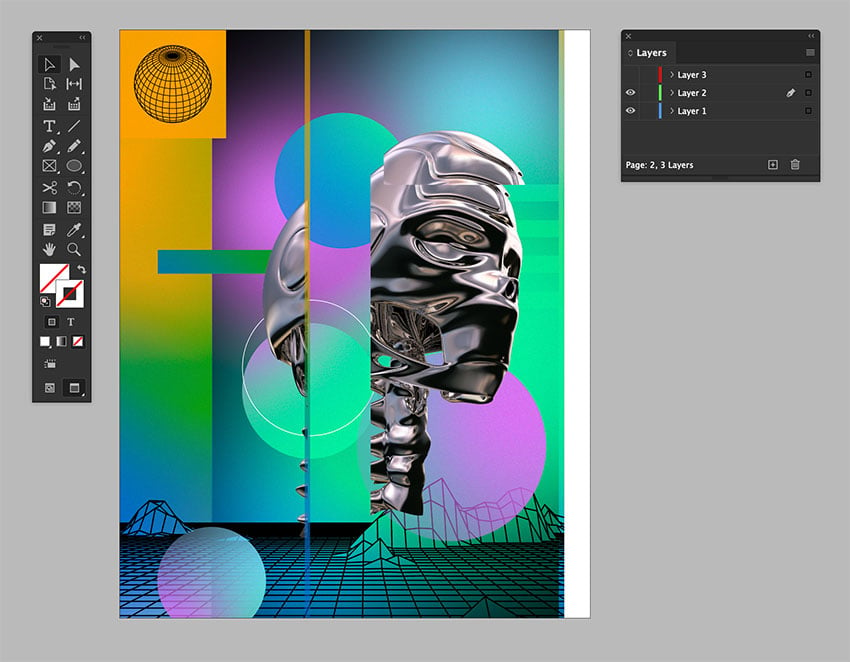
Locate the Robot Head on your computer. Place the image into the InDesign file.
To create more chaos, I want to duplicate the image multiple times. In this case, I used the line near the center of the composition to act as a cut-off point and placed part of the robot image to the left.
The rest of the image I placed to the right side of the line. I also duplicated the forehead space of the robot and resized the frame without resizing the image to add more dimension.
Step 11
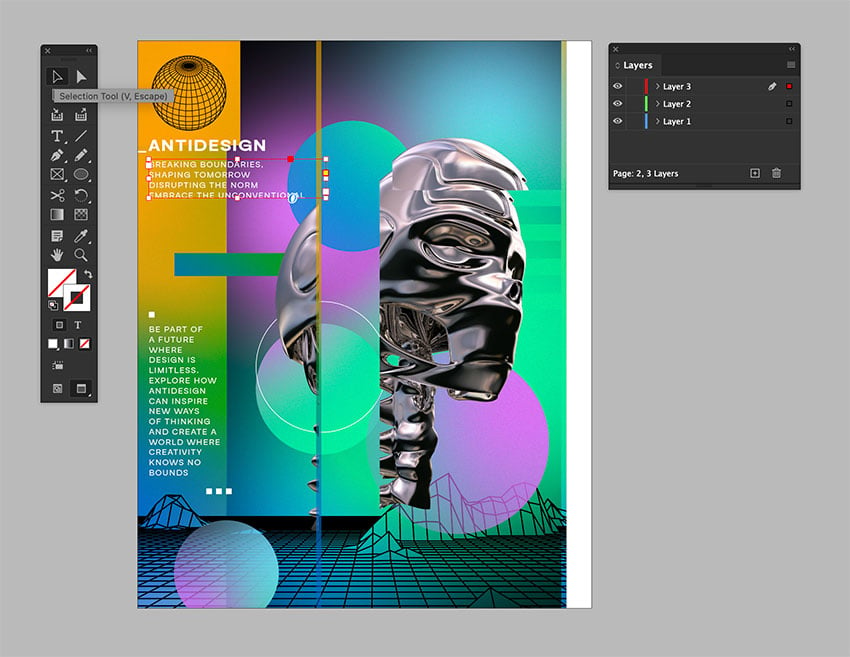
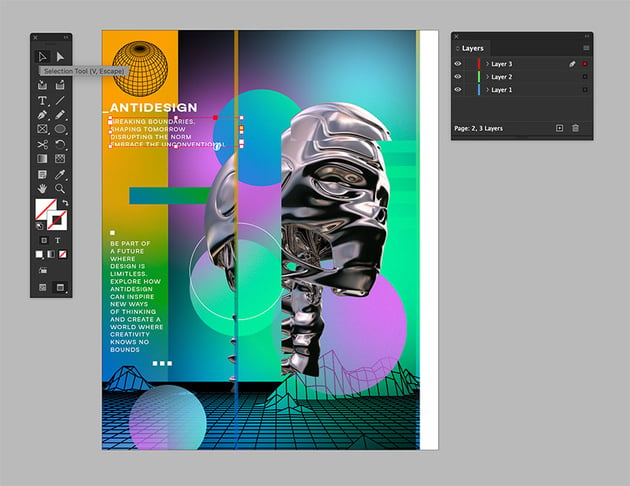
It’s now time to add text details. Because it’s a technology-inspired anti-design composition, I want to come up with words and sentences that apply to this topic. I created four main points to call the eye.
Select the Text Tool (T) from the Tools panel. Create a text frame—in this case, I added the word “_ANTIDESIGN.” On the Control panel, set the Font to Guton, the Size to 42 pt, and the Tracking to 50. Set the Color to White.
Create another text box right underneath, and change the font Size to 20 pt. I added another text box with the same format on the lower half of the composition.
Step 12
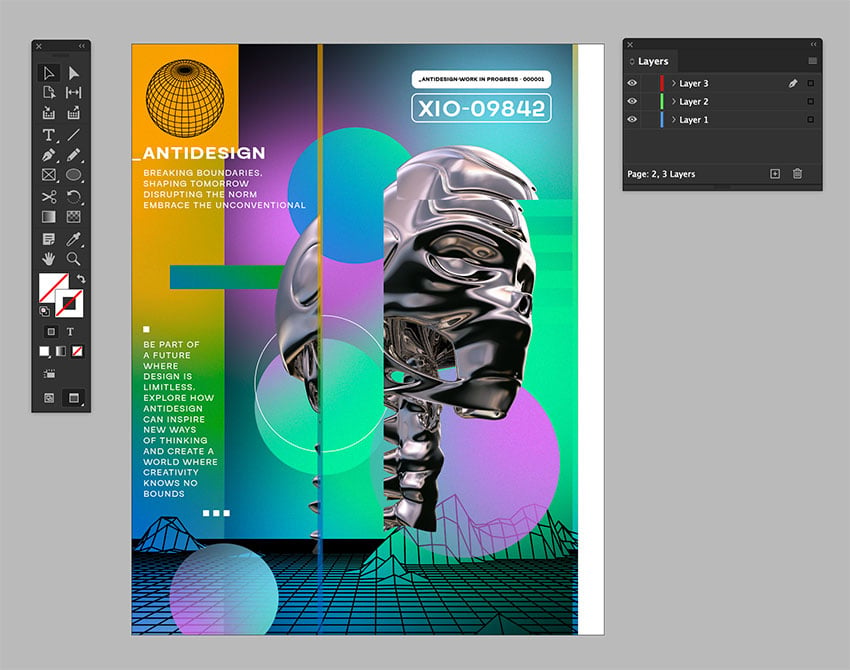
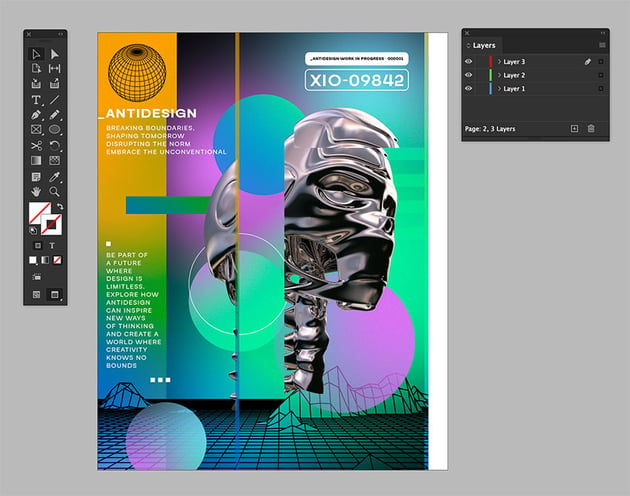
Using the Rectangle Tool (M), create two rectangles to fit text related to technology, in this case like model/make. On the Control bar, set the rectangle corners to Rounded.
Using the Text Tool (T), create two text frames and add your text.
Step 13
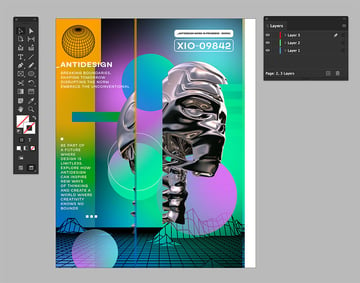
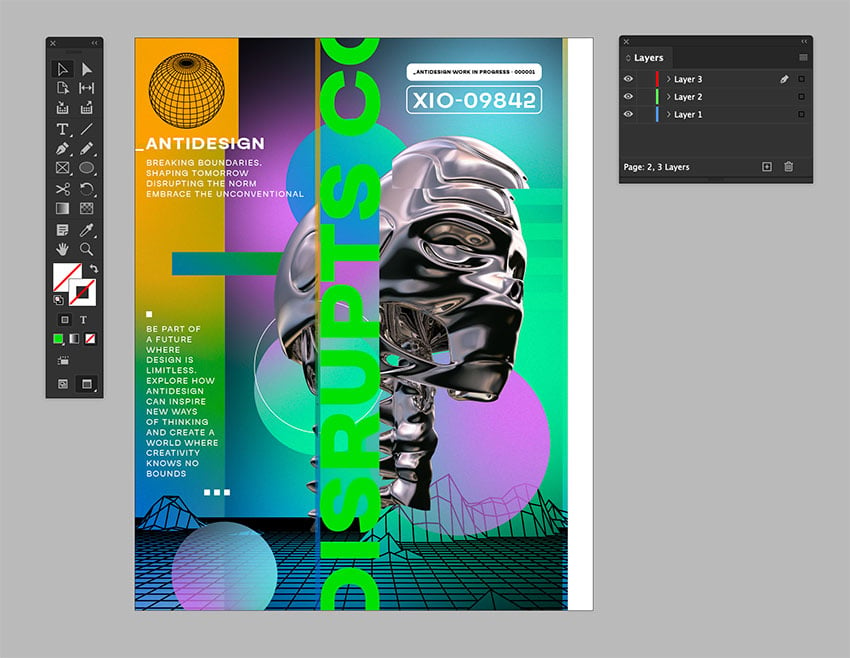
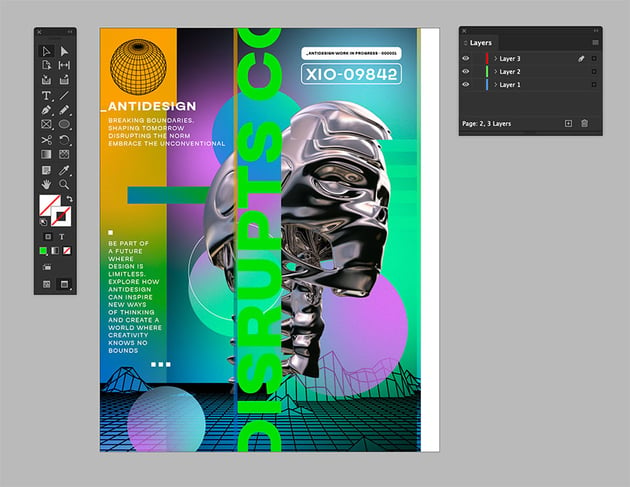
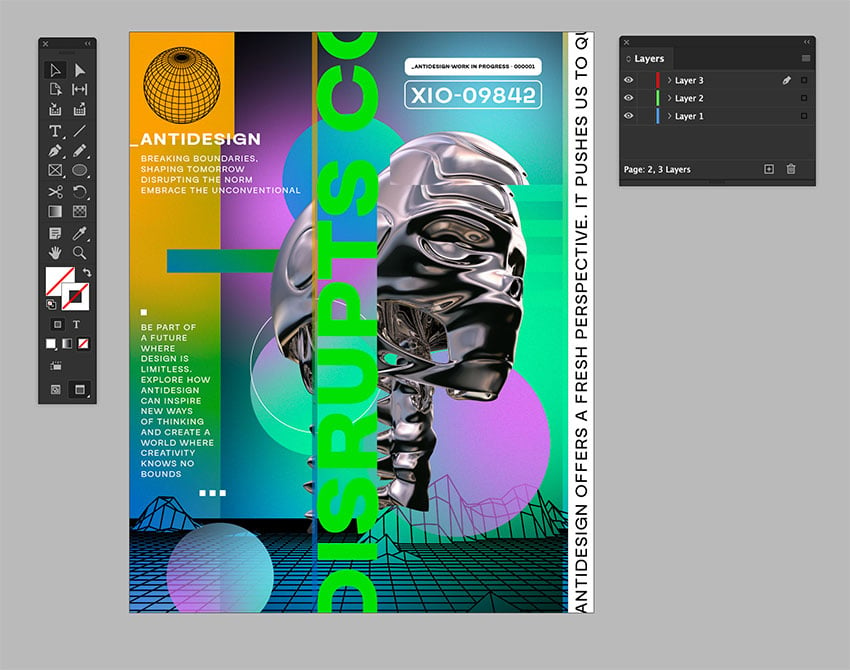
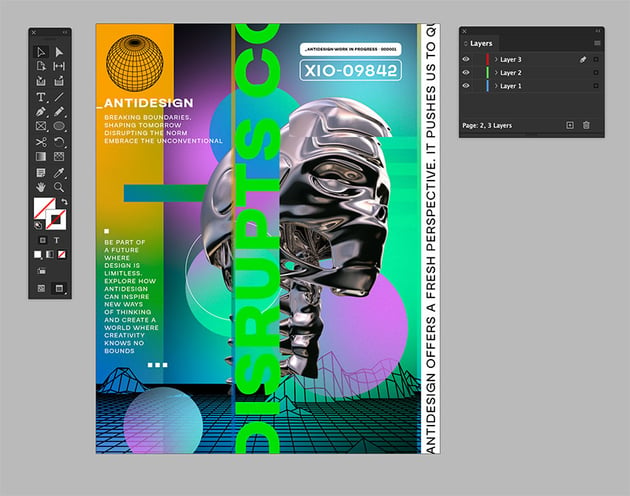
To make this composition even more chaotic, we can add larger text. Create a text box, and set the Font Size to 200 pt. Set the Text Color to the currently very popular green: #00e000. Rotate (R) the text vertically and place it right in the center of the composition.
Step 14
Create another text box—this one will be for the white space on the right side of the poster. Set the Font to Guton, set the Size to 40 pt, and place the text box vertically on the empty space.
3. Export the JPEG file
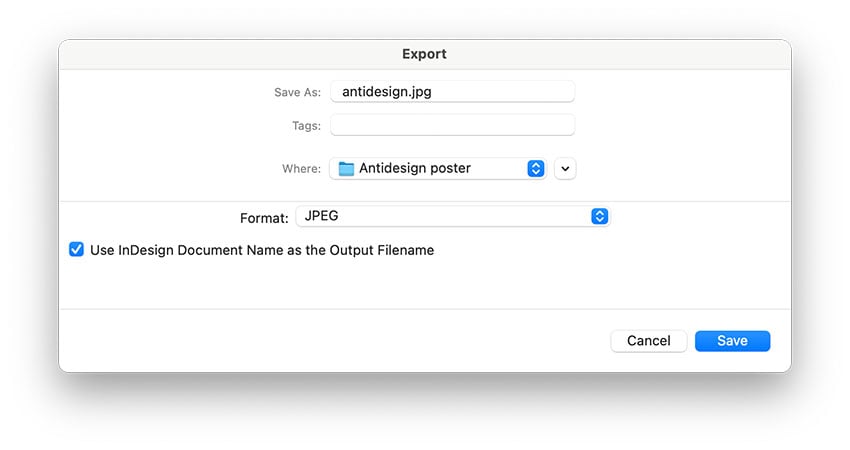
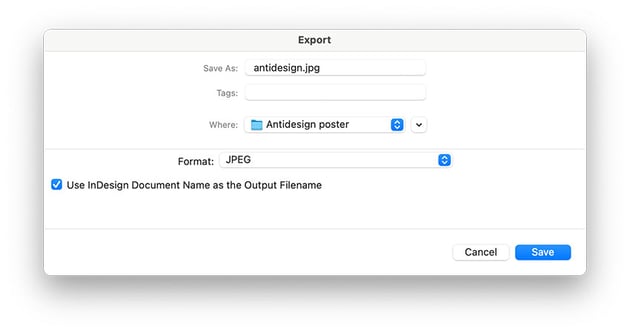
Go to File > Export. In the Export pop-up window, set the Format to JPEG. Click Save.
In the Export JPEG pop-up window, set the Image Quality to High. Click Export.
Congratulations! You’ve finished this tutorial
I hope you found this tutorial helpful. The anti-design movement is one that never stops growing or evolving. Throughout the years, we’ve seen multiple examples of bad graphic design that often start as a commentary on graphic design and end up being a design trend. This is one of them. Enjoy creating more anti-design posters!
If you liked this tutorial and you want more anti-design examples, you might like: