Do you want to learn how to create a wave warp on text in InDesign? This is an easy thing to do in programs like Adobe Illustrator. You can pull it off in InDesign too, but there are a few limitations to keep in mind.
Remember that Adobe InDesign is more text-oriented, so our tools and settings might be a bit different from other programs.
Let’s get started with our tutorial on how to warp text in InDesign!
How to Create Warped Text in InDesign
Step 1
First, you need to open a new document in InDesign.
Step 2
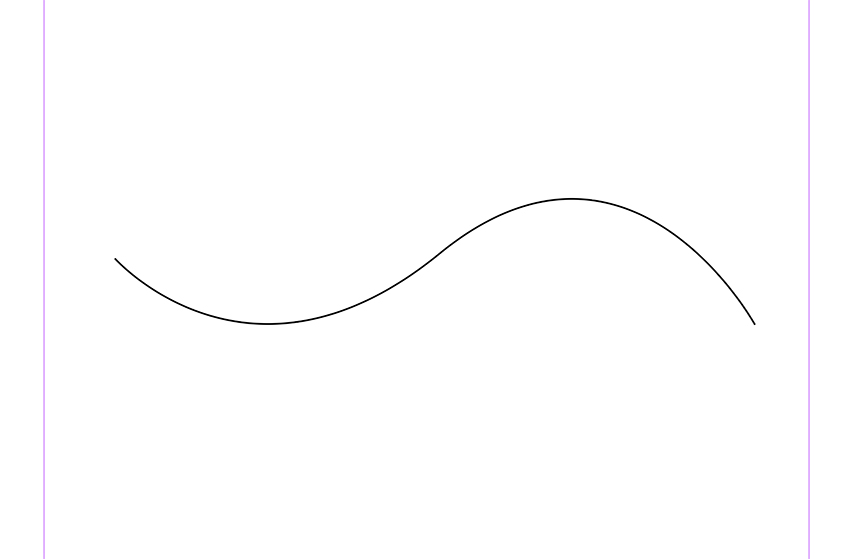
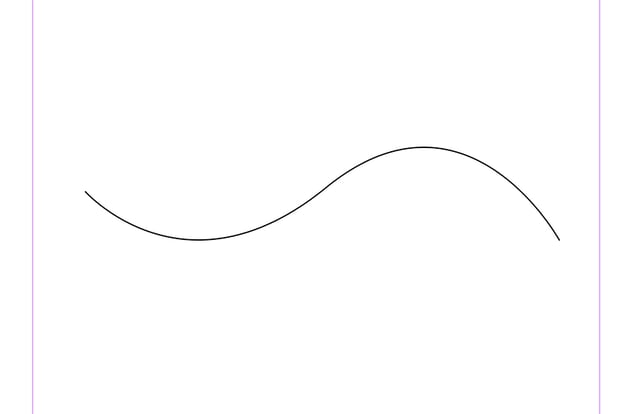
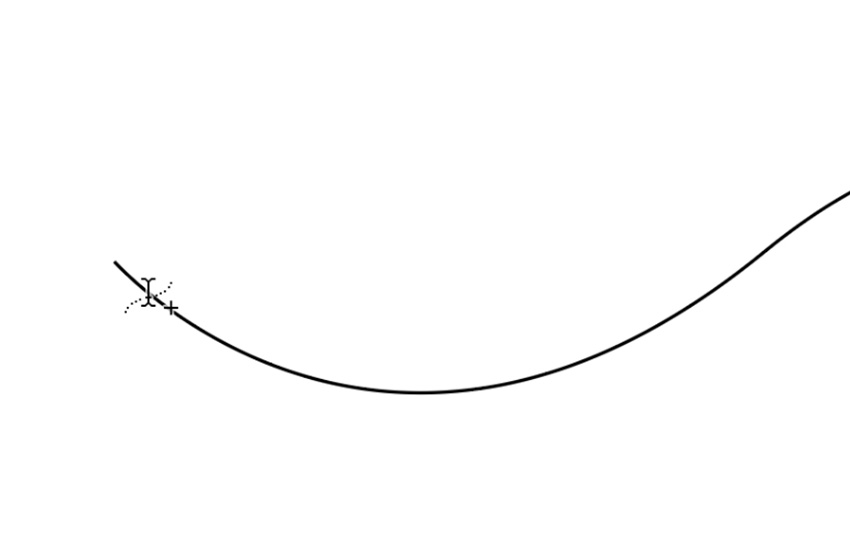
Now, let’s create a wave shape with the Pen Tool (P).
Step 3
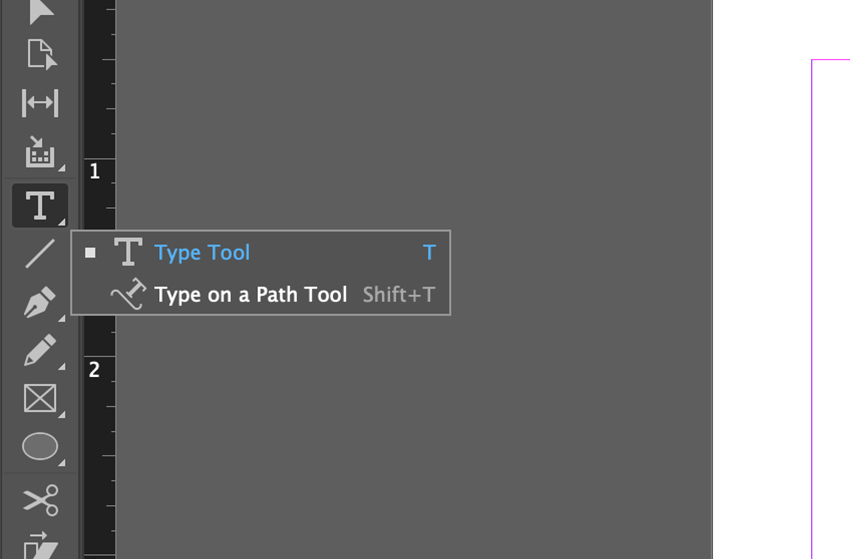
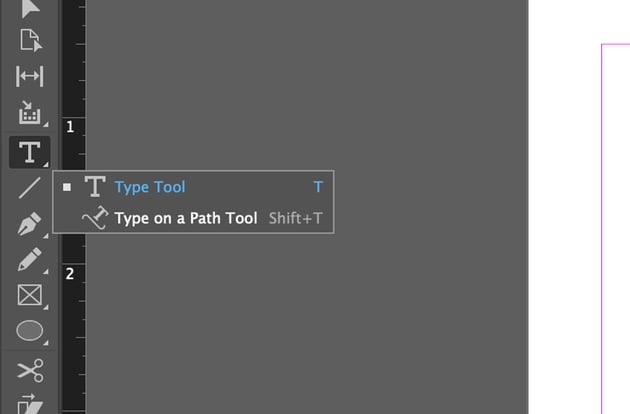
Click and hold the Text icon on your toolbar and select the second tool called Type on a Path Tool.

Step 4
Now move your cursor to the beginning of your waved line until the cursor gets a + sign. This means that you’ll be able to write on top of the line.


Step 5
Go ahead and type your text. For our tutorial on how to warp text in InDesign, we’ll be using the Wiskind font from Envato Elements.


Step 6
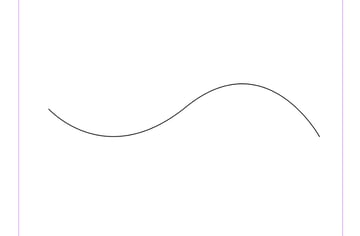
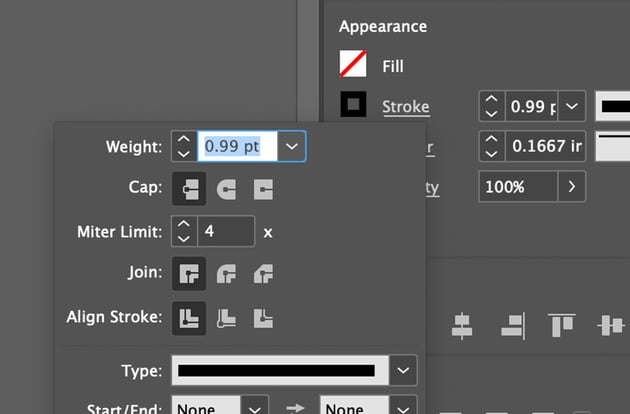
Finally, we’re going to remove the stroke line:
- Click on Window > Properties to open the Properties settings.
- Ensure that your wavy line is selected.
- In the Appearance section, click on Stroke.
- Our stroke weight is currently at 0.99 pt. Go ahead and change the Weight value to 0.
Now your line is invisible!


To improve the results, we’ll duplicate our warp text in InDesign and add a background color to make it look cooler.
Now You Know How to Warp Text in InDesign!
You’re done! Learning how to create a warped text in InDesign is such an easy thing to do. I hope you use this trick in your future design projects.
Discover More Tutorials on Envato Tuts+
If you enjoyed this tutorial on how to warp text in InDesign, I encourage you to explore more of our tutorials on Envato Tuts+. You may discover valuable insights that can elevate your creative processes.
-

A to Z of InDesign: Tips, Tricks, & Hacks!
-
How to Create a Distressed Painted Wall Text Effect in InDesign
-
How to Link Text Boxes in InDesign
-
How to Italicize Text in InDesign
-
How to Override Text Wrap in InDesign
-
How to Underline Text in InDesign
-
How to Curve Text in InDesign
-
How to Highlight Text In InDesign