In today’s Illustrator tutorial, you’ll learn how to use Illustrator’s text-to-vector generator. We will discover the ease of creating four editable AI graphics: a scene, icon, pattern, and subject, based on simple text prompts. It’s mind-blowing. Let’s go!
What Is Illustrator’s Text-to-Vector Generator?
Adobe Illustrator has a new and innovative tool that allows designers to type prompts directly into the software to generate fully editable and custom vectors, in multiple styles. So you will be able to design icons for an app, beautiful scenes for a storybook, characters for a brand, and more in seconds!
Adding the new AI is quite easy. All you have to do is update Illustrator to v28.0 or higher and make sure you are connected to the internet.
Now, you are ready to get creative with AI.
How to Use Text-to-Vector in Illustrator
Step 1
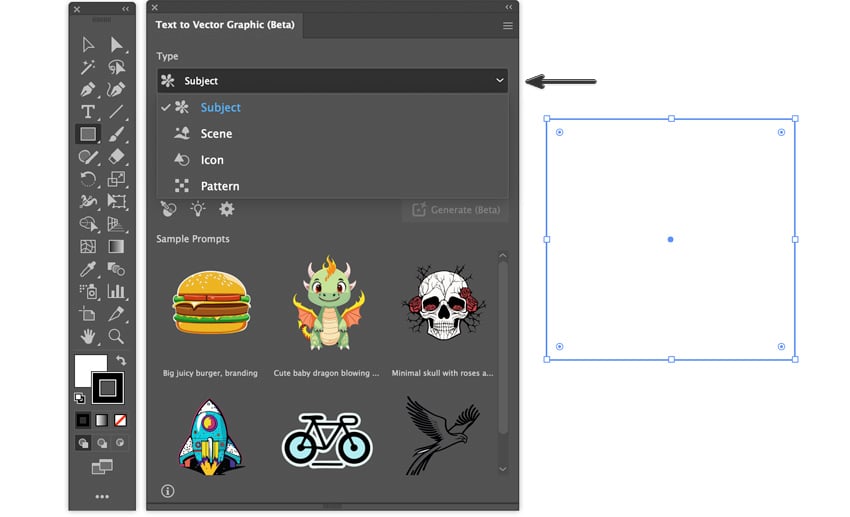
To access the Text-to-Vector Graphic generator, navigate to Window > Text to Vector Graphic (beta).
Select the Rectangle Tool (M) and draw a rectangle in the size of the graphic you want to generate.
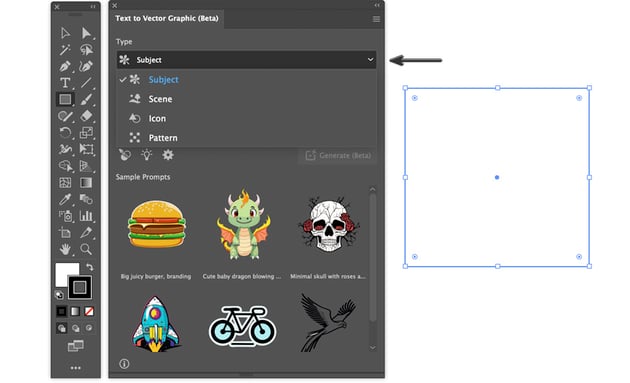
With the rectangle selected, head over to the Text-to-Vector Graphic (Beta) panel and select the Type of graphic you wish to create. You have several options to choose from:
- Subject: Allows you to generate a subject or element without a background, to add to your design or scene
- Scene: Generates a full scene
- Icon: Helps you generate a simple element without a background
- Pattern: Generates a pattern design
Step 2
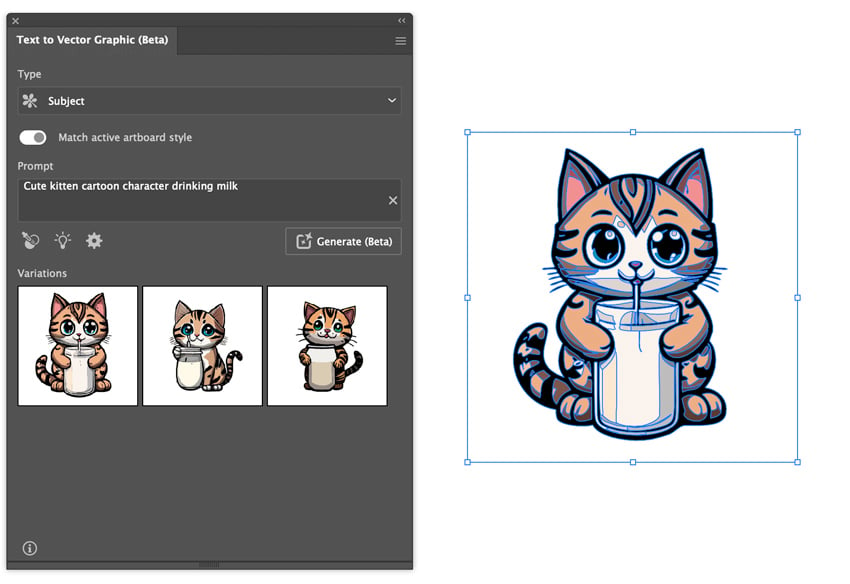
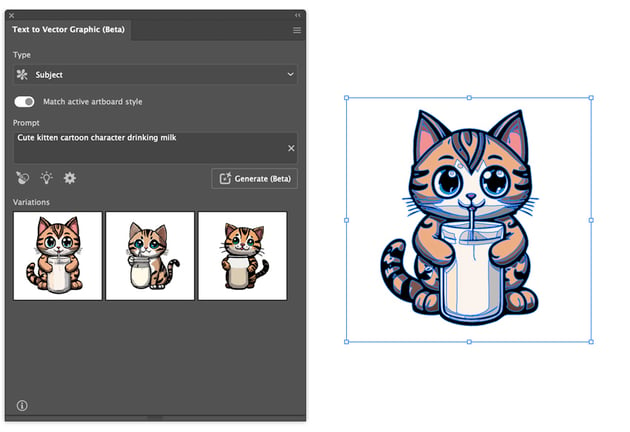
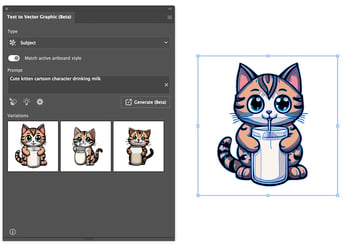
Select Subject.
Type in the Prompt a simple description of the subject you’d like to create. Then press Generate or Enter on your keyboard. Illustrator will then connect to the Firefly online engine and generate three options for you to choose from.
For example, I typed in Cute kitten cartoon character drinking milk, and three variations were created.
tip
AI allows you to type in 100 different languages to describe the subject.
Step 3
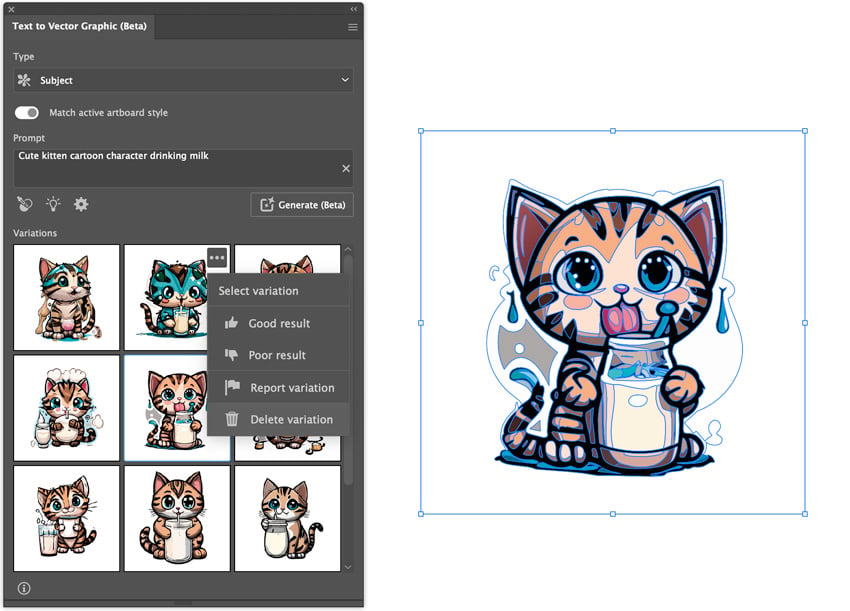
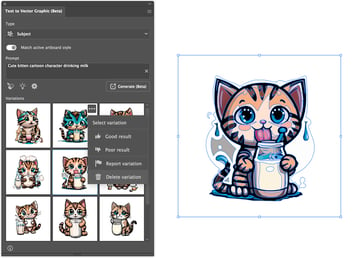
If you didn’t like the results, you can either continue to click Generate until you find the version you like or simply change the prompt description.
Another helpful tip is to Delete Variation of the variations you don’t like. AI will then generate a new set of variations based on your choices.

Step 4
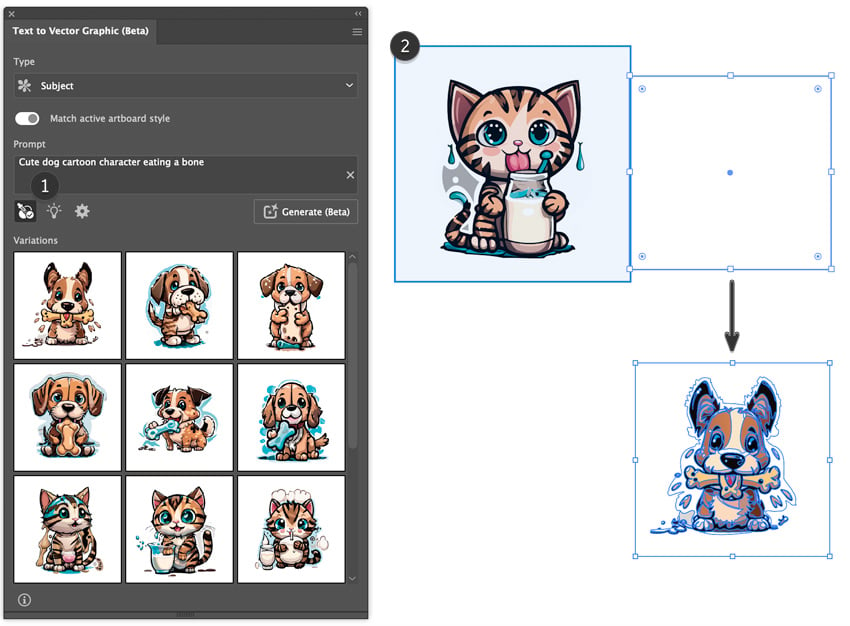
Now let’s say you want to generate another character to match the current cat style. Create another rectangle on the canvas using the Rectangle Tool (M). Under the Prompt, type in a description, for example: Cute dog cartoon character eating a bone.
Click the Style Picker under the Prompt area, and then click on the cat image you want to replicate the style of, and hit Generate. The new image will now replicate the style and color of our original cat character. Easy!


How to Generate a Scene Using Text-to-Vector Graphics
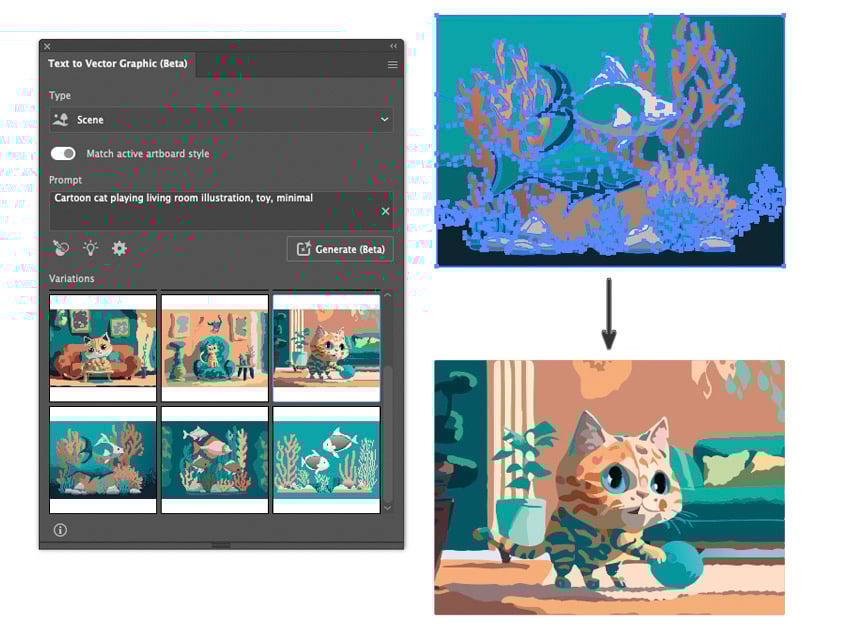
As the name suggests, a Scene graphic type composes a full illustrated scene, like a background, landscape, setting, or scenario.
Use the Rectangle Tool (M) to draw the placeholder for the vector scene that you want to generate. Then select Scene as the graphic Type.
You can either type in the desired output prompt or select a sample prompt from the panel. For this example, I decided to choose “Underwater illustration, fishes, corals, minimal” from the Sample Prompts and edited the Prompt to Cartoon cat playing living room illustration, toy, minimal.

How to Generate an Icon Using Text-to-Vector Graphics
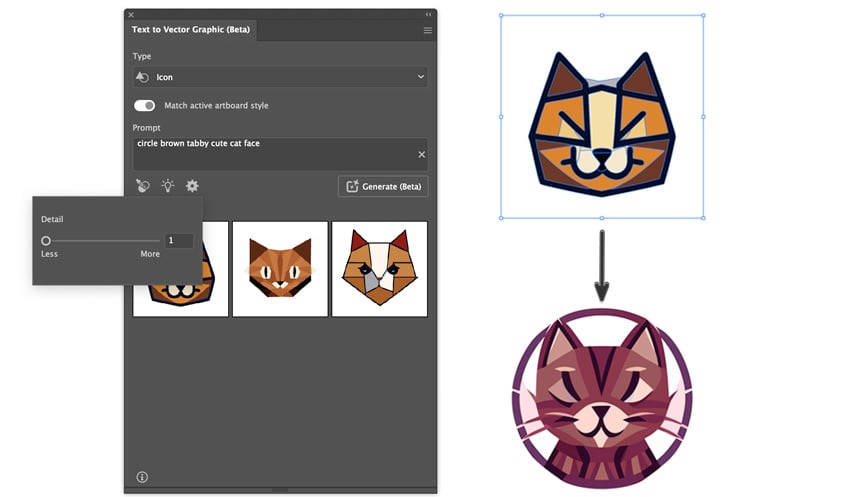
Generating an icon follows the same concept of creating a rectangle on the canvas first, then selecting the graphic Type from the Text-to-Vector Graphics (Beta) panel.
Select the graphic Type: Icon, write a descriptive text Prompt, and then select the Setting icon to adjust the level of Detail in the output. Once that’s done, click Generate.
Test out the Less or More options in the Detail setting to see which style fits better.


How to Generate a Pattern With Text-to-Vector
Step 1
To create a seamless pattern, choose an object or create a shape on the canvas. I drew an ellipse using the Ellipse Tool (E).
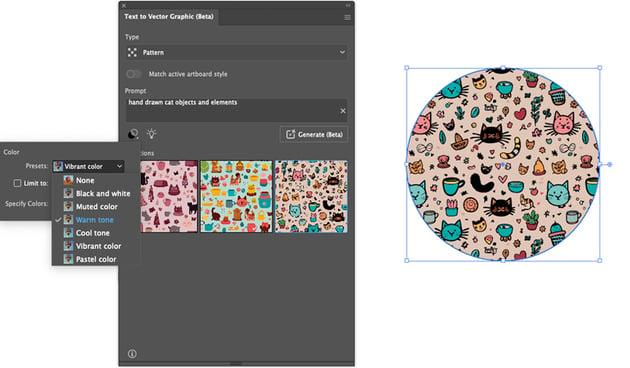
From the Text-to-Vector Graphics (Beta) panel, set the vector graphic Type to Pattern.
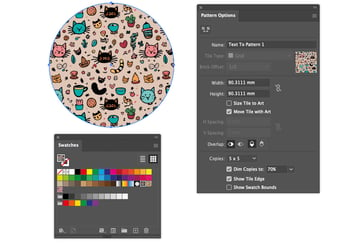
Type a description in the Prompt field—for example, I wrote hand-drawn cat objects and elements.
After that, click on the Color Controls icon to choose from the color output Presets. I chose a Warm tone. Then Generate.

Step 2
Once you have reviewed the pattern variations, select the one that fits best.
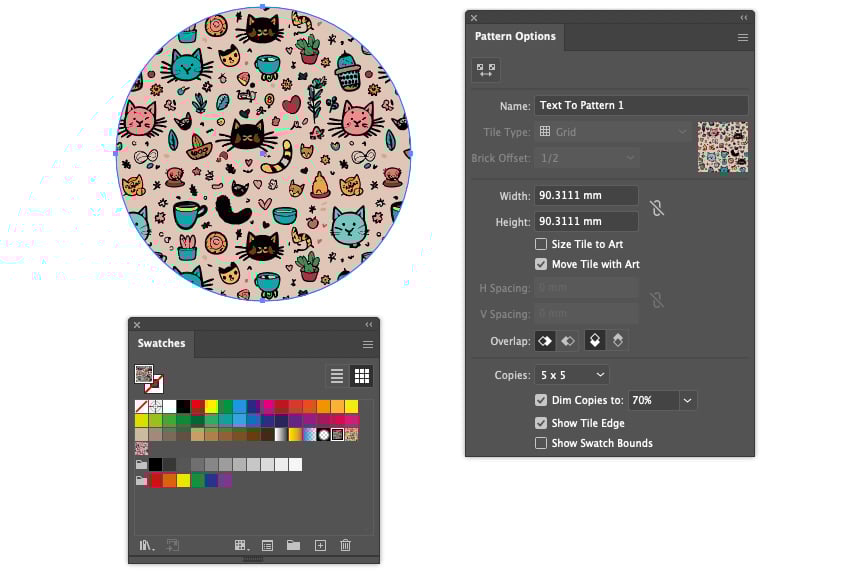
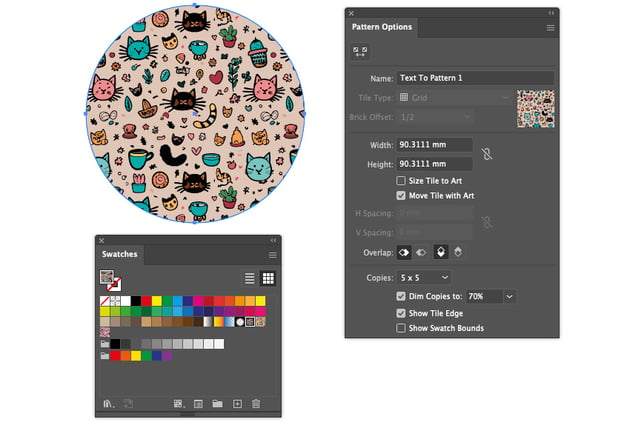
Open the Swatches panel (Window > Swatches). You will notice that the variations created get added as pattern swatches. If you double-click the pattern swatch, you open the Pattern Options panel and can edit the pattern. However, Tile Type and Brick Offset are disabled for generated patterns.
Congratulations!
You know now how to turn text into vector using Illustrator’s text to vector generator. I hope you have enjoyed this quick tip tutorial and are interested in using generative AI to create vector images and custom graphics for your future projects.
Keep in mind that this feature is in beta, so take the time to refine the prompt keywords and play with the settings.
Want to learn more about AI? Check out our other tutorials: