Editing audio can seem daunting, particularly when confronted with complex software. This is where Audacity, a free, open-source audio editing tool, shines. It streamlines the editing process, making cutting and trimming audio files a straightforward task. Ideal for podcasters, musicians, and video editors, Audacity simplifies audio editing without sacrificing functionality. By mastering Audacity, users can significantly enhance their production quality, bringing clarity and precision to their audio projects.

This guide aims to equip intermediate users with the skills needed to efficiently use Audacity for audio editing, focusing on key techniques like cutting and trimming to improve the overall quality of their work.
Cutting Audio in Audacity
Step 1: Opening Your File
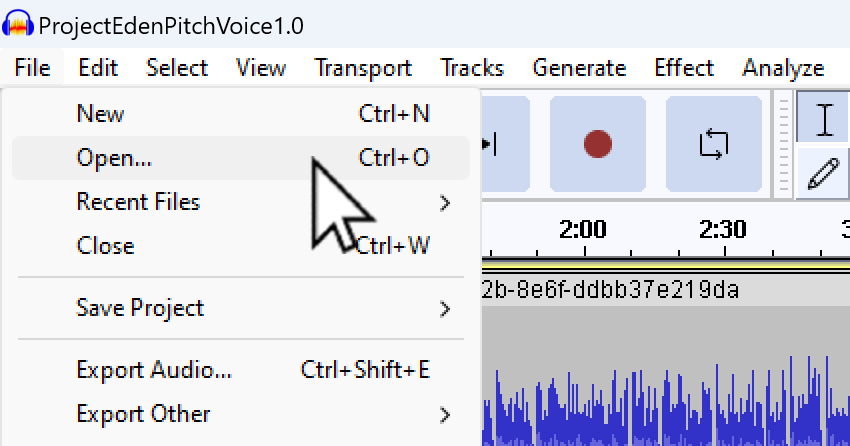
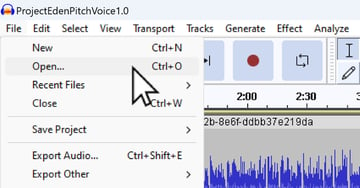
- Start by launching Audacity, a versatile tool for audio editing. Navigate to the ‘File‘ menu at the top left corner of the screen. Here, you’ll find the option ‘Open‘. Click on this to browse through your computer’s files.
- Select the audio file you want to work on. Audacity supports various formats, so whether it’s an MP3, WAV, or another common audio format, you should be able to open it seamlessly in the software.
Step 2: Selecting the Audio
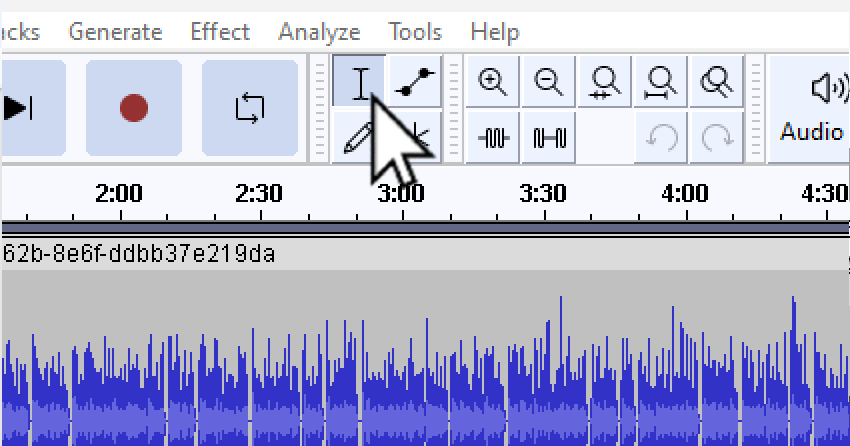
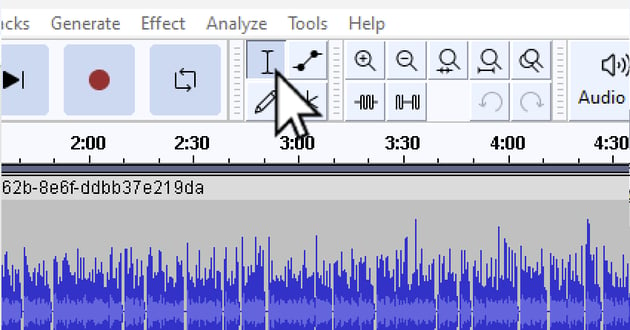
- With your file open, the next step involves choosing the specific portion of the audio you wish to cut. This is where the “Selection Tool” comes in handy. You can find this tool in the toolbar, often represented by an ‘I-beam‘ icon.
- Click on the timeline where your desired section begins, then drag to where it ends. This action highlights the part of the audio. Precision is key here, so take your time to ensure you’ve selected the exact portion you need.
Step 3: Cutting the Audio
- Once you’re satisfied with your selection, it’s time to cut. Navigate to the ‘Edit‘ menu, then to ‘Audio Clips‘, and finally, select ‘Split‘. This action isolates the selected section from the rest of the audio, making it easier to remove without affecting other parts.
- To delete this isolated section, simply press the ‘Delete‘ key on your keyboard. The selected part will be removed, leaving the rest of your audio intact.
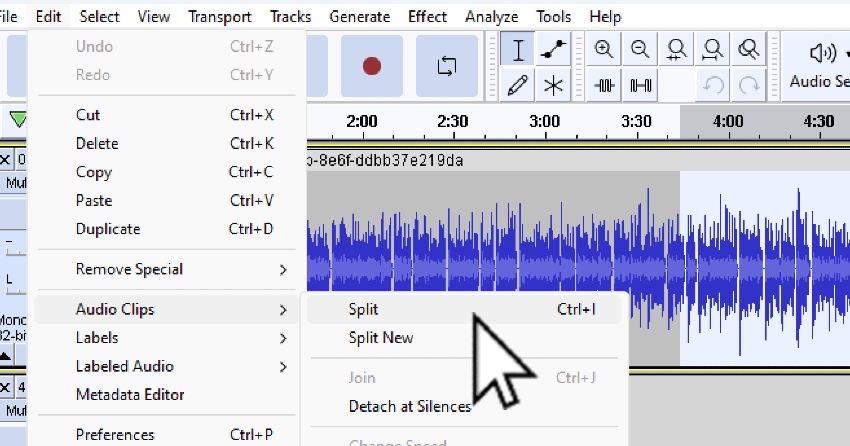
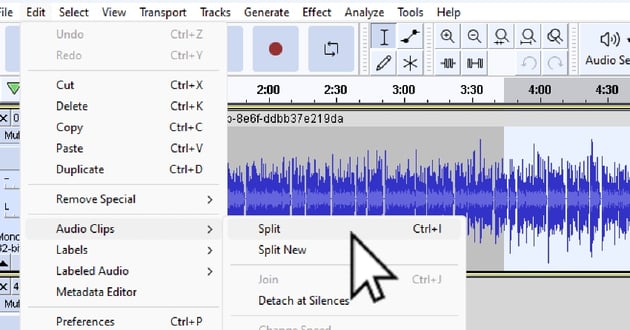
In these steps, we’ve covered the basics of cutting audio in Audacity. The process involves opening your file, selecting the exact part of the audio you want to cut, and then using the ‘Split‘ and ‘Delete‘ functions to remove it. Remember, practicing these steps will help you become more efficient in audio editing, leading to more polished and professional results in your audio projects.
Trimming Audio in Audacity
Step 1: Selecting the Portion
- Begin your trimming process by opening the desired audio file in Audacity. Once your file is loaded, you’ll use the ‘Selection Tool‘ to highlight the specific part of the audio you intend to keep. This tool is crucial for precise editing and as mentioned above, it can be found in the toolbar, typically symbolized by an ‘I-beam‘ icon.
- Also, as mentioned earlier, click at the beginning of the section you wish to retain and drag the cursor to the end. This highlights the desired portion. Accuracy is essential, so ensure your selection starts and ends exactly where you want your audio to be trimmed.
Step 2: Trimming the Audio
- After selecting the desired audio portion, it’s time to trim. Go to the ‘Edit‘ menu at the top of the screen, hover over ‘Remove Special‘, and then select ‘Trim Audio‘. This action is a crucial step as it deletes all parts of the audio except for your selected segment.
- The ‘Trim‘ feature in Audacity is a powerful tool that effectively cuts away the unwanted parts, leaving only the highlighted section. This is particularly useful for isolating desired segments in longer audio tracks.
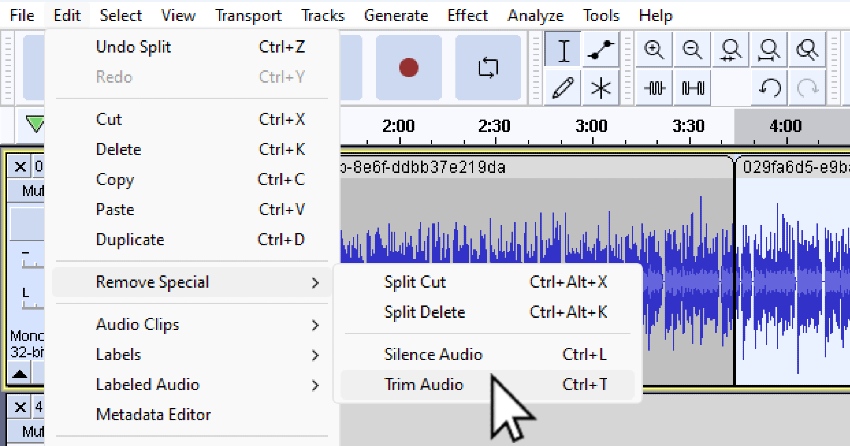
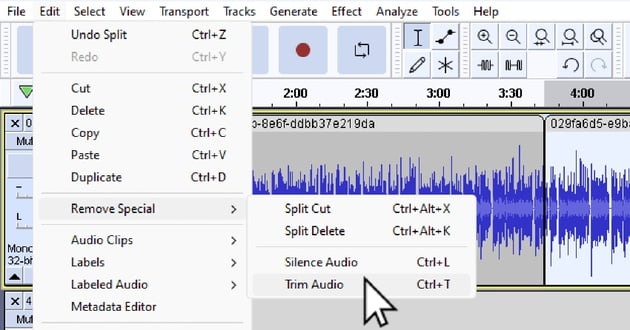
User selecting trim audio for article on Audacity how to cut audio.
Common Problems and Solutions
Problem: Difficulty in selecting the correct portion of audio.
- Solution: For more accurate selection, use the zoom feature. Navigate to ‘View > Zoom‘ and select ‘Zoom In‘, or use the magnifying glass icon. Zooming in allows you to see the waveform in greater detail, making it easier to pinpoint the exact start and end points of your desired section.
Problem: Experiencing audio distortion after cutting or trimming.
- Solution: To mitigate any harsh beginnings or endings resulting from the edit, use the ‘Fade In‘ or ‘Fade Out‘ effect. You can find these options in the ‘Effect‘ menu. Applying these effects can create smoother transitions, enhancing the overall quality of your audio.
In this section, we’ve explored the process of trimming audio in Audacity, highlighting the steps for selecting and isolating the desired audio part. Additionally, we addressed common issues like precise selection and audio distortion, providing solutions to enhance the editing experience. These techniques are vital for creating professional and polished audio segments in your projects.
Alternatives to Audacity
While Audacity is a popular choice for audio editing, there are several alternatives available, each with its unique features and benefits. Here’s a closer look at some of these options:


- Overview: EaseUS RecExperts is a versatile software that extends beyond audio recording to offer robust editing capabilities. It’s particularly suited for detailed audio work, including frame-by-frame editing, which is ideal for precise adjustments.
- Using the Tool: To use EaseUS RecExperts for audio editing, start by importing your audio file into the software. Once imported, utilize its ‘Trim’ function to edit your audio. This feature is especially useful for detailed editing where you need to make precise cuts or adjustments at specific points in the audio.
- Ideal For: This tool is highly recommended for users who require detailed editing control, such as in professional podcast editing or music production where every second counts.
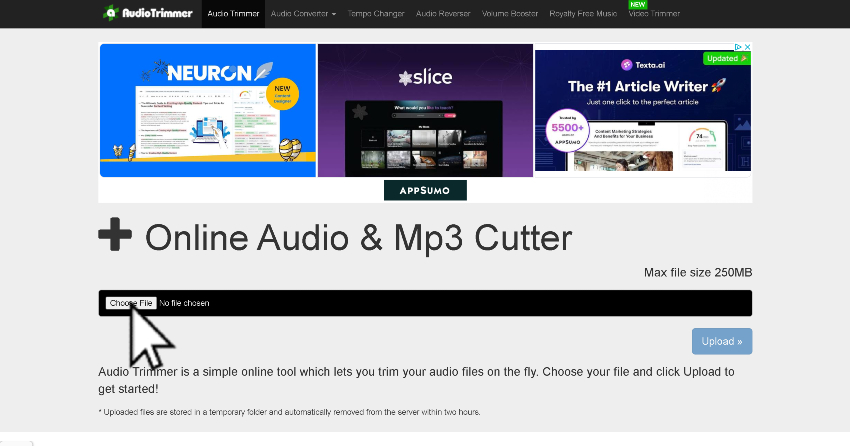

- Overview: Audio Trimmer is an online tool that stands out for its user-friendly interface, making it a great choice for quick and efficient audio trims. It’s accessible directly from your web browser, requiring no software installation.
- Using the Tool: To use Audio Trimmer, simply upload your audio file to the website. Once uploaded, select the portion of the audio you wish to trim and use the crop function to make your cuts. The simplicity of this process makes it ideal for quick edits.
- Supported Formats: It supports a range of audio formats, including popular ones like MP3 and WAV, ensuring compatibility with most audio files.
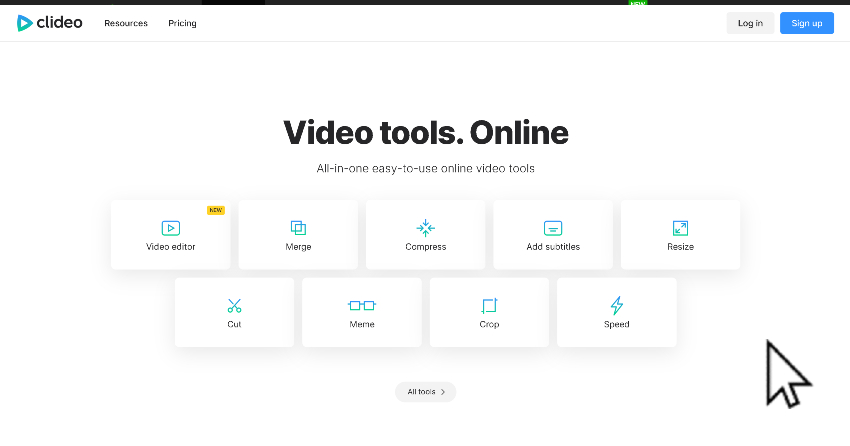

- Overview: Clideo is more than just an audio trimmer; it offers additional features such as fade effects and the ability to convert audio formats, which can be extremely useful in various editing scenarios.
- Using the Tool: To edit audio with Clideo, drag and drop your file onto the platform, select the portion you wish to edit, and then save the edited file directly to your device. The interface is intuitive, making it easy to apply additional effects or convert formats as needed.

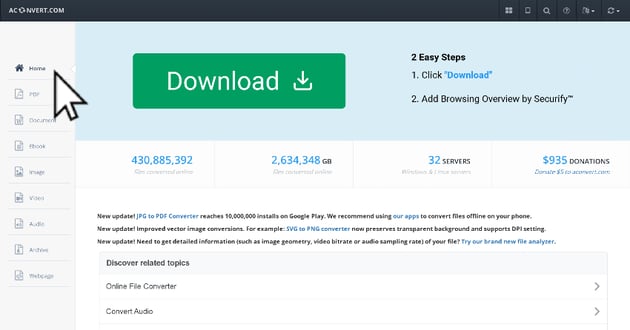

- Overview: AConvert is a versatile tool that handles a variety of file types, including audio and documents. This makes it a handy tool for more than just audio editing, offering a broader range of functionalities.
- Using the Tool: In AConvert, start by choosing your audio file. Then, set the start and end points for the portion you want to edit. Once you’ve made your selections, process your trimmed audio with ease.
Each of these alternatives to Audacity offers unique features and functionalities, making them suitable for different audio editing needs. Whether you require detailed frame-by-frame editing, quick online trims, additional audio effects, or versatile file handling, these tools provide valuable options for your audio editing projects.
FAQs about Cutting Audio in Audacity
When working with Audacity for audio editing, several questions often arise, especially regarding precision and compatibility. Here are some frequently asked questions to help guide you through common concerns:
Q1: How can I ensure precise cuts in Audacity?
- Answer: Achieving precise cuts in Audacity is essential for high-quality audio editing. To do this, utilize the ‘Zoom In‘ feature, which allows you to closely examine the waveform of your audio. This detailed view makes it easier to identify the exact points for cutting. You can access the ‘Zoom In‘ feature either from the ‘View‘ menu or by using the magnifying glass icon. Additionally, using the ‘Play‘ function to listen to the section around your intended cut can help ensure accuracy. Remember, precise cuts are key to maintaining the flow and quality of your audio.
Q2: What file formats does Audacity support?
- Answer: Audacity is compatible with a variety of audio file formats, which is one of its strengths as an editing tool. The most commonly used formats supported by Audacity include MP3, WAV, AIFF, and AAC. This range of compatibility ensures that you can work with most audio files directly in Audacity without needing to convert them beforehand. Additionally, Audacity’s ability to export edited audio in different formats offers flexibility in how you use your finished product.
Q3: Can I undo a cut in Audacity if I make a mistake?
- Answer: Yes, Audacity has an ‘Undo‘ feature, which is incredibly useful if you make an unintended cut or edit. To undo an action, simply go to ‘Edit‘ and select ‘Undo,’ or use the shortcut Ctrl+Z (Cmd+Z on Mac). This feature allows you to revert to your previous state, making it safe to experiment with different edits.
Q4: How do I merge audio tracks in Audacity?
- Answer: Merging audio tracks is a common task in Audacity. To merge tracks, align them on different tracks in the timeline where you want them to play simultaneously. Then, select the tracks you want to merge, and use the ‘Tracks‘ menu to ‘Mix and Render‘ them into a single track. This function is especially useful for creating layered audio effects or combining multiple audio clips into one continuous file.


For digital content creators, having access to a wide array of high-quality resources is crucial for enhancing their projects. Envato Elements, with its subscription-based model, offers an extensive library of professional-grade digital content, perfect for complementing your audio editing work.
From unique sound effects and music tracks to graphic templates and video clips, Envato Elements is a treasure trove for creative professionals. It’s not just an asset for those using Audacity or other audio tools, but a comprehensive resource for all aspects of multimedia projects. The platform’s ease of use and the diversity of content available make it an invaluable addition to any creator’s toolkit, opening new possibilities for creativity and professional output.
Conclusion
Audacity shines as a dependable and accessible tool for cutting and trimming audio, offering a straightforward approach to audio editing. Its robust features cater well to both novice and intermediate users, enhancing the production quality of various audio projects. However, for those seeking specific functionalities that Audacity may not provide, alternatives like EaseUS RecExperts and Audio Trimmer are excellent options, each bringing unique capabilities to the table. In your journey through audio editing, selecting the right tools can profoundly impact the quality and efficiency of your work, with Audacity and its alternatives presenting a broad spectrum of opportunities for both creative and professional audio editing endeavors.