Collage art has long been used to create a new meaning or communicate a new perspective using analog and digital materials. In this tutorial, we’ll create a Virgo-themed collage. We all know Virgos for being super organized, detail-oriented, smart, tidy, and clean. We’ll use analog tools, like magazines and scissors, to find objects that are related to this awesome zodiac sign.
We’ll also look for collage art materials from Envato to gather up images that we can’t find in magazines. And last, the biggest advantage, we’ll use digital tools like Adobe Photoshop. Using digital tools helps us use images as many times as we want, we can create multiple compositions, resize images, and change colors. Let’s get started!
What you’ll learn
In this tutorial, you’ll learn how to make a collage by mixing traditional collage elements and digital collage assets. In this tutorial, you’ll learn to:
- Use the Layer Mask tool to clean up images
- Use the Brush tool to perfect transparent background images
- Use the Adjustment Layer mask to edit a single or multiple layers
- Use different layer styles to achieve a see-through look
What you’ll need
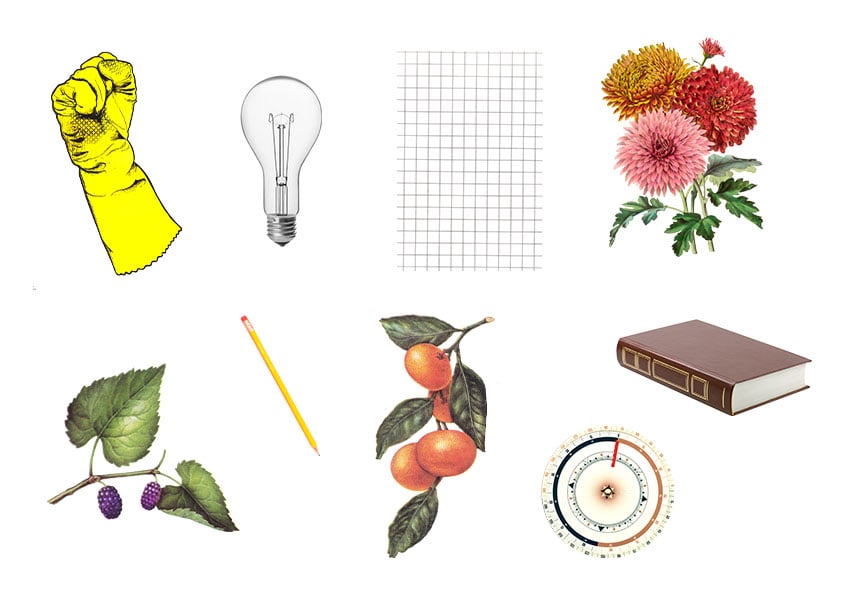
For this tutorial, the collage art materials you’ll need are old magazines to cut out different elements. I used a mix of paper cutouts and digital collage art assets from Envato:
Collage art materials collection
For this tutorial, we’ll create a Virgo-themed collage, so we’ll collect assets that are representative of this super-organized and detail-oriented zodiac sign.
In order to make a collage, especially traditional collage, we need to gather up a few tangible magazines for collage art. Old magazines, newspapers, scraps of paper—anything works here. Use a good pair of scissors or any other cutting tool like an X-acto knife. Since this tutorial is about mixing traditional and digital collage art, we won’t need any glue to compose the assets we create. Instead, you’ll need a scanner to scan the images.
We’ll also use a few assets from Envato. This is the big advantage of making a mixed media collage: if you can’t find something in a magazine, you can always browse the Envato library and find specific images or graphic assets.
Remember that if you want to follow this tutorial along with the exact assets, you can download them below:


1. Cleaning up magazine collage art
In order for our images to be usable, we need to clean them up before trying to compose the artwork. In this case, I’ll grab the scanned image files and pop them into Photoshop.
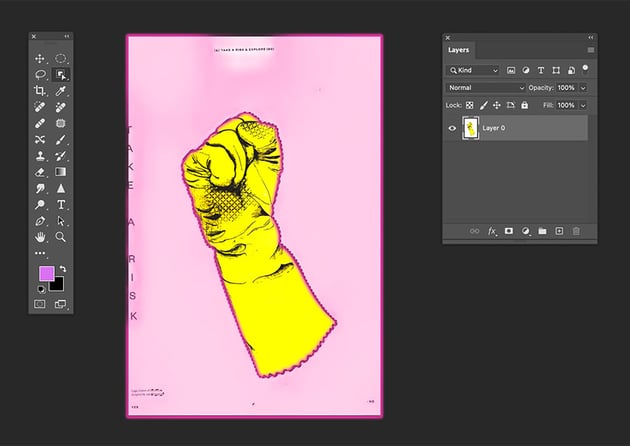
Step 1
To cut out an image, I’ll start with the rubber glove. Head over to the Tools panel and select the Object Selection Tool (W). Select the rubber gloves; the software will automatically detect the black outline on the gloves and select it.
Head over to the Layers panel and click on the lock of the background layer to unlock it.


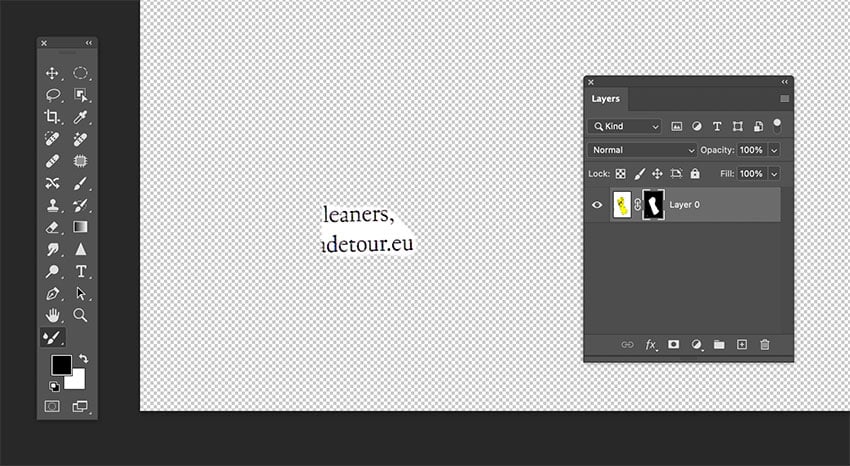
Step 2
Click on the Mask button. This step is useful to make sure that we’re only selecting the part of the image that we need. If it’s necessary to clean up the image, choose the Mixer Brush Tool (B) and use black as the foreground color to start cleaning up the areas you don’t need.
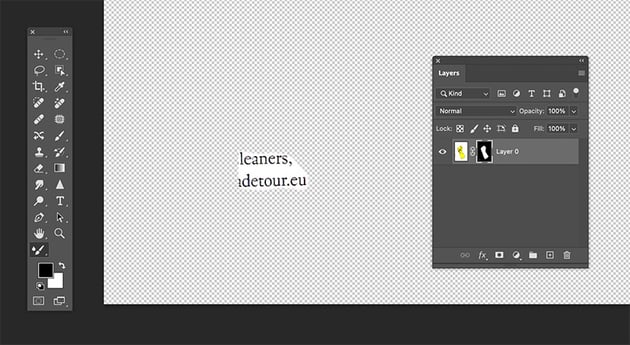

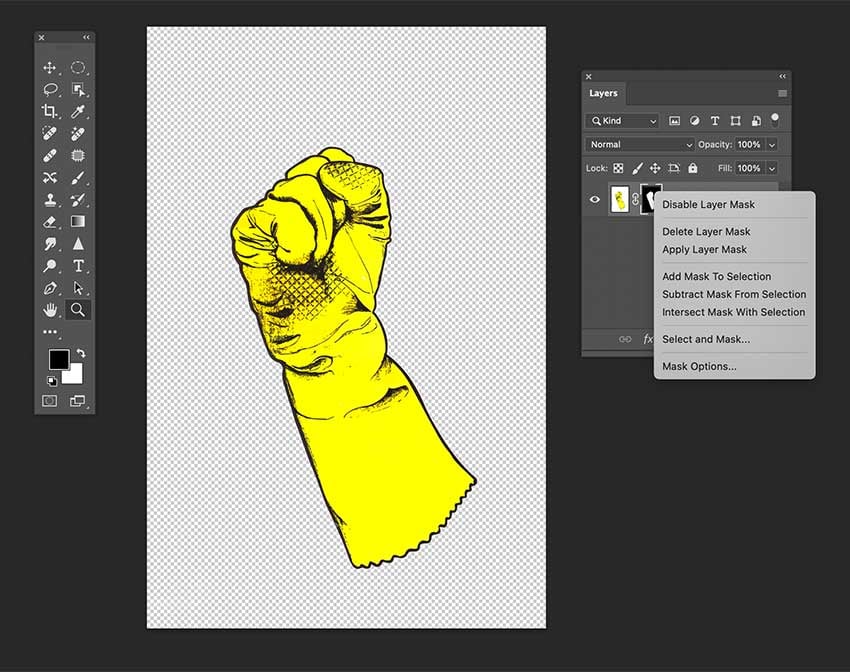
Step 3
Once the area is cleaned up, head over to the Layers panel. Right-click on the Layer Mask and select Apply Layer Mask.
We can repeat the same steps previously mentioned to clean up all the images that are directly scanned from a magazine.


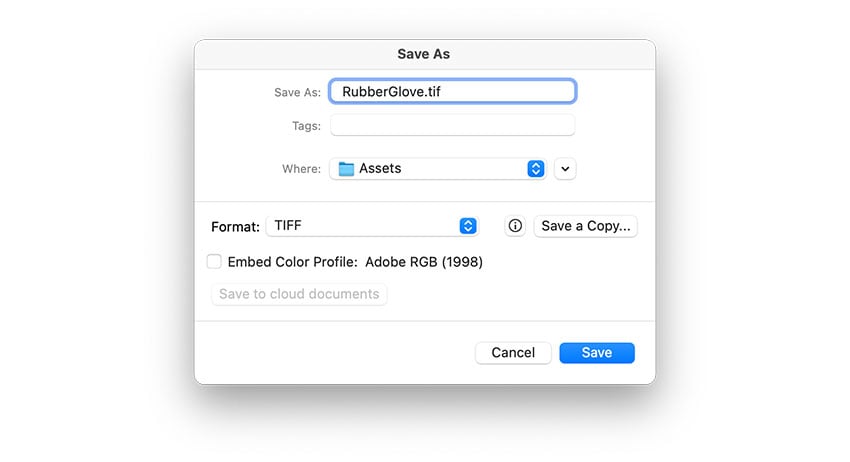
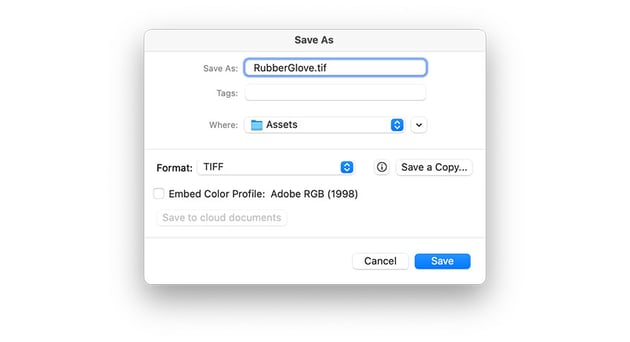
Step 4
Go to File > Save As and save the image as a TIFF file so we can use it on the main collage file. Click Save.
2. Create a Photoshop file
I want to create a collage that can be displayed on social media. So let’s create this file with Instagram post dimensions.
Step 1
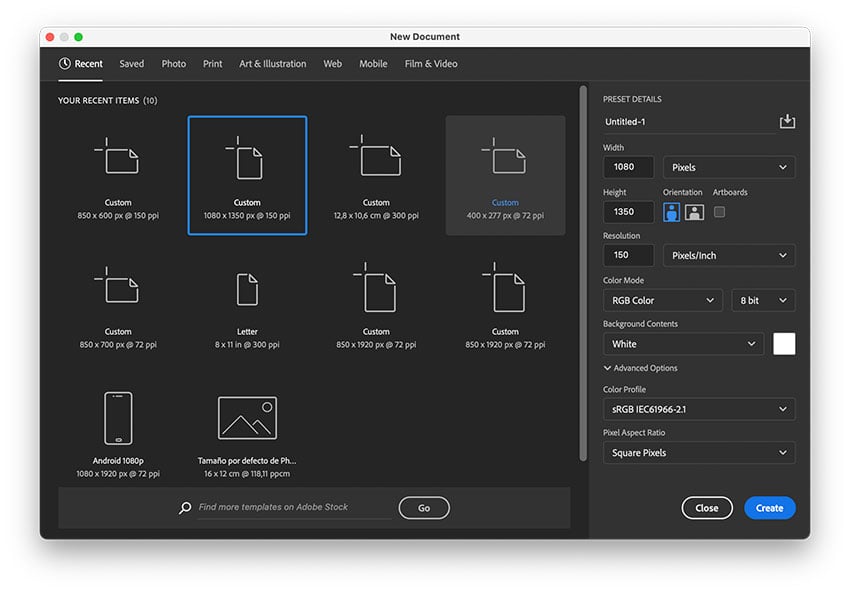
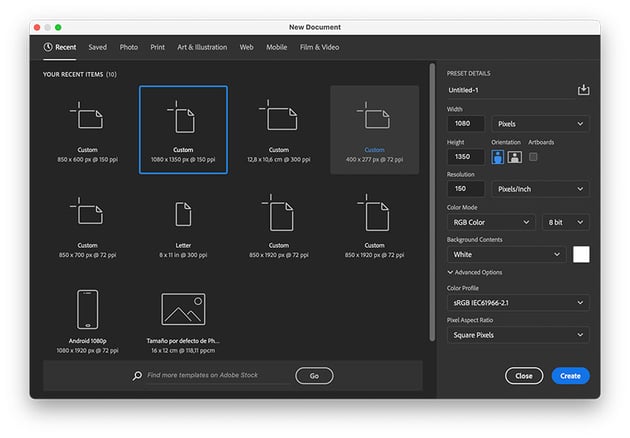
Open Photoshop and go to File > New. Set the Width to 1080 and the Height to 1350. Select Pixels from the dropdown menu next to the Width.
Uncheck Artboards if it’s checked. Click Create.
Step 1
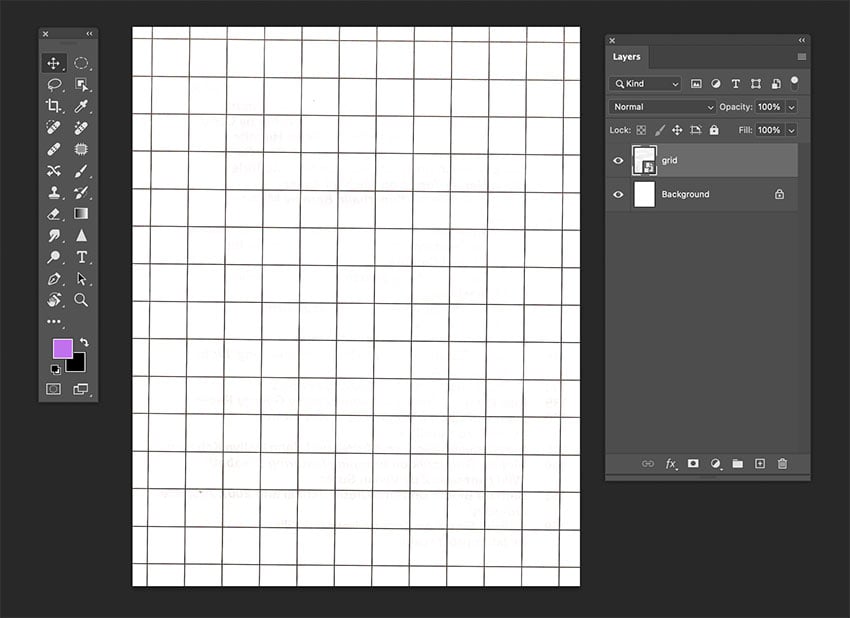
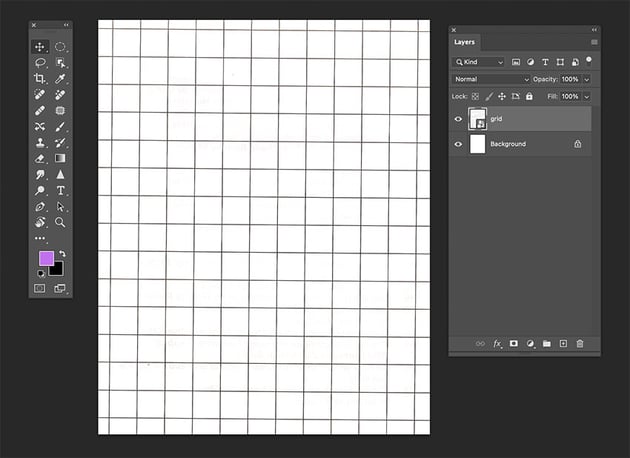
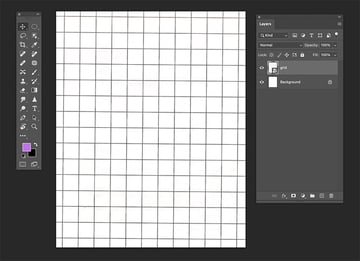
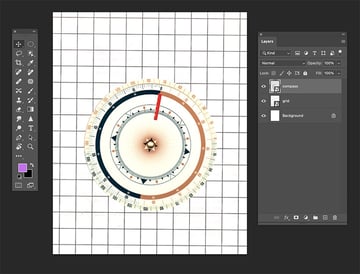
Now, we’ll start our digital collage art. Place the grid background image into the Photoshop file we created in the previous step.
Feel free to position the grid as you wish, but ideally try to fit the whole page.
Step 2
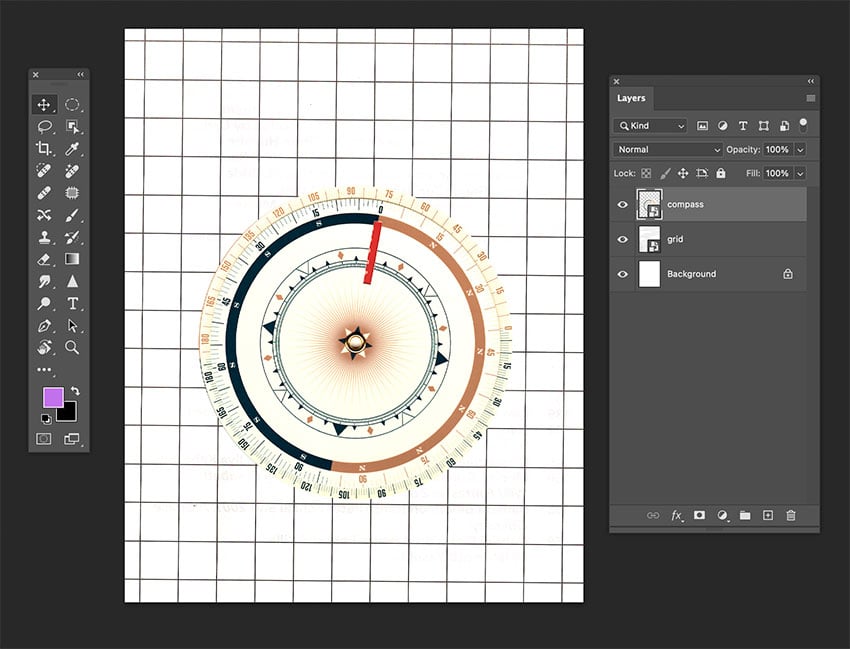
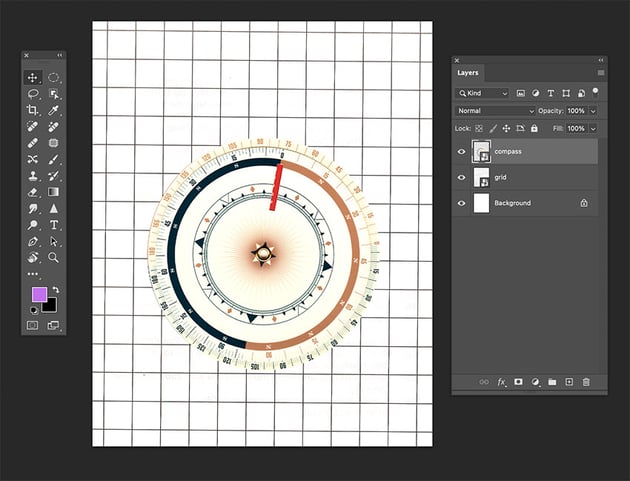
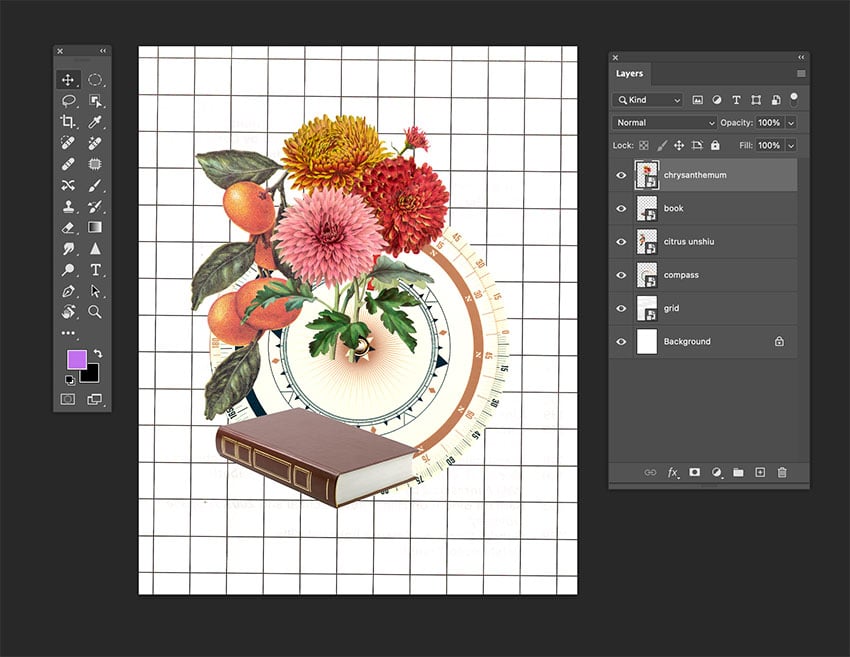
Bring in the cleaned-up Compass image file and place it in the center of the canvas.
Step 3
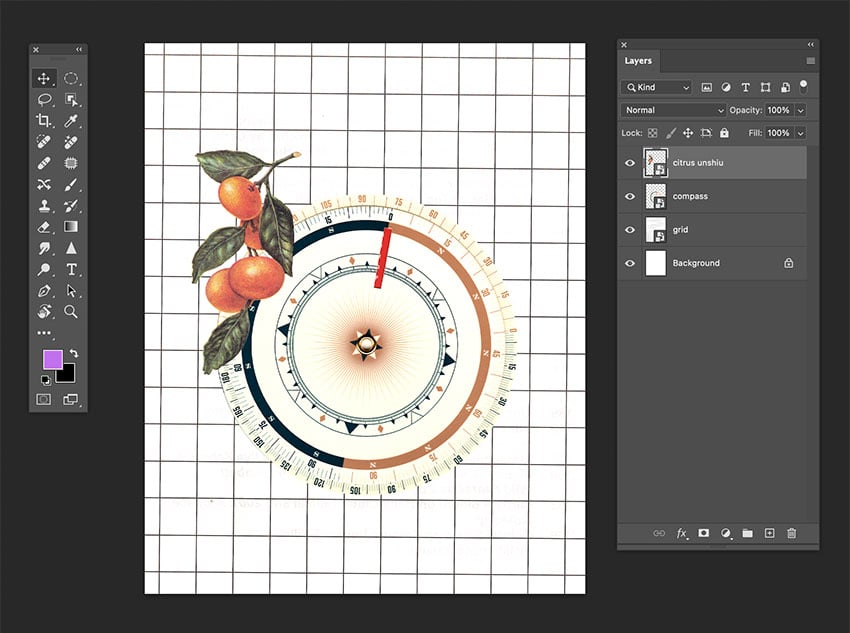
We’re also using a couple of images from Envato. Using digital assets for mixed media collage art is great as sometimes there are specific images that can’t be found in magazines, and it would take forever to come across them.
In this case, select the Citrus Unshiu image and place it into the collage file. We won’t worry about the size yet, but place this image in the top left quadrant.

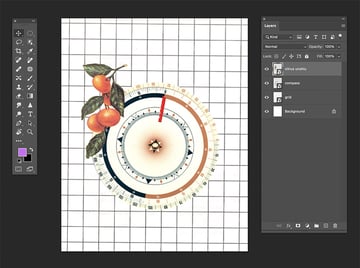
Step 4
Place the book image into the collage art file and place it in the lower left quadrant. I know I want this element to be a little smaller, so resize this image until the compass is more imposing than the book.

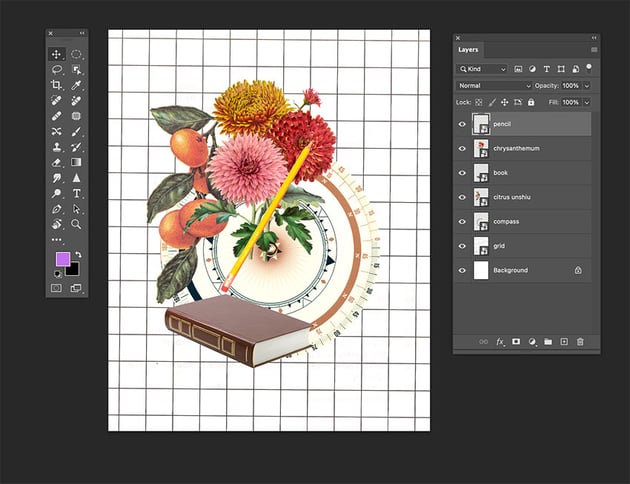

Step 5
It’s time to bring the Chrysanthemum image into the collage artwork file. I want to create the illusion that the citrus is growing from the flowers, so I’ll place this image closer to the citrus image and resize it.


Step 6
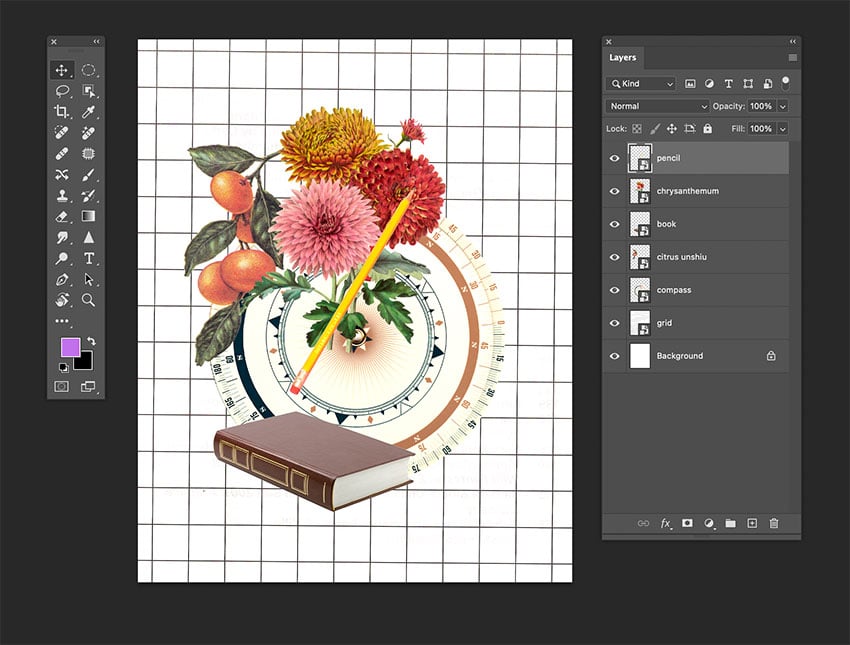
Place the pencil image into the collage artwork file. I’d like to create a collage composition, almost like a bouquet with the flowers behind. Resize the pencil and rotate it so the tip of the pencil is pointing to the top-right corner of the mixed media collage.

Step 7
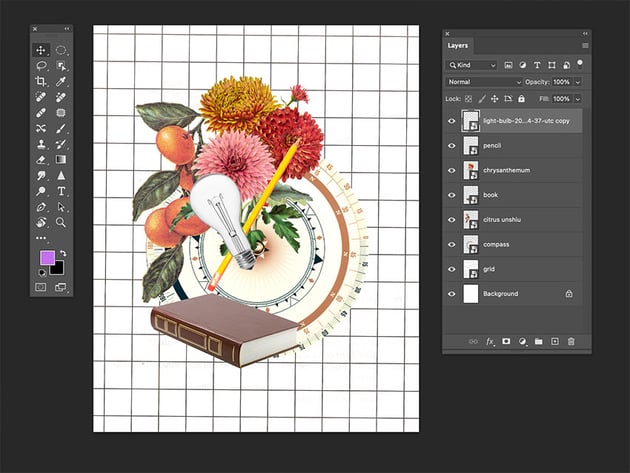
I want to do something similar with the light bulb. Place the light bulb image opposite the pencil.


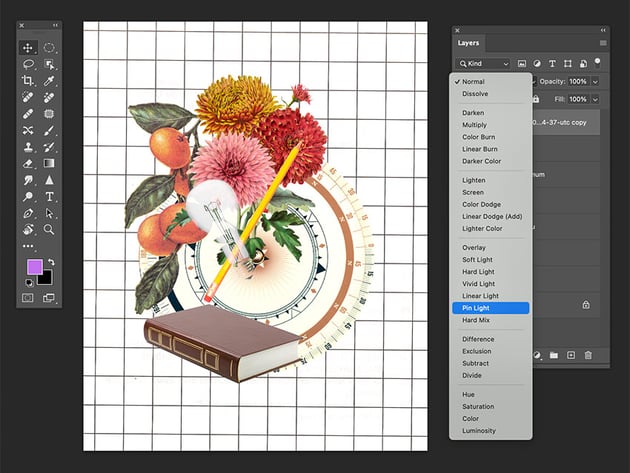
Step 8
Since a real light bulb is see-through, this image requires a bit of work. Go to the Layers panel, select the Pin Light layer style, and set the Opacity to 70%.


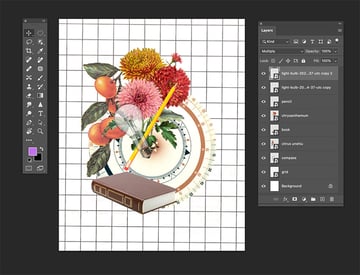
Step 9
On the Layers panel, select the light-bulb layer and duplicate it. This time, select the Multiply layer style from the dropdown menu. This will add the definition we need on the edges, while having a see-through look.


Step 10
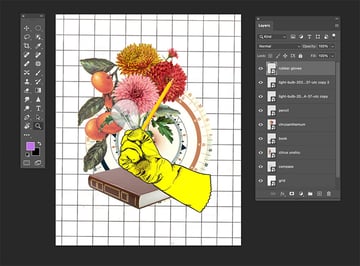
Bring the rubber glove image into the collage artwork file. I want to create the illusion that the rubber glove is holding the bouquet created in the top half of the image. Resize and rotate as needed to achieve that look.


Step 11
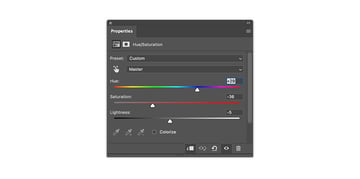
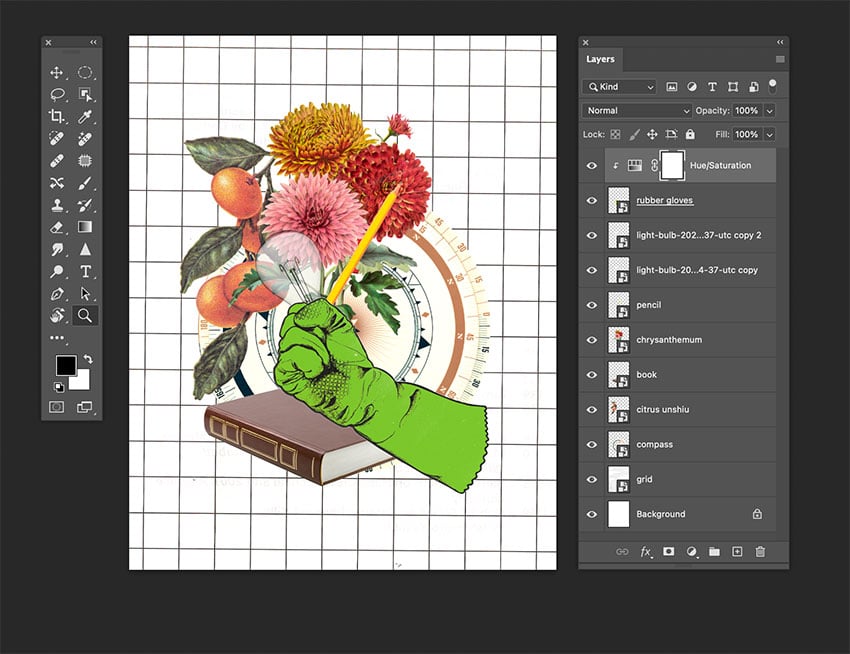
I find the rubber glove image too bright, so let’s change the color. The advantage of creating mixed media collage art is that we can alter different things digitally to make these images fit the composition better.
Go to the Layers panel, and choose Create New Fill or Adjustment Layer > Hue/Saturation. In the Properties panel, set the Hue to +29, Saturation to –36, and Lightness to -5.


Press Option, hover between this layer and the rubber glove image, and click. This ensures that the adjustment layer will only be applied to the layer below.


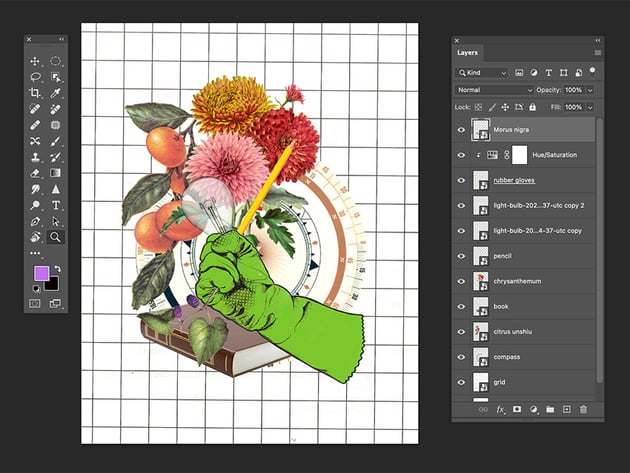
Step 12
Add the Morus Nigra image to the mixed media collage art file. I want the plant to look as if it’s being held by the rubber gloves. Place it in the lower part, right at the center of the grip. Rotate and resize the image as you like.


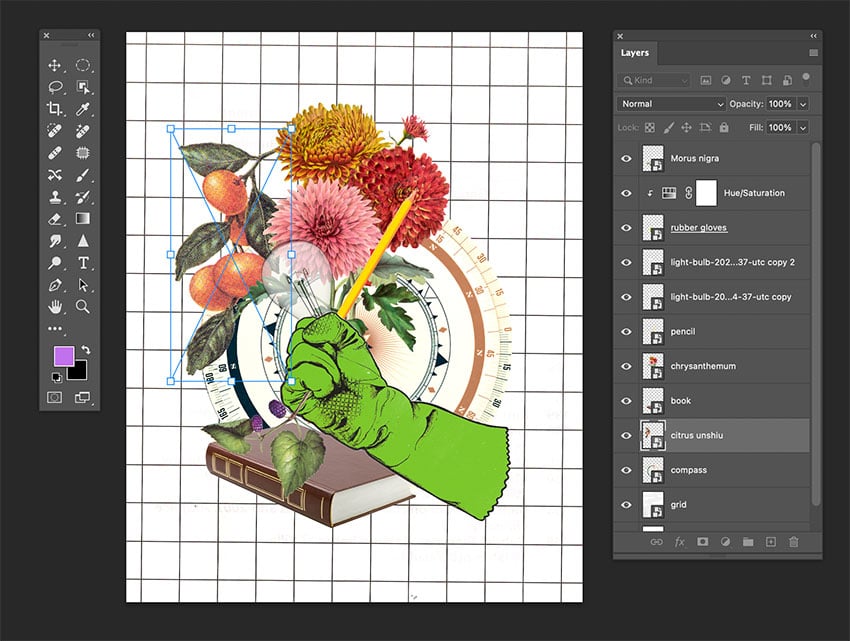
Step 13
Collage art is all about editing, resizing, changing colors, adding, and taking elements off to create a beautiful composition. In this case, we can make some adjustments in the case of the citrus plant behind the chrysanthemum.

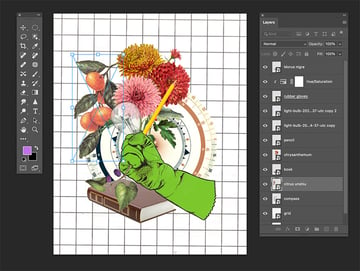
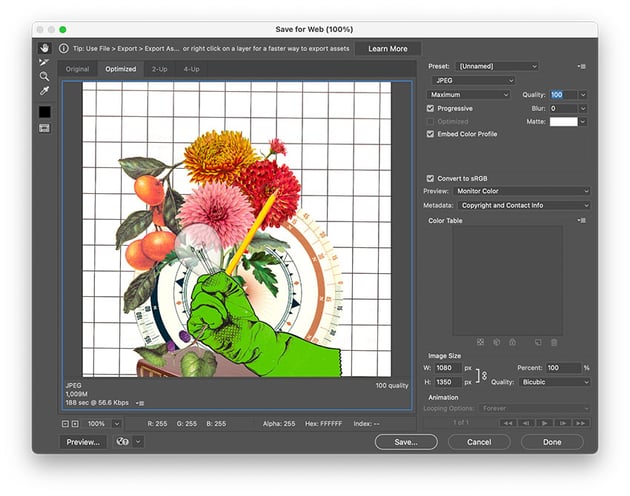
Head over to File > Export > Save for Web. Select the file type you want to save the document in—I’m choosing JPEG—and set 100 for the Quality. Under Image Size, you can change the pixel size of the image if you have any size constraints.
On the bottom left-hand side, you can see a preview of the size of the file. This is useful when there are size constraints on a website and you need to lower the quality or size of the image.
Click on Save… to choose the location in the new window, and click on Save again.


Congratulations! You’ve finished this tutorial
I hope you found this tutorial helpful. Mixed media collage artwork is fun to make as it mixes different tangible materials and digital assets. Looking through magazines for images that can work in a composition can be fun, and these compositions can turn out to be super creative. Enjoy creating more mixed media collage art!
If you liked this tutorial and you need more collage art ideas, you might like: