About Jurassic Park
Jurassic Park is a sci-fi media franchise based on the plot of the original Michael Crichton novel of the same name. Most importantly, the term refers to a series of themed movies and logos.
The name Jurassic Park and the story of cloned dinosaurs have also featured in many documentaries, literature, video games, brand toys, amusement park attractions, and even comics throughout the years. Let’s find out more!
When did it all start? 65 million years ago?
The story of the Jurassic Park logo, called Logosaurus by fans, begins with a creature, but not just any creature: the big Tyrannosaurus Rex, a.k.a T-Rex, a fearsome dinosaur that has fascinated us for generations. No wonder that this majestic, bloodthirsty creature became Jurassic Park‘s top star.
To understand the origins and find out who designed the Jurassic Park logo, we need to take a step back in time.
All the Jurassic Park logos: Style and evolution
The first film revolutionized the way we perceive dinosaurs and brought them roaring back to life on our screens. It was released in 1993, directed by Steven Spielberg, whose directorial expertise and passion for this project played a significant role in elevating Jurassic Park into a cinematic masterpiece and a pop culture phenomenon. Due to its huge success, numerous sequels and spin-offs followed.
So far, there are six films in the Jurassic Park franchise: Jurassic Park (1993), The Lost World: Jurassic Park (1997), Jurassic Park III (2001), Jurassic World (2015), Jurassic World: Fallen Kingdom (2018) and Jurassic World Dominion (2022). Each film has an impressive logo. They are not identical, but they share the same base design.
The Jurassic Park visual identity is based on the original logo, created for the brand in 1993, but with each new movie release, the logo was updated and modernized.
The main colors of the Jurassic Park visual identity are red and black, while yellow and white are used as additional colors to create a stronger contrast. With the evolution of the logo over the course of 30 years, the color palette changed as well, replacing the iconic bloody red with cold blue and metallic gray, emphasizing the sense of danger. Let’s take a closer look at all of them. Which one do you like the most?
Jurassic Park: Interesting facts
Are you still wondering what makes Jurassic Park special? It’s much more than just a huge movie hit from 1993. It’s a thrilling world filled with adventures and danger, compelling characters, groundbreaking effects, memorable music, and a storyline that makes us jump out of our seats. Let’s find out some of the most interesting facts about it.
The fictional park
Jurassic Park is not based on a true story. It is a work of fiction, and so is the location. The fictional island of Isla Nublar, where Jurassic Park is located, was made to look real using various filming locations like California and Hawaii.
Groundbreaking special effects
It was the first film to use convincing computer-generated dinosaurs (CGI), which revolutionized the industry and set a new standard.
Realistic animatronic dinosaurs
Jurassic Park also used realistic animatronic dinosaurs. Stan Winston and his team were responsible for creating the incredibly detailed creatures, and they did a fantastic job. Very skilled puppeteers brought them to life during filming to add an extra layer of realism.
Iconic movie line
While facing the decision to bring dinosaurs back and explaining how a population of entirely female dinos wouldn’t pose a problem in terms of reproduction, Dr. Ian Malcolm, played by actor Jeff Goldblum, responds with his famous line, “Life, uh, finds a way”, which remains one of the most quoted lines in the franchise.
Iconic scenes
The film is filled with thrilling and heart-pounding scenes which were created using a combination of animatronics and CGI. From the first moment we all lay eyes on a living, breathing dinosaur, to the iconic T-Rex attack, the kitchen scene involving Velociraptors achieved by actors in raptor suits and the intense Jeep chase. They were all rehearsed extensively to be as believable as possible making them the most thrilling and memorable moments in film history.
The power of sound
The sound is crucial in creating the immersive experience. The team used various never-heard-before sound combinations, including a lion’s roar mixed with a tiger and an alligator hiss.
The unique sound made by the Dilophosaurus was created by combining the sounds of a howler monkey, a hawk, a swan, and a rattlesnake.
The distinctive hissing sound made by the Velociraptors was a combination of turtle noises, goose hisses, and the sound of a swan’s wing movements. This made the dinosaurs sound scary and real. Fascinating, right?
Memorable soundtrack
The memorable and thrilling soundtrack of Jurassic Park was composed by the legendary John Williams. The film’s music continues to be recognized to this day and helped turn it into a cinematic perfection.
Box office records and awards
Jurassic Park is one of the highest-grossing films of all time. It also won three Academy Awards for Best Sound, Best Sound Effects Editing, and Best Visual Effects. People still talk about the special effects.
The film’s cultural impact
Jurassic Park with all its iconic moments and memorable characters had an immense impact on popular culture. Its success paved the way for a franchise that continues to thrive today, with amazing sequels, theme park rides, and merchandise.
It is a timeless classic that has captivated audiences for over 30 years and will forever be considered a groundbreaking masterpiece. In 2023 we celebrated the major event and a special Jurassic Park 30th anniversary logo was designed. What a success!



What you’ll learn in this tutorial
Now that you know all about this famous logo, let’s recreate it step by step in Adobe Illustrator. Here’s what we’ll cover:
- How to draw the Jurassic Park dinosaur
- How to draw the Jurassic Park logo badge
- How to color the Jurassic Park logo
- How to make the Jurassic Park font
Tutorial Assets
You’ll need the following resources in order to complete this project:
1. How to make a new document in Adobe Illustrator
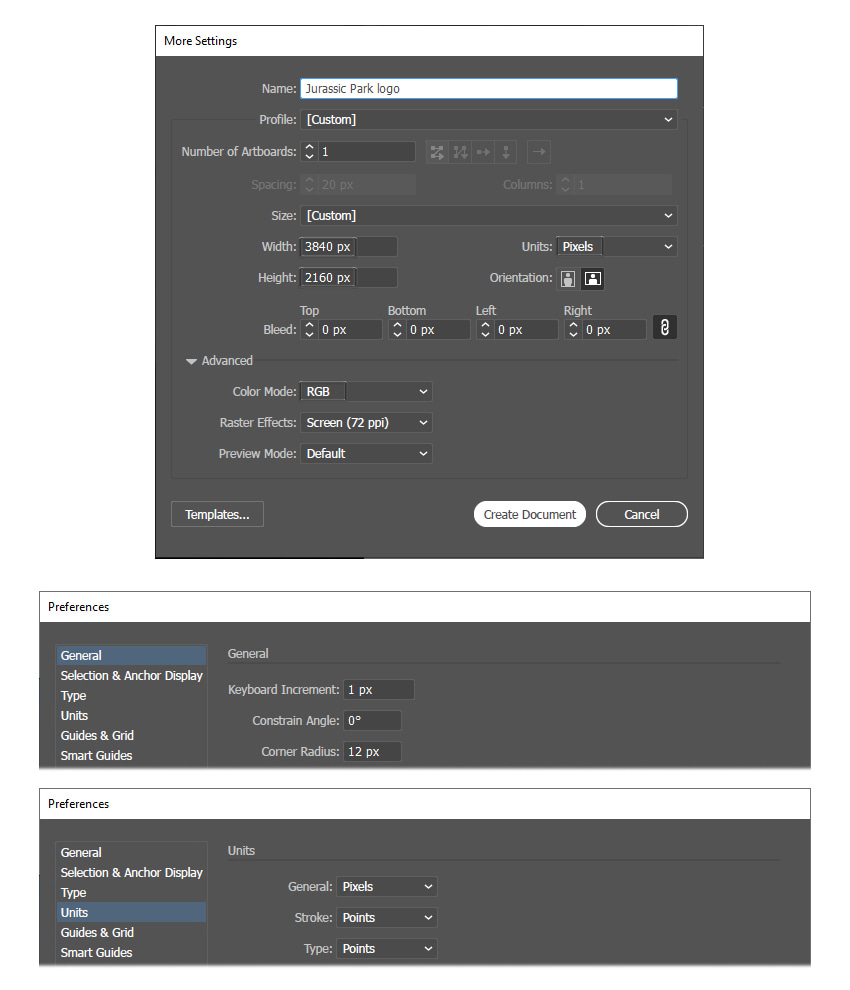
Launch Illustrator and go to File > New to open the New Document window. There, type the name of the document and set the dimensions as shown. Keep the Units set to Pixels and the Color Mode to RGB. Once you’re done, hit Create Document.
In the image below, you can see the other settings that I prefer to use while working in Illustrator. You can access them by going to Edit > Preferences.
2. How to draw the Jurassic Park dinosaur
Step 1
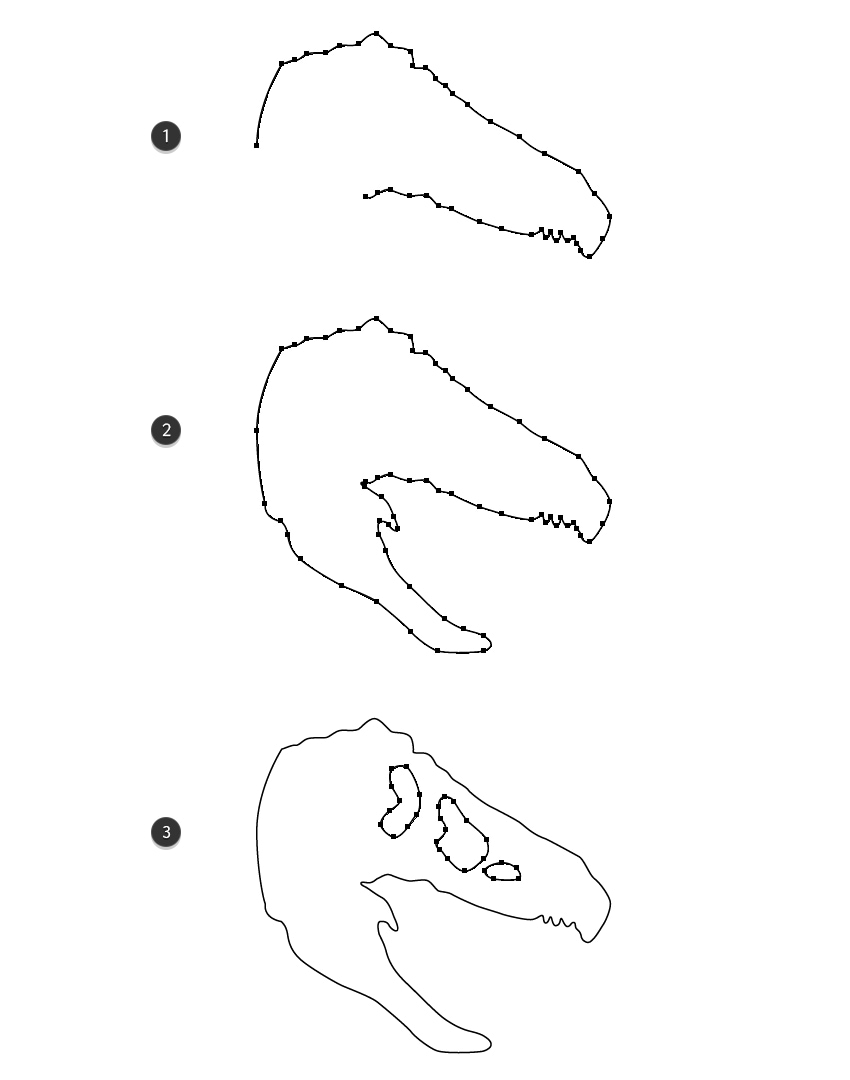
Let’s start by drawing the dinosaur, which is the main attraction of the original Jurassic Park logo.
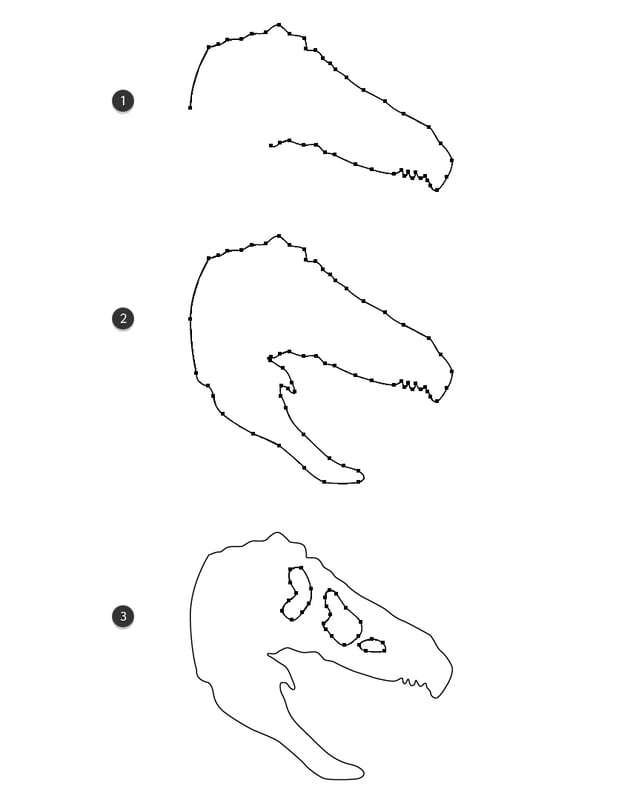
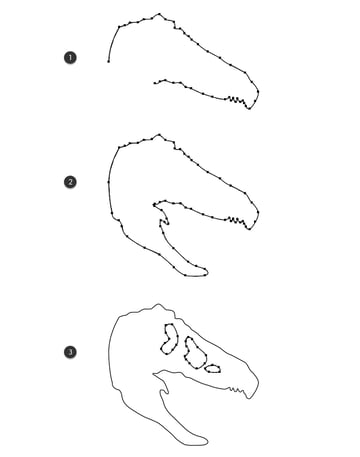
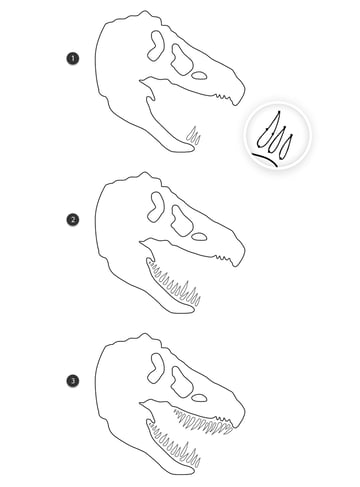
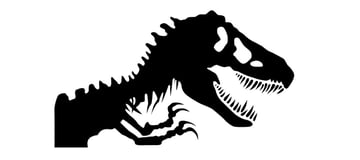
Grab the Pen Tool (P) or the Pencil Tool (N) and start to draw the shape of the skull (1). Continue with the lower jaw, and at the end, make sure that the shape is closed (2). Next, draw the three holes, and the skull is almost done (3).
Step 2
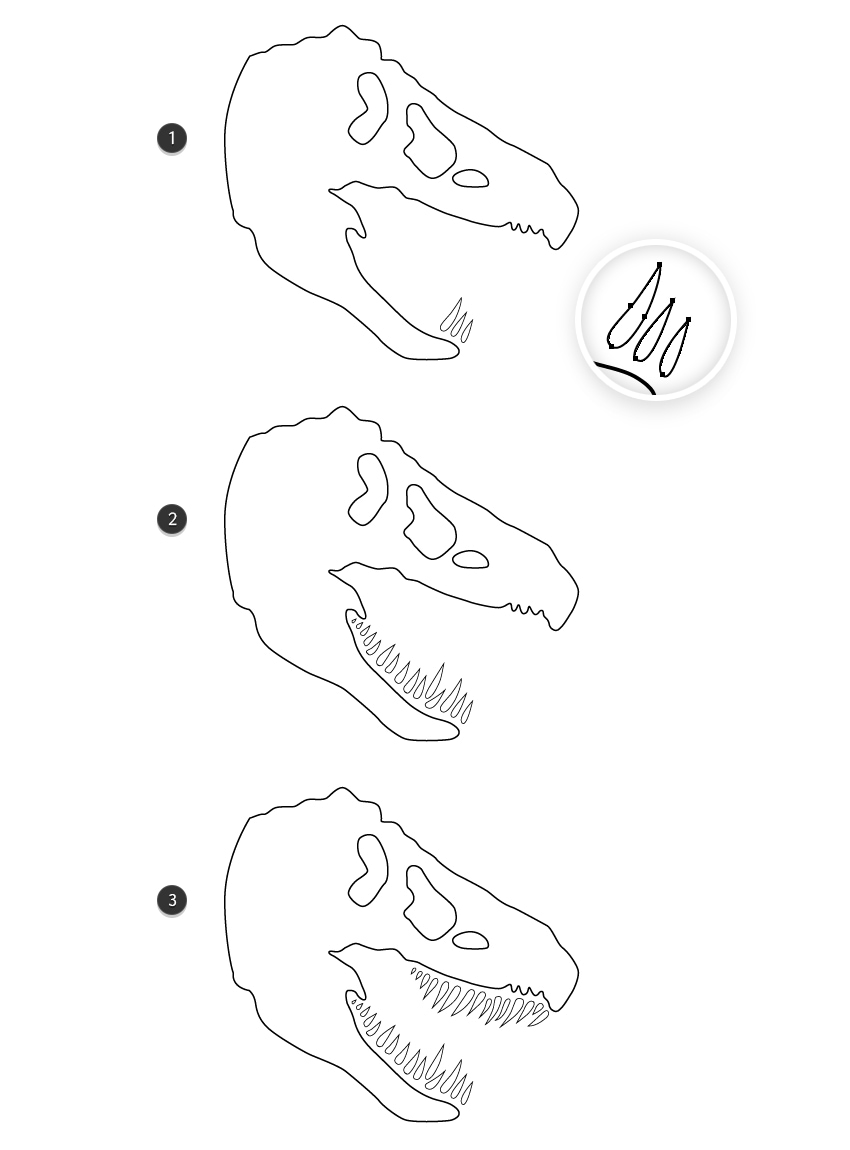
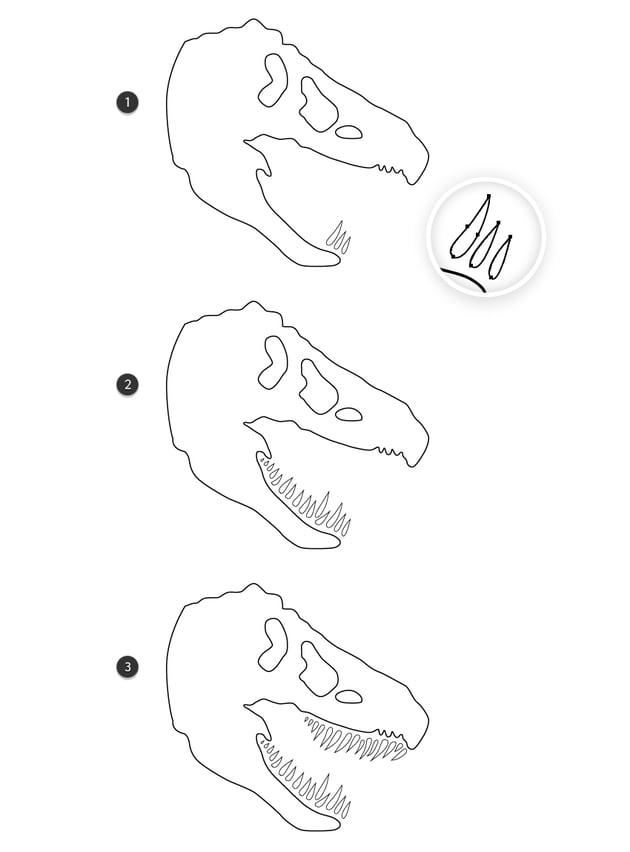
Let’s complete the dinosaur skull with some sharp teeth. Use the Pen Tool (P) to draw a bunch of pointy elongated shapes, as shown in the close-up (1). Make them slightly different from each other and smaller as you go towards the inside of the mouth (2).
Once done, draw the upper teeth in the same way (3).
Step 3
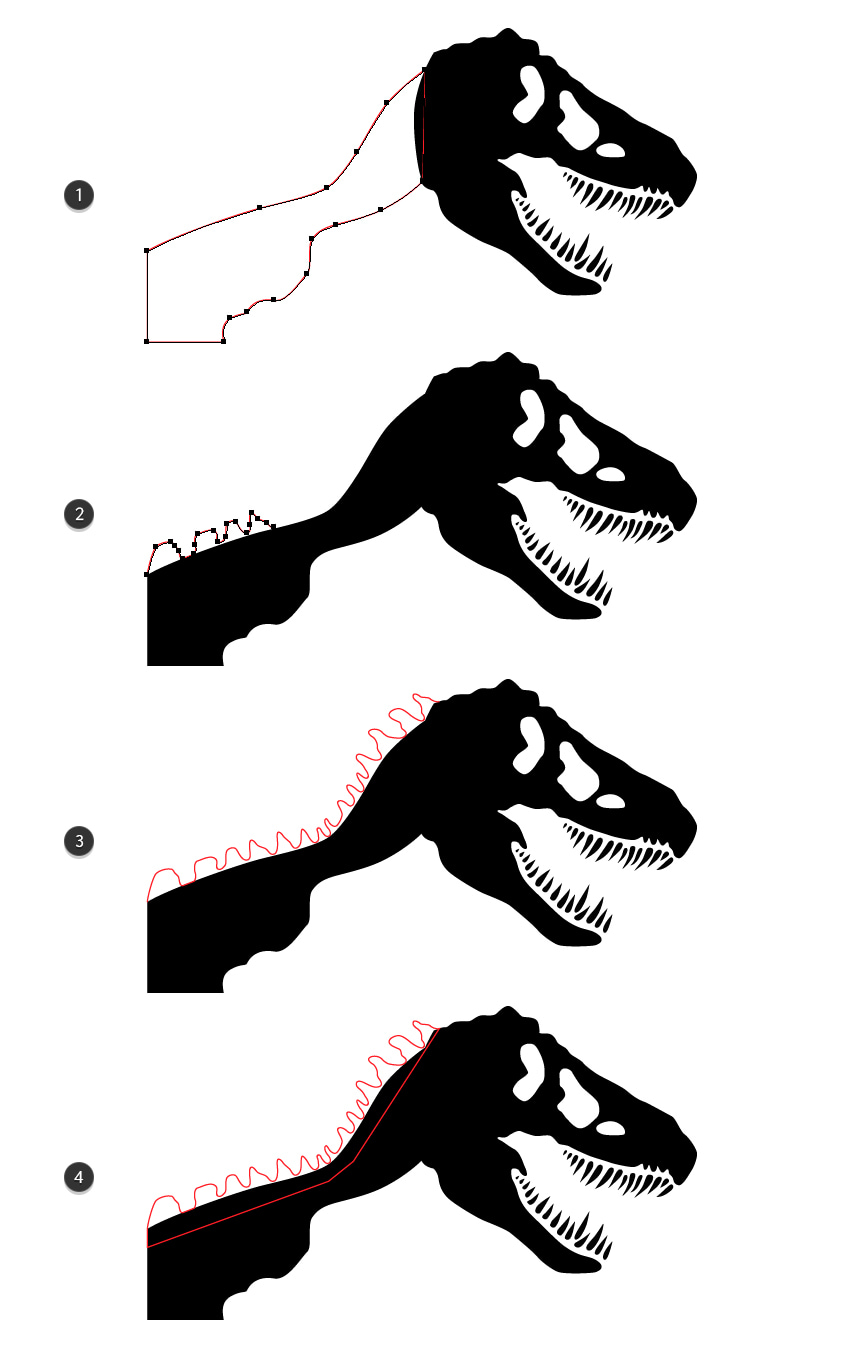
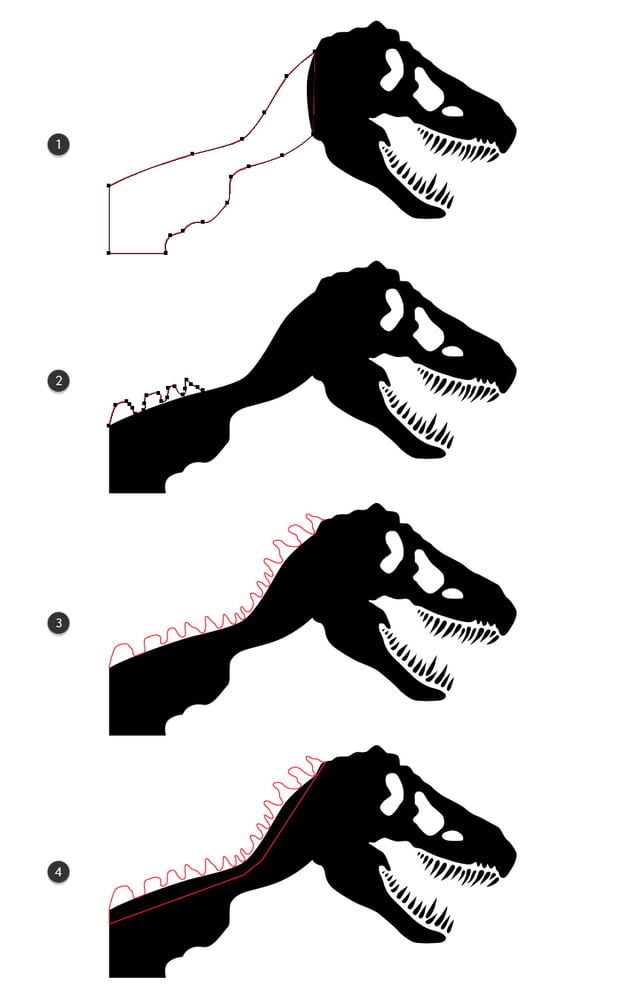
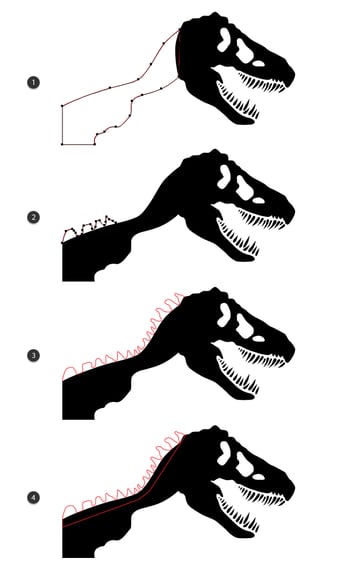
The skull is complete, so you can switch the stroke to a black fill. Now, go ahead and draw a shape to define the body of the dinosaur (1). Follow the top curve of the back and begin to draw a wavy path using the Pen Tool (P) or the Pencil Tool (N) as the spine (2). Go up to the back of the head (3), and once done, make sure to close the path at the bottom (4). Give it a black fill color.
Step 4
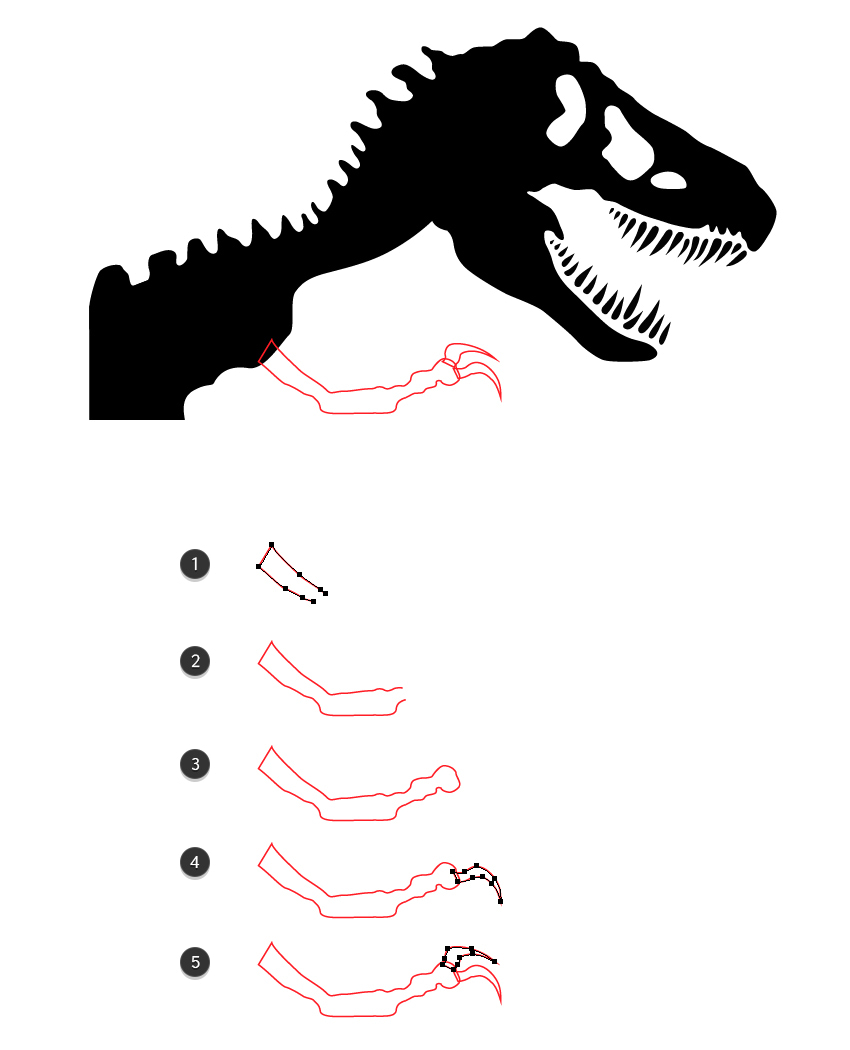
We’ll continue with the arms. Follow the sequence of images and draw one of the arms using the Pen Tool (P). The final things to draw are two very sharp and scary claws.
Draw the second arm in a similar way, and then set the fill color to black. See the next image.
Step 5
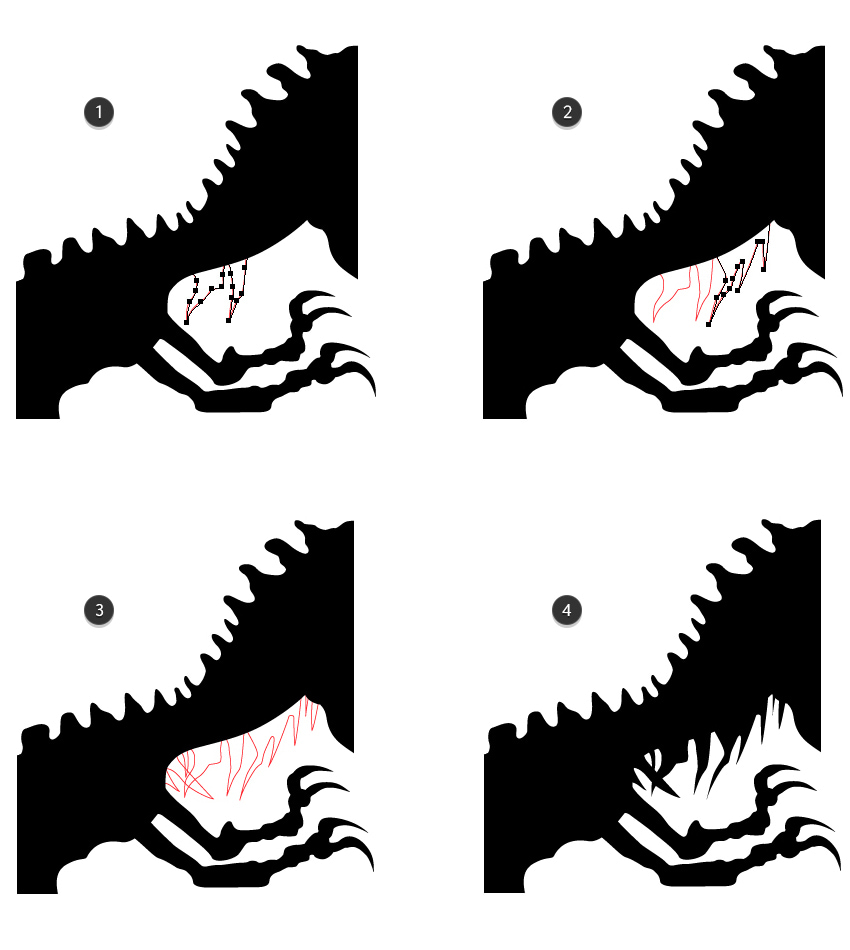
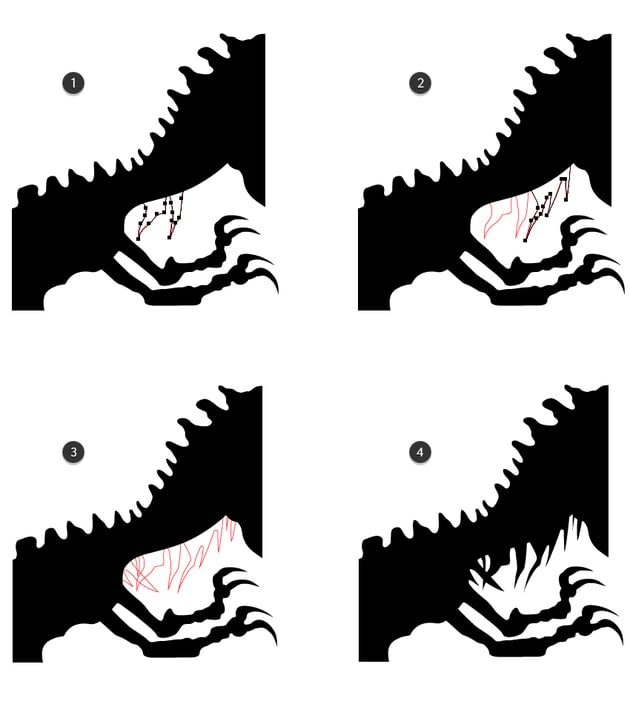
To add more drama, focus on the neck area and start to draw a few shard-like shapes using the Pen Tool (P). Give them a black fill color at the end.
Step 6
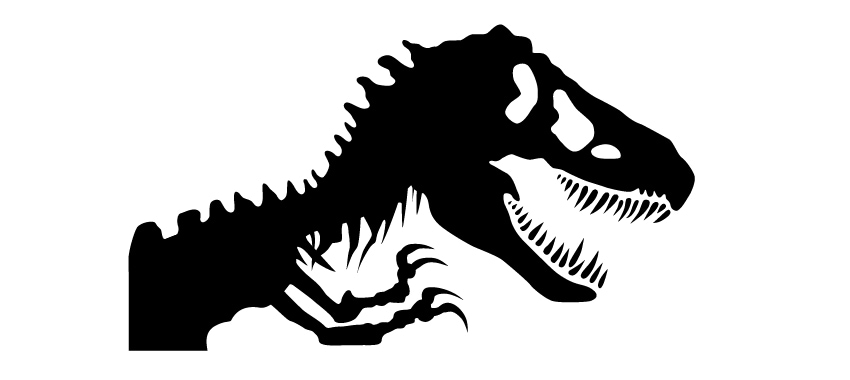
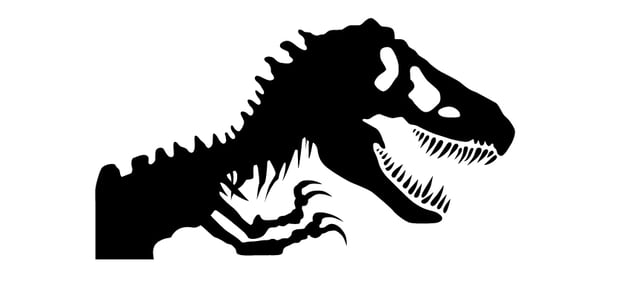
At this point, our ferocious dinosaur looks like this:
3. How to draw the Jurassic Park logo badge
Step 1
In the following steps, we’ll make the actual logo emblem, which is in the shape of a badge, making it easy to place it on various merchandise. This is exactly what Universal Pictures and Spielberg wanted from the logo since the beginning.
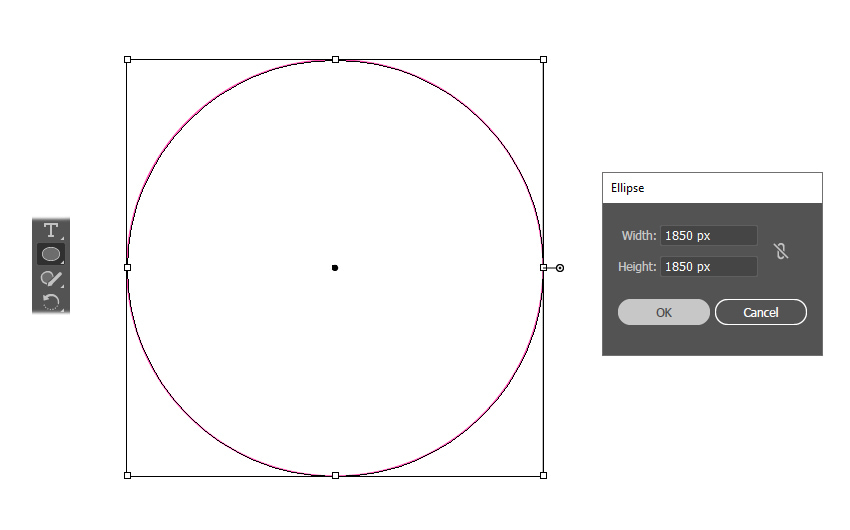
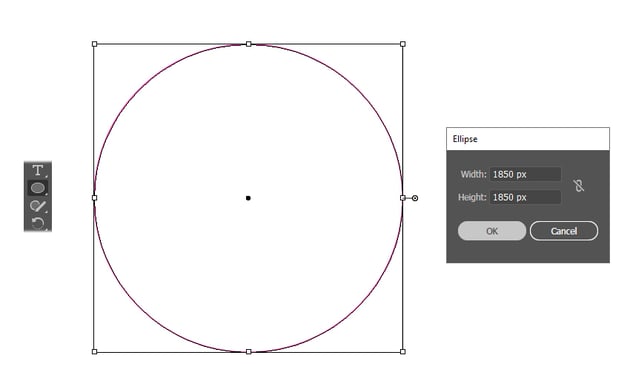
The badge is made of basic shapes and is very easy to recreate. First, grab the Ellipse Tool (L), click on your artboard, and enter 1850 px in the Width and Height fields to make the first circle.
Step 2
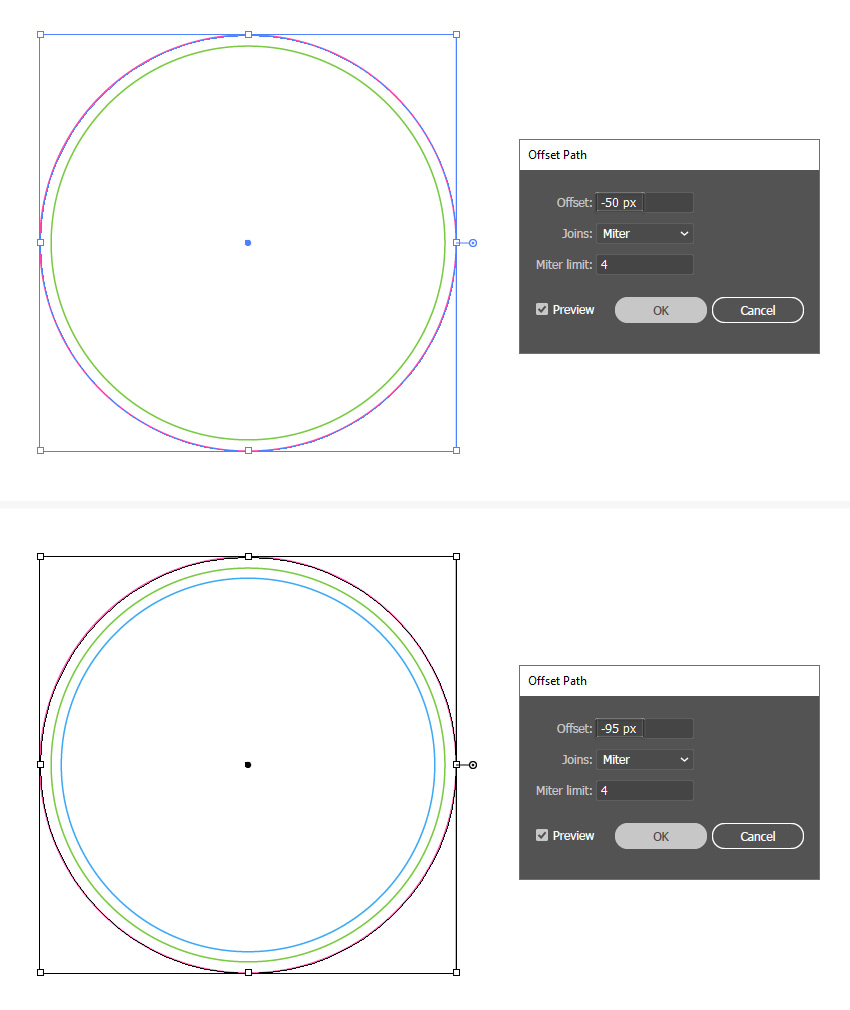
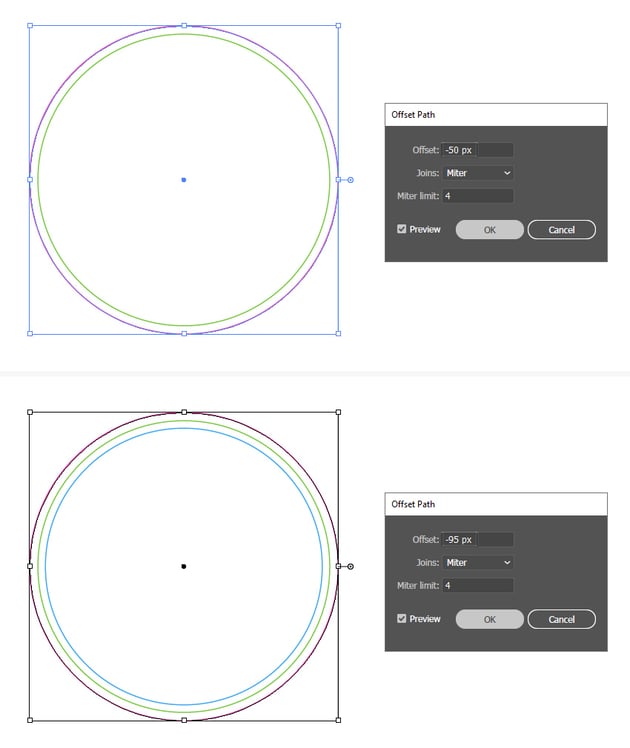
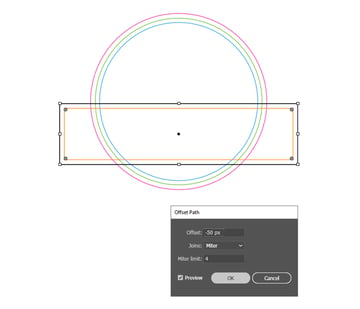
Copy and Paste in Place (Shift-Control-V) the first circle, go to Effect > Path > Offset Path, and apply an Offset of -50 px. Hit OK. You will obtain a smaller circle inside (green).
Next, Copy and Paste in Place (Shift-Control-V) the first circle again. Go back to Effect > Path > Offset Path and apply an Offset of -95 px this time. You will obtain another smaller circle inside (blue).
Step 3
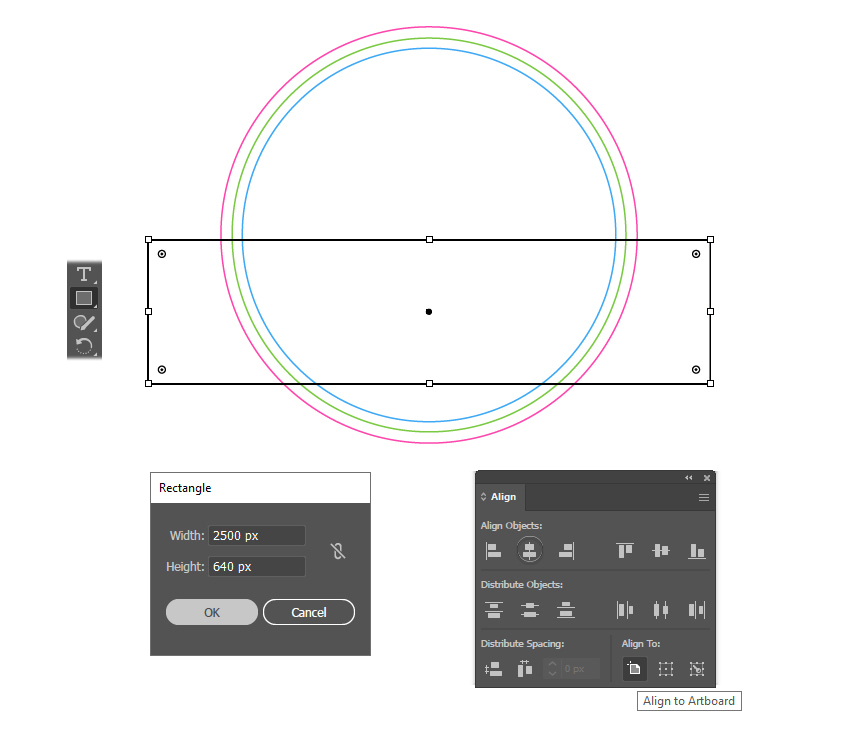
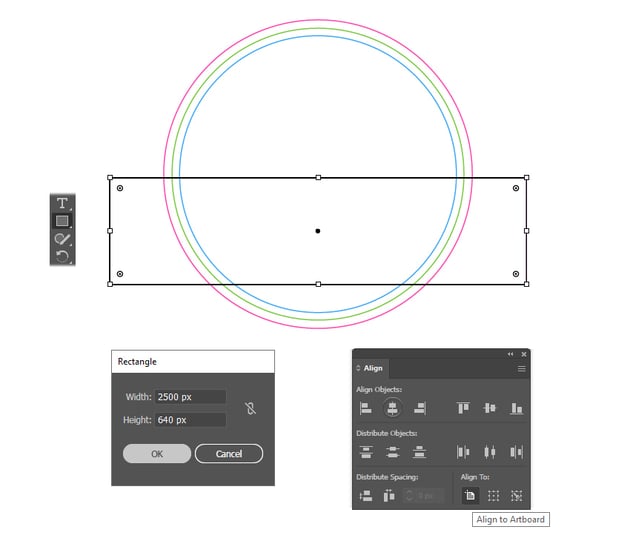
Switch to the Rectangle Tool (M), draw a 2500 x 640 px rectangle, and position it over the bottom half of the circles. To make sure that all the shapes are centered, select everything on your artboard with the Selection Tool (V) and click on Horizontal Align Center in the Align panel.
Step 4
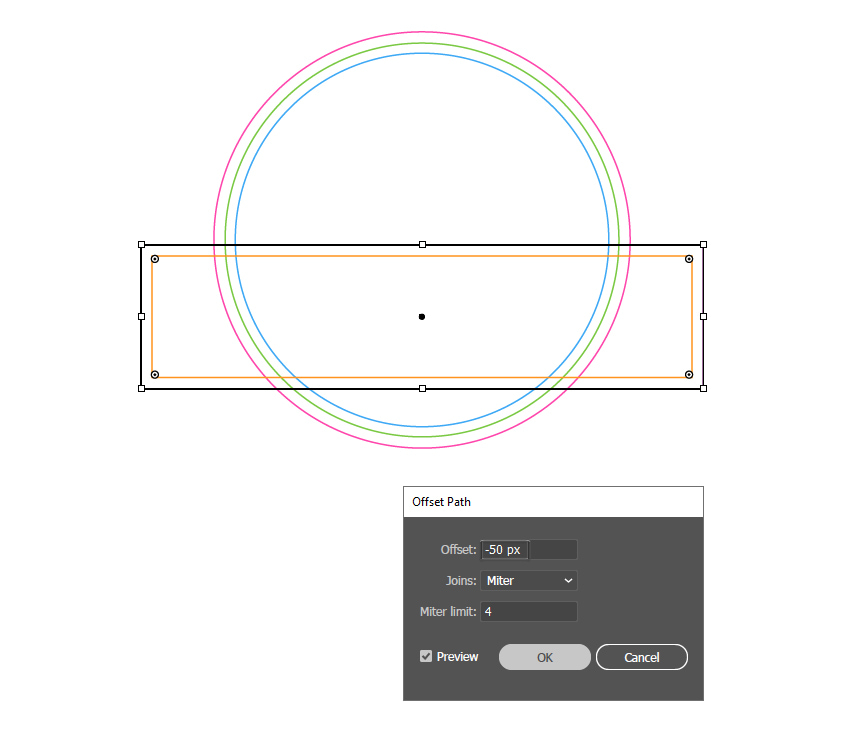
Copy and Paste in Place (Shift-Control-V) the rectangle, go to Effect > Path > Offset Path, and apply an Offset of -50 px. Hit OK. This will create a smaller rectangle inside (orange).
4. How to color the Jurassic Park logo
Step 1
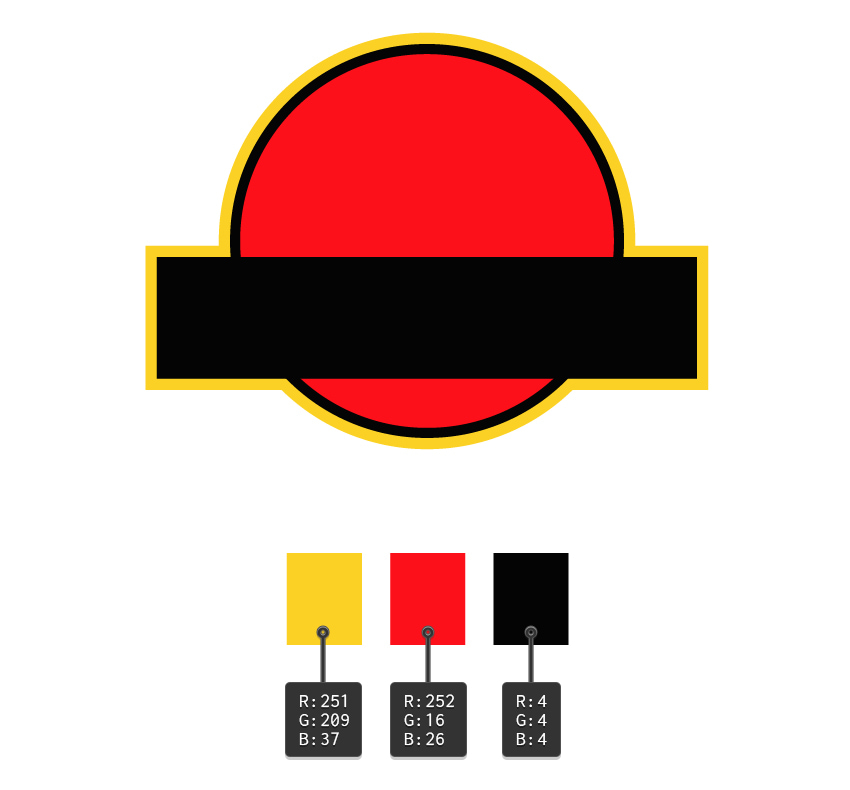
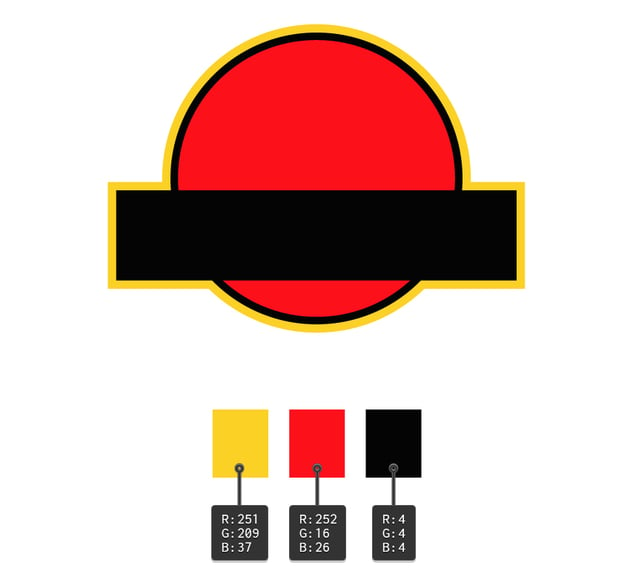
The Jurassic Park color palette includes yellow, red, and black. Go ahead and color the three circles and the two rectangles using these colors. Make sure to send the yellow shapes to the back by going to Object > Arrange > Send to Back (Shift-Control-[).
Step 2
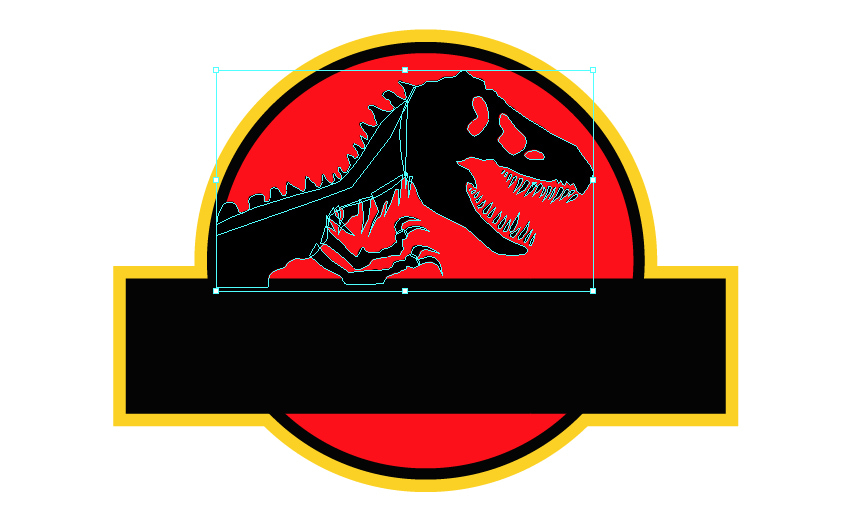
Now, grab your dinosaur silhouette, scale it, and arrange it inside the upper red area of the logo. This eye-catching yet hair-raising Logosaurus is really starting to come together, right?
Step 3
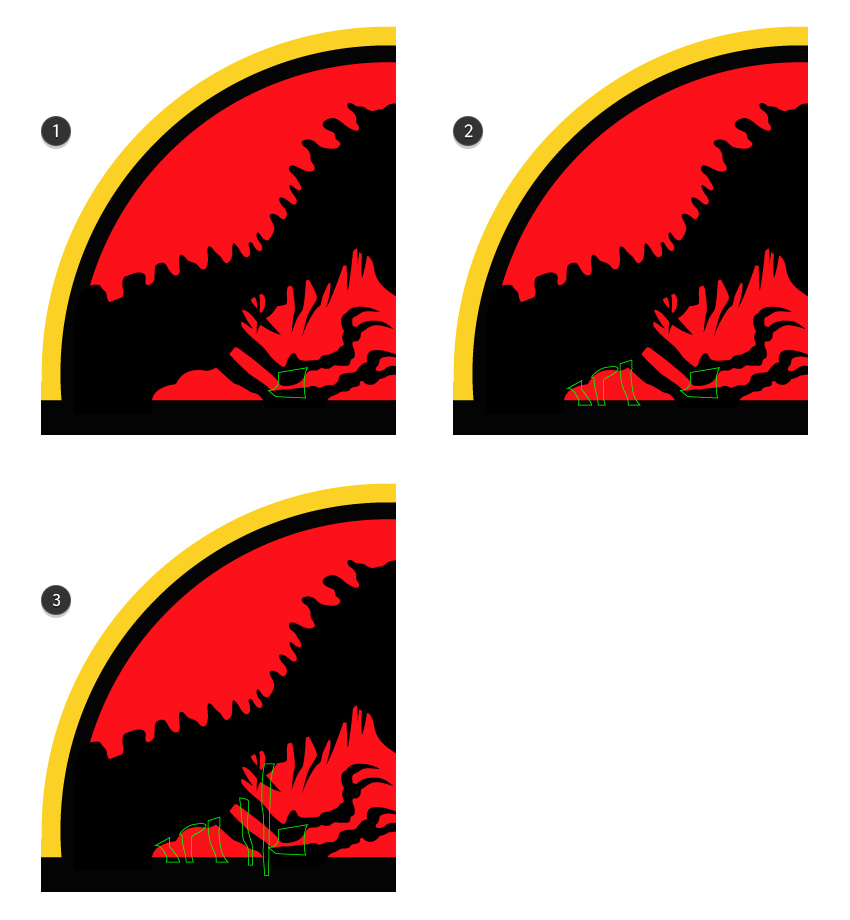
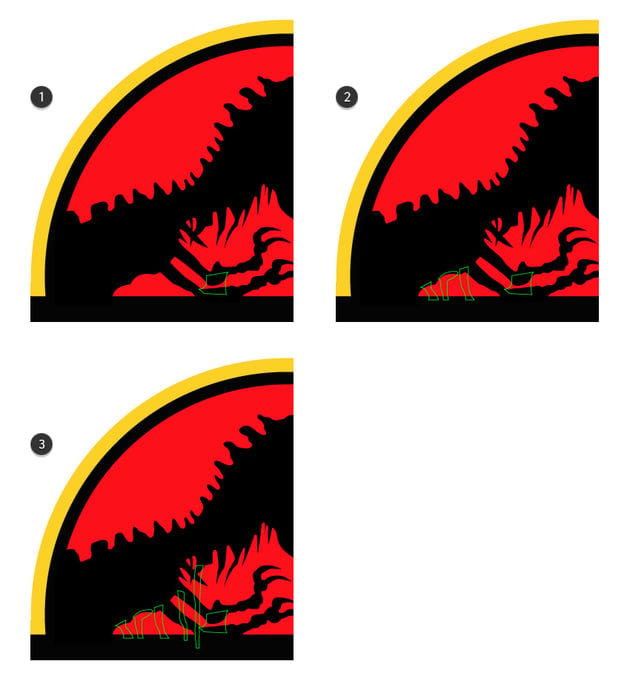
Draw a shape between the arms, part of the chest bone, as shown below (1). Continue to draw three elongated shapes from the chest up to the black banner as the ribs (2). Draw two longer shapes to their right (3), and you can switch to a black fill color once you’re done.
Step 4
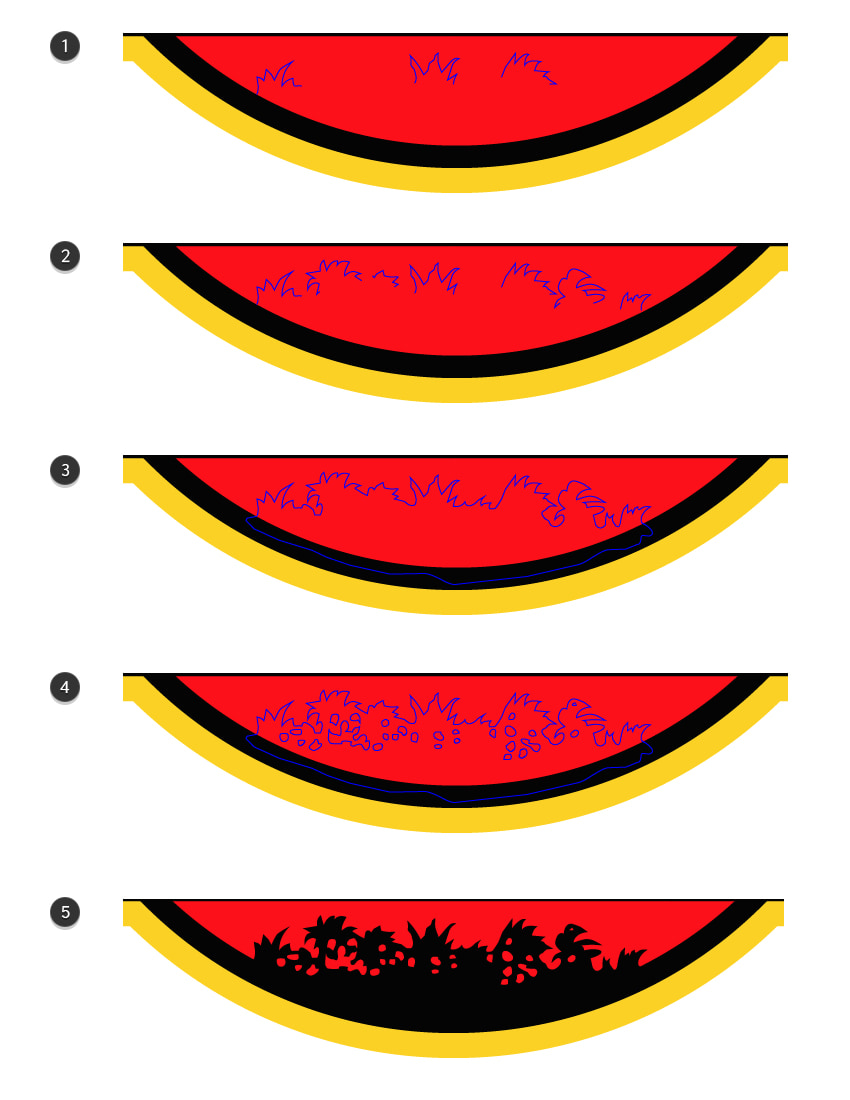
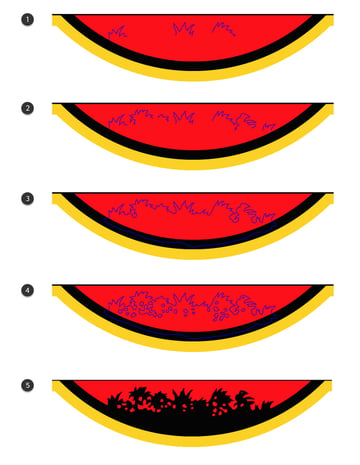
Let’s complete the Jurassic Park logo badge by adding the jungle silhouette. Focus on the bottom red area and start to draw a few pointy paths similar to palm tree leaves or tufts of grass (1). Make them different from each other, and draw a few smaller ones too (2). Next, connect these pieces and close the path at the bottom up to the black circle (3). Also, draw a bunch of small random shapes inside this path (4).
Finally, fill the main shape with black and all the smaller shapes with red (5).
Step 5
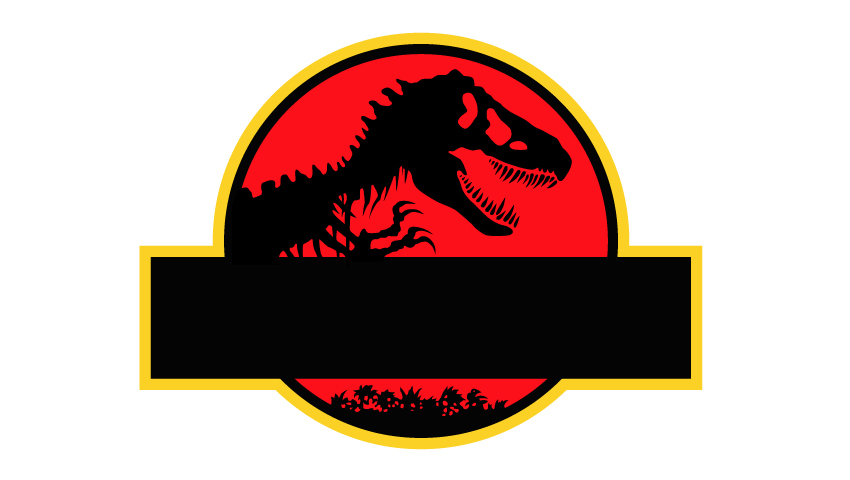
The Jurassic Park badge is pretty much done now. The palm tree silhouettes contribute to the prehistoric look of the logo but also add a tropical feeling. All that’s missing is the Jurassic Park typography, so we’ll add that in the following section.
5. How to make the Jurassic Park font
Step 1
Are you wondering what font the Jurassic Park logo is? Well… it is Neuland, designed by Rudolf Koch, although in the early days, Doug Olena, an assistant professor at Evangel University, created the distinctive font family used on the logo of the original 1993 film. It is a bold font with a rough and primal appearance and uneven strokes that reflect perfectly the wild nature and prehistoric theme of the film. This font choice has definitely helped make the logo memorable.
In order for us to create a similar font, we will use a combination of the two fonts shown below. With a few extra adjustments, we will obtain the exact font used in the original Jurassic Park logo. Let’s begin!
Step 2
Use the Type Tool (T) to write the letters J, U, R, A, I, P, A, R and K on your artboard using the Noison Font and the letters S, S, C using the Cosmic Space Font. Arrange them as shown. Do you see the similarity?
Let’s take a closer look at their settings and how to distort them in the following steps.


Step 3
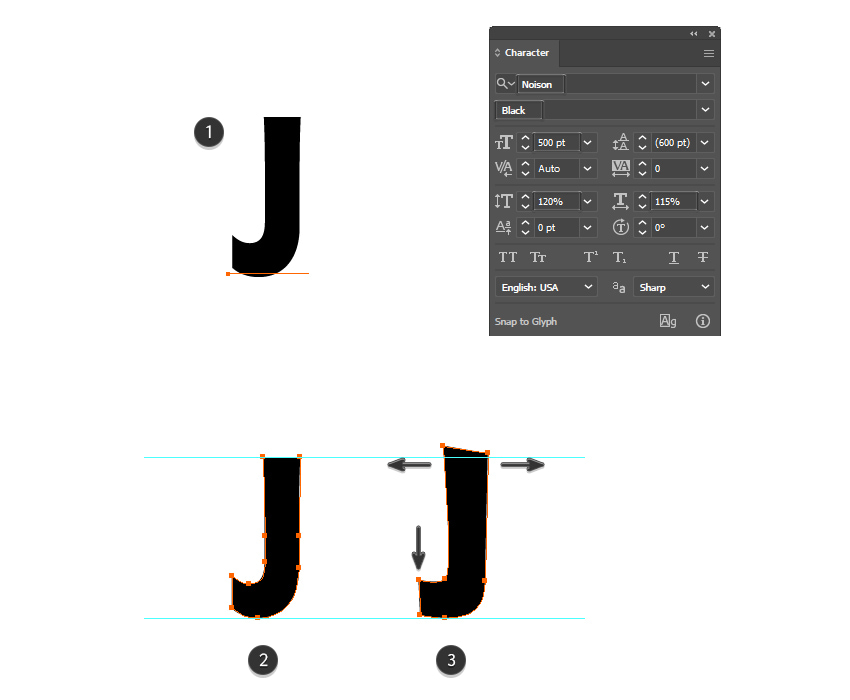
For the letter J, use these settings in the Character panel (1):
- Font family: Noison
- Font style: Black
- Font size: 500 pt
- Vertical Scale: 120%
- Horizontal Scale: 115%
Go to Type > Create Outlines followed by Object > Ungroup (Shift-Control-G) (2). Distort the letter with the help of the Direct Selection Tool (A) by moving the existing anchor points, and delete any unwanted points with the Delete Anchor Point Tool (-).
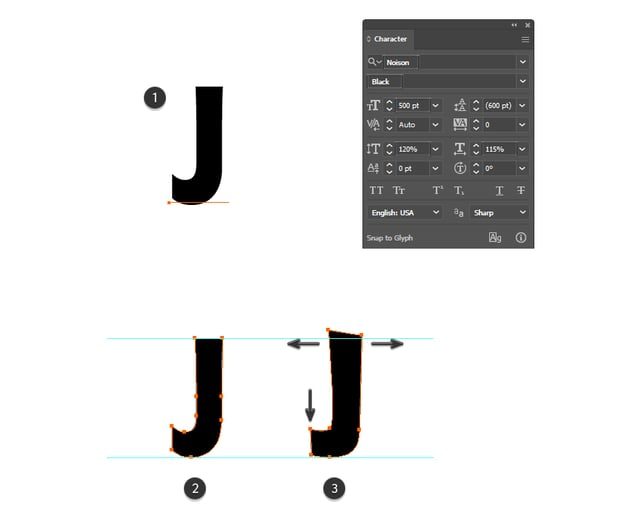
The main adjustments for the letter J are to move the two end points downwards and to move the two top points a bit away from each other. Also, create the tilted appearance at the top (3).
Step 4
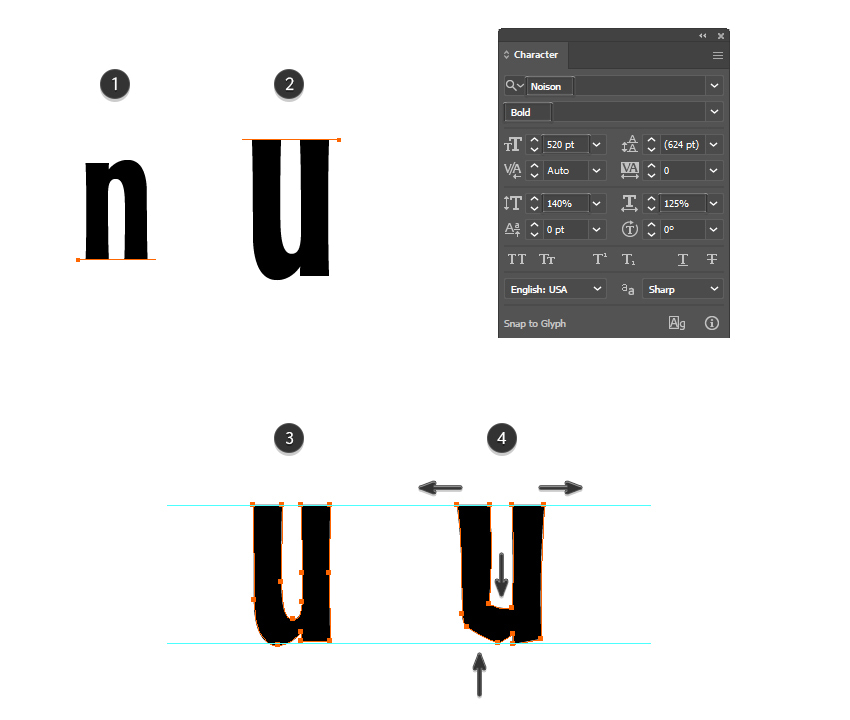
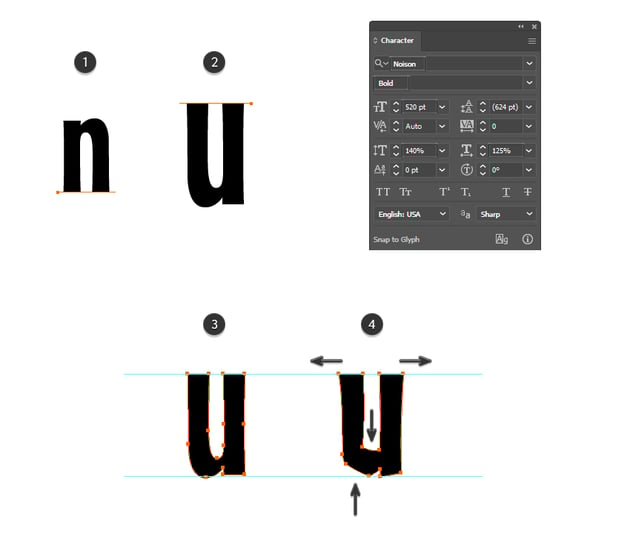
For the letter U, we are actually using the letter n in lower case (1). Use these settings in the Character panel:
- Font family: Noison
- Font style: Bold
- Font size: 520 pt
- Vertical Scale: 140%
- Horizontal Scale: 125%
While the letter stays selected, choose Flip Horizontally and Flip Vertically from the fly-out menu of the Transform panel (2). Next, go to Type > Create Outlines to turn the live letter into a shape, and it is now ready to be distorted (3). The main adjustments here need to be made at the bottom of the letter by moving some of the points, along with their handles. After that, move the top points slightly away from each other to make each leg wider (4).
Step 5
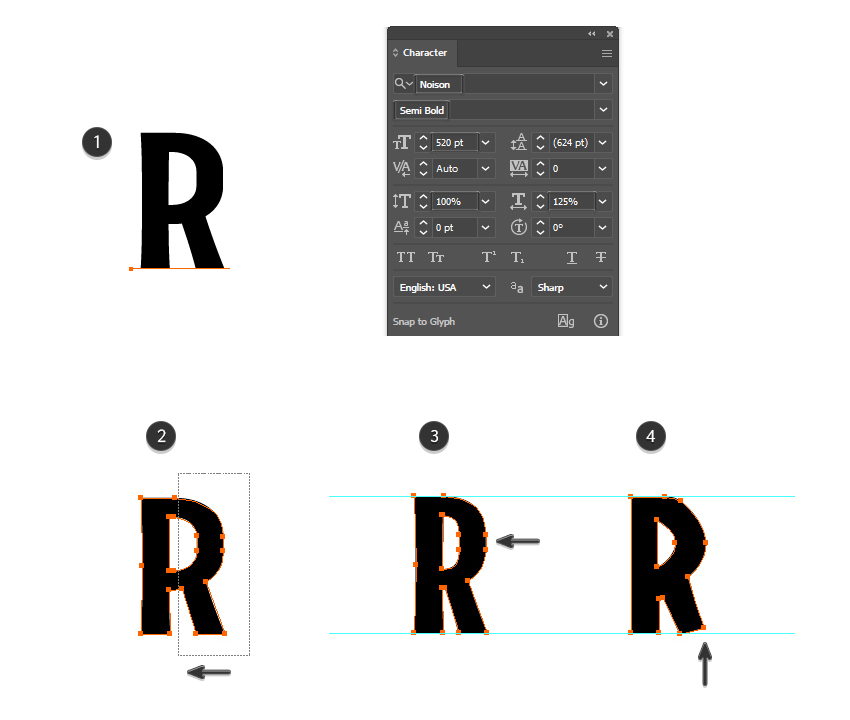
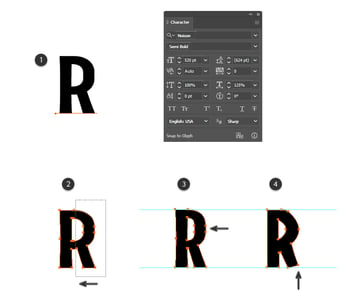
Use these settings for the letter R (1):
- Font family: Noison
- Font style: Semi Bold
- Font size: 520 pt
- Vertical Scale: 100%
- Horizontal Scale: 125%
Expand the letter by going to Type > Create Outlines. Then use the Direct Selection Tool (A) to drag a selection over the right half of the letter, and move only those points to the left to make the letter slimmer (2). Next, adjust the curved area along with the inner hole as shown (3), and finally, create the slanted appearance for the leg of the letter (4).
Step 6
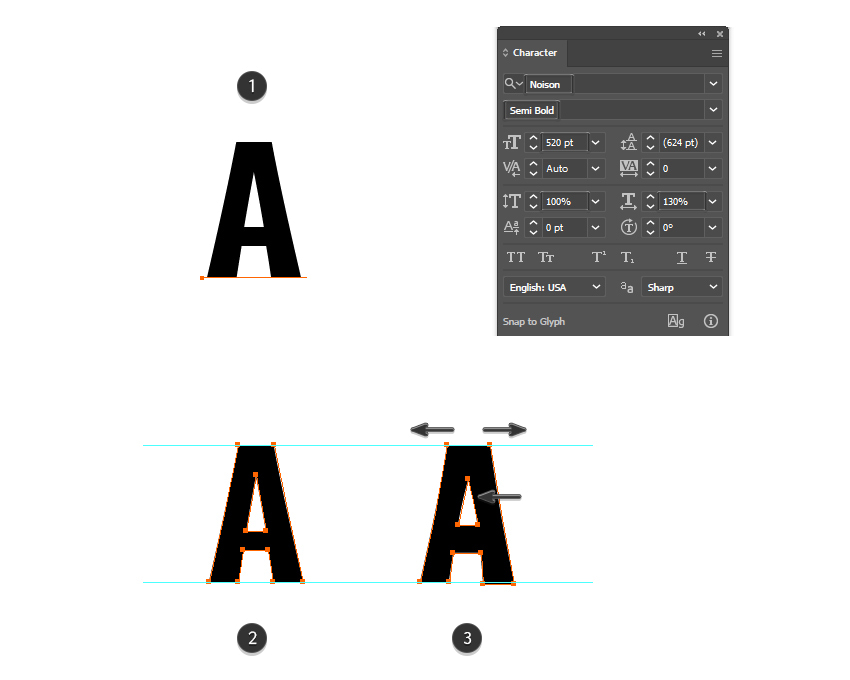
The next letter is A, and these are the settings (1):
- Font family: Noison
- Font style: Semi Bold
- Font size: 520 pt
- Vertical Scale: 100%
- Horizontal Scale: 130%
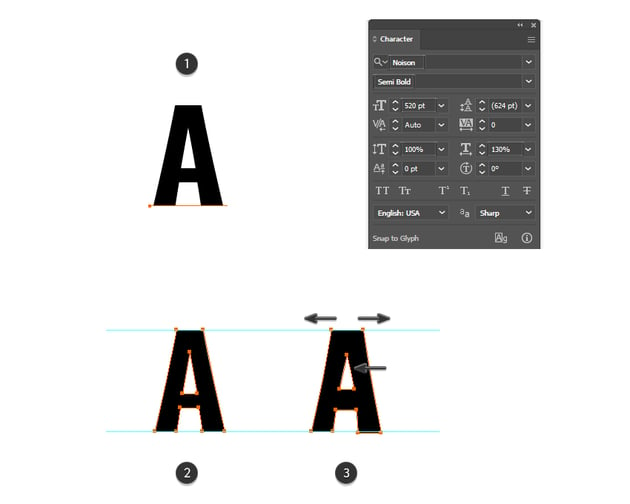
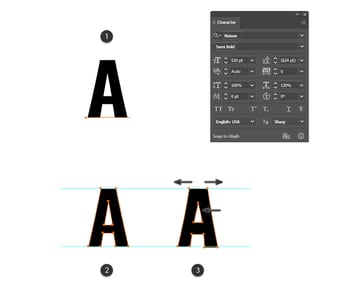
After expanding (2), you don’t really need to do much. Make the inner triangle a little shorter, and move the top points away from each other with the Direct Selection Tool (A) (3).
Step 7
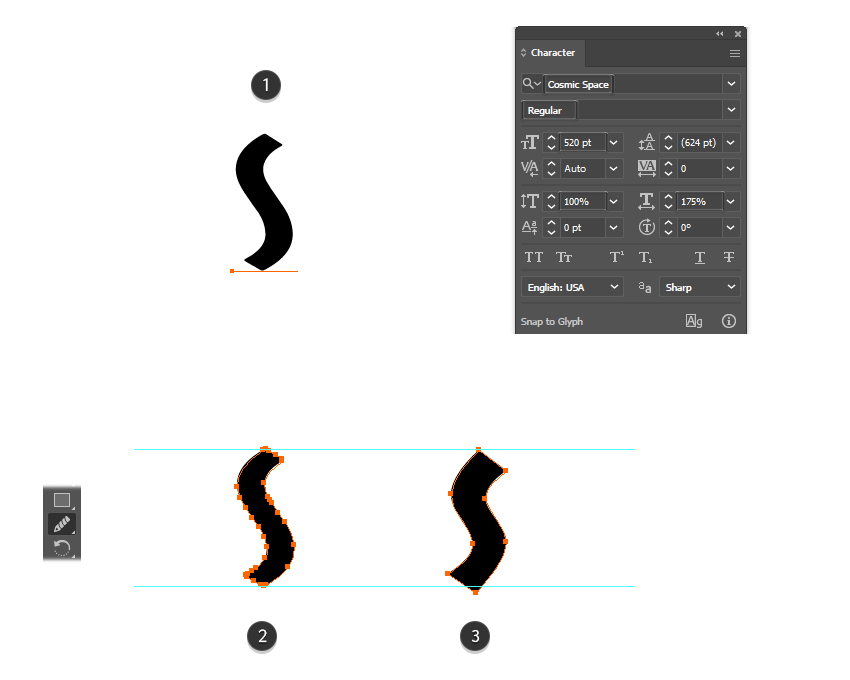
Here are the settings for the letter S (1):
- Font family: Cosmic Space
- Font style: Regular
- Font size: 520 pt
- Vertical Scale: 100%
- Horizontal Scale: 175%
Go to Type > Create Outlines to expand the shape (2). Now, grab the Smooth Tool, and while the letter stays selected, drag the tool along the left and right curves to remove the majority of the points. Make the letter wider, and it’s ready (3).
Step 8
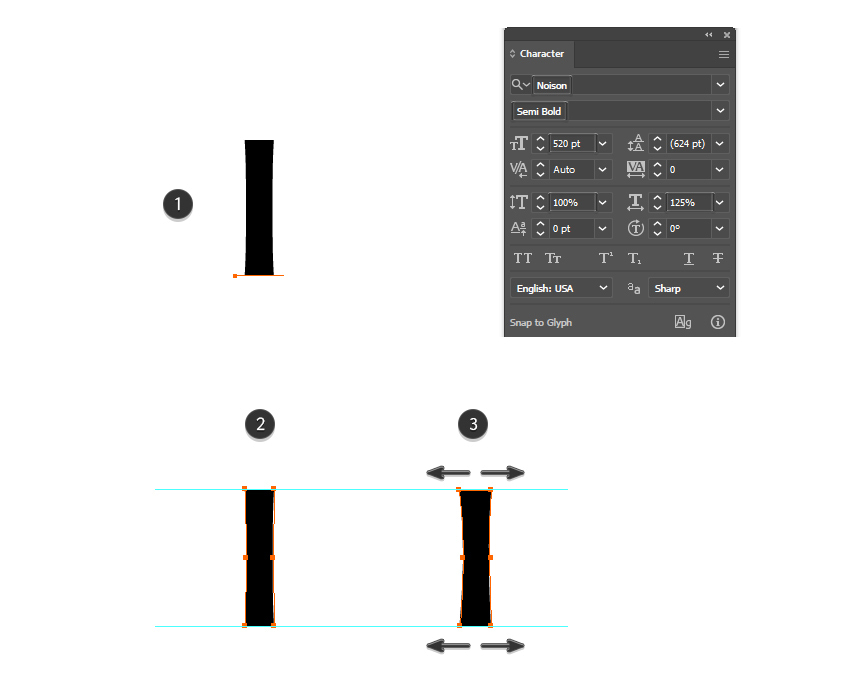
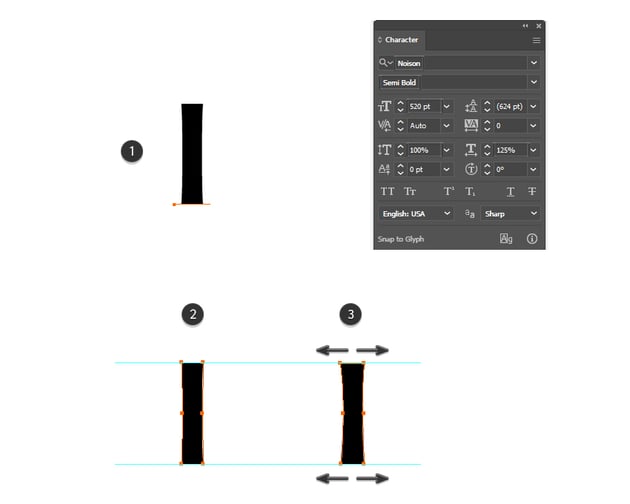
We will continue with the letter I, and these are the settings (1):
- Font family: Noison
- Font style: Semi Bold
- Font size: 520 pt
- Vertical Scale: 100%
- Horizontal Scale: 125%
After expanding, the letter is pretty much good to go (2). Additionally, you can make the top and bottom a little wider as you did for the other letters (3).
Step 9
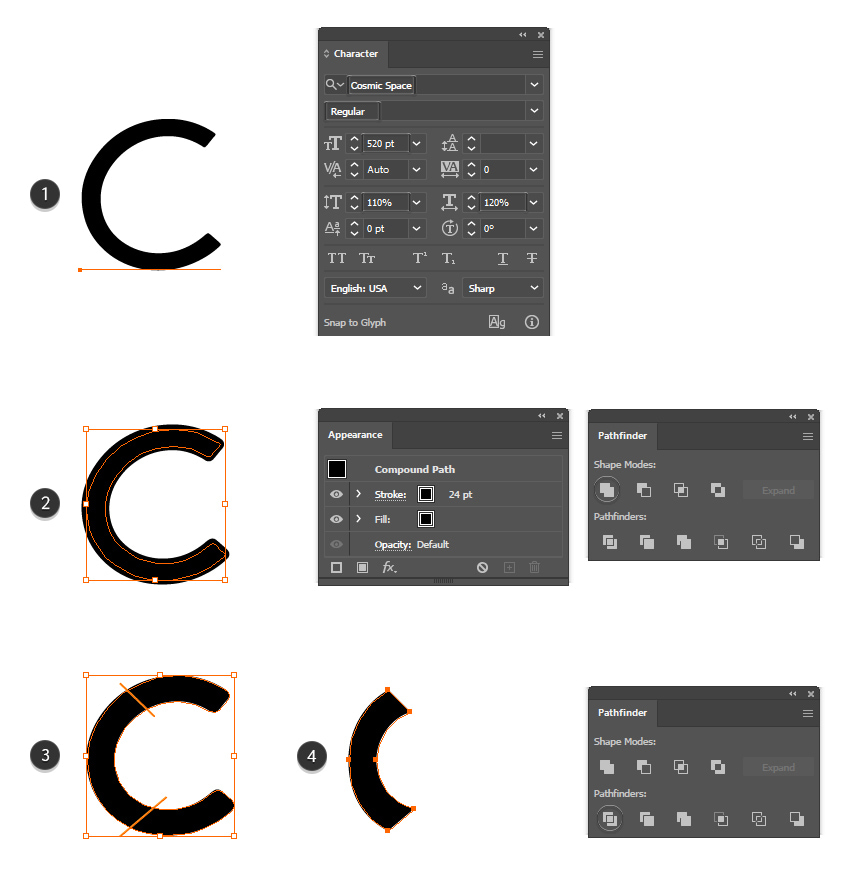
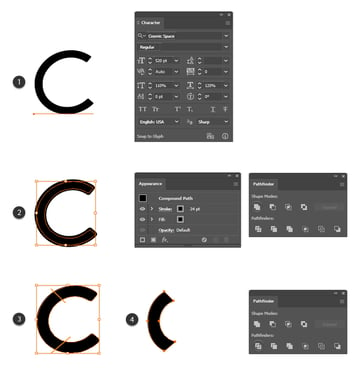
Use these settings for the letter C (1):
- Font family: Cosmic Space
- Font style: Regular
- Font size: 520 pt
- Vertical Scale: 110%
- Horizontal Scale: 120%
Go to Type > Create Outlines to expand the shape, and then apply a 24 pt Stroke to make the letter bolder (2). Follow up with Object > Expand and Unite in the Pathfinder panel.
Next, use the Pen Tool (P) to draw two paths over the letter as shown (3). Select everything and press Divide in the Pathfinder panel to cut the shape and obtain the desired letter C. Delete the other pieces that you don’t need (4).
Step 10
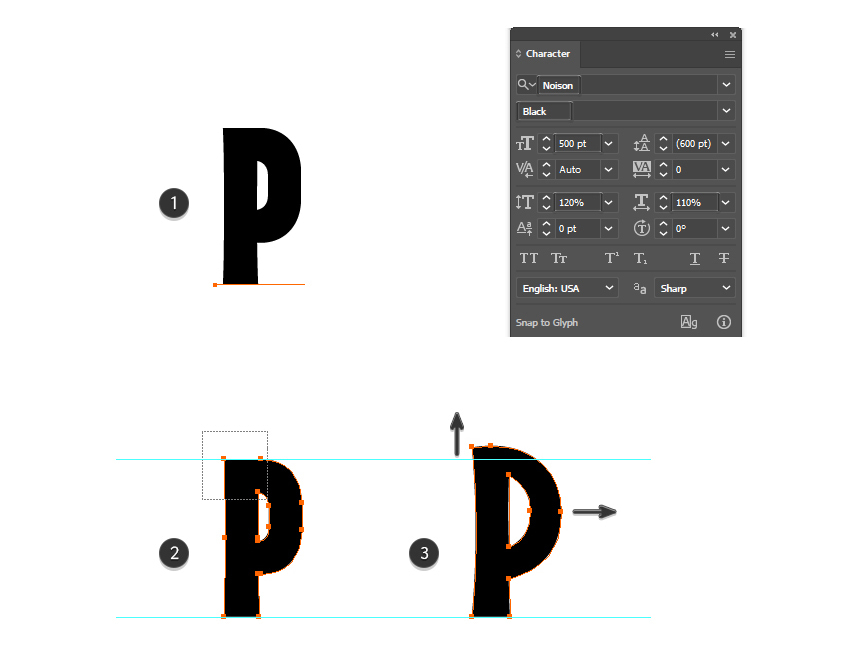
We’re almost done. Use the settings shown for the letter P (1):
- Font family: Noison
- Font style: Black
- Font size: 500 pt
- Vertical Scale: 120%
- Horizontal Scale: 110%
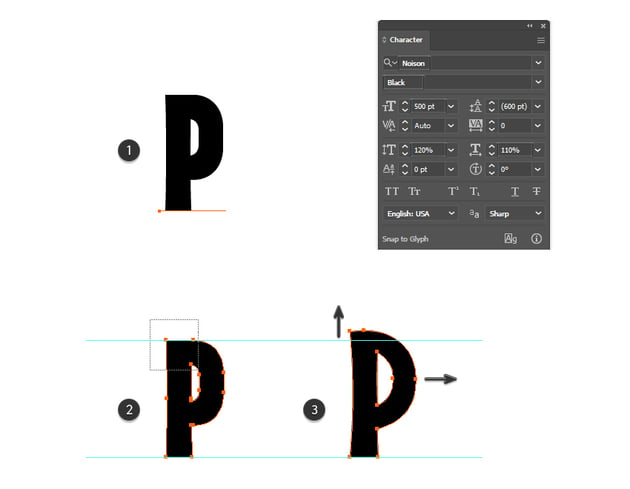
Expand the shape (2), and then use the Direct Selection Tool (A) to drag a selection over the top three points and move them upwards to elongate the letter. Also, modify the rounded area (3).
Step 11
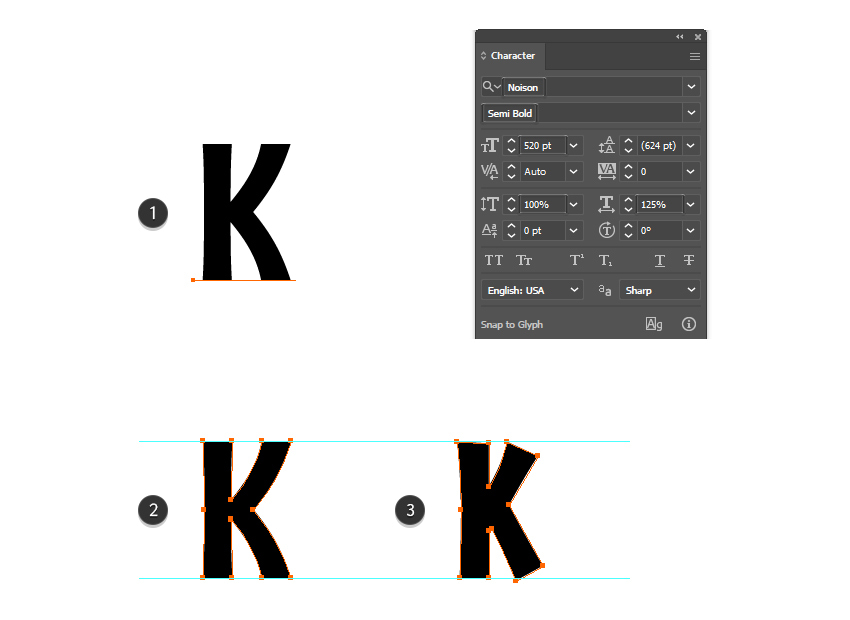
The last letter is K. Use the following settings in the Character panel (1):
- Font family: Noison
- Font style: Semi Bold
- Font size: 520 pt
- Vertical Scale: 100%
- Horizontal Scale: 125%
Expand the letter (2), and then mainly modify the two legs with the Direct Selection Tool (A). Make them shorter and create the slanted ends (3).
Step 12
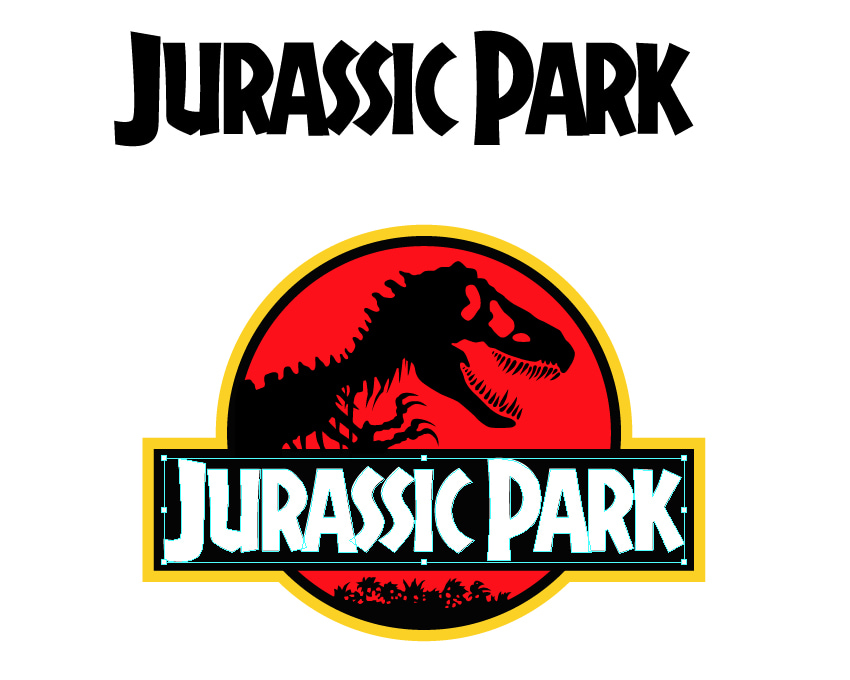
Now you have all the letters. Make duplicates of the letters A, R, and S, and then arrange them to compose the Jurassic Park text. You can still make adjustments if needed.
Position the Jurassic Park text over the black banner, and set the fill color to white.
Step 13
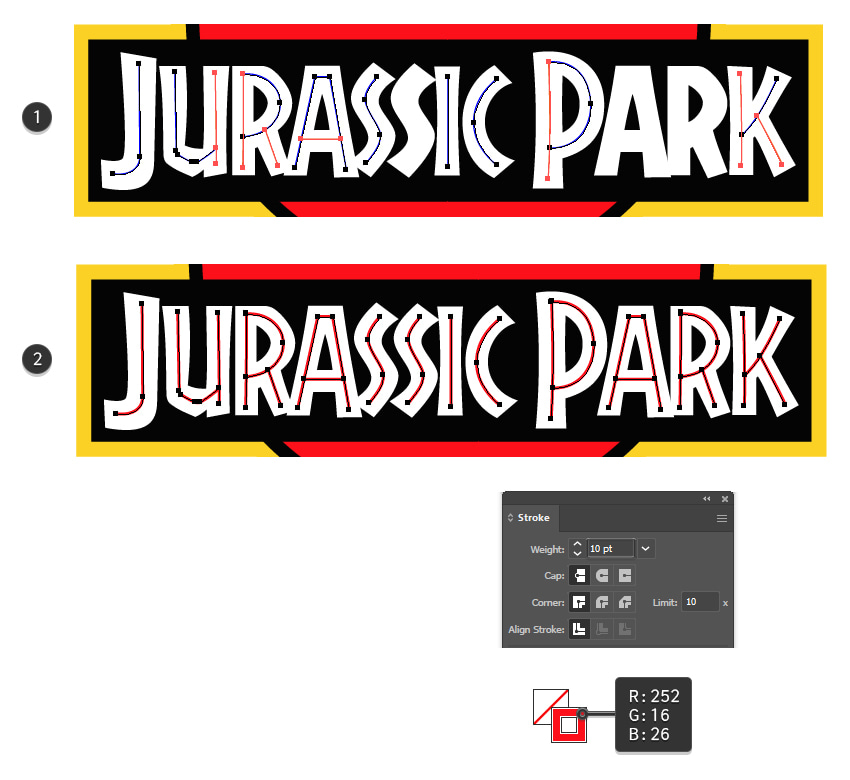
Use the Pen Tool (P) to draw an inside outline on each letter, and then make duplicates for the letters S, A, and R (1). Stroke all these paths with red and increase the Weight to 10 pt (2).
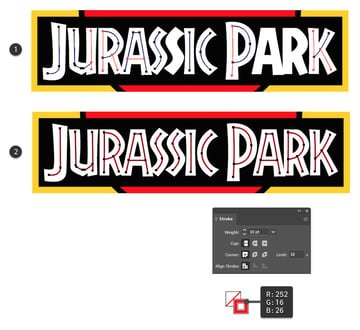
Step 14
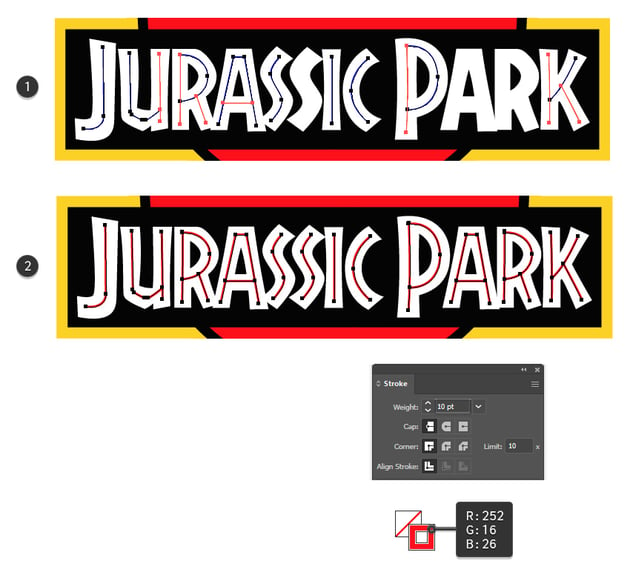
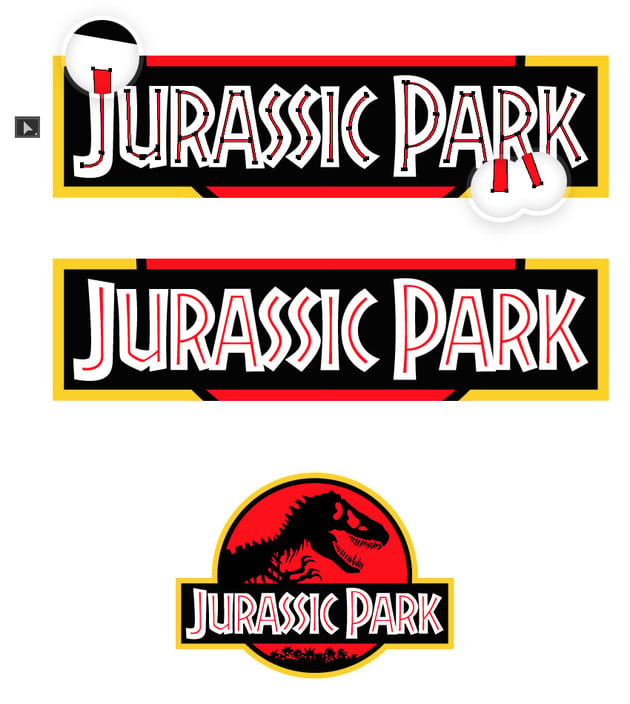
Go to Object > Expand to turn all the inside red strokes into fills. Use the Direct Selection Tool (A) to make a few extra adjustments like the slanted ends or thinner and thicker ends for some of the letters. Take a look at the final result below.
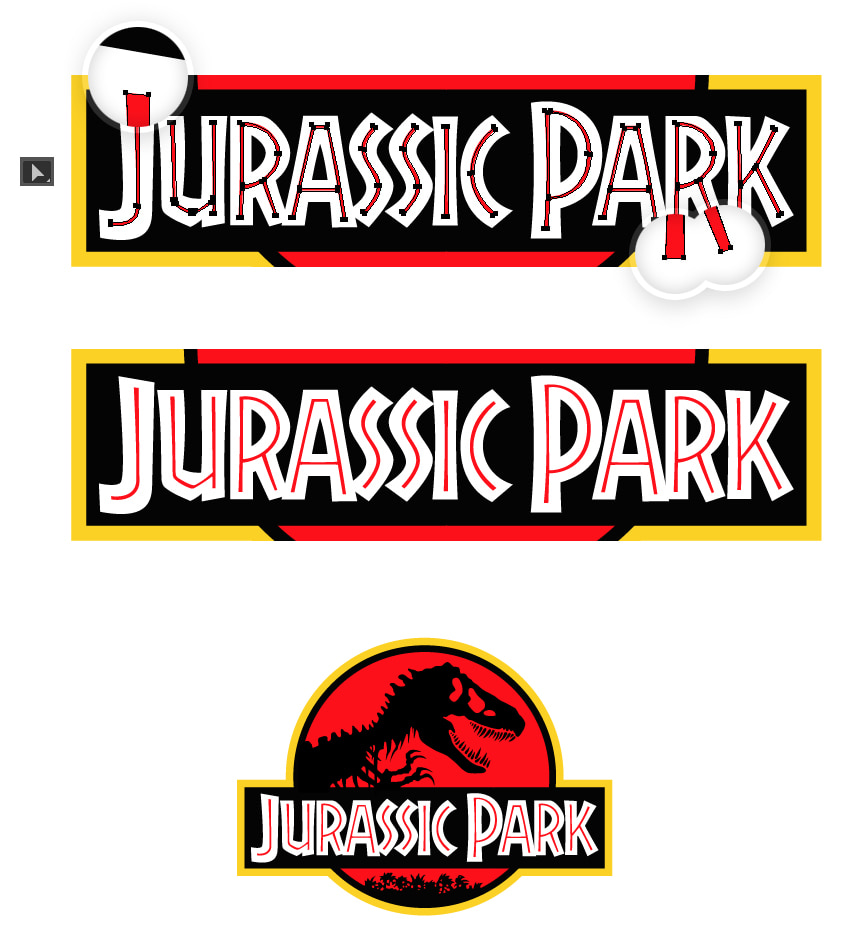
Congratulations! You’re done
You have successfully learned how to make your own high-resolution Jurassic Park logo from scratch. Put it over a dark smoky background like the Smoke Photo Overlays that I’ve used.
Now that you know how to make it, feel free to apply the same techniques to create other popular movie logos. Make sure to check out Envato, where you’ll find plenty of resources that you can download and use to create cool designs.
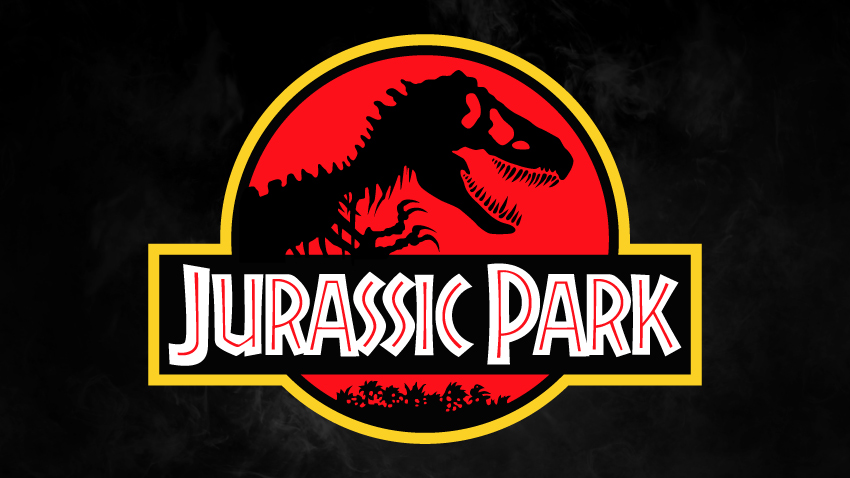
Feel free to recolor the logo or even change the text and transform it into your own unique design. Take a look at the Jurassic Park logo black and white version, which remains just as impressive and fearless.
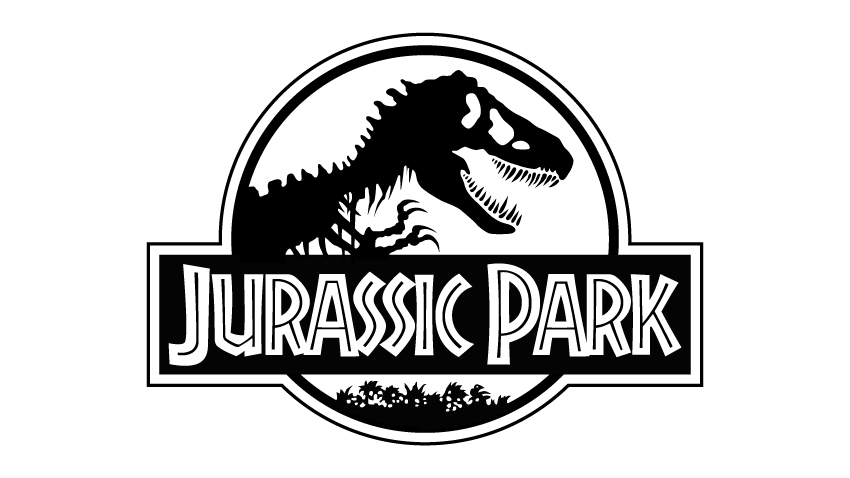
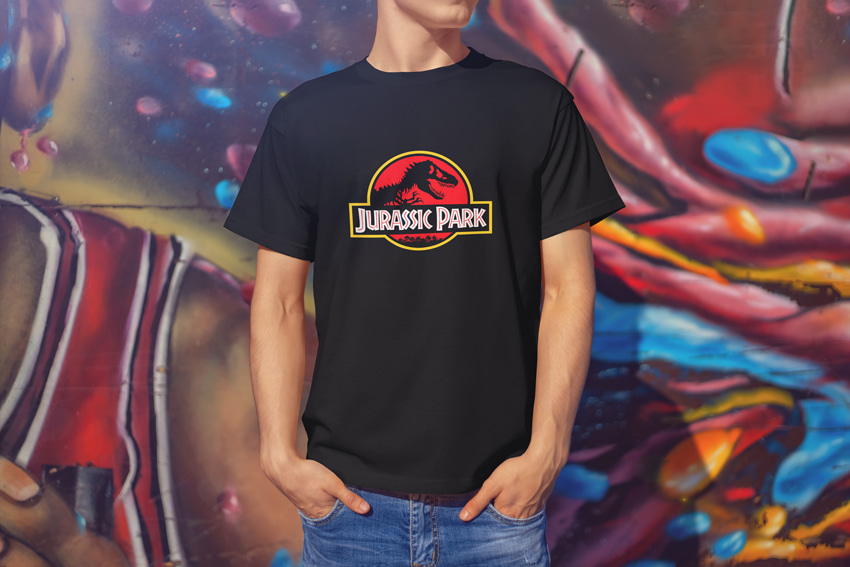
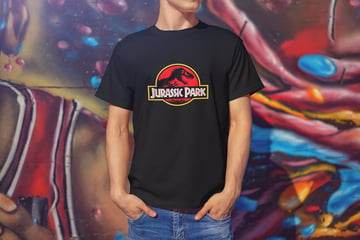
The logo you made is entirely vector and high-resolution, so feel free to save it for print or include it in your projects. Use a T-shirt mockup to display or test how your logo looks.
Popular logos from Envato
Envato is an excellent resource for logos, fonts, graphics, and so much more. Here’s a short list of some of the most popular resources that you can find. Grab them and take your logos to the next level.
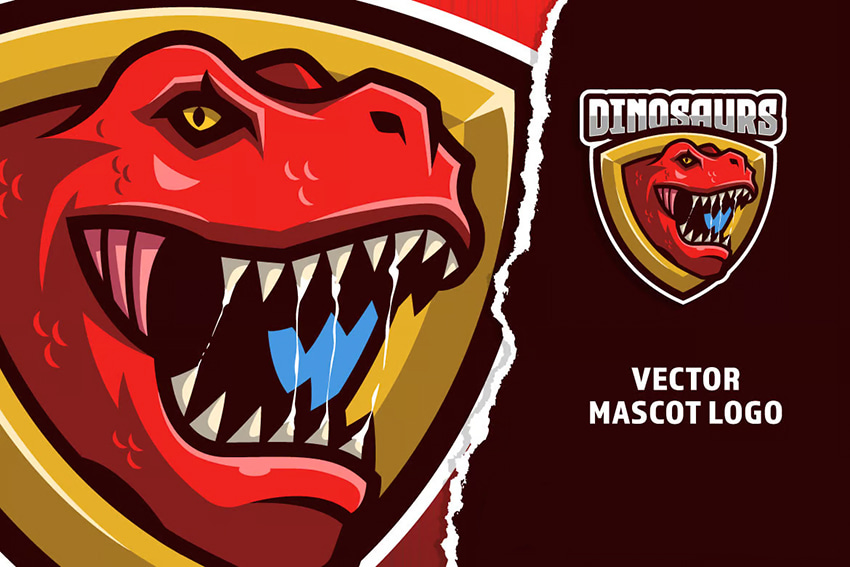
Dinosaur e-sport logo template (AI, EPS, PNG)
If you’re looking for a fearless logo in a similar color palette (red, yellow, and black) with the original Jurassic Park logo, then this dinosaur mascot will be the perfect choice. Customize it by adding your name or tagline, and be ready to impress.
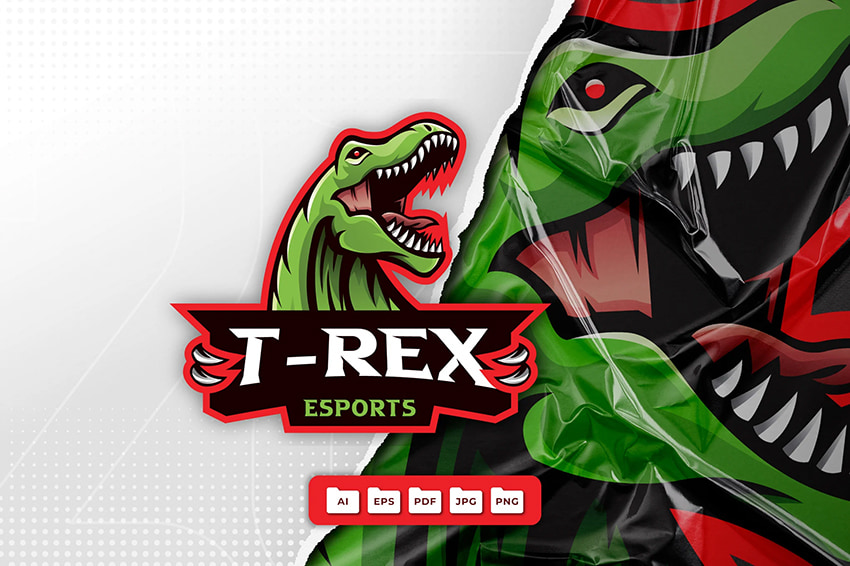
T-Rex dinosaur mascot logo design (AI, EPS, JPG, PDF, PNG)
Here’s another ferocious T-Rex dinosaur holding a black banner where you can easily place any name or title. The bright red outline will make it stand out and draw every viewer’s attention. This is exactly what you want, right?
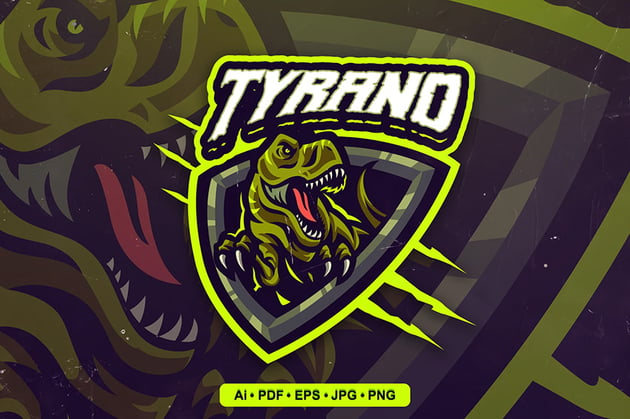
Tyrannosaurus mascot logo template (AI, EPS, JPG, PDF, PNG)
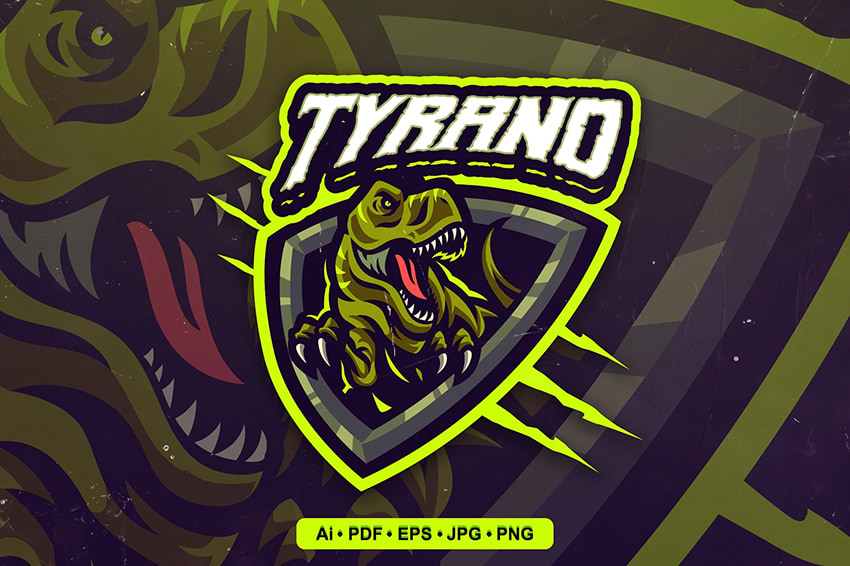
This dinosaur logo comes with the three claw scratches just like the third Jurassic Park movie, enhancing the dramatic look of your logo. The color and text are easy to edit, so you’ll be able to include it in your project pretty quickly.
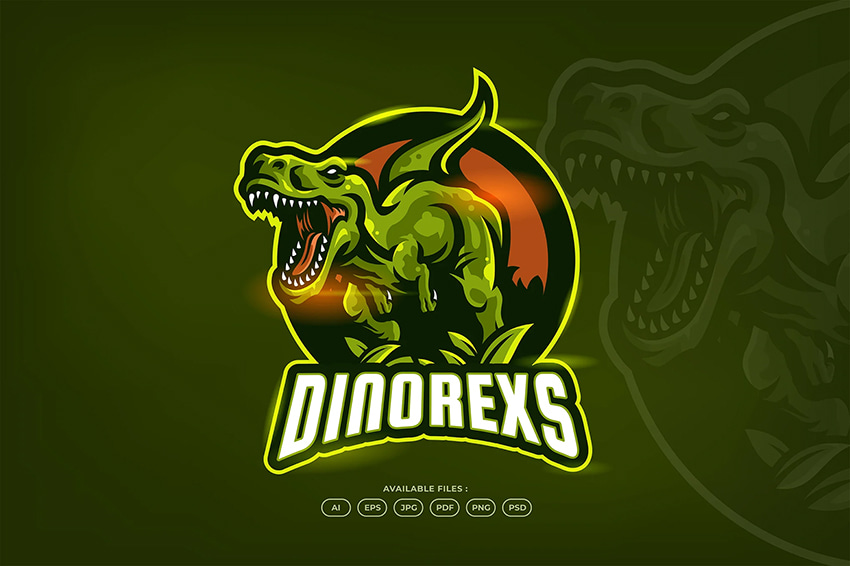
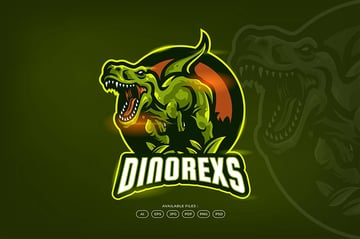
Dinosaur Jurassic logo (AI, EPS, JPG, PDF, PNG, PSD)
If you’re interested in a logo that features the entire body of this fearsome carnivore, look no further. It has a lot of similarities to the original logo like the red circle, the bright outline to make it pop, the leaves at the bottom, and the black banner to display your unique title. How cool!
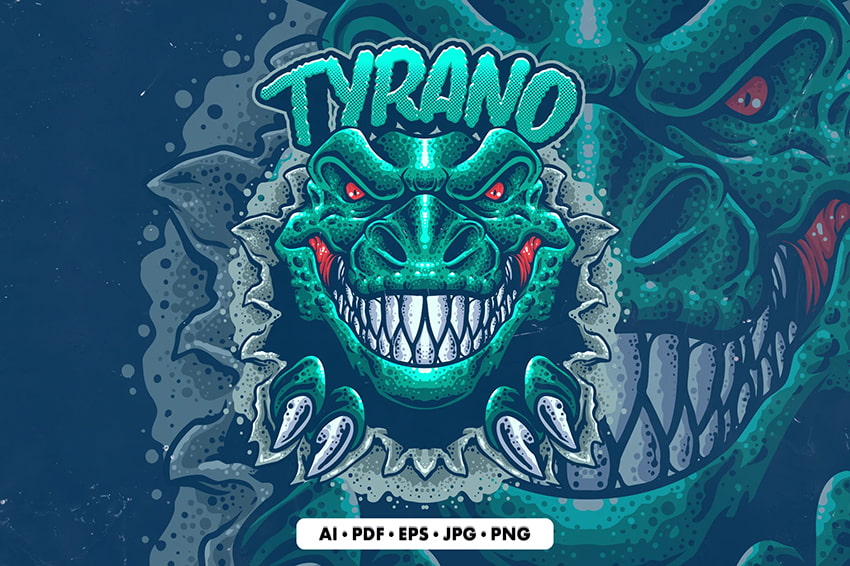
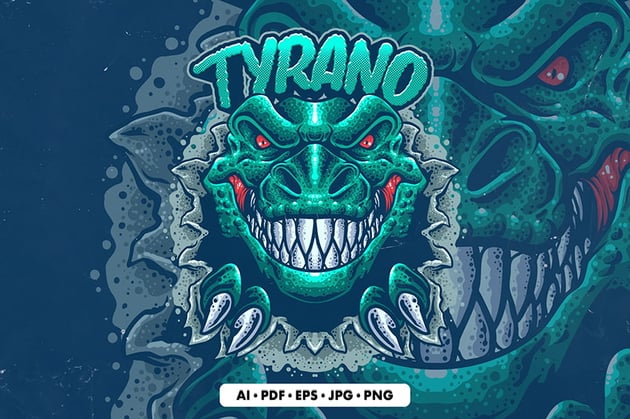
Tyrannosaurus illustration logo template (AI, EPS, JPG, PDF, PNG)
Here’s a gorgeous, detailed logo template that you can easily edit and make your own. It’s a truly ferocious and hair-raising option that has the WOW factor you’re looking for. Let this T-Rex dinosaur be the star of your project!
Want to learn more Illustrator skills?
Did you like this tutorial dedicated to Jurassic Park logos? We have loads of tutorials on Envato Tuts+ that teach many other useful techniques. Here’s a list of tutorials specially made for you. Take a look!