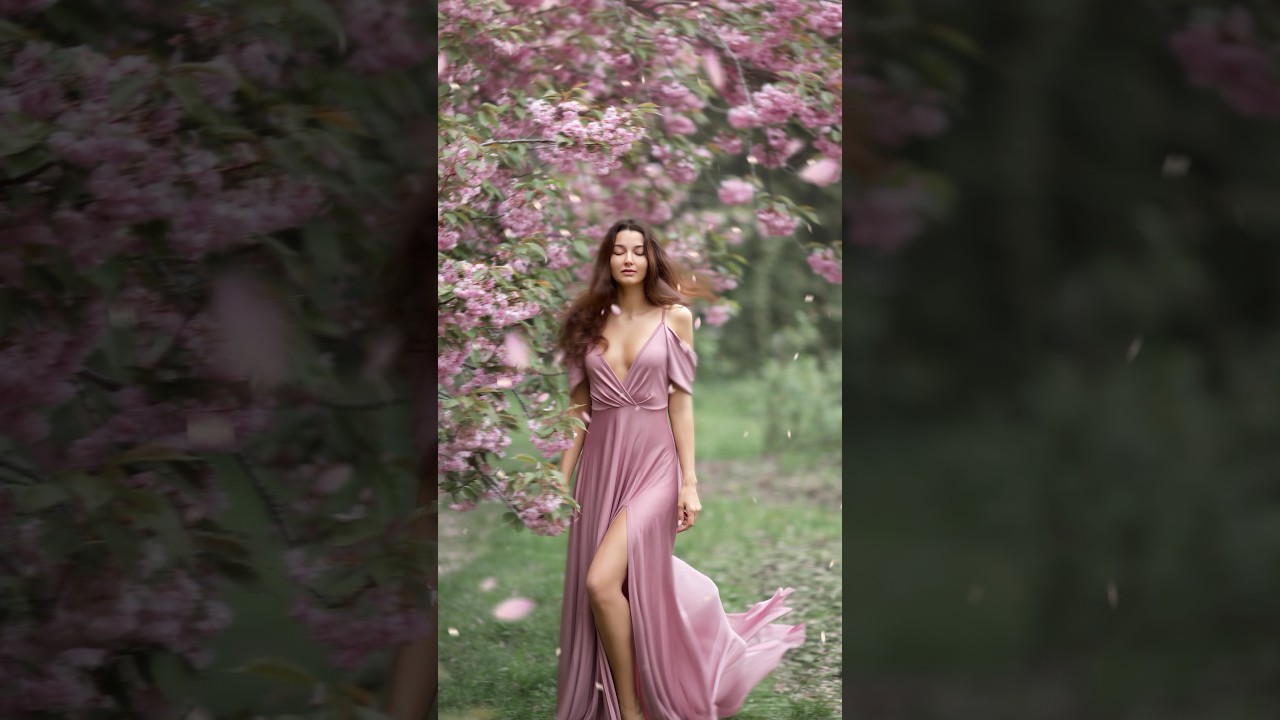
Today we will be looking at how to make a wind effect in Photoshop. This technique is quick, easy, and uses a better alternative to the traditional Motion Blur filter. It’s a great Photoshop weather effect to have in your back pocket, so let’s get started!
If you enjoy video content, then don’t miss this new video from the Envato Tuts+ YouTube channel:
How to Make a Wind Effect in Photoshop
Step 1
Before we learn how to make a wind effect in Photoshop, we’re going to start by separating our subject from the background. Duplicate the subject.
With the duplicated layer active, use the Select Subject tool to create a selection around the subject. Add a Layer Mask to the duplicated subject to mask them.
Name the masked duplicate layer “Subject” and the original image “Background.”
You can refine layer masks quickly by using Select and Mask, found on the Properties panel, while a selection tool is active. This is handy for complex objects or subjects with lots of hair and cloth.
Step 2
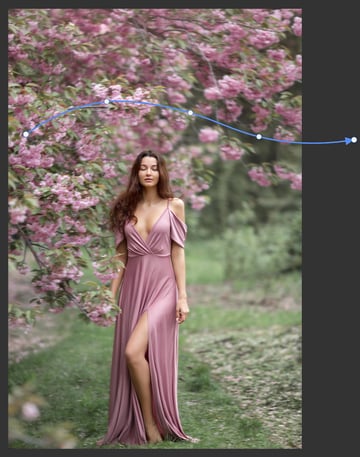
Select the “Background” layer and Right-click > Convert to Smart Object.
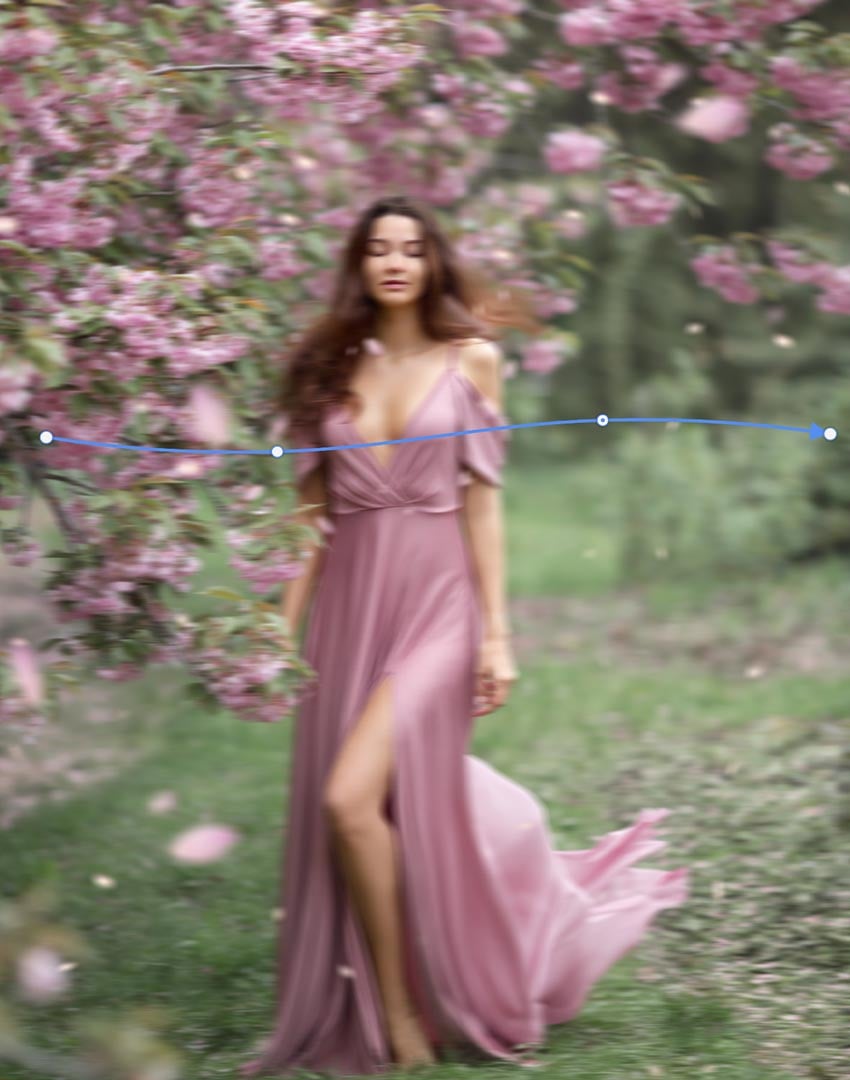
Go to Filter > Blur > Path Blur. Set the Speed to 25-35% depending on how strong you want the wind effect to appear.
Use the blue path to create a vertical line going in the direction you want your wind. Click to place Points on the blue path and pull the points in different directions to add movement to the wind effect.
Because we converted our “Background” layer to a Smart Object, we can come back and adjust the path and the Speed Settings at any time.


Step 3
Select the the “Subject” layers’ Layer Mask.
Use a soft round brush set to black to erase some of the edges of the subject so that the lower wind effects start to appear. Focus on the edges and hair of the subject. This will start to bring in a slight motion blur to the areas you mask.


Step 4
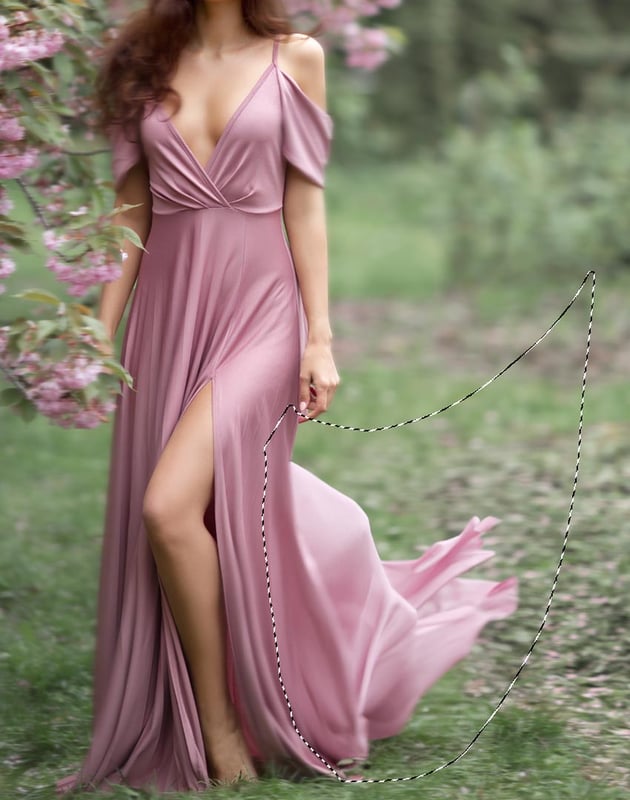
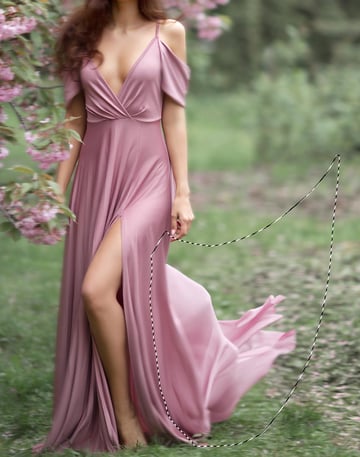
Use the Lasso Tool to create a selection where you want parts of the dress to look as if they’re being affected by the wind.
Choose Generative Fill in the floating Context bar. Type “windy cloth” and click Generate. Select the best variation found in the Properties panel, or else hit Generate for three more variations.
When using Generative Fill, make sure to select a significant part of the subject’s original dress. This makes it more likely that Generative Fill will consider both the cloth color and material.

Step 5
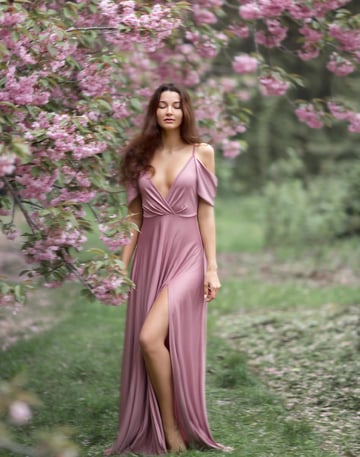
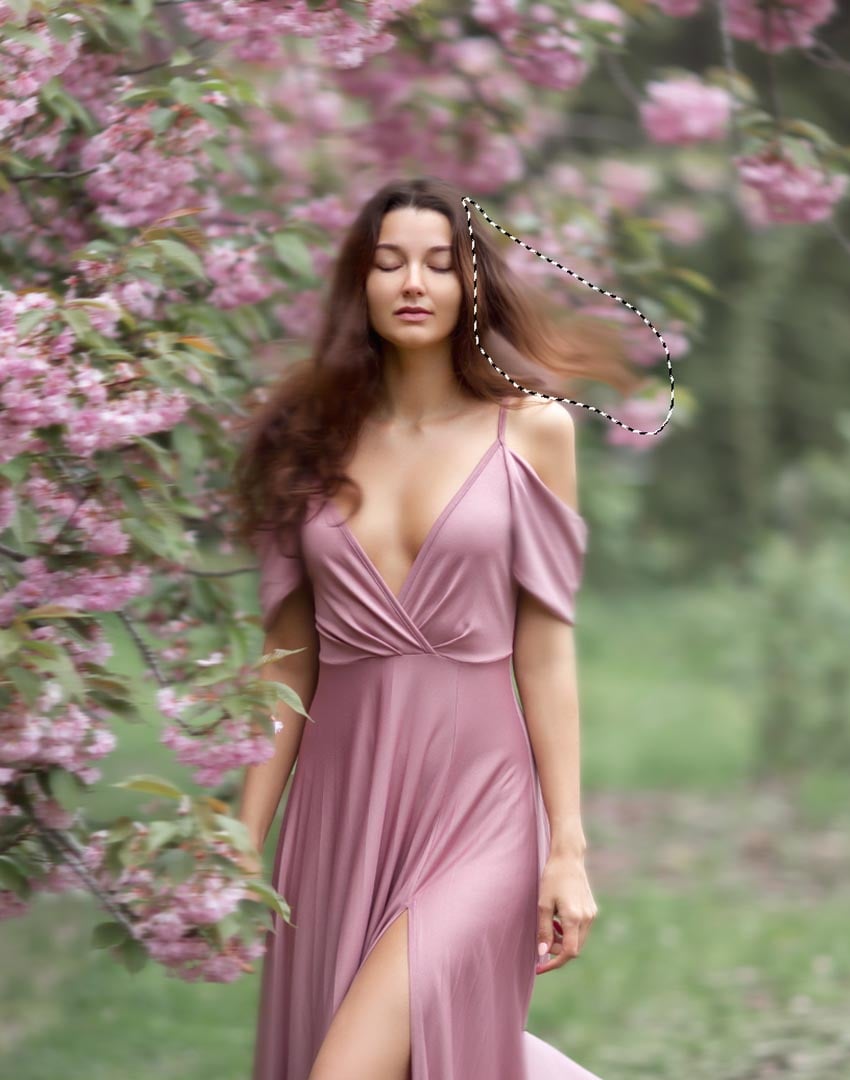
Repeat the above step with the hair. I used the prompt “Hair” for the below result.
When you choose a variation in the Properties panel, make sure to choose one that accurately reflects the hair color and texture. Generative Fill tends to default to straight hair.
Generative Fill takes the shape of the selection into account. Keep the windswept hair shape in mind when creating your selection.


Step 6
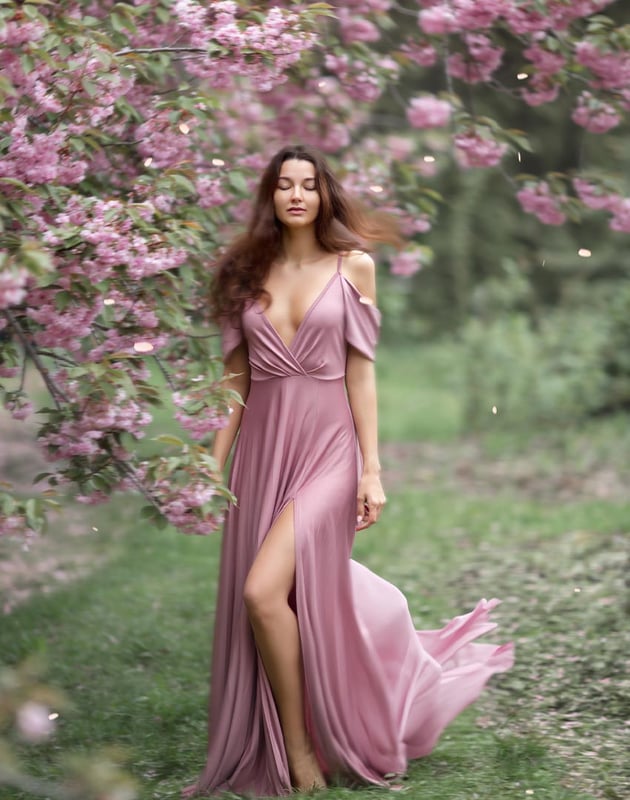
Place petals and other particles floating through the wind. Start by placing smaller debris below the “Subject” layer.
You can also use a petal or debris brush for a similar effect.


Step 7
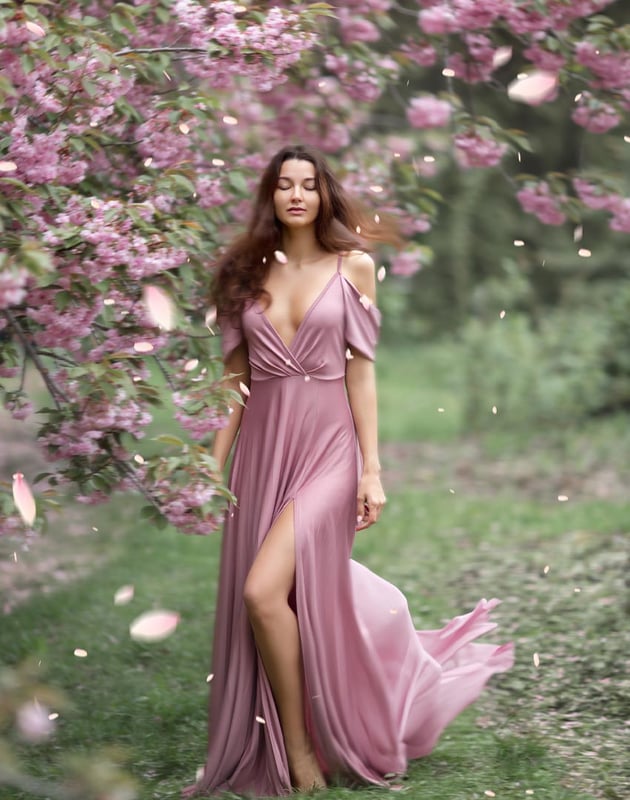
Place larger petals in the foreground of the scene and over the subject. Use different variations of sizes, placing large petals in front and medium-size petals closer to the subject.


Step 8
Add the same Filter > Blur Gallery > Path Blur to all of the petals as you did for the “Background” layer.


Step 9 (Optional)
Create a Stamp Layer using Control-Shift-Alt/Option. This will create a flattened copy of your image at the top of your layer stack
Again, go to Filter > Blur Gallery > Path Blur and add a similar curved path as you did originally. This will apply a wind effect to the whole image.


Step 10
Add a Layer Mask to the stamp layer and Invert it using Control-I.
Use a soft round Brush set to white to mask in the areas that need more motion blur, like the bottom of the dress, the branches of the trees, and some of the petals.
That’s How to Make a Wind Effect in Photoshop
That’s how to make a wind effect in Photoshop! You can also pair this windy blur effect with some Photoshop wind brushes for an even more stylish effect. However, you can make this technique as subtle as you want. You can also use it to add motion blur to things like vehicles and other moving objects.


Need More Photoshop Weather Effects?
Wondering how to change the weather in Photoshop quickly? Envato Elements has thousands of Photoshop add-ons and resources that will help you change the weather in your images in no time.
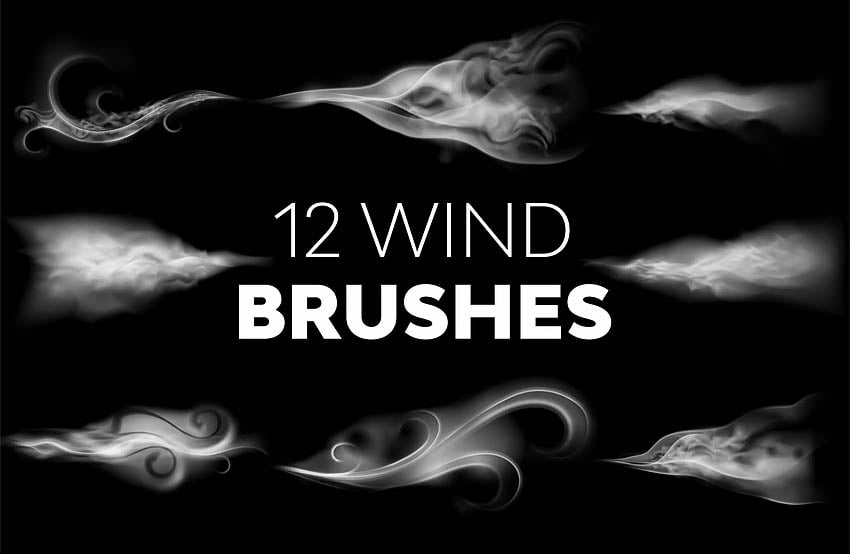
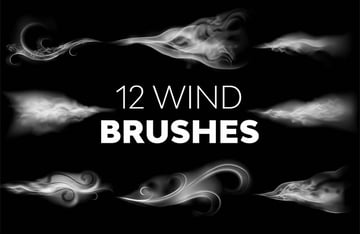
Wind Brushes (ABR)
These Photoshop wind brushes give the perfect artistic touch to any image. With 12 “gust of wind” stamp brushes, you can use whichever fits the vibe of your project best.

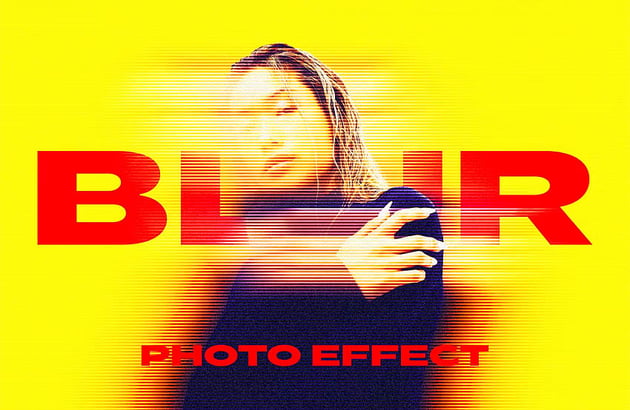
Stripe Motion Blur Photo Effect (PSD)
With just the click of a button, you can add a modern and edgy motion blur effect to your photos. Everything in this effect is customizable since it’s based on Smart Objects, so you’ll always be in control of the final outcome.


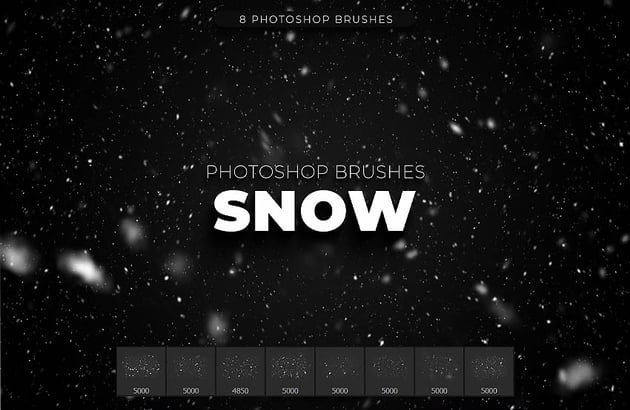
8 Snow Photoshop Brushes (ABR)
If you’re wondering how to change the weather in Photoshop, you’ll need both wind and snow. These brushes are the perfect mix of wind and snow, showing snow whipping around in the air for a perfect blizzard.


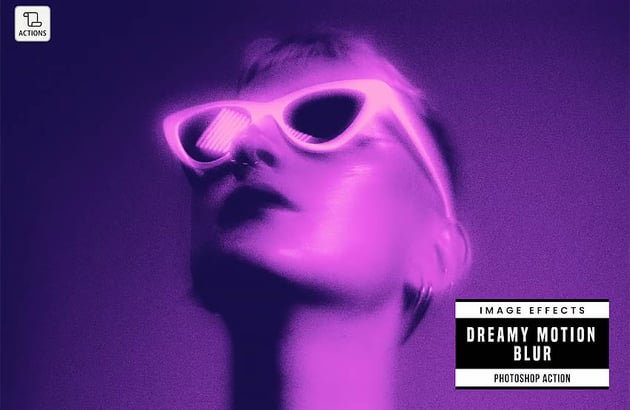
Dreamy Motion Blur Effect (ATN)
This action is edgy, modern, and vivid. Perfect for CD covers and posters, this easy-to-use action applies a windy grain effect to your photos in an instant.

Dreamy Motion Blur Photo Effects (ATN)
Looking to add a bit of drama to your images? Dreamy Motion Blur is the tool for you. Completely customizable and easy to use, this action creates a dramatic black and white wind effect that’s perfect for sport photos and portraits.