Launching a new product is an exciting business venture, one that could mean a world of difference for your business. However, as you’re prepping for the launch, it’s important to think about how you’re going to promote your product as well as make it possible for people to buy it. Here are two options:
- Create a coming soon page on your existing website for your new product.
- Create a dedicated website coming soon landing page (or pre-launch landing page) just for the product.
A benefit of an HTML product launch landing page is that it’s easier to set up than a Content Management System or an e-commerce platform. A dedicated coming soon landing page also gives you the advantage of your landing page being focused on one singular goal and that’s to promote the product and encourage people to buy.
In today’s tutorial, we’ll walk you through the steps of setting up a product launch landing page based on a template and share tips on writing landing page copy as well as product promotion. You can find some great landing page templates that’ll work well as product launch landing pages (or just about any kind of landing page, really) at Envato Elements or ThemeForest.
How to Set Up Your Product Launch Landing Page Template
Once you’ve downloaded your template, you’re ready to begin setting up your website coming soon or product launch landing page.
The process of setting up your website coming soon landing page template has a few steps. First, you need to get familiar with the way HTML templates work. Then, you need to modify the HTML and the CSS file so you can replace the content with your own and style the template to match your brand. The last step is to upload the files to your hosting server so your coming soon landing page can be accessed online. Let’s go through the steps, one by one:
Step 1. Get Familiar With the HTML Template Structure
When you purchase an HTML template, you’ll download it as a zip file. You’ll need to unzip it and then you’ll be able to see every file that makes up your future landing page.
In most cases, you’ll find one or more HTML files which represent individual pages of your site or different variations of the page. Each HTML file will be named similarly to the page it represents, except for the index.html file which signifies the homepage. These files control what elements are used on the landing page. This includes various blocks such as headings, paragraphs, images, and more.
Your template will also have a few folders that’ll contain CSS files, JavaScript files, and placeholder images. In some cases, you might find folders with font files or PSD files that were used to design how the template looks. Lastly, there will also be a documentation folder or a file that provides information about the template and instructions for modifying it.
The CSS files control how the template looks and the JavaScript files usually control animations and transitions.
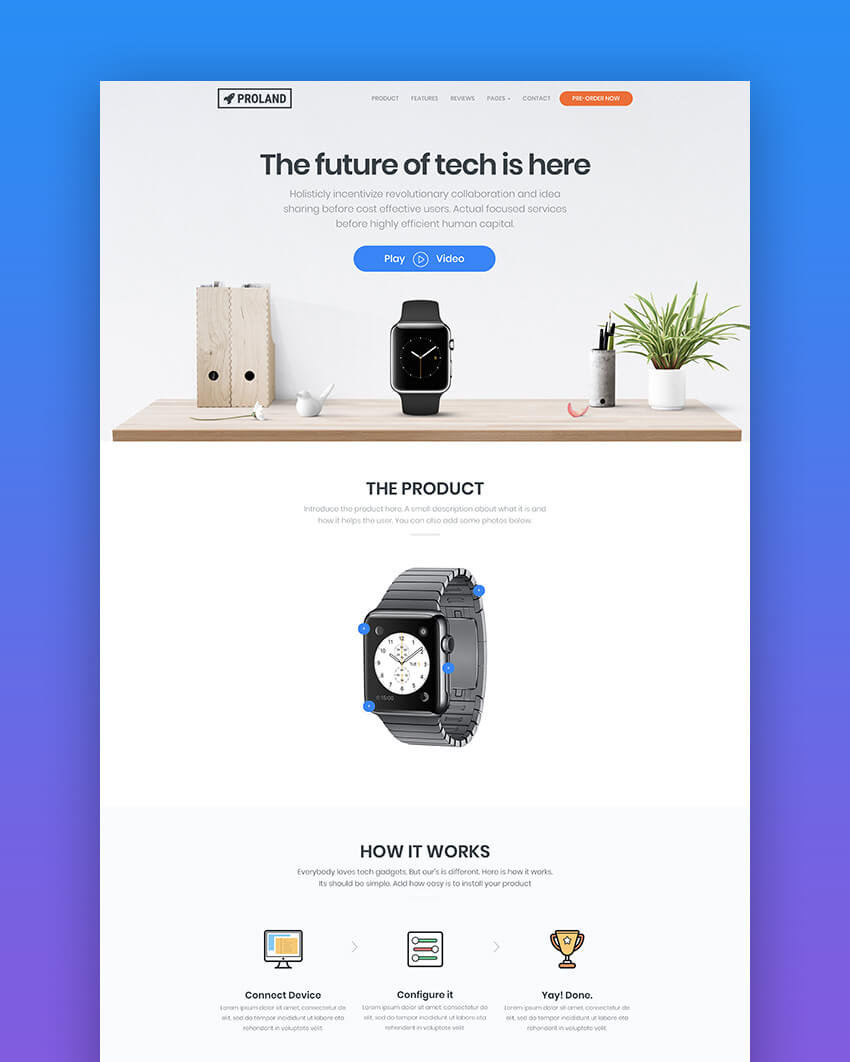
For this tutorial, I’ll be using the Proland template from Envato Elements. This is a responsive and multipurpose landing page template that integrates with MailChimp, PayPal, and email. It also includes features such as several landing page variants, video backgrounds, a press kit, and more. Here’s a look:

As you can see from the screenshot below, the template includes all of the files mentioned above as well as extra folders such as PHP which contains PHP files used for contact, order, and newsletter forms:

Step 2. Modify the HTML Code
The next step is to modify the HTML files. While you won’t be changing any of the actual HTML code, you’ll be replacing the dummy text and information with your own.
Editing HTML files is easy, once you understand what’s going on. The easiest way to get a grasp on the HTML code is to see it in action. Start by right-clicking on index.html and then selecting Open With Google Chrome or your preferred browser.
Once the template has loaded in your browser, right-click on any part of the page and select Inspect. In this example, I am inspecting the large header at the top of the page.

As you inspect the element, you’ll notice a panel at the bottom of your browser window. That panel shows you the underlying HTML code that makes up your template. As you can see, the large header text is in between <h2> tags. This means we need to find those tags in the index.html file and replace that text.
You’ll want to go back to your template’s folder, right-click the index.html file again, and select Open With, but this time choose a text editor such as Notepad or TextEdit.

When the file opens up in your text editor, look for <h2> tags and the text that you’ve just inspected. In my case, those tags are located on line 106 of the HTML file. Now all you’ve got to do is click between those <h2> tags, delete the dummy text, and replace it with your desired headline.
Going back to your HTML template in your browser, let’s inspect the text that’s right below the headline. This text is a paragraph wrapped in <p> tags, which means we need to back and locate those tags in the text editor.
In your text editor, you’ll notice that the paragraph is immediately below the header so just as before, click in between the <p> tags, delete the existing text, and enter your description.
Editing the rest of the template is easy. Simply follow the same steps until have changed all of the contents: right-click the element, inspect it, locate the tags in the text editor, and replace the dummy information.
After you’ve replaced all of the contents, click on File > Save. Refresh your browser window and you’ll be able to see your changes.
Step 3. Edit the CSS Files
Once you’ve replaced all of the content with your own, you need to style the template to your liking. This is done by editing the CSS file. Begin by locating the CSS subfolder in your template’s folder and looking for the file named style.css. This usually signifies the main CSS file you need to edit. In some cases, you might have more than one CSS file so double-check your template’s documentation for information on which one you need to edit.
Similarly to modifying HTML, you’ll have an easier time editing and styling the template if you know which styles are used for which element. The easiest way to find that out is to right-click on an element and inspecting it. The familiar Inspector panel will show up again and you’ll be able to see the CSS styles on the right side of the panel. The CSS side of the Inspector panel will even tell you which line of code contains this particular style. If your template has multiple CSS files, it’ll also tell you which CSS file you need to edit.
As you can see in the screenshot, I want to change the color of the blue button. According to the Inspector, I need to change line 45 of the CSS code in the blue-orange.css file.
If you’re following along, open up that file with your text editor and find line 45. Now, enter your own hex code for the background color. In my case, the code looks like this:
background: #8a6d3b;
Save the changes and then refresh your browser window. You can continue editing the CSS files in this manner until you’re happy with how your template looks. You can use the CSS styles to change the fonts, adjust the spacing, and more. Simply remember to inspect the element you want to style, locate the right line of code and the right CSS file, and then adjust the styles.
Step 4. Upload Your Product Launch Landing Page Template to Your Hosting Server
The last step is to upload all of your template files to your hosting server. Keep in mind that if you’re going to be using only the website coming soon landing page, there’s no need to upload other HTML files. You will, however, need to upload the CSS, JavaScript, and other folders that are located in the HTML folder.
To begin the upload process, you’ll need to use the FTP information that was provided by your host. You’ll also need an FTP program that’ll allow you to connect to your server. FileZilla is a free FTP client that can be used on Windows, Mac, and Linux computers and it’s what I’ll be using.
Download FileZilla and launch it. Use the QuickConnect bar at the top to enter your hosting information. Then, click the Connect button.
Once the connection has been established, locate the template’s HTML folder on the left-hand side of FileZilla window. Select the HTML file and all the folders and then drag them over to the right-hand side. Place the files into the public_html folder. Then, wait for the upload process to finish. You can then visit your product launch landing page URL and make sure everything works as intended.
Five Copywriting Tips for Your Product Landing Page
Now that we’ve covered how to set up your product landing page template, you need to make sure that the copy on your page seals the deal and convinces visitors to make the purchase. Here are five tips that’ll help you write stellar copy for your product landing page:
1. Avoid Jargon
The first tip is to avoid jargon and technical language that visitors won’t understand. While you do need to describe what the product is and how it helps them, you’ll be better off using everyday language. Imagine you’re describing your product to a friend. You’ll be surprised how much more natural you sound.
2. Focus on Benefits
Your copy should make the visitors want and need your product. It needs to leave them with the “I have to have it!” reaction. A surefire way to get there is to focus on the product’s benefits. More precisely, you need to give them a clear picture of how your product is going to make their life better.
3. Work on Your Headline First
The headline will be the first thing your visitors see and it needs to hook them right from the start. Your headline will help you shape the rest of your story so it’s a good idea to craft your headline first and spend extra time on making sure you get it right.
4. Use Bullet Points
Landing pages are usually long so use bullet points to break up the copy and make it easier to digest. Bullet points are great for describing the benefits as well as outlining the features of your product.
5. Focus on Your Ideal Customer
Lastly, focus on your ideal customer. Think about their preferences, their problems, and how your product solves their problems. By doing so, you’ll have no problems coming up with a convincing copy for your product launch landing page.
How to Promote Your Coming Soon Landing Page
Once you’ve got your copy and your product launch landing page is good to go, it’s time to promote it and drive traffic to it. Here are a few ways to market your coming soon landing page:
- Use it as the default link in your social media bio and be sure to create a post that announces your product with a link back to your landing page
- Send out an email to your existing subscribers and let them know your product is now available
- Create a contest on social media where your followers have to do something (for example, caption a photo, come up with a photo that’s related to your product or tag a friend who would benefit from it) for a chance to win the product itself.
Learn More About Landing Pages
If you’d like to learn more about landing pages, review these tutorials:
For a great selection of more landing page templates, take a look at:

Make More Sales With a Product Launch Page Template
A great product launch page template can help you make more sales of your product and result in a profitable launch. Find your perfect product coming soon landing page template on Envato Elements or ThemeForest and then use this tutorial to help you set it up.