Creating a fully functioning eCommerce store requires you to take care of a lot of big and small things. Any website that you create to sell products will have different types of pages to address different needs. Dedicated product pages are one such example.
A product page allows you to provide all the necessary information about the product that your users like at one place. WooCommerce does come with its own default product pages but you might see better results with your own custom pages. In this tutorial, you will learn how to customize a WooCommerce product page for free in a step-by-step process.
Options for Customizing a WooCommerce Product Page
The beauty of WordPress is that it gives you a lot of different options to do the same task. WooCommerce product pages are no different. There are both free and paid options available for customizing a page. Our focus in this tutorial would be on getting it done for free. However, remember that it is often easier to use premium plugins to do things in WordPress.
- Page Builders: Not all page builders come with built-in support for WooCommerce building blocks but some of them do. For example, you can use page builders like Elementor and Visual Composer to create customized WooCommerce product pages. This is quite easy to do but usually requires a paid or pro version of the builders.
- Dedicated Plugins: WooCommerce comes with some hooks for actions and filters that can be used to add or remove content from the product page or other places. There are dedicated plugins relying on these hooks that you can use to make changes to the product page.
- Custom Code: This is the most complicated way for creating customized WooCommerce product pages but it is also the most powerful. You don’t have to spend any money and will have full control over things but there is risk of making mistakes if you are just starting out.
Customizing a WooCommerce product page for free will require some additional effort on your part. We will use a combination of dedicated plugins and some CSS to get things done.
Getting Started
I will start this tutorial under the assumption that you have already installed a theme of your choice and completed a basic set up of WooCommerce like adding some products. Here, we will use the free Storefront theme available on WordPress. It is free, simple and was created by core WooCommerce developers themselves. You will probably be using a different theme so the screenshots in the tutorial will differ from what you see when customizing your page.
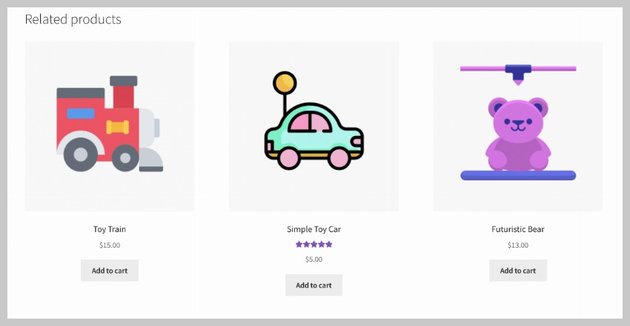
The image below shows what my default WooCommerce product page looks like with Storefront.
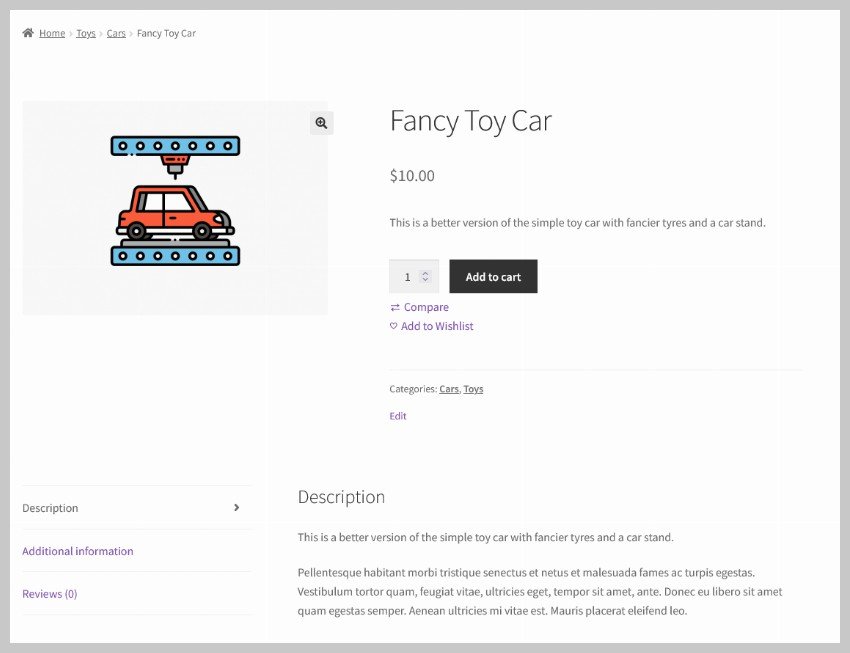
There is also a section at the bottom of the page which shows some related products to viewers.

Customizing the Existing Elements on Product Page
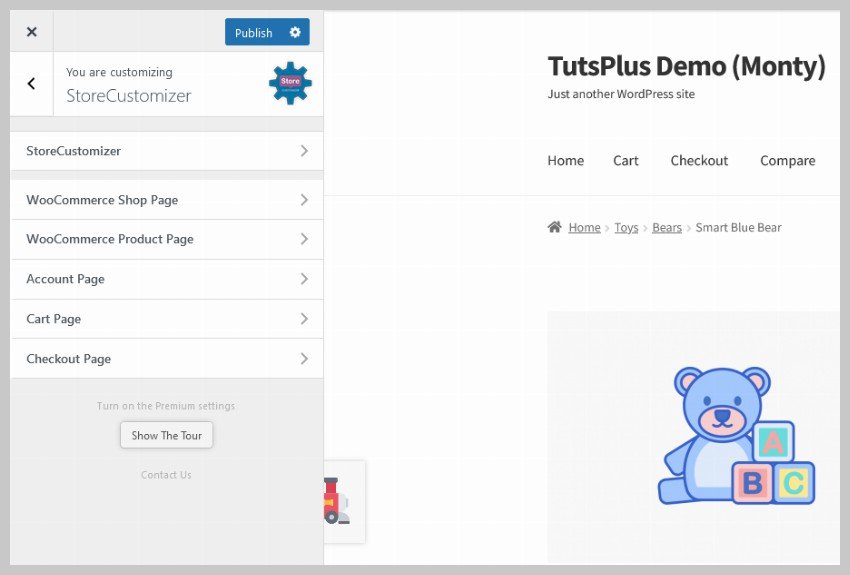
We will use the StoreCustomizer plugin to make changes to the appearance of our WooCommerce product page. Once you have installed the plugin, head over to Appearance > Customize > StoreCustomizer in the admin dashboard from the main menu.
You will then see a few menu items to customize different types of WooCommerce pages. Go ahead and click on WooCommerce Product Page.

You should see different subsections now which contain options to make changes to different parts of the product page. At the top, there are checkboxes to remove the breadcrumbs navigation, image zooming and lightbox features. I am keeping them all unchecked besides the lightbox.
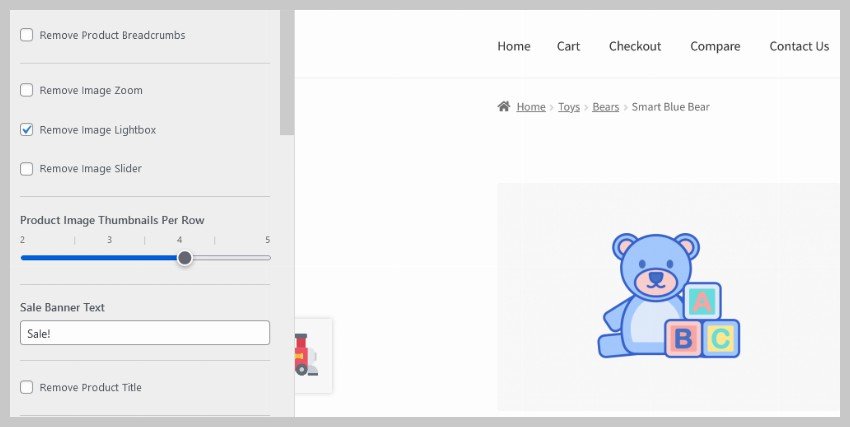

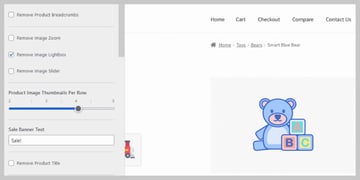
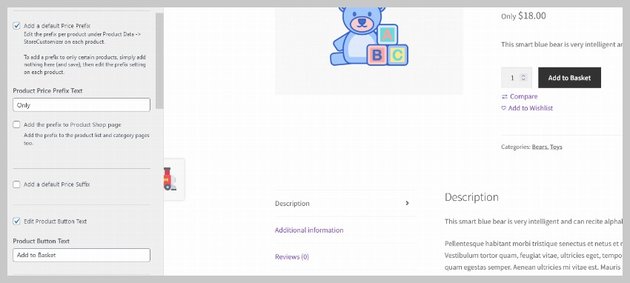
Then there are options to add a default prefix or suffix to the product price. Check the Add a default Price Prefix checkbox and put the word Only in the input box.
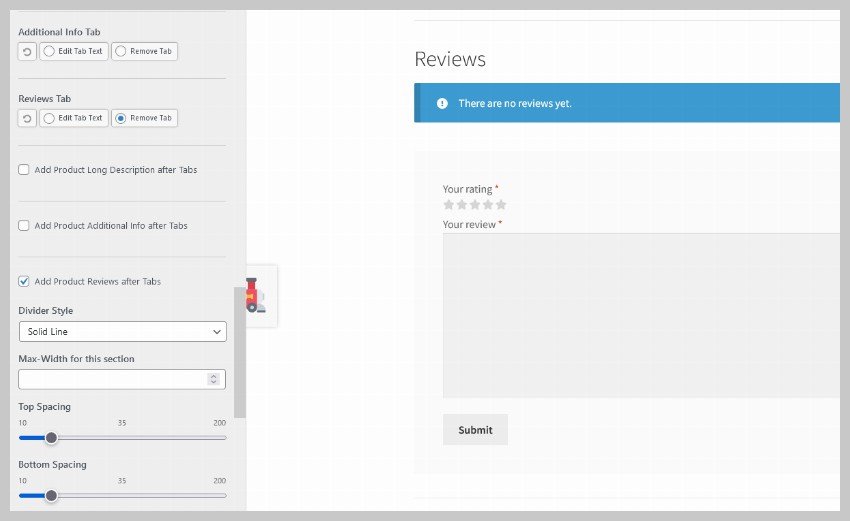
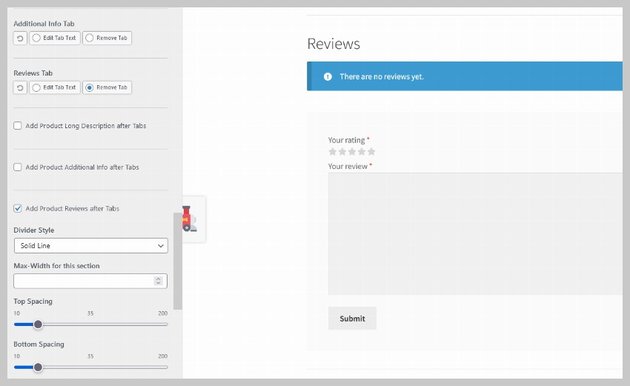
Our initial product page had three tabs for the description, additional information and reviews of the product. We will now remove the Reviews section from the tab by selecting the Remove Tab radio button. The reviews will appear below the tabs in a separate section of their own. We can do this by checking Add Product Reviews after Tabs. The customizer gives us the option to make further changes to the spacing of the reviews section or adding dividers above and/or below it.
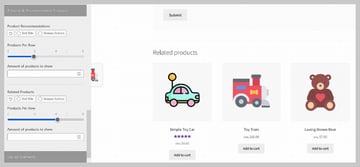
Our product page shows three related products by default. StoreCustomizer allows us to change the number of products shown as well as the items per row. I have set the Products Per Row value to 4.
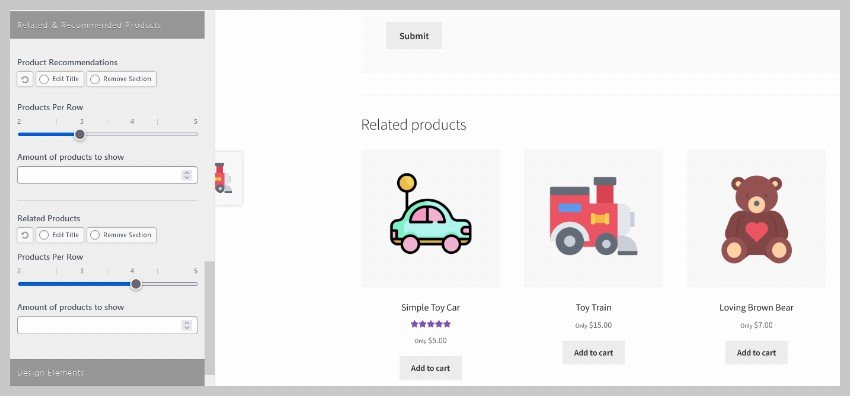

There are a few more settings at the bottom of the plugin to change the color and size of elements like the product title and price. You can also set a color for the Add to Basket button.

Adding More Elements on the Product Page
We will now use another free plugin called Single Product Page Customizer to place content in different parts of the page. Some of this content would be static and other would be dynamic like showing users a list of best selling products.
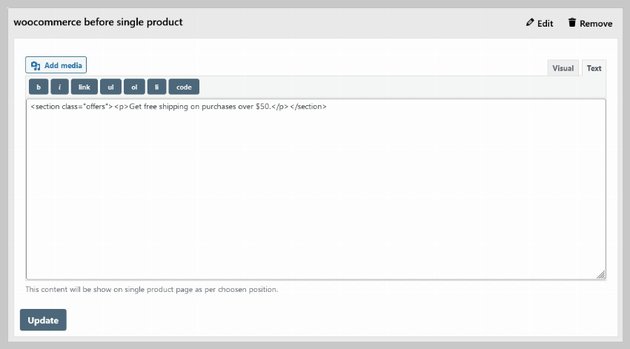
Once you have installed the plugin, go to WooCommerce > Single Product Page Customizer. The plugin comes with a guide map to show you different places where you can put your own content. Click on the Add New Position button to select a position for your content. This will show you an editor like the image below. You can select something from the dropdown menu and then switch to the text tab. This will allow us to put our own custom HTML on the page.
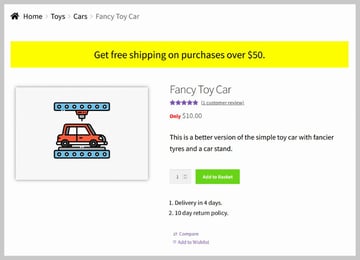
Lets begin by placing a banner at the top of each product page. Select woocommerce before single product from the dropdown and then place the following HTML in the editor.
<section class="offers">
    <p>Get free shipping on purchases over $50.</p>
</section>
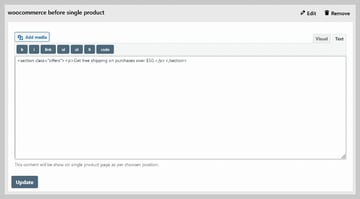
Here is a screenshot for reference:

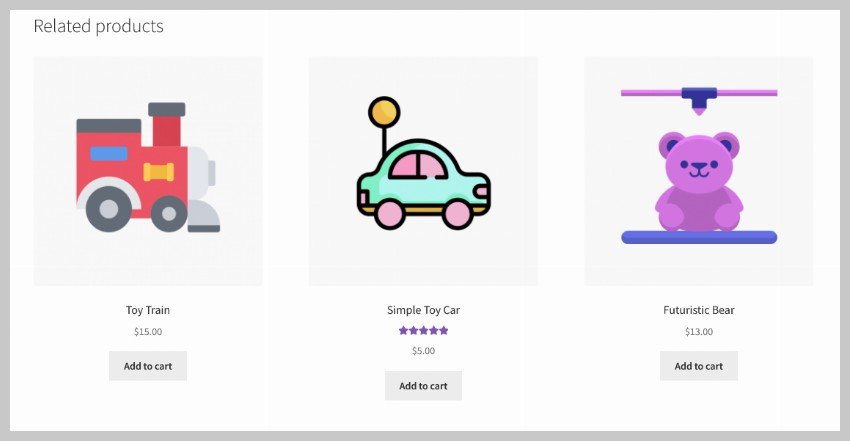
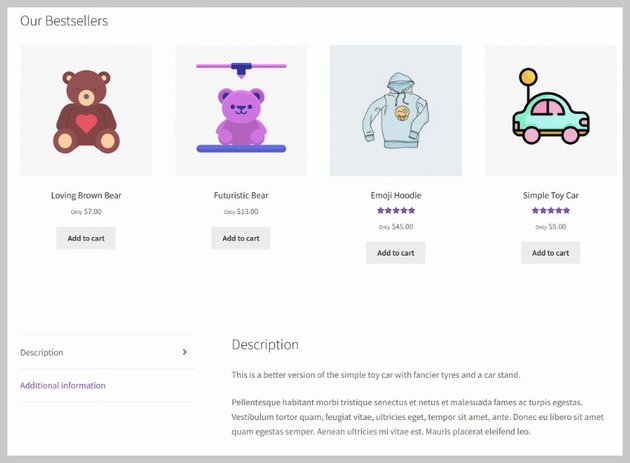
We will also be showing some bestselling products from our website on the product page right after the product summary by selecting the woocommerce after single product summary option from the position dropdown. We have used one of the many available WooCommerce shortcodes here to show the four best selling products.
<h3>Our Bestsellers</h3><p>[products limit="4" columns="4" best_selling="true" ]</p>
Lets say you want to show some general information regarding the return and shipping policy on a product page. We can do that by selecting the woocommerce after add to cart button option from the position dropdown. Here is the HTML that I put inside by editor:
<ol class="wsppc-terms-list"><li>Delivery in 4 days.</li><li>10 day return policy.</li></ol>
Using CSS to Make Visual Changes
CSS is essential for laying out and visually styling elements on a webpage. Now that we have placed all our desired HTML content on the product page, it is time to use some CSS in order to present it all in a way we like.
This part can be a bit tricky if you have never used CSS before. This is because just a simple copy paste might not result in the exact same changes on your end if you are using a different theme or slightly different HTML structure form my version. A little familiarity with CSS will come handy at this point.
Getting back to the task at hand, you can head over to the WordPress dashboard and navigate to Appearance > Customize > Additional CSS to place your own custom CSS. Here is the CSS that I used:
p.price small {
     color: red;
     font-weight: bold;
}
 .wsppc-terms-list {
     margin: 2rem 1rem;
     color: black;
     font-size: 1.25rem;
}
 section.offers {
     margin-top: -2rem;
}
 section.offers p {
     text-align: center;
     font-size: 2rem;
     color: black;
     background: yellow;
     padding: 1rem 0;
}
 .woocommerce-breadcrumb {
     font-size: 1.5rem;
}
 div.storefront-breadcrumb .woocommerce-breadcrumb a {
     text-decoration: none;
     color: black;
}
 .single-product div.product .woocommerce-product-gallery {
     width: auto;
     margin-right: 0;
}
 div.woocommerce-product-gallery figure {
     box-shadow: 0 0 10px #888;
     margin: 1rem;
}
 .single-product div.product p.price {
     margin-top: -1rem;
}
 div.woocommerce-product-details__short-description {
     font-size: 1.4rem;
     color: black;
}
The rules applied on first few selectors are meant for our Single Product Page Customizer. Others are to make changes to existing elements within our storefront theme.
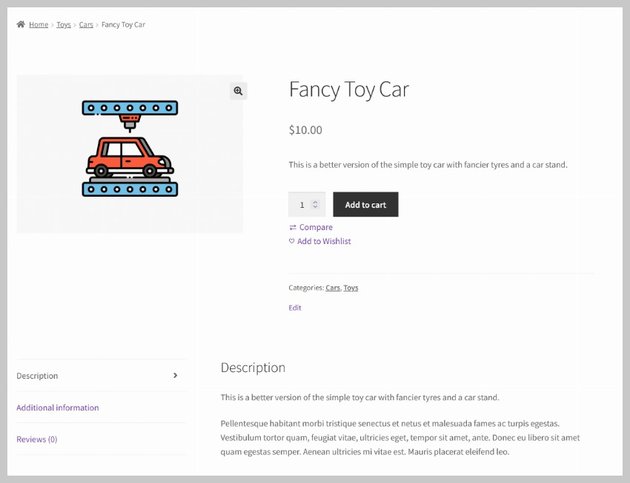
The product page should look like the following image after you have updated the CSS.


The description and additional information tabs are also no longer directly below the product summary. We have added a row of best selling products just before them.


You should try and make small changes to the visual appearance of these two sections yourself as practice. For example, you could make the headings bolder and change the color of Add to Cart buttons.
Final Thoughts
As I mentioned in the beginning of the tutorial, there are a lot of ways to customize a WooCommerce product page in WordPress. The ideal route for you will depend on your budget, available time and coding skills. Usually, the easiest way to get things done is with paid plugins or page builders that offers a bunch of features to let you create custom product pages in no time.
However, you can also customize a product page for free by using a combination of free plugins and little bit of CSS. You will have a lot more control over the content of the page if you have decent coding skills but the concepts we covered in this tutorial should be enough for all your basic needs.
