People who have created WordPress websites know that there are different kinds of pages that you can create in WordPress. WooCommerce follows a somewhat similar structure. There are single product pages like single post pages and then there are archive type pages to show a list of products. The WooCommerce shop page falls in the latter category.
In this post, I’ll explain why a WooCommerce shop page is important and how you can customize it. Let’s get started.
Why Customize the WooCommerce Shop Page?
As I mentioned earlier, the shop page allows your visitors to see all the products that you are selling in one place. This is very convenient for them if they are just browsing around without a particular product that they want to purchase in mind.
A WooCommerce shop page will look pretty basic when everything is set to default. The following image shows what the default shop page looks like on my locally set up test website with Storefront theme installed.

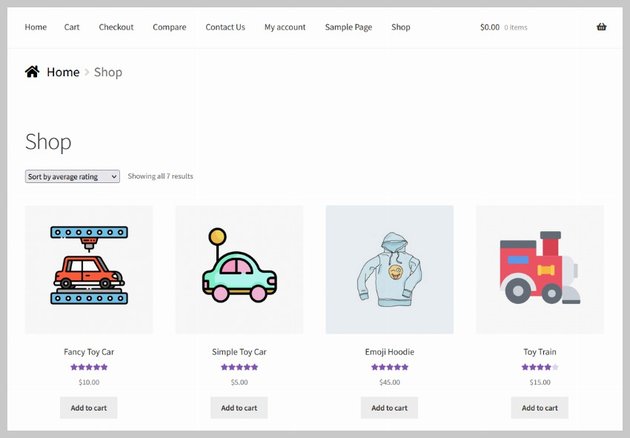

Right now it just uses Shop as the page title and presents all the products in a grid layout. There are a lot of improvements that can be made on the page. For example, we could give users the ability to search for products or we could include a list of featured, best selling or top rated products. The idea is to help the viewers find out what they are looking for or to push them in a specific direction, for example by showing a list of on sale products.
Customizing the shop page to include top0rated and best-selling products will increase your chances of making a sale. You can also edit the shop page to make product browsing easier for visitors.
Customizing the WooCommerce Shop Page
There are a few options to customize the WooCommerce shop page in WordPress. The easiest way to do that will be to use existing tools and plugins. However, you can also design a fully custom shop page by creating a child theme.
Our focus here will be on creating a customized shop page by using built-in WordPress and WooCommerce features, a free third-party plugin called StoreCustomizer and some custom CSS.
1. Add Built-in WooCommerce Blocks
We will begin by editing the shop page using the WordPress Gutenberg editor. You will find the shop page under Pages > All Pages in the WordPress dashboard navigation menu. Click on the Edit link that shows up when you however over the shop page.
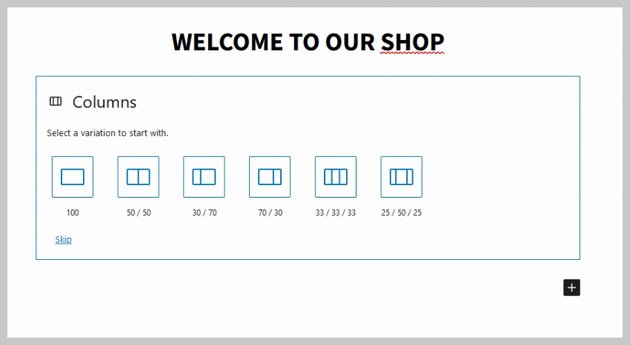
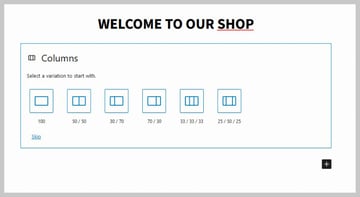
The first block that we will add to the shop page is an h2 level heading. Click on the tiny + button on the page and then select a heading block. I am using Welcome to Our Shop as my heading. Click on the heading and you will see a floating menu or toolbar to set the heading level and alignment etc. Keep the heading level at h2 and set the alignment to center. You will also see some settings for the heading block in the sidebar. Just make sure that you are on the Block tab instead of Page.
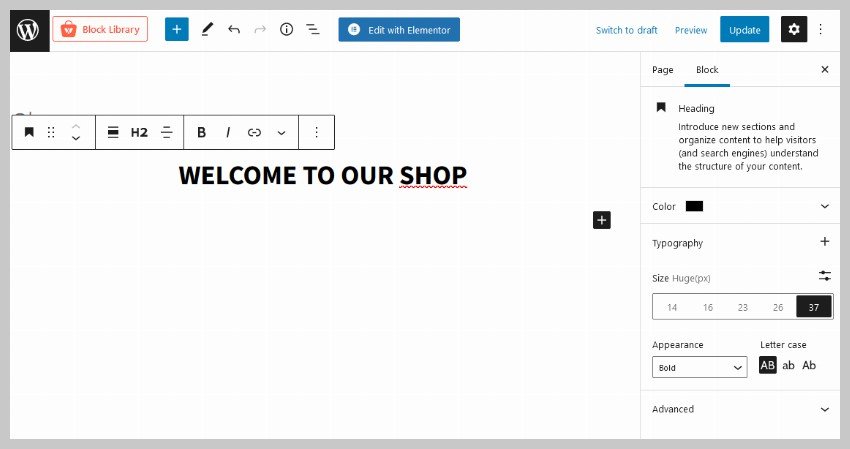
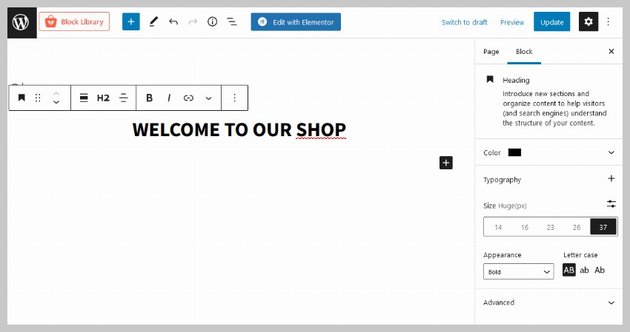

I make a few changes to the appearance of the heading block like setting its color to black, size to 37px, font-weight in the appearance dropdown to bold and set letter case to uppercase by selecting the first option.
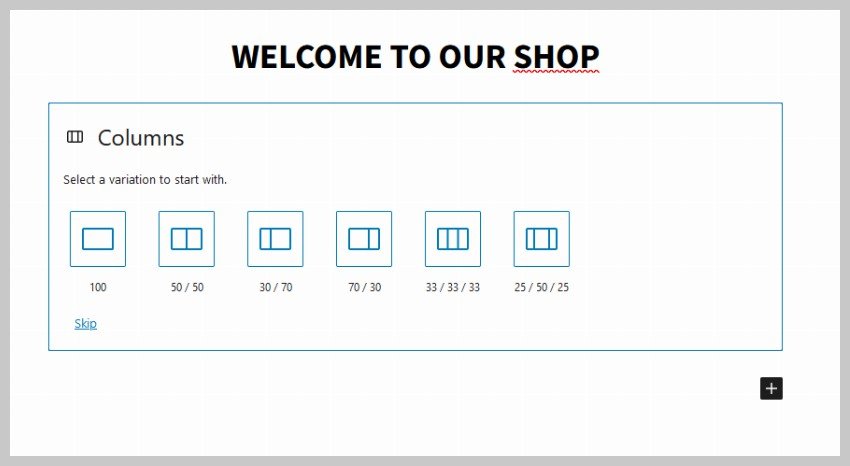
Now, we will add another block to create a two column layout. Select the option for a 70-30 split. Our list of products will be on the left side and the right side will contain a sidebar for additional content like a product search widget.
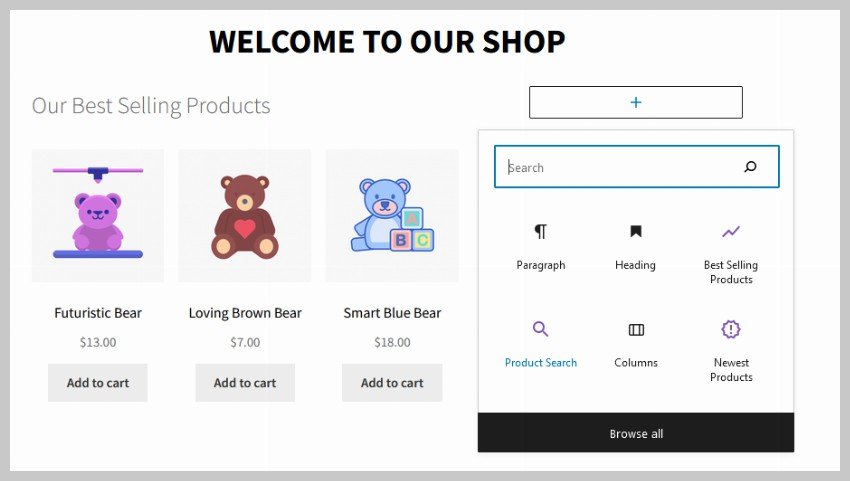
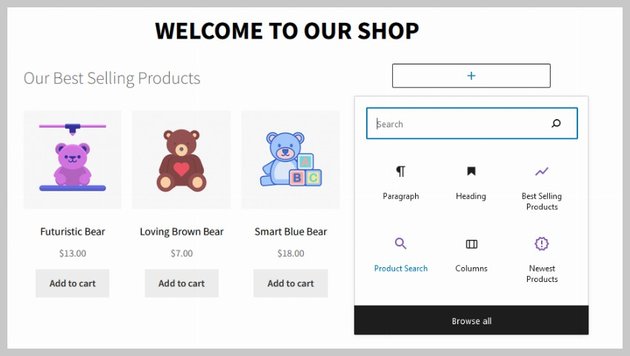
Begin by adding an h3 level heading titled Our Best Selling Products to the left column. Add a WooCommerce block named Best Selling Products here. You can find it after typing Best Selling in the search input of the floating toolbar. You can also click on the + icon in the top menu to see a list of all available block items. This will open up a sidebar on the left and you can keep scrolling down to see WooCommerce blocks. This is another way of adding a block if you can’t find it by searching.

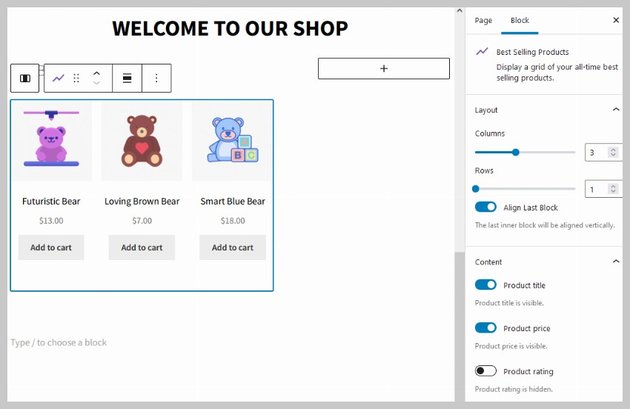
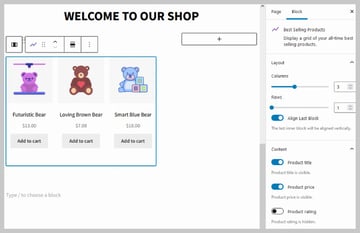
By default, the block will display the top 9 best selling products in a 3×3 grid. We will keep the column slider at 3 and move the row slider to 1 to show a single row with three products. I have also toggled the product rating value to hide it from the page.
Repeat the last two steps in order to add another heading titled Our Latest Products and a block to showcase the three latest products.
Lets start adding content to the sidebar now. First, we will add a product search block and then toggle the Show search field label from within its block settings.
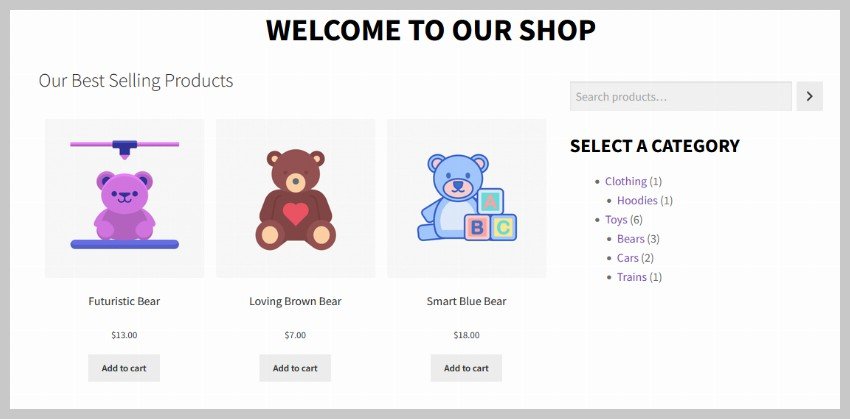
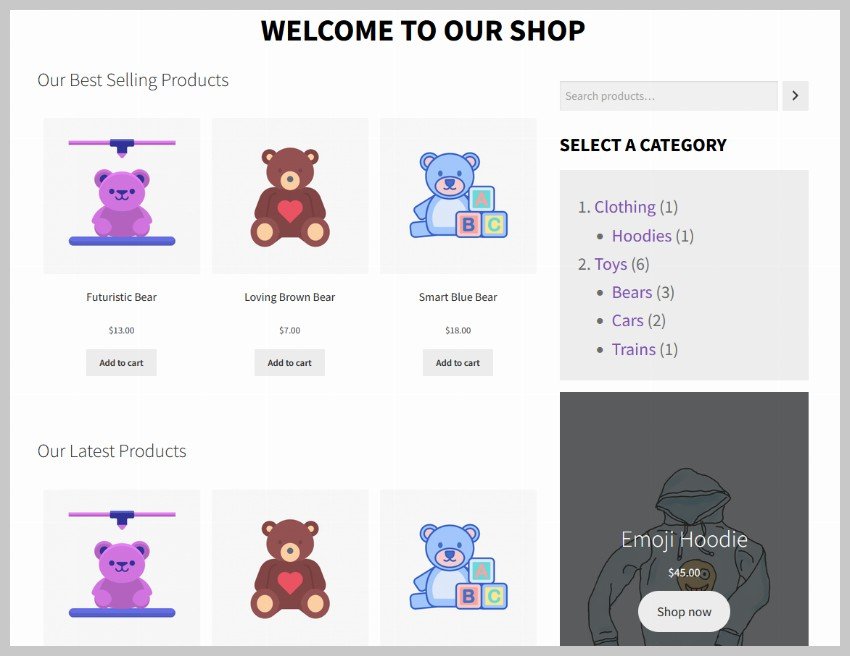
Add an h3 level heading titled Select a Category below the search bar. Set its color to black, appearance to bold and letter case to uppercase. Add another WooCommerce block called Product Categories List after the heading and keep all its default block settings. This should give you a shop page that looks like the image below.


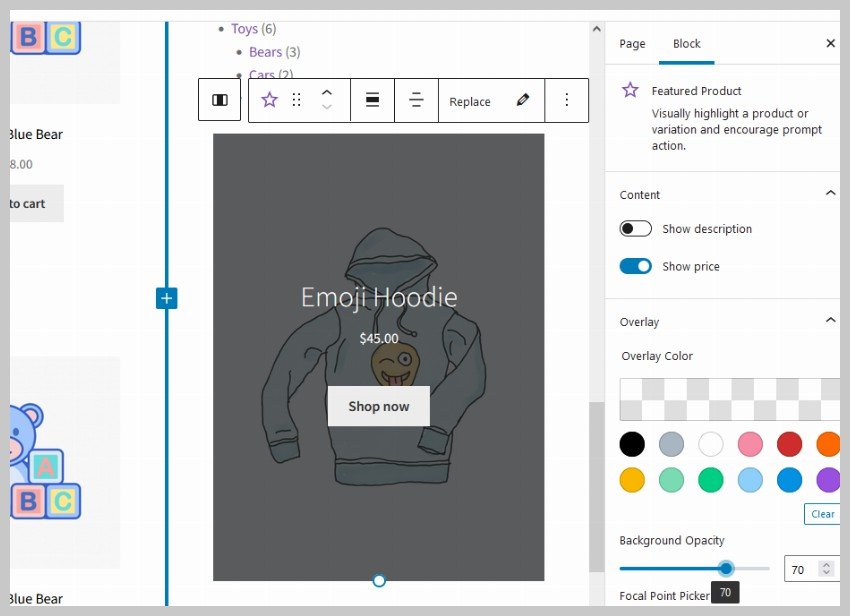
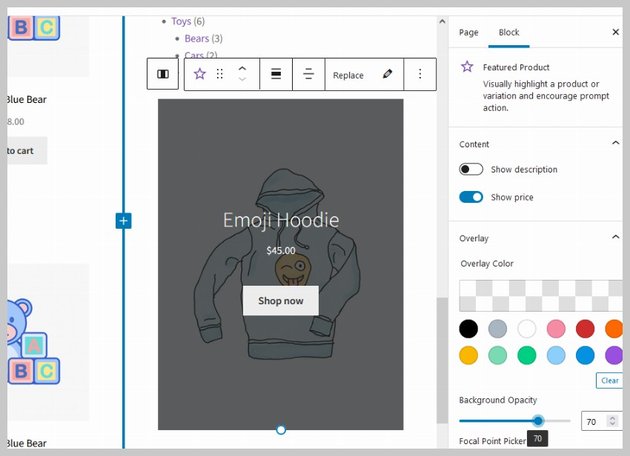
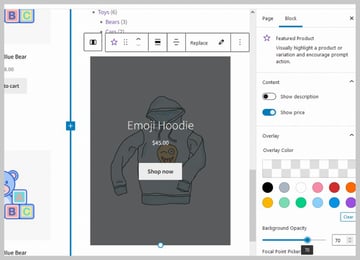
We will add a Featured Product block to our sidebar to show a featured product. I have set mine to the Emoji Hoodie. There are quite a few block settings available for the featured product. Turn off Show Description under Content in the block settings and set background opacity to 70%.
2. Adding Custom CSS for the Blocks
We customized the appearance of many elements on the shop page with the Gutenberg editor itself. However, making more changes will require you to write some CSS. You can add your own CSS rules to your website by heading over to Appearance > Customize > Additional CSS. Now place the following CSS inside the textbox and hit Publish.
.wc-block-product-categories {
     margin-bottom: 1em;
     background: #efefef;
     padding: 2rem 0 0.5rem 1rem;
}
.wc-block-product-categories-list.wc-block-product-categories-list--depth-0 {
     font-size: 1.5rem;
     list-style: decimal;
     margin-left: 2rem;
     margin-bottom: 1rem;
}
#select-a-category {
     font-size: 2rem;
     margin-bottom: 0;
     margin-top: 3rem;
}
.woocommerce-ordering {
     font-size: 1.7rem;
}
.storefront-sorting select {
     border: 2px solid black;
     text-align: center;
     font-variant: small-caps;
}
The first three selectors target different elements that we added to the shop page. The applied CSS rules are basically used to make the category list section stand out.
The last two selectors target the default sorting dropdown on the shop page. We increase the font size of the dropdown and add a thicker border among other things in order to blend it in with rest of the page.
3. Removing Unwanted Elements with StoreCustomizer
The StoreCustomizer plugin gives us a lot of options to change things on the shop page that could not be achieved by just using the default Gutenberg editor. It allows us to customize many WooCommerce related pages, the Shop Page being one of them.
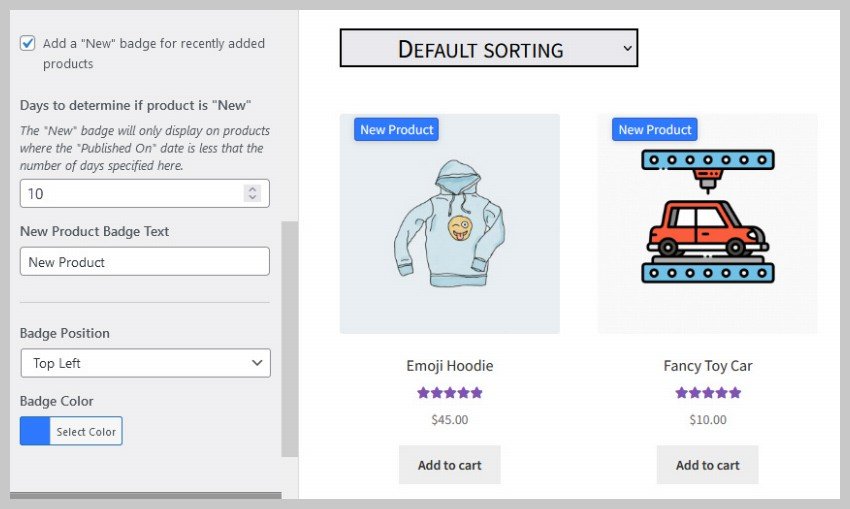
Once you have installed the plugin, you can go to Appearance > Customize > StoreCustomizer > WooCommerce Shop Page in order to make any changes. In my case, I check the box to remove the shop title and sorting results. I also set the products per page to 20 and products per row to 4. We can also add a badge to highlight new products on the shop page by ticking the checkbox next to Add a “New” badge for recently added products. All you have to do is specify the number of days that have passed since adding an item to the website when it should still be considered new.


Final Result
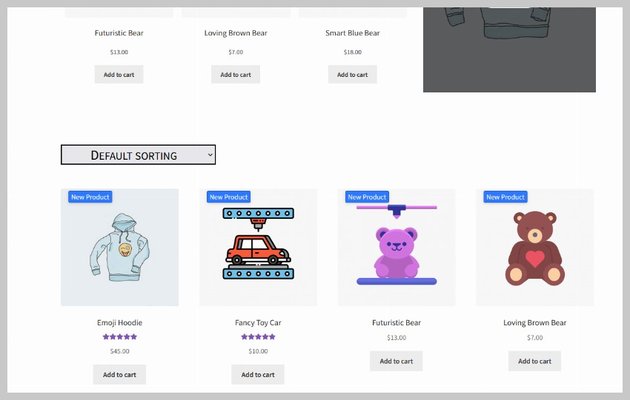
After following all the steps in the tutorial, your shop page should look like the image below.


It should also have the classic product list with newly applied CSS and settings that looks similar to the following image.

Final Thoughts
In this post, we learned how to customize a WooCommerce shop page without writing a lot of code. This involved adding built-in WooCommerce blocks to the shop page and then changing their appearance by using some CSS. Finally, we used a free third-party plugin called StoreCustomizer to add functionality that would otherwise require us to write PHP code.