In this tutorial, you’ll learn how to kern in Cricut Design Space. You may be asking yourself, “What is a kerned font in Cricut?” Often, fonts have incorrect or uneven spacing when you type a word out, and these fonts don’t have kerning, so we have to do it manually.
I will cover everything you need to know about kerning in Cricut Design Space—even if you are brand new to the software!
How to Kern in Cricut Design Space
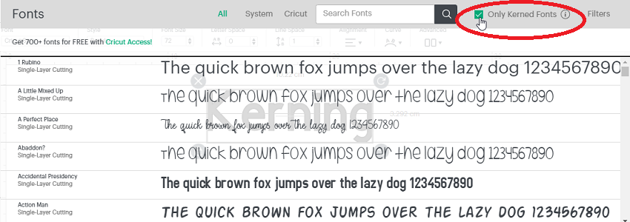
Let’s start with kerning in Cricut. To start off with, we will cover a recent Cricut kerning update, where kerned fonts are automatically selected in the font panel. So any fonts you see when you open the font selection will already be kerned fonts in Cricut.
Step 1
I will be using text I’ve added to my current project using the Text option.
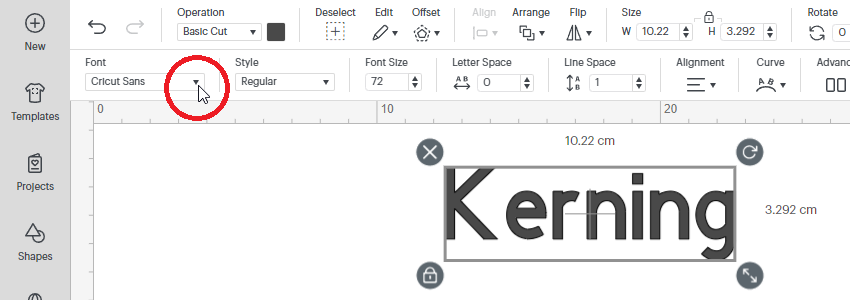


Step 2
Next I want to select a font from a larger range of fonts, including one that doesn’t have kerning in Cricut Design Space, so I am going to click on the checkbox in the top-right corner to not show Only Kerned Fonts in Cricut.

Step 3
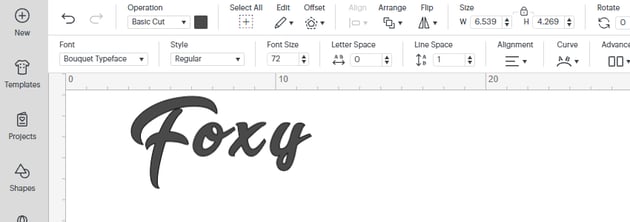
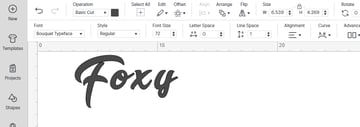
Now you can choose any font. To show you how to fix kerning in Cricut, I have chosen the font “Bouquet” from Envato Elements. If a font was not kerned, it would look like the below:

Step 4
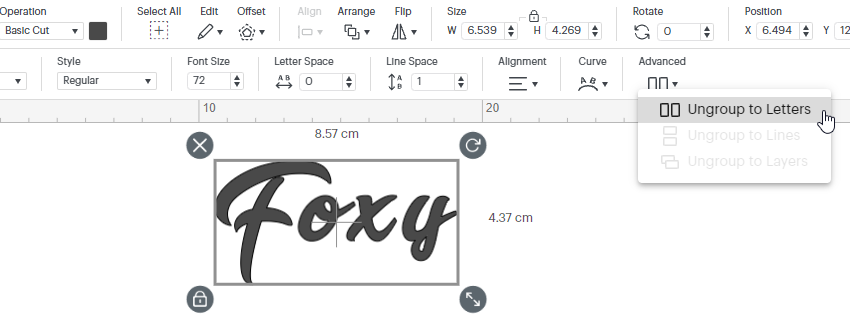
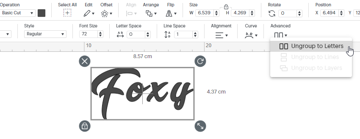
Next up we need to separate the letters so that we can correct the kerning in Cricut. Under Advanced, click Ungroup to Letters.

Step 5
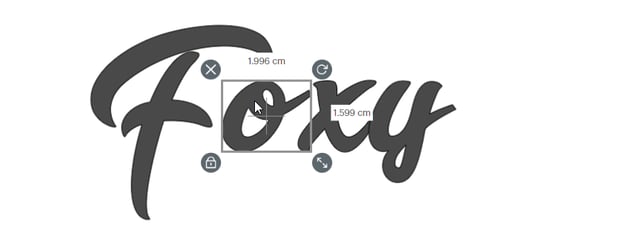
Now we can nudge each of the letters together with the directional keys on your keyboard (or manually drag on a mobile device). You can also press Shift while pressing the left or right arrow keys to move it a lot, instead of a little bit.


Step 6
My word now looks so much better! You can see how the kerning looks so much better.


Step 7
Before cutting this, don’t forget to weld the font—otherwise the letters will cut into each other and it won’t turn out how it looks on the screen.


(Sometimes) Step 8
Hopefully your word won’t look like this, but if it does, your letters are a little too close together. Make sure to click Undo (or Control-Z) and move the letters a little further apart.


Congratulations!
You can now use any font in Cricut Design Space even after the Cricut kerning update! I hope you enjoyed learning what a kerned font is in Cricut. An evenly spaced font looks so much more professional, and now all of your words will have perfect kerning in Cricut Design Space!