
In this tutorial you will learn how to create an adorable cartoon Little Red Riding Hood with her basket and bunch of flowers. You will use the Pen Tool (P) and basic shapes such as the Rectangle Tool (M), the Ellipse Tool (L) and the Polygon Tool. This is a great tutorial for those who are getting the hang of Adobe Illustrator’s basic tools.
Step 1
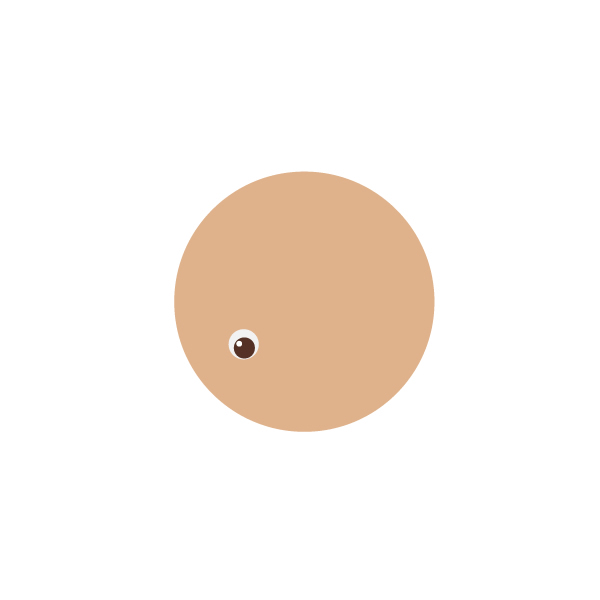
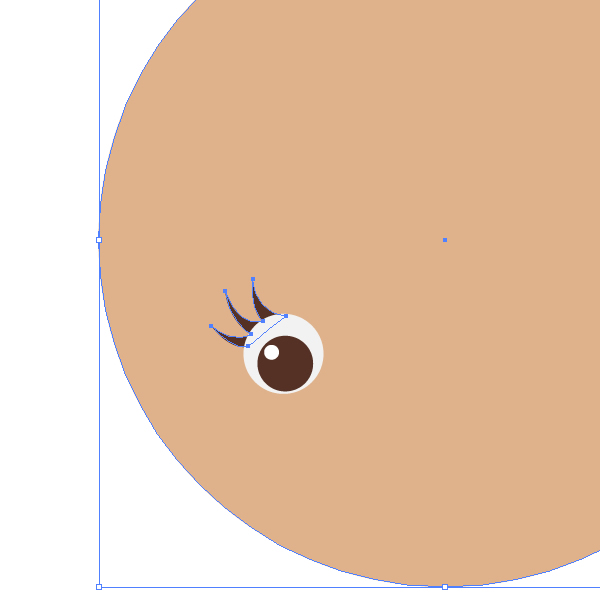
Let’s start by creating a New document. Then we will draw a circle (color R=223, G=178, B=139), using the Ellipse Tool (L). You want nice even circle, so you need to press and hold the Shift key for this. This will be the face of a little girl.

Step 2
Next – the eyes. Take the Ellipse Tool (L) (color R=242, G=242, B=242) and draw another circle for an eye. If you put an eye in the lower part of the face, the Little Red Riding Hood will look more child like.
Step 3
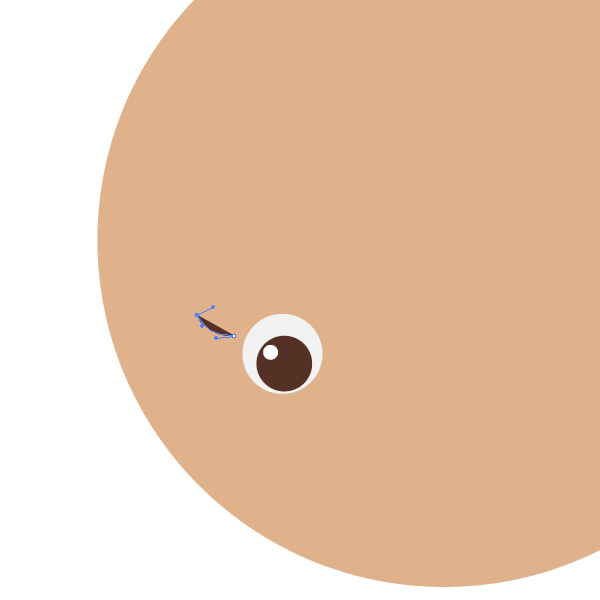
Create another two circles as shown on the image below. Those are pupil of the eye (color R=84, G=49, B=36,) and a highlight (color R=255, G=255, B=255).
Step 4
Now we draw the eyelashes, using the Pen Tool (P). Use the same brown color as a pupil of the eye.
Change the direction of the Pen Tool to finish the first eyelash.
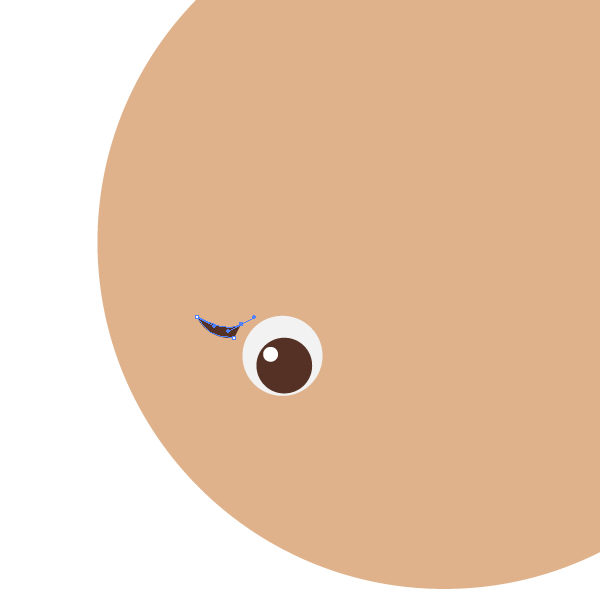
Continue to draw second eyelash, than the third. Also don’t forget to close the path.
Step 5
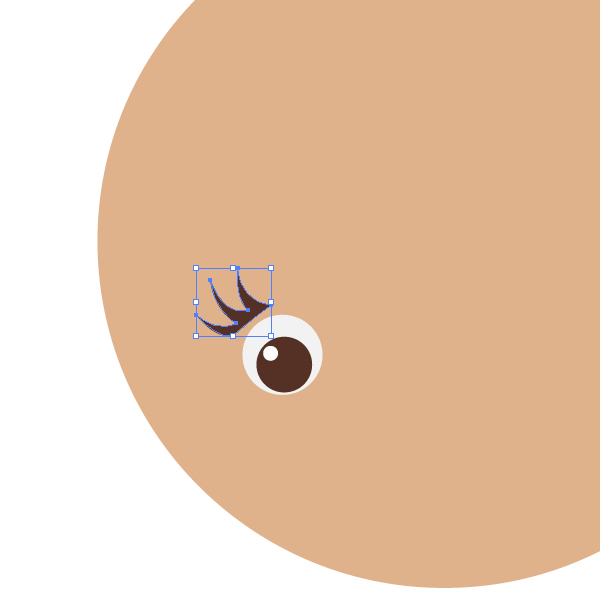
Now you have the eyelashes, however they are above the eye. Just drag them closer to eye and then drag it below the eye circles in the Layers panel.
Step 6
Now we will simply create another eye. Select whole eye with eyelashes (but not a face) and right-click on the mouse. Select Transform > Reflect.
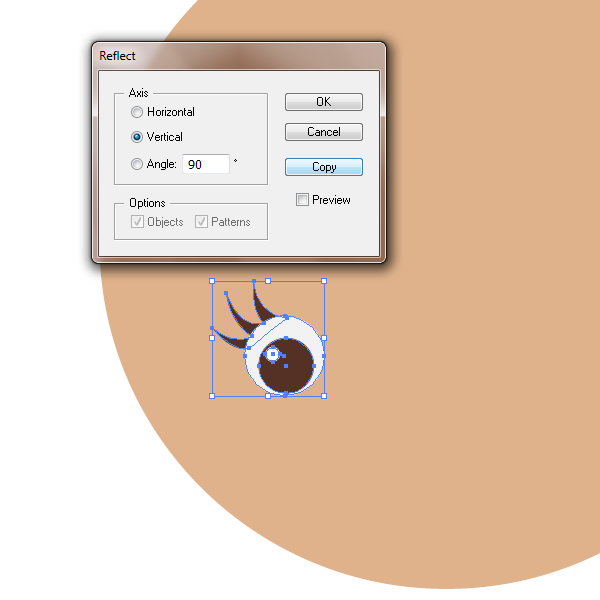
A dialogue window will appear, asking you to enter the axis of your reflection. You need to check Vertical and press Copy. Keep the selection of the second eye and drag it on the right side of the face.

Step 7
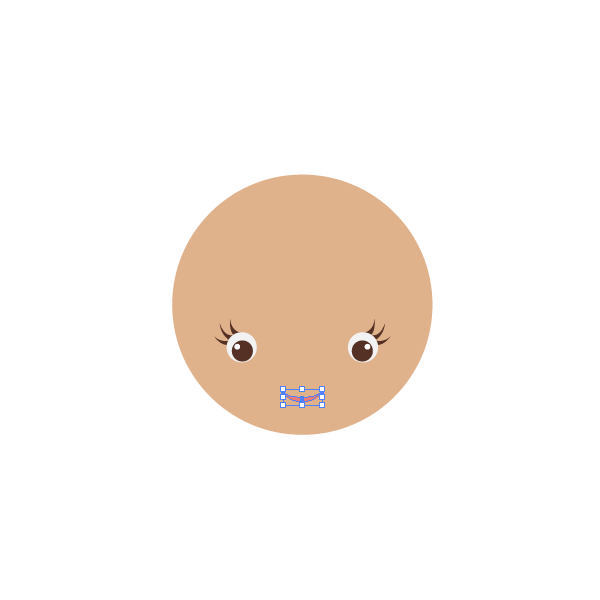
Align eyes. Select two eyes, right-click on your mouse and select Group (Ctrl + G). Keep those selecting and holding Shift key select also a face. Go to Align panel (Window > Align) and press Horizontal Align Center.

Step 8
Creating a mouth. Draw a pink circle (color R=235, G=122, B=121).

Holding together Shift + Alt, move this circle a little up. The button Shift is for moving straight, and the button Alt – for duplicating the object. In Pathfinder panel, select Minus Front.
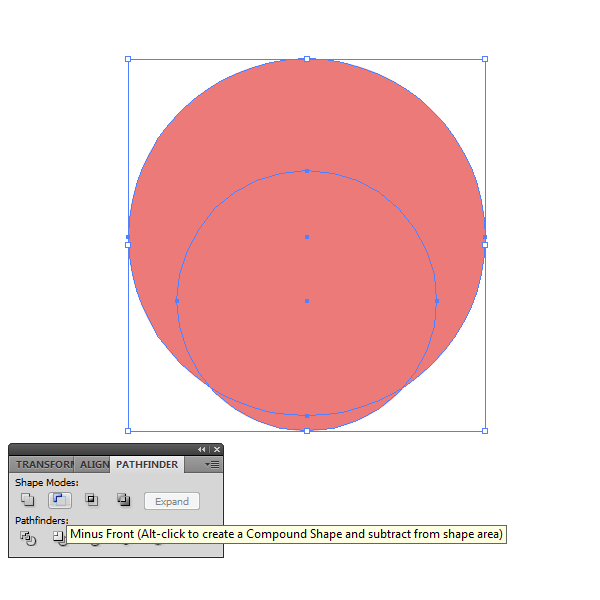
Now you have a mouth.

Step 9
Place her mouth on her face.
Step 10
Let’s add some rosey cheeks, they are a great characteristic of youth and being in the fresh air. So, let’s draw the pink cheeks! Use the Ellipse Tool (L) to create an ellipse (color R=223, G=160, B=133).

Rotate the ellipse to the left.

Step 11
Create the second cheek by selecting the first one and right-click your mouse and select Transform > Reflect. Select Vertical and click the Copy button in the Reflect Panel. Now you have two cheeks. Put them on the face.

Step 12
Drawing the hair. You will need the Pen Tool (P) and the fill color R=135, G=83, B=65. Try to draw as shown on image below.

Continue drawing.

And the result. Of course, you can draw another haircut, if you would like.

Step 13
Lets add some highlights to the hair. Again use the Pen Tool (P) and the fill color R=144, G=96, B=77.

Make a few more. For more convenience you should draw the highlights directly over the hair.

Step 14
The hood. Select the face and press Ctrl + C and after that Ctrl + B to duplicate the face behind. Keep the new circle selected, choose the fill color R=204, G=72, B=69 for it and make a little bit bigger than the face.

Take the Direct Selection Tool (A) and select the highest anchor on the hood. Then press few times the key up on your keyboard.

Step 15
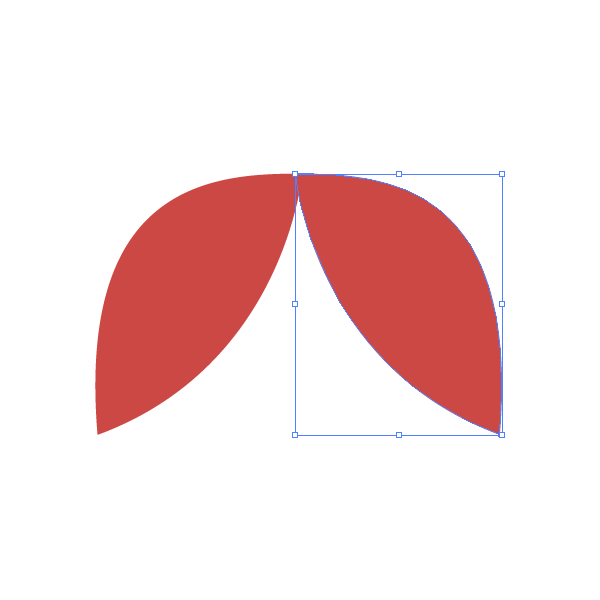
Drawing the cape. Choose red color as a hood (you can use for it the Eyedropper Tool (I)). Then select the Pen Tool (P) and draw a shape as shown on the image below.

Select this shape by the Selection Tool (V) and right-click your mouse. Select Transform > Reflect. On dialogue window what will appear select Vertical reflection and press Copy. You will have the same picture.
Step 16
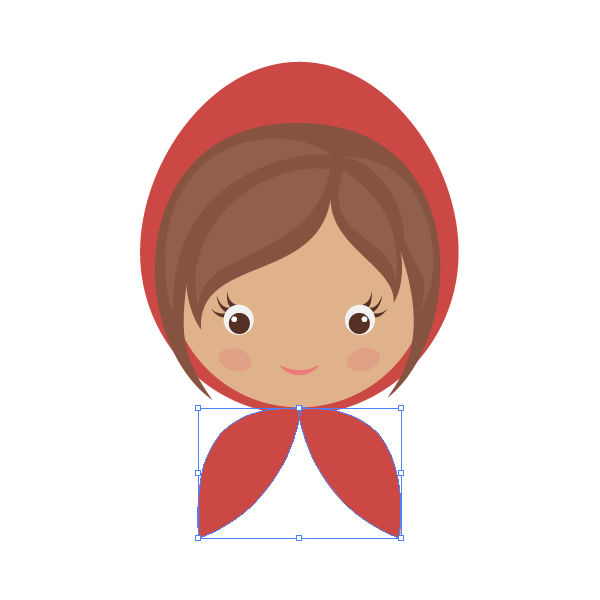
Place the cape. under the head of Little Red Riding Hood.
Step 17
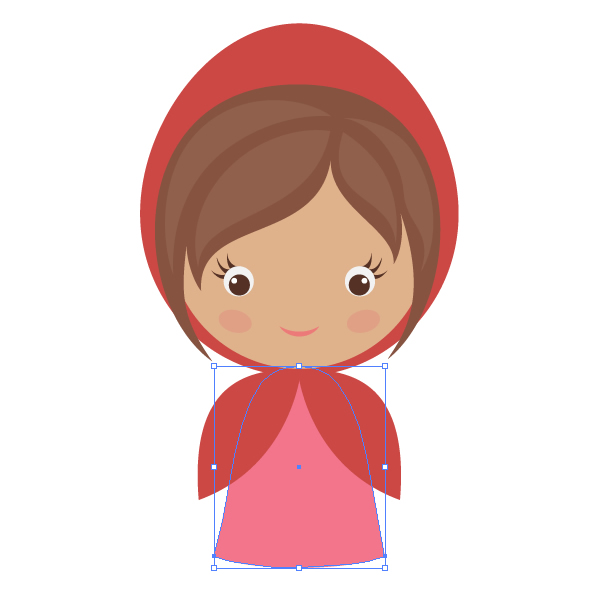
Dress. Choose the fill color R=242, G=118, B=140 and using the Pen Tool (P) draw the same shape as on the image below. Also you could create this shape from the Ellipse Tool (L) by adding or removing anchors.

It’s a dress. Put a dress on its place and put it under the cape., using Ctrl + X and Ctrl + B.
Step 18
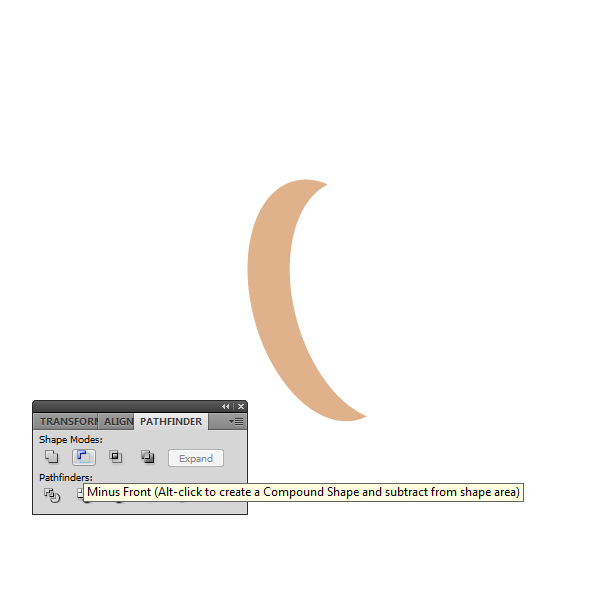
Arms. Choose the same color as a face by the Eyedropper Tool (I) and make an ellipse.

Rotate a little to the left. Holding Shift and Alt keys in the same moment, drag ellipse to the right.

Then select two ellipses and on the Pathfinder panel press Minus Front.
Step 19
Make two ellipses for hands, put them together and press Unite on the Pathfinder panel.

Make two parts together. Select whole arm and press Unite one more time. Move the anchors to create a better result. Now we have an arm.
Step 20
Second arm can be created by right-click on mouse and select Transform > Reflect and Copy.

Place the arms under the cape.

Step 21
Legs. Use the Rectangle Tool (M) and draw a rectangle. Take Direct Selection Tool (A) and move the anchors to make a rectangle wider at the top. Then create another leg.
And put those in place under the dress (Ctrl + X and Ctrl + B).
Step 22
Now time for the shoes. Again – make an ellipse and fill it with color R=184, G=98, B=98.
Select two anchors using the Direct Selection Tool (A). And shift them down. During shifting you will need to hold the Shift key to make a straight trajectory.

Step 23
Make one more copy of this on the back. Move the new copy a little down and fill with darker color (R=145, G=73, B=73).

Step 24
From Brush panel select Artistic Calligraphic 10 pt. Round brush. And draw the laces with this brush. You can change the thickness of the laces by increasing or reducing the stroke (I used 5 pt Stroke Weight).

Step 25
Create a copy of the shoe by reflection and place on the legs.

Step 26
Brooch. Make a yellow ellipse (color R=200, G=186, B=68) and rotate it to the left approximately on 30 degrees.

Make a vertical reflection and press Copy in the Reflection dialogue window. Move the new copy slightly to the right until two ellipses will look together like a heart.

Select ellipses and on the Pathfinder panel press Unite. Now it is real heart.

Step 27
Put the heart on a cape. So, Little Red Riding Hood is ready!

Step 28
Now we will create a basket. Make a light brown horizontal oval (color R=153, G=100, B=55).

Draw a rectangle over it, select the two shapes and on the Pathfinder panel press Minus Front.

Now you have a base of the basket.

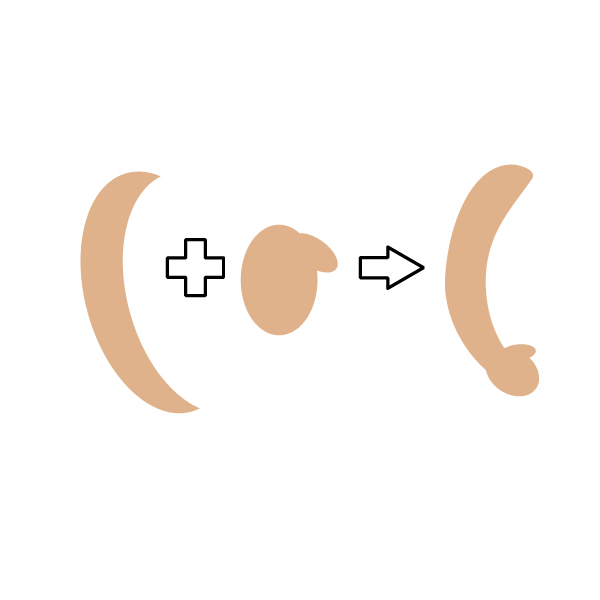
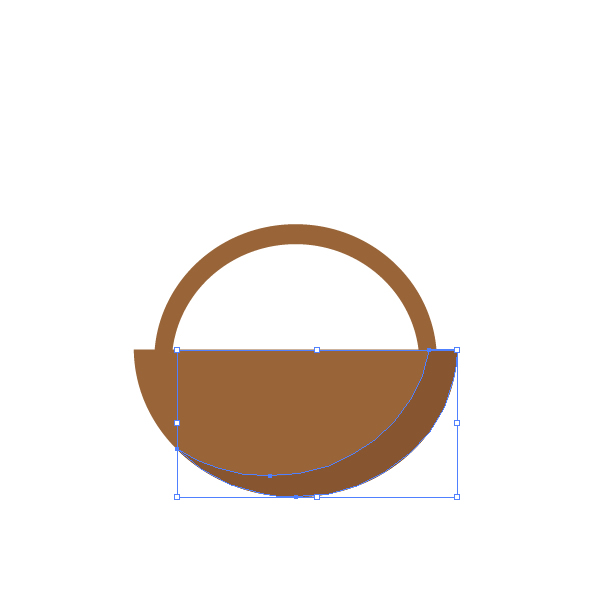
Step 29
Make a horizontal reflection of the base. Hold Shift + Alt and drag copy of reflection slightly down.

Press Minus Front on the Pathfinder panel. You will get a handle of a basket.

Step 30
Make the holder smaller and put it in a place. Also put the holder to the back.
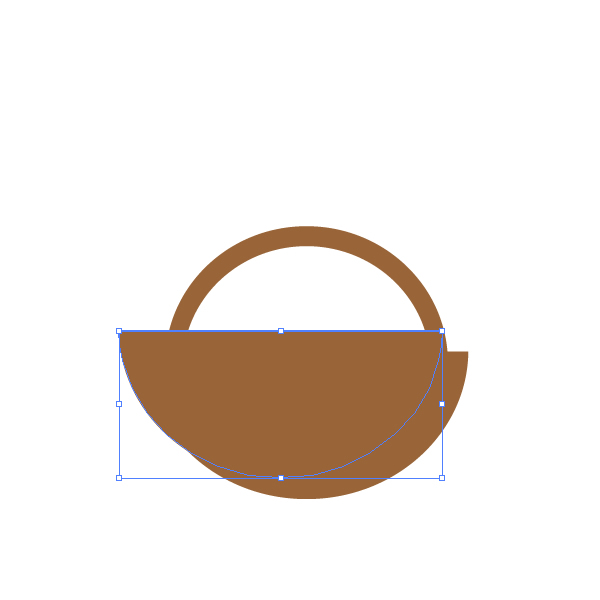
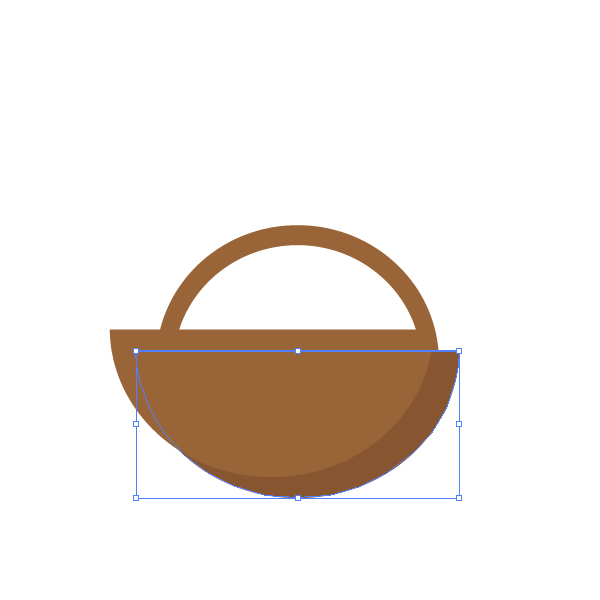
Step 31
Keep pressing Alt + Shift the base to the diagonal left.
Select again the base (not a copy) and press Ctrl + C, Ctrl + F. Fill it with darker color (R=135, G=86, B=49). Now click on the darker copy and on the copy, which you was shifting to the diagonal left and press Minus Front.
The result is a shadow along the bottom of the basket.
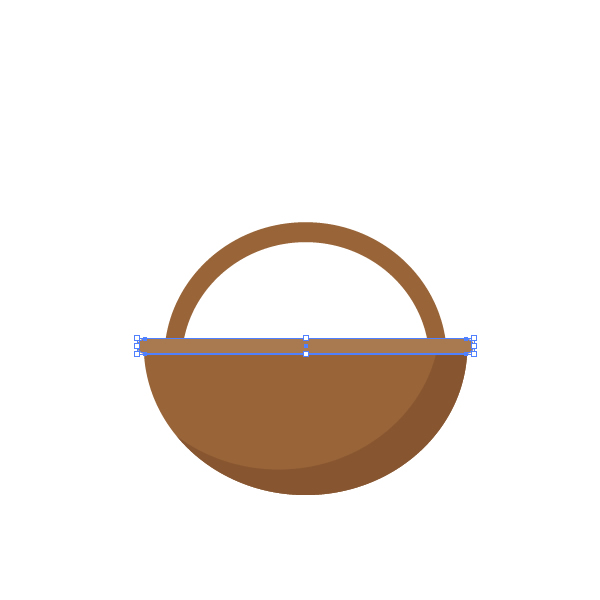
Step 32
Choose a lighter brown fill (color R=168, G=122, B=78) and make a rectangle using the Rounded Rectangle Tool over the basket.
Step 33
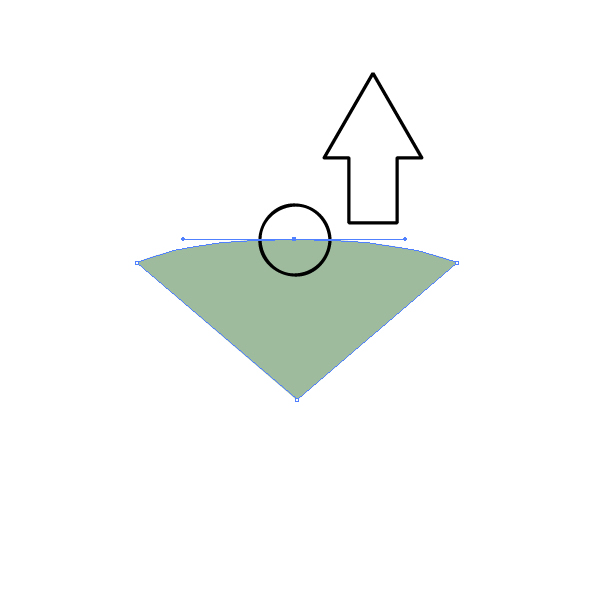
To complete our basket you will need just a blue shawl. We need to create the triangle: select the Polygon Tool and click somewhere on your workplace. On the dialogue window select 3 sides and fill with smoked blue color (R=159, G=187, B=158).
Add one more anchor to the shawl in the up, using the Pen Tool (P). Make the anchor smooth also by the Pen Tool (P) and move it up.
Step 34
Put the shawl on the basket.
Step 35
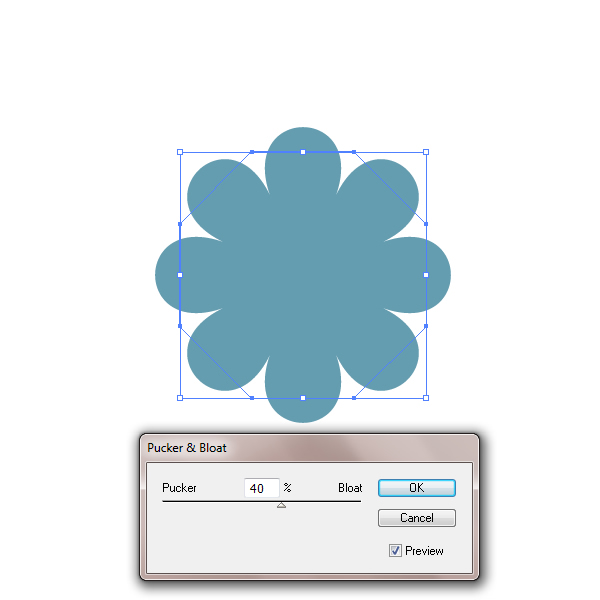
Flowers. Take the Polygon Tool and make a polygon with 8 sides. Fill it with blue color R=100, G=157, B=176.
Go to Effect > Distort & Transform > Pucker & Bloat. A dialogue window will appear, select around 40% and press OK. You have a flower!
Step 36
And, of course, you will need a middle part. Choose yellow fill color (R=200, G=186, B=68), create a circle and place it over the blue petals. If you want to put the middle part directly in the middle, you need select petals and the middle part and go to the Align panel. Then click on the Horizontal Align Center and the Vertical Align Center.
Step 37
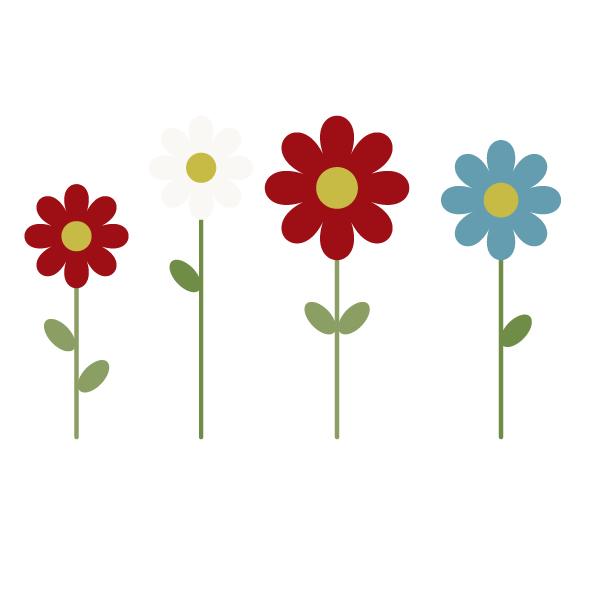
Making a stem and a leaf. For the stem use the Rounded Rectangle Tool and for the leaf – just the Ellipse Tool. The color is R=113, G=141, B=70.
Make a lot of flowers by dragging it and keeping the Alt key pressed. You will copy the first flower and after that you can change the color of petals, steam, leaf.
Step 38
Put all flowers in one bunch and incline them.
Step 39
Lets give the flowers to Little Red Riding Hood.
Step 40
In the last step we will create a background for this image. Just add two rectangles using the Rectangle Tool (M) and fill them with blue (R=173, G=215, B=207) and green (R=144, G=169, B=68) colors. Send them to back – select the two rectangles and press Ctrl + X, Ctrl + B.
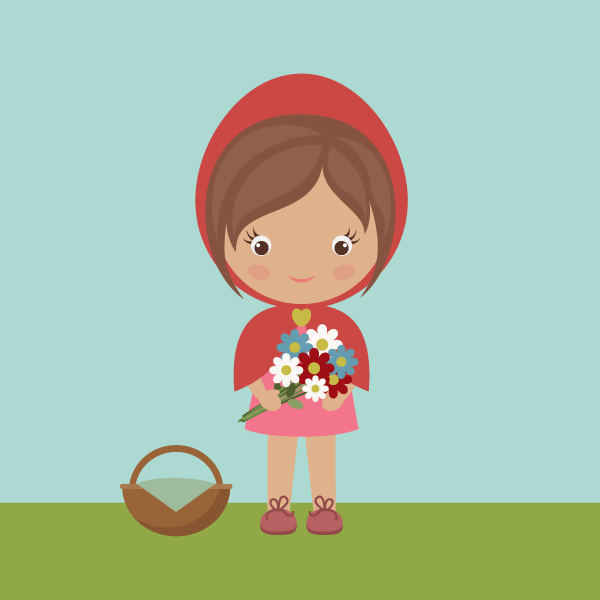
Conclusion
Our illustration is ready! She is adorable, isn’t she? You can use this character for the greeting cards, invitations or seamless patterns.