In this tutorial we are going to draw a cute corn illustration, with the use of Pathfinder panel, basic shape tools and some Blends for the color palette, so lets get started.
Step 1
First we start with by creating a New document (Cmnd + N), the size of the artboard would be 600 x 600 px.
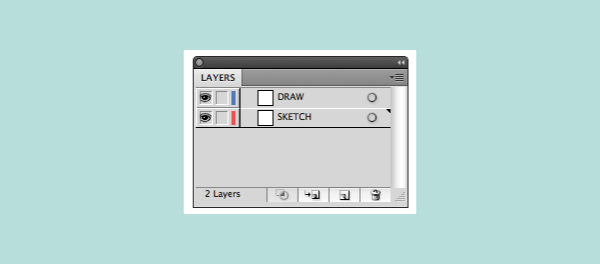
In the Layers panel create two new layers. The top layer its where we are going to do our illustration (rename it “draw”) and the lower layer its were are going to do our sketch (rename it “sketch”).
Step 2
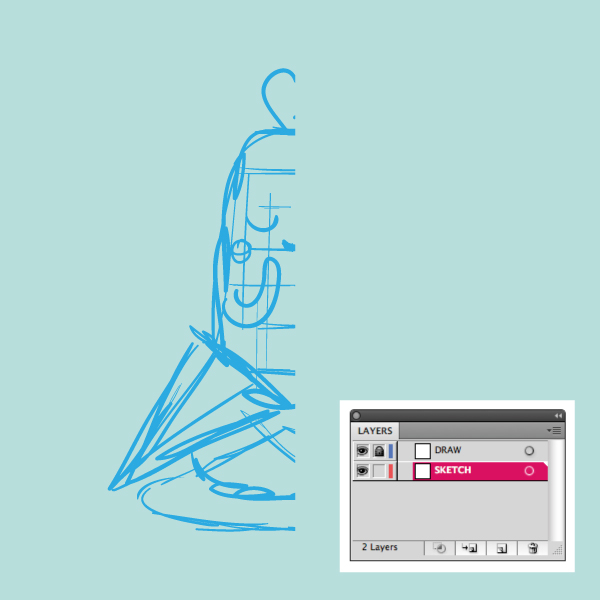
Lock the “draw” layer. Then on the “sketch” layer we start to draw our cute corn sketch by using the Blob Brush Tool (Shift + B). We’ll be drawing a symmetrical figure, so only draw half of it.
Step 3
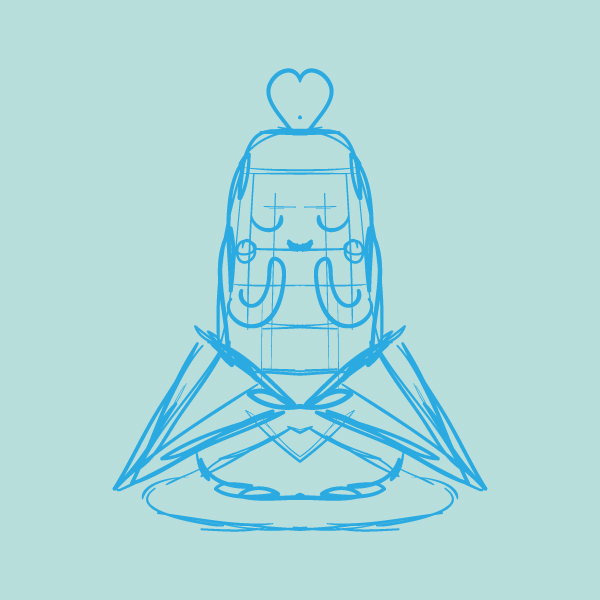
Now select your sketch and Copy (Cmnd + C) and Paste in Front (Cmnd + F). Then with the Reflection Tool (O) reflect the object to obtain the final sketch image.
Step 4
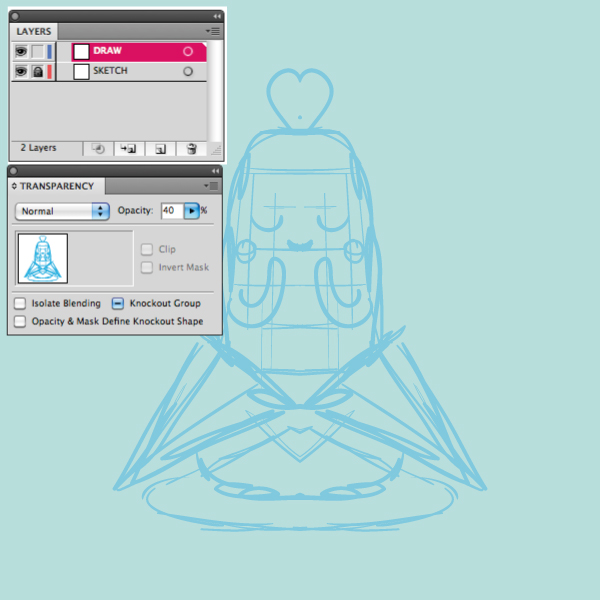
Select the sketch and in the Transparency panel put the Opacity to 40%. Now Lock that layer and we are going to start to draw our cute corn in the “draw” layer.
Step 5
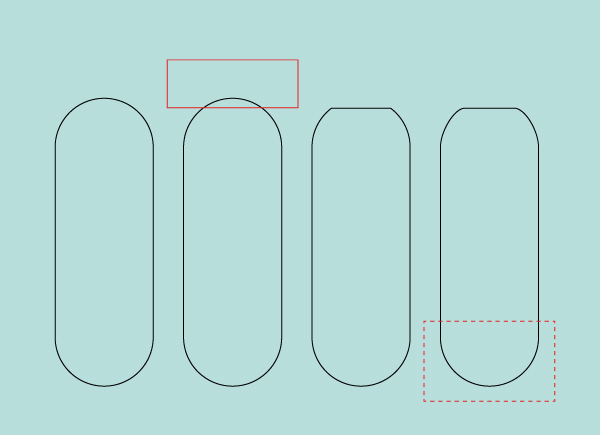
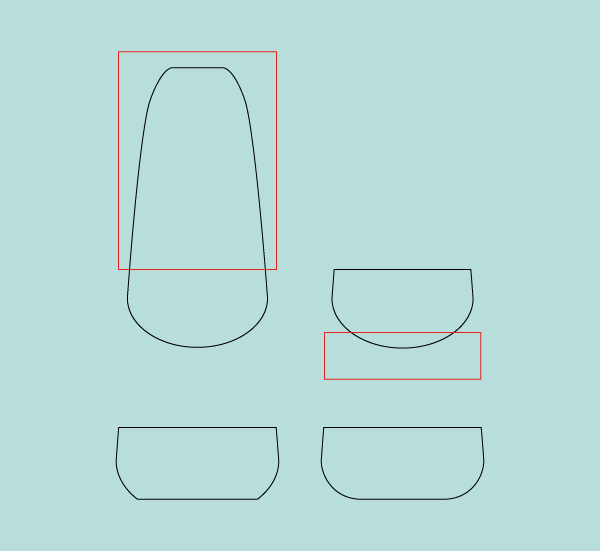
First we start with the Rounded Rectangle Tool by making a simple rectangle.

Step 6
With the Eraser Tool (Shift + E) erase with a drag as we see in the second figure. To do it press Alt and then drag with the Eraser Tool, then adjust the nodes and select the nodes as in the last image.
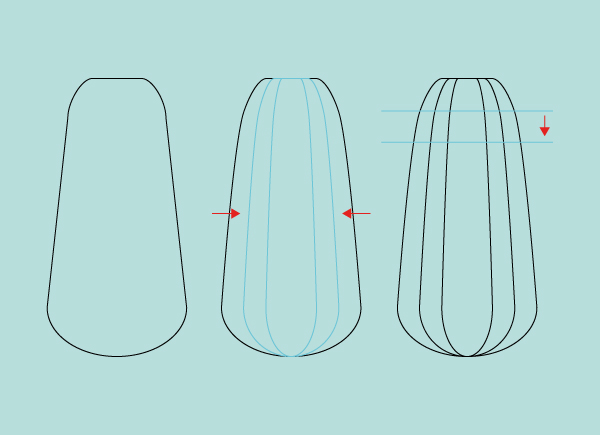
With the nodes selected use the Scale Tool (S), then do a drag as the first image. Then duplicate the figure (Cmnd + C) Copy and Paste in Front (Cmnd + F) then adjust it like in the middle image. Repeat this two times, then draw a straight line and drag it with Shift and Alt to duplicate it.
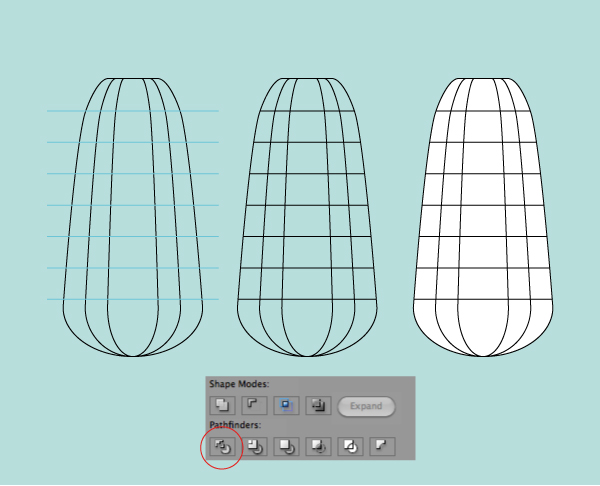
Now press Cmnd + D to duplicate this step and get seven lines. Select All (Cmnd + A) and use Divide in the Pathfinder panel to get all the objects separated. Then press D to give them the basic white fill and black stroke look.
Step 7
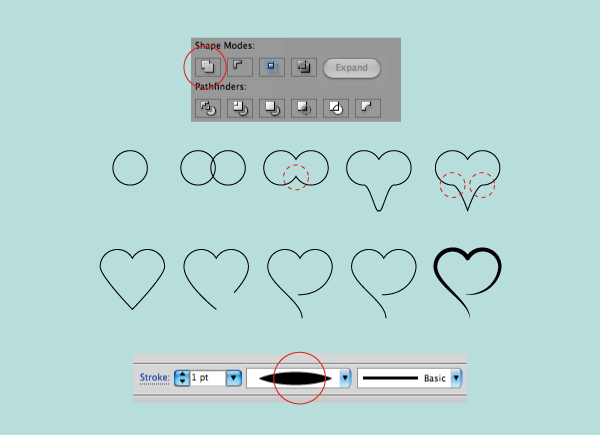
To draw the heart start with a simple circle, drawn with the Ellipse Tool (L) and then duplicate it and drag it like in the picture. Then with the Pathfinder panel, use Unite to combine both paths. Then select the node in the middle and move it down. Select the nodes as in the fifth image and remove them with the Pen Tool (P). Then just adjust some nodes and with the Scissors Tool (C) cut a little segment. Then adjust the nodes and change the line to a calligraphic one.
Step 8
Now we are going to draw the leaves of the corn. We can duplicate the base shape of the corn and erase as in the image first with a big drag and then down in the figure, finally adjust some nodes.
Step 9
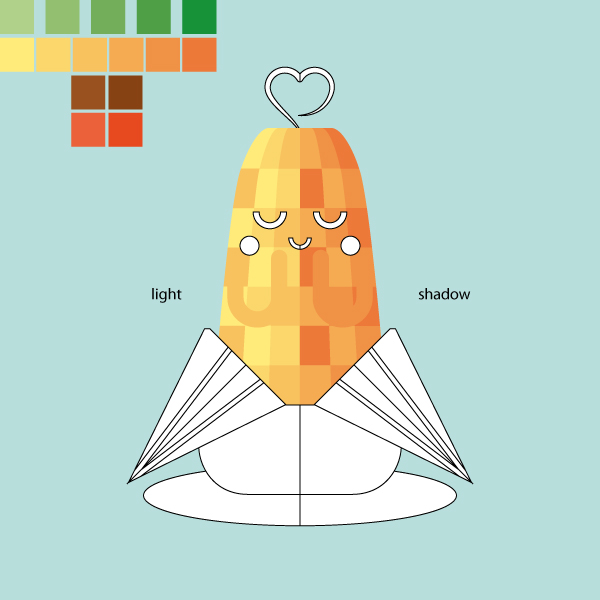
Our cute corn looks something like this at this time. To draw the shadow, use a simple ellipse made it with the Ellipse Tool (L).

Step 10
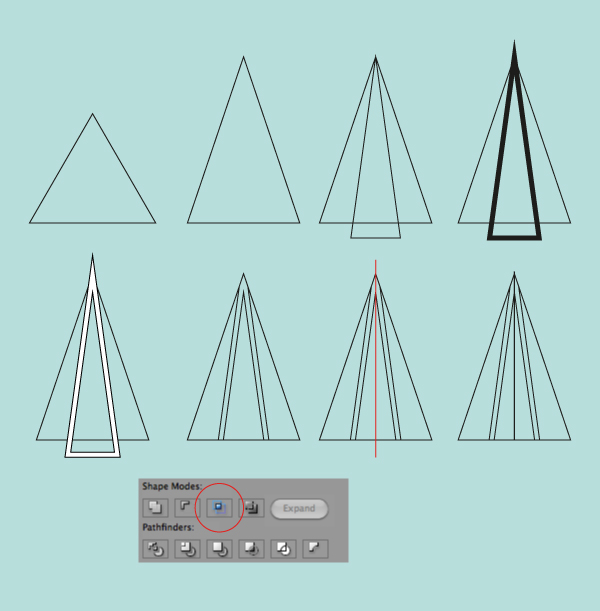
To continue with the leaves, now draw a triangle. After drawing the triangle you need to adjust the shape like the body of the corn, then duplicate it and adjust it like in the third image. Add more points to the stroke and then apply to that shape Object > Path > Outline Stroke to convert the stroke into a shape. Then use the Pathfinder panel to Crop inside our base triangle this shape (remember to duplicate the figure where you going to apply the Pathfinder panel options, apply this if you want to conserve the shape). Finally draw a line and align every object to center. Then select only the line and apply Object > Path > Divide Objects Below, with this you divide the leaf instead of making it shape by shape with the Pathfinder panel.
Step 11
To draw the arms use the Rounded Rectangle Tool with a 16pt Stroke Weight. With Scissor Tool (C) remove some nodes and then convert the edges of the line in Round Caps in the Stroke panel. Finally apply outline stroke to convert it to a path, now we got the arms.

Step 12
To the mouth start with a simple circle, remove some nodes with the Scissor Tool (C) and add some points to the stroke and convert it to a path with outline stroke.

Step 13
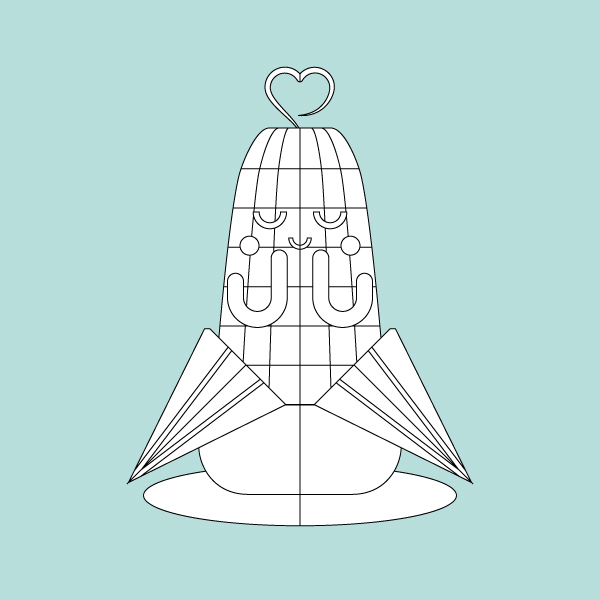
Our cute corn will look like this. To add the cheeks just draw some circles, remember to make groups of everything like the eyes, the arms, the leaves and align all to the center.
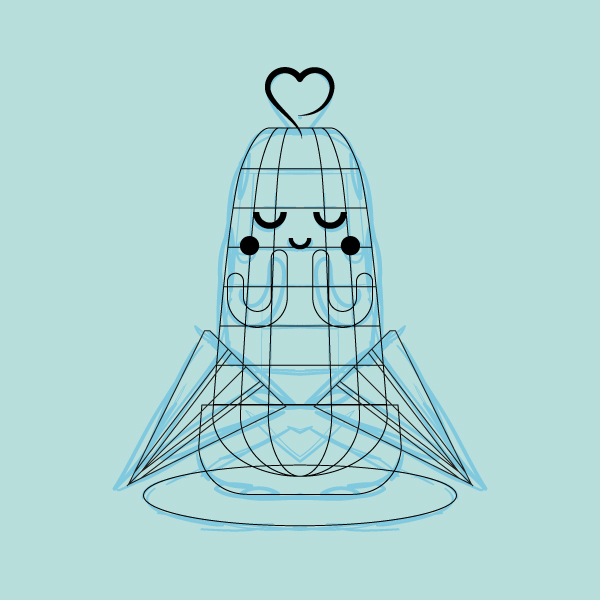
Now with the Width Tool (Shift + W) give some volume to the lines and when you are done with this select them and apply Outline Stroke (Object > Path > Outline Stroke).
Remember to arrange your objects were they belong in this case the arm is behind of the head. To do it you can select the object then cut it with Cmd + X and select the head and Paste to Back (Cmd + B). Do the same with the objects that you see are not in their place. You can also use the Paste in Front (Cmd + F). I prefer to arrange objects like this as it’s easier to me using this two commands.

Step 14
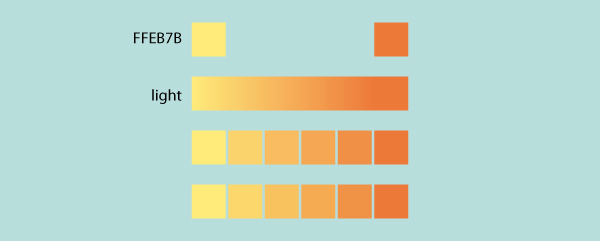
To make our color palette, we will select these colors for the leaves. To make a palette first start with your light and shadow tones. Draw a square with the Rectangle Tool (M), then with the Blend Tool (W) make a Blend. Select the Blend and instead of Smooth Color select Specified Steps and enter the value of 3. This will generate 3 colors between your light and shadow tone. Then click OK and finally select the Blend and go to Object > Expand to convert it in editable colors.
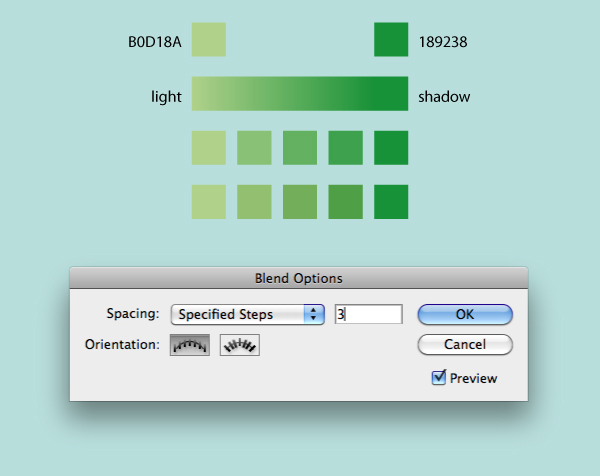
Apply the same technique with the yellow color, but instead of 3 steps in the blend, make it 4.
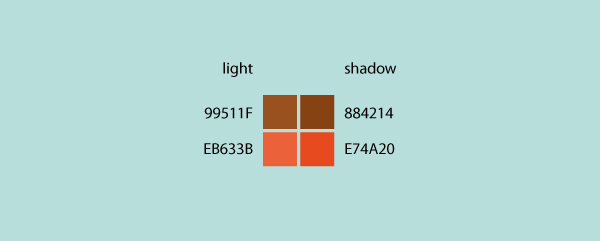
These are the other colors that we will use for shadows, eyes and cheeks.
Step 15
In our cute corn illustration draw a simple vertical line and Align it to the center. Select your shapes and apply Divide Objects Below.
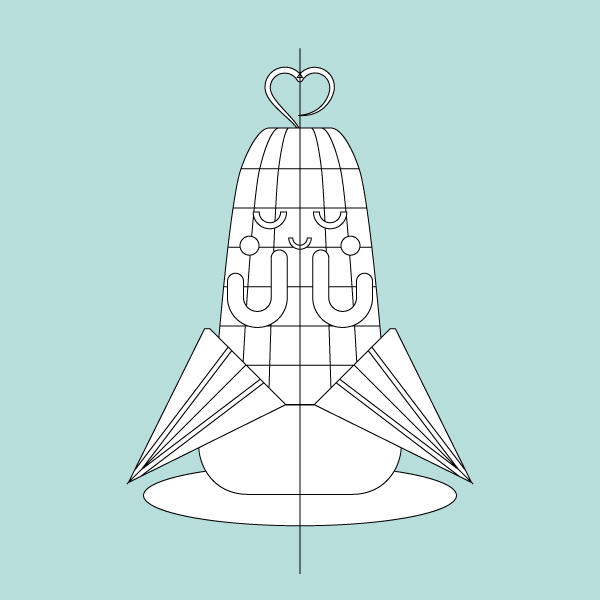
Our cute corn its ready to color with our selection of colors.
Step 16
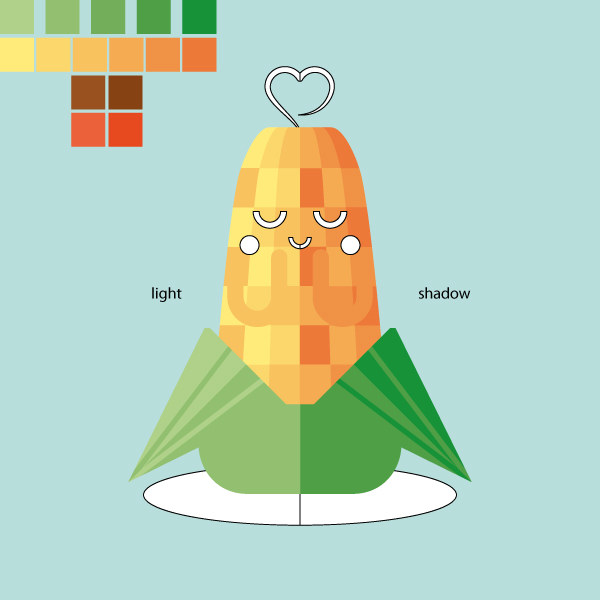
Put your color palette close to your illustration and with the Eyedropper Tool (I) we select the color we are going to use and then by pressing Alt we apply it to our illustration. Remember to use the light colors in the left side and the shadow ones on the right.
Apply the green colors like in the image below.
Step 17
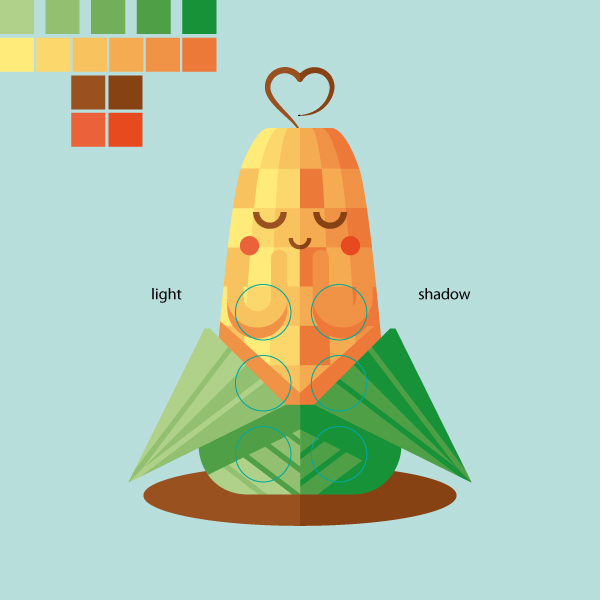
Add some details like shadows and lines. Use the Pathfinder panel and take advantage of the shapes you already have.
Conclusion
Here is the final result! Hope you like the tutorial and find some useful tips on creating your own cheerful characters.