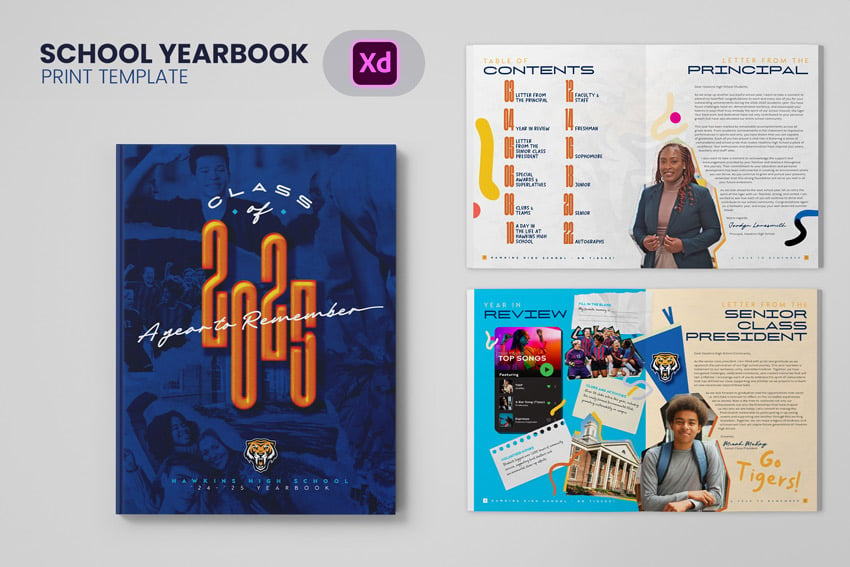
In this Adobe InDesign tutorial, you will learn how to create a yearbook layout using paragraph styles, InDesign’s parent pages, and how to build a simple photo grid for arranging multiple portraits.
If you want a ready-made template instead of following this tutorial, check out this yearbook layout template available on Envato.

What you’ll need for this InDesign tutorial
For this yearbook template tutorial, I’ve created a collection of assets you can use.
1. How to design a book cover
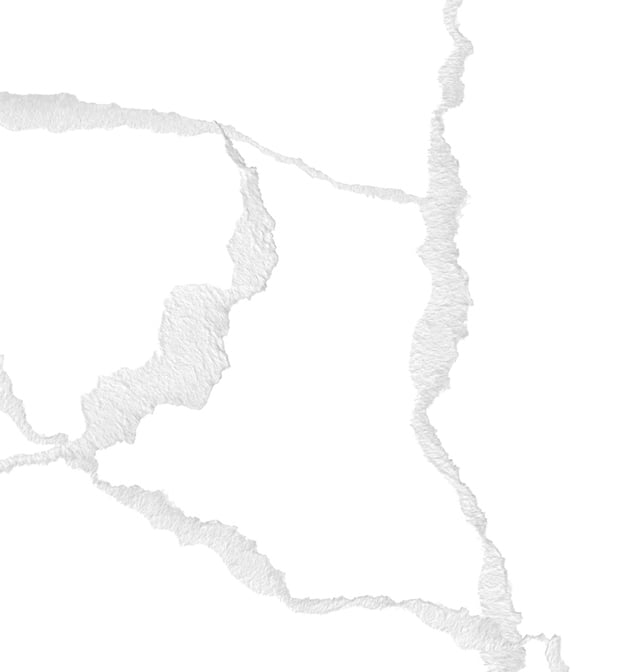
Step 1
Create a new document in Adobe Photoshop that’s 8.75 x 11.25 in, Grayscale, and 300 Resolution. Take your torn paper edges and arrange them on the canvas like so.


Step 2
Use a variety of student/school life photos or use images from the collection linked above, and arrange them underneath the torn paper edges.
Create a Layer Mask to erase edges that extend past the torn edges.


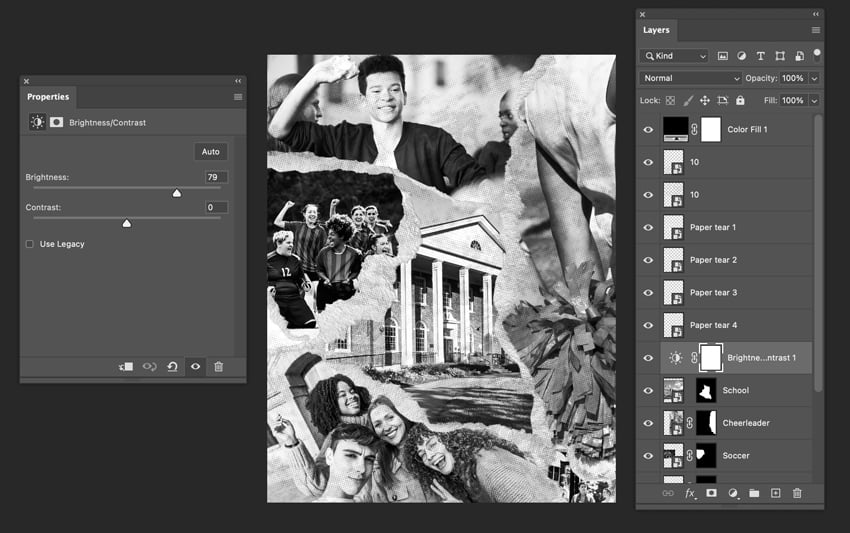
Step 3
Open the halftone grayscale texture and place it on top of your image. I’m using #10 from the zip file for reference. Change the layer to Linear Burn. Add a Color Fill layer #000000 and change the layer to Overlay with 50% Opacity. Place a Brightness and Contrast adjustment layer on top and change the Brightness to 79. Save the file as a PSD to your desktop.


Step 4
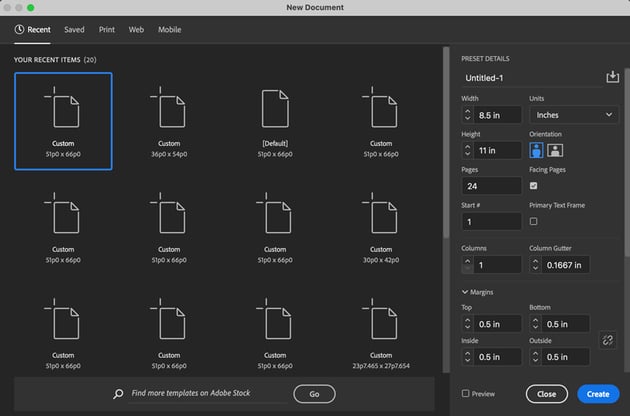
Create a new document in InDesign using 8.5 x 11 for the dimensions, 24 pages, 0.5 in margins, and 0.125 in bleed on each side. Select Create.

Step 5
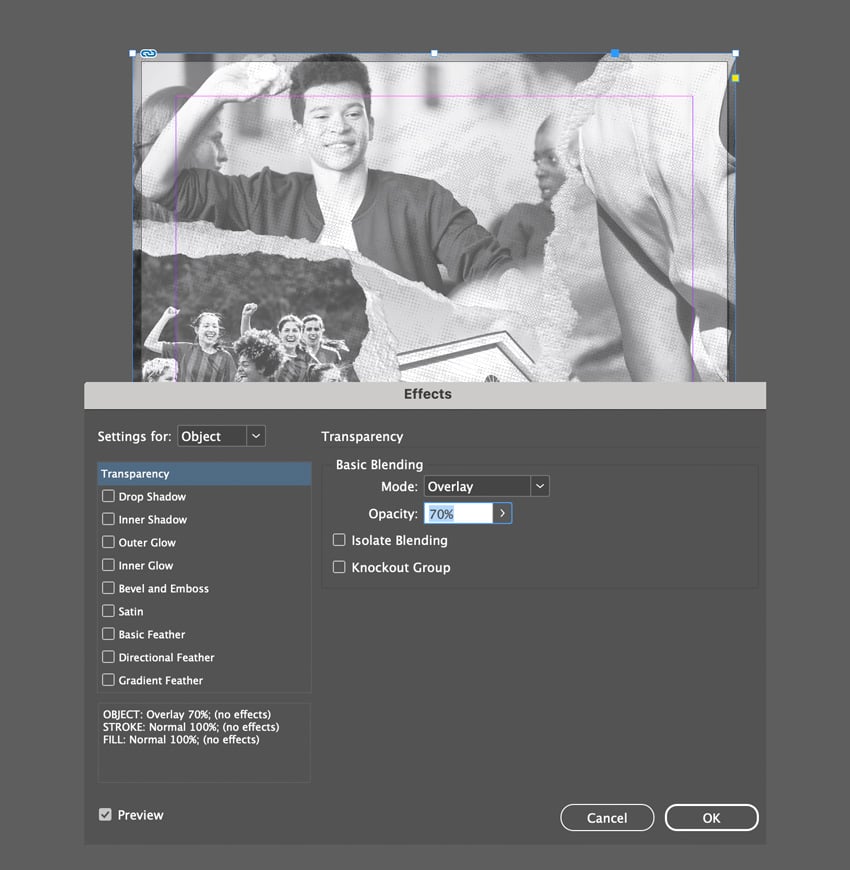
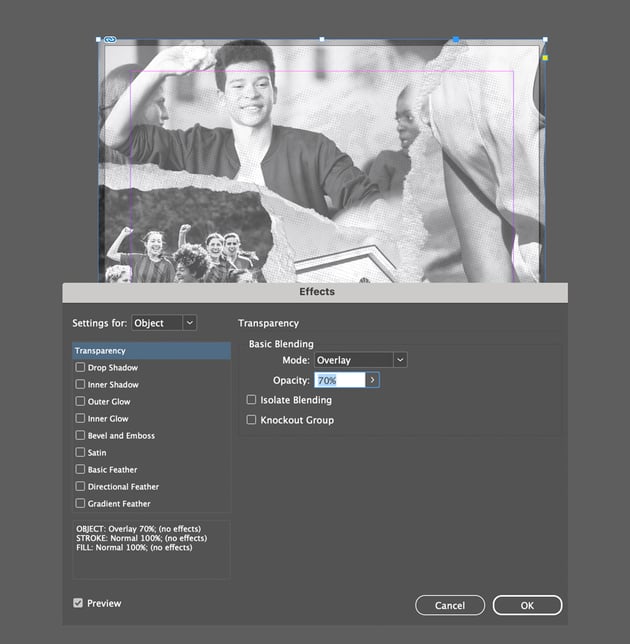
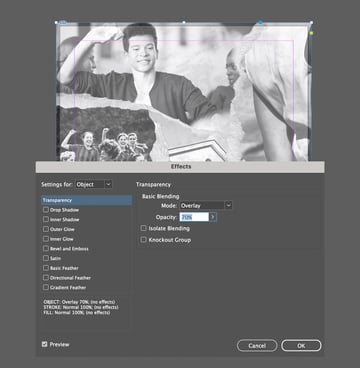
File > Place the cover we just saved as a PSD and put it on the cover. Change the Opacity to 70% and the Mode to Overlay.
Step 6
Create a new swatch in the Swatches panel using the values C100, M70, Y10, and K55. Use the Rectangle Tool (M) to cover the background with this deep blue swatch. Move it behind the photo collage.


Step 7
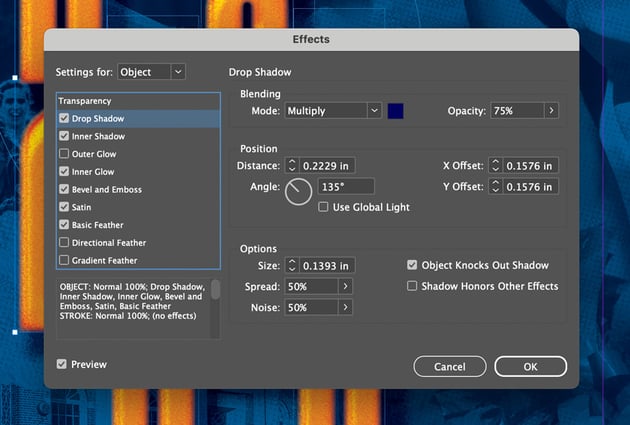
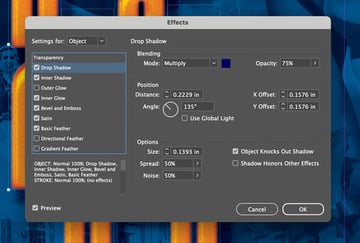
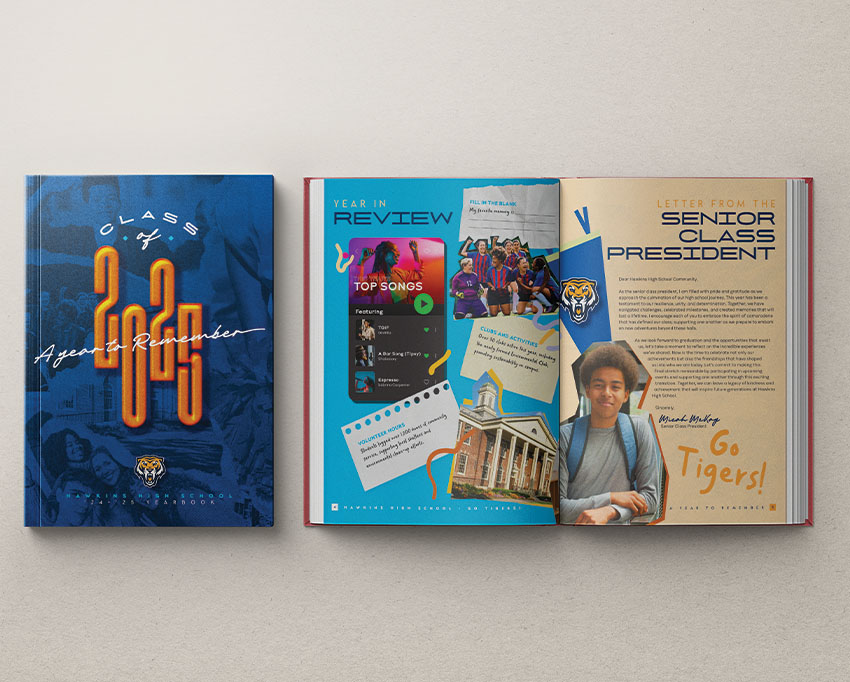
Use the Glendale and Michigan Signature fonts for the “Class of” text. Use the Type Tool (T) and type “2025” using NexusBold with a font size of 390 pt. Fill the text with yellow from the Swatches panel, and then apply a Drop Shadow in the Effects panel.

Step 8
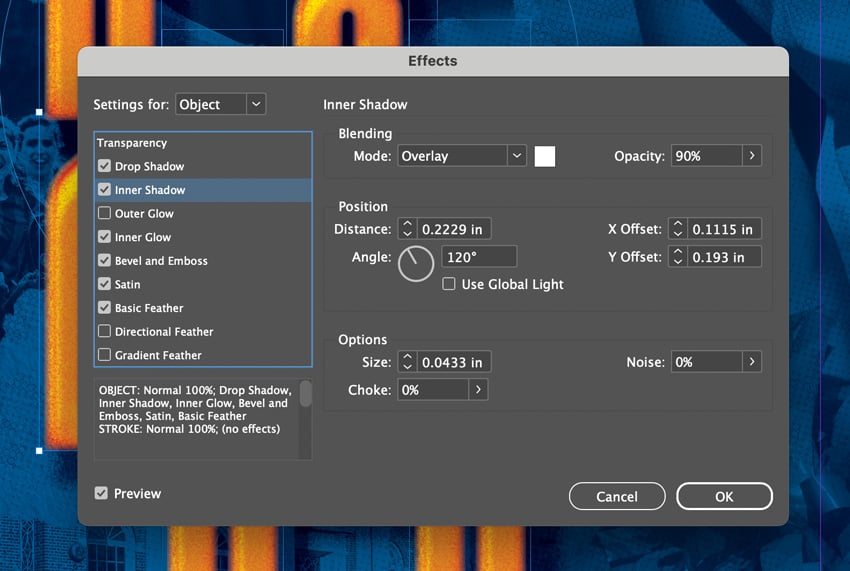
Add an Inner Shadow effect using the paper swatch.


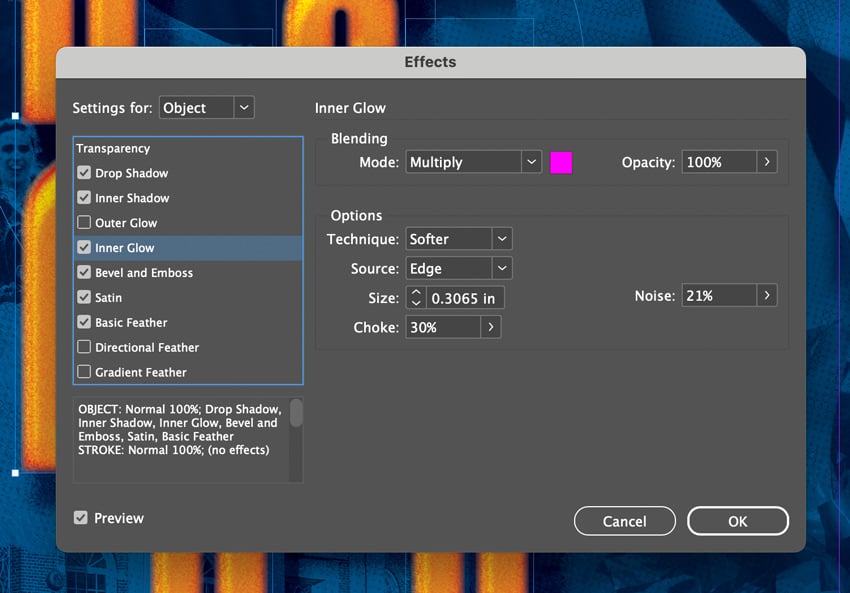
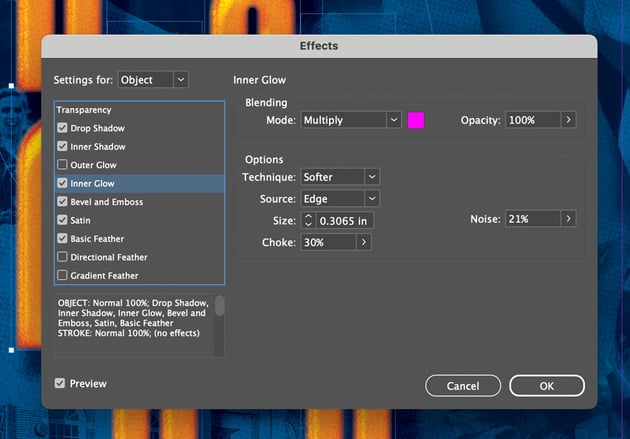
Step 9
Add an Inner Glow effect using the fuchsia swatch.

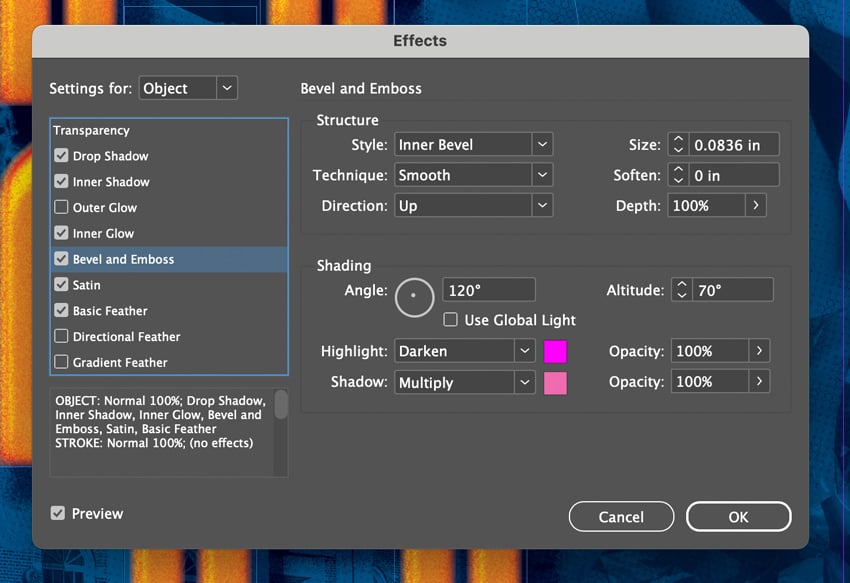
Step 10
Add a Bevel and Emboss effect using the fuchsia and C2 M45 Y22 K10 swatches.


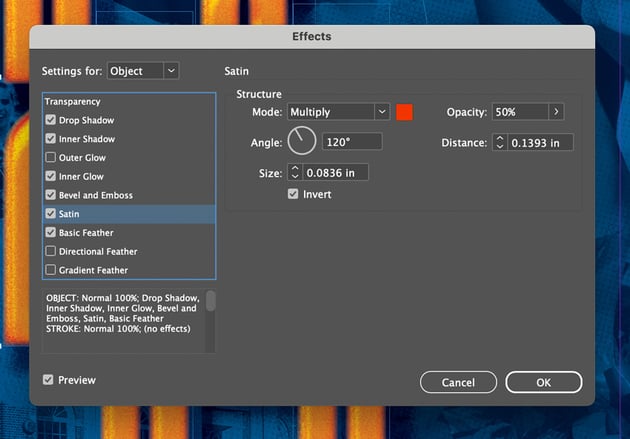
Step 11
Add a Satin effect using the C13 M72 Y100 K0 swatch.


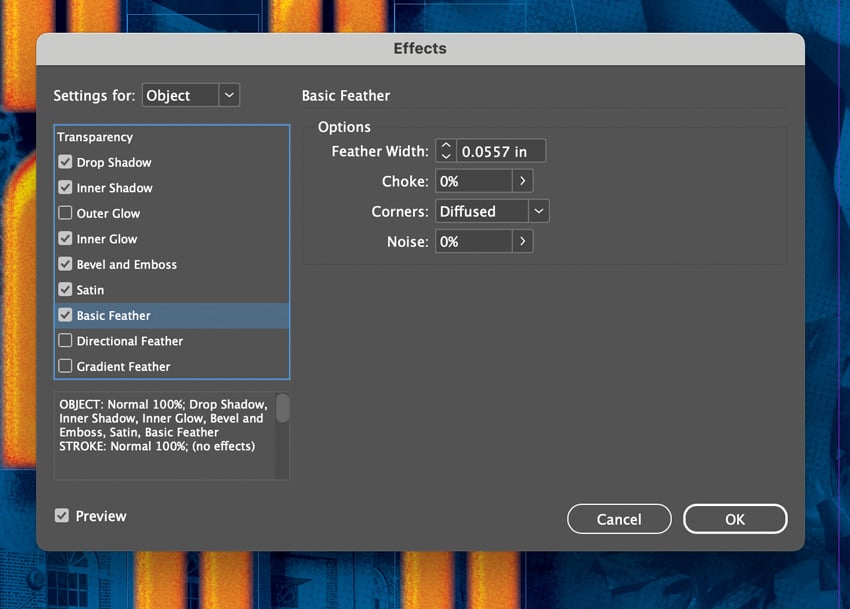
Step 12
Add a Basic Feather effect.


Step 13
Finish the cover by adding information about your school and the mascot’s logo using C86 M1 Y5 K0 and paper from the Swatches panel.


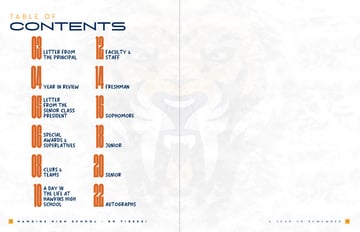
2. How to create an InDesign table of contents
Step 1
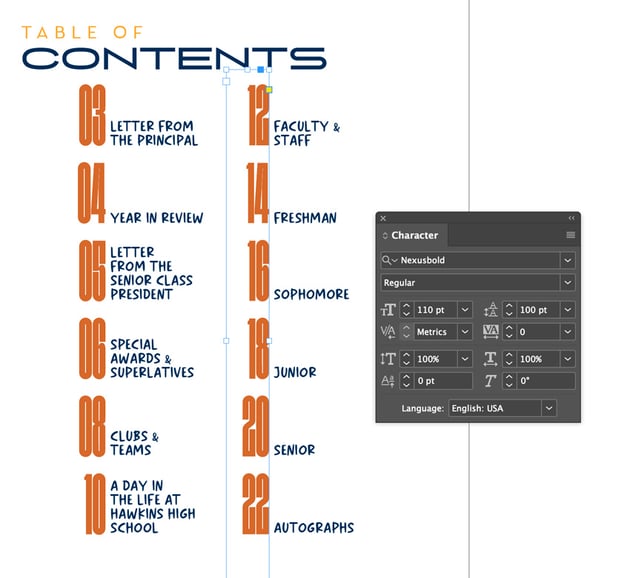
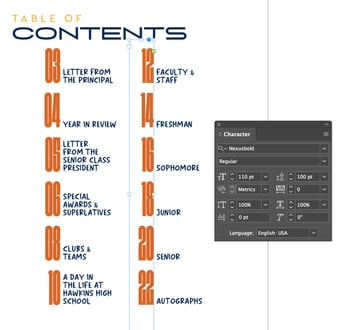
On Page 2, type out the words “Table of Contents” using Glendale, NexusBold, and Maksimal.

Step 2
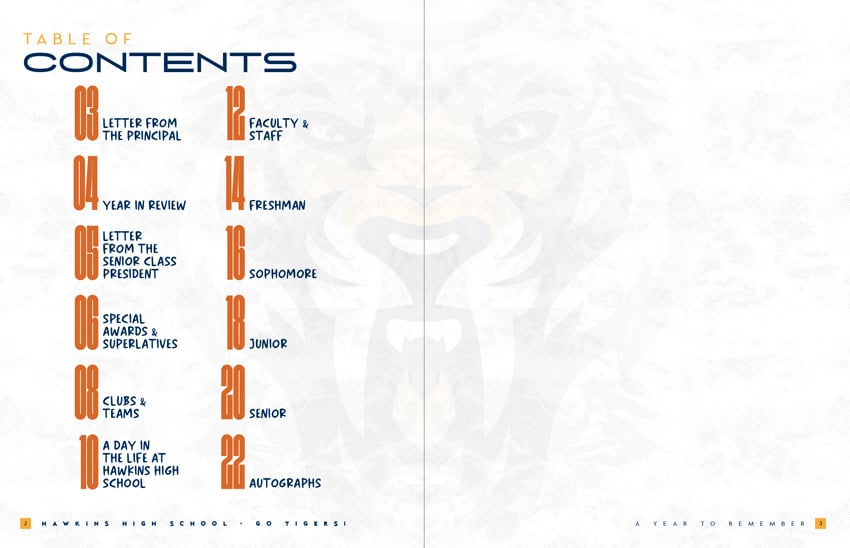
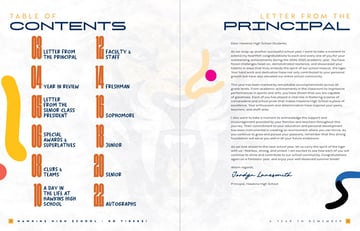
Create a new layer in the Layers panel and name it Footer. In the Pages panel, double-click the A-Parent spread. Use the Type Tool (T) and create a square in the corner. Right-click > Type > Insert Special Characters > Markers > Current Page Number. Change the font to Glendale. Add another text field and type the name of the school. Duplicate these text layers and add them to the facing page. Duplicate this A-Parent spread and change the colors of the footer to a light color version to be used on dark backgrounds.


Step 3
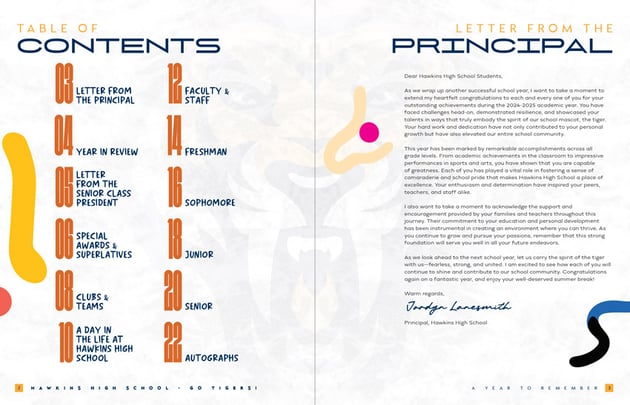
Working on Layer 1 in the Layers panel, use the #10 texture from the halftone grayscale zip file, and place it on the document in the background. Change the Opacity to 40%. Finish the background by adding the mascot of your school to the background with a 7% Opacity.

3. How to design a yearbook layout template
Step 1
On page 3, we will place the letter from the principal and use doodle lines to add some flair to our spread. In the Paragraph Styles panel, create a new style to simplify the text formatting later in the tutorial.
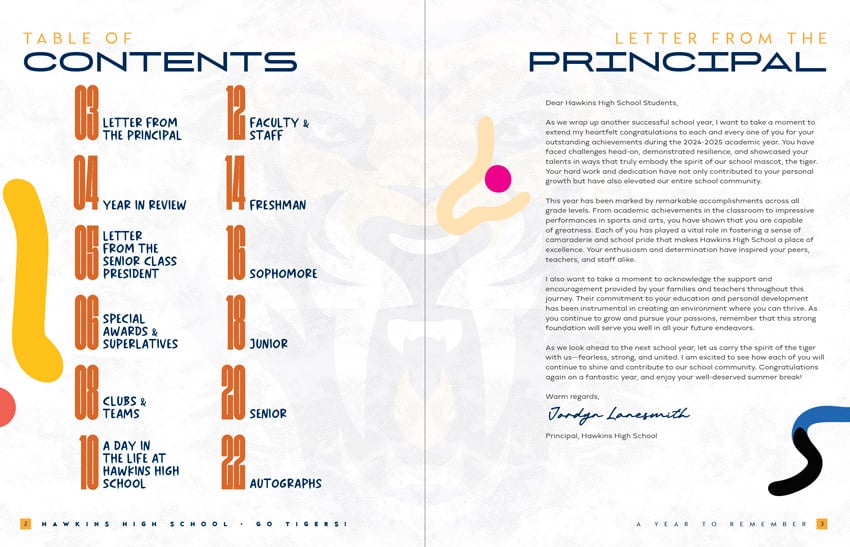
Step 2
Place the photo of your principal on page 3. Use the Pen Tool (P) to make an outline around the principal.

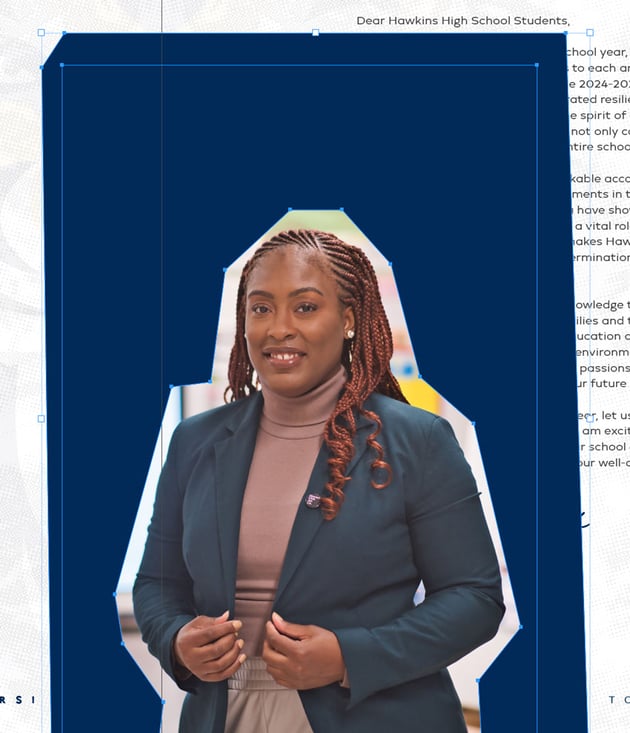

Step 3
Select the photo of the principal along with the shape we just created with the Pen Tool (P). In the Pathfinder panel, select the Subtract icon under the Pathfinder section. Add an orange Drop Shadow using the Effects panel.


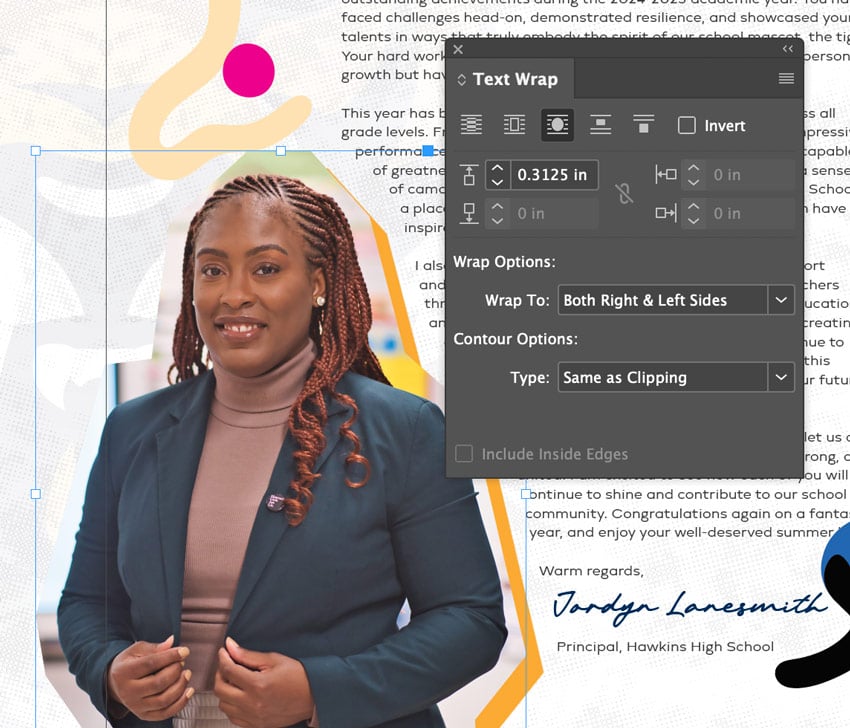
Step 4
In this next step, you’ll learn how to use InDesign’s text wrap feature. With the principal’s photo still selected, go to the Text Wrap panel and select Wrap around object shape. Change the Top Offset to 0.3125 in.

Step 5
On page 4, we will design a “year in review” graphic. Let’s start by using a combination of the Ellipse Tool (L), Rectangle Tool (M), and Type Tool (T) to create a music graphic for the top songs of the school year. Don’t forget to fill the background with a light blue halftone texture.


Step 6
Next, add some ripped pieces of paper and create a variety of “fill in the blanks” exercises and interesting facts that happened during the school year. Finish by adding candid photos of some school activities overlaid with doodle lines.


Step 7
Page 5 will be a replica of page 3. Use the same methods of building this page, but make sure to add a flag pennant with your school’s mascot.


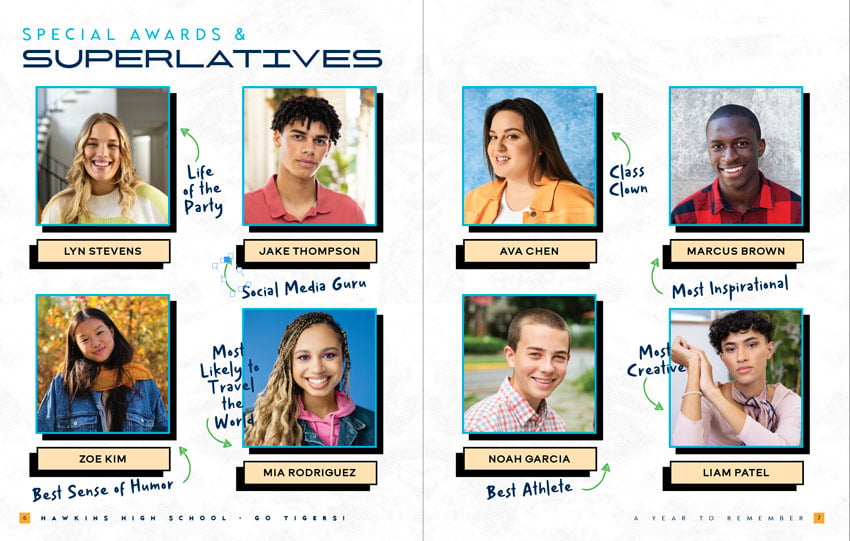
Step 8
On the next spread (pages 6 & 7), we’ll create a special “awards and superlatives” section. Use the Rectangle Frame Tool (F) to create four frames on each spread with a black Drop Shadow and light blue Stroke, along with a horizontal bar for first and last names.

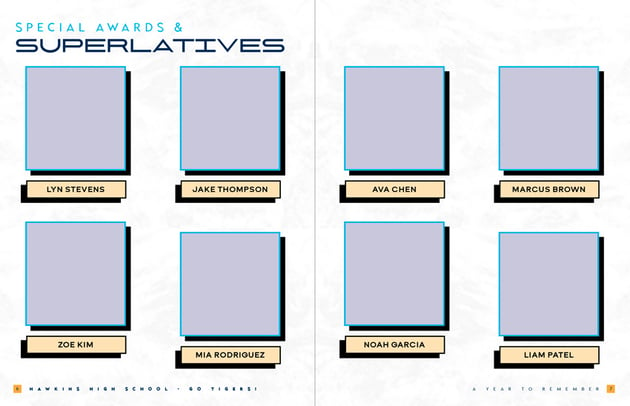
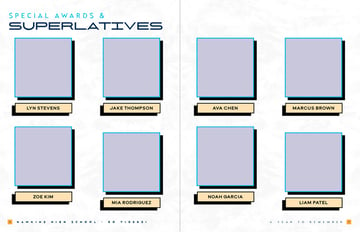
Step 9
Add some captions along with photos like “Most Creative” and “Class Clown” near the images of the winners.
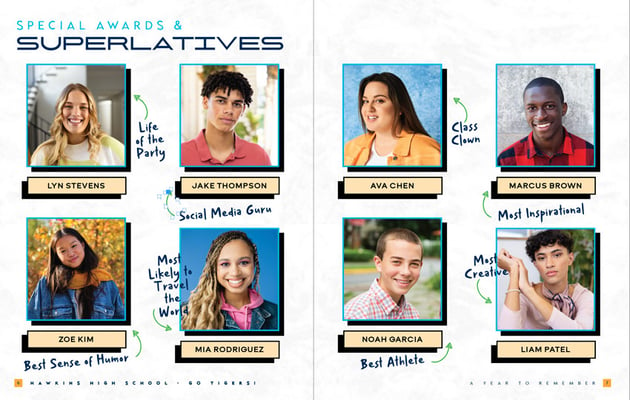

Step 10
Wrap up this section by adding more doodles from the previous spreads.


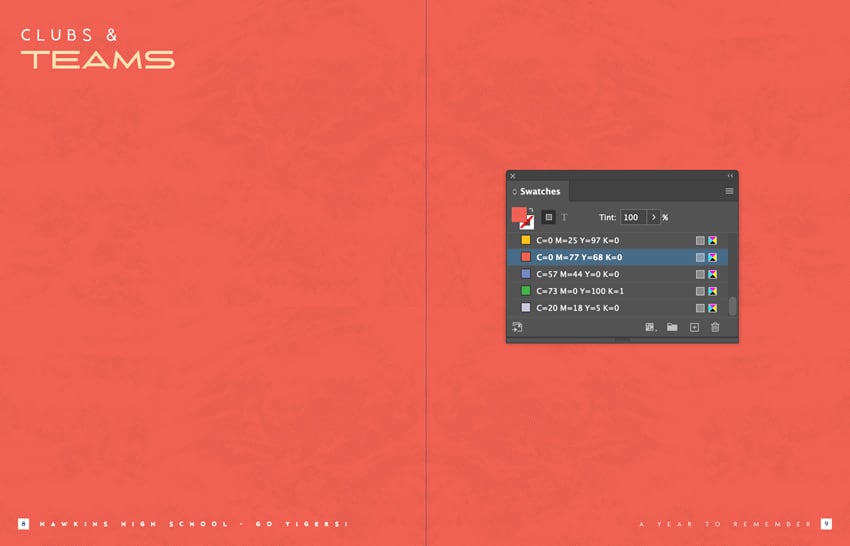
Step 11
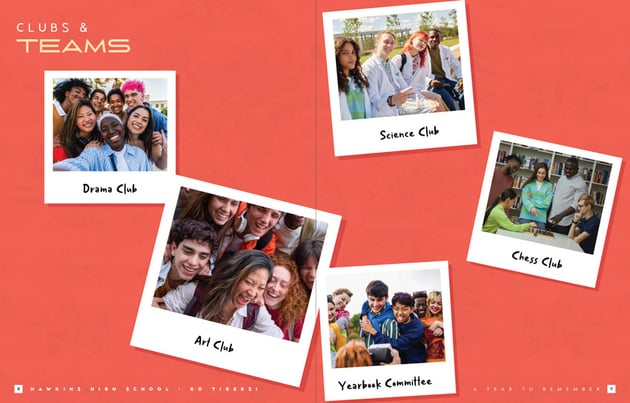
For pages 8 & 9, we’ll add the photos for the clubs and teams. Start by applying a C0 M77 Y68 K0 background and a halftone texture.


Step 12
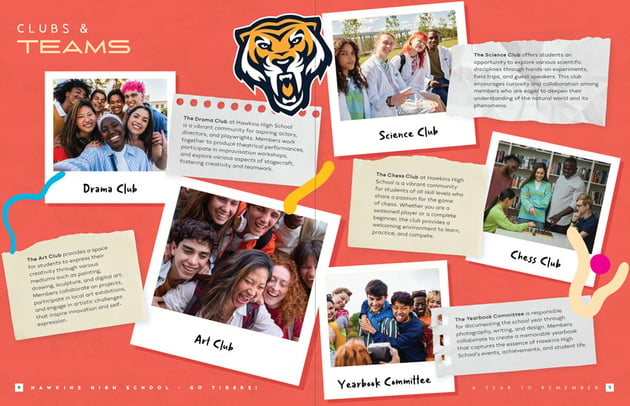
Use the Rectangle Tool (M) to create several squares and place photos for the polaroids we are making. Use the Maksimal font for the caption.
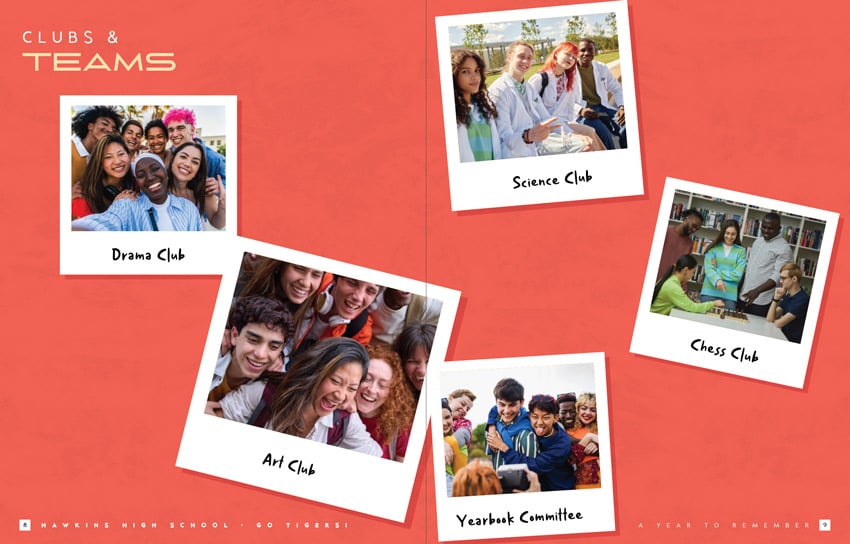

Step 13
Copy (Command-C) and paste (Command-V) the paper tears used on page 4 and type out a description for each photo. Add more doodle lines to this spread as well.


4. How to make a photo collage
Step 1
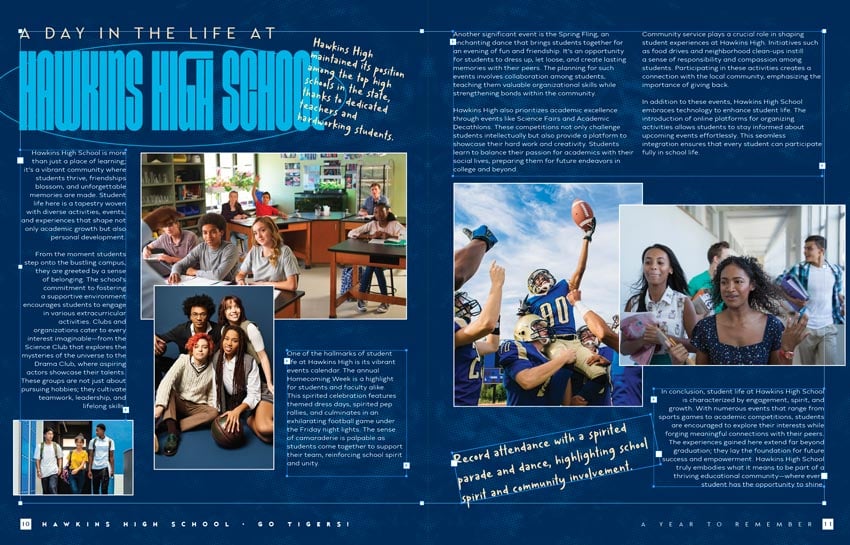
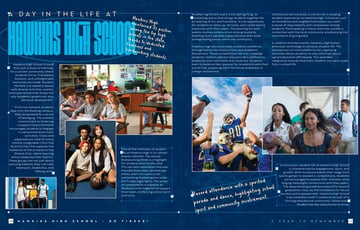
For pages 10 & 11, you will learn how to make a photo collage. Start by adding a dark blue background and halftone texture. Create a title for your school article—for this example, I’m using “A day in the life at Hawkins High School”. Use the fonts NexusBold, Glendale, and Maksimal for the headline and subtitle.


Step 2
Use the Rectangle Tool (M) to create several overlapping rectangles of different sizes. File > Place your candid student photos into each one.
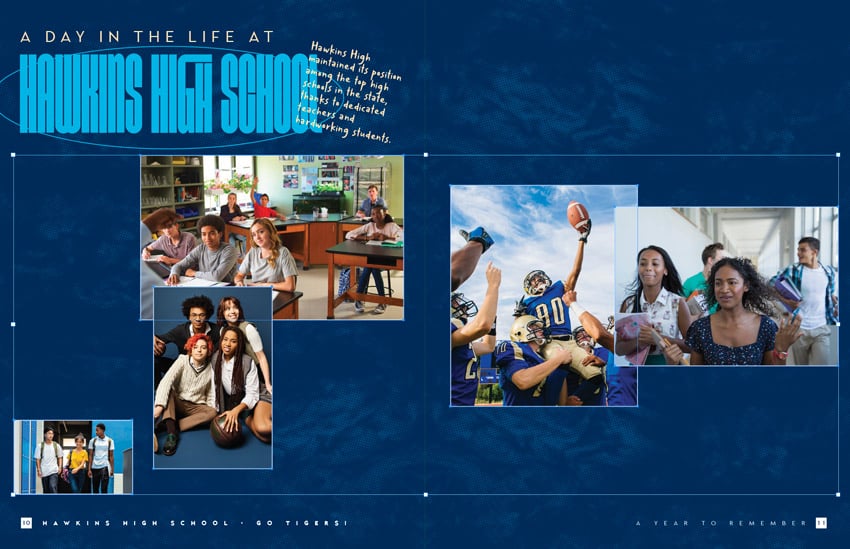


Step 3
Grab the Type Tool (T) and create several frames around the photo collage we created. Fill the frames with information detailing student life at the school.

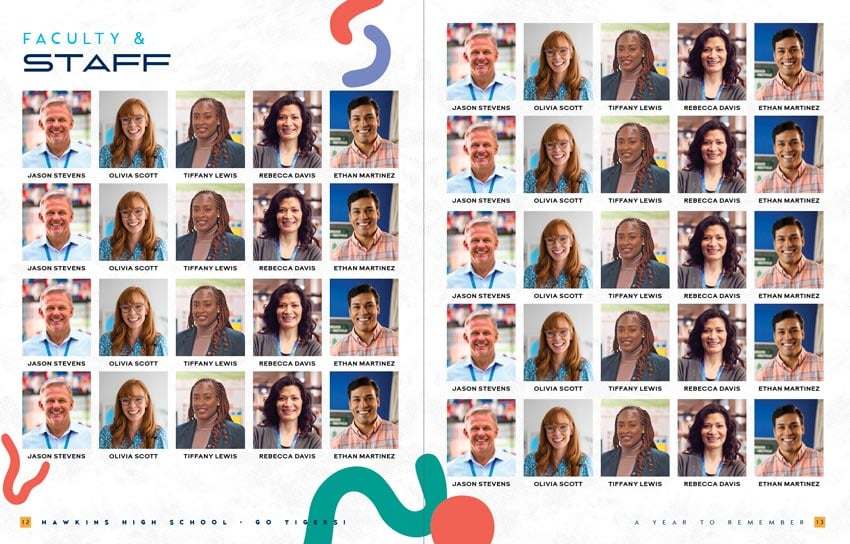
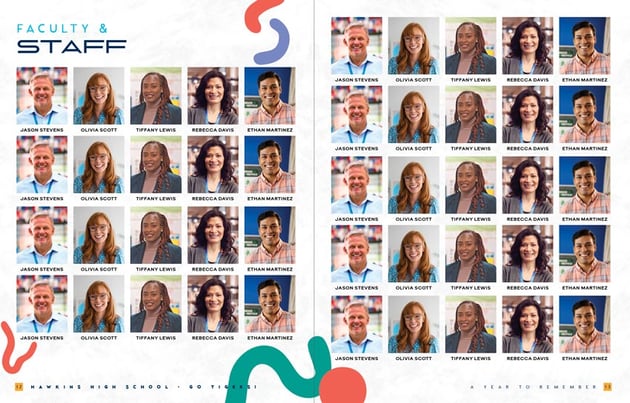
5. How to make a photo grid
Step 1
Start by setting up pages 12 & 13 with the halftone texture and “Faculty & Staff” headline.


Step 2
Choose the Rectangle Tool (F) and drag across the page then press the right arrow and down arrow keys to create a photo grid.

Step 3
File > Place the faculty headshots and type the staff names beneath each photo.

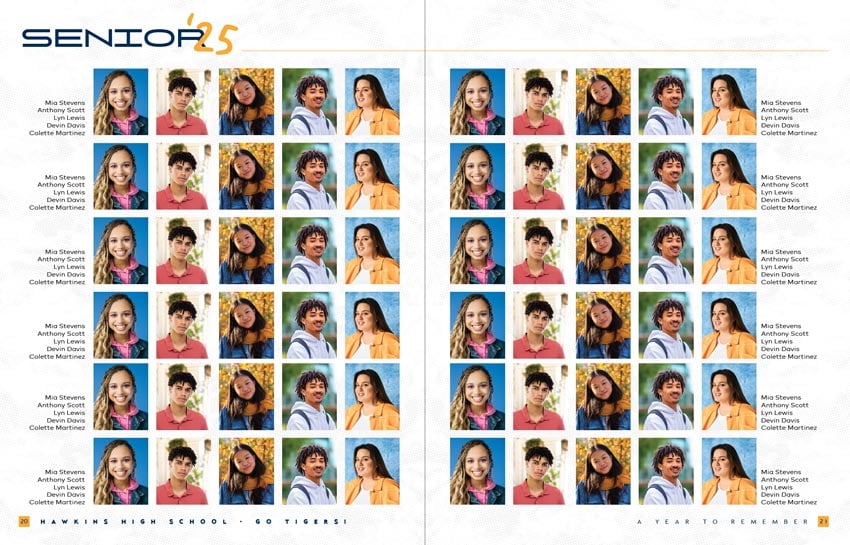
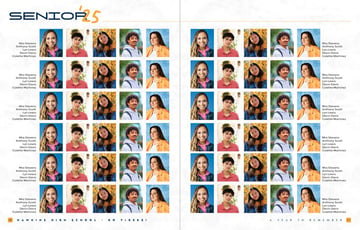
Step 4
For pages 14-21, divide your students’ photos by class and place them. Add more pages and repeat this process if needed.

Step 5
On the final spread, leave some space for autographs and farewell messages for students.


Step 6
On the back cover, mimic the style of the front cover, with more images of students.


All done!
You can now celebrate special memories with your students and faculty by using this yearbook layout template. In this yearbook layout tutorial, you learned how to design a book cover, wrap text around images, use InDesign’s parent pages for page numbering, and organize your table of contents.
Elevate your yearbook display with this hardcover book mockup available via Envato.


5 creative yearbook template ideas
Create additional yearbook templates by using this list of customizable layouts.
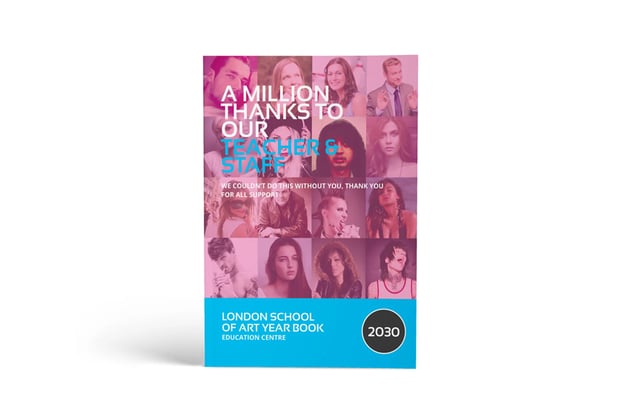
School yearbook template (INDD, Canva)

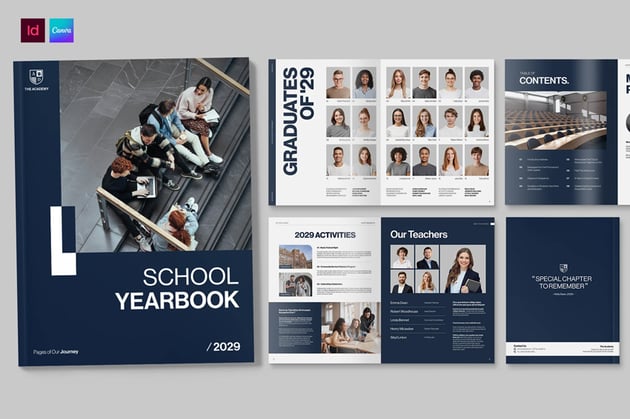
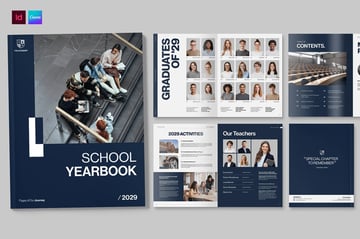
This InDesign layout template is ideal for showcasing the achievements, events, and celebrations of both teachers and students.
Yearbook brochure template (INDD, Canva)


Guide your students through an exciting school year with this colorful yearbook brochure template. This template includes versions for both Canva and InDesign, helping your memories shine.
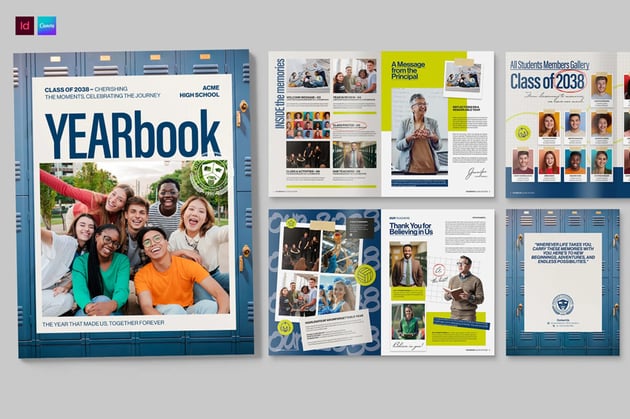
School yearbook (INDD)


This yearbook layout template features over 25 pages of ready-to-print content, including various layouts such as student articles, two cover designs, a table of contents, and photo collages.
School yearbook template (INDD)
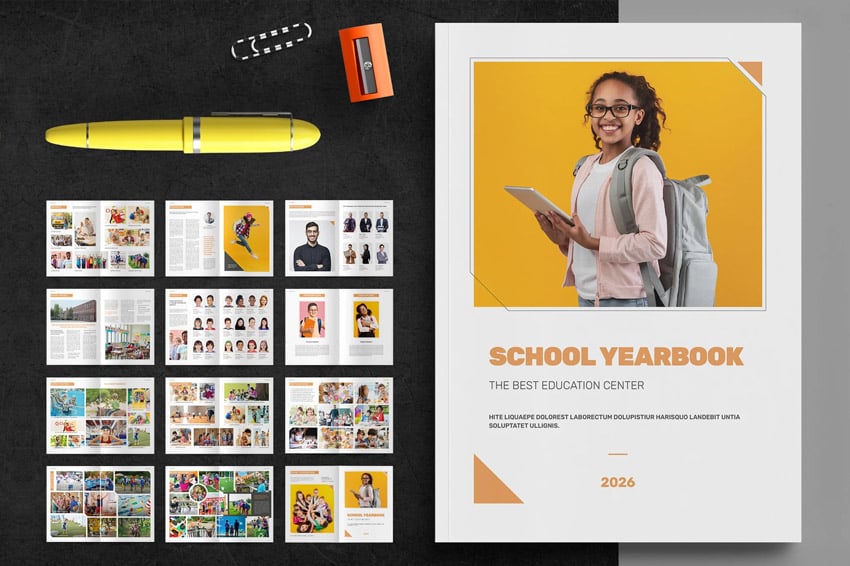


School yearbook template is a customizable layout with 24 pages. Created in InDesign, this professional template provides everything needed to design a yearbook for faculty and students.
Digital yearbook template (INDD, Canva)
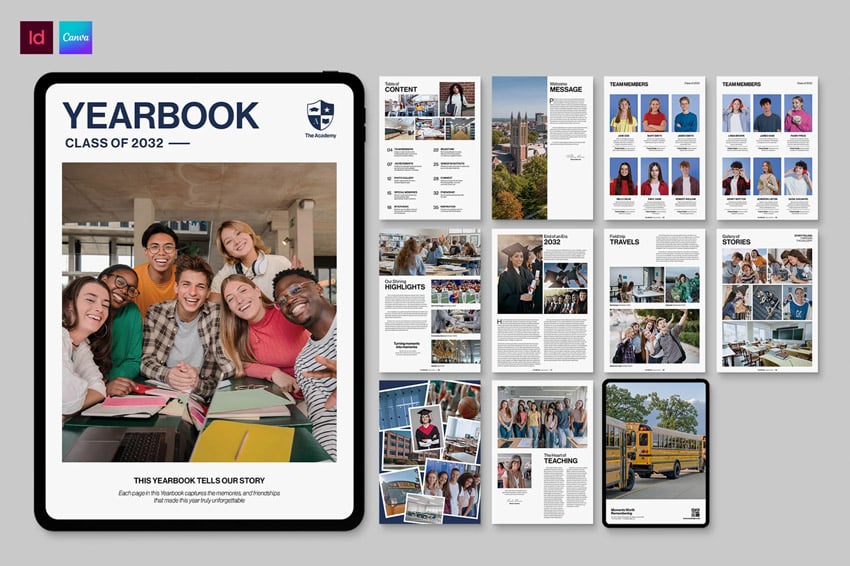


This digital yearbook template is ideal for colleges, universities, and other educational institutions to highlight student life and activities. Available in various formats, it allows the creation of diverse layouts that celebrate students’ moments.
If you liked this tutorial on how to make a yearbook template layout, you may like these other resources as well: