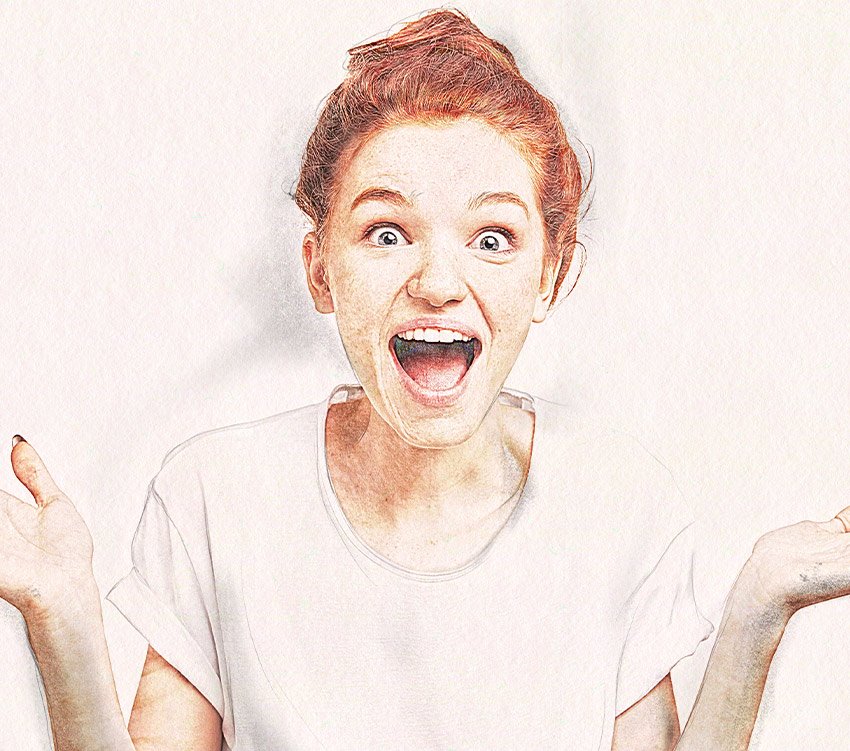
Today, we’ll be taking a look at how to create artistic painting effects in Affinity Photo. Affinity Photo may not have any dedicated artist effect filters, but it has more than enough amazing built-in tools that let you turn a photo into a painting or drawing. All without a drawing tablet! We are putting three different Affinity Photo tutorials into one, so let’s get started.
Did you know that all Photoshop brushes are compatible with Affinity Photo? If you want to take your artistic Affinity Photo effects to the next level, try pairing them with some of the realistic paint brushes found over on Envato Elements.


Interested in video tutorials instead? Head over to the Envato Tuts+ YouTube channel to find the best ones! Here you can watch this new video to learn how to create an artistic painting effect in Affinity Photo:
What You’ll Learn in this Affinity Photo Tutorial
- How to create artistic painting effects Affinity Photo
- How to create an Affinity Photo painting effect
- How to create an Affinity Photo oil painting effect
- How to use live layers in Affinity Photo
- How to create Affinity Photo manipulations and effects
What You’ll Need
To complete this project, you will need the following graphic resources:
Find more resources on Envato Elements!
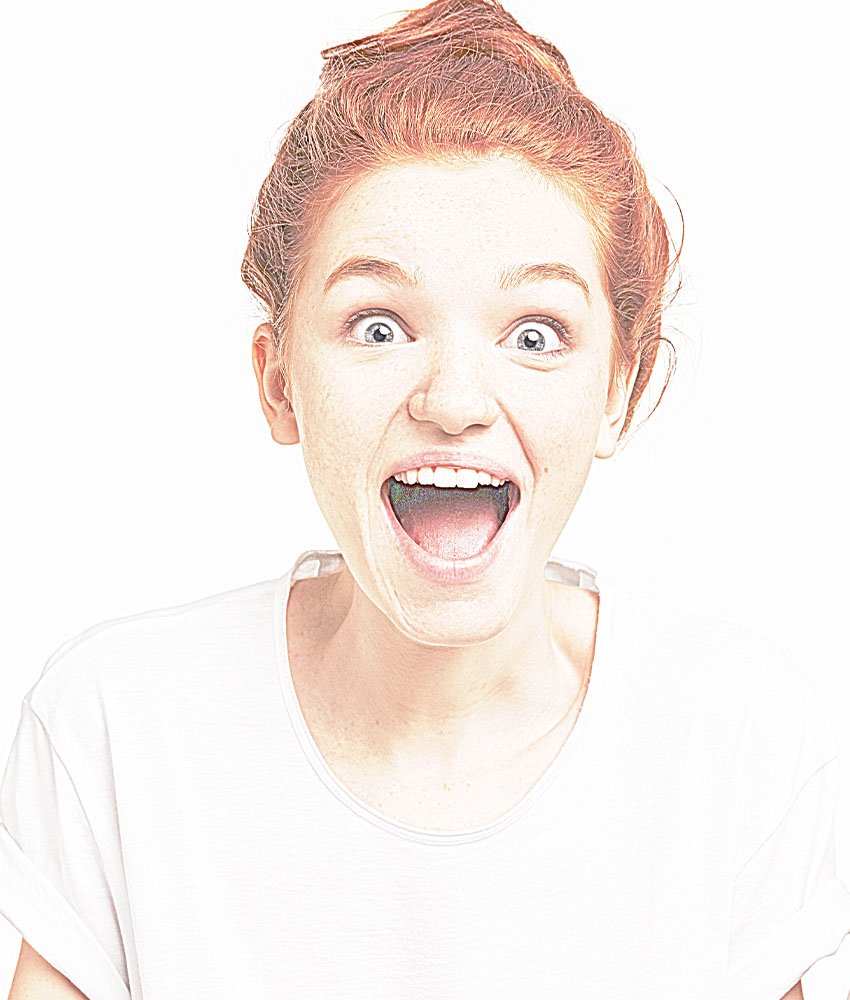
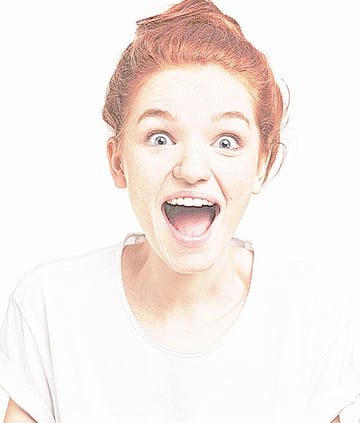
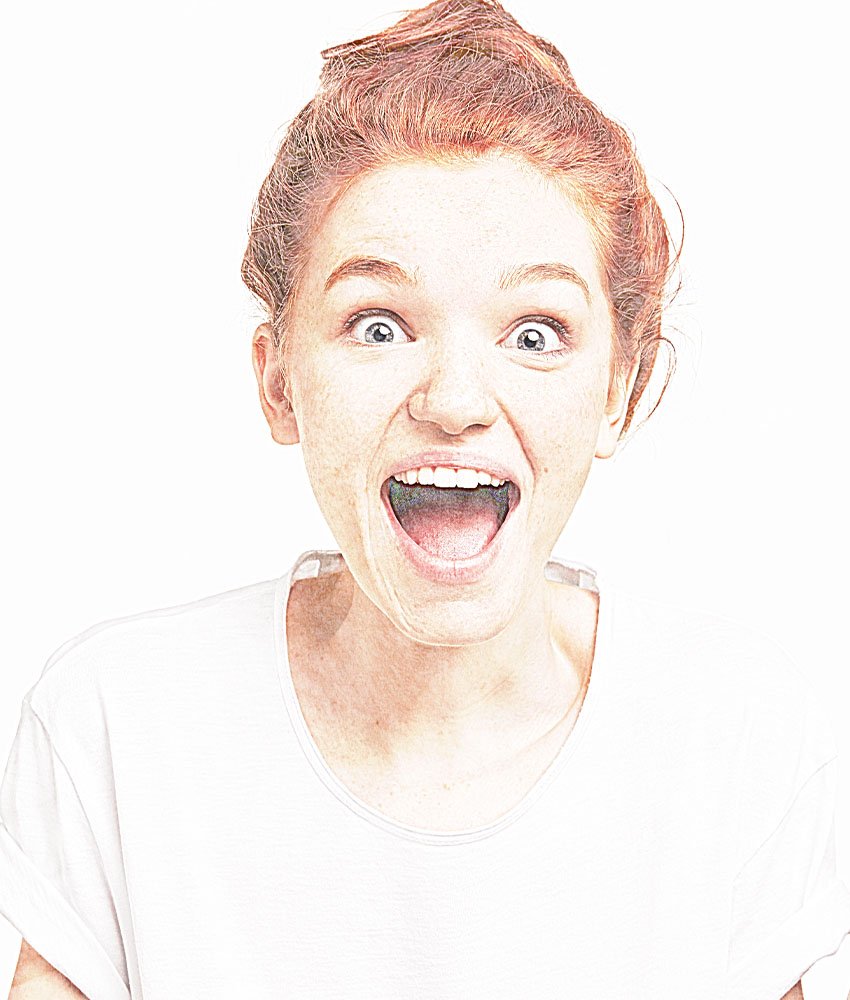
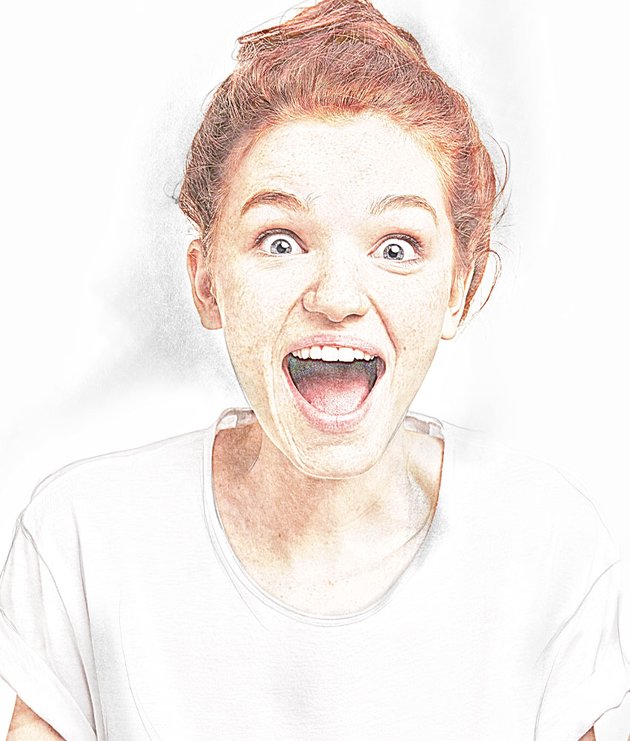
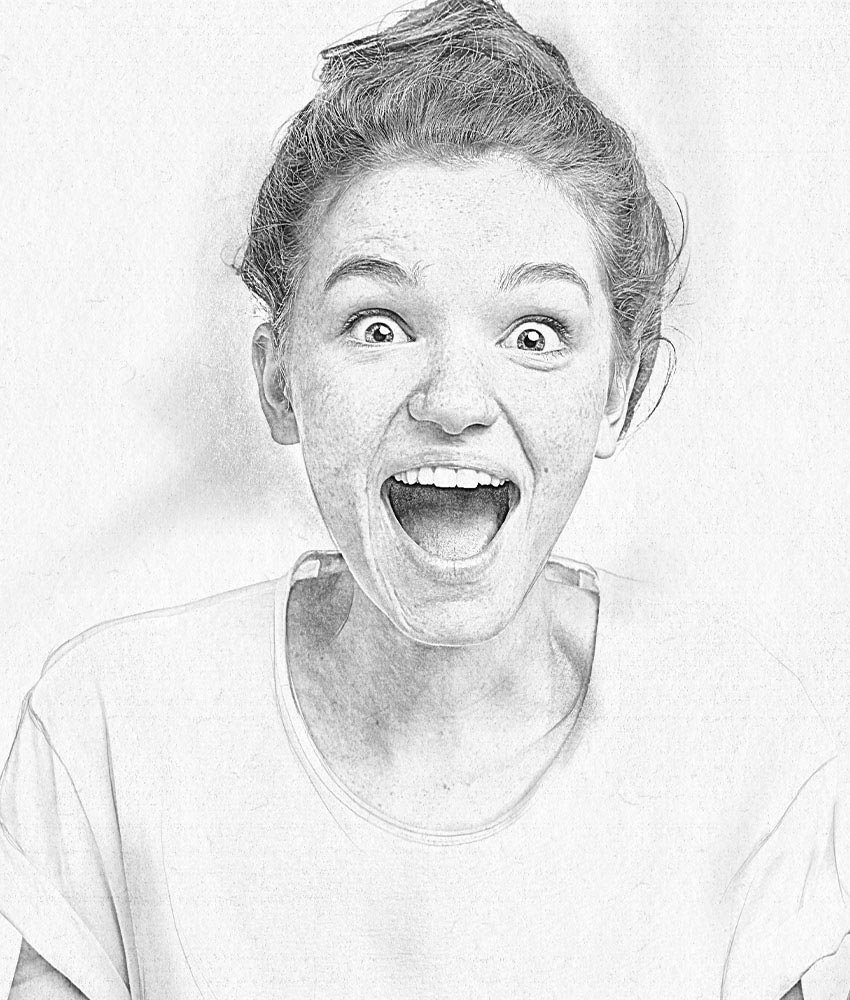
1. How to Create a Colored Pencil Effect in Affinity Photo
Step 1
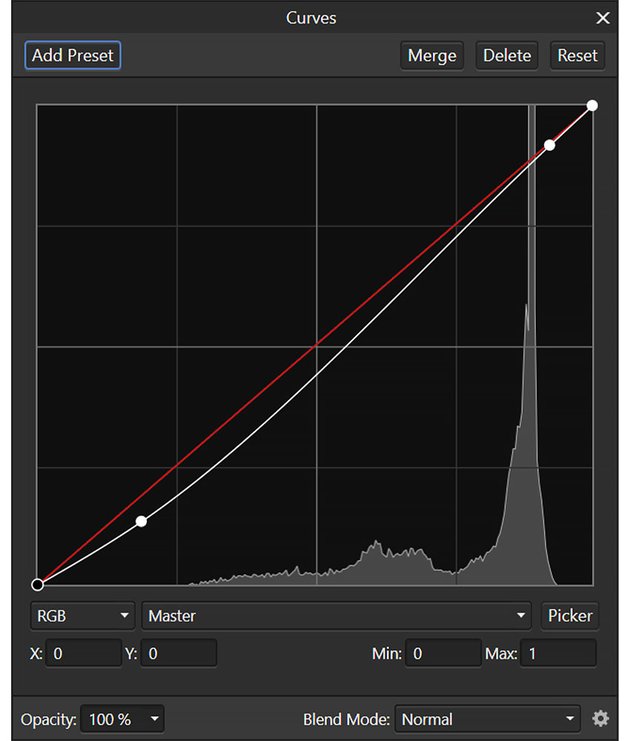
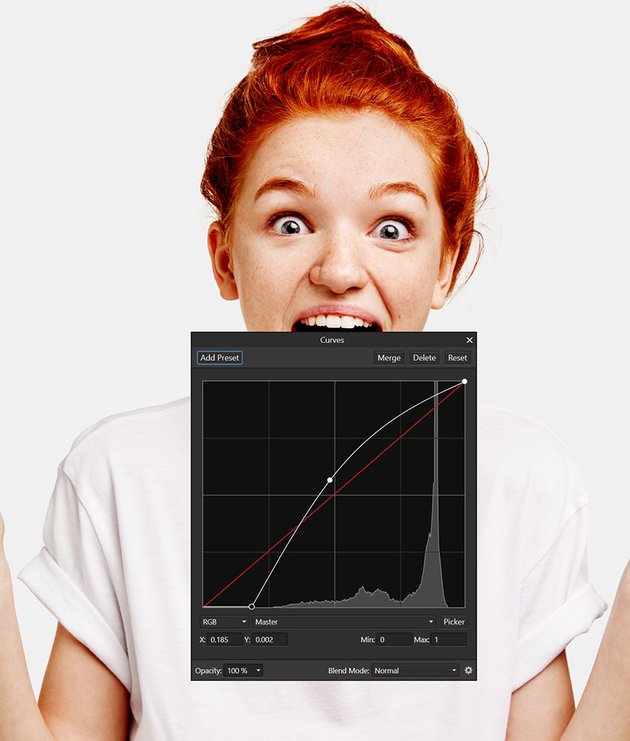
First, let’s create a Curves adjustment layer. For this specific photo, we want to darken things slightly.
Some images may need an “S” curve to add contrast or might need to be lightened. It’s very image-specific, and we can always come back and adjust this Curve if we need to. That’s why you always want to use Adjustment layers when you can.

Step 2
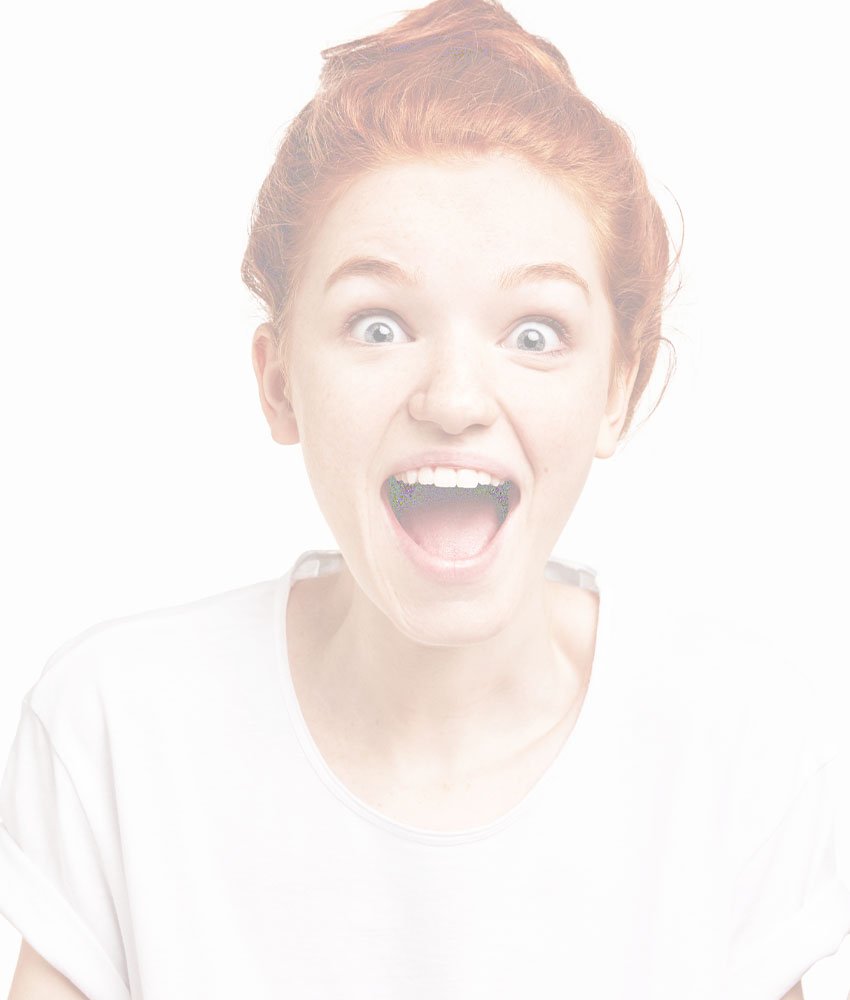
Let’s Duplicate our original image using Control-J and bring that duplicate above the Curves adjustment layer.
We’ll Invert the duplicate using Control-I and set the layer mode to Color Dodge. Your canvas will likely turn very bright or even completely white. That’s perfectly normal.
Step 3
Now, we’re going to go to Layer > New Live Filter > Gaussian Blur and Clip that into the inverted duplicate.
Start bringing up the Gaussian Blur amount until you get a colored pencil-like effect. This number will change for every image. A Blur of 2.8 px worked best on this image.

Step 4
You could stop here, but we’re also going to do a few things to enhance the effect. Let’s grab another Duplicate of the original image using Control-J, bringing it to the top of our current layer stack.
We’re going to set the layer mode to Linear Light with an Opacity of around 25%. This’ll bring in some more shadows.

Step 5
Next, we can enhance the drawn effect by laying on some Black Chalk Textures.
Since my subject is on a white background, I just had to place textures over the hands and face. Set those textures to Overlay with an Opacity of 50%.
If your subject isn’t on a white background, you might have to do some quick masking.

Step 6
We can further push the hand-drawn feel by doing a tiny amount of hand painting. Affinity Photo has several default pencil-inspired brushes in the Brushes panel dropdown menu.
Paint in some quick and sloppy lines around the edges of the subject. You can even bring back detail, like the folds of this shirt in this case.
You can use a tablet if you have one, but if not, a mouse will work just fine. Just use the Eraser brush to taper out any harsh lines.
After drawing in some sketchy lines, let’s bring out even more detail by going to Layer > Live Filter Layer > Sharpen > Clarity. An amount of 25 or less should be perfect.

Step 7
This is optional, but adding a paper texture set to Multiply will help sell the hand-drawn effect. How strong the effect should be is up to you; I settled on an Opacity of 50%.


Step 8
Finally, if your image is still a bit too bright and washed out, add a Brightness/Contrast adjustment layer. A Brightness of -24% and a Contrast of 40 helped give my image more detail.


If you want to turn this colored pencil drawing into black and white, you can use an HSL adjustment layer set to -100% Saturation.


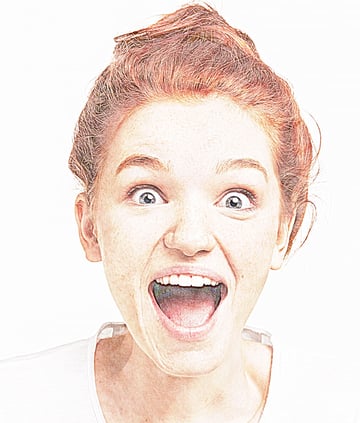
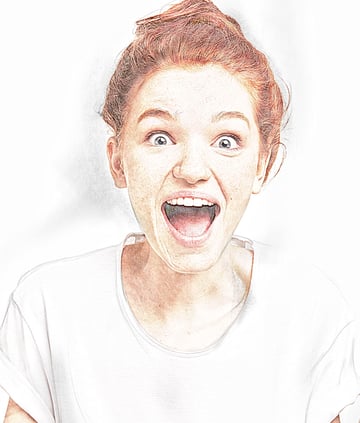
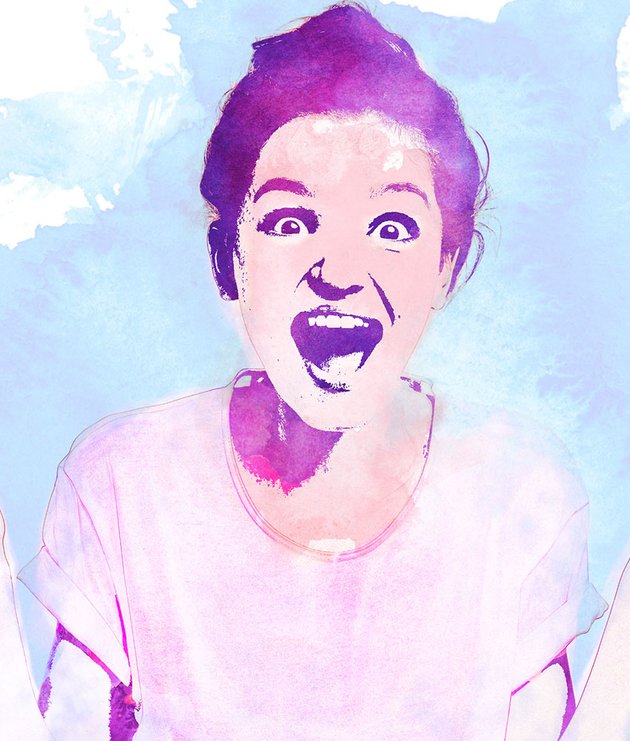
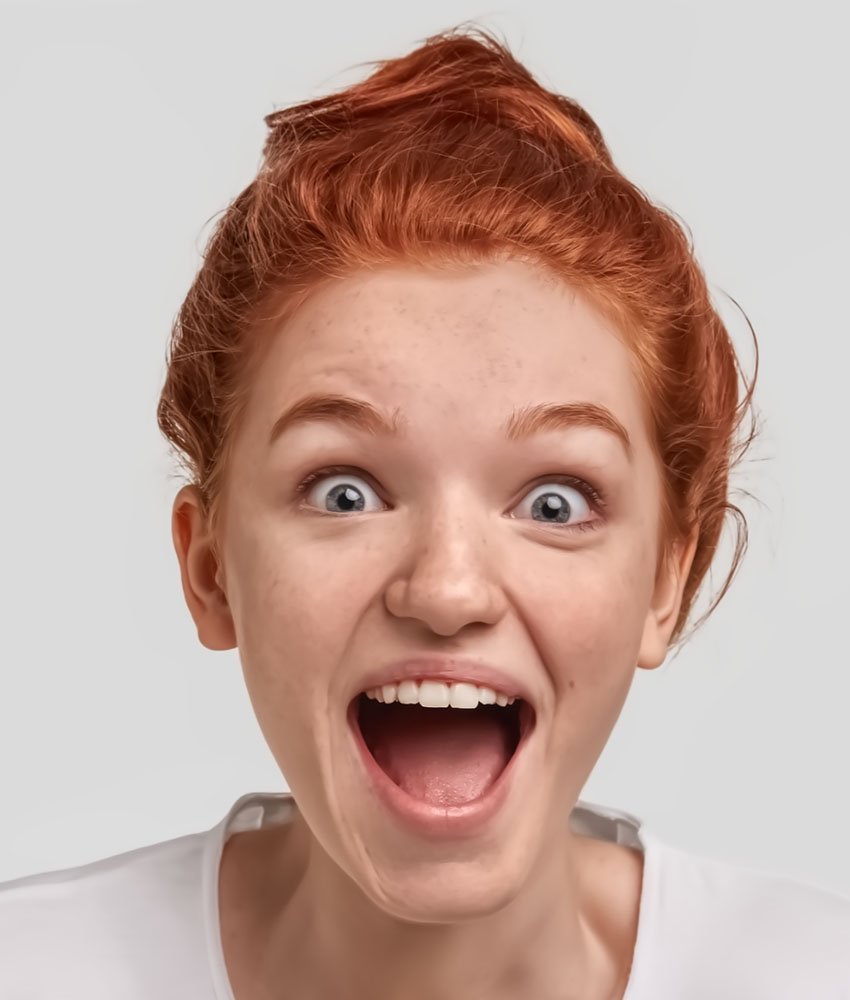
2. How to Create a Watercolor Effect in Affinity Photo
Step 1
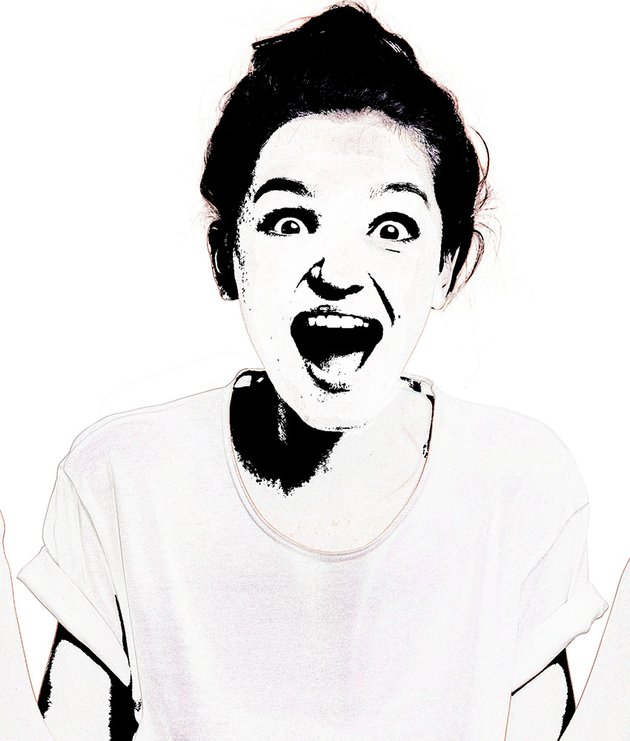
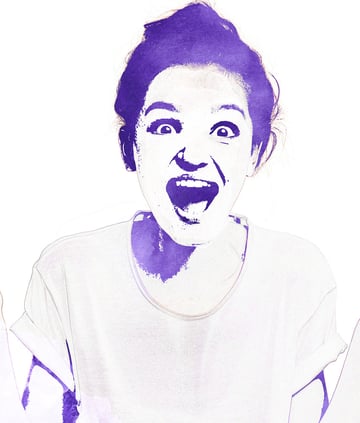
For our next photo manipulation Affinity Photo effect, we’ll be creating a watercolor image.
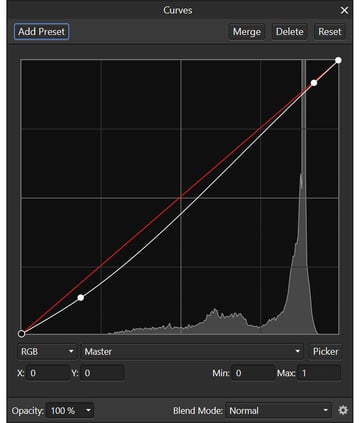
Like before, we’re going to start with a Curves adjustment layer. This time, we want to add contrast by decreasing the shadows and increasing the midtones.
Every image will be very different, and you will likely have to come back and adjust this after the next step, but this should be fine for now.


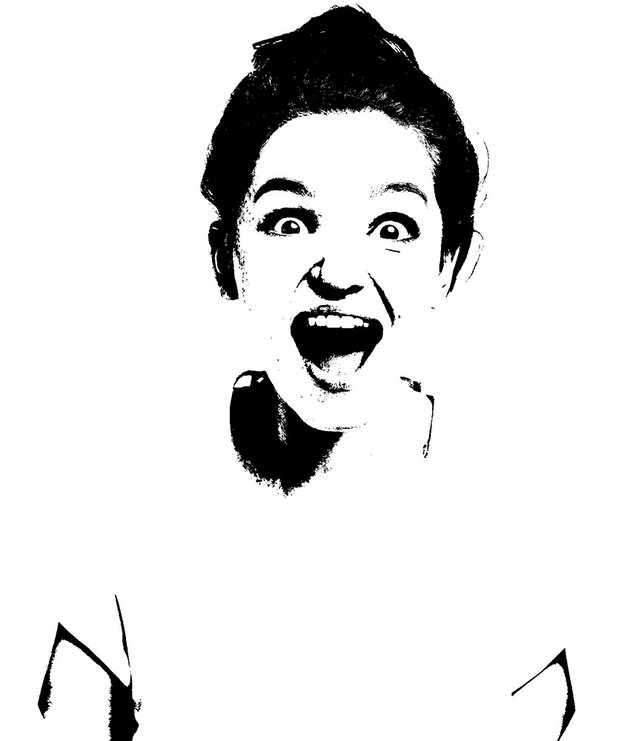
Step 2
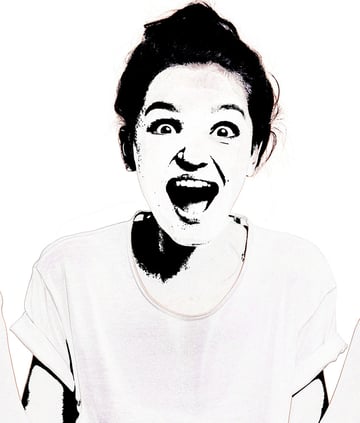
Next, let’s add a Threshold adjustment layer. As with most of these layers, there are no magical settings, and you’ll likely come back and change it a few times before you’re happy. I settled on a Threshold of 57%.

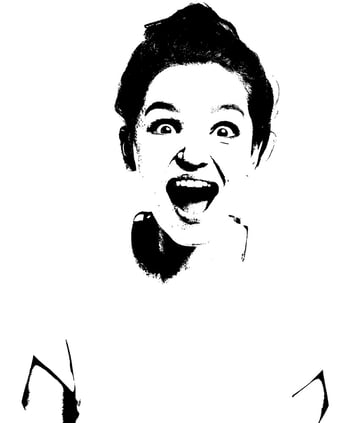
Step 3
Let’s Duplicate our subject and bring it above the Threshold adjustment.
Now we’re going to go to Filters > Detect > Detect Edges and set that layer mode to Subtract. This will bring back some of the image’s finer details but may look weird in certain places. If so, just add a Layer Mask and remove any unwanted areas. In this image, I masked away the face.

Step 4
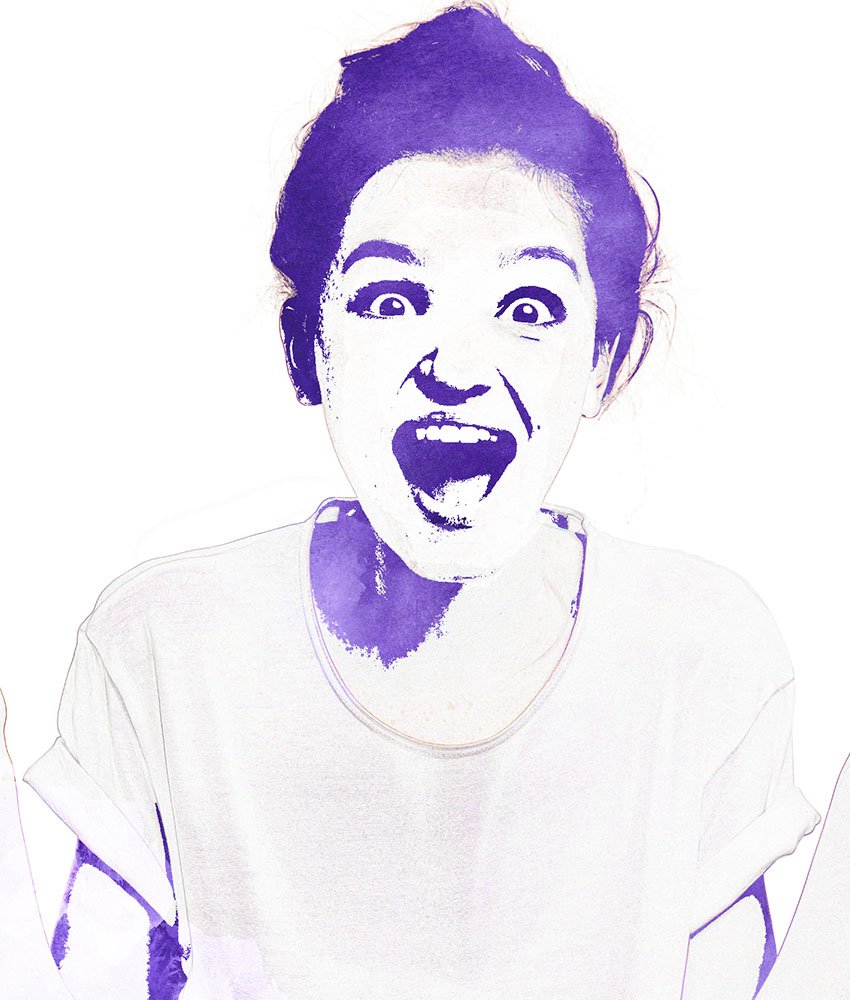
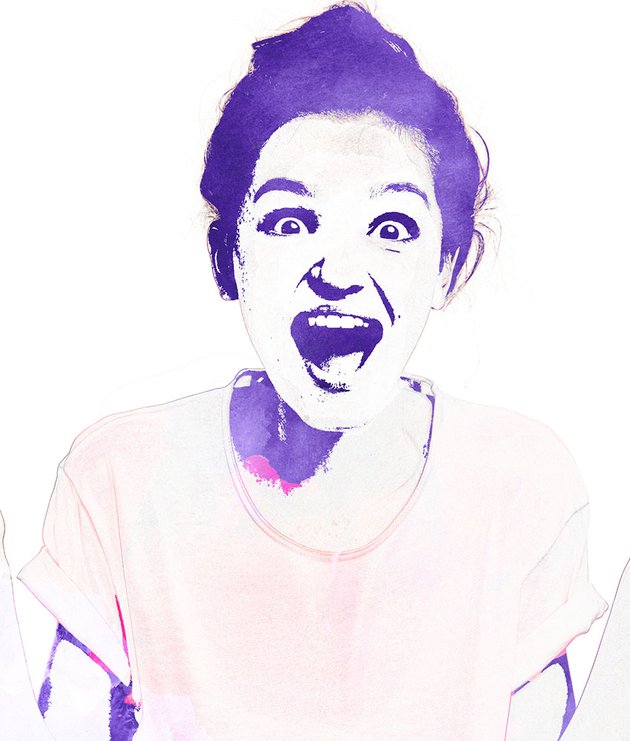
Next, we can start adding our watercolor effect. Ideally, you want Watercolor Textures that are PNGs, but textures on a white background will also work.
Let’s lay down textures over the subject’s face and body, setting the texture to Lighten. I’m using only purple textures for now.
Step 5
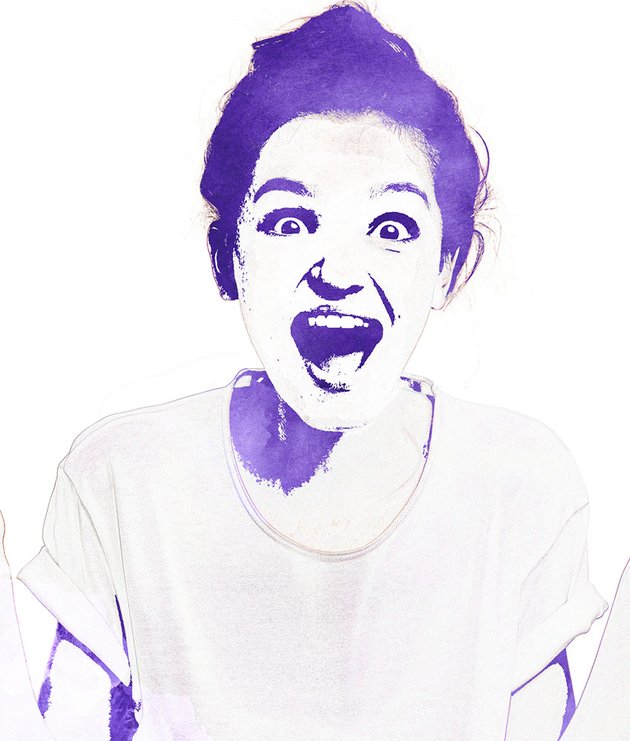
With the skin turned purple, we can use a second color on the shirt. I’m going to use pink textures, again, all set to Lighten.
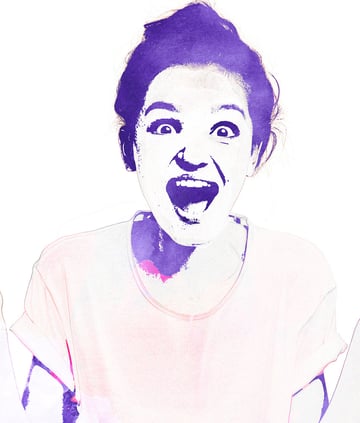
Layers set to Lighten will only show up in dark areas and will be completely transparent in white areas. Since my subject is on a white background, I can lay down the texture without worrying about it showing anywhere other than the shadowy areas created by the Threshold layer.
If your subject is not on a bright background, you can select them using any Quick Selection tool and create a Layer Mask so that your textures have boundaries.

Step 6
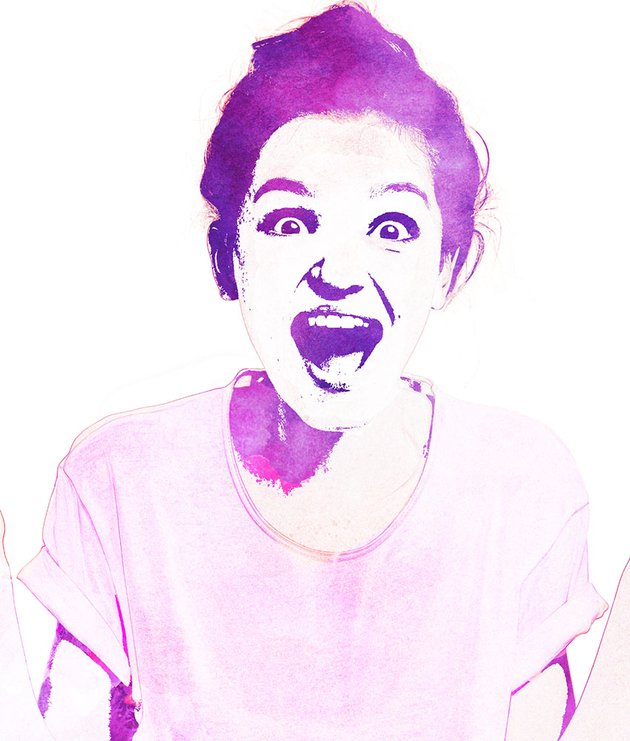
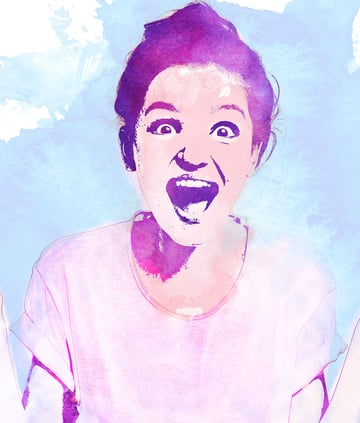
You can enhance the currently layered textures by layering textures of different colors on top. I layered a huge pink watercolor texture over the whole subject and set it to Overlay with a 60% Opacity.
Then I added a second purple texture over the shirt, also set to Overlay, keeping it set to 100% Opacity.


Step 7
We can also use different layer modes for different effects. Let’s place a pink texture over the subject’s face and neck, setting it to Multiply at 20% Opacity.
Use a Layer Mask to remove the texture from the eyes and mouth, along with any texture you don’t want from the background or shirt.
We can use those same steps to place a big blue texture over most of the canvas, setting it to Multiply at 40% Opacity.
Again, Mask it away from the subject, creating a blue sky-like effect. You can use Multiply anytime you want to place textures that look darker or appear heavier.

Step 8
Let’s finish off with an HSL adjustment layer. We can use this to shift the colors slightly and increase the saturation. This will come down to personal preference, but I landed on a Saturation of 25% and a Hue of -11.9.
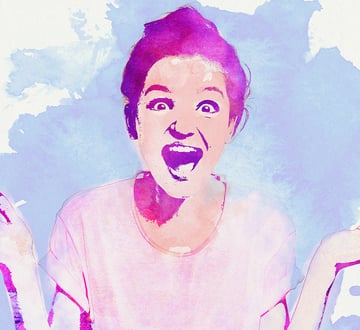
And just like always, you can layer a Paper Texture set to Multiply over the whole canvas if you’d like to add a paper-like feel.


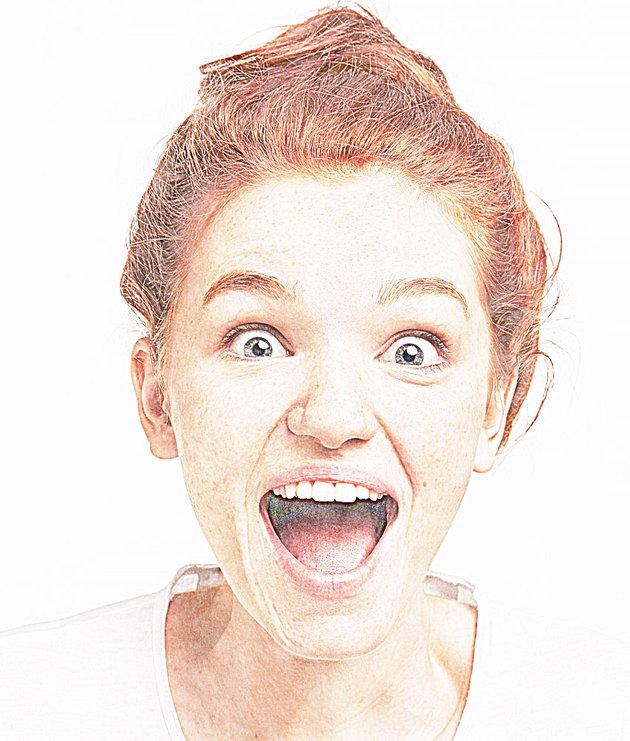
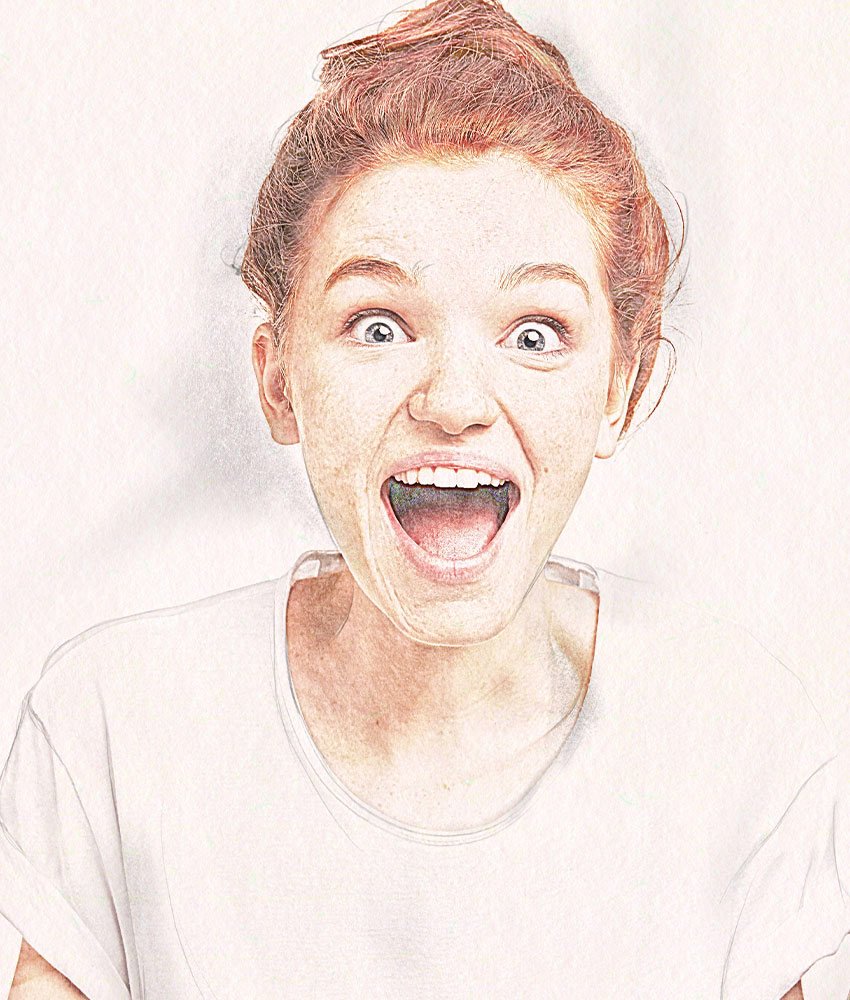
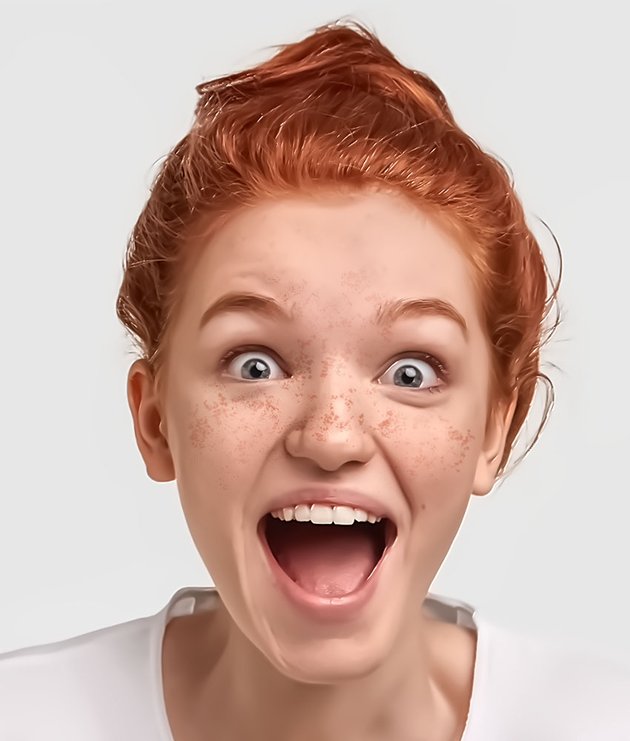
3. How to Create an Oil Paint Effect in Affinity Photo
Step 1
We’ll start by duplicating our subject using Control-J and then going into the Tone Mapping panel, found in the upper left-hand corner.
We want to bring the Tone Compression down to 0% and the Local Contrast to around 20%. Click Apply in the upper left-hand corner.
You may have to adjust the Local Contrast again, but remember that this is a destructive effect. To redo the Tone Mapping, you’ll have to delete the layer and apply your changes to a new copy of the subject. That’s why we made the duplicate.


Step 2
Next up, we have to smooth the skin. Now, you could use either the Mixer Brush or the Smudge brush, which will give you an even more oil paint-like effect. And that’s how you’ll typically see it done.
Today, let’s try to get a more digitally painted effect by going to Layer > New Live Filter Layer > Noise > Denoise.
We’re going to set everything to 100% except the Luminance Detail, which will be 25%.


Step 3
We want to Duplicate the Noise Reduction layer until the subject’s skin is completely smooth. Most of the time, you’ll only need to duplicate once, but if you need a second, that’s fine.


Step 4
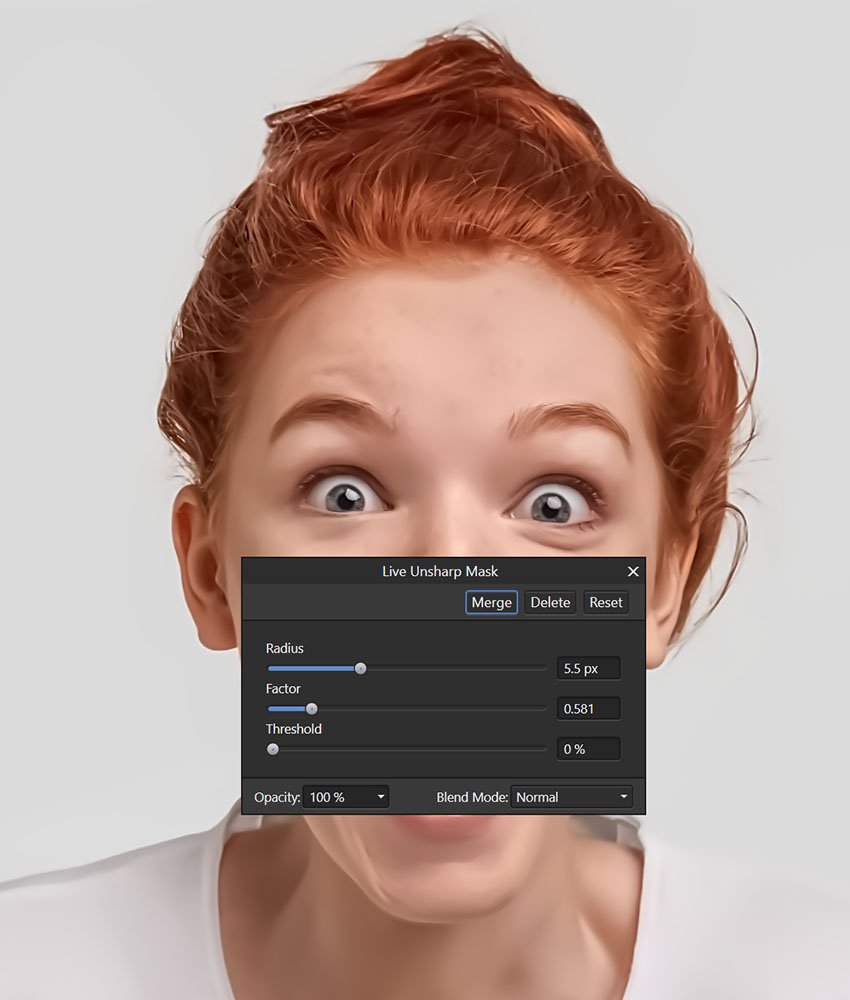
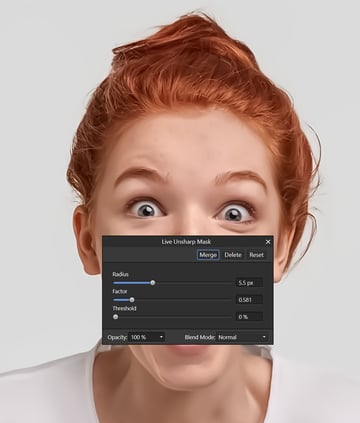
Let’s bring back some detail using a Layer > Live Filter Layer > Sharpen > Unsharp Mask. Set it to a Radius of 0.4 px, a Factor of 1, and a Threshold of 0. This will be pretty subtle, which is what we want. If we need to increase it, we can return to it later.

Step 5
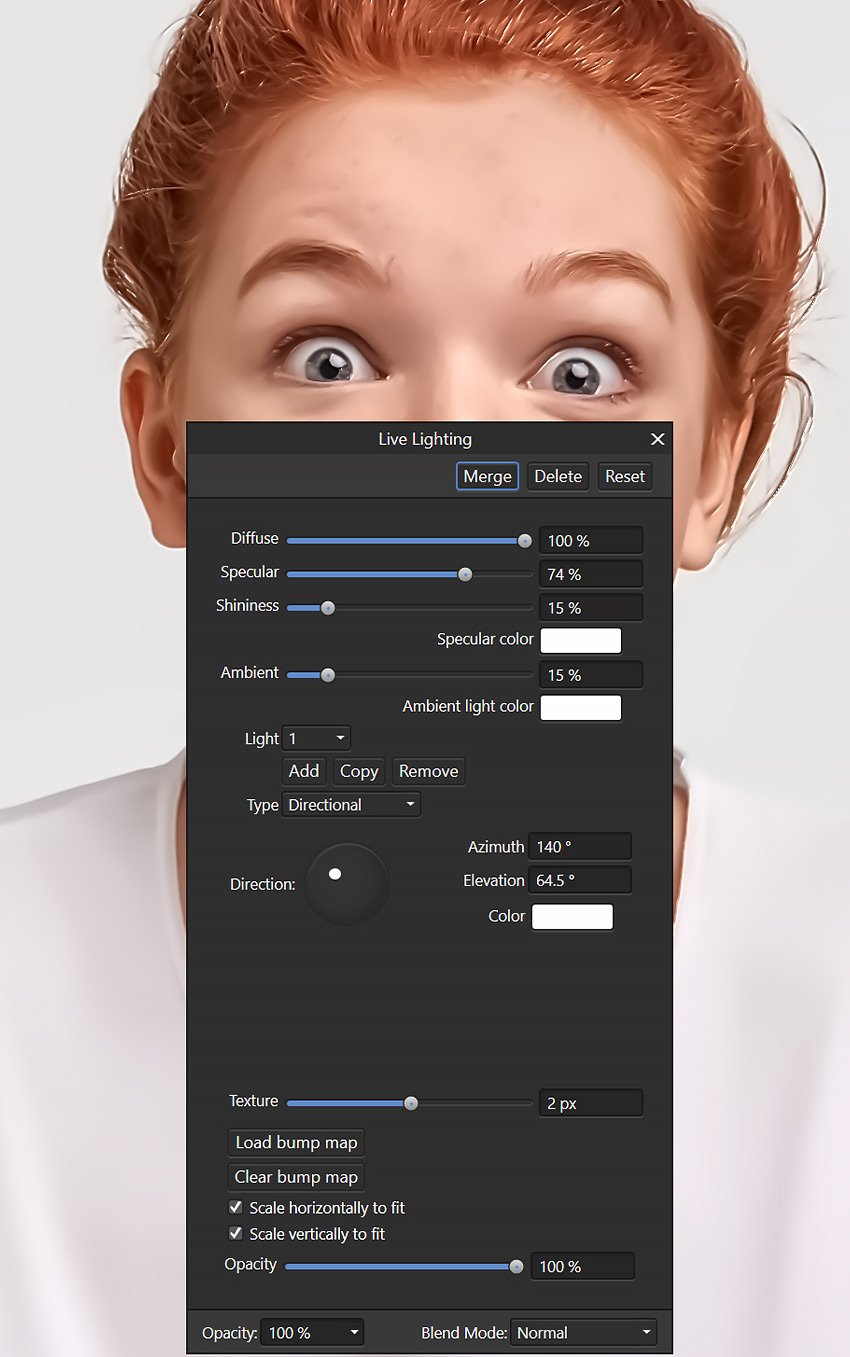
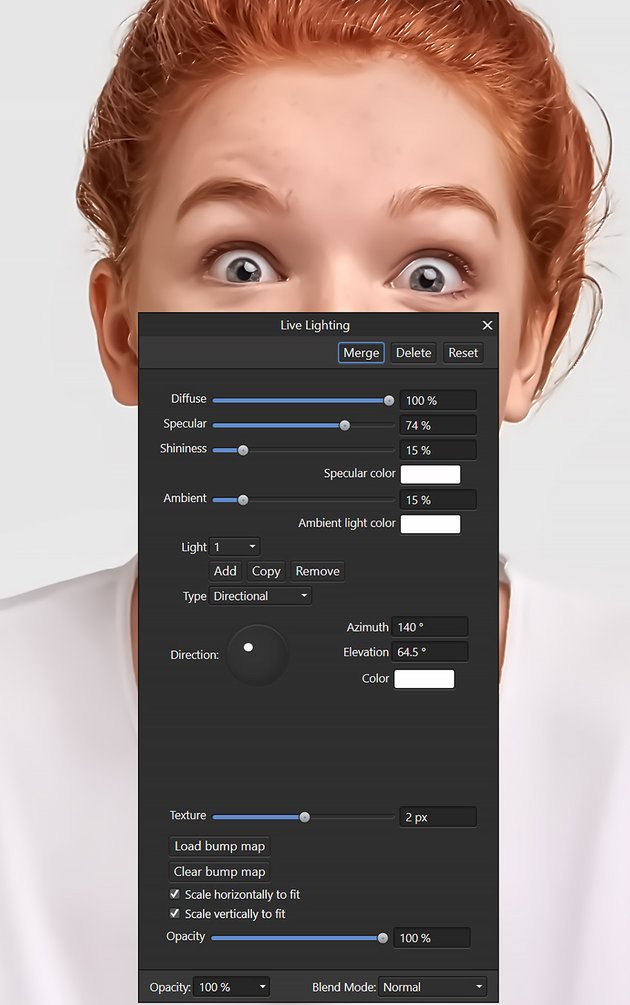
Now that we’ve brought back some detail, we’re going to bring in some sharper, more styled highlights using a Layer > Live Filter Layer > Lighting layer.
There are only two concrete settings here. We want to make sure the Type is Directional and Light is 1.
All the other settings will depend heavily on the image you’re using. You have to just go in and play with the settings until you land on something you like.
A quick tip: You can use the blue anchor point on the canvas to set the Direction of the light, which is much easier than using the in-panel dial. Also, you’ll likely want to set the Specular percentage pretty high.
Here are my exact settings after a few minutes of playing.

Step 6
Next up, let’s create a New Layer set to Multiply. Then let’s grab the Brush tool and set the foreground color to something freckly. A reddish-brown #B9451F should work well.
For the Brush Tip, we want to go into the Brush panel, choose Textures, and choose the second default brush named Grunge Pattern 02. We’ll stamp the texture on the subject’s cheeks and slightly onto her forehead—anywhere she had freckles.
Then we can use the Eraser brush to fade the freckles on the cheeks and forehead. We also want to make sure none are appearing on the eyes.


Step 7
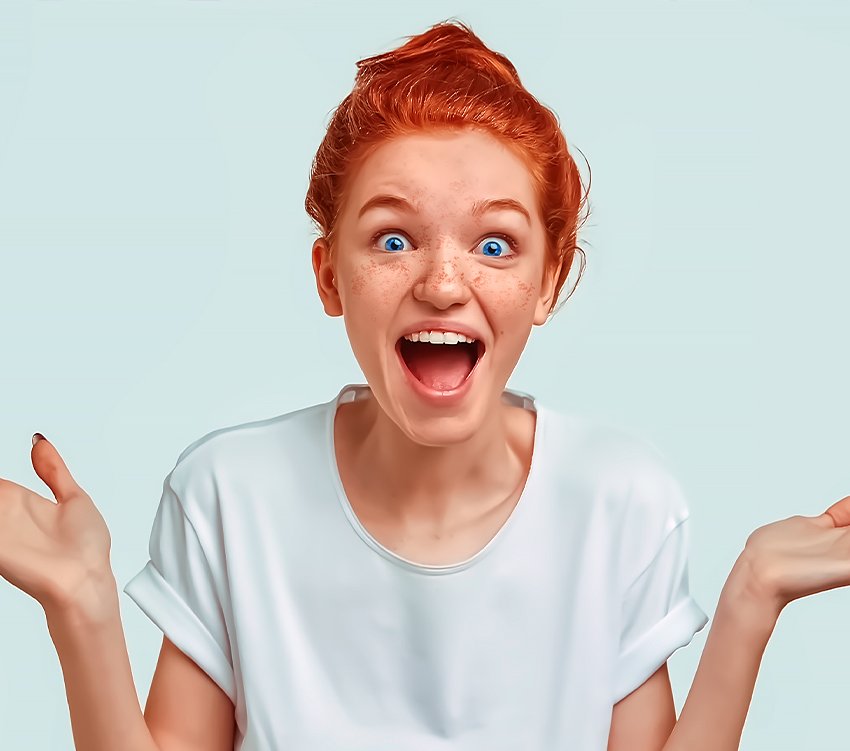
Let’s make the eyes pop by creating a new layer set to Color and then painting light blue #3082EA over the irises.


Step 8
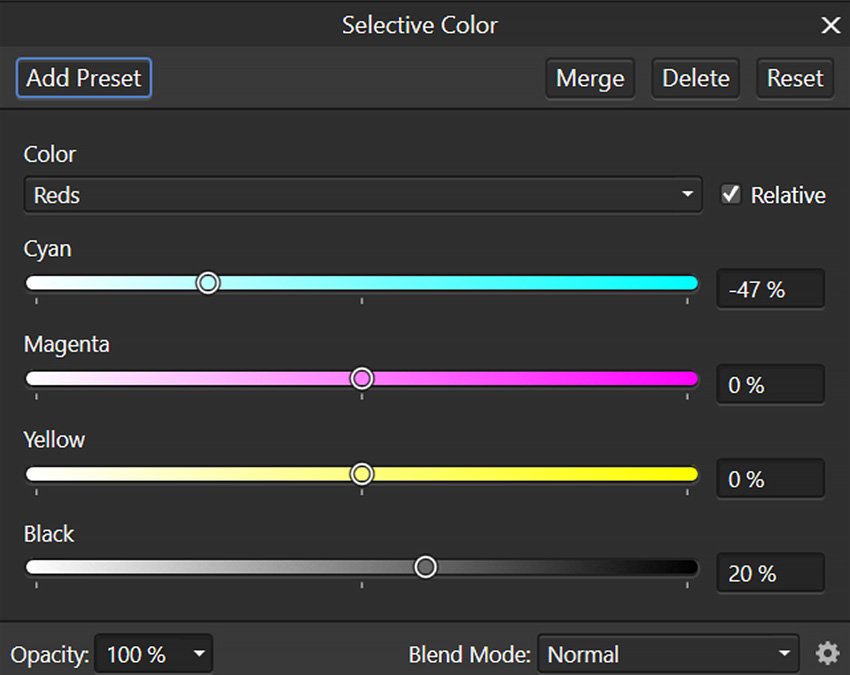
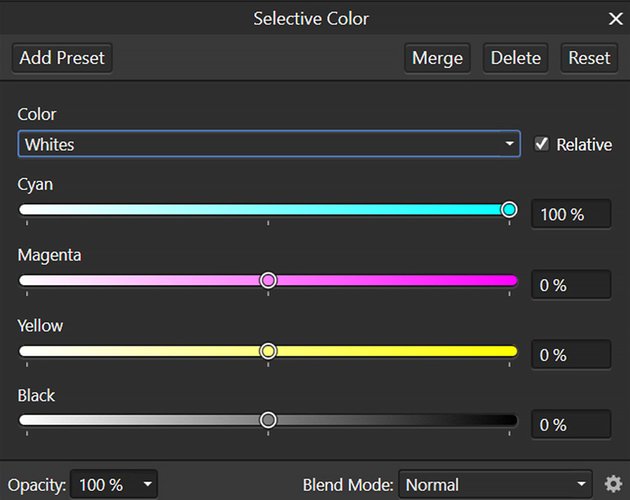
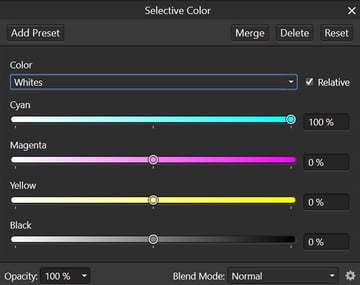
And then add some final color grading to give everything a vibrant feel. First, add an HSL adjustment layer set to 15% Saturation.
And secondly, add a Selective Color layer set to what you see here, keeping in mind that these are image-specific and completely optional.


Conclusion
And that’s three artistic effects, almost all of them using live layers, adjustments, and some textures. While there are no magic settings here, all of them require at least a bit of play; you can do each one with just a mouse.
Get Creative Art Resources From Envato Elements
If you’re looking for even more high-quality resources you can use in Affinity Photo, check out these graphics and brushes—all from Envato Elements!
Paint Splatter Brushes
Almost all Affinity Photo editing effects can benefit from a set of high-quality splatter brushes! The splatter brushes are high res and were made using real paint textures for a hyper-realistic effect.
Stipple Brush Set for Photoshop and Illustrator
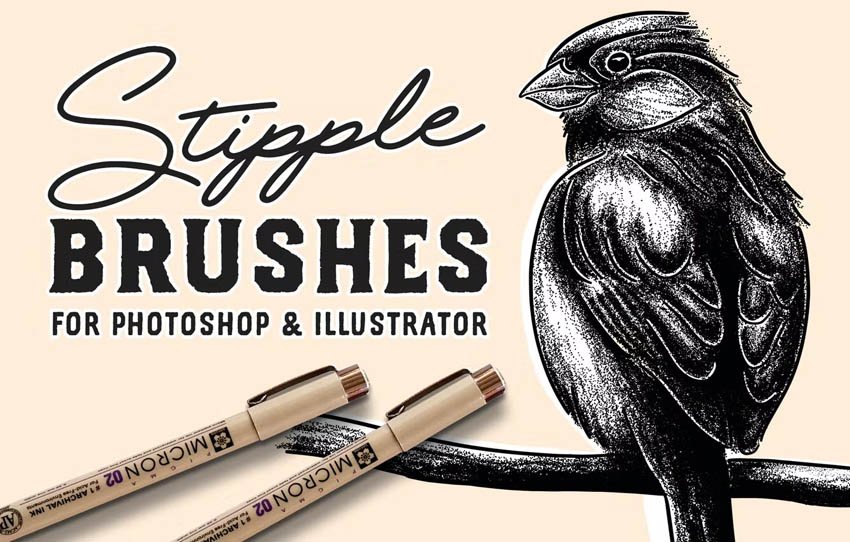

Photo manipulation Affinity Photo effects may be based on photos, but adding a stippling texture will add a traditional artistic touch. Remember that Photoshop brushes are compatible with Affinity Photo!
Textured Watercolor Brushes
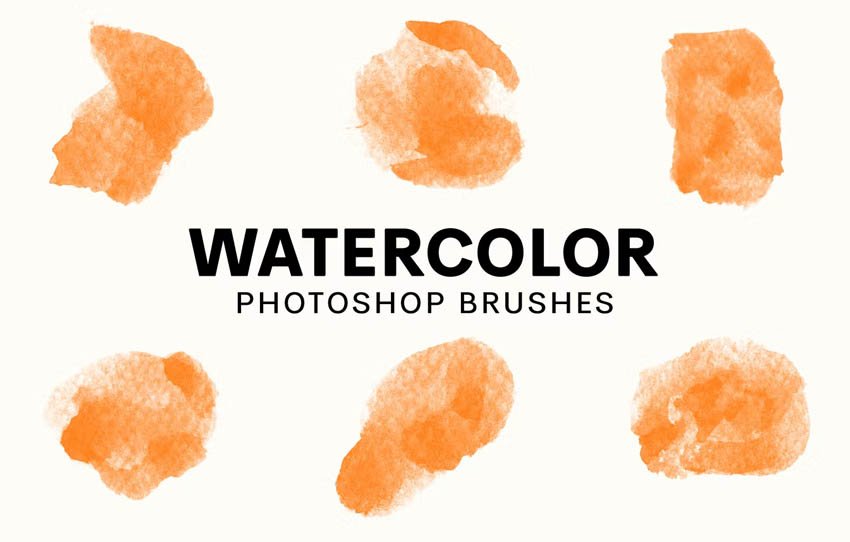


These high-resolution watercolor brushes are a must for every artist’s toolkit. Affinity Photo manipulation techniques rely on a mixture of high-resolution photos and realistic textures, and these brushes tick both of those boxes.
40 Handmade Acrylic Brushes


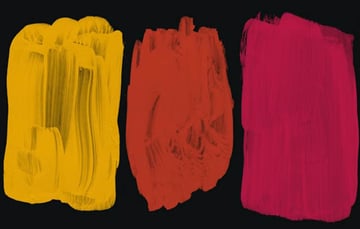
Looking to do an Affinity Photo oil painting effect? Then these brushes are perfect! The brushes were made by hand using real acrylic paint, giving them more dimension and texture.
Photoshop Ink Brushes
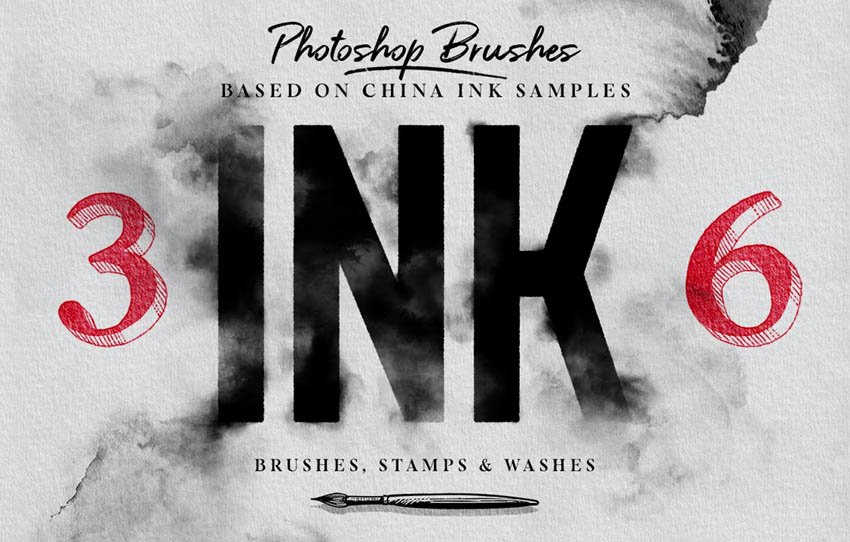

While Affinity Photo has some default paint brushes, these ink brushes are unbeatable. When it comes to creating an Affinity Photo painting effect, this set does it all and is one of my favorite brush sets!