If you love all sorts of Affinity Designer warp text effects, distorted text effects, or text effects in general, then follow this tutorial and improve your skills while learning to create a retro layered text effect that’s fully editable. Affinity Designer is good at creating an editable text effect, and it might impress you too how easy it is. Let’s start!
If you don’t have time, you can always try Envato Elements, where you will find plenty of Affinity Designer templates, text effects, and fonts that are ready to be used in your projects. Take your designs to the next level!
What You’ll Learn in This Affinity Designer Tutorial
- How to add text in Affinity Designer
- How to create a symbol in Affinity Designer
- How to make a layered text effect
- How to add texture in Affinity Designer
Tutorial Assets
You’ll need the following resources to complete this project:
1. How to Open a New Document
Step 1
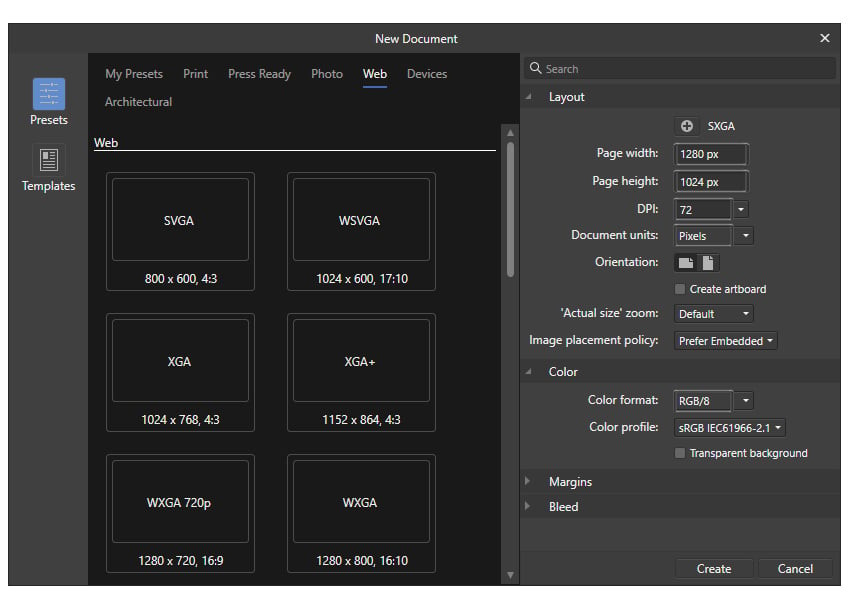
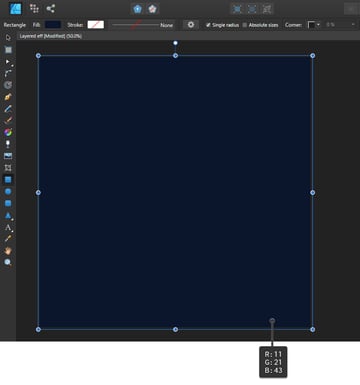
Launch Affinity Designer and go to File > New to open the New Document window. Type in the dimensions shown and set the resolution to 72 dpi, the Document units to Pixels, and the Color format to RGB. Hit Create.

Step 2
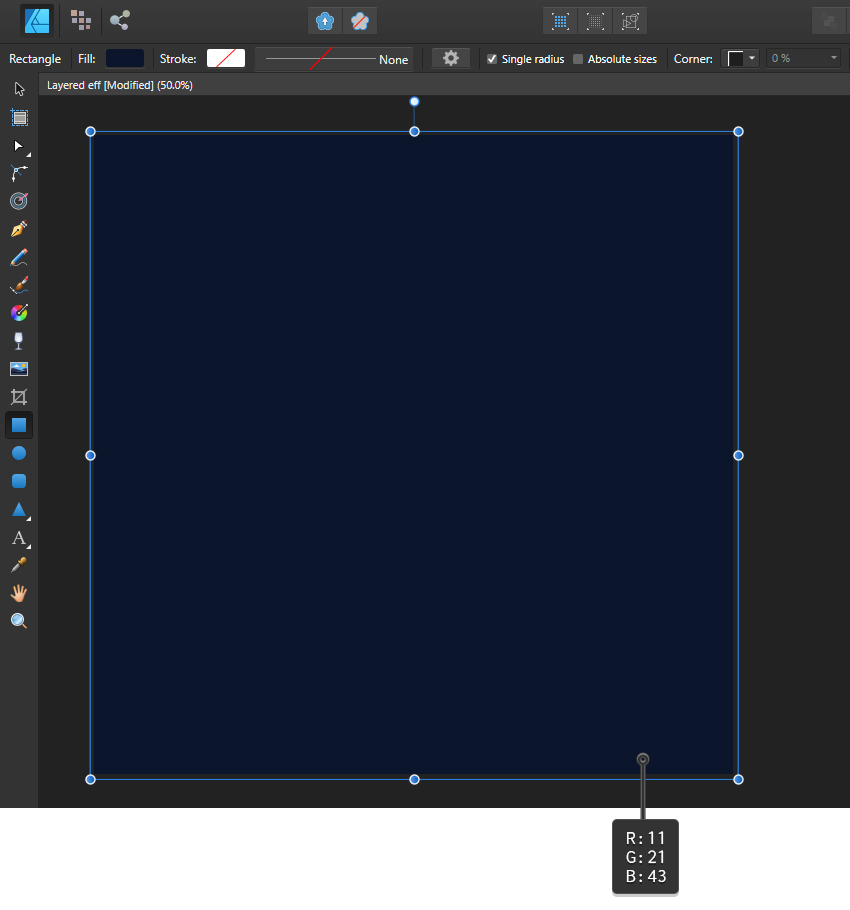
Let’s create a background in your new document. Grab the Rectangle Tool (M) and draw a rectangle that covers the entire artboard, setting the fill color to dark blue.
2. How to Add Text in Affinity Designer
Step 1
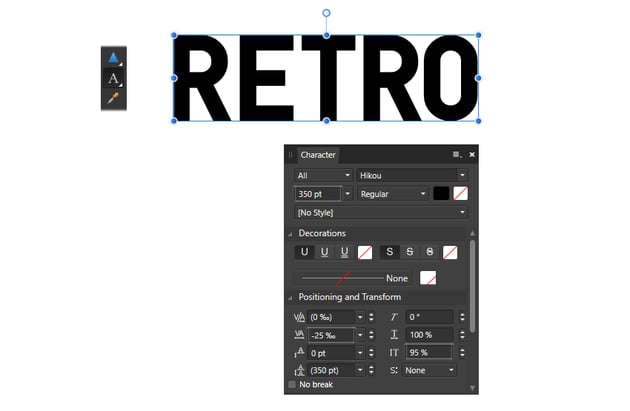
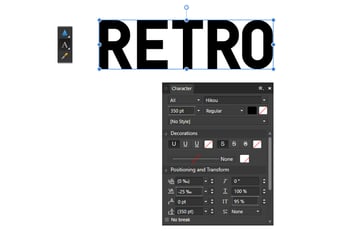
Grab the Artistic Text Tool, click on your artboard, and type “RETRO” using the Hikou Regular Font. Use these settings in the Character panel (View > Studio > Character):
- Font Size: 350 pt
- Tracking: -25%
- Vertical Scale: 95%

Step 2
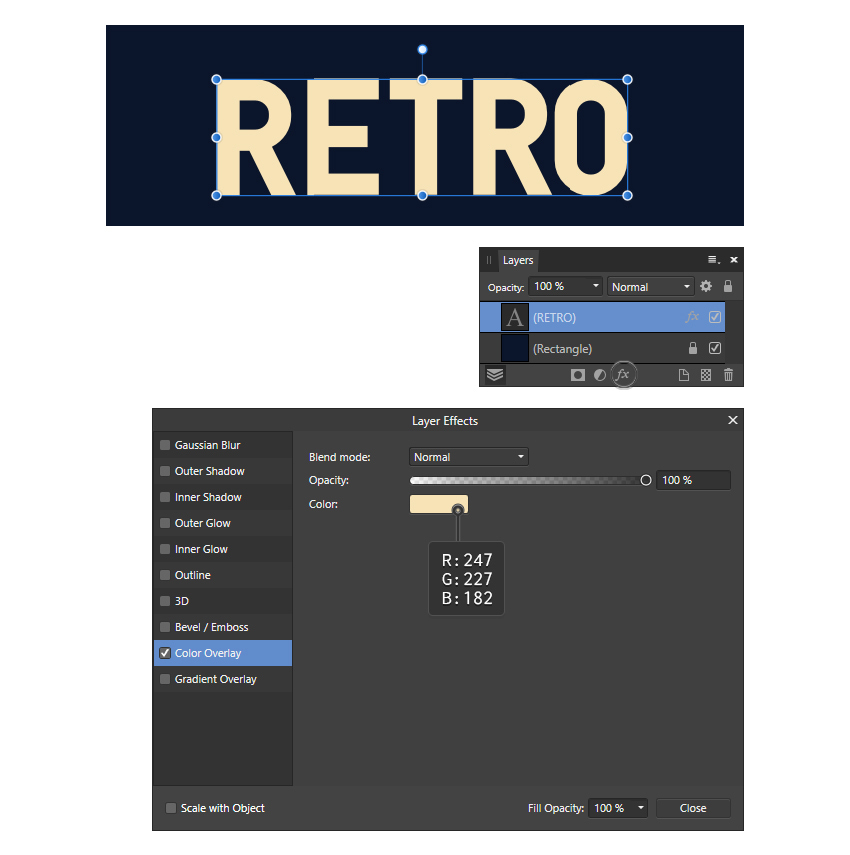
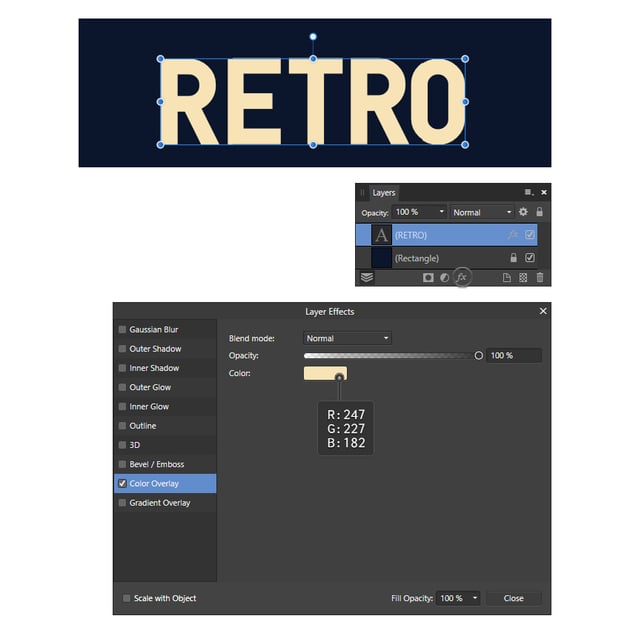
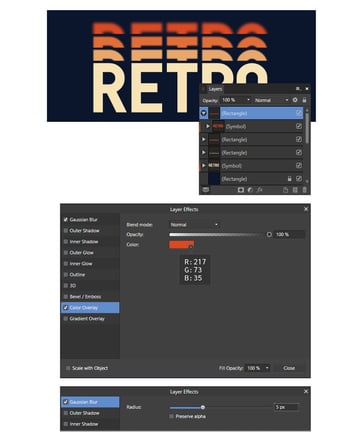
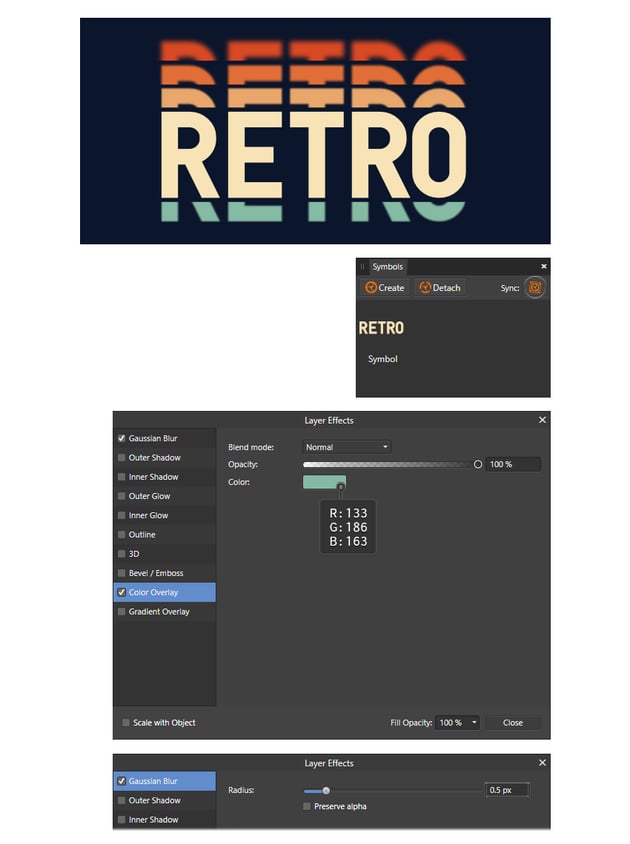
Now, let’s recolor the font so we can see it better on the dark background. With the RETRO layer selected, click on Layer Effects at the bottom of the Layers panel to open the Layer Effects window. Check the Color Overlay box to activate the effect, and then set the color to beige. Set the Blend mode to Normal and the Opacity to 100%. Hit Close.
Step 3
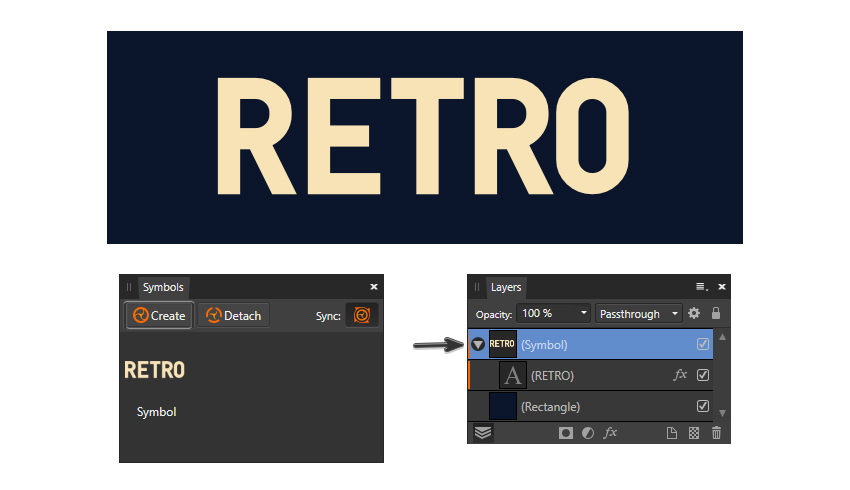
To create an editable text effect in Affinity Designer, you need to define the text as a symbol. First, locate and open the Symbols panel by going to View > Studio > Symbols. While the text stays selected, click on Create, and your new symbol will appear in the window. It will also appear as a symbol in the Layers panel.

3. How to Make a Layered Text Effect
Step 1
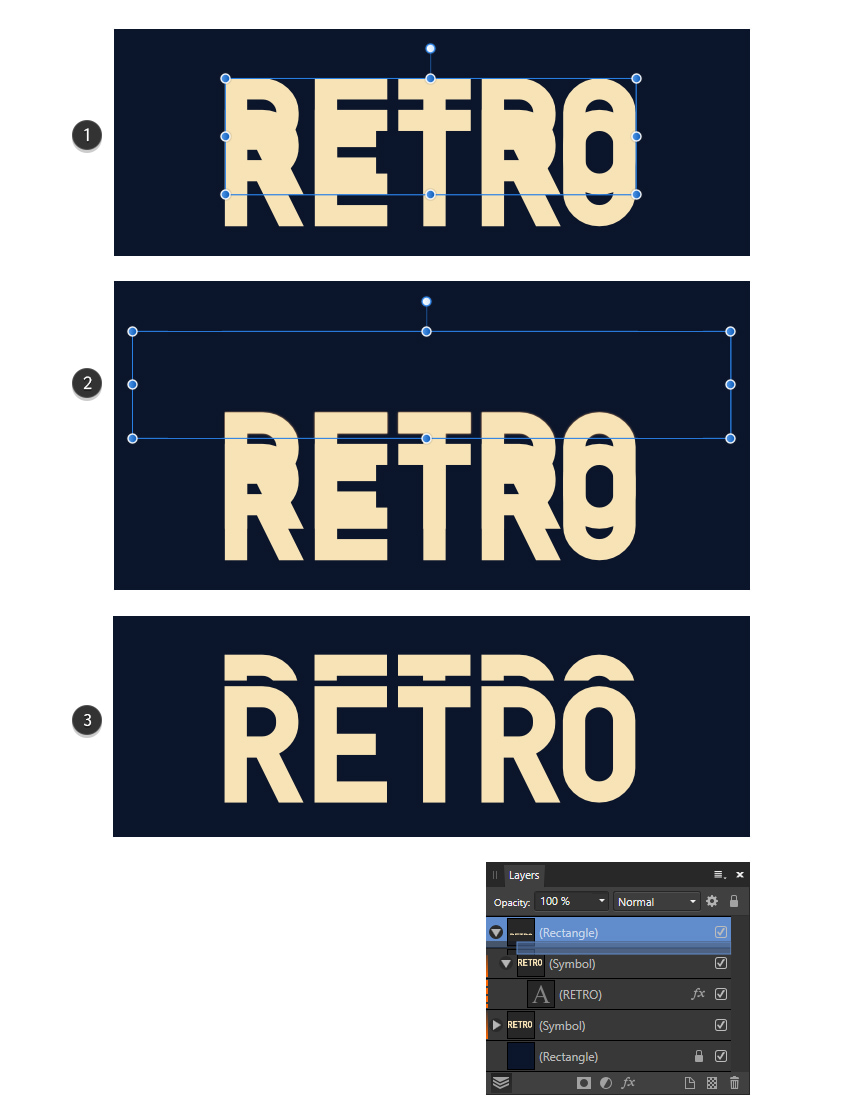
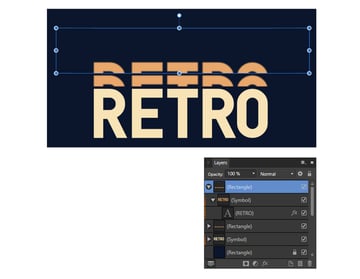
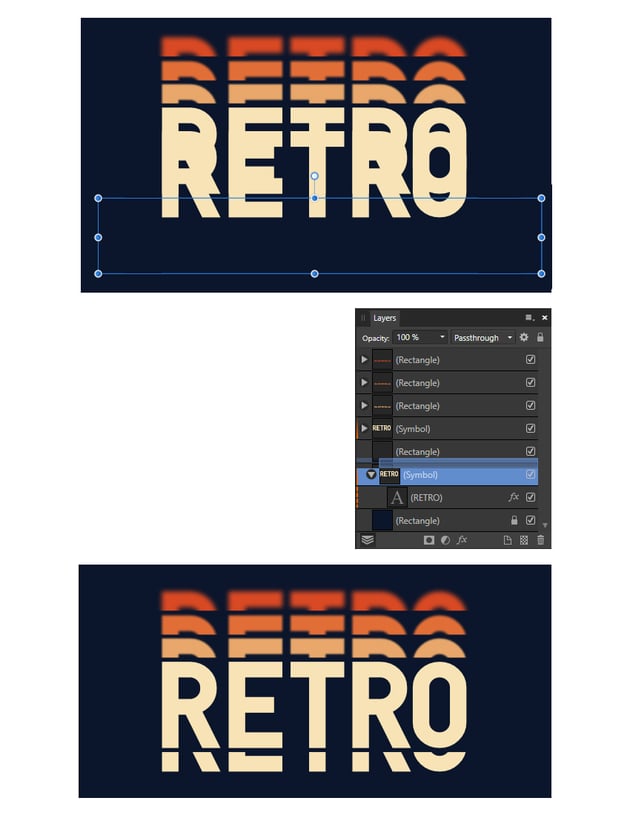
Right-click on the text symbol in the Layers panel and choose Duplicate. This will make a copy above the original that you can move a little upwards with the Move Tool (V) (1).
Next, use the Rectangle Tool (M) to draw a rectangle over the symbol copy. Make it almost the same width as the artboard. Cover the part of the text that you want to stay visible (2). To create the mask, grab the text symbol and drag it into the rectangle in the Layers panel (3).


Step 2
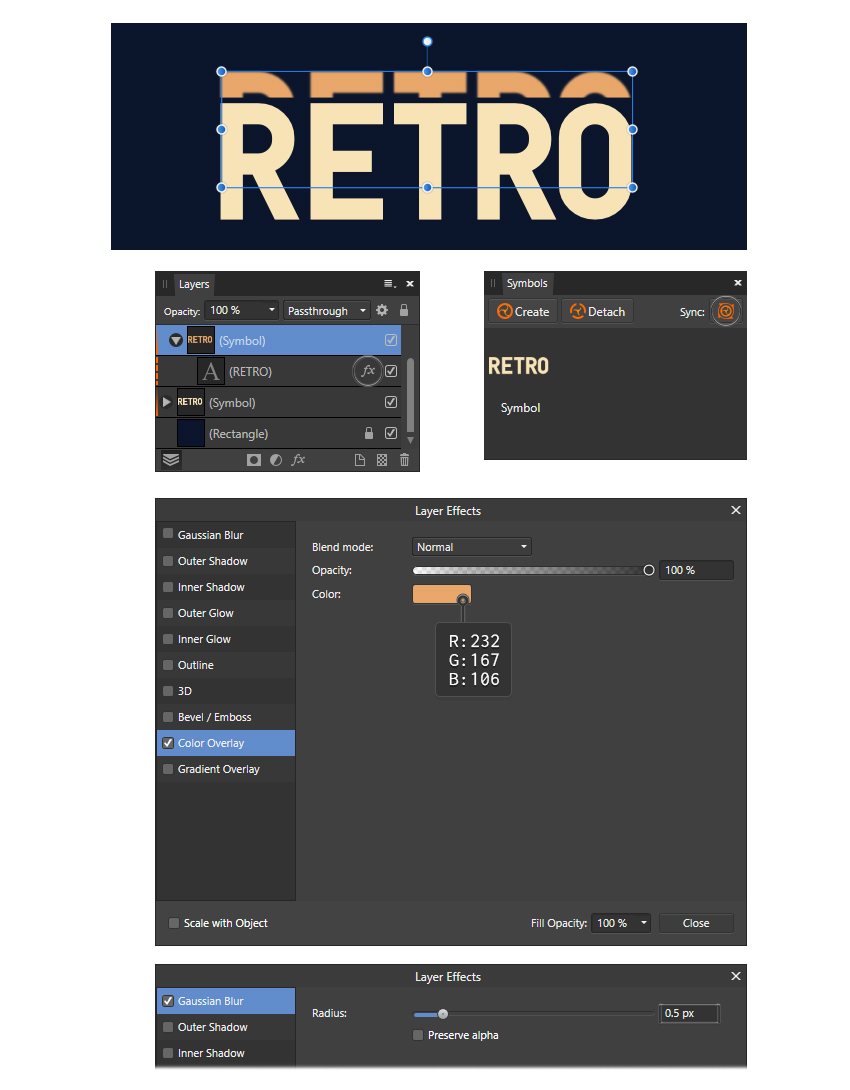
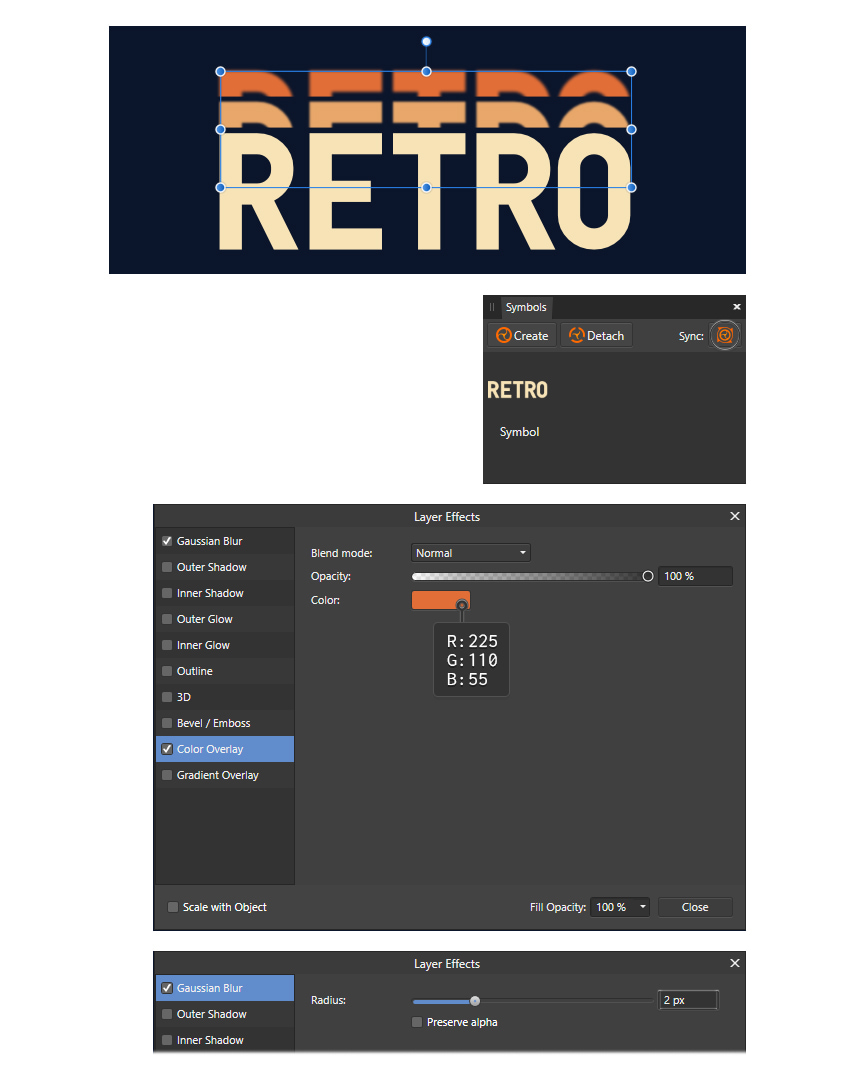
Let’s recolor the first text layer. Before you do anything, you must go to the Symbols panel and remove the synchronization. To do this, make sure that the first layer is selected in the Layers panel and click on the Sync icon in the Symbols panel. The Sync is OFF when the button is gray.
Open the Layer Effects window by clicking on the fx icon next to the RETRO layer, and then change the Color Overlay effect. I used a light orange color. Also, check the Gaussian Blur box to activate the effect, and apply a Radius of 0.5 pt. Hit Close.
Once you’re done applying the effects and changing settings, go back to the Symbols panel and turn synchronization back on. The Sync is ON when the button is black.

Step 3
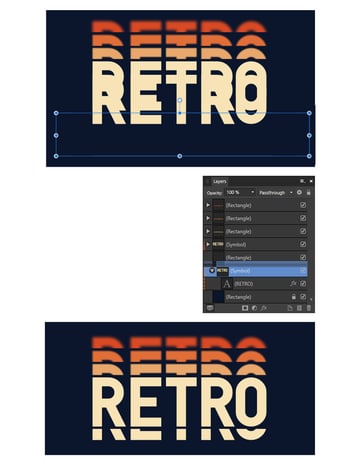
At this point, you can pretty much repeat the previous two steps to make more layers. Right-click on the orange text layer and choose Duplicate to make another copy. Move it a little upwards, and keep the same distance between the layers.

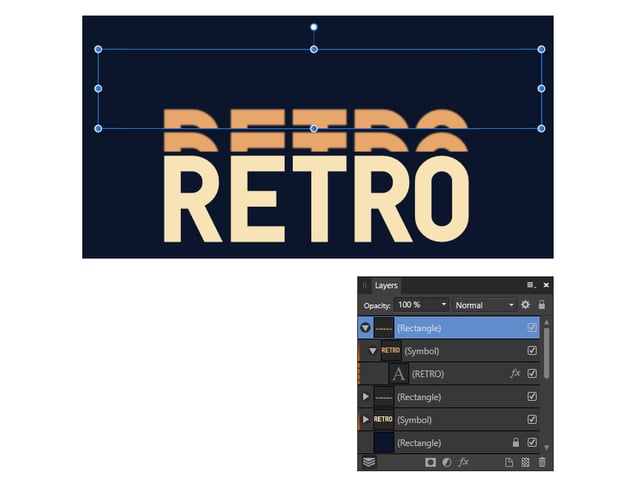
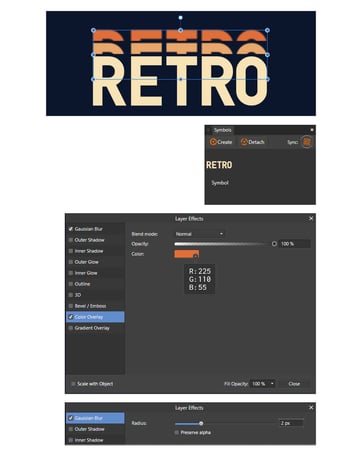
Step 4
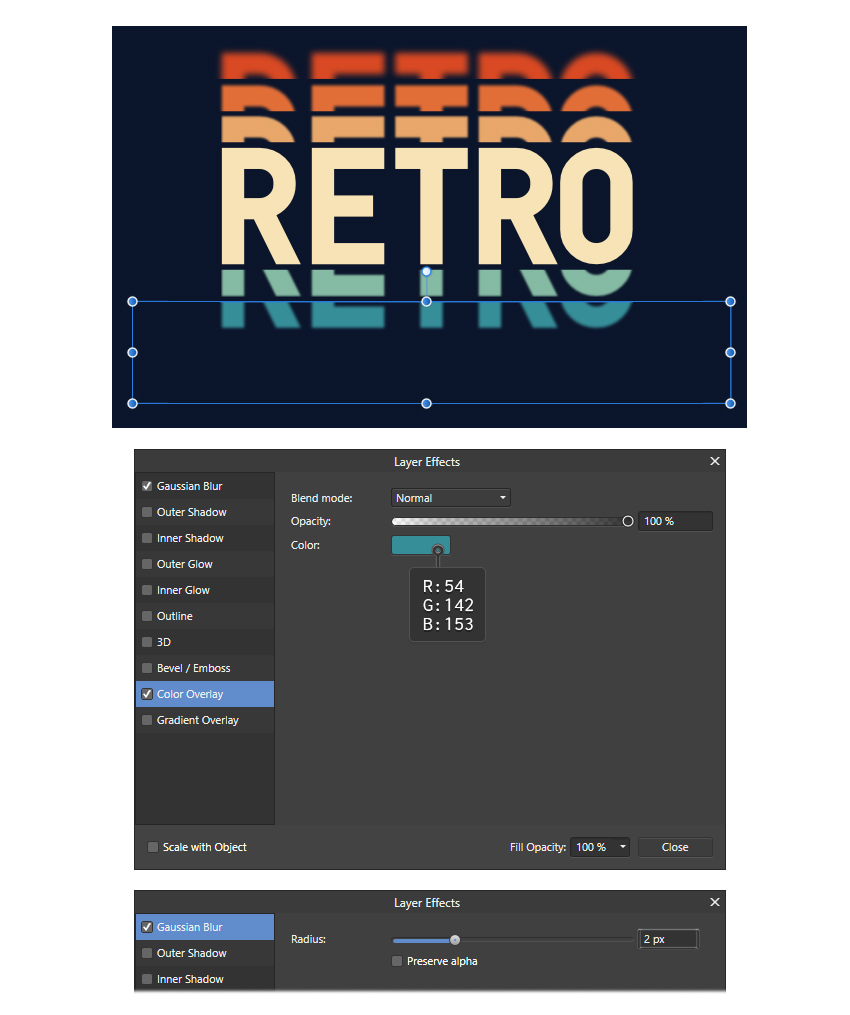
To recolor the second text layer, make sure to remove the synchronization first. This is very important. Open the Layer Effects window, change the Color Overlay to bright orange, and increase the Gaussian Blur Radius to 2 px. Remember to put the Sync back ON afterward.

Step 5
Duplicate the second text layer to create the third one. Move it into place, and you can now recolor it and increase the blur radius just like you did in the previous steps.
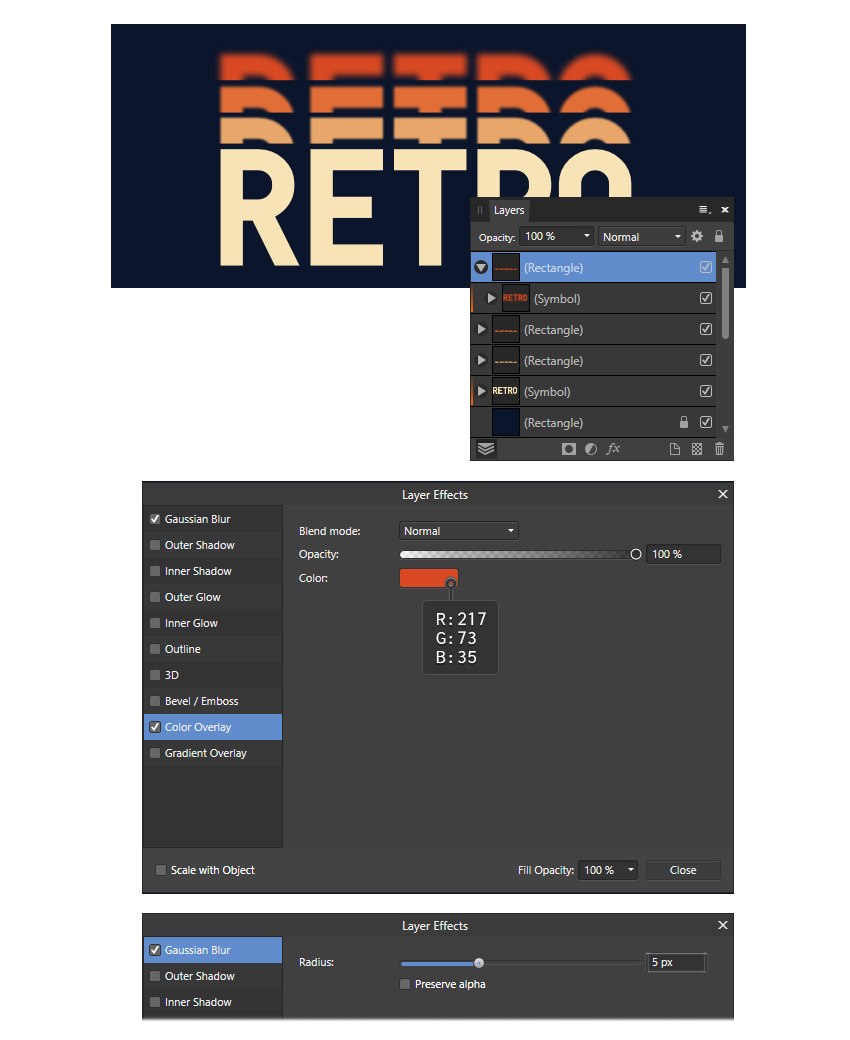

Step 6
The top three layers are done. You can make the bottom ones in a similar way.
Start by selecting the original beige text symbol and duplicating it. Move it downwards, and then draw a new rectangle over it with the Rectangle Tool (M). The rectangle should cover the part of the text that you want to stay visible. Drag the copy of the symbol into the rectangle to mask it.

Step 7
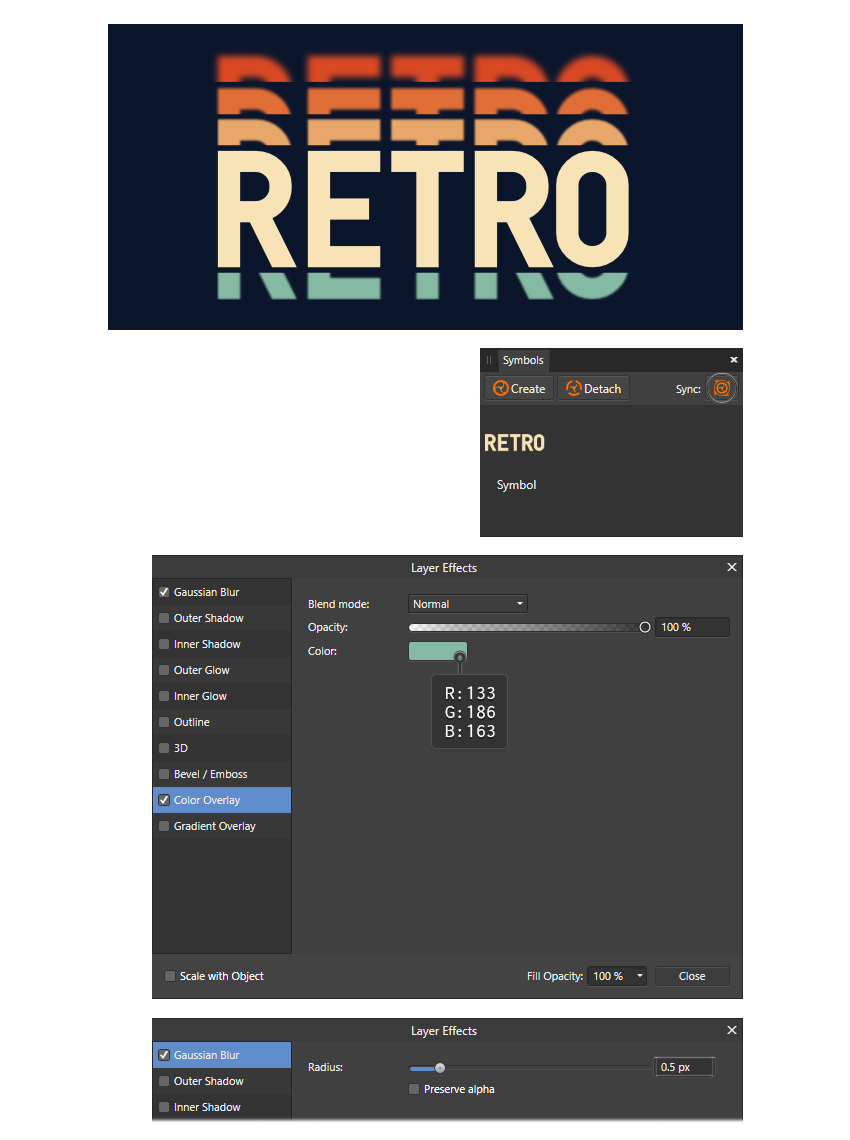
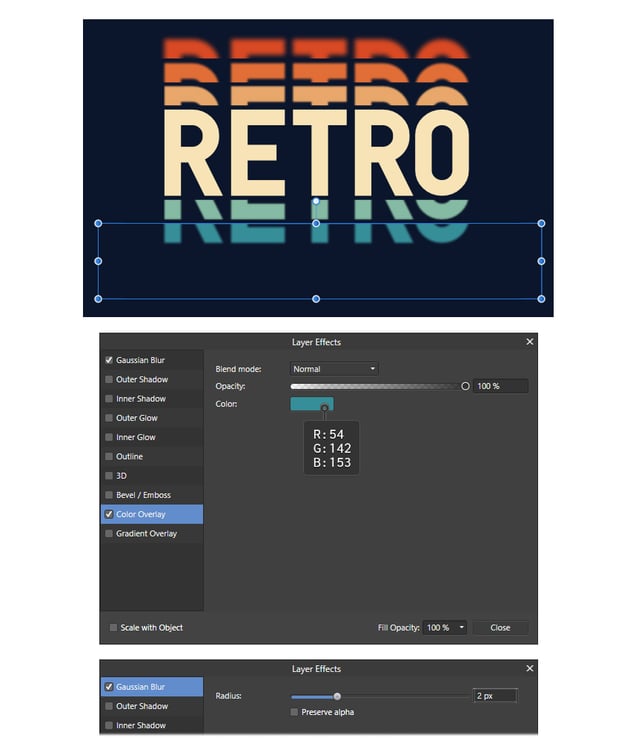
Follow the steps explained so far to recolor the first bottom layer. I used a green color. Also, apply a 0.5 px Gaussian Blur.

Step 8
Continue to make the next text layer, and change the color to teal. Also, increase the Gaussian Blur Radius to 2 px.

Step 9
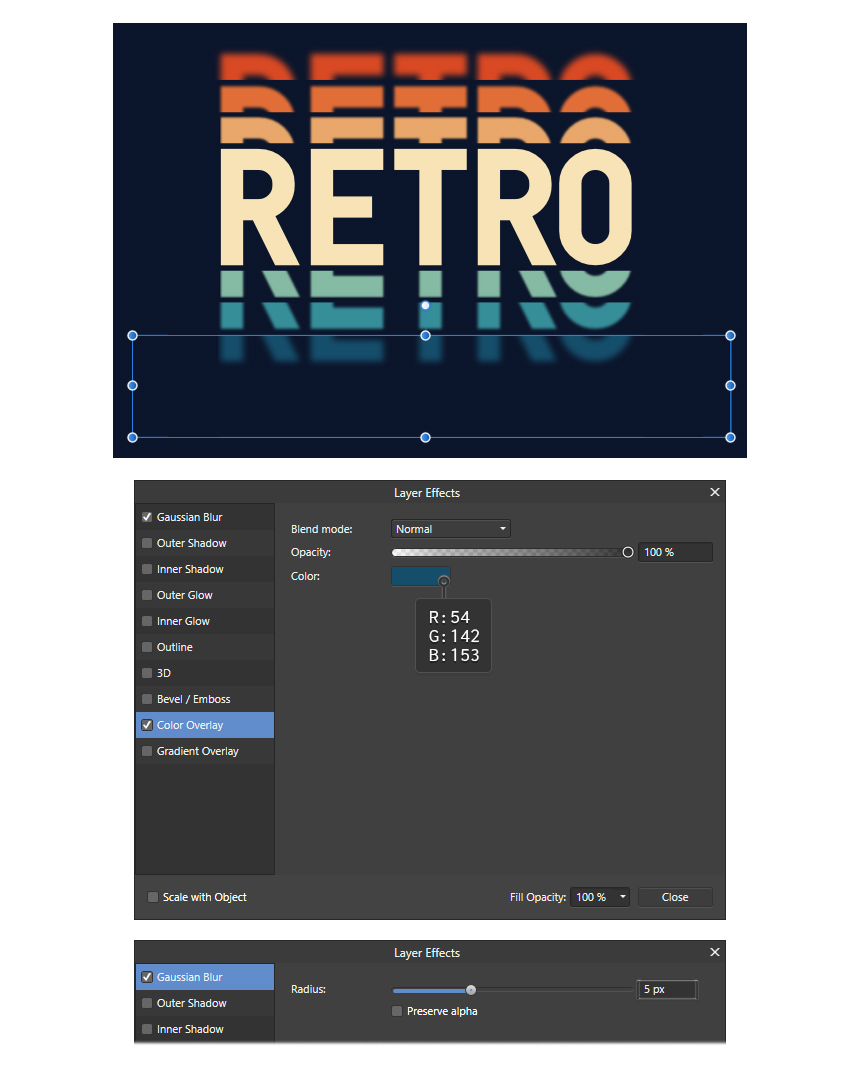
Make the third text layer and change the color to dark teal. Increase the Gaussian Blur Radius to 5 px.
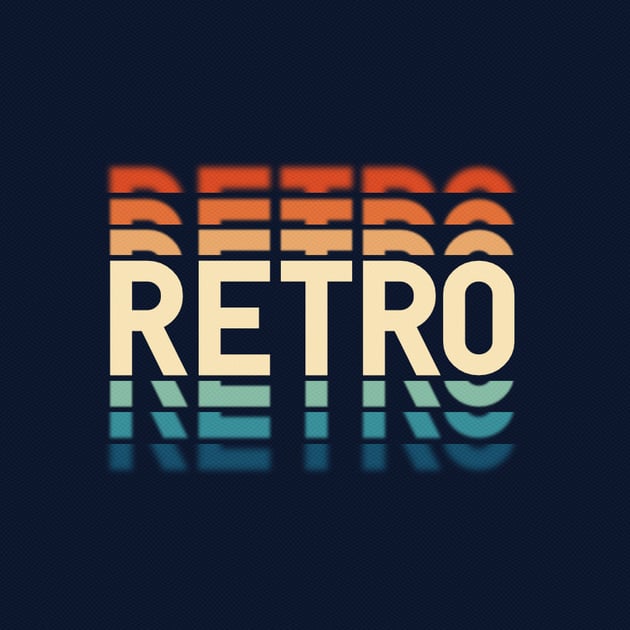
Feel free to add as many layers as you want. The layers of this text effect—and especially the color shades that you choose—will almost create the appearance of Affinity Designer blend shapes. The more layers, the more eye-catching!


4. How to Add Texture in Affinity Designer
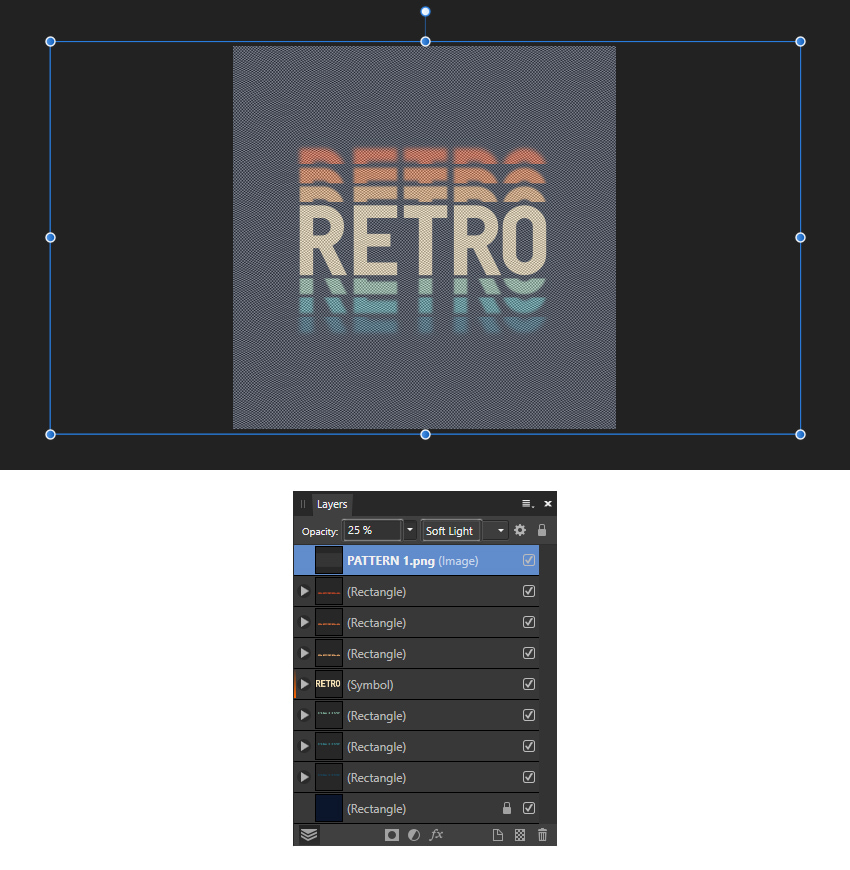
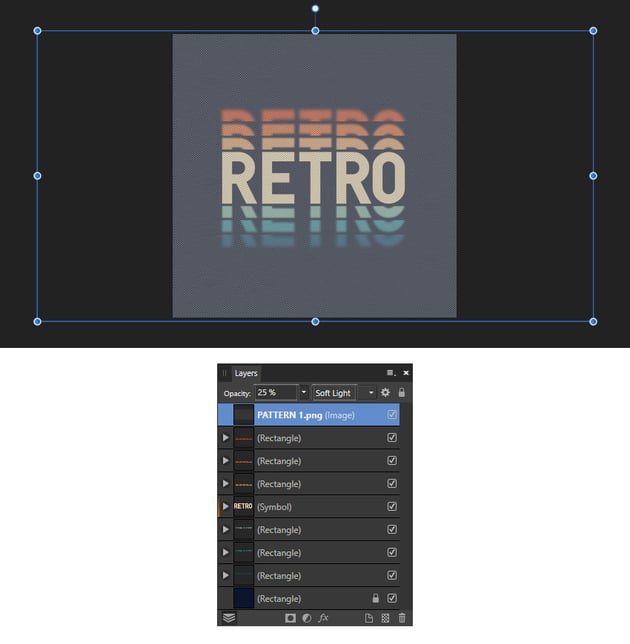
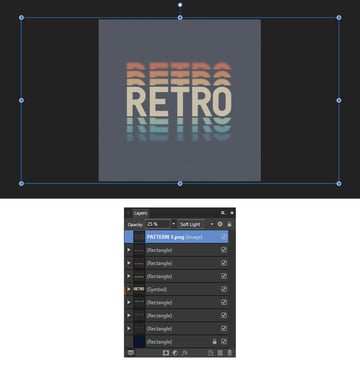
Go to File > Place and locate the texture image on your computer. I am using the Retro Grain And Pattern Texture, from which I decided to use the Pattern 1 PNG image located in the Pattern folder. Once it’s placed inside your document, scale it as much or as little as you want. Set the Blend mode to Soft Light and reduce the Opacity to 25%. Lock the texture on top so that you can still work with the text if needed.
Congratulations! You’re Done
Now you know how to add text in Affinity Designer and how to use symbols to create an editable text effect. Feel free to make it your own by changing the text, font, and color palette. Be creative!
Make sure to check out Envato Elements, where you’ll find plenty of Affinity Designer templates and resources that are ready for you to download and use.


Let’s check that we can edit our retro text. Simply type any other word using the Artistic Text Tool. Perfect!
The secret is to remember to remove the symbol synchronization every time you decide to apply layer effects or change certain settings, and then put it back on afterward. This way, you will still be able to edit the text effect after making your changes.


Popular Resources From Envato Elements
Envato Elements is an excellent resource for text effects. Let’s explore some ready-to-use alternatives that you can download right now and include in your projects.
Multiply Text Effect (PSD)
Take a look at these golden text layers that are bold and daring. This text effect is the perfect choice for titles, headlines, banners, and posters when you want to grab all the attention. Give it a try!


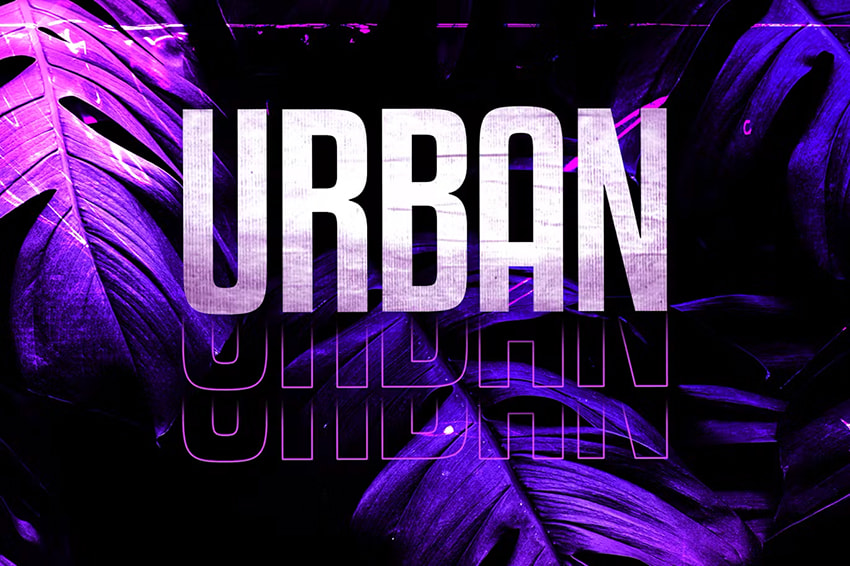
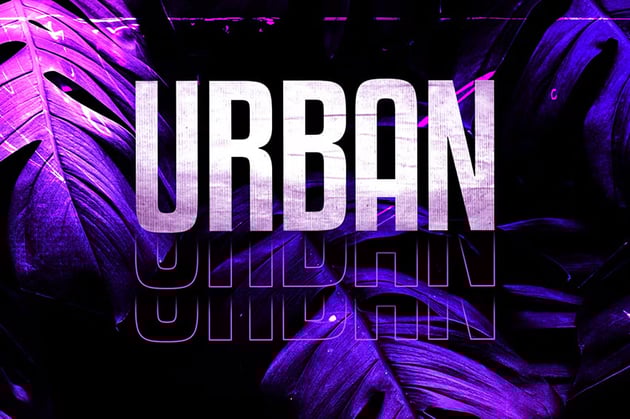
Urban Text Effect (PSD)
This text effect is another layered and textured option that you can use successfully. Edit the text and color to make it fit perfectly in your project. It will be ready in no time.

Want to Learn More About Affinity Designer?
We have loads of tutorials on Envato Tuts+ that teach many other useful techniques. Here’s a list of tutorials specially made for you. Take a look!