Learn how to create graffiti art from your photos in Adobe Photoshop, using filters and adjustments.
Follow along with us over on our Envato Tuts+ YouTube channel:
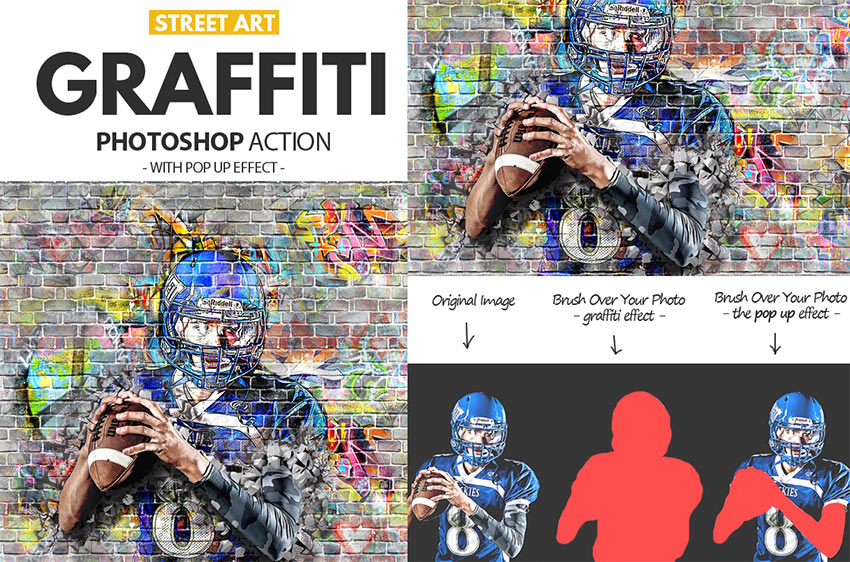
The graffiti effect is part of Graffiti Effect with Pop Up Photoshop Action from my portfolio on Envato Market.
Looking for a graffiti font to compliment your design? Check out our recommended graffiti fonts:
Tutorial Assets
The following assets were used during the production of this tutorial:
1. How to Create the Brick Wall Background
Create an 850 x 630 px New Document. You can, of course, use another size for your PSD file, but you have to proportionally adjust all the sizes used in this tutorial.
Add the Brick Wall on a New Layer. Resize the image if needed according to your canvas size.

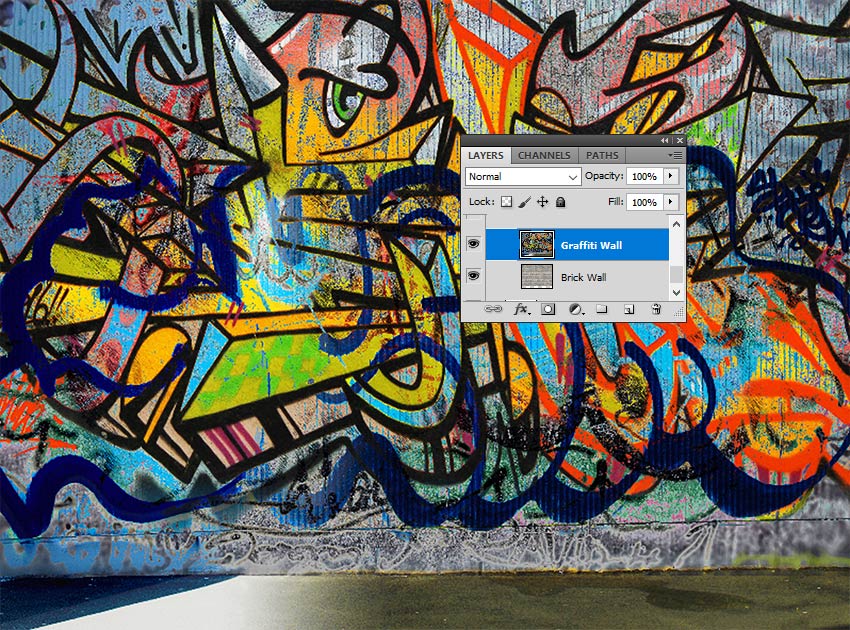
2. How to Add the Graffiti Art
Step 1
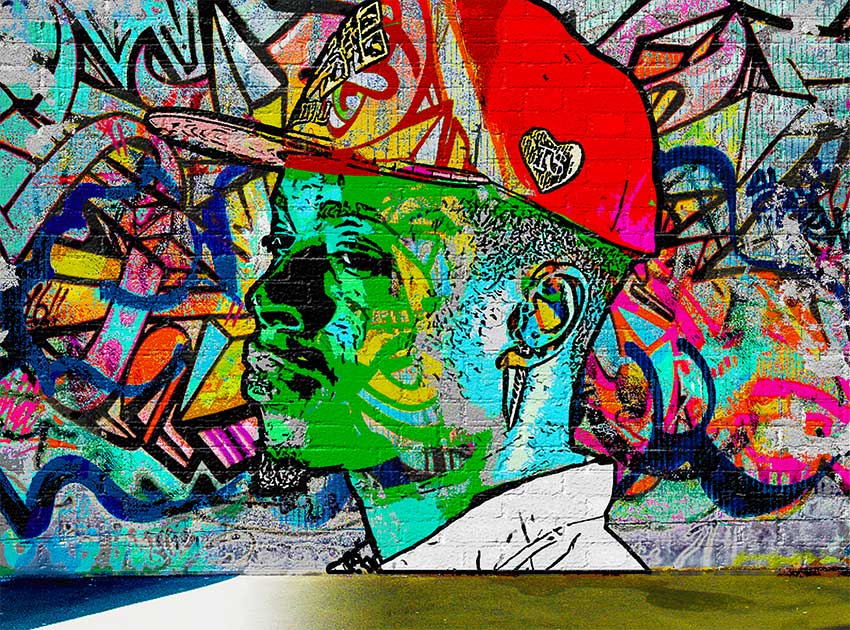
In a New Layer, add the Graffiti Wall texture. Resize the image if needed according to your canvas size.
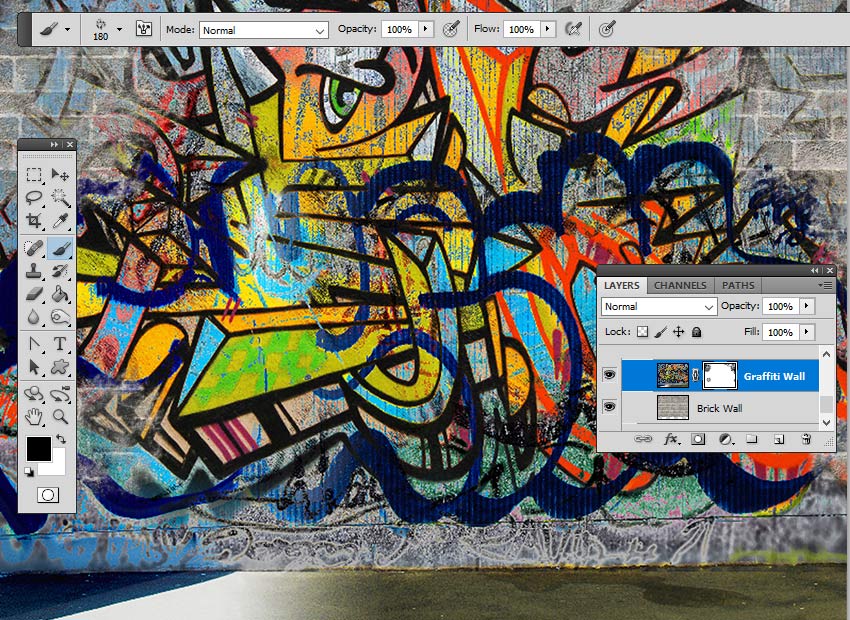
Step 2
Click the second icon at the bottom of the Layers panel to add a Layer Mask to the Graffiti Wall layer.

Set the Foreground Color to #000000 and pick the Brush Tool. Use the Grunge Brush to paint inside the mask to hide some of the graffiti effect and to reveal the brick wall.
3. How to Create the Graffiti Portrait Effect
Step 1
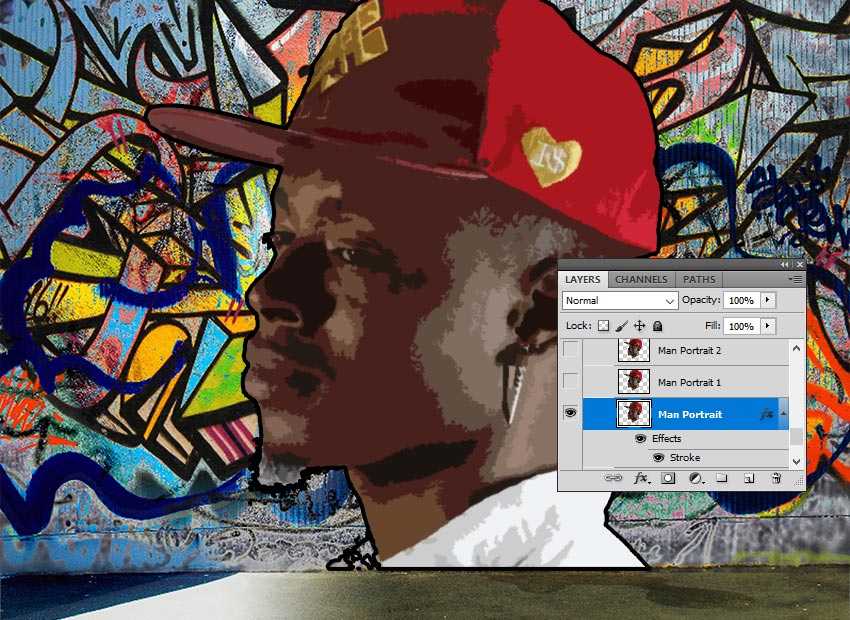
Add the Man Portrait on a New Layer. Use the Magic Wand Tool to select the background of this image. Set the Tolerance to 10 and check Contiguous. Keep the Shift key pressed to make multiple selections. Press Delete to remove the selected background.

Press Control-D to deselect.
Step 2
Press Control-J to Duplicate the Man Portrait layer twice, and call the new layers Man Portrait 1 and Man Portrait 2. Hide the two newly created layers. Clicking the eye icon next to any layer on the Layers panel will hide/show the layer.

Step 3
Return to the Man Portrait layer and add a Stroke layer style of 4 px, Position center, Color #000000.

Step 4
Go to Filter > Artistic > Cutout and choose the Number of Levels 8, Edge Simplicity 0 and Edge Fidelity 3.

Step 5
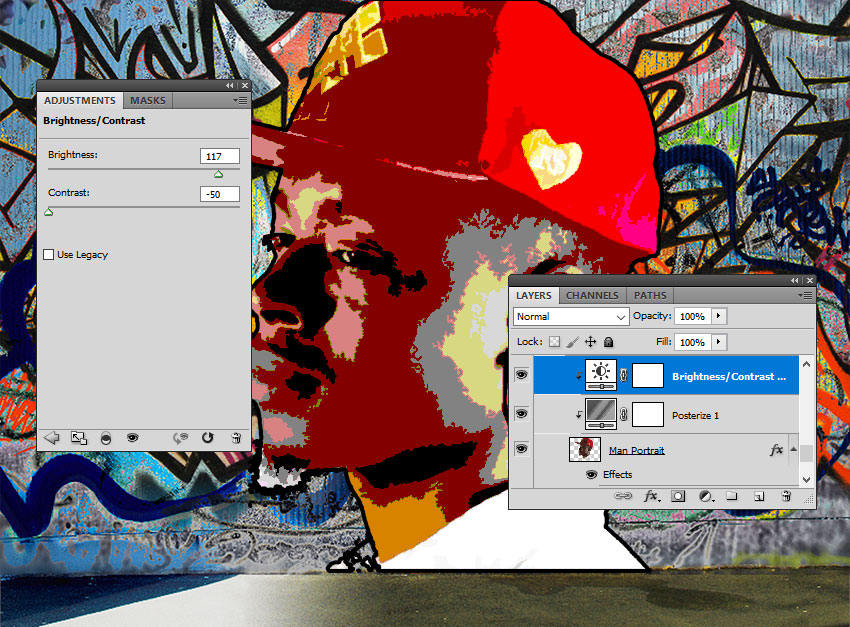
Go to Layer > New Adjustment Layer > Posterize and set the Levels to 5. Click on the third button from the left to add this adjustment as a Clipping Mask for the layer below.
Step 6
Go to Layer > New Adjustment Layer > Brightness/Contrast and set the Brightness to 117 and the Contrast to -50. Click on the third button from the left to add this adjustment as a Clipping Mask for the layer below.

Step 7
Go to Layer > New Adjustment Layer > Hue/Saturation and set the Hue to 129 and the Saturation to 100. Click on the third button from the left to add this adjustment as a Clipping Mask for the layer below.

Pick the Brush Tool and use the Grunge Brush to paint inside the Hue/Saturation Mask using the color #000000 to reveal the original color below.

Step 8
Create a New Layer. Copy and paste the Graffiti Wall image in this layer. Right-click on the layer and choose Create Clipping Mask.
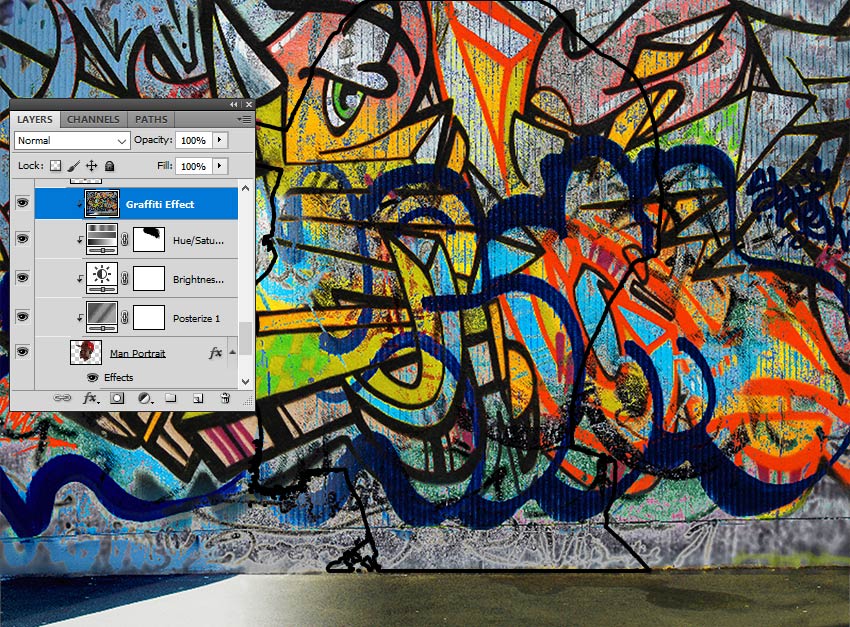
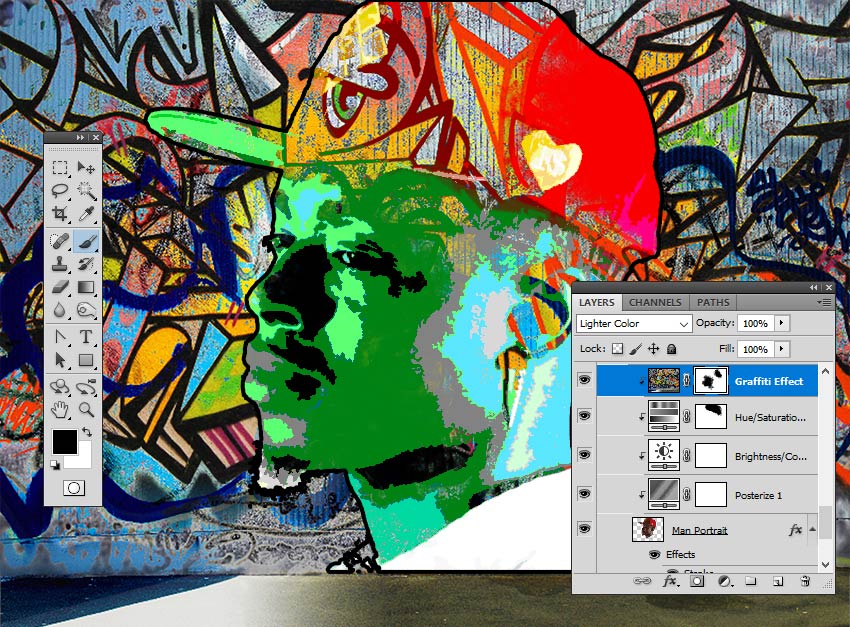
Change the Blend Mode of the Graffiti Effect layer to Lighter Color.

Click the second icon at the bottom of the Layers panel to add a Layer Mask to the Graffiti Effect layer. Pick the Brush Tool and use the Grunge Brush to paint inside the Layer Mask using color #000000 to hide some details.
Step 9
Click the eye icon next to the Man Portrait 1 layer to show the layer. Set the Foreground Color to #000000 and the Background Color to #ffffff.

Step 10
Go to Filter > Sketch > Photocopy and set the Detail to 3 and the Darkness to 50.

Step 11
Go to Filter > Artistic > Cutout and set the Number of Levels to 3, Edge Simplicity to 3 and Edge Fidelity to 3.

Step 12
Go to Image > Adjustments > Levels and set the Input Levels.

Step 13
Set the Blend Mode of the Man Portrait 1 to Multiply.
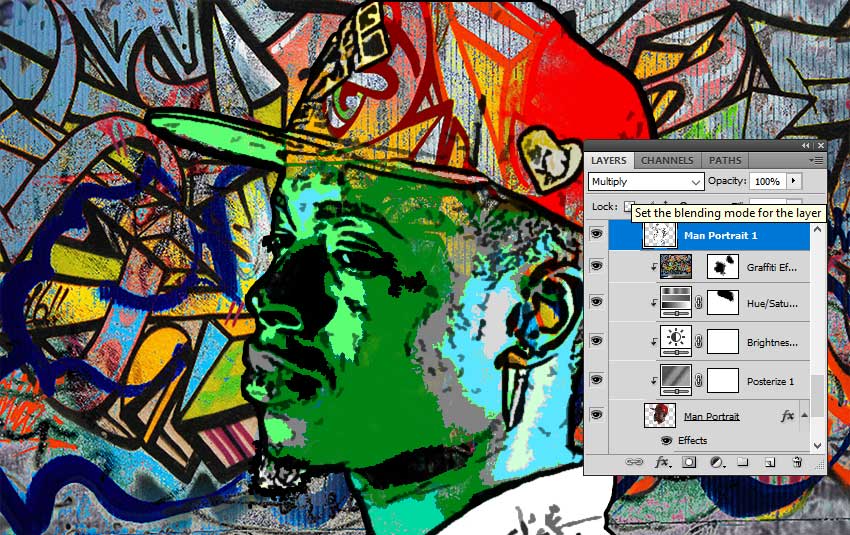
If you want, you can repeat the same process but with different settings for the Man Portrait 2 layer, but this step is optional.
4. How to Create the Brick Effect
Step 1
Press Shift-Control-N to create a New Layer above all the other layers.
Press Shift-Control-Alt-E to Merge all the visible layers. Call this layer Brick Effect.

Step 2
Add a Layer Mask to the Brick Effect layer.

Step 3
Go to Image > Trim and trim the canvas based on transparent pixels.

Step 4
Go to the Brick Wall layer and make a selection using the Rectangular Marquee Tool. Press Control-C to make a Copy of the selection.

Step 5
Go back to the Brick Effect layer and on the Channels tab click on the eye icon next to the Brick Effect Mask to make it visible. Press Control-V to Paste the selection in this mask.

Step 6
Return to the Layers tab and press Control-D to Deselect. Also click on the Brick Effect Layer Thumbnail.

Step 7
Open the Layer Style Window of the Brick Effect layer and add a Bevel and Emboss.

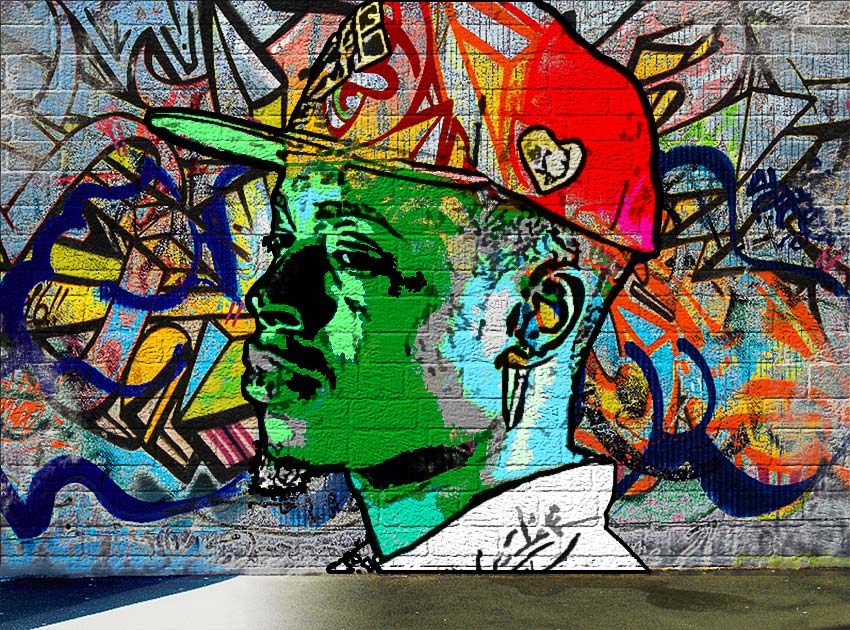
Congratulations! You’re Done!
In this tutorial, you’ve learned how to create a graffiti effect in Photoshop from scratch using brushes and textures. I hope you’ve enjoyed this tutorial.
For faster results, feel free to download this action Graffiti Effect with Pop Up Photoshop Action from my portfolio on Envato Market.
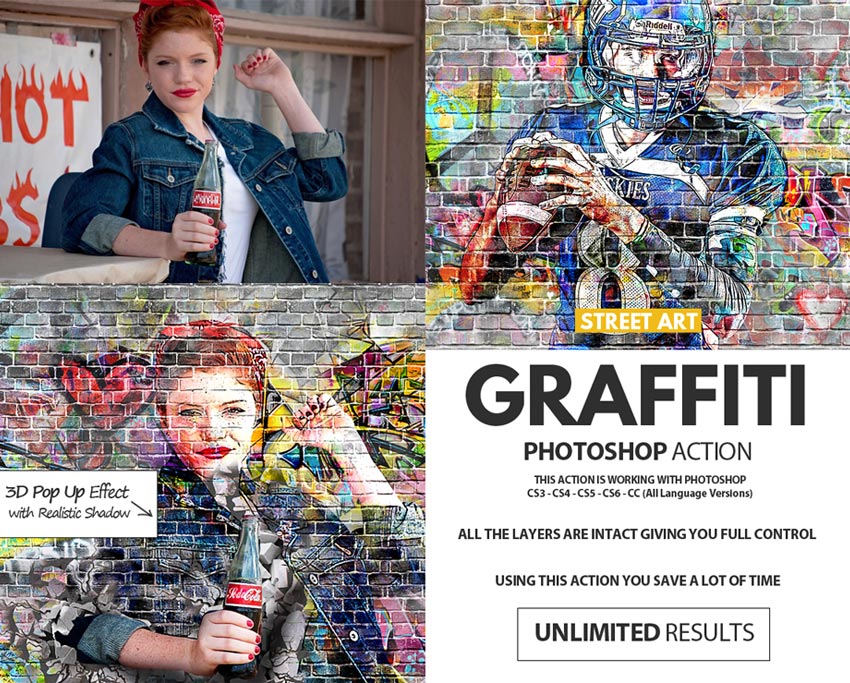
And check out the final result below!
Want to learn more? Check out the following articles: