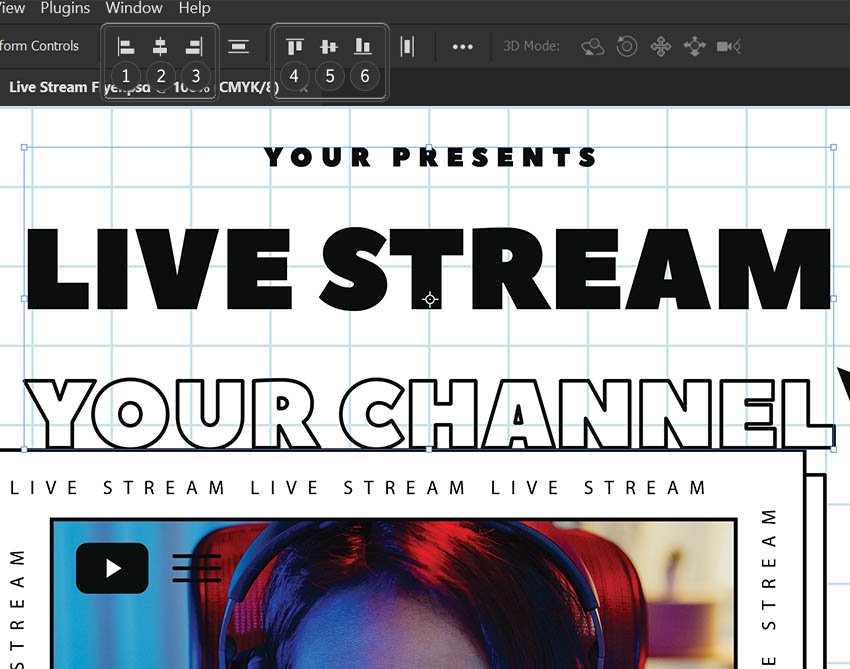
Today, we’ll be looking at how to use the auto align tools in Photoshop, as well as guides and snapping! Photoshops auto align tools are simple but powerful, and they’ll keep you from sending out a design with the always annoying uncentred text or misaligned words.
If you’re looking to speed up your workflow, try one of the hundreds of professional plugins, actions, and addons that Envato Elements has to offer! And if you’d like to learn more useful tips, here’s a video from the Envato Tuts+ YouTube channel with 10 Essential Design Tips for Photoshop:
What You’ll Learn in This Photoshop Auto Align Tutorial
- How to auto align in Photoshop
- How to use guides in Photoshop
- What is snapping in Photoshop
- How to turn snapping off in Photoshop
- How to align layers in Photoshop
What You’ll Need
To complete this project, you will need the following resources:
Find more resources on Envato Elements!
1. How to Auto Align in Photoshop
Step 1
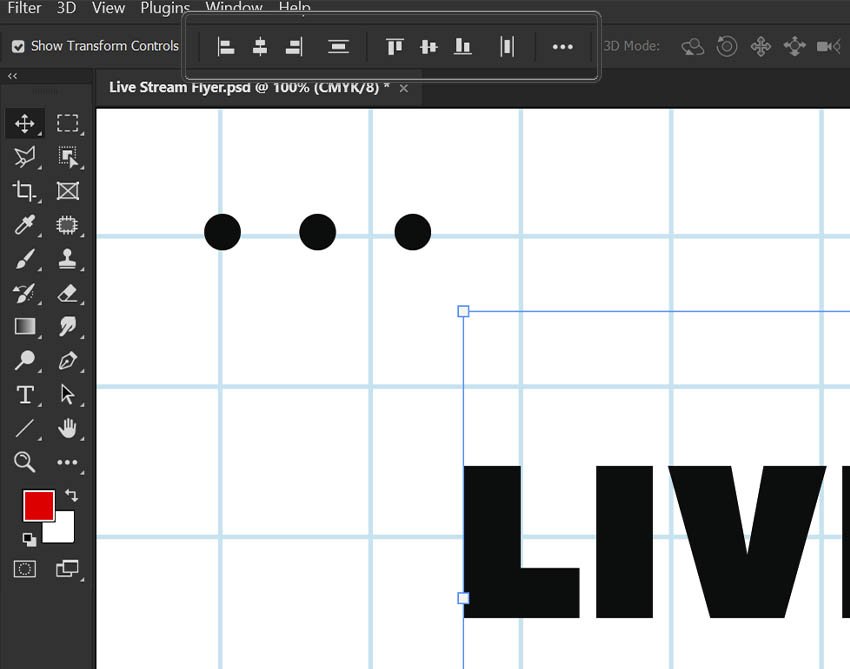
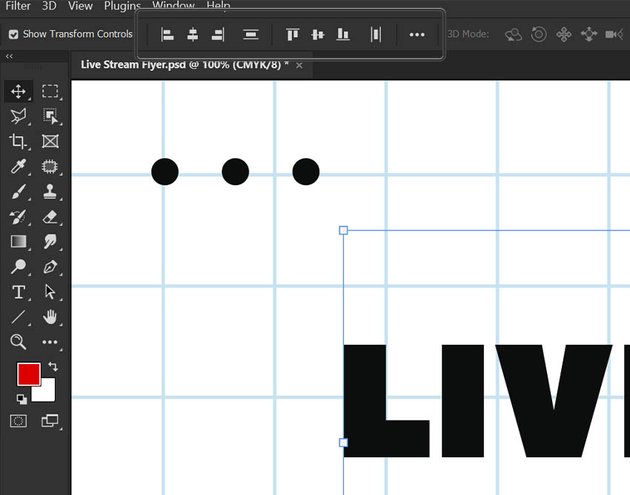
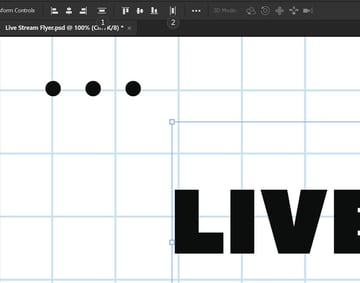
Using the Move tool, select the layers you want to align. You can hold Shift and click to select multiple layers all at once.


Step 2
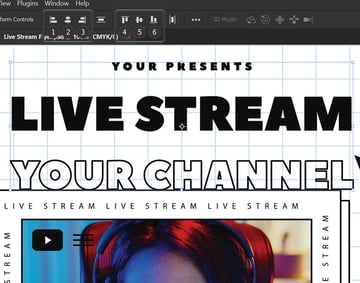
With the Move tool active, look towards the upper Options bar. You will see two types of alignment options. One group Aligns, while the other Distributes.
Step 3
First, let’s align. We have a total of six choices:
- Left Edges: Aligns the left pixel on the selected layers to the left pixel on the leftmost layer.
- Horizontal Center: Aligns the horizontal center pixel on the selected layers to the horizontal center pixel of all the selected layers.
- Right Edges: Aligns the right pixel on the linked layers to the rightmost pixel on all selected layers.
- Top Edges: Aligns the top pixel of the selected layers to the topmost pixel of all selected layers.
- Vertical Center: Aligns the vertical center pixel on each layer to the selected layers’ vertical center.
- Bottom Edges: Aligns the bottom pixel of the selected layers to the bottommost pixel.
In this case, I want all of the text to be center aligned, so let’s choose the second option, Align Horizontal Center.

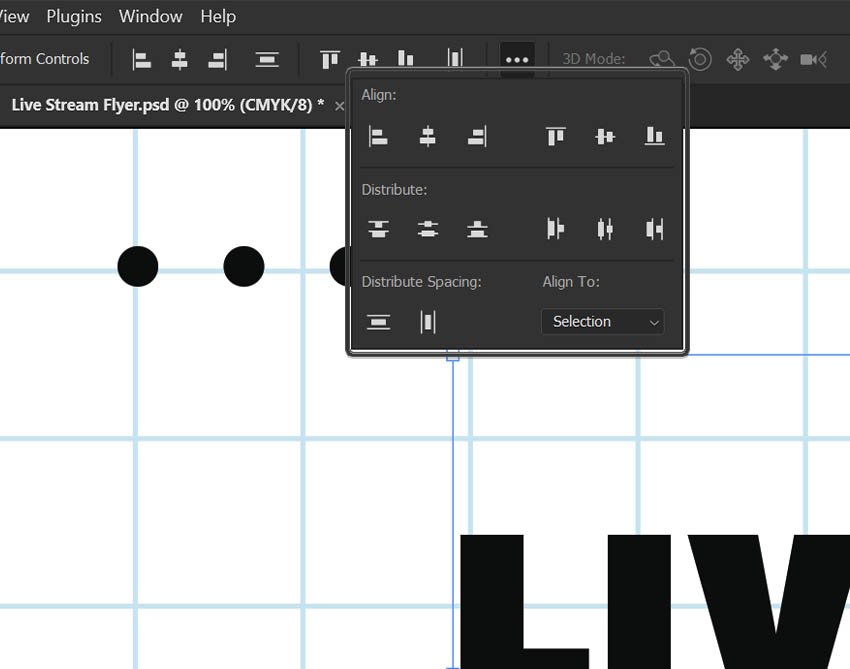
Step 4
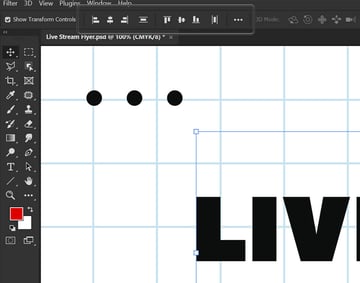
That is how to auto align layers in Photoshop, but we still want to distribute the text evenly. To Distribute layers, select three or more layers. If less than three layers are selected, the Distribution tools will be grayed out.
With the Move tool active, look at the upper Options bar.
Here, we have two Distribute Spacing options:
- Horizontally: Distributes horizontal spacing between the layers evenly.
- Vertically: Distributes vertical spacing between the layers evenly.
We want to choose to Distribute Vertically, so that there is equal spacing between each line of text.
Step 5
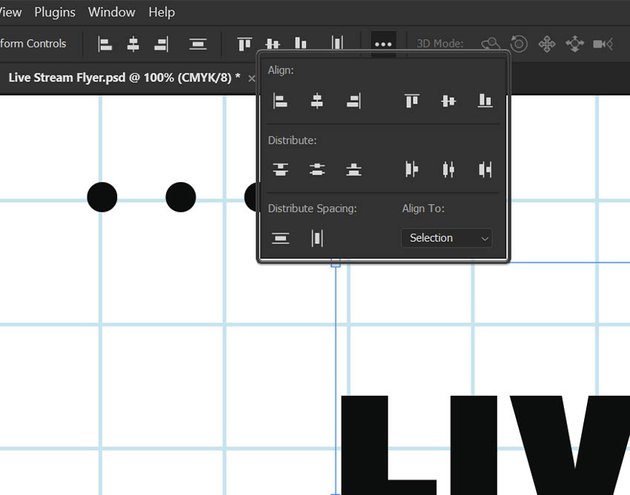
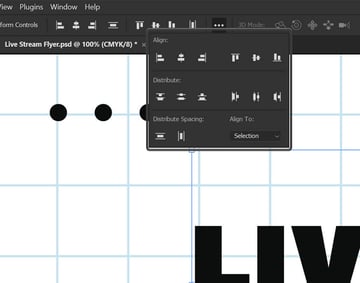
You can select the Ellipses icon to see all six Distribute options, as well as a list of all other Align options:
- Top Edges: Spaces the layers evenly, starting from the top of each layer.
- Vertical Center: Spaces the layers starting from the vertical center pixel of each layer.
- Bottom Edges: Spaces the layers starting from the bottom pixel of each layer.
- Left Edges: Spaces the layers starting from the left pixel of each layer.
- Horizontal Center: Spaces the layers starting from the horizontal center of each layer.
- Right Edges: Spaces the layers starting from the right pixel on each layer.
2. How to Use Guides in Photoshop
Step 1
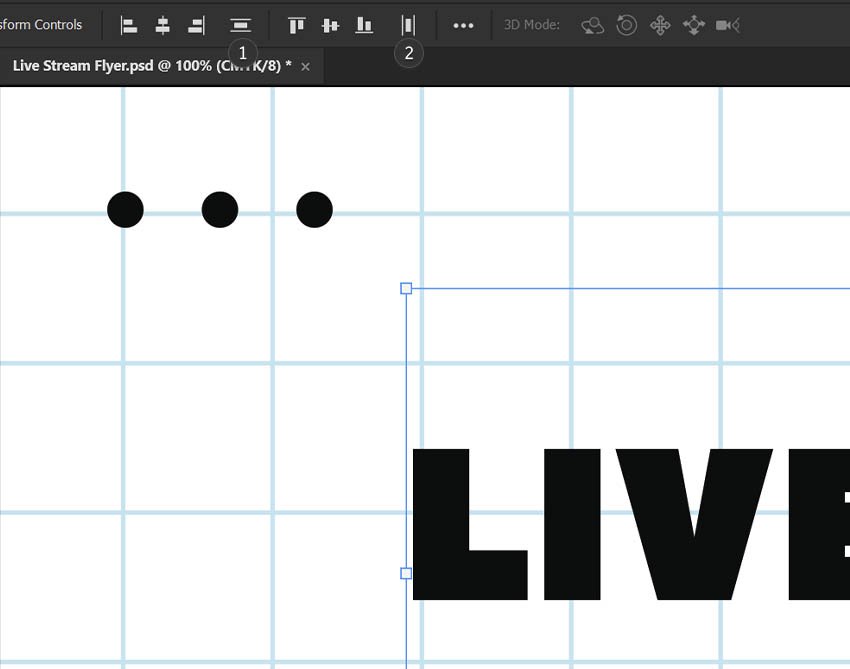
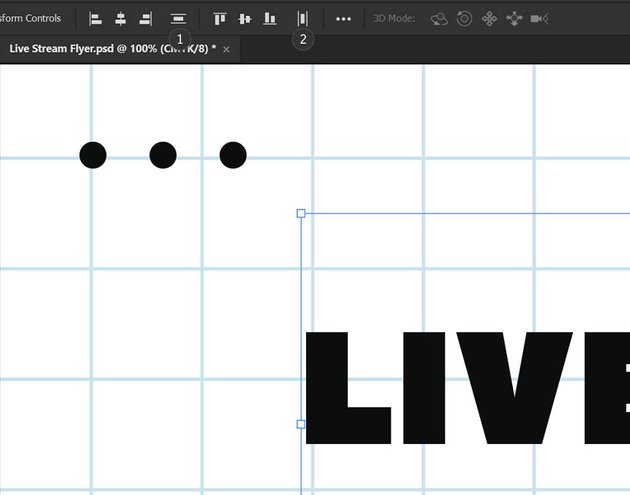
Guides are a great way to help you position all your design elements precisely.
First, make sure Guides are turned on by going to View > Show > Guides or View > Extras.


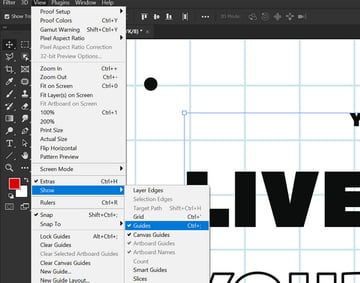
Step 2
We need to turn on our Rulers using View > Rulers to place a Guide.
Step 3
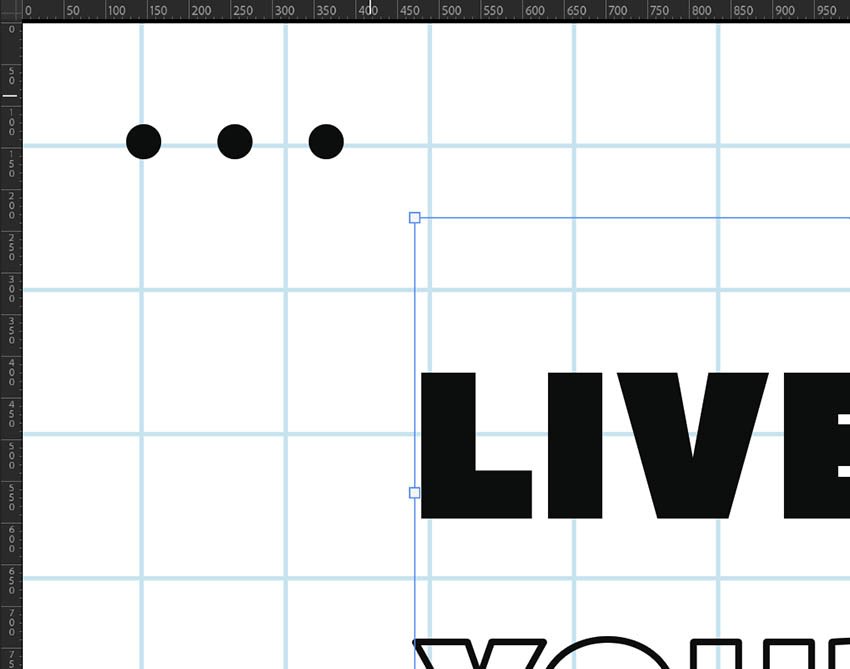
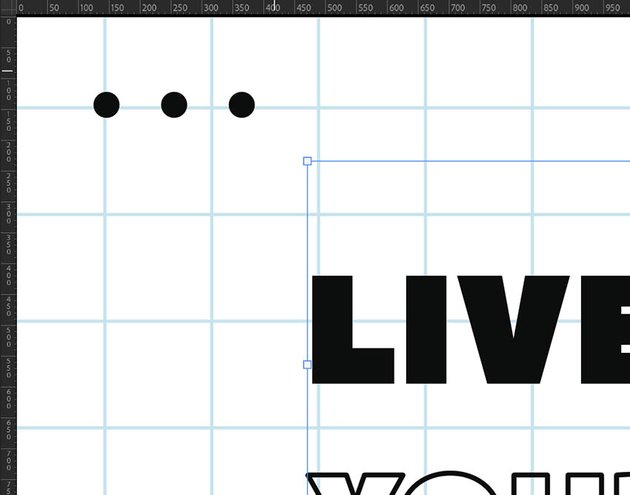
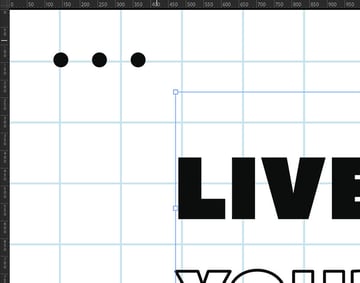
Now, drag from the horizontal Ruler to create a Horizontal Guide and drag from the vertical Ruler to create a Vertical Guide.
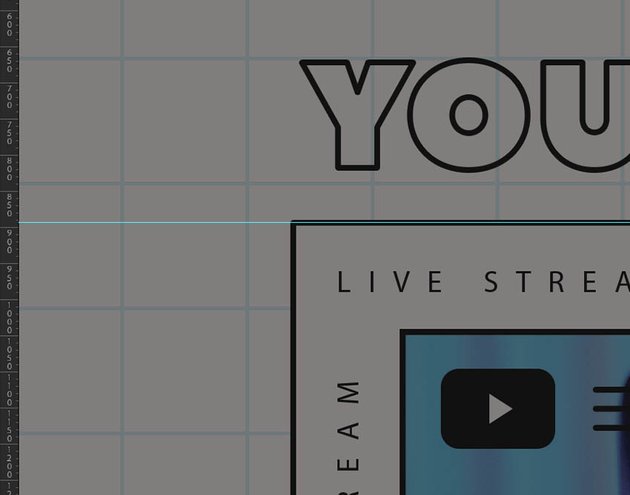
You can hold Alt to switch to the opposite of whatever guide is currently selected. I darkened the design so you can better see the guides.


Step 4
To move your Guides, simply click and drag. Hold down Shift and drag from the Ruler to create a Guide that snaps to the ruler’s ticks. Use guides to align design elements and keep consistent spacing.


Step 5
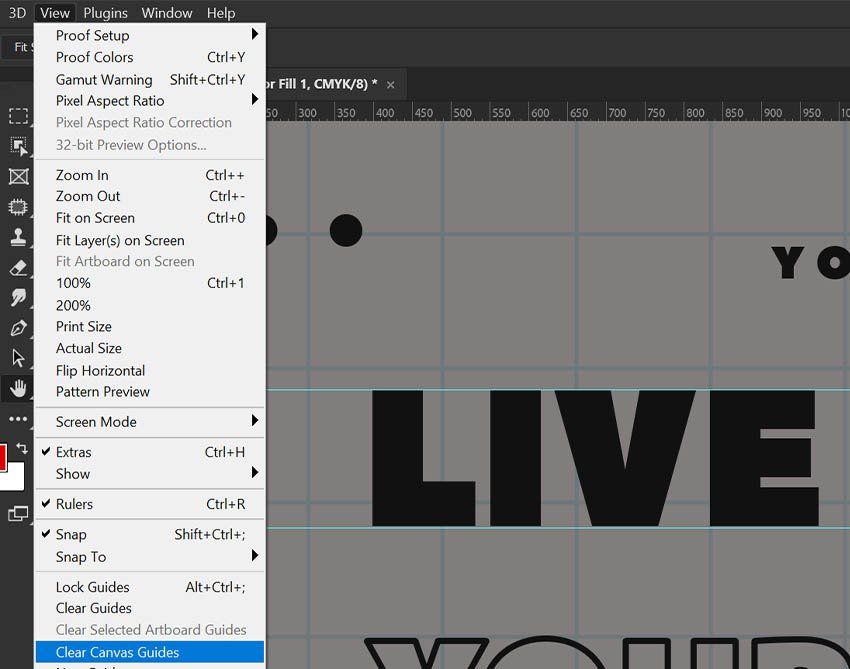
To remove a guide, drag the guide outside the Canvas. Or, to delete all Guides, choose View > Clear Canvas Guides.


3. What Is Snapping in Photoshop?
Step 1
While moving around layers, you may have noticed them pulling or aligning themselves with existing layers and guides; this is called Snapping.
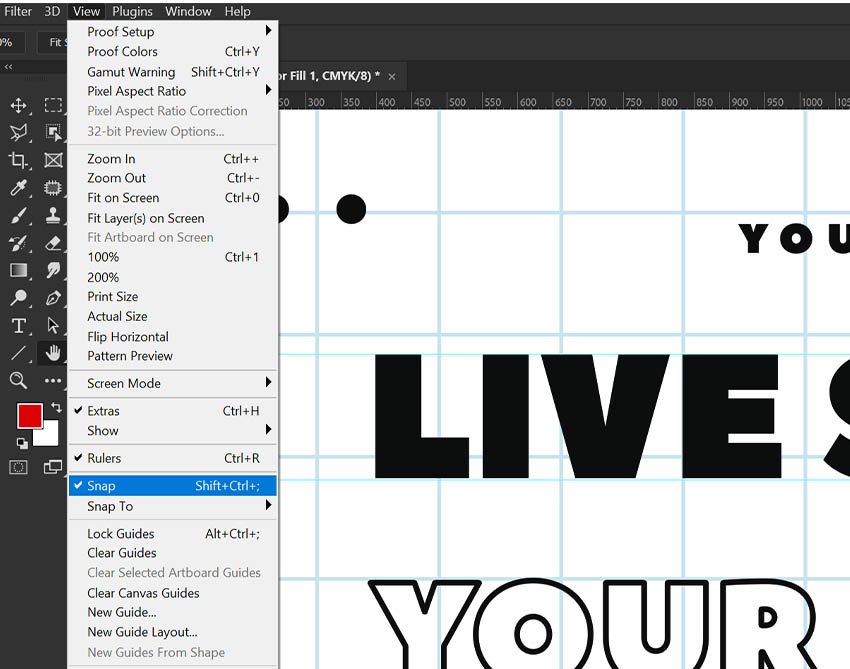
To see if Snapping is on, go to View > Snap. A checkmark shows that snapping is active.
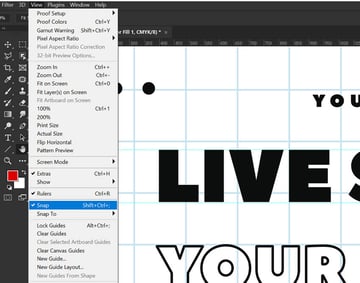
Step 2
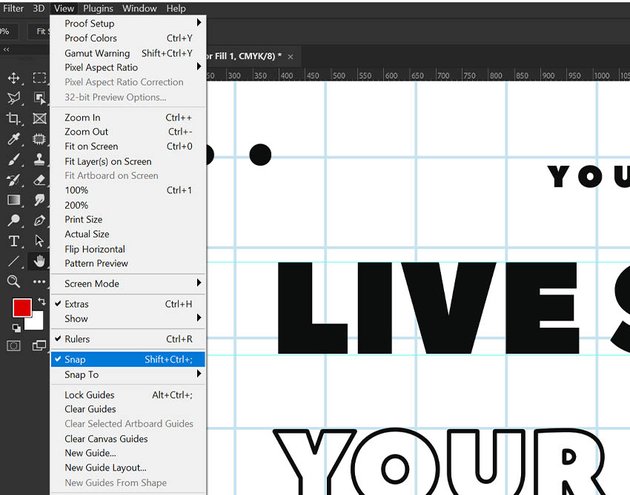
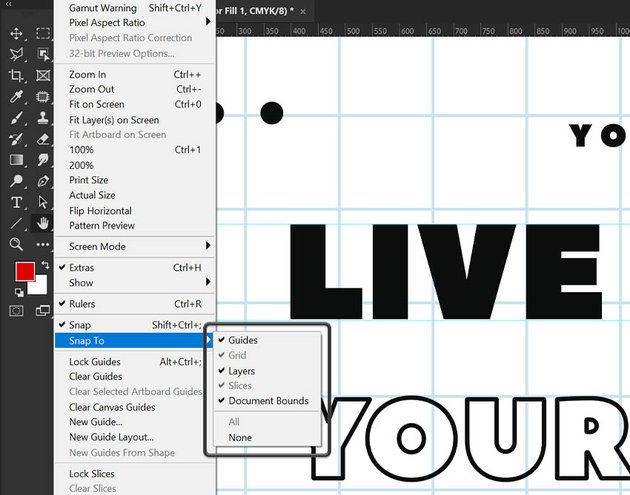
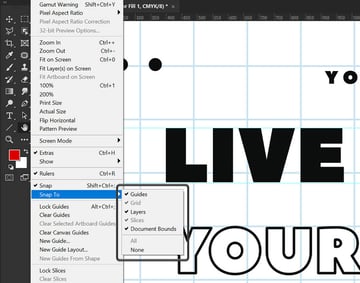
Snapping is automatic, but you can specify what your will and won’t snap. Go to View > Snap To, and choose one or more options.
What you choose will depend on the work you do. If you’re working on a flyer with lots of typography, you might want everything to stay on. However, if you are editing a photo, you may only want layers to snap to Guides.

You’re Done!
And that is how to auto align layers in Photoshop! Making sure everything is properly aligned in a design is key. And more often than not, our own eyes won’t catch when something is off-aligned by a few pixels, but luckily the Photoshop auto align tools will!


Want Premium Plugins, Actions, and Resources?
Now, if you’re looking to supercharge your workflow and make the Photoshop auto align tools even better, try out one of the hundreds of plugins, actions, and add-ons over on Envato Elements!
ReOrder: Layer Panel Sorting Kit (ZXP)


We just covered how to auto align in Photoshop, but why not keep your layers just as organized? ReOrder is full of one-button solutions for sorting, organizing, and cleaning up your layer stack.
The Ultimate 1001 Text Effects (PSD)


Typography and layer aliment goes hand in hand. So this pack of over 1,000 text effects is the perfect companion to your new alignment tools!
Easy Cut: Layer Splitting Kit (ZXP)
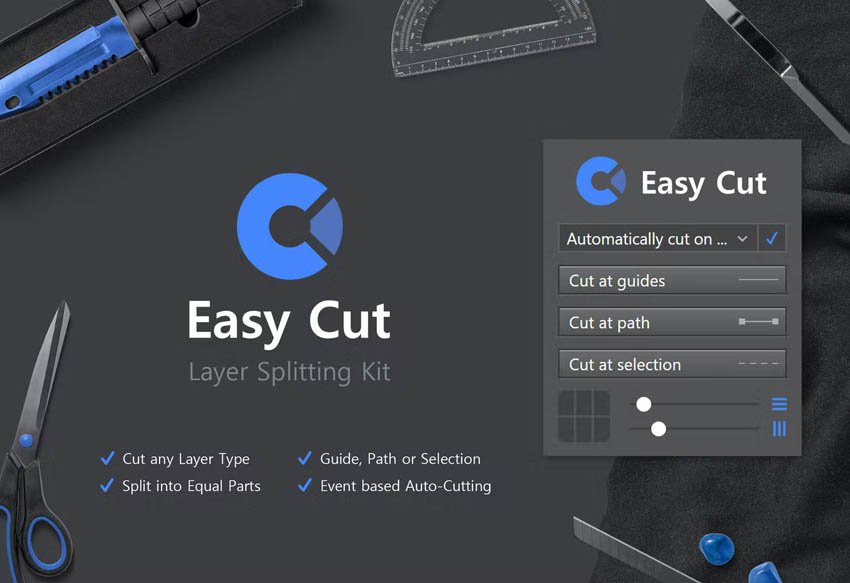


Guides are great for keeping your edges clean and consistent, so why not supercharge them using the Easy Cut add-on for Photoshop? Easy Cut lets you turn guides and paths into instant cutting tools. It’s great for making clean lines and shapes!
Image Extend: Clipping & Expansion Kit (ZXP)

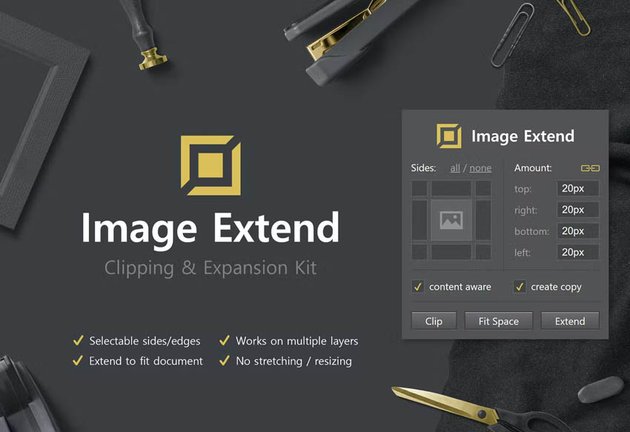

Creating a design and forgot to add extra space for bleed or cutting errors? Not a problem if you have this image extending add-on for Photoshop! Just add your amount and instantly extend the edges of your images.
Geometrical Collage Generator Photoshop Plugin (ABR, ATN, PAT, ZXP)
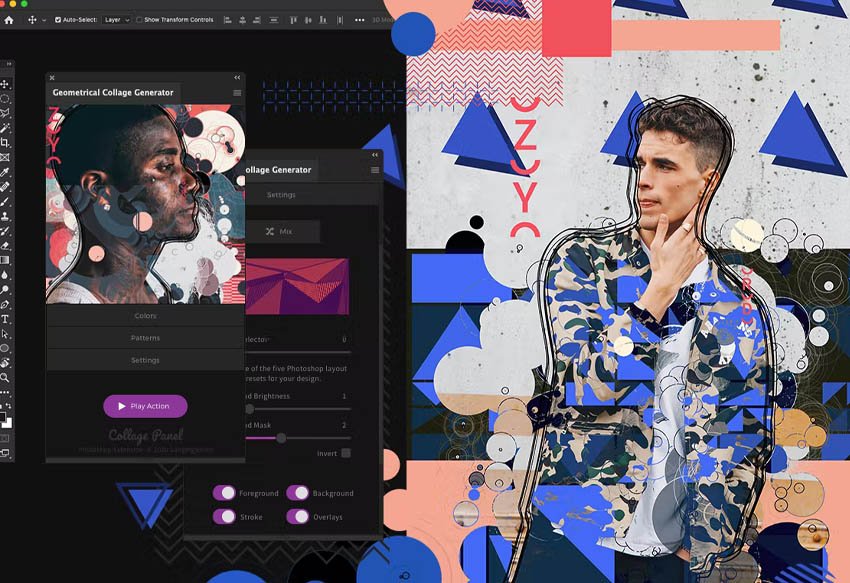


Now that you know how to align layers in Photoshop, create instant posters using the Geometrical Collage Generator plugin! Great for posters, flyers, or promotional material, this plugin does almost all the work for you. Just add text, and you’re done!