In this tutorial, you’ll learn how to create a simple and stylish magazine spread using Affinity Publisher, the great-value and easy-to-use alternative to Adobe InDesign. Affinity Publisher templates are great foundations for creating your own unique magazine designs—here you’ll learn how to create an editable magazine spread for an online magazine, as well as how to make a booklet in Publisher with facing pages.

What You’ll Learn in This Affinity Publisher Magazine Layout Tutorial
In this Affinity Publisher tutorial, you’ll pick up some versatile design skills for creating magazines for online and print, as well as get to know your way around the Affinity Publisher workspace. Specifically, you’ll learn:
- How to make a booklet in Affinity Publisher, with a facing page spread that can be adapted as an eMagazine.
- How to create running headers and page numbers for your eMagazine.
- How to format typography and images to a high standard in Affinity Publisher.
- How to export your finished magazine spread as a PDF file, ready for sharing online or uploading to online publishing sites like Readly.
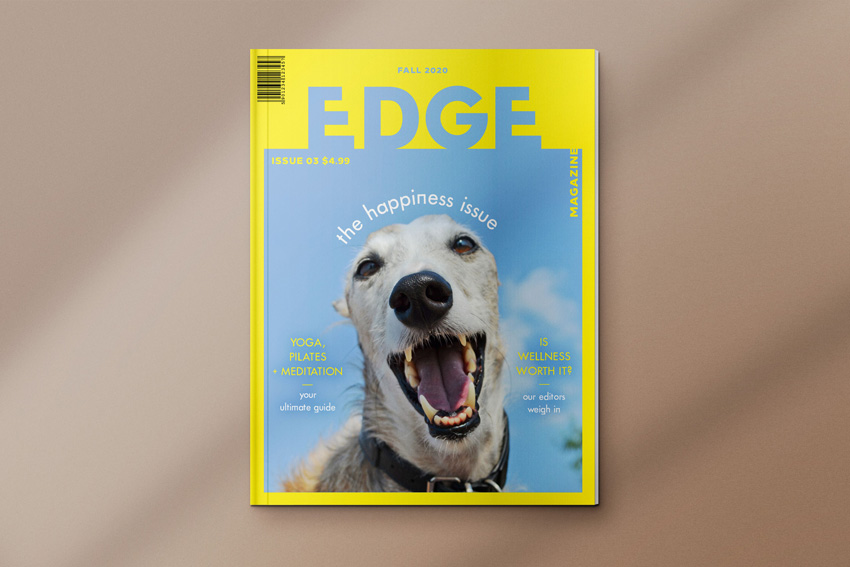
Included with this tutorial is a free download of the magazine cover and inside spread for both Affinity Publisher and Adobe InDesign, allowing you to get started quickly with creating your own stylish eMagazine. Head over onto the Affinity Spotlight website to learn how to create a magazine cover in Affinity Publisher.
Need an even quicker solution for creating your own magazine designs? You can find a wide range of easy-to-edit magazine templates and Affinity Publisher templates on Envato Elements.
-

How to Create Your Own Magazines: A Step-by-Step Guide
-
How to Make a Magazine: From a Creative InDesign Template
What You’ll Need to Create Your Magazine Layout
You’ll need access to Affinity Publisher, which can be downloaded from the Serif website. You’ll also need to download the following fonts and photo from Envato Elements to create the design of the spread pictured:
Install the fonts on your computer, and you’re ready to get started!
Follow along with us over on our Envato Tuts+ YouTube channel:
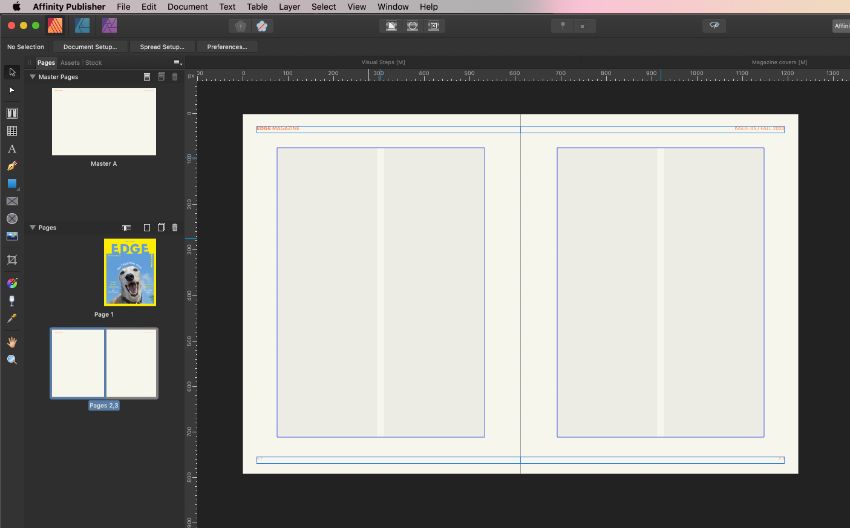
1. How to Set Up a Magazine Document in Affinity Publisher
Step 1
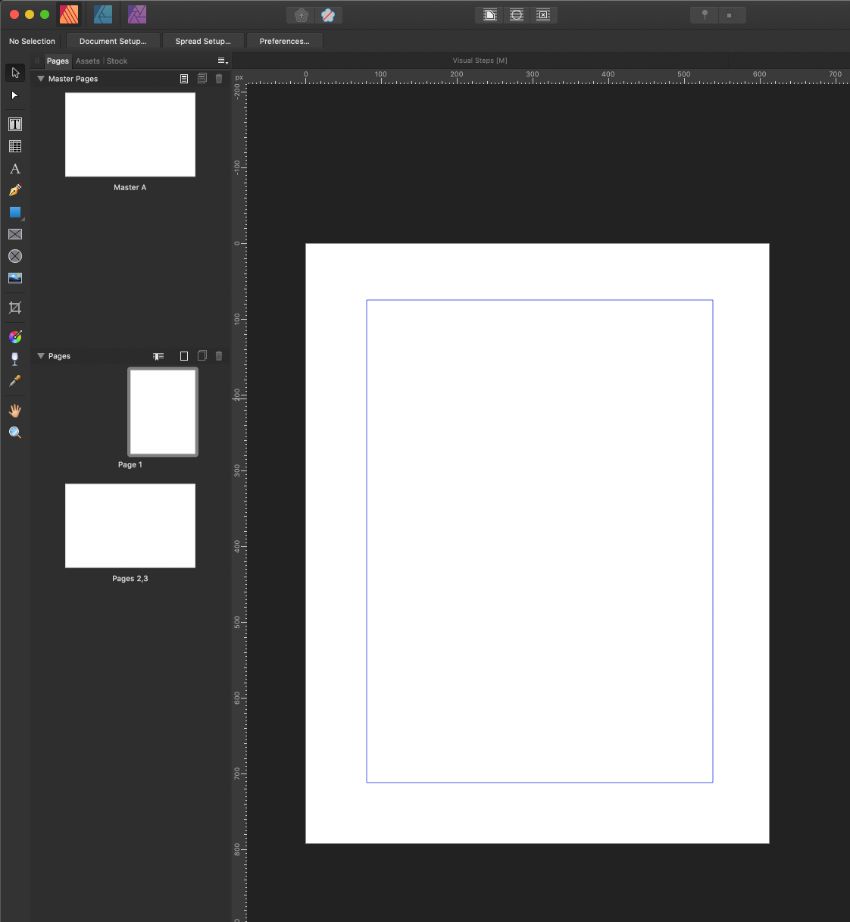
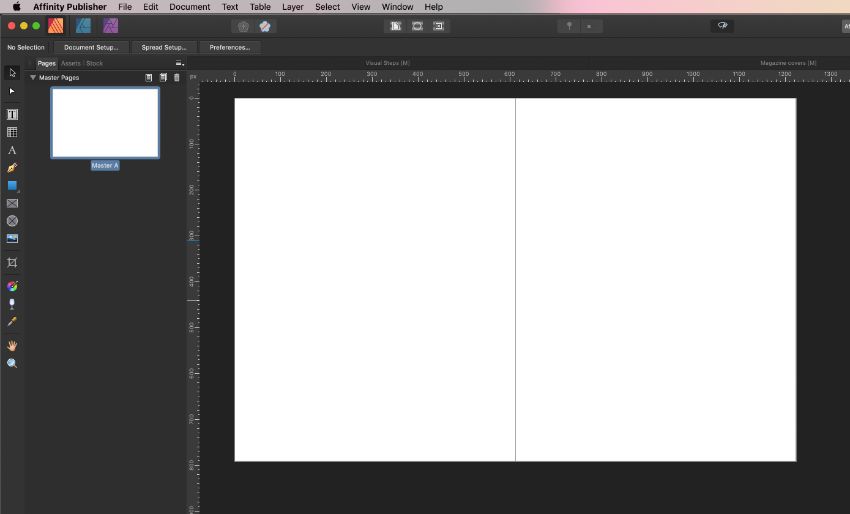
Open up Affinity Publisher, and go to File > New.
With the Type set to Web*, set the Page width to 612 px and Page height to 792 px. To ensure the magazine will appear crisp and clear on retina displays, set the DPI to 300. Increase the Number of pages to 3, to allow for a cover page (included in the downloadable template) and a single spread.
Make sure Facing Pages is checked under the Pages section.
Set the Inner and Bottom Margins to 80 px and Outer and Top Margins to 75 px. For a digital magazine, a bleed won’t be required, so you can keep this set to default 0 px.
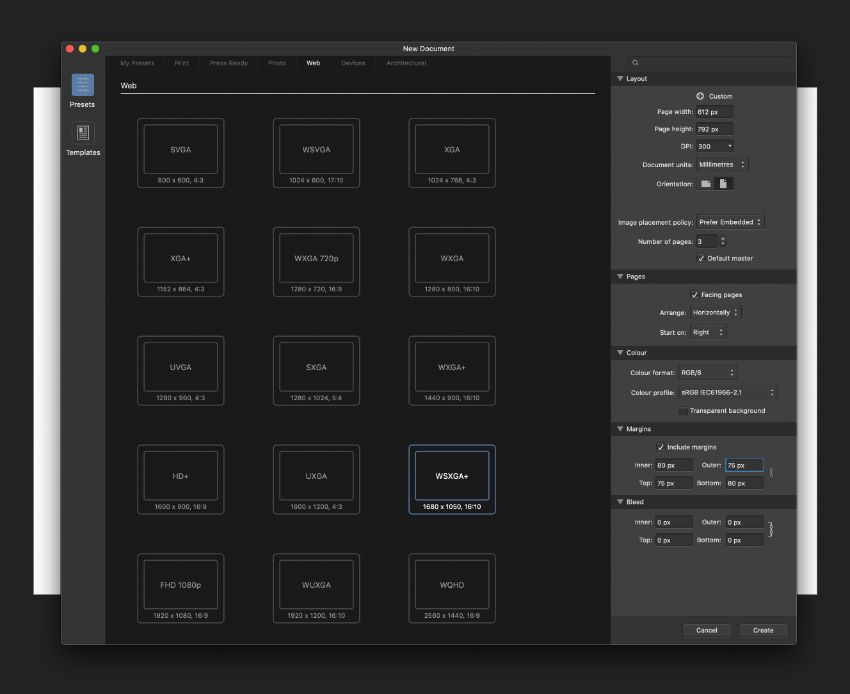
Then click Create.
* Here, we’ll be creating a single spread for a digital magazine, which will be exported as an online-friendly PDF. The magazine cover template for this magazine is included in the downloadable file attached to this tutorial.
Step 2
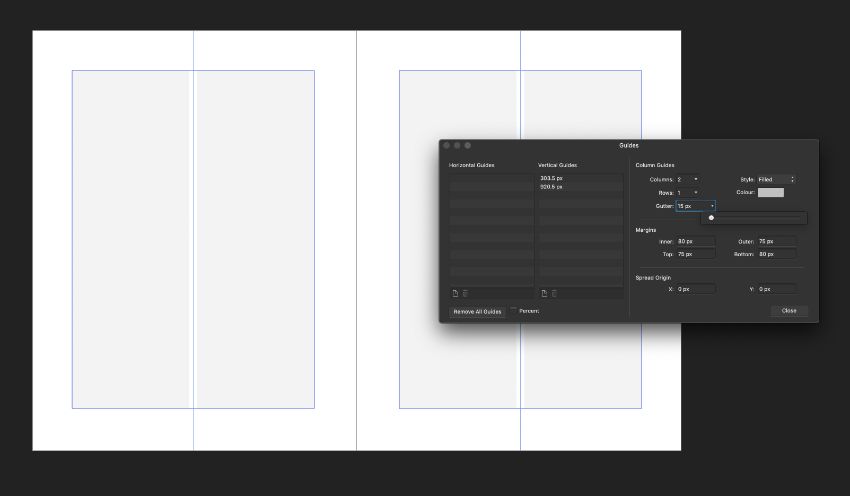
Go to View > Guides Manager, and increase the number of columns to 2. Set the width of the Gutter to 15 px, before clicking Close.
Step 3
We’re going to use a very simple colour palette in our design—just orange, black, and off-white.
In the Swatches panel (View > Studio > Swatches), choose Add Global Colour from the drop-down menu.
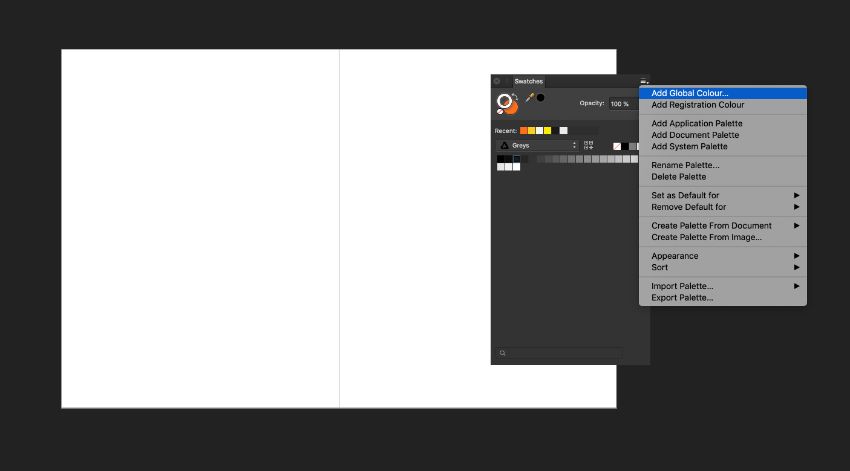
Name the swatch Off White, and choose RGB Hex Sliders from the menu below. Type in F8FAEF for the Hex code before clicking Add.

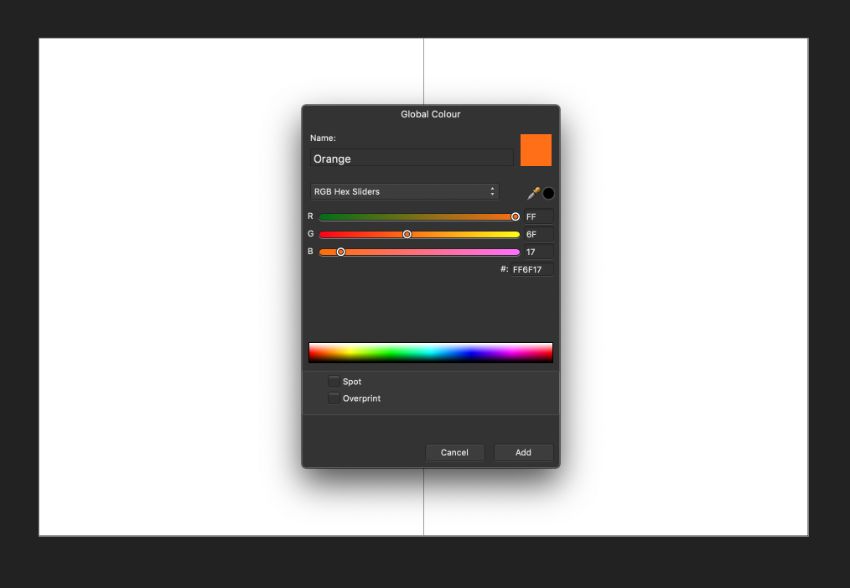
Repeat to create a second RGB swatch, naming it Orange and setting the Hex code to FF6F17. Then click Add.
2. How to Format Elements on Your Master Spread
Step 1
Double-click on the Master A icon in the Master Pages panel to bring it up on screen.
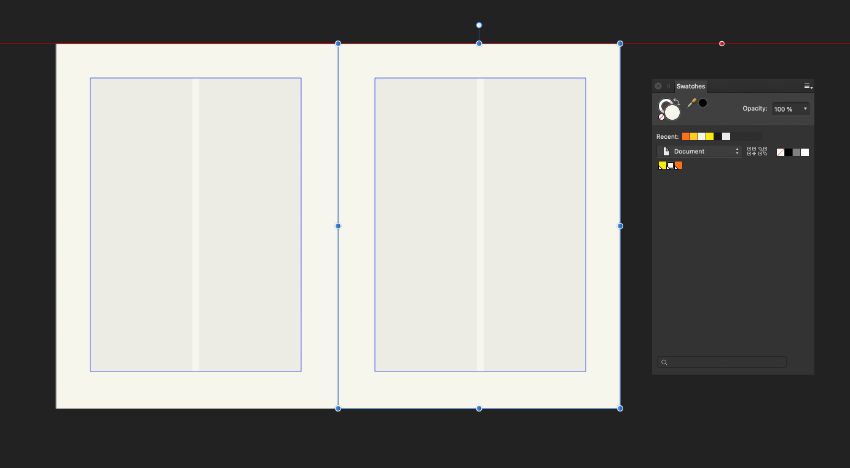
Select the Rectangle Tool (M) from the Tools panel, and drag across the whole of the Master spread’s left-hand page, setting the Fill to Off White.
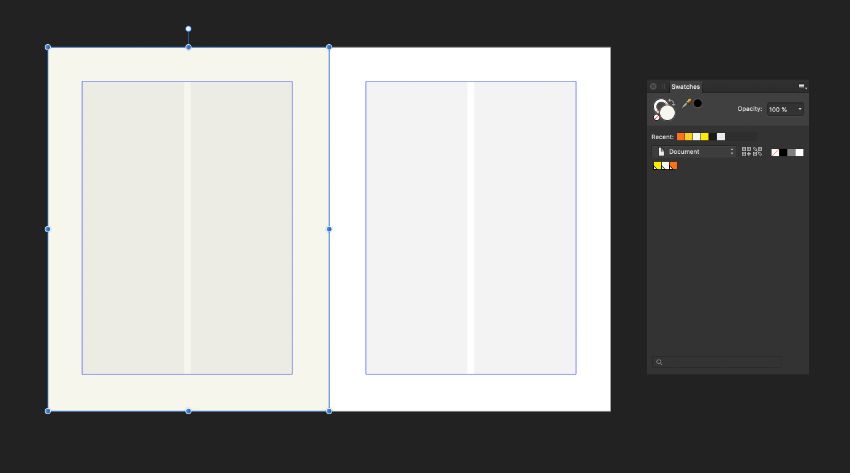
Copy and Paste the rectangle, moving it over to cover the right-hand page.
Step 2
We can add running headers and page numbers to the Master spread, which will allow these to be applied across multiple pages through the magazine when you come to create more pages.
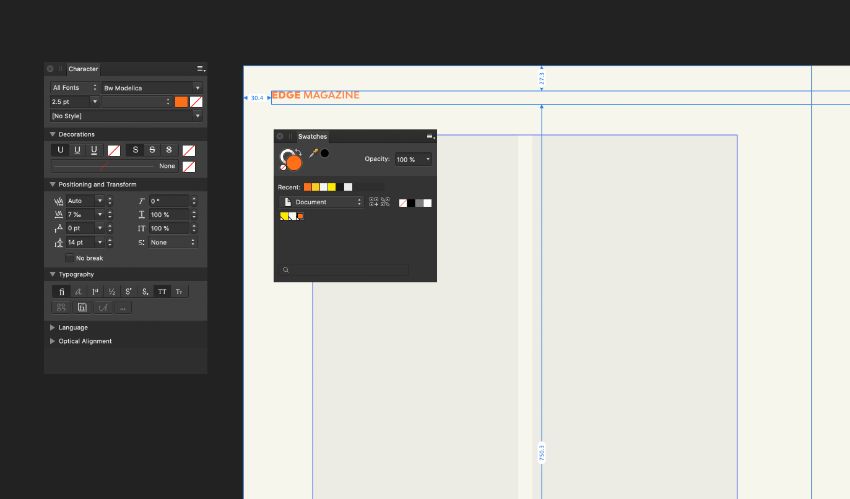
Choose the Frame Text Tool (T) from the Tools panel, and drag to create a text frame across the top-left corner of the left-hand page.
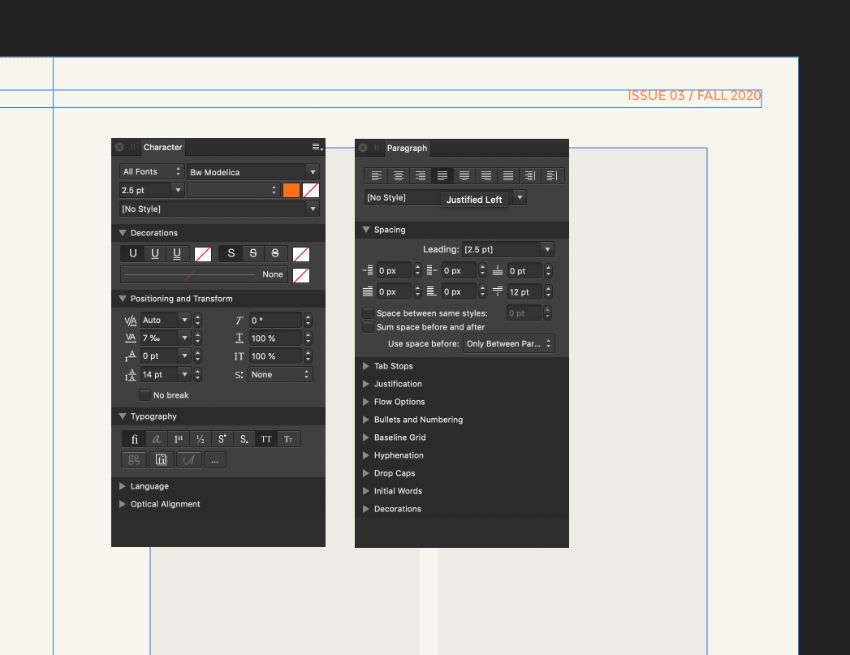
Type in the name of the magazine, and from the Character panel (View > Studio > Character), set the Font to Bw Modelica, Size 2.5 pt, All Caps, and an Orange Font Colour.
Step 3
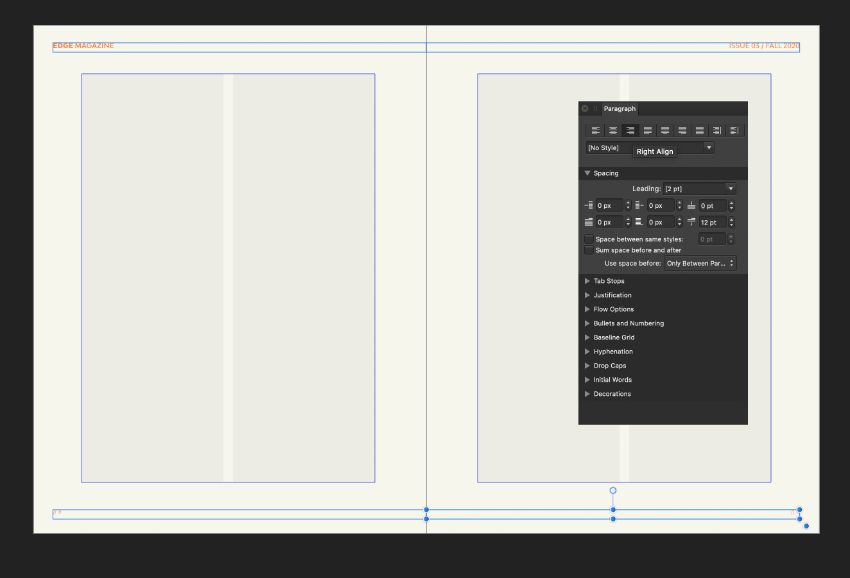
Copy and Paste the text frame, moving it over to the top of the right-hand page. From the Paragraph panel, switch the text to Align Right.
Step 4
Paste again, moving this text frame to the bottom corner of the left-hand page and editing the text to just read ‘//’.
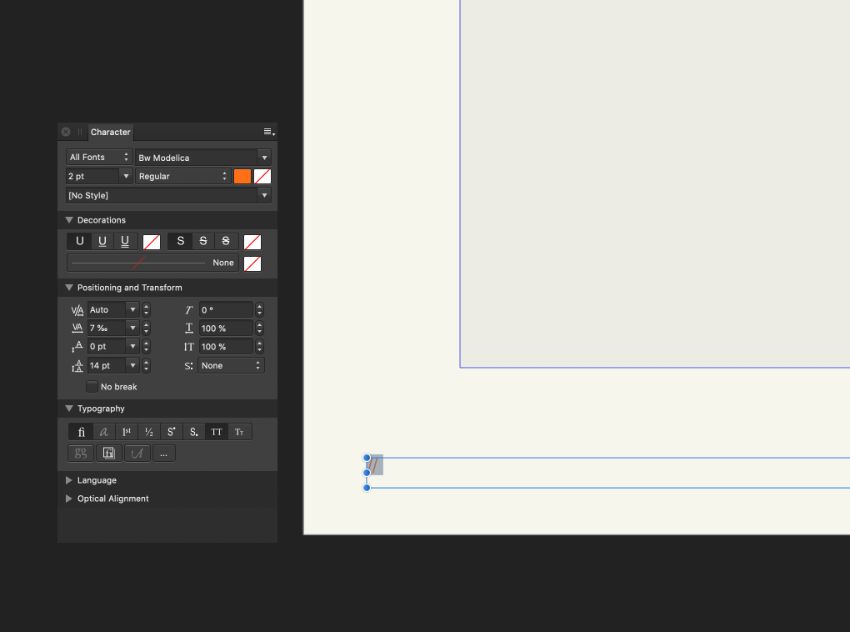
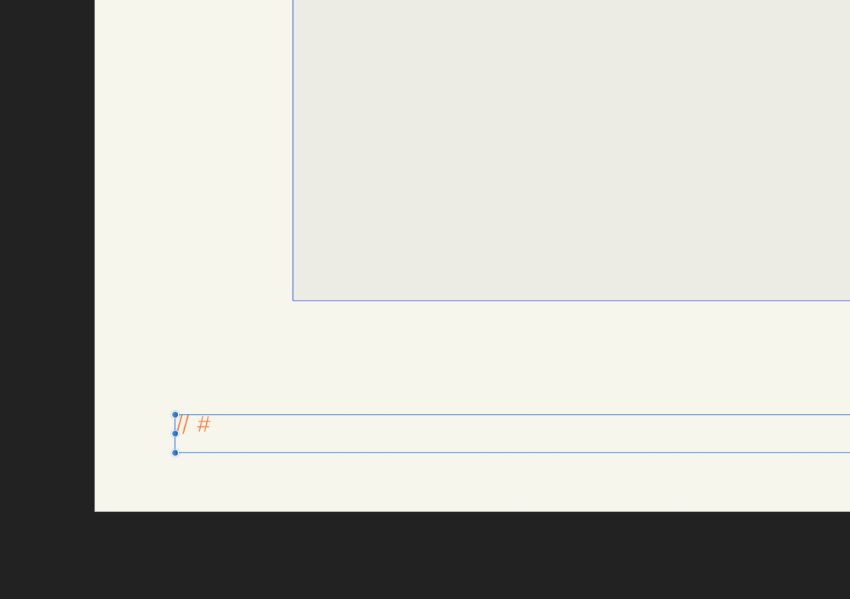
Insert a space after the slashes, and with your type cursor still in the frame, go up to Insert > Fields > Page Number.

A hashtag symbol will appear in the text frame, indicating that this will be replaced with a page number on relevant pages.
Select the page number text frame and Copy and Paste it, moving it over to the right side of the page and switching the text to Align Right.
3. How to Build Up Typography on Your Magazine Spread
Step 1
Double-click on Page 1 in the Pages panel to bring it up on screen.
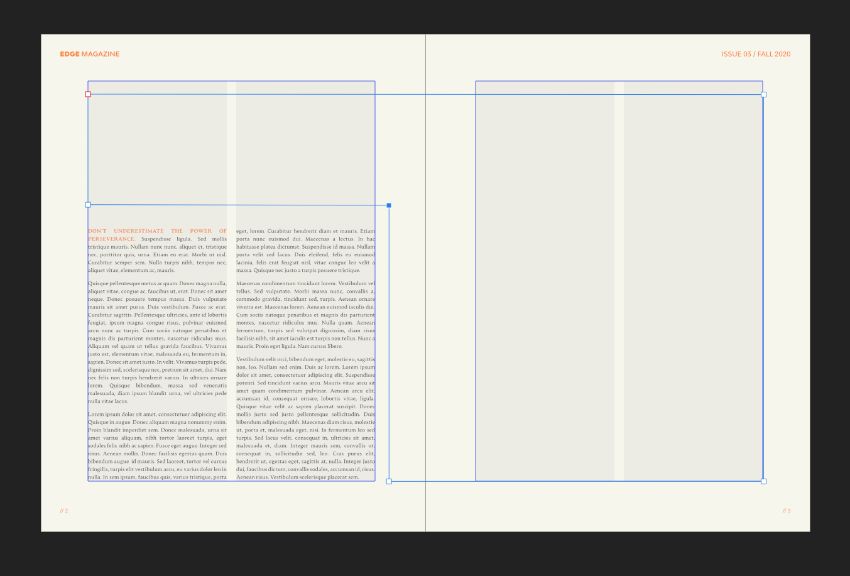
Use the Frame Text Tool (T) to create a single tall text frame resting against the left and bottom margin, filling the far-left column.
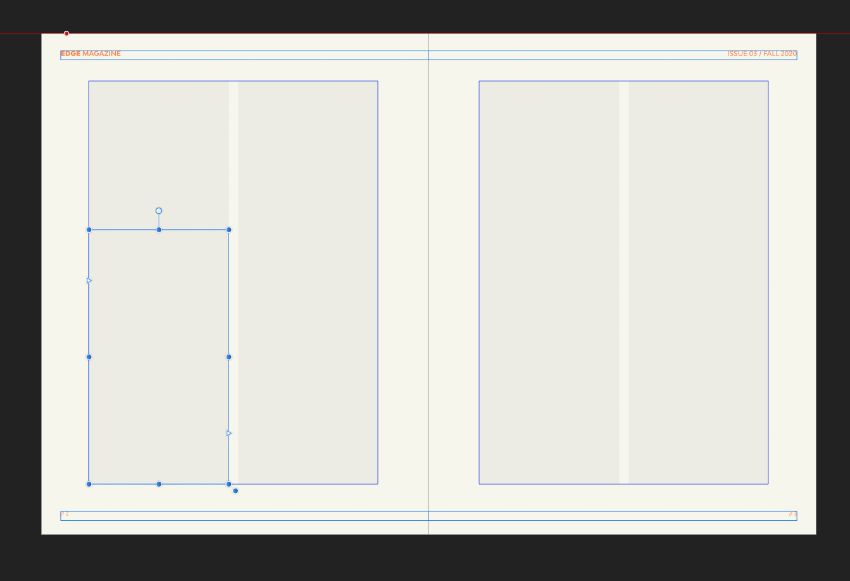
Step 2
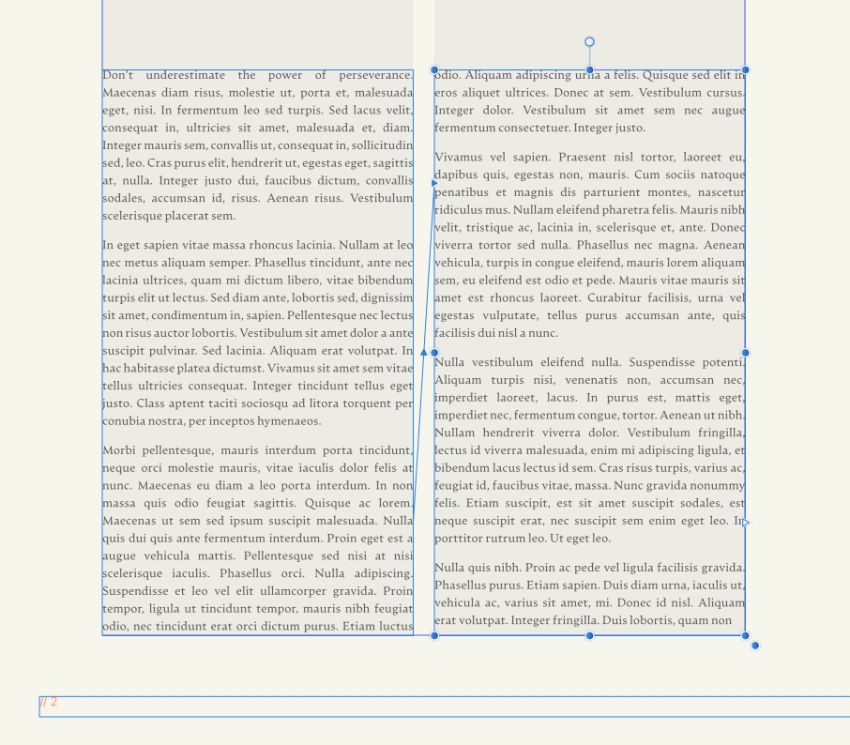
Click on the small triangle shape on the bottom-right of the text frame to create a linked text frame.
Click and drag to the right of the first text frame to create a second linked column. A ‘thread’ will appear between the two frames, showing that they are linked.

Step 3
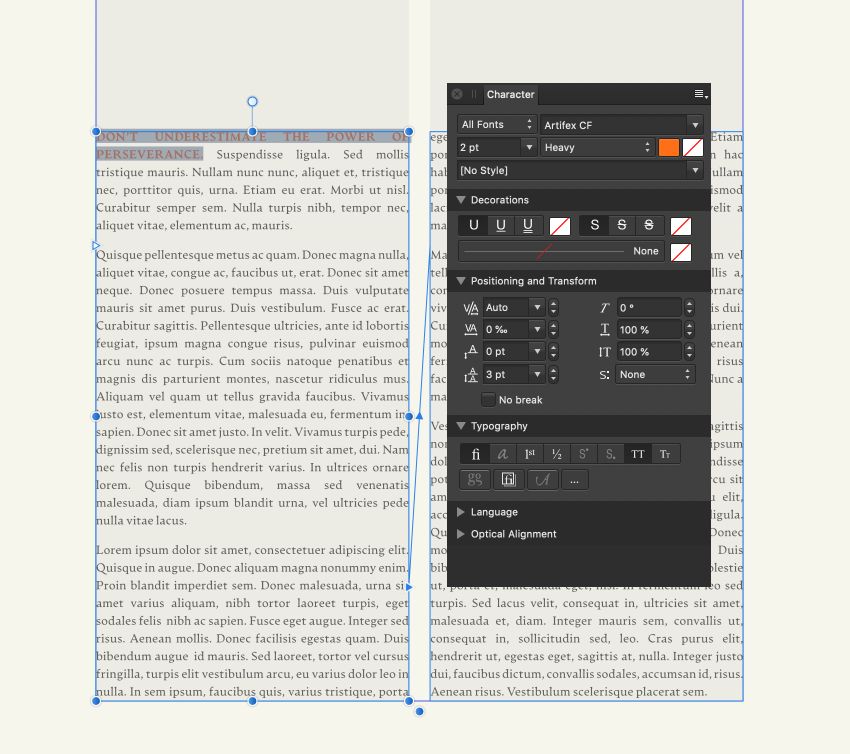
Type an introductory sentence, setting the Font to Artifex CF, Size 2 pt, and set the Leading to 3 pt. From the Paragraph panel, increase the Space After Paragraph to 2 pt. Set the Font Colour to Black.
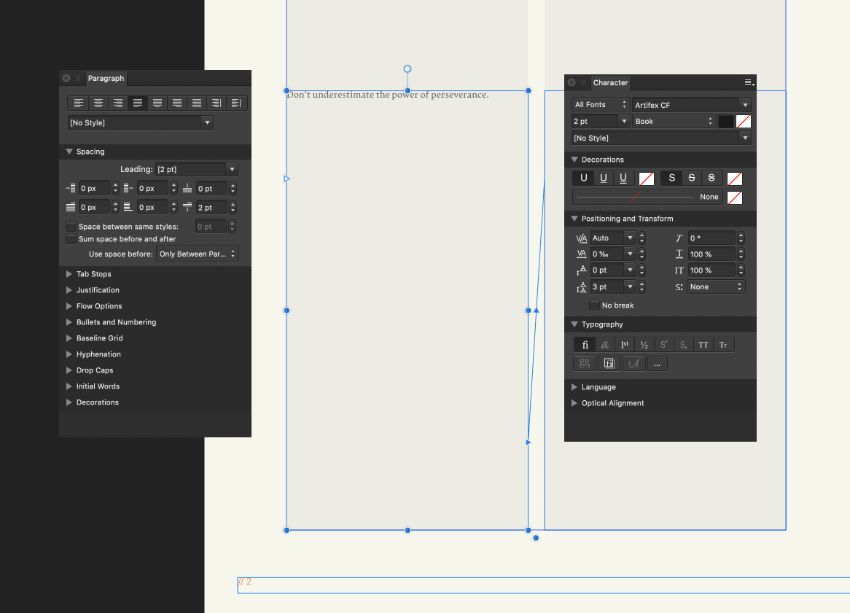
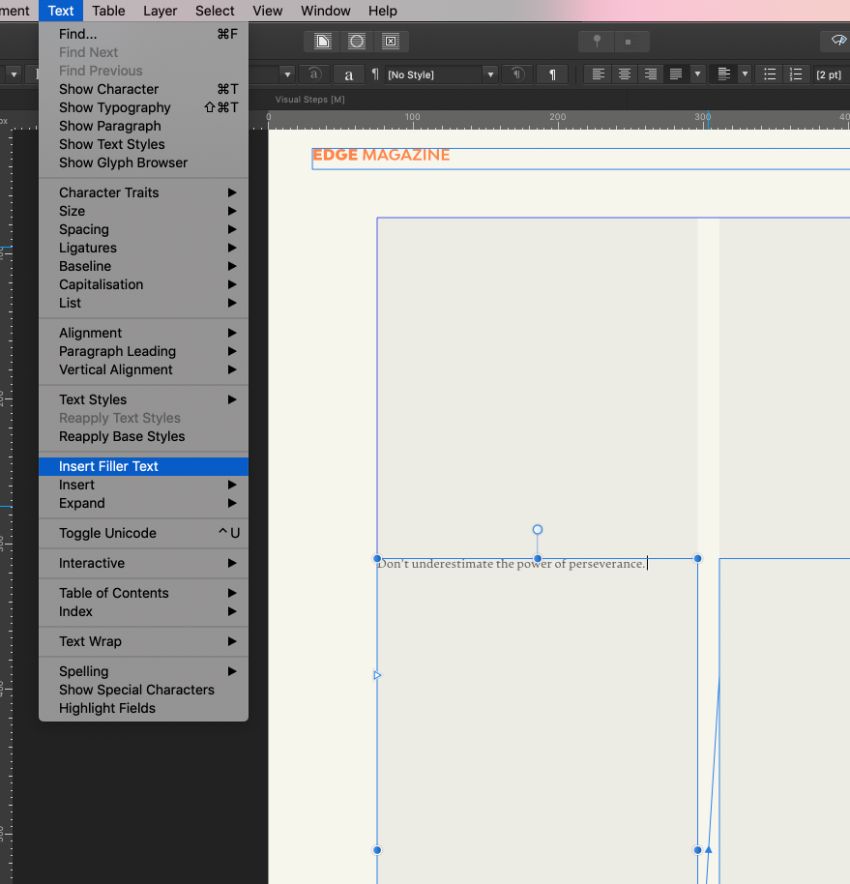
You can then either type in text directly, paste it over from a Word document, or go to Text > Insert Filler Text to create temporary text for your columns.
You can add more interest to your column text by pulling out the first line in an Orange Font Colour, a Heavy weight, and All Caps letters.
4. How to Add an Image to Your Magazine Spread
Step 1
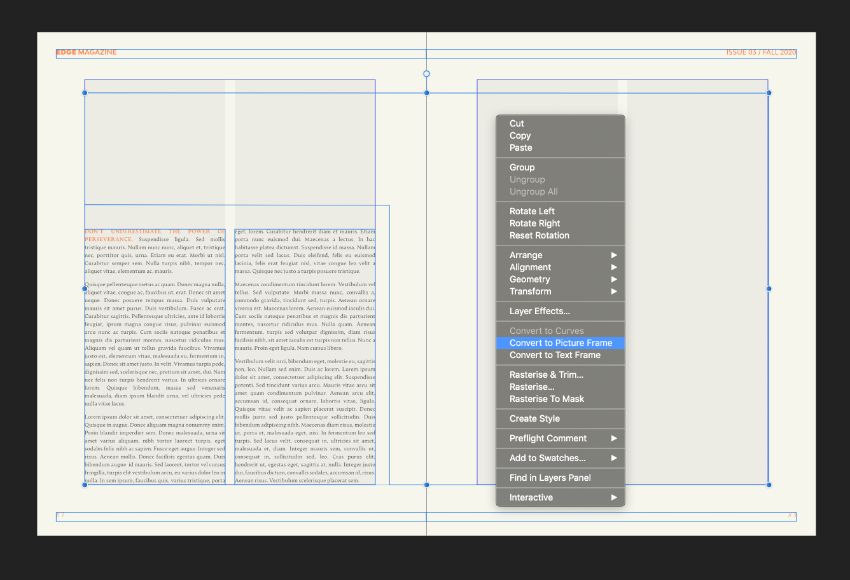
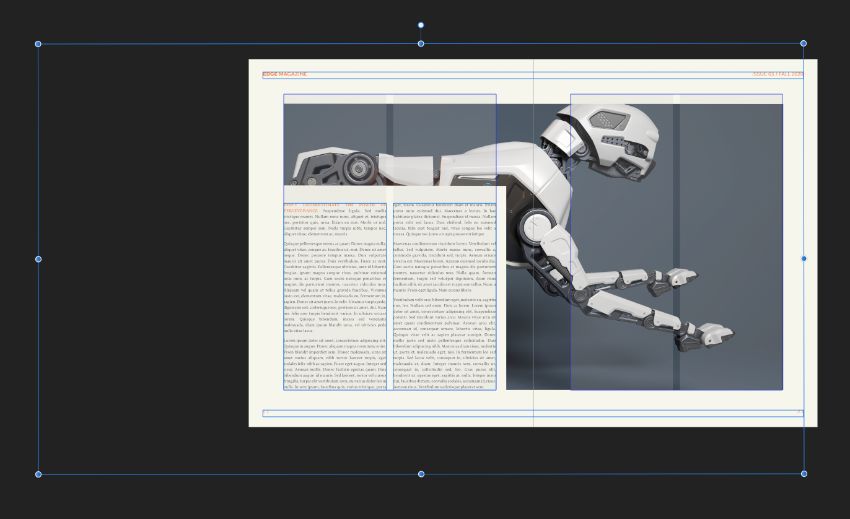
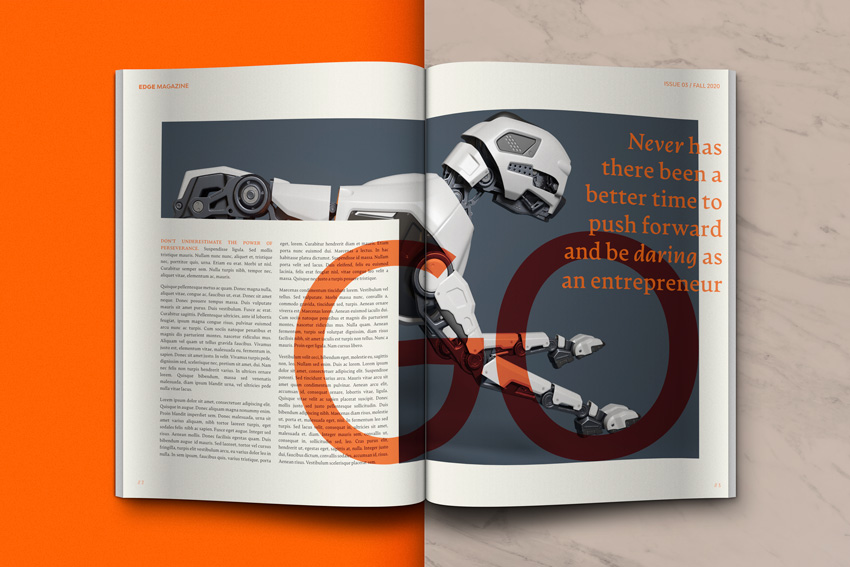
Use the Pen Tool (P) to draw an image frame that spans most of the right-hand page, with a narrower section across the top of the left-hand page, as shown below.
On the frame, Right-Click > Convert to Picture Frame.
Step 2
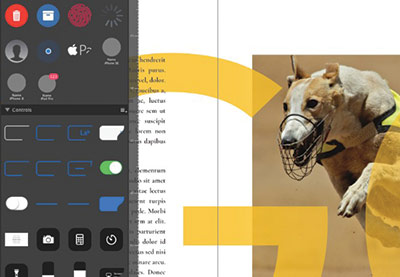
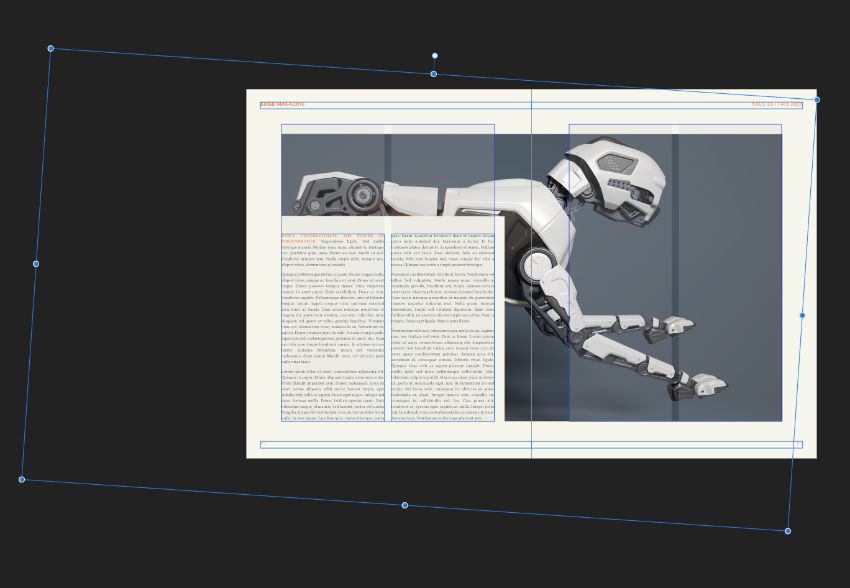
Go to File > Place. Navigate to the image of the robot dog you downloaded earlier, and click Open.
Use Shift to scale the image inside the frame, before clicking Flip Horizontal in the top Controls panel to flip the image so that the dog is facing towards the right edge of the spread.
Rotate the image inside the frame slightly, to allow more of the robot to be visible.
Step 3
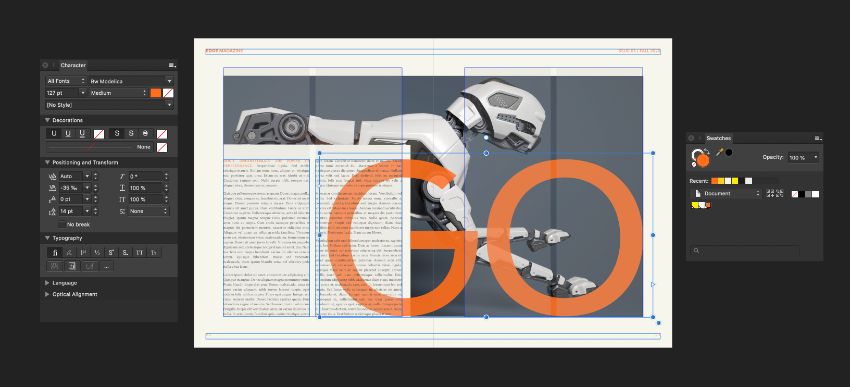
Create a very large text frame, matching the height of the text columns, overlapping the right column and extending across the width of the right page.
Type in ‘GO’, setting the Font to Bw Modelica Medium, Size 127 pt, and Font Colour to Orange.
Step 4
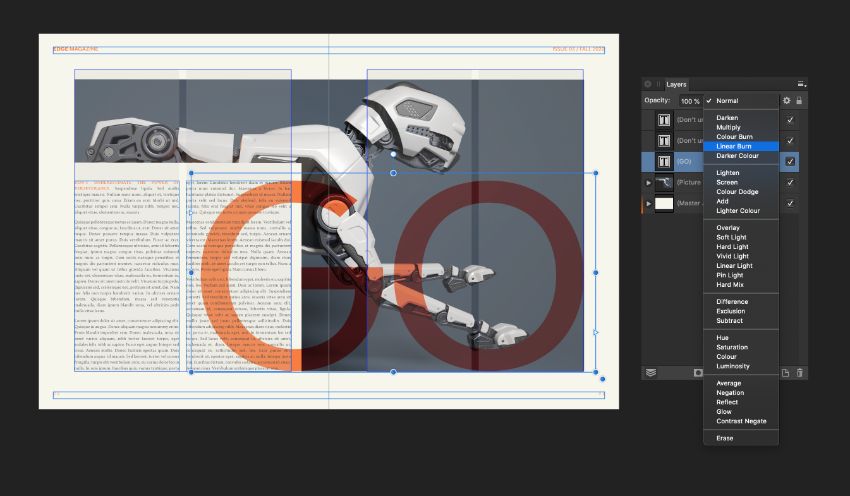
From the Layers panel (on the right side of the workspace), change the Blending Mode of the ‘GO’ text frame to Linear Burn.
With the right column text frame selected, click on the Move to Front button in the top Controls panel, to bring the column text forward and make it more legible.
5. How to Add a Pull Quote to Your Layout
Step 1
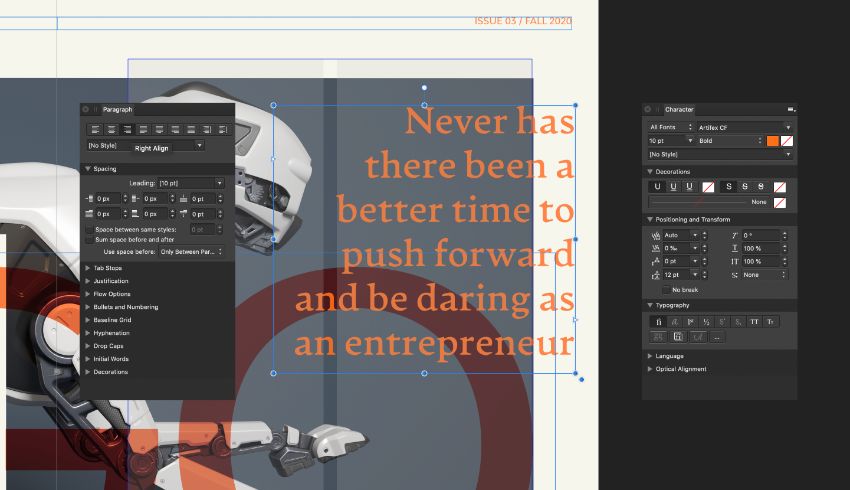
Use the Frame Text Tool (T) to create a text frame across the top-right of Page 2.
Type in a pull quote. Set the Font to Artiflex CF Bold, Size 10 pt, Align Right, and an Orange Font Colour.
Step 2
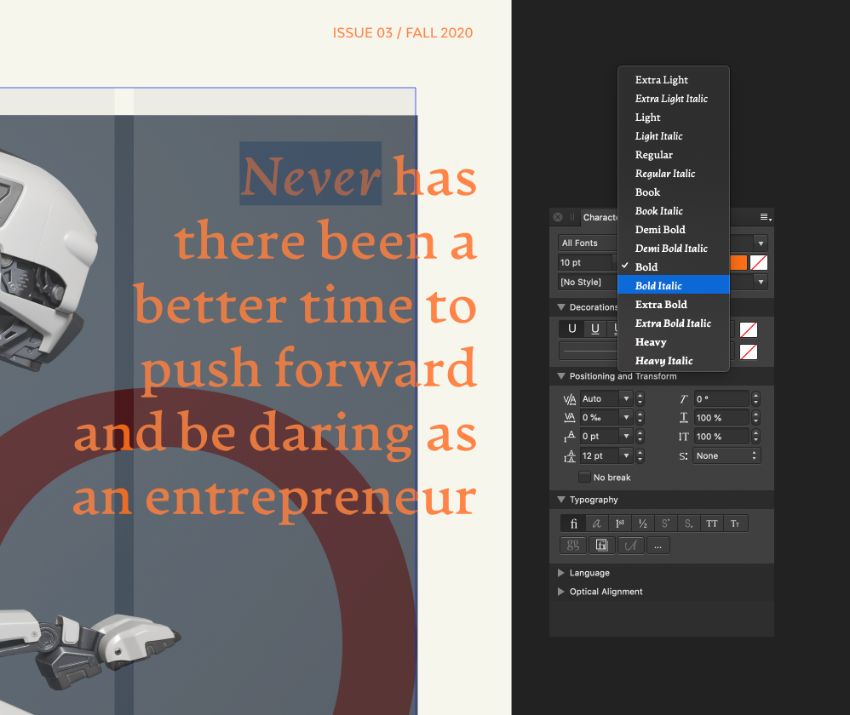
You can highlight individual words and set these in Bold Italic for emphasis.
6. How to Export Your Magazine Artwork
Whether you create a single spread or a whole magazine, the process of exporting your artwork in Affinity Publisher for sharing online is quick and simple.
Step 1
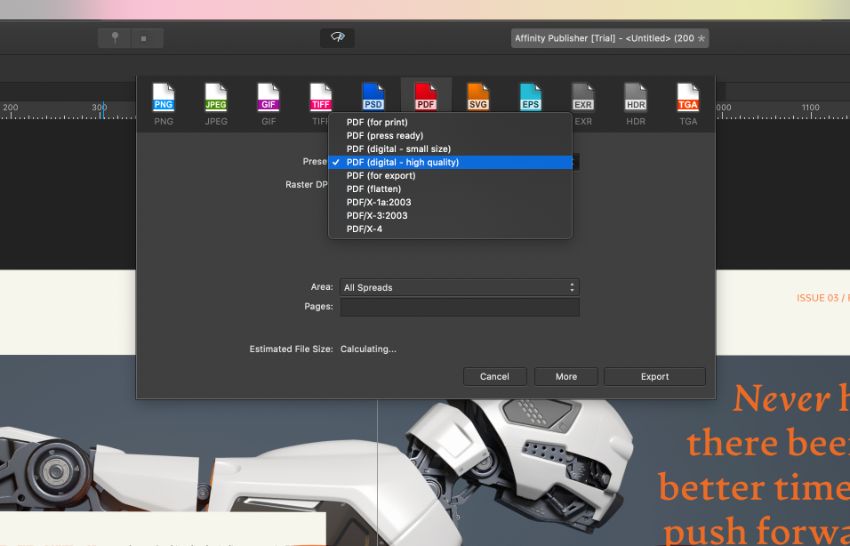
Go to File > Export.
Click on PDF from the options running along the top of the window. Choose PDF (digital-high quality) from the Preset menu.
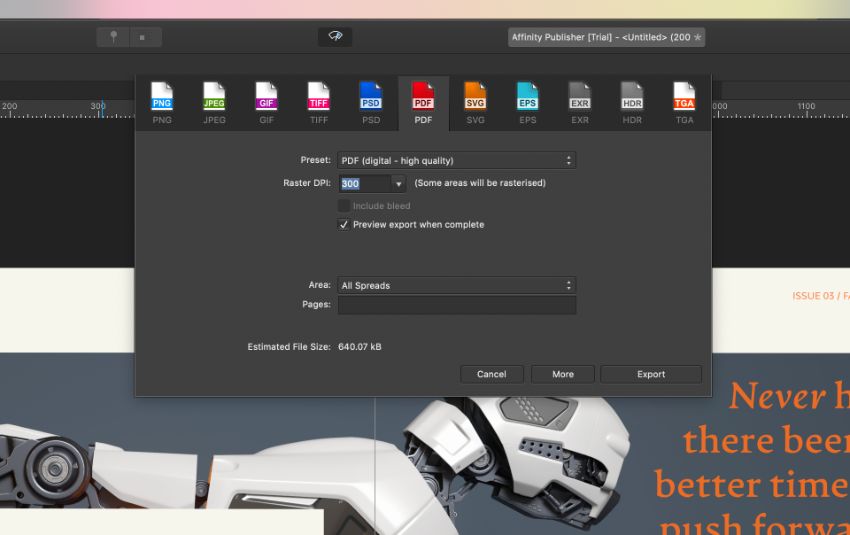
Set the DPI to 300. This will ensure your magazine will appear crisp and clear on large-size and retina screens.
Then click Export. Name your file and click Save.
Conclusion: Your Finished Magazine Layout
Your magazine spread is finished and exported, ready to be printed. Great job!
In this tutorial, you’ve picked up a range of techniques and skills you can apply to editorial projects and other magazine design work using Affinity Publisher. You now know how to make a booklet in publisher complete with facing pages, allowing you to create documents for both print and online.
Remember that a free download of the magazine cover and inside spread for both Affinity Publisher and Adobe InDesign are included with this tutorial, allowing you to get started quickly with creating your own awesome eMagazine design.
Looking for different Affinity Publisher templates and InDesign templates for creating stylish magazine designs? You can find a wide range of easy-to-edit magazine templates and Affinity Publisher templates on Envato Elements.
If you’re on the hunt for more magazine design and Affinity Publisher tips, don’t miss these handy tutorials:
-
Affinity Publisher: Your Guide to InDesign’s New Rival
-
45 Best Affinity Publisher Templates (Including Brochure Templates)
-
How to Import InDesign Templates to Affinity Publisher
-
How to Make a Zine Template in InDesign