Today, we’ll be looking at how to create a super easy Christmas lights Photoshop effect. Wondering how to add Christmas lights to a tree in Photoshop? Great news—you can use this same technique to add lights to anything!
For a quick overview of the process, check out this short video from the Envato Tuts+ YouTube channel:
How to Add Christmas Lights in Photoshop
Step 1
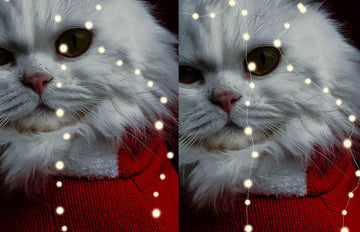
You can use any image you’d like—in this example, I’m using a portrait of a fluffy white cat. Before we learn how to create Christmas lights in Photoshop, we want to darken our image using grouped adjustment layers. The adjustments don’t matter, but I like to use a Color lookup set to 3DLUT File Moonlight, with a Blending Mode of Multiply.
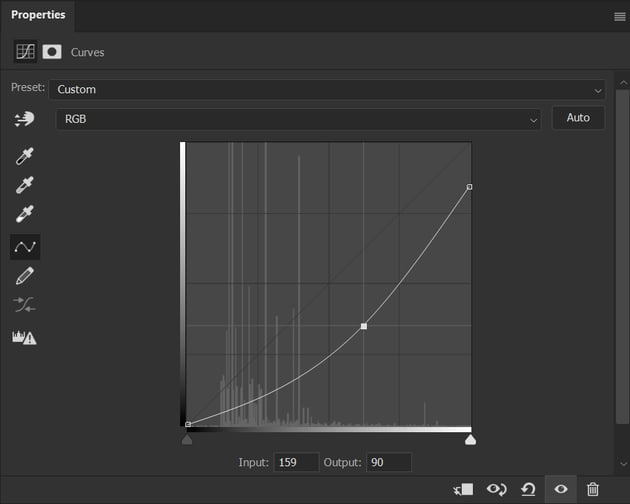
Then add a Curves layer, set to something like you see below. Group the adjustment layers and add a Layer Mask.


Step 2
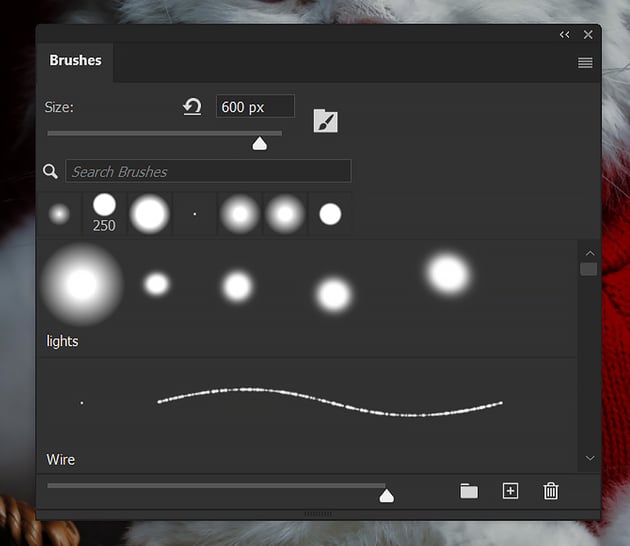
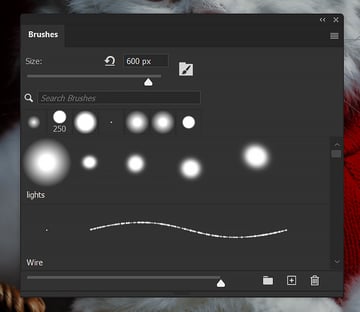
Next, we want to set up our Christmas lights Photoshop brushes: a “Lights” brush and a “Wire” brush. Select a default round Brush and set it to the below settings:
- Hardness: 32%
- Spacing: 278%
- Size Jitter: 46%
- Angle Jitter: 100%
- Roundness Jitter: 14%
- Scatter: 113%
Save the brush by selecting the Plus icon in the bottom right-hand corner of the Brush Settings panel. Name this brush “Lights”.
Second, create the “Wire” brush. Select a new default round Brush and set it to the below settings:
- Hardness: 70%
- Spacing: 1%
- Size Jitter: 100%
Again, Save the Christmas Lights photoshop brush, calling it “Wire.”

Step 3
Create a New Layer set to Screen. Name this layer “Light Bulbs.” Select a soft pale yellow #fff0d4 color and use the Lights brush to paint your lights.
Create a New Layer under the “Light Bulbs” layer. Name this Layer “Wire.” Switch to the Wire brush and connect the lights, similar to connecting the dots.

Step 4
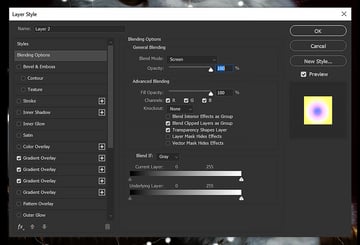
Switch to the “Light Bulb” layer and add a Gradient Overlay layer style, duplicating it three times, using the settings below. This will give variation to the lights.
Wondering how to make Christmas lights glow more brightly in Photoshop? Duplicate the “Light Bulbs” layer. For an extra glow, try experimenting with adding blur and different building up and combining different layer modes.


Step 5
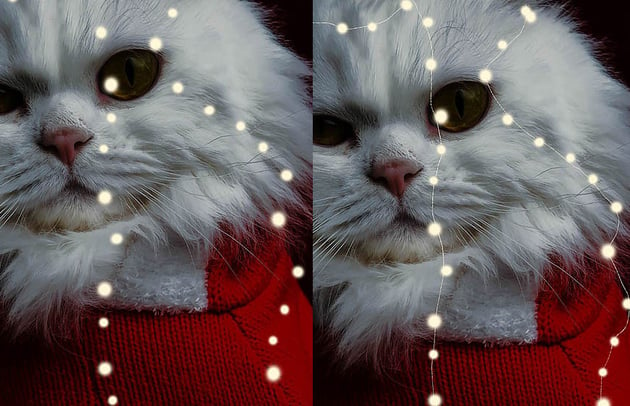
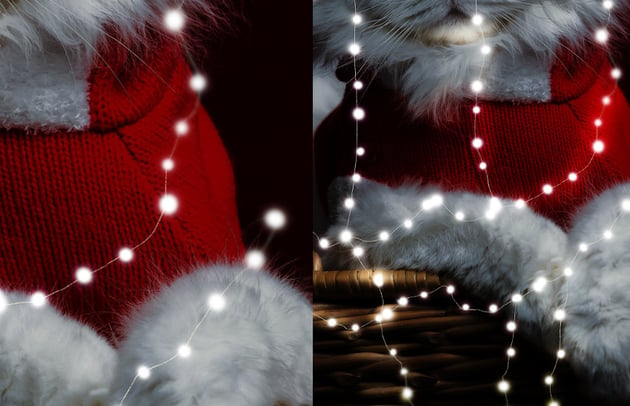
Now let’s make the lights blend in better with the image. Use the Lasso tool to select any areas that don’t quite look right, and apply Filter > Gaussian Blur on both the “Strings” and “Light Bulbs” layers to match the focus of the photo. Alternatively, you can use the Smudge brush.
Finally, use a soft round black Brush with a low Flow rate to mask away some of the darkening group we created in Step 1. This will restore some of the natural brightness of the image, resulting in a natural glow effect on the subject, as if it’s coming from the lights.


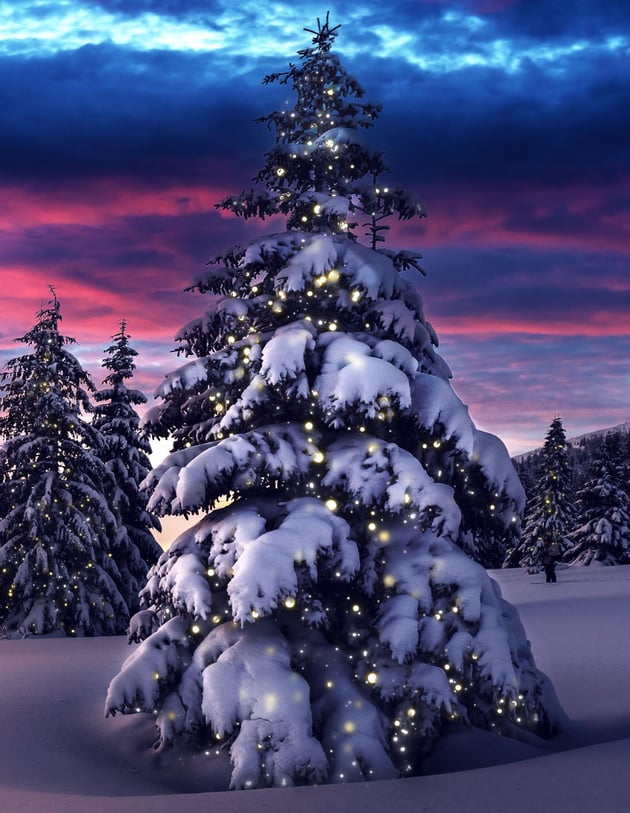
How to Add Christmas Lights to a Tree in Photoshop
You can use this same technique to add Christmas lights to a tree in Photoshop!


That’s How to Add Christmas Lights in Photoshop!
That’s how to create a Christmas lights Photoshop effect. Remember, if you’re wondering how to add Christmas lights to a tree in Photoshop, you can use this same technique. The two custom brushes used to create the lights are incredibly versatile, so you can use them for anything from fairy lights and Christmas lights to a magical glowy atmosphere. Don’t be afraid to experiment.