Learn how to make a certificate of participation template in Adobe InDesign in this easy-to-follow tutorial. This tutorial would work for an award certificate template too. We’ll also take a look at some certificate of participation sample templates for inspiration.



What You’ll Learn
- How to create a certificate of participation template in Adobe InDesign
- How to customize your own certificate template
When it comes to creating your own certificate of participation template, Word, Photoshop, Illustrator, and many other software environments could work well. However, in this tutorial, we’ll focus on creating an award certificate template in Adobe InDesign.
If you’re looking for a certificate of participation sample template, stay tuned. We’ll take a look at some certificate template inspiration too.
What You’ll Need
Feel free to use these recommended assets, or you can substitute them with any assets of your choice in your own certificate of participation template.
How to Make a Certificate of Participation Template in Adobe InDesign
Step 1
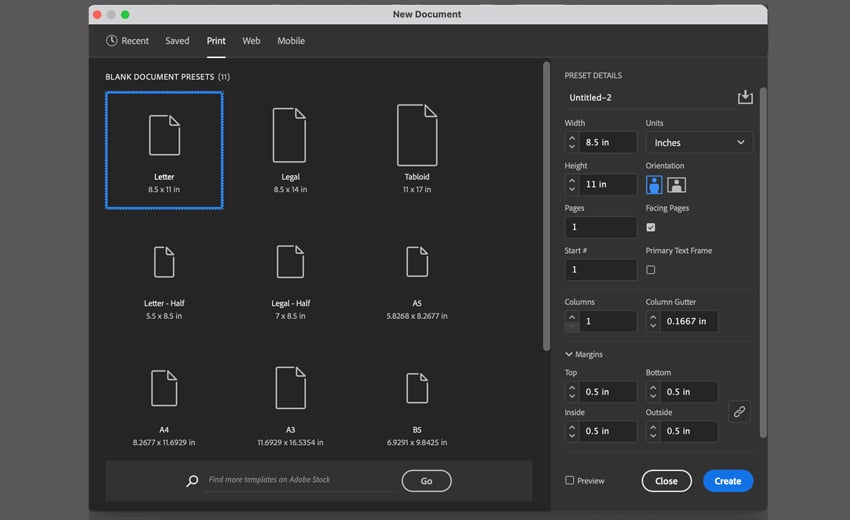
Let’s begin with a new document in Adobe InDesign. Ultimately, your certificate of participation template could be any size of your choice. A common certificate template size is 8.5″ x 11″ inches, so that’s what we’ll use in this demonstration.
Create your new document at 11″ inches wide by 8.5″ inches high. We’ll also use a 0.5″ margin around all sides. This will give us a “safety” area—avoid putting essential items in this space.
Once you’re happy with your chosen settings, click Create to create your new document.
Step 2
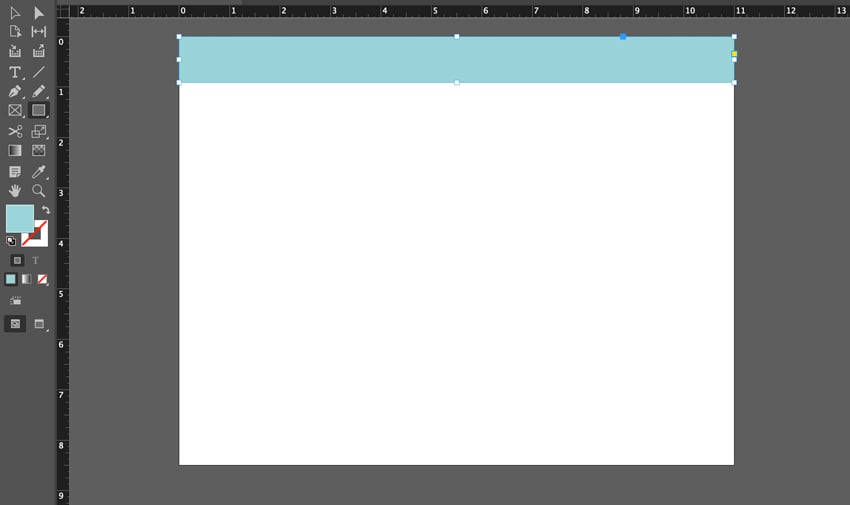
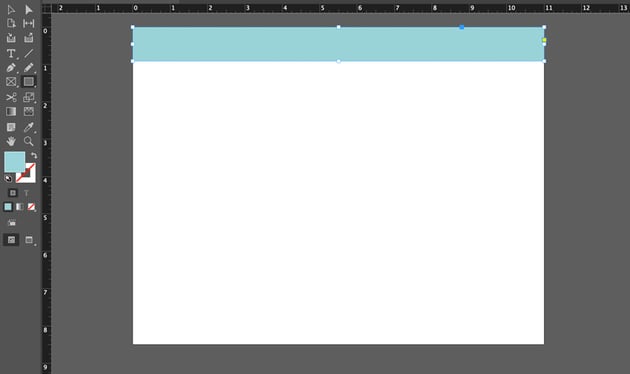
Let’s start by laying out some basic shapes. Begin by selecting the Rectangle Tool in the Tools panel.
For the Fill Color, choose a pale blue color (or any color that you prefer). Set the Stroke Color to None.
Then, with the Rectangle Tool selected, click and drag to draw a long rectangle at the top of your composition.
Step 3
Rather than leaving our rectangle as a solid color, let’s try adding a pattern. I’m going to demonstrate this technique using this seamless geometric pattern set from Envato Elements. It gives you multiple patterns to choose from, including transparent PNG files. That makes it a perfect choice for an easy, tasteful overlay.
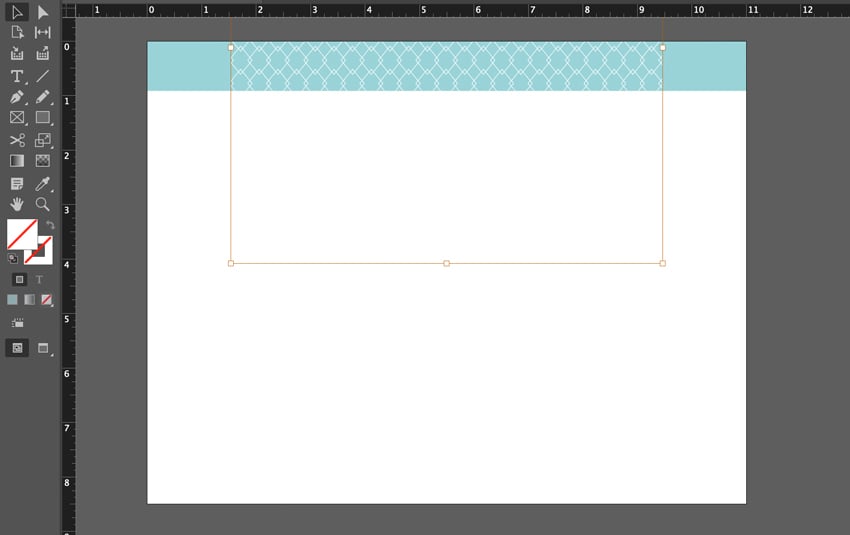
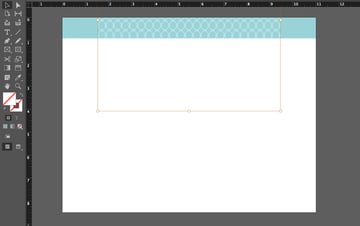
With the Selection Tool active, select the colored rectangle. Then go to File > Place. I chose a pattern I liked from the set. You could do the same or try another file of your choice.
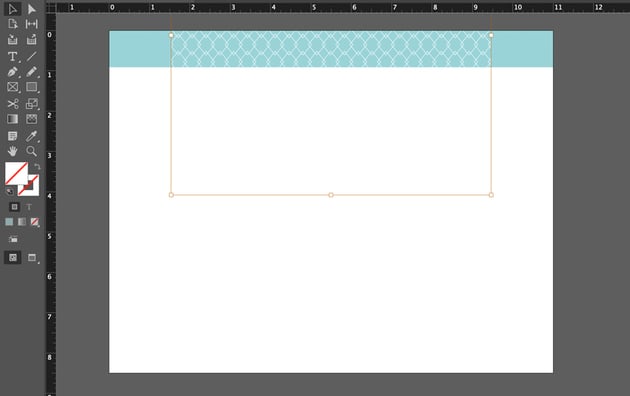
Here’s what it looks like with my image placed into this space.
Step 4
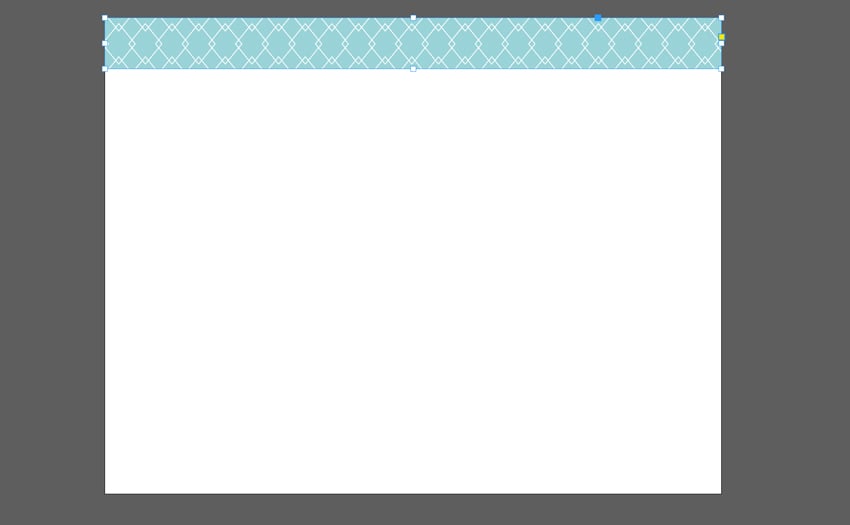
Then, to make it better fill this space, resize the placed image. You can do so by clicking and dragging on the resize handles. Or right-click on PC or Control-click on Mac. From the resulting menu, select Fitting > Fill Frame Proportionately. You can use any technique you prefer to rearrange this content.
Here’s a look at how I chose to arrange my imagery.
Step 5
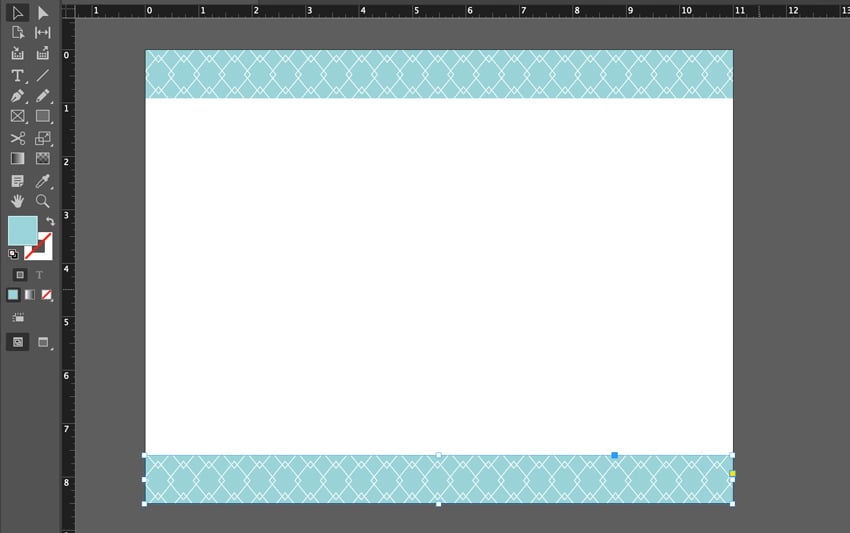
Let’s take what we’ve made and make a full certificate border template out of it. With the Selection Tool, click to select our rectangle. Then go to Edit > Copy > Paste to make a copy of this element.
You can then click and drag on it using the Selection Tool to reposition it. I placed mine at the bottom, like this.
Step 6
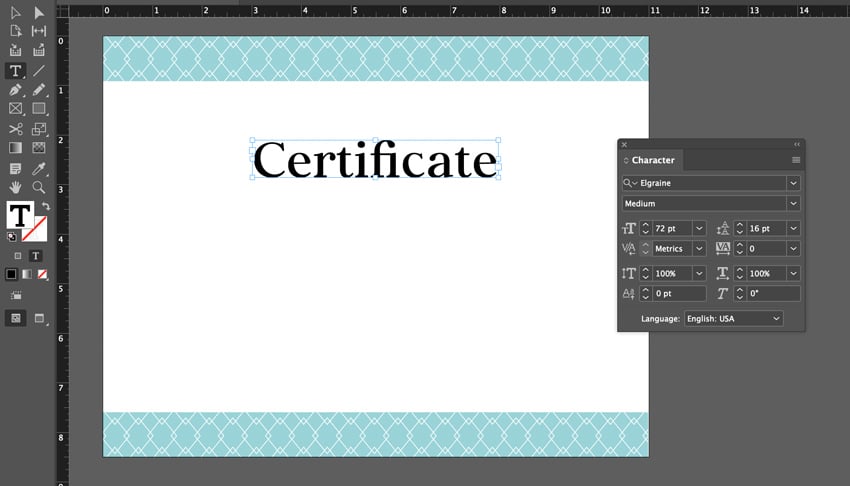
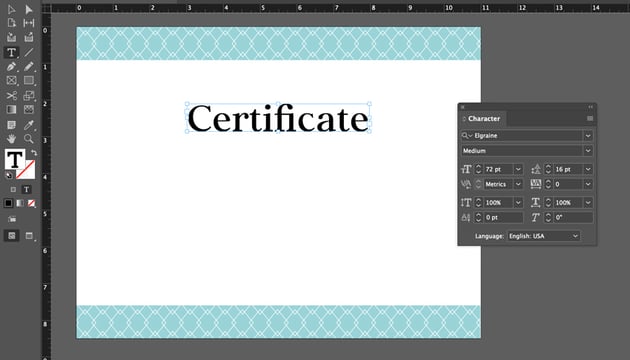
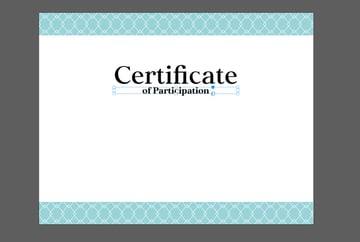
Now that we’ve got a good starting point, let’s start adding some copy to our design. Start by selecting the Type Tool in the Tools panel. Then, click and drag to create a text box. You can then type your copy in this space.
You’ll also need to open up the Character panel (go to Window > Type & Tables > Character). You can use this panel to change your font. I used the Elgraine font family from Envato Elements as it’s a classy serif font.
Step 7
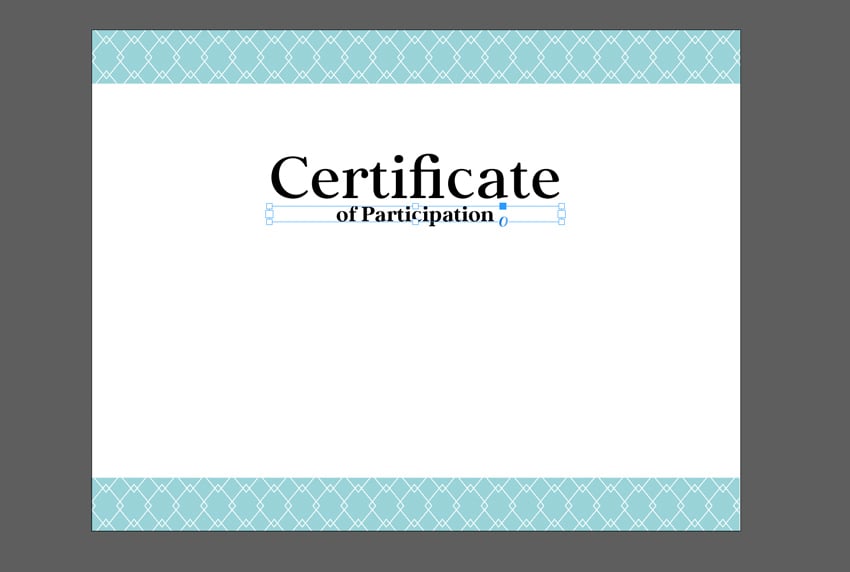
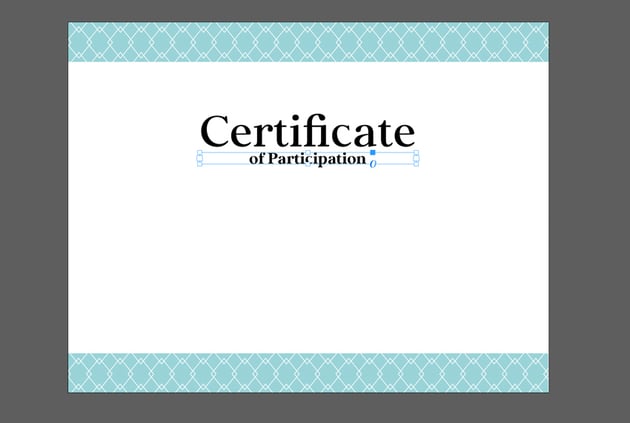
Let’s repeat this process. Use the Type Tool to click and drag and create new text boxes. In this case, the certificate could use a description of some kind. I’m creating a certificate of participation template, but you could create any kind of award certificate template you prefer.
Step 8
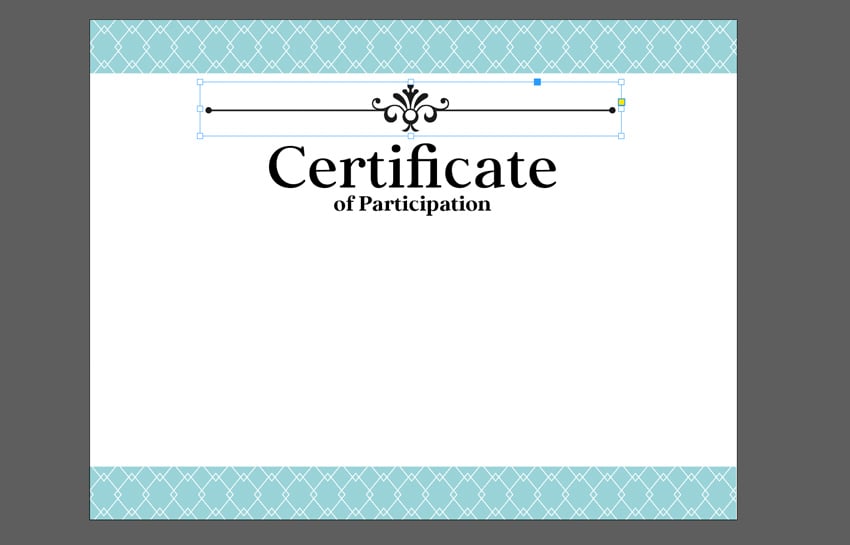
While our certificate template features a modern design, it’s still common to see things like flourishes and dividers in a certificate design. Let’s try adding something like that to our work. I’m going to use one of these stylish dividers from Envato Elements.
It’s as simple as going to File > Place to place an image from your computer. Here’s what this divider looks like in our certificate design.
Step 9
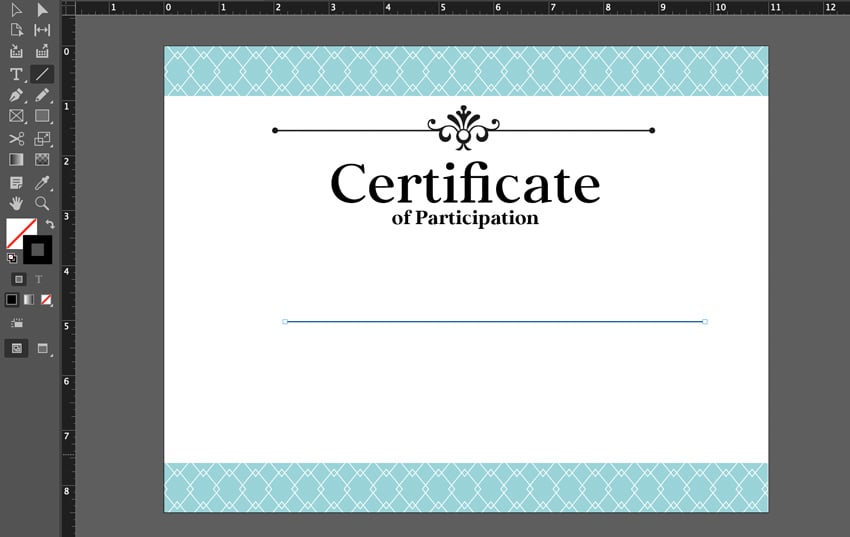
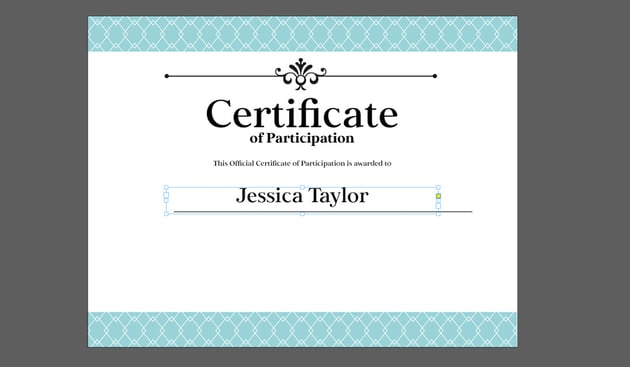
One of the essential parts of a certificate template design is a place for the awardee’s name. Let’s make a space for this using the Line Tool, in the Tools panel. We’ll want to set the Stroke Color to black—no need for a Fill Color.
With the Line Tool selected, click and drag to draw a line in your composition.
Step 10
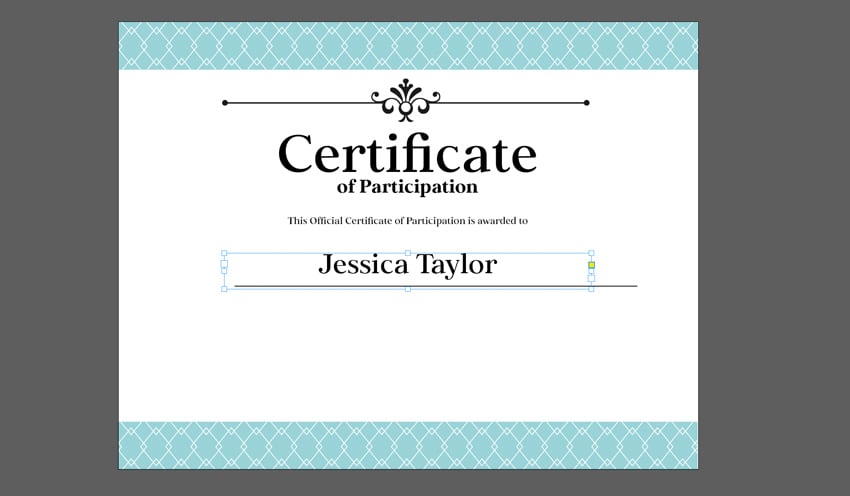
Next, let’s repeat the process of adding new text with the Type Tool. I stuck with the serif font Elgraine, to keep things visually consistent and professional-looking. It’s a good idea to make the award recipient’s name quite large.
One of the great things about making a certificate template like this in inDesign is that in the future you can easily fill this in with any name you need to.
Step 11
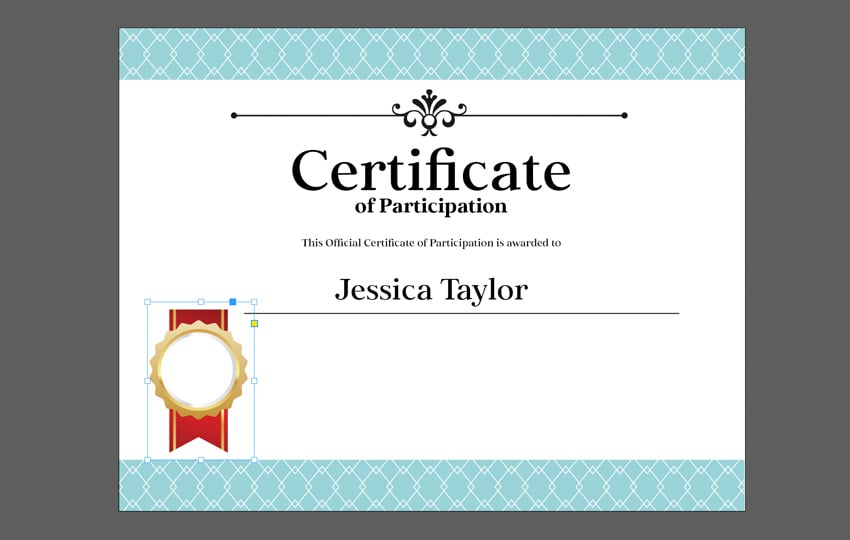
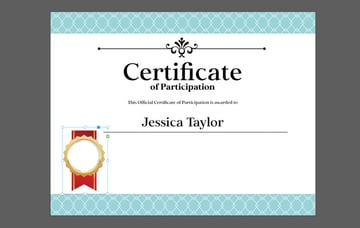
Before we add more text to our certificate template, let’s try some more imagery. It’s common to see a seal, stamp, or emblem of some kind on a certificate. Let’s give this a try using this collection of gold badges from Envato Elements. They make it simple to create a custom badge for our certificate.
Go to File > Place to place this imagery into your design. I chose to resize and align mine to fit in the left-hand corner.
Step 12
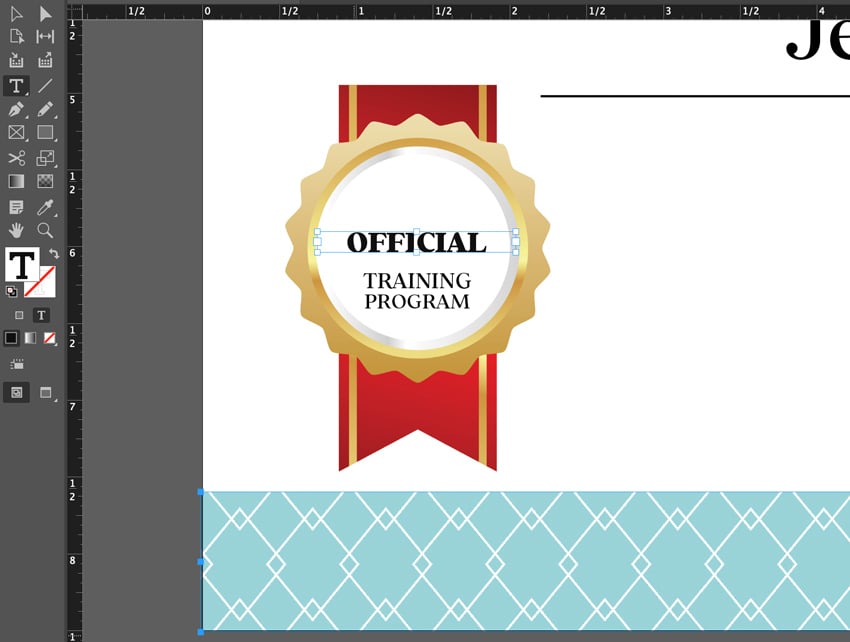
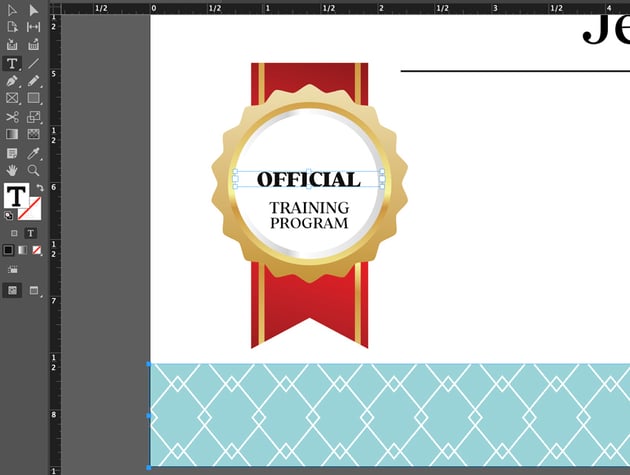
While you could edit this in another member of the Adobe software family, like Photoshop or Illustrator, we can add some simple content in InDesign too. Let’s do so—I zoomed in on our gold badge to make some adjustments.
Use the Type Tool to add some copy to the badge. You can copy what I did here or use whatever wording best suits your project.
Step 13
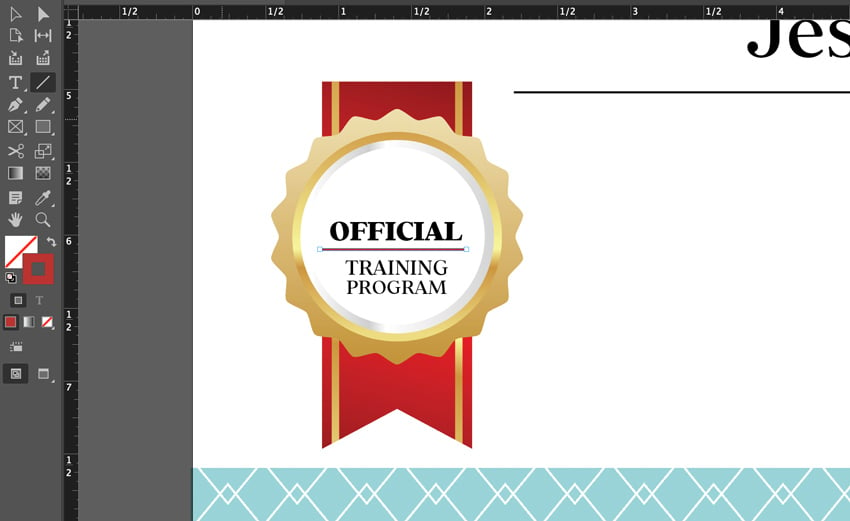
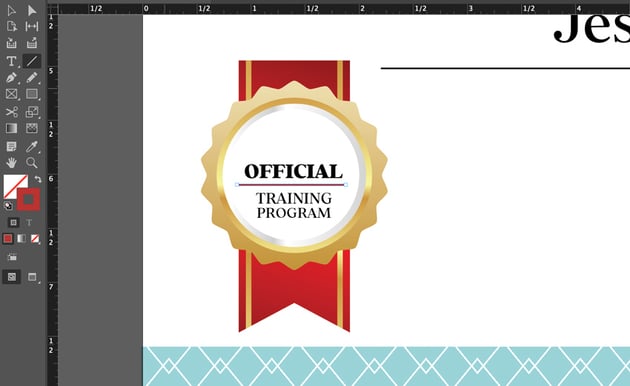
Next, let’s return to the Line Tool, as we did earlier. Make sure your Stroke Color is set to red so that it matches the ribbon. Then, click and drag to draw your line.
Step 14
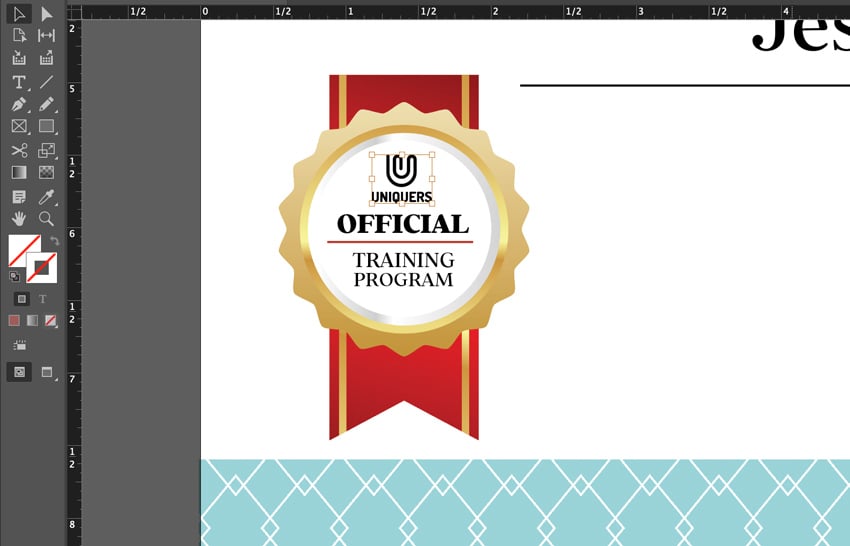
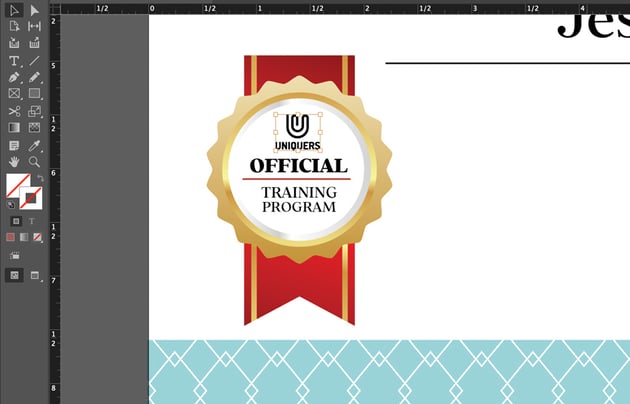
To make things look more official, I thought it would be good to add a logo mark here. I used a sample logo template from Envato Elements to try this concept out. To add an image to your design, go to File > Place and navigate to the file on your computer.
Step 15
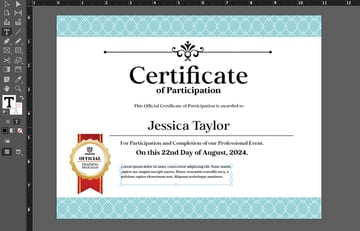
Our certificate is really coming along, but it still needs some supplemental content. Let’s turn, again, to the Type Tool. Some content we’d want to see on a certificate template would include:
- information about what the certificate is for
- the date the certificate was honored or the achievement was completed
- other supplemental content like licensing, addresses, etc.
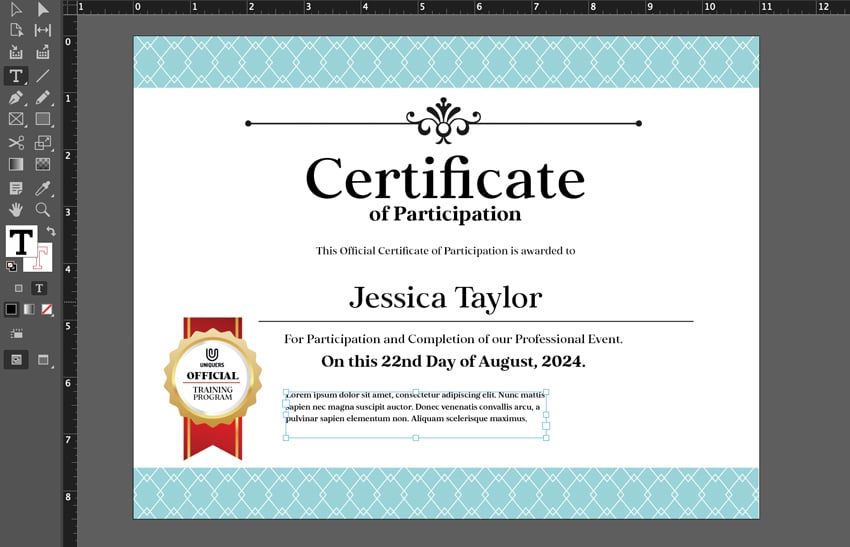
Here’s how I chose to lay out my text at the bottom of the certificate design.
Step 16
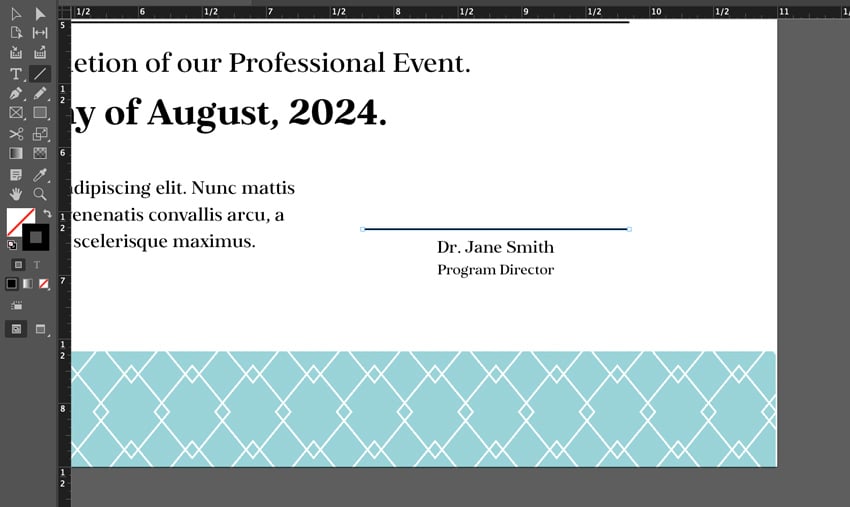
A certificate also typically includes a signature from an important person. This could be an instructor, a director, a dean, or any number of leadership roles.
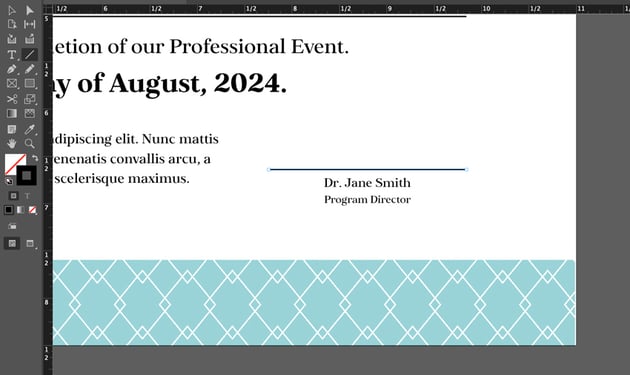
To create this part of the certificate template, turn to the Line Tool again. I created a line with a Black Stroke Color. Then, use the Type Tool to add essential content like the printed name and title of the person in question.
Step 17
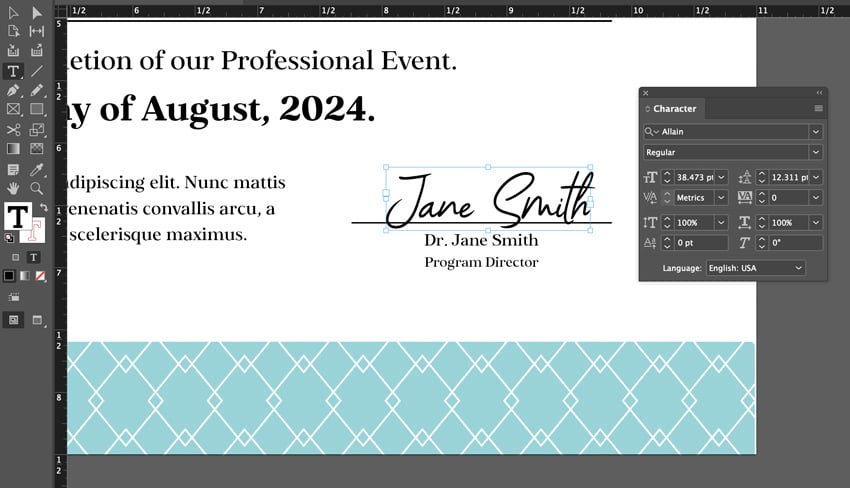
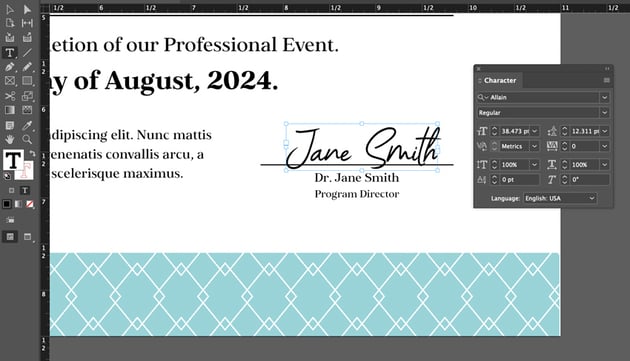
You could use an actual signature here, although some certificates will also use a name stamp or a signature font. To illustrate this idea, I’ll use a stylish handwriting front from Envato Elements, Allain Signature Font.
Remember, you can change your font in the Character panel, as we did earlier (Window > Type & Tables > Character).
Step 18
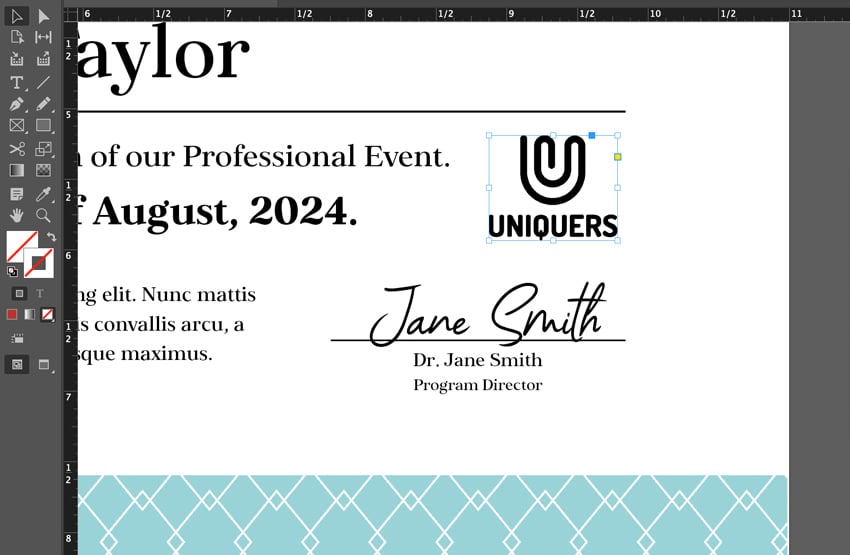
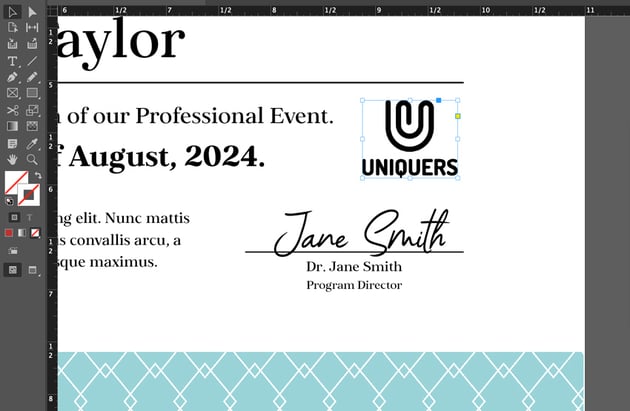
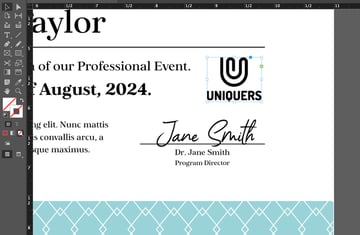
Since this section involves a lot of credentials, I thought it would be a nice idea to include the official logo again. We see it in the gold emblem, but it’s quite small over there. Associating it with the Program Director’s name further drives home that they are from the organization. I used this logo template from Envato Elements.
Place your logo by going to File > Place and choosing the logo file from your computer.
Step 19
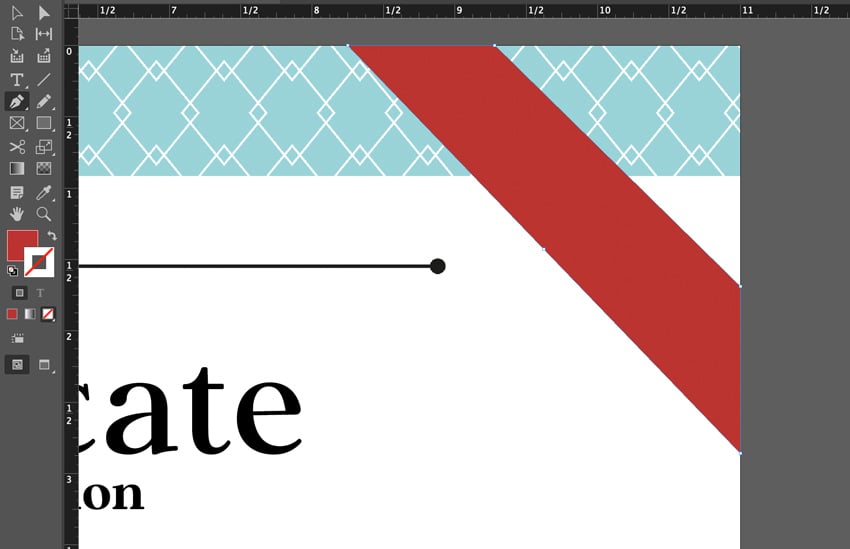
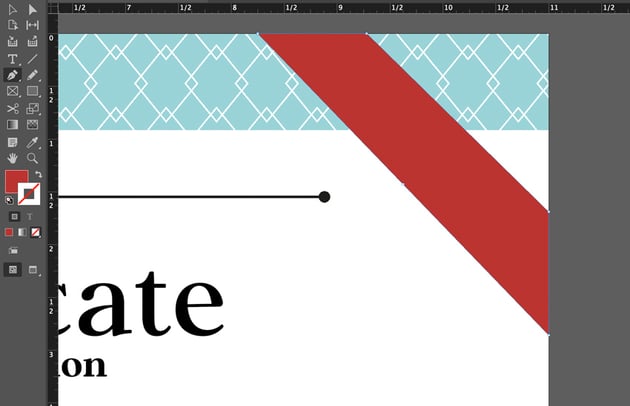
Our design is really coming along now. Let’s try adding one more element to emphasize that this is a big accomplishment. I really liked the red ribbon in our gold emblem, and I thought having some of that on the right side would help balance the composition.
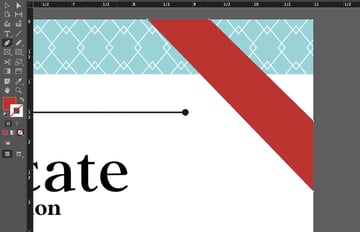
Select the Pen Tool from the Tools panel, and make sure your Fill Color is set to red. Click to create the points that will build your custom shape. Here’s the custom shape that I built.
Step 20
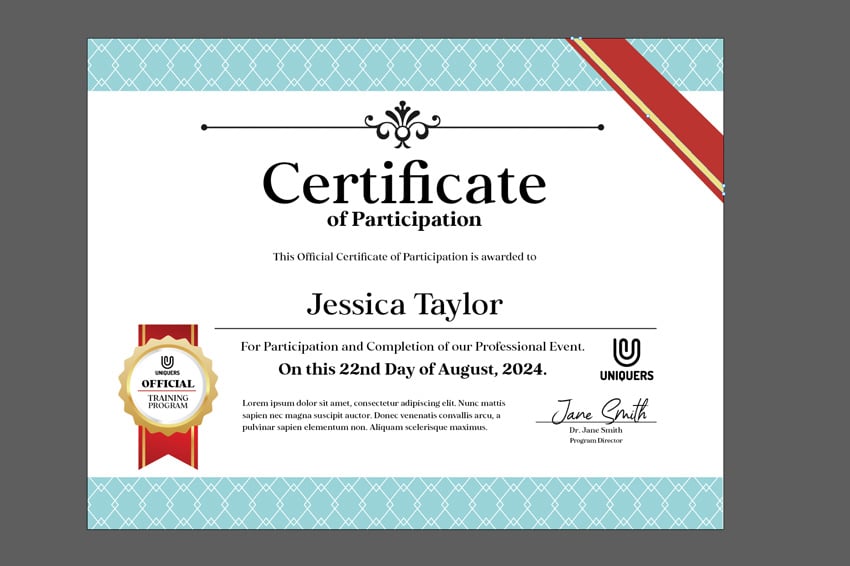
To further match the ribbon at the bottom of the composition, I repeated this to create a yellow shape. Use the Pen Tool—click to create points, only this time the shape should be much thinner to match the red ribbon at the bottom of the composition. You could make your ribbon any color you prefer.
Now You Know How to Create a Certificate Template in Adobe InDesign
And now you know how to create a custom certificate template in Adobe InDesign. You could change the colors, the style, and the copy as much as you want. You now have an easy-to-edit template, so any time someone finishes your program or attends your event, you can easily add their name and change the date.


Download Certificate Templates From Envato Elements
Looking for a certificate of participation sample template? You can find a whole library of certificate templates on Envato Elements. One low price gets you unlimited access to not only templates but also fonts, graphics, and much more. It’s all included for one price.
Take a look at these certificate of participation sample template designs, and download your favorites today.
1. Certificate of Participation Template Word (DOC, DOCX, AI, EPS, INDD)



If you’re looking for a versatile certificate template, you found it. This one includes files not only for InDesign, but also for Microsoft Word, Photoshop, and Illustrator. Since you get the source files, you can edit this template in any way you need.
2. Vertical Award Certificate Template (PSD, INDD)
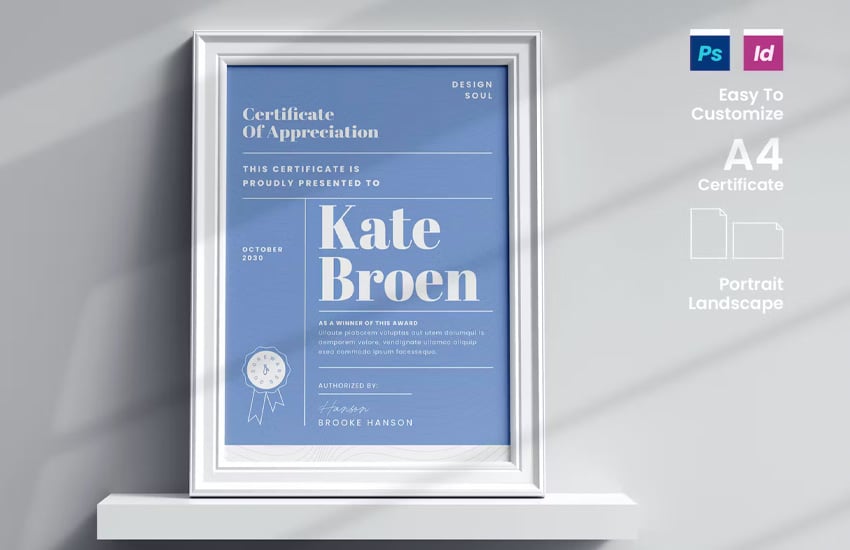
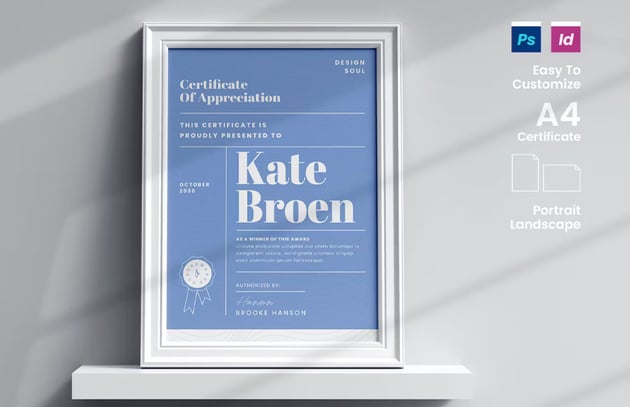
Isn’t this a stylish certificate design? It’s a great example of a vertical certificate template too. Its single color and high contrast make it look modern and trendy, while still looking very official and prestigious.
3. Ornate Certificate Border Template (AI, EPS, PSD, INDD)
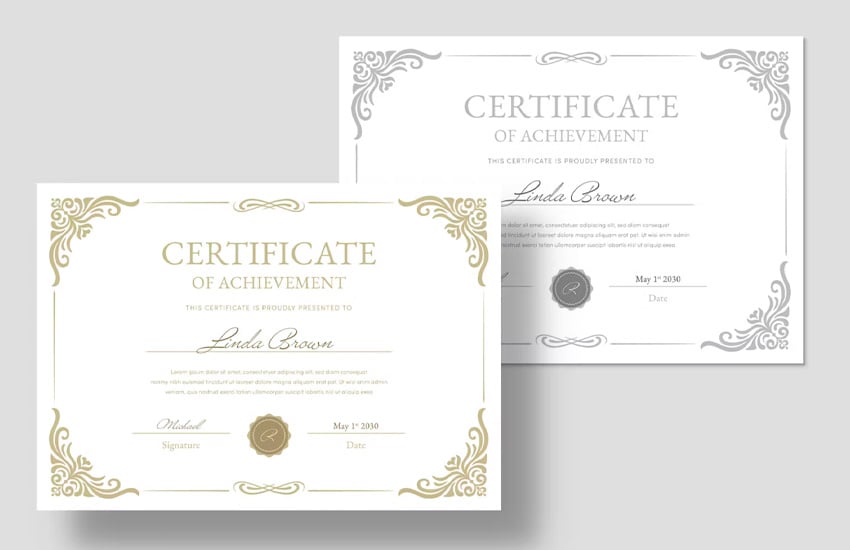
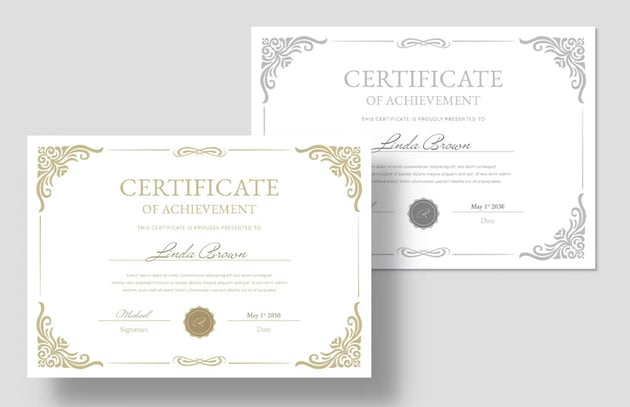
Prefer something more traditional? This classy certificate border template is elegant and perfect for formal awards. Easily change the information to create custom certificates for your recipients.
4. Bold Certificate Design Template (INDD)
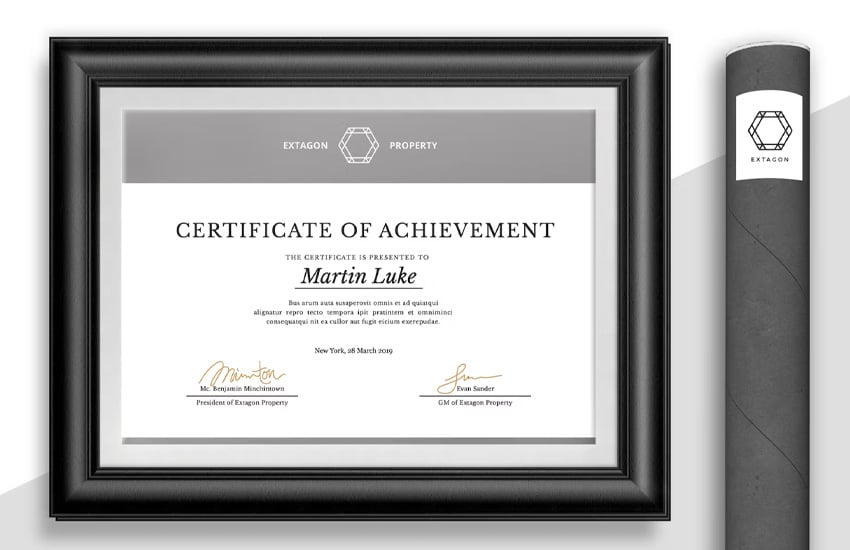


This bold certificate template is simple, clean, and professionally designed. You can keep it clean or add things to this design if you prefer. You could also try adding your branding colors here, instead of working with the gray.
5. Certificate Template Collection (PSD, INDD)



This awesome download includes 12 different certificate designs you can choose from. Mix, match, and customize them for all kinds of different awards. You can edit them in Adobe InDesign, but they also come with files for Adobe Photoshop.
Learn More About Adobe InDesign
There’s plenty more to learn about working in Adobe InDesign, right here at Envato Tuts+. Why not check out one of these free tutorials to keep learning more about InDesign today?