Learn how to make a car wash flyer in this Affinity Publisher tutorial. You can adapt this template to make flyers for car wash, detailing, and other business ventures. We’ll also take a look at some car wash flyers for inspiration.
What You’ll Learn
- How to create a car wash flyer in Affinity Publisher
- What kind of content to add to car wash flyers
- Where to find a car wash fundraiser flyer template if you don’t want to build one yourself
We’ll also walk through some handy Affinity Publisher techniques that you can use to create any type of flyer. So, if you’re looking to design car detailing flyers or even a car wash price list template, these concepts will still work for you.
What You’ll Need for This Tutorial
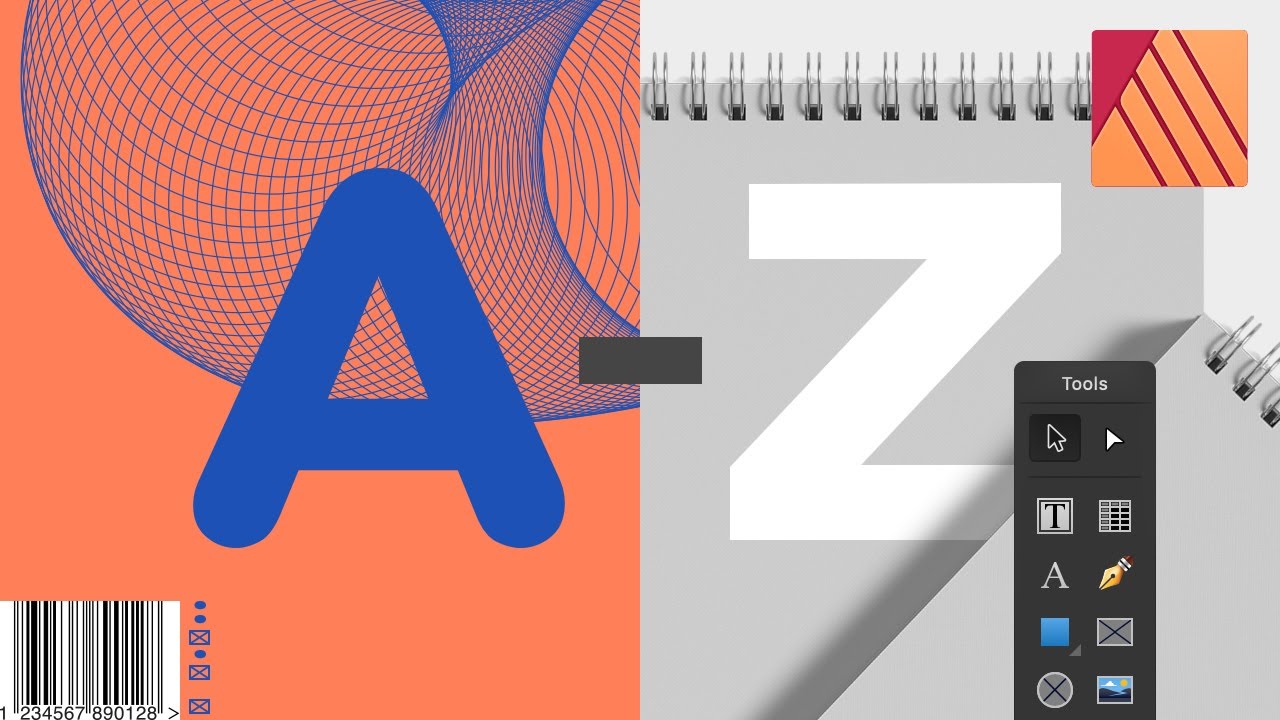
We’ll create this car wash flyer template in Affinity Publisher. These are the assets we’ll use to create it:
However, you could use any imagery and fonts you prefer. The techniques will still apply.
What Should You Put on a Car Wash Flyer?
What should you put on car wash flyers? Stop and think about your target audience and where your car wash flyer is likely to be seen. You want your information to be to the point. This probably isn’t a place for a lot of explanatory text. Consider the following:
- It needs to be very clear that you’re advertising a car wash. Do this via your imagery choices and make sure the words “car wash” have a lot of emphasis.
- It might also be a good idea to emphasize something enticing like a deal or a special price.
- Make sure your location is clearly visible. Otherwise, potential consumers might not be able to find your car wash.
You can include supplemental content too, but remember these key points. You might also want to consider things like social media information or even a QR code, so mobile users can easily access your website or coupons.
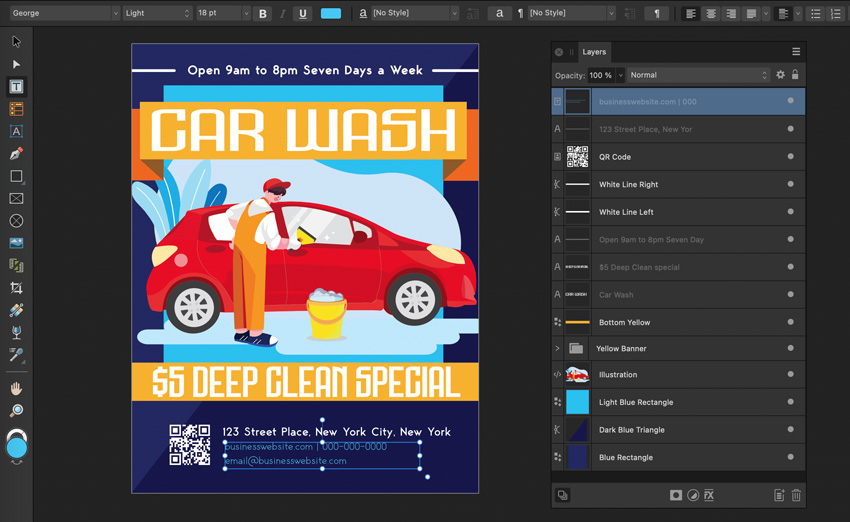
1. How to Make a Car Wash Flyer in Affinity Publisher
Step 1
Ready to learn how to make a flyer for a car wash? We’ll start by laying out the basics of our design in Affinity Publisher.
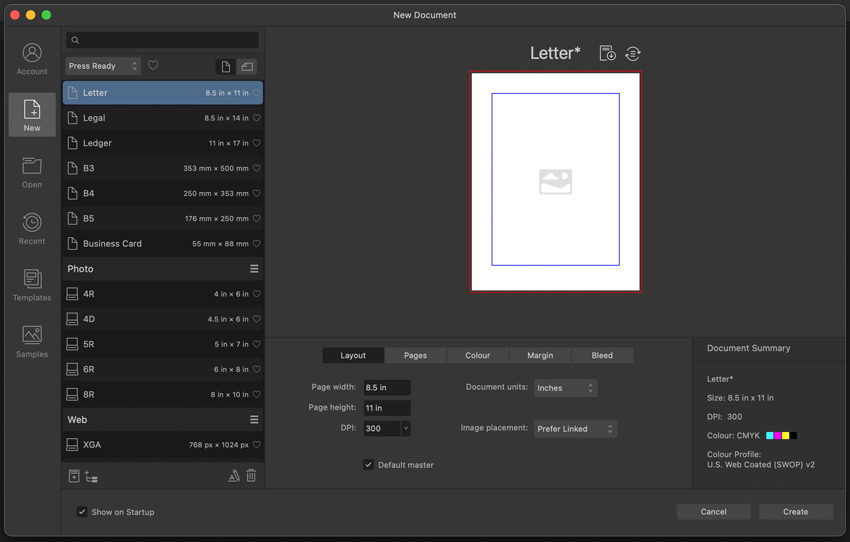
First, let’s start our car wash flyer template with a new document in Affinity Publisher. I’ll be working at 8.5″ inches by 11″ inches, a common paper size. However, you could work at any size you prefer. If, for example, you’re designing mobile car wash flyers, you may want to target different dimensions.
Once you’re happy with your new document’s specifications, click Create to create your new document.
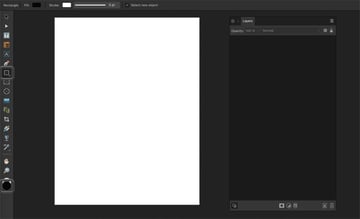
Step 2
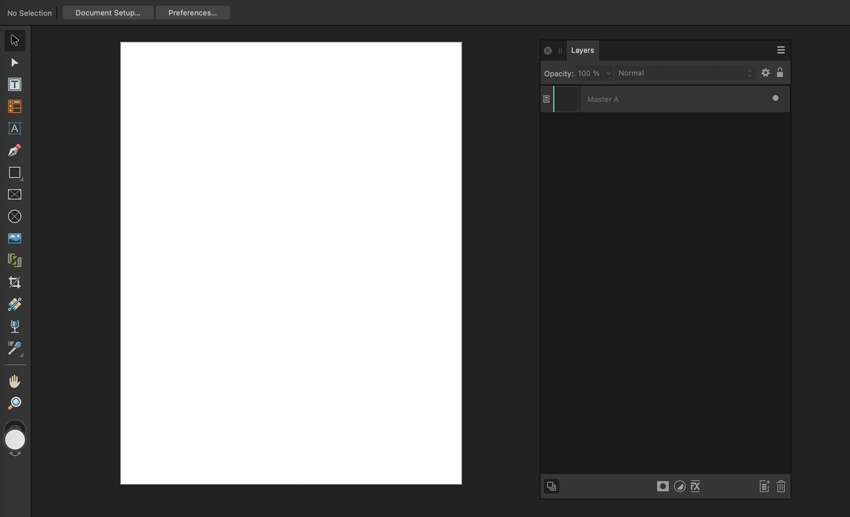
Here’s what our workspace looks like. I like to keep the Layers panel open as well, so I can easily adjust and select different parts of my work. You can open the Layers panel by going to Window > Layers. Note that, right now, our work area is blank.
As an extra tip, you can rename your layers at any time by double-clicking on the layer’s name. I like to do this for organizational purposes, and I’ll be doing that in this tutorial. This way, you’ll be able to see what content is on what layer in the demonstration.

Step 3
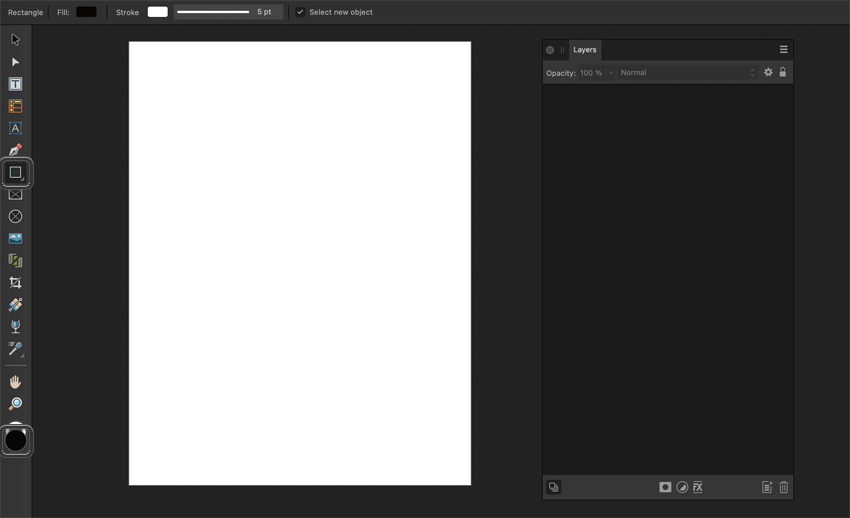
Let’s begin by creating a rectangle. We can do that with the Rectangle Tool. You can find it in the Tools, which can be found on the left-hand side of the screen.
But before we draw, let’s choose a Fill Color for our rectangle. You can find the Fill Color in the Tools too, towards the bottom.
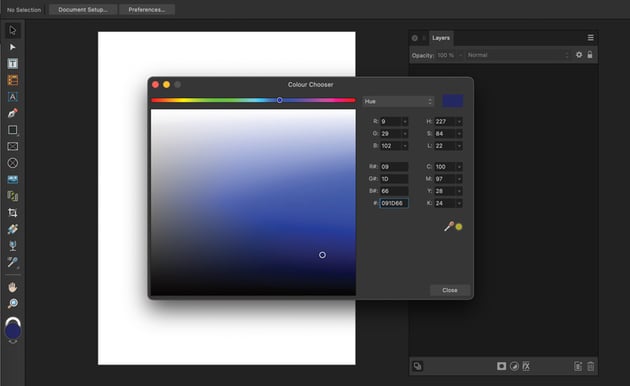
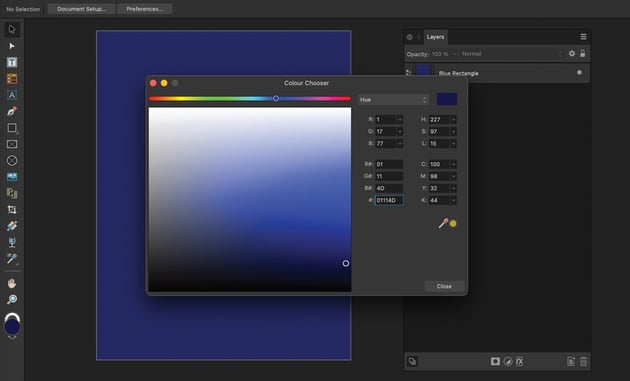
Step 4
Double-click on the Fill Color, and the Color Chooser will pop up for us. You can click and drag to select colors with the various color selection options. Mine is set to Hue right now. If you’d like to use the same color as I am, you can input the hex code #091D66.
Once you’re happy with your color selection, click Close to close the Color Chooser.


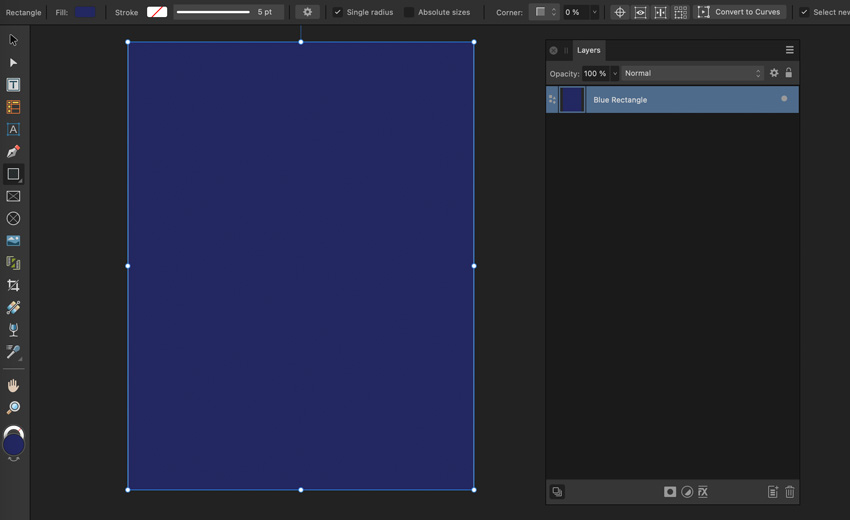
Step 5
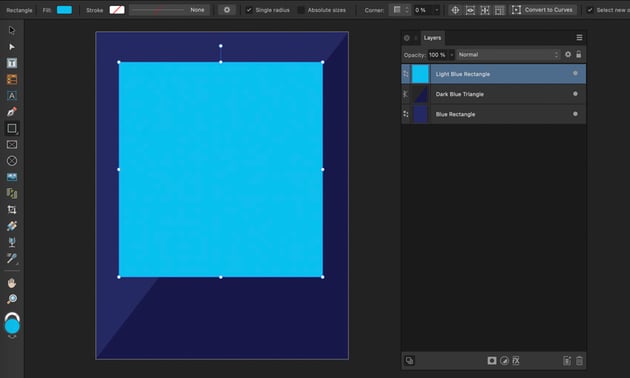
Now, let’s go back to the Rectangle Tool. With the Rectangle Tool selected, click and drag to draw your rectangle. In this case, I want the rectangle to cover my entire canvas. This gives me a dark blue background for my flyer.

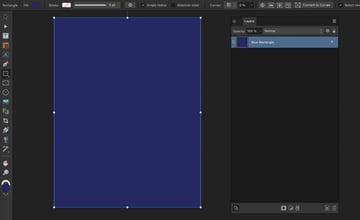
Step 6
I’m going to expand on this with another color. First, make sure our new rectangle is deselected. You can do this by clicking outside or away from what we’ve drawn.
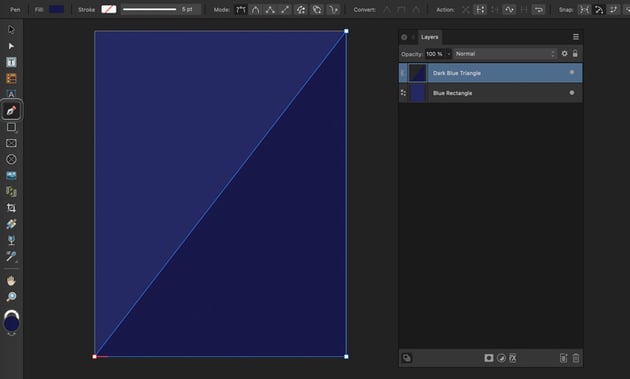
Then, let’s go to our Fill Color again. This time, I’m going to use the color #01114D, an even darker blue.


Step 7
Next, with our new color selected, select the Pen Tool. With the Pen Tool, we can click to create nodes, which allow us to create custom shapes. I clicked in the bottom left, bottom right, and top right corners, and then back in the bottom left again to create a triangle.
The result is a split color background that looks like this.


Step 8
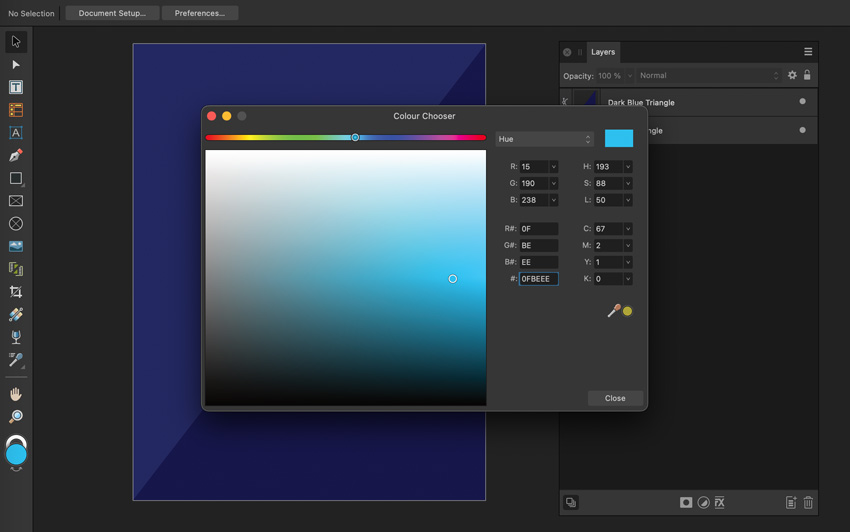
Let’s add a little more color to the background before we move on. Once again, let’s turn to our Fill Color. This time, I chose the color #0FBEEE, a lighter cyan color. You can choose whichever color you prefer. As before, once you’re happy with your color choice, click Close to close the Color Chooser.


Step 9
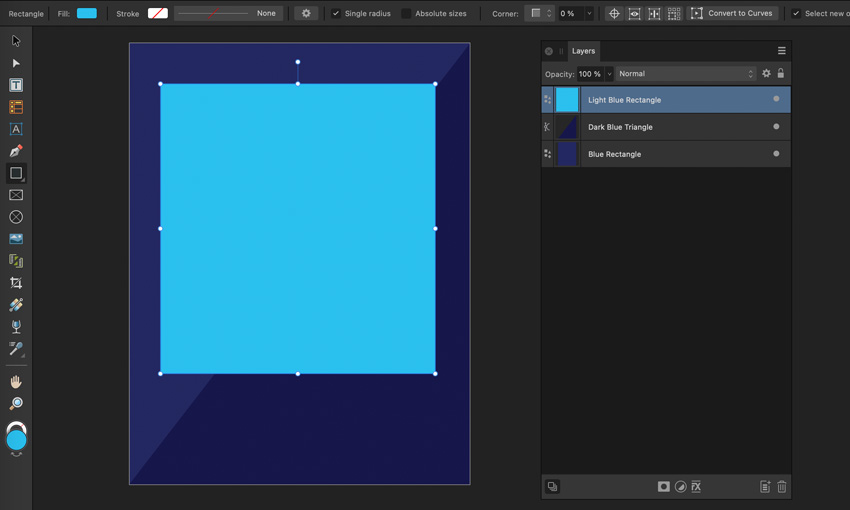
Let’s use the Rectangle Tool again. With the Rectangle Tool selected, click and drag to draw a rectangle. I created a shape that looks like this, towards the top of my composition.
Step 10
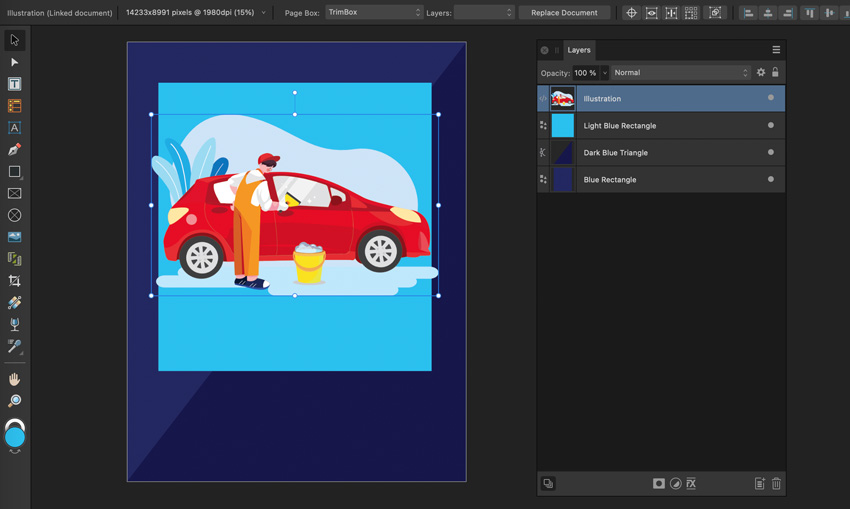
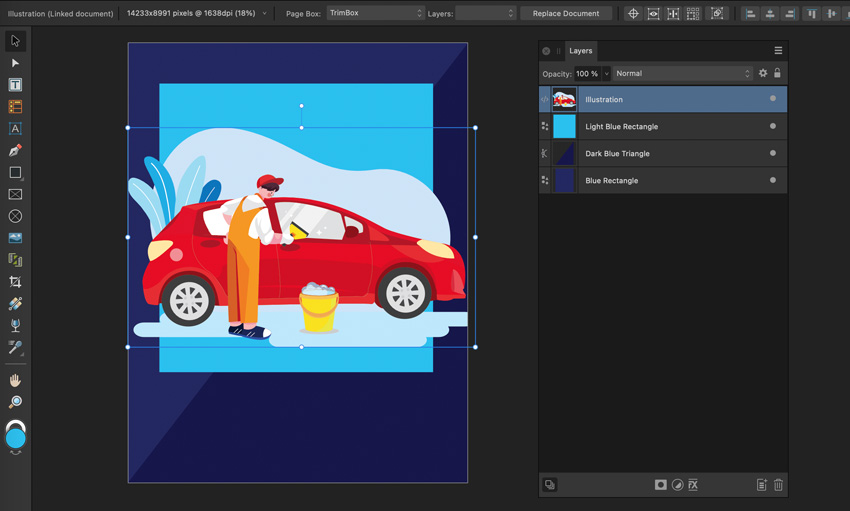
Now, let’s experiment with adding some imagery to our flyer design. I’m going to use this car wash illustration from Envato Elements, but you could use any imagery of your choice.
First, go to File > Place to select the imagery from your computer. Select your image, and then Affinity Publisher will allow us to place the image into our design.
I like to click and drag to choose the size of the placed image. Give it a try! Here’s what the result looks like:

Step 11
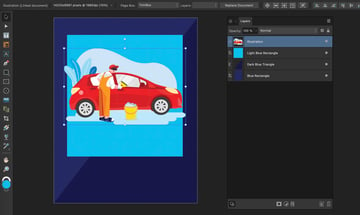
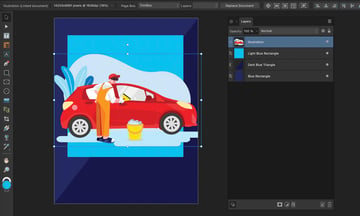
But what if you need to resize your image? Affinity Publisher makes that simple too. With the Move Tool active, select your image. You’ll notice that several visible handles—or nodes—become visible. You can click and drag on these nodes to easily resize your imported imagery.
Here’s the alignment and scale I decided to use for my imagery.

Step 12
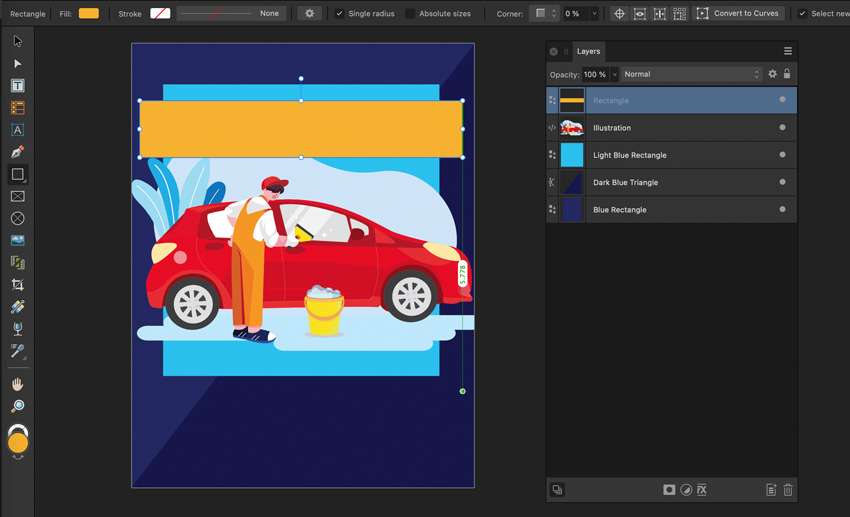
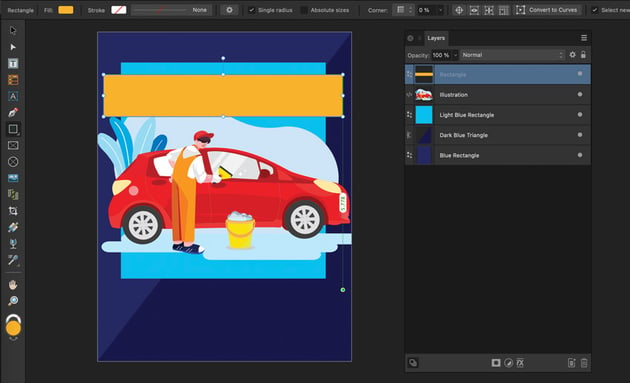
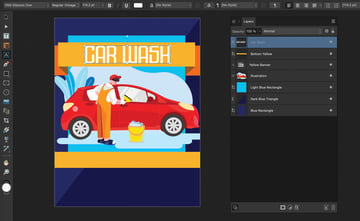
Next, let’s experiment a little more with shapes in Affinity Publisher. For starters, let’s change our Fill Color again. This time, I’ll work with a yellow color (hex code #F7B232). I chose this color because it visually associates with my illustration.
Begin by drawing a rectangle with the Rectangle Tool, just as we did earlier. Here’s how I positioned it in my composition.

Step 13
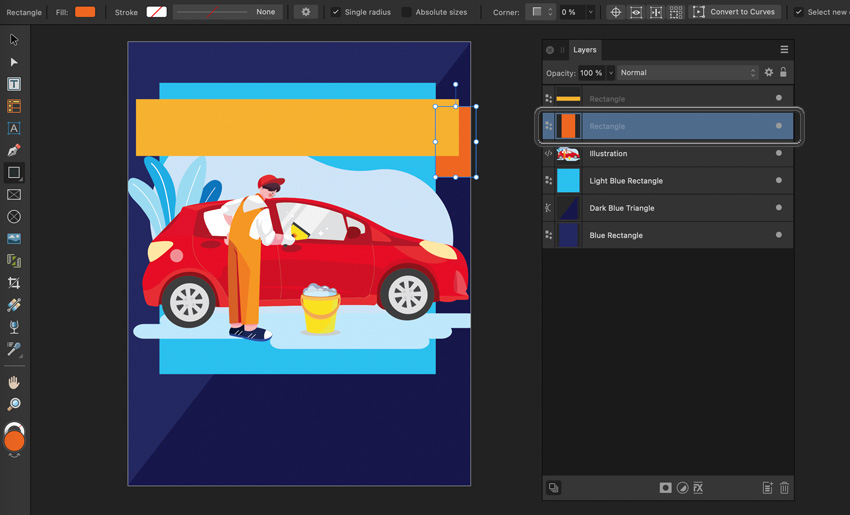
Now, I want to give this rectangle some depth and make it look like a 3D ribbon! Let’s change the Fill Color again, this time to a darker orange (hex code #FC6A10).
Use the Rectangle Tool to draw a small rectangle on one end of our existing shape. Here’s what mine looks like.


Step 14
However, I want this behind my yellow banner. What can we do?
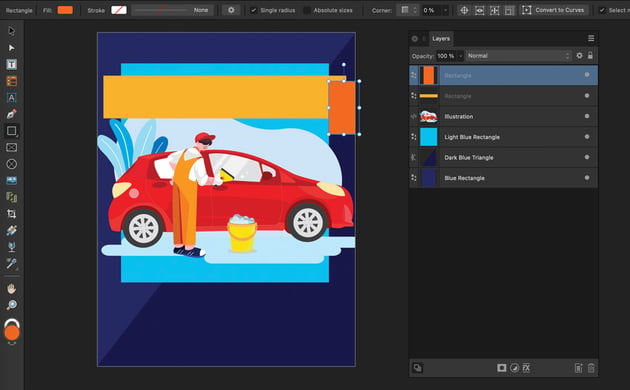
We have a few options. First, I like to turn to my Layers panel. Then, I can easily find the artwork I just created and click and drag to reposition it in my layers. Once I put this newly drawn orange shape under my yellow one, in my layers, it appears the way I wanted it to.
Or you can also select your shape, right-click, and go to Arrange > Move Back One to adjust this layering. The choice is yours!

Step 15
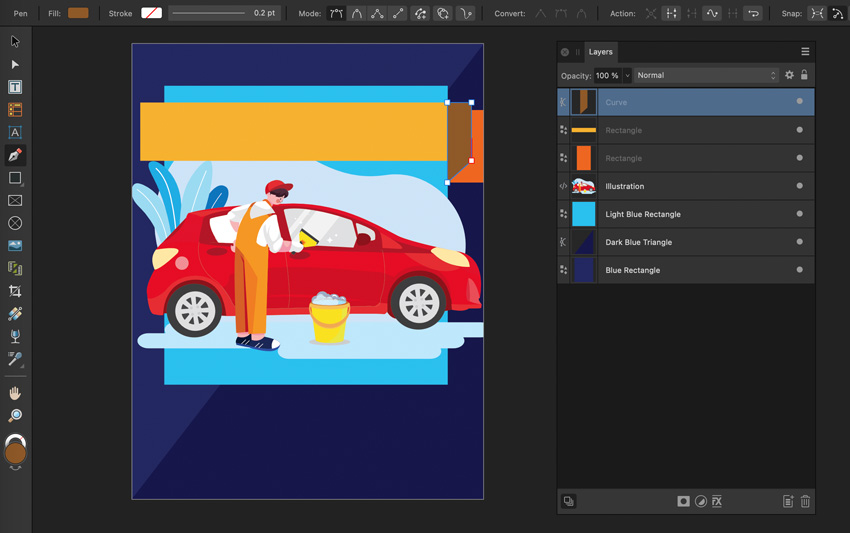
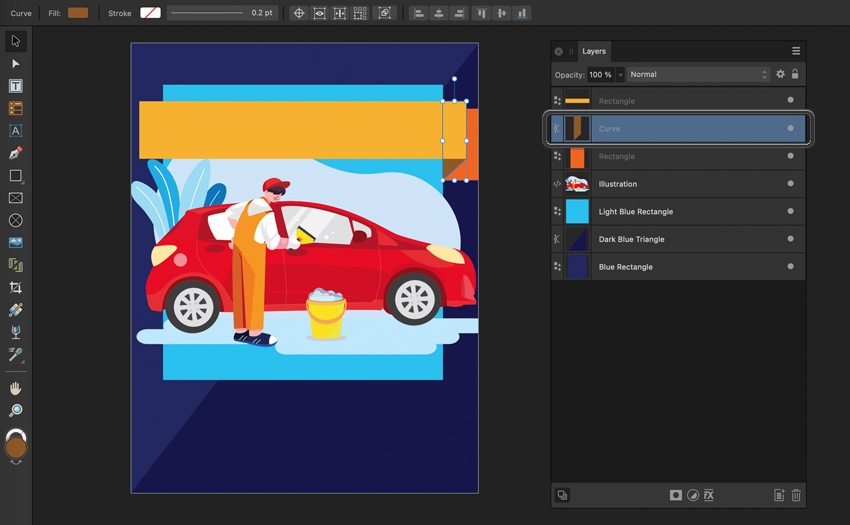
Let’s choose another Fill Color. This time, I went with a darker brownish color (hex code #905929).
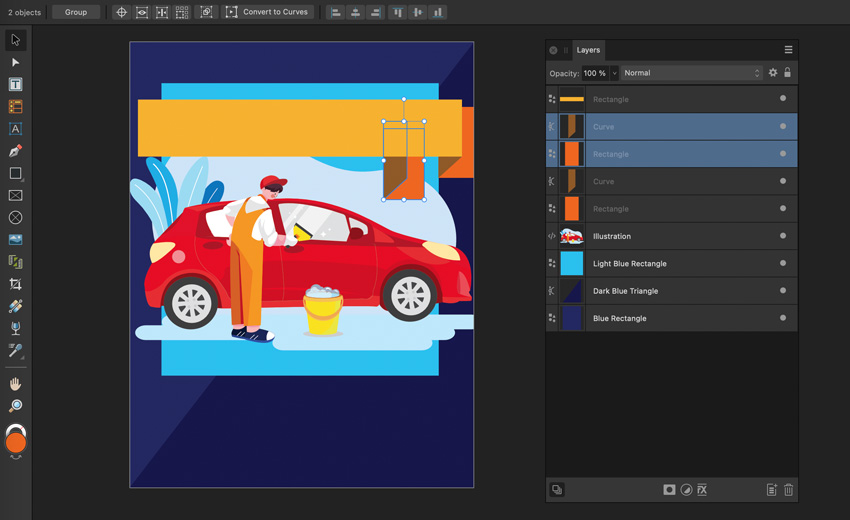
Select the Pen Tool. We’re going to click to create nodes to build a custom shape again. This time, I wanted to create a triangle to connect my two rectangles. This helps build the appearance of a three-dimensional ribbon.
Here’s what my custom shape looks like:
Step 16
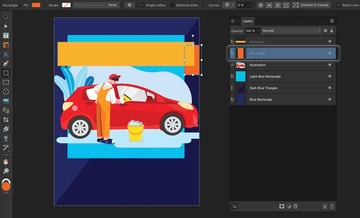
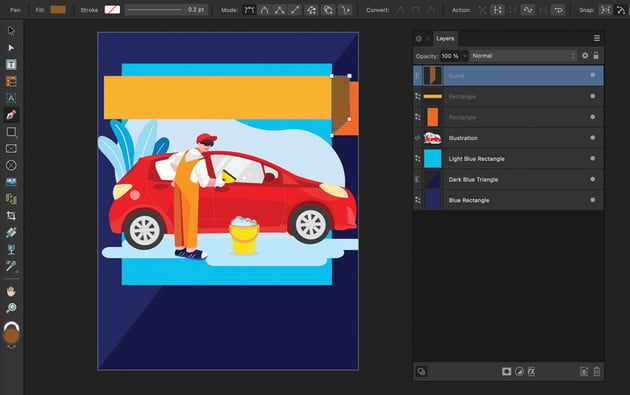
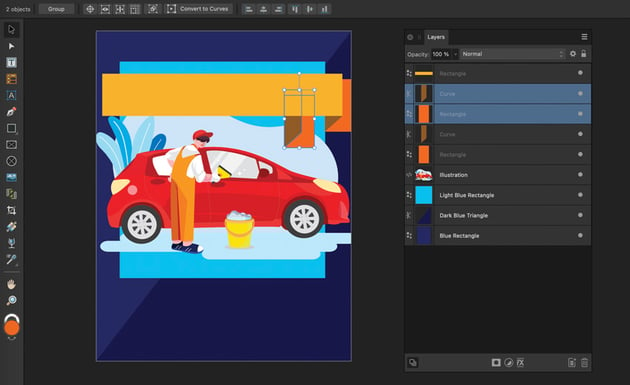
Again, I’m going to need to reorder this shape so that it’s behind my yellow rectangle, but in front of my orange one. I like to rearrange my content in the Layers panel—just click and drag to rearrange.
Remember, you can also select your content, right-click, and go to the Arrange menu to move your content forward or backwards in terms of layering.
Here’s a look at the result.

Step 17
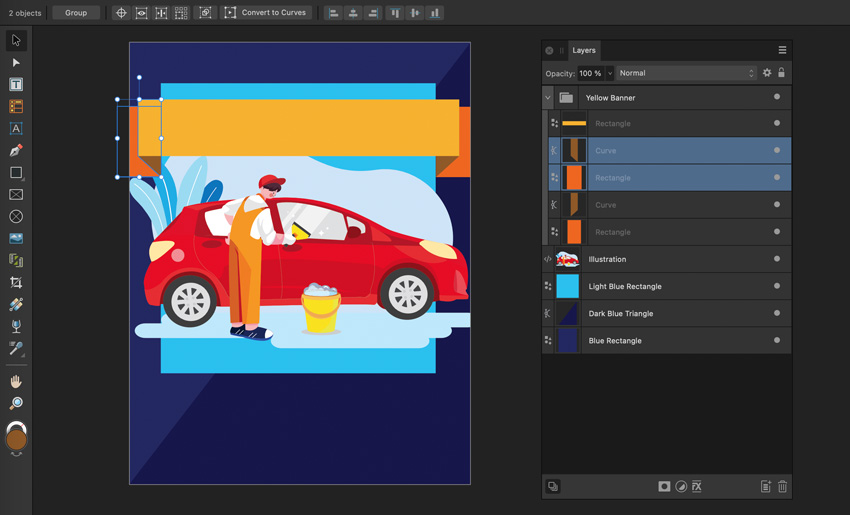
Now we’ve built one side of our banner, what about the other? Thankfully, we don’t have to repeat that all over again. Instead, with the Move Tool active, hold down the Shift key and select both the orange and the brown shapes. This will make them both active and selected.
Then, we can go to Edit > Copy and Edit > Paste to make a copy. Affinity Publisher may paste this content in the same spot by default, so make sure to check!

Step 18
While all the copied content is still active, right-click and select Transform > Flip Horizontal.
Then, with the Move Tool, we can click and drag to reposition these shapes on the other side of our yellow rectangle. Now our shapes look like a banner with some depth!


Step 19
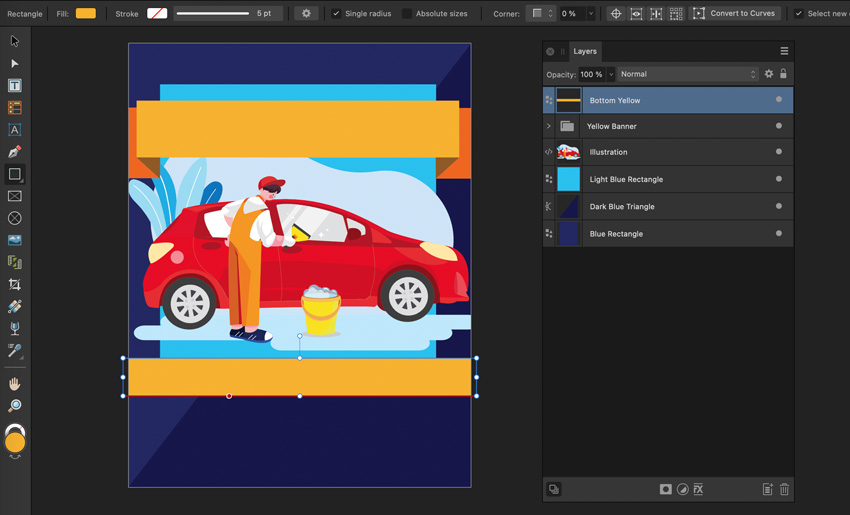
To wrap up our shapes, let’s create one more rectangle. This time, I’ll use the same yellow color as the front of our banner.
Use the Rectangle Tool to draw a long yellow rectangle at the base of our blue rectangle. The result should look like this:


2. How to Add Text to Your Car Wash Flyer
Step 1
Now that we’ve worked with shapes and imagery, let’s add some text to our flyer. I’m going to add some white text to our yellow banner, at the top of our composition.
Select the Artistic Text Tool in the Tools.
Before we begin, let’s choose our text options in the Context Toolbar. Here, we can choose things like our font and our font color. I chose the Gibsons Vintage font, which you can download on Envato Elements, and I set my font color to white. You could use any font or color you prefer.
Once you’ve chosen the options you like, with the Artistic Text Tool active, click and drag to create your initial text box. You’ll notice that Affinity Publisher gives you a visual example to help you gauge the size.
Go ahead and type in your flyer’s title here. I typed out “Car Wash”.


Step 2
Since this font is a decorative display font, I wanted to experiment with its width. This is not something I would normally do—it’s not typically a best practice to distort your type—but in this case, it worked nicely.
With the Move Tool selected, I resized my text so it would be wider. Just click and drag on the resize handles, particularly on the sides. Here’s what my text looked like in the aftermath:


Step 3
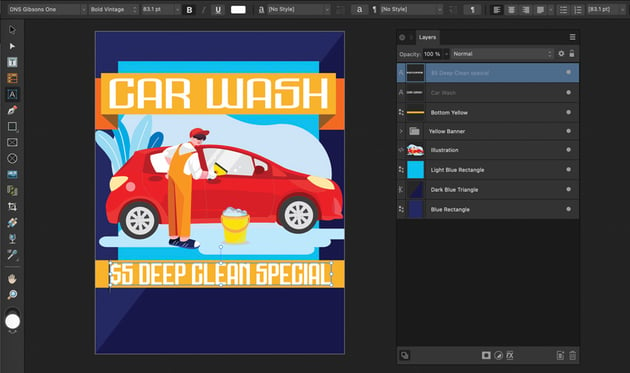
Let’s repeat this process for the other yellow rectangle in our composition. Using the Artistic Text Tool, I used the same font—Gibsons Vintage font—in white. I also experimented with the scale and width. This one I chose not to extend as much. You could put any type here you prefer, but it’s well suited to a tag line or other supplemental point of interest.

Step 4
Let’s use a similar process elsewhere in our composition too. It would be a great idea to list the hours of this business, so let’s try putting that at the top.
Again, use the Artistic Text Tool—we’re not setting body copy here, so it can be a great choice! This time, I used the sans serif font George, which you can also download from Envato Elements, in white.
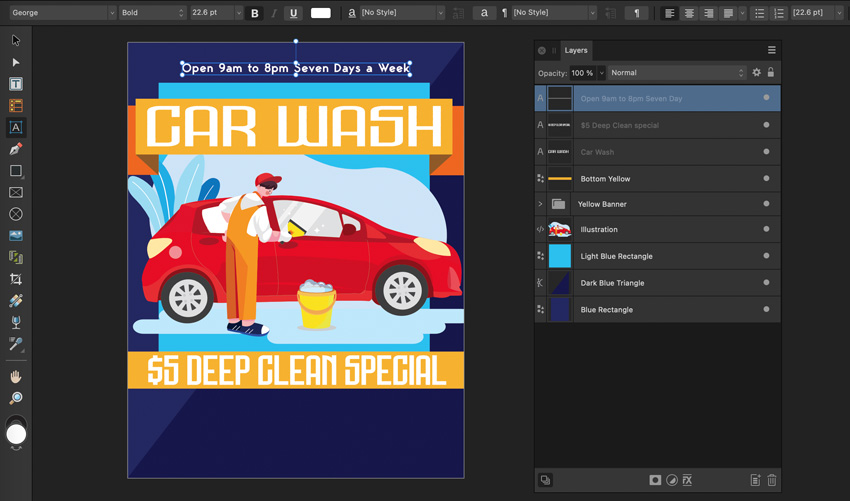


Step 5
To add a little extra here, let’s create some lines with the Pen Tool.
Select the Pen Tool. Then, click to add your nodes, just as we did previously. However, this time, we only need two nodes—one at the beginning and one at the end of our line.
We can turn to the Context Toolbar, with our line selected, to change the Stroke Color to white and the Stroke Width to 5px.
I added a line like this on either side of this copy.


Step 6
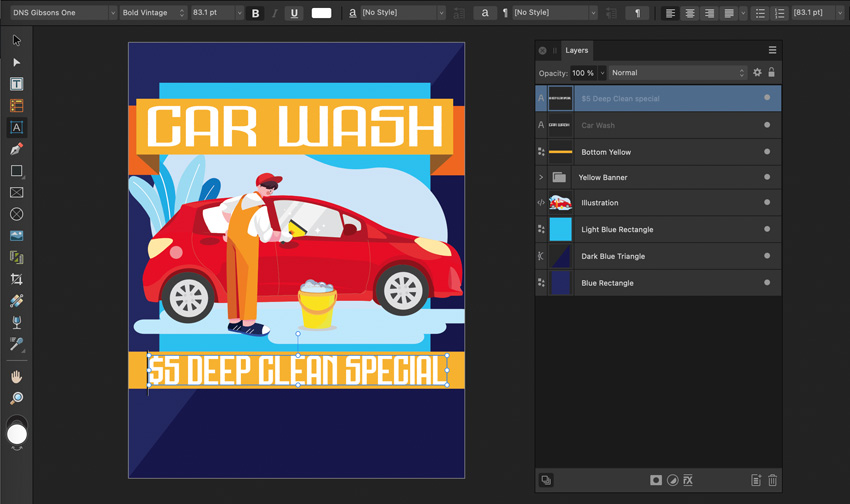
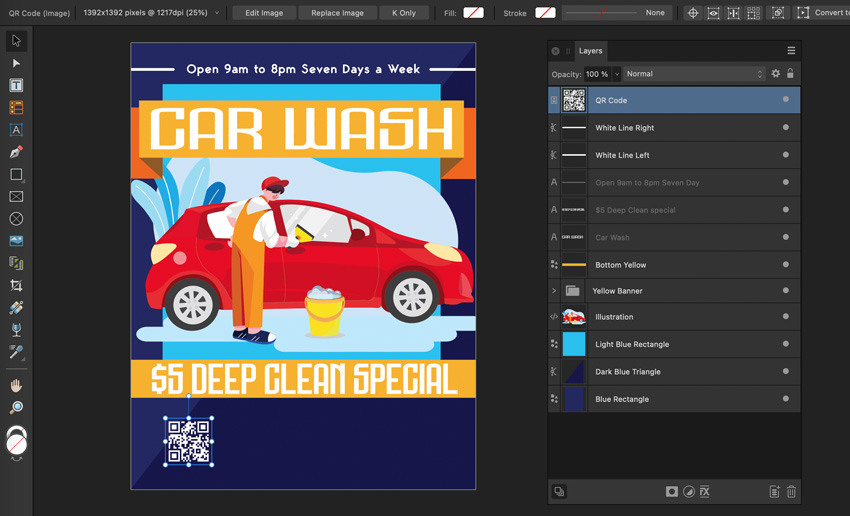
Finally, let’s add some supplemental content at the bottom of our composition. This would be things like the business location and contact information.
Imagine some places you might see a car wash flyer. Maybe you’d see one at a gas station, for example. Since places like that might only warrant a glance, how about adding a QR code to our flyer? You can use a free QR code maker online to make one for yourself.
Then, we can add our QR code via File > Place, just as we would add any other image in our composition. Here’s how I positioned a QR code in this design.

Step 7
Then, let’s add some supplemental text with the Text Frame Tool. Select the Text Frame Tool, and then click and drag to draw a text box. Then, you can type in any supplemental text you’d like. I added an address, phone number, and email address, using the sans serif font George.


Now You Know How to Make a Flyer for a Car Wash!
Keep in mind you could adapt this flyer to create car detailing flyers, a car wash fundraiser flyer template, and much more. Add and adjust the content in any way you like. You could also adapt this to create mobile car wash flyers—just try it out with different dimensions.


Check Out These Car Wash Flyer Template Designs
Whether you’re looking for detailing flyers, a car wash price list template, or a car wash fundraiser flyer template, there’s plenty to see on Envato Elements. The best part is, one low price gets you unlimited access to a library of thousands of flyer templates!
Check out these flyers for car wash businesses, and consider downloading your favorites.
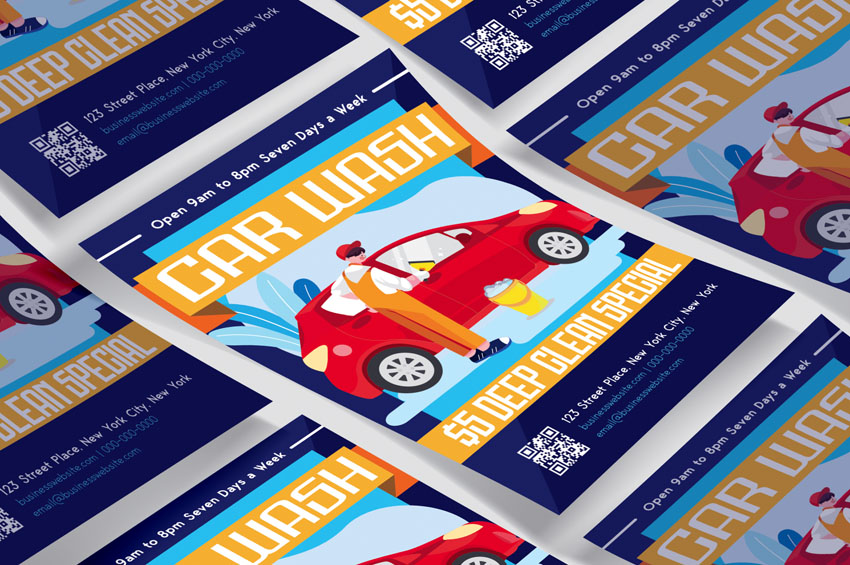
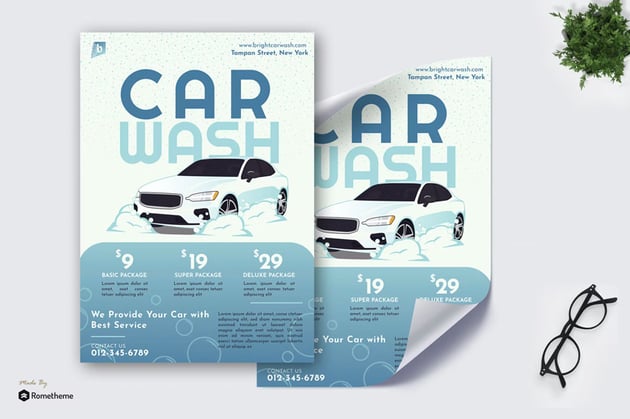
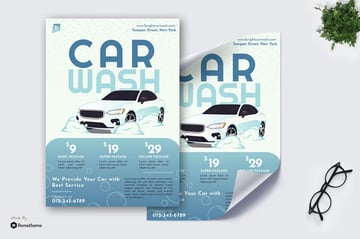
1. Car Wash Flyer Template (AI, PSD)
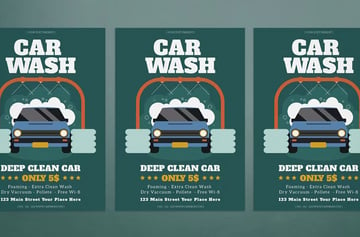
If you like a clean vector look, check out this car wash flyer template. It’s easy to customize too. Customize the text, colors, and even the illustration to make this flyer perfect for your needs.
2. Retro Car Wash Flyer Template (AI, PSD)
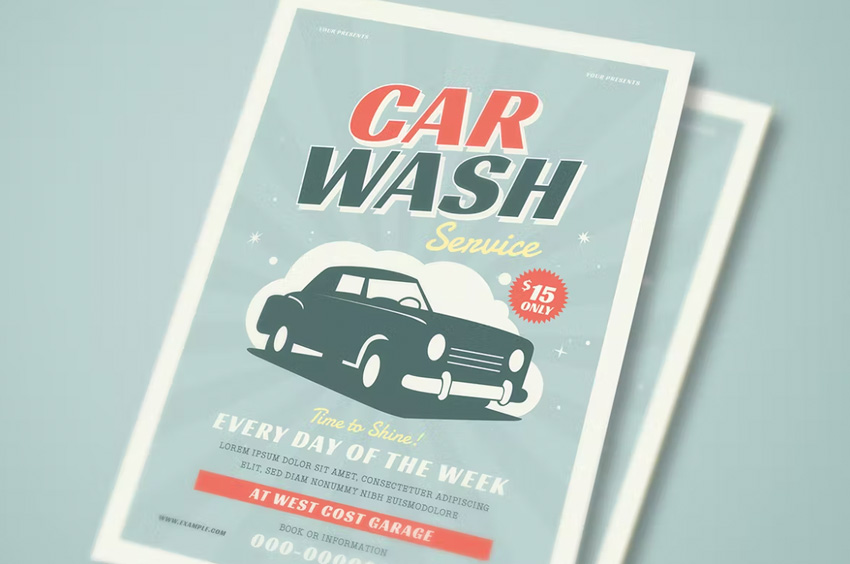


Love a vintage look and feel? This template could be perfect if you’re looking for a car wash fundraiser flyer template. Remember, you can customize every aspect of this flyer too. So, if you need to add things like a price list, you can do that.
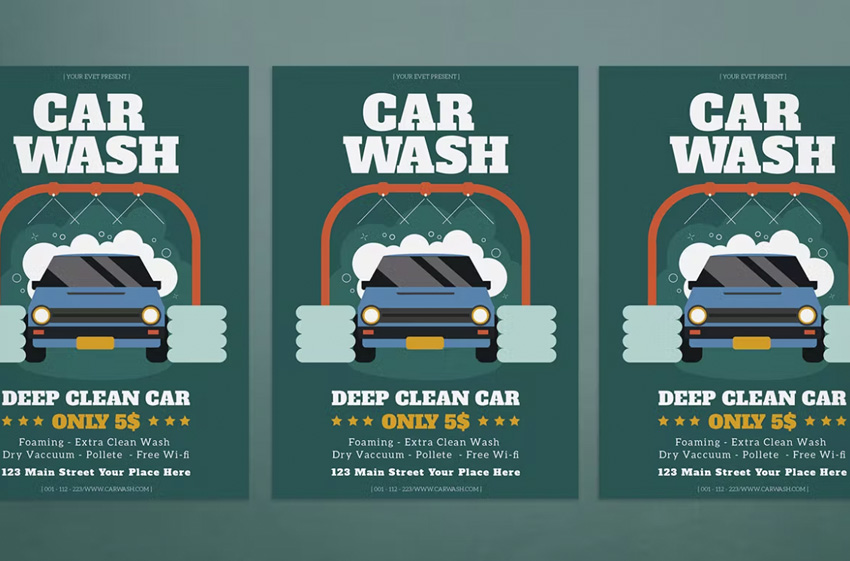
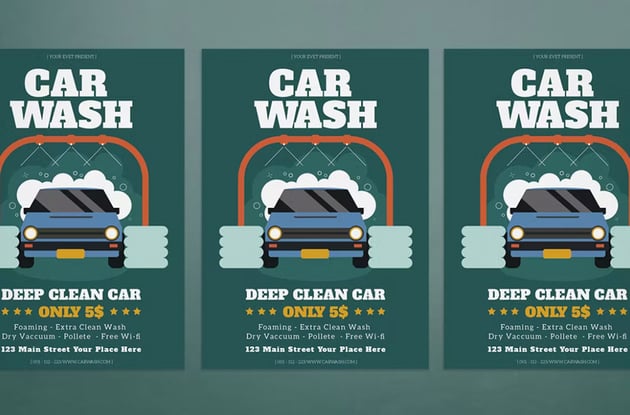
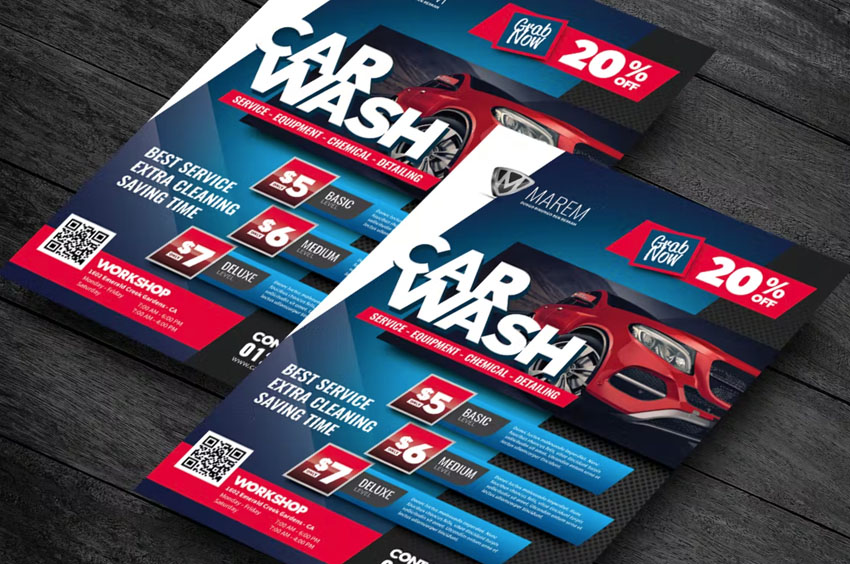
3. Stylish Flyers for Car Wash (AI, EPS, JPG, PNG, PSD)
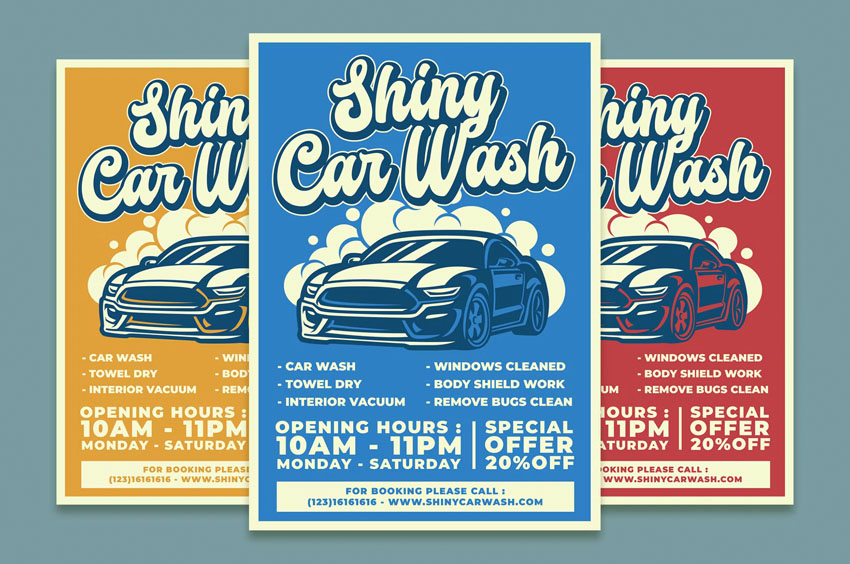


Here’s a car wash flyer template with a bold style. Choose between different colors, or try a different color of your choice. This is a great choice if you have a special offer or multiple services that you offer at your car wash.
4. Car Wash Price List Template Flyer (AI, EPS, PSD)
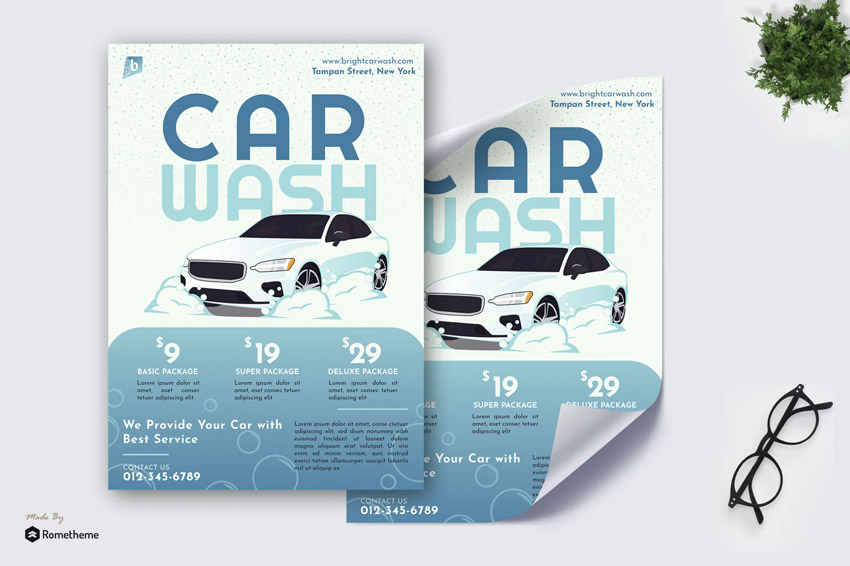
Here’s a clean, stylish car wash flyer with space for pricing. You could also repurpose this one to work for car detailing flyers if you wanted to highlight some of your services.
5. Photo Car Wash Flyer Template (PSD)


Prefer a car wash flyer with a place for photography instead of illustrations? Then a car wash flyer template like this one might be a strong choice for you. This is another great one for car detailing flyers because you could showcase an example of your work.
Learn More About Affinity Publisher
Want to learn more about Affinity Publisher? Check out even more free Affinity Publisher tutorials right here at Envato Tuts+ and on our YouTube channel!