Web designers use the most powerful photo editor, Photoshop, as a web design app. It comes with a vast array of tools. Today, Adobe Photoshop has become so powerful that you actually start using it as a verb. It’s no exaggeration to say that it is the most amazing software application on the earth. It’s been around for more than twenty years, becoming more and more powerful with time.
The tools are very versatile and powerful. They can be used for: editing images, cropping, resizing, and creating graphics. All designers need the CMYK support and the excellent photo editing tools that Photoshop offers. This article looks into most the basic and some advanced tools of Photoshop. While, it may be child’s play for Photoshop experts, some of us who are new to Photoshop may not understand many of the tools. Hopefully, this article explains each of their functions clearly.
Essential Photoshop Tools
The tools panel can be seen to the left of the screen in Photoshop. Some of them have options shown in the options bar. You can also see hidden tools when you expand some of the tools.
1. Eyedropper Tool
This tool is used to sample a color from a specific image, in order to decide whether this color can be further used. It offers the perfect means of selecting a color, such as the color of skin or the color of the sky. The eyedropper is a handy tool for taking samples of individual pixels in any fixed area. It can match any color in your image along with other functions.
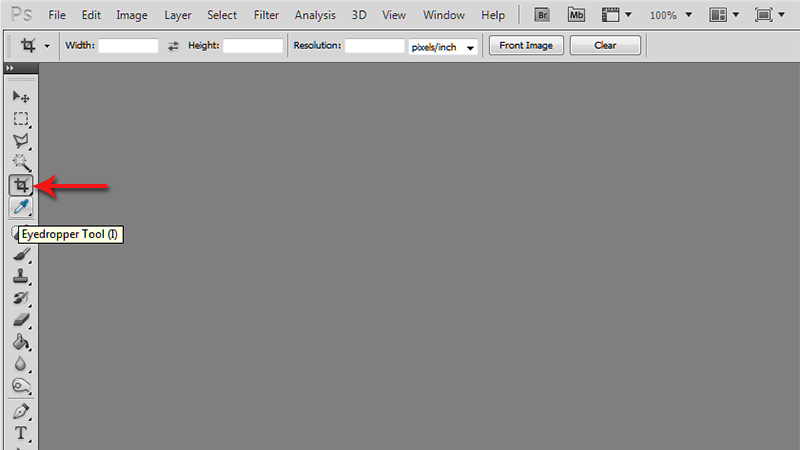
Select the tool from the toolbar and move it over various colors on your picture. The foreground color keeps changing with each click eventually producing an exact color match. Having activated the tool, you can change the pixels that the tool samples. The tool offers a sampling of one pixel at a time, but you can select variations, such as ‘3 by 3’ or ‘6 by 6’ if you want a blended color match taken from a bigger area, in case there are color variations in your image.
2. Type Tools
This is, perhaps, the most powerful and useful Photoshop tool with great potential. It is used for creating mathematical shapes and for vector outlines for defining typeface symbols. There are seven type tools in the Tools panel. The Vertical type tools are for entering Chinese and Japanese types, whereas the Horizontal and Vertical tools have similar attributes.
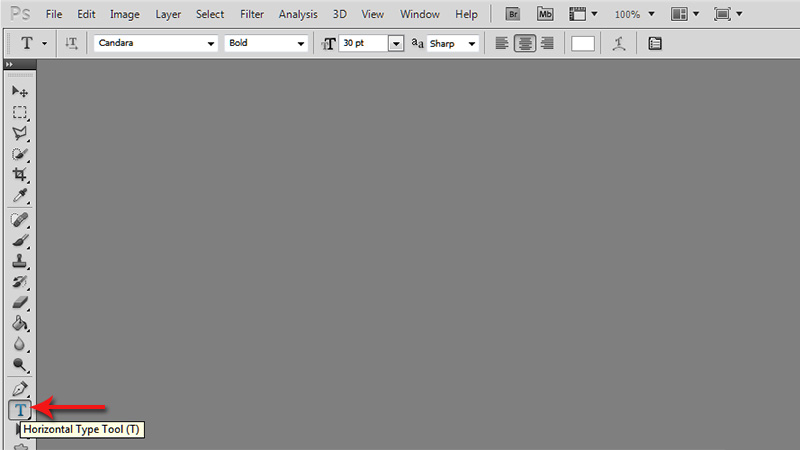
The Type tool is used for entering a paragraph of type or point type. The Type Mask tool produces a selection border in any type shape. The path type can be created by using Text on a Selection or Custom Path or Shape tools.
The text on Shape tool allows shape creation from a dropdown list. The text on Selection tool assists with drawing on an image to produce a selection that is converted into a path where text can be entered. The custom path tool can draw any custom path in the image. The refine path option allows altering of the path. It is a track on which the text can flow.
3. Burn Tool
The shortcut for the burn tool is ‘O’ on the keyboard. The burn tool basically makes areas darker exactly as the name suggests. Pixels that are white or bright can be darkened. It looks like a hand. The more you use the burn tool in a particular area, the nearer the color will get to black. Click on the icon and hold it down to select the Burn Tool from the Tools Panel using the Edit Full Mode. Next, select the brush in the Brush Preset Palette from the drop down panel.
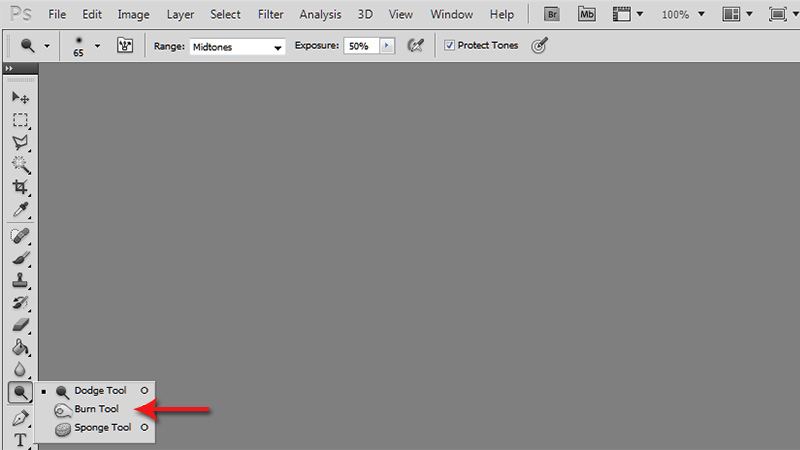
You can then adjust the brush size if you wish. Select Shadows, Highlights or Midtones from the Range pop up list. Shadows can darken the image, midtones can adjust the tones for medium darkness and highlights can be used for making light areas darker.
Adjust the Exposure setting for the amount of correction to be applied with a stroke. A smaller percentage gives better control with darkening. Start painting the areas you want to darken. If you are not happy with the results, you can use Ctrl+Z to undo the action.
4. Dodge Tool
You can lighten areas using the Dodge Tools. By selecting this tool, you can specify the softness by means of selecting different brush tips and also control the tonal ranges in the image. The amount of correction can also be specified by the exposure percentage. The procedure involved is the same as with the Burn tool.
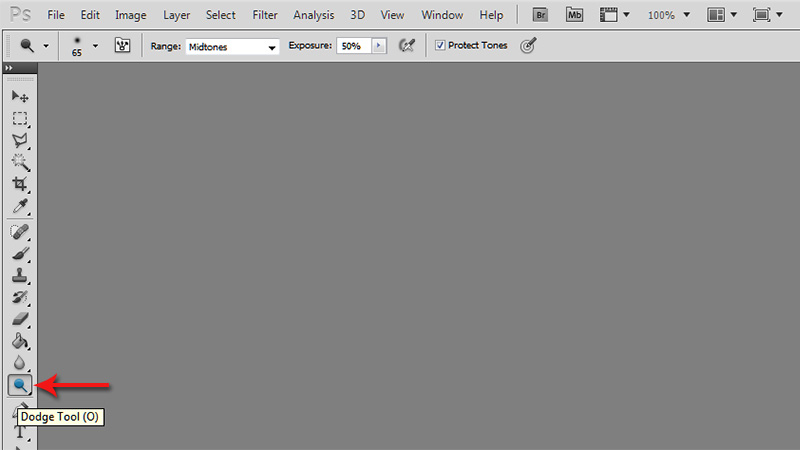
Select the Dodge tool from the Tools panel and select the brush you need. Select the brush preset picker panel and make adjustments to the size if necessary. Next, select the range as Midtones, Highlights or Shadows. You can then access the Exposure setting to select the degree of correction to be applied with a stroke by adjusting the percentage. Use the Dodge tool in small areas. With this tool, you can add detail only to what already exists.
5. Smudge Tool
This tool is used for smoothing. It has a warping effect. Smudging pushes the pixels on the screen in the manner of wet paint using the color selected to stroke. It can be used in small areas to soften edges to produce a natural look. If you overuse this tool, it will result in obliterating detail.
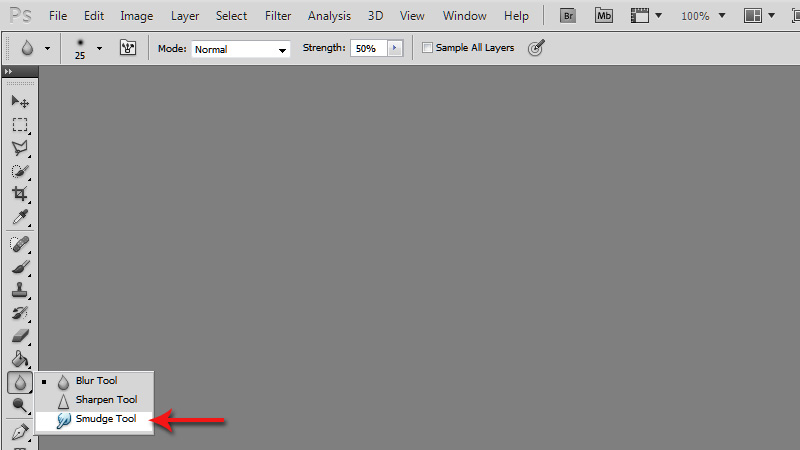
First, open the image you are working on and select the Smudge tool present on the Tools panel. Start selecting the settings you desire from the Options bar. You can select the brush from the Brushes panel or the preset picker for brushes. Choose the blending mode by going to the Mode pop-up menu and the smudge strength from the text box or from the strength slider.
Low values result in a mild smudging effect. The Finger painting option can be used temporarily. Use Alt key while dragging to use this. Start painting over the areas you want and redirect anything you want to change to get the exact look. Exercise some restraint, or it could be a little destructive. After smudging, save your image.
6. Blur Tool
The blur tool can be used for repairing the image and for artistic effects, such as a bit of a motion effect to a soccer ball. Blurring can also be used to focus on a specific element. It does this by reducing the contrast between the pixels placed next to each other. The Blur tool is used similarly to the Smudge tool.
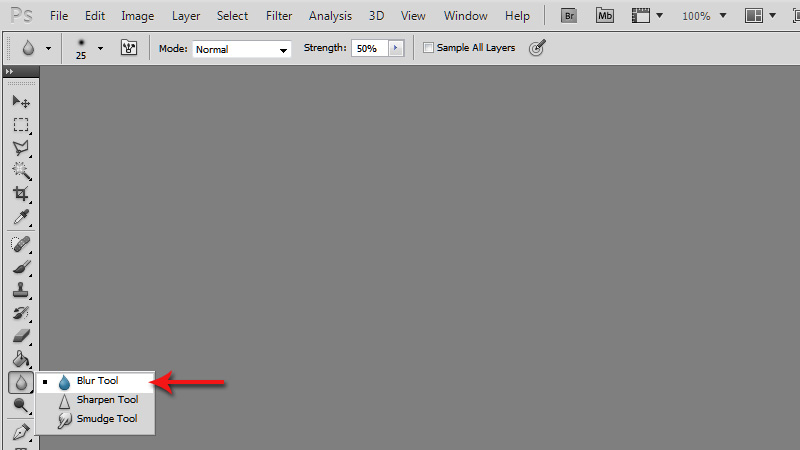
Go to the Expert mode in the Photo Editor and open the image. Select the Blur tool in the tools panel. Next, choose the Brushes presets and select a brush from the drop down panel. If the area for blurring is small, select a small brush. Use the Blur filter if you want to blur the whole background resulting in making one foreground object sharper. Choose a blending mode from the Mode menu and strength from the Strength slider for the strength of the blurred effect.
In case of multiple layers in the image, you can select the Sample All Layers option so that pixels of all the layers are accessed for creating the effect. Use the tool over the areas you want to paint and then choose File and save the image.
7. Content Aware Fill Tool
This tool analyses the image contents to let you know how the image would have looked if a specific unwanted element or area were not present. It helps repair larger, more complex, and multiple areas by selecting around them.
First, create a copy of your image so that you don’t make any changes to the original. Your layers panel will show two layers of the same image, with the original photo as the Background layer. The editing is done on the copy or the layer above it.
Draw a selection circling the area you want to either replace or remove with the help of the Selection tools from the Tools panel. Click and hold on the Lasso tool and then select the appropriate tool, such as the Magnetic lasso tool, the polygonal lasso tool, according to the shape of the object.
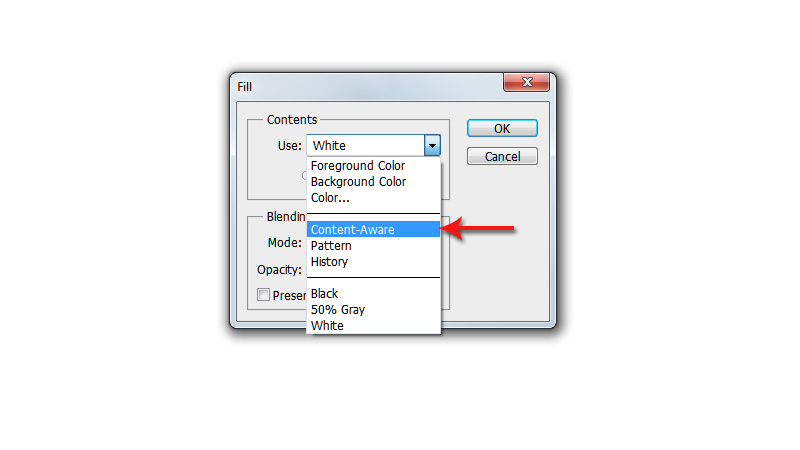
Next, press the keyboard letter F to get into full screen mode for easier selection and select the object, remaining close to the edges. Go to the Edit menu and select Fill. Select Content Aware from the dropdown list and click on OK. Photoshop fills the selected area with detail and the object is removed. If the object you wish to remove is very large, you may have to work with smaller parts of the object and repeat the process a few times.
8. Puppet Warp Tool
This is an extremely useful tool for making small changes to the image. First, load the image and select the object fairly accurately. With the Pen Tool, trace the area around the object as accurately as possible finishing where you started, forming a single loop. Keeping the pen tool selected, click the ‘Make Selection’, right click on the path and select ‘Make Selection’.
You can enter the 0 value for feather radius and click on OK. Next, click on the Marquee Tool, clicking on the ‘Refine Edge’ button for refining and fixing the selection. Make the best selections for the object and then go from Selection to ‘New Layer with Mask’. Now, there are two layers, one having just the object and the original. The object is to be deleted from the original image.
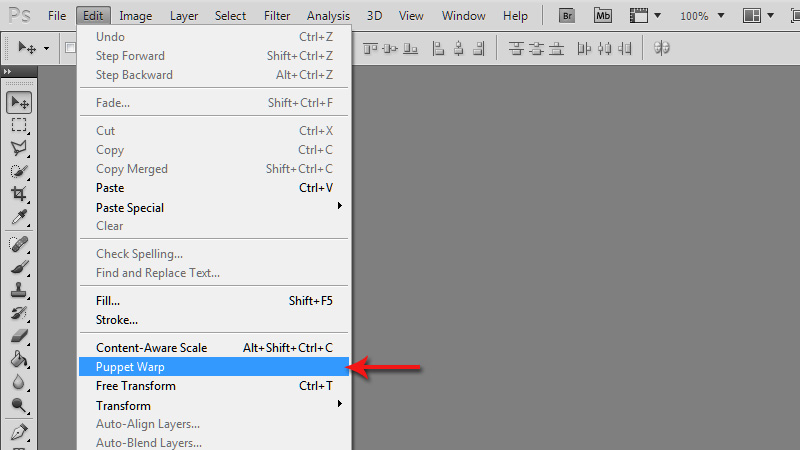
Go to Edit>Puppet Warp and manipulate it to warp the particular object by placing systematic points around it. Drag these points, using Alt + Click to warp the object in the required direction dragging it around.
9. Marquee Tool
The Marquee tool is a selection tool for giving a natural look to retouched images. It has the Rectangular, the Elliptical and the Single Row Marquee for different shapes. Access them by holding down the Rectangle tool, which is the default one in the Tools panel.
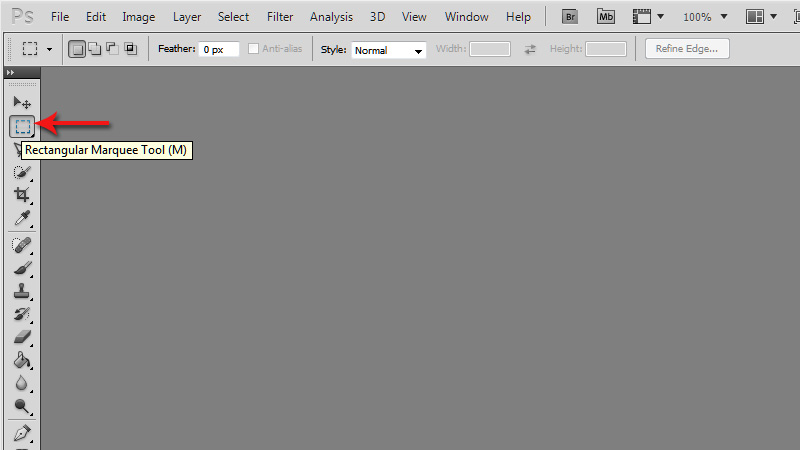
Select one of the Marquee tools and drag to the image. Create an active area by releasing the mouse button. Hold the shift key and drag to produce a second selection crossing with the earlier one to create a big selection. Hold the Alt key and drag to produce a second selection intersecting with the first one, where the first one is to be removed. You can create a rectangle, an ellipse, a square or a circle by holding the Alt, Shift buttons and dragging.
10. Clone Stamp Tool
This tool is used for retouching such imperfections as bruises and scratches. It uses the sampled pixels in an area and then copies them or clones them to another area.
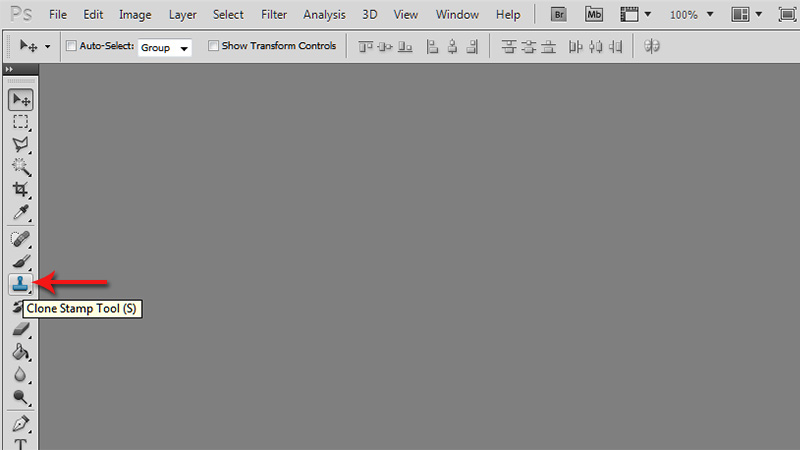
Open the image and select the Clone Stamp tool in Expert mode from the Tools panel. Select a brush from the Preset dropdown panel and make size adjustments with the size slider. Choose the Blend mode from Tool Options, such as Color, Multiply or Difference for special effects.
Use the Opacity slider for making the clone opaque or ghosted. Next, choose the Aligned option for moving the clone source when the cursor moves or if you want to do cloning in the same area several times, deselect the option. Choose the Sample All layers option for sampling all layers of the clone that are visible. You can also use the Clone overlay button for aligning an object with its underlying image.
Use Alt-click on the image area for cloning and then click or drag over the area in which the clone is to appear. You will have two identical objects. Save this image.
11. Save for Web and Devices
By choosing the File and Save for Web Command, you can prepare photos and images for onscreen viewing. When you open a file in the Full Photo Edit mode, you can choose the command Save for Web. You can view the original image on the left side and on the right you will find the changes with results and the quality settings.
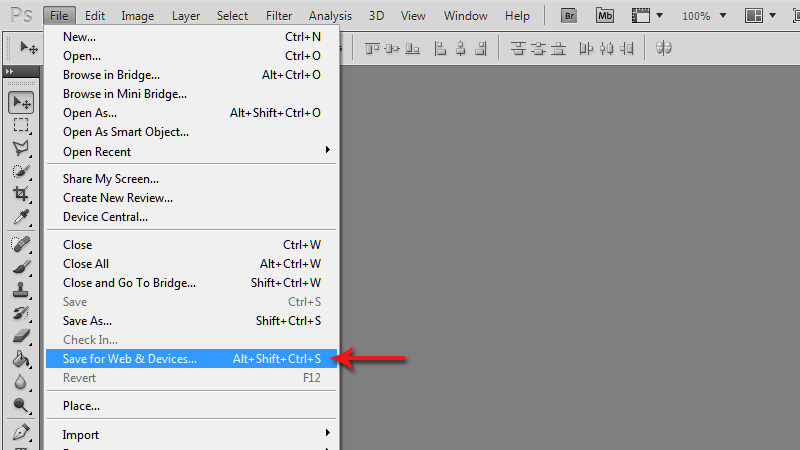
Find the smallest file size for image appearance in the web. You can also reduce the file size in the Save for Web dialog box. You can then choose the JPEG, GIF, PNG 24 and so on and adjust the final quality. Select Zoom levels from the dialog box or just type in a value. Set zoom size to 100%. Just toggle between the different choices and do the adjustments. Find the lowest size for creating a good image.
12. Crop Tool
The canvas size of the image can be cropped with the Crop tool. You can expand as well as trim the canvas size. Open the image and go to the Fix menu. Here, click on the Photo Editor and choose the Crop tool. Press C in order to use the tool or you can also click on the tool in the Tools panel.
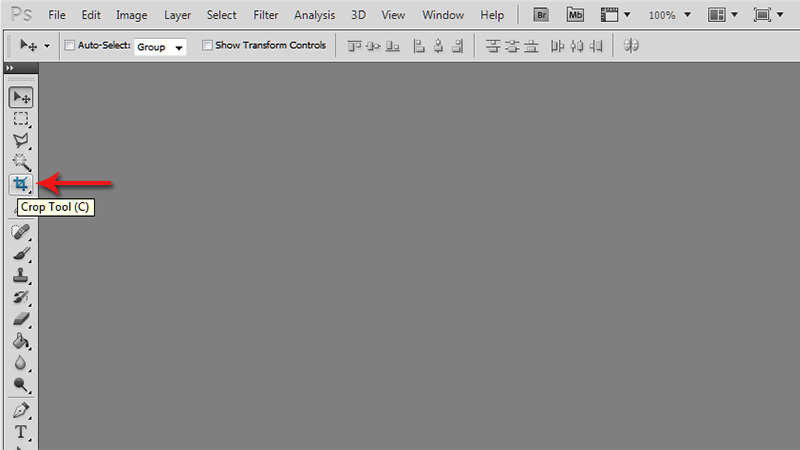
Drag out a rectangular shape on the image and then let go of the mouse button. Fill the entire image and drag the handles of the rectangle beyond the size of the image. You can select overlays or no overlays, such as Rule of Thirds and so on. Click on the Enter or Return key or, alternatively click on the green check mark for the new canvas size. The size equals the boundaries of the rectangle created.
13. Magic Wand Tool
With this tool, you can select areas having uniform color, or brightness. You can also select areas with complex edges, such as the skyline of buildings or trees.
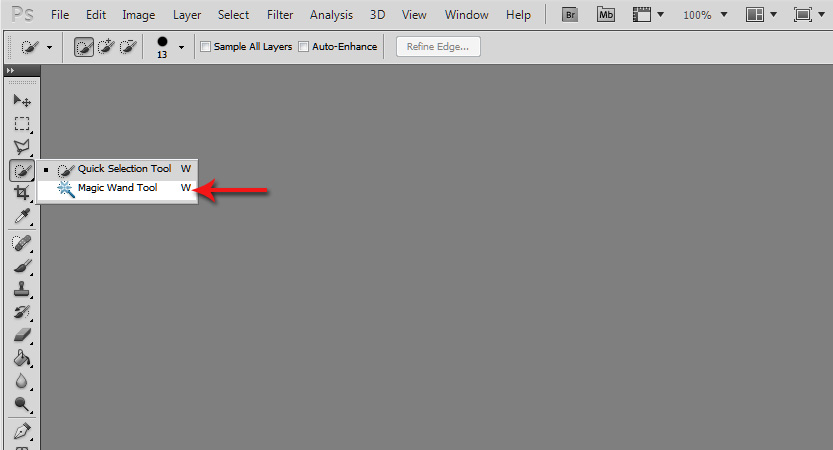
Select the tool from the Selection tool set and click it on the image. All adjacent pixels matching the clicked pixel are selected. While matching, you can also select the Match mode and set the Tolerance showing how closely you want the match to the one you clicked.
In the case of layers, check the sample merged in the Tool options palette for checking all layers. Choices in the match mode list consist of the RGB value, the Hue, the brightness and the opacity for matching. The Tolerance setting allows determining the area of selection and can be adjusted and tells Photoshop to what extent the pixels it selects need to match the pixel that you click.
14. Healing Brush Tool
This tool is similar to the Clone tool transferring pixels from one area to another. But, it also considers midtones, shadows and highlights in the area. Textures and colors from the sampled area are used offering a realistic repair.
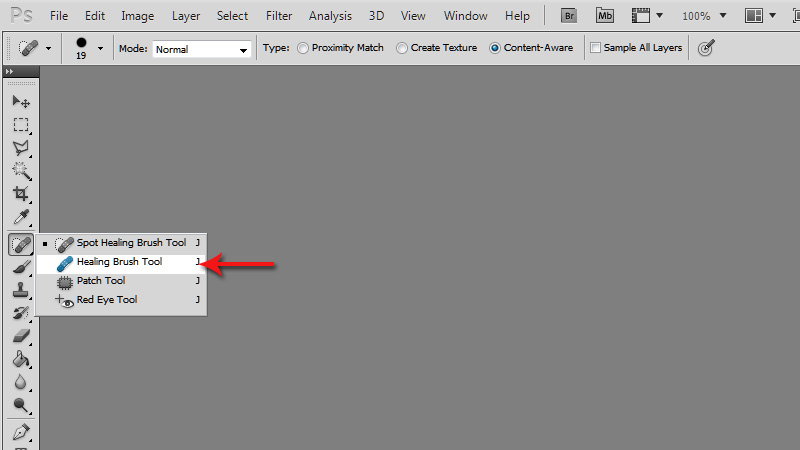
Use the Full Photo Edit mode and open the image for which you want a makeover. Choose the Healing brush tool in the Tools panel. You can select the hardness and diameter for the brush from the Brush picker in the Options bar and adjust the roundness, the angle, the blend mode and the spacing for a realistic effect.
Source options can be either Sampled that uses pixels in the image and Pattern from a pattern in the pattern picker panel. Select the Aligned option for constant reference to the sampled area and the All Layers option that heals all visible layers of the image. Click on the area of the image from which you want to clone by Alt clicking and then release Alt and drag the tool in the area that is flawed.
15. Move Tool
The move tool helps recompose or heal the image and is known as the content aware move tool. Open the image and choose the Move tool. It appears in the form of two arrows. Select the remix mode from the Extend or the Move. The Move option is ideal for moving objects in the image to a better composition.
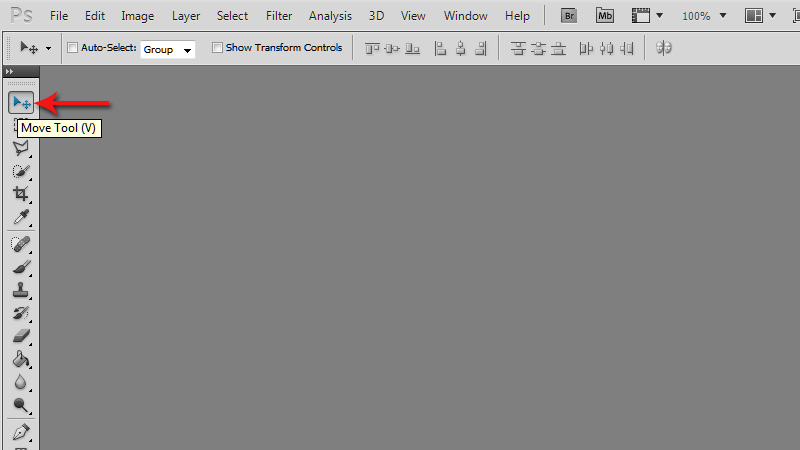
In the case of Extend, the selected area is extended and the lines and structure are blended in the existing object. Select an Adaptation setting for flexibility. It determines the shifting of pixels with the default being Medium. Drag the tool in the image area that you want to extend or to move. Next, move the selection to the location desired and touch up the areas wherever necessary to fix flaws.
Conclusion
Today, Photoshop is a vital web design tool. It offers links to different Adobe software useful for animation and editing. Adobe Photoshop can sometimes be quite complex. Beginners need to learn to use the various tools it offers. When you master these tools, you can use the program competently for completing any type of web design.
