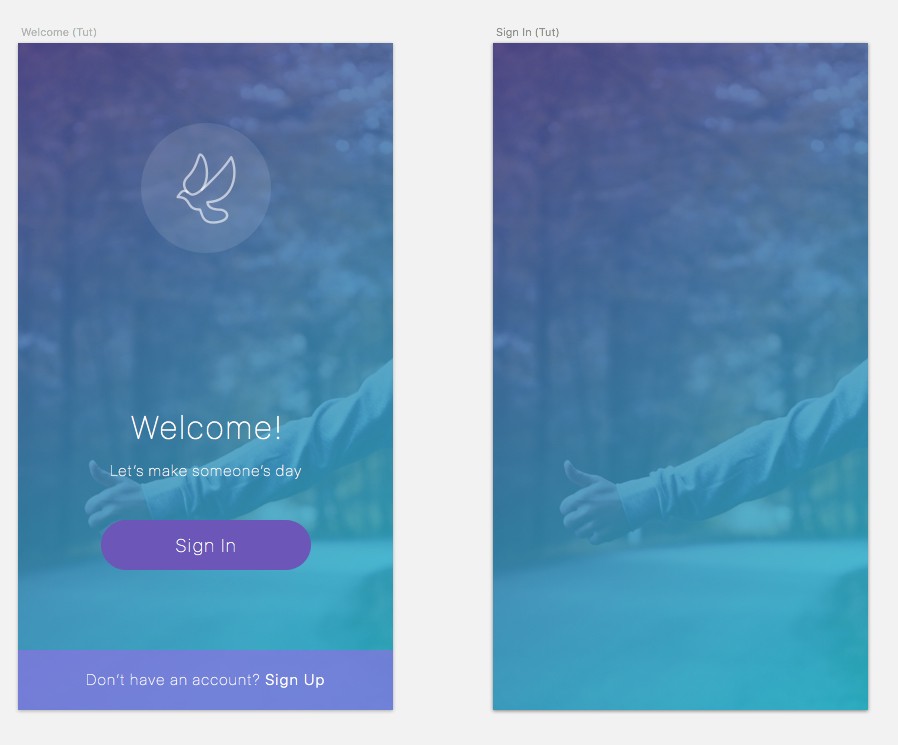
In this 3 part tutorial (I wanted to break it into more digestible chunks) we’ll be creating screens for a fictional, ‘Pay It Forward’ iOS App called ‘Piece’.
Before we start the tutorial, there’s a few things you’ll need:
Once you have the items installed, let’s go ahead and create some awesome…
Welcome Screen
Let’s concentrate on the welcome screen for our app. We’ll be putting the Unsplash It plugin to good use, and also the icon set that you will be installing into Iconjar.
Create a new Artboard (A), and choose the iPhone 6 option from the Inspector panel.
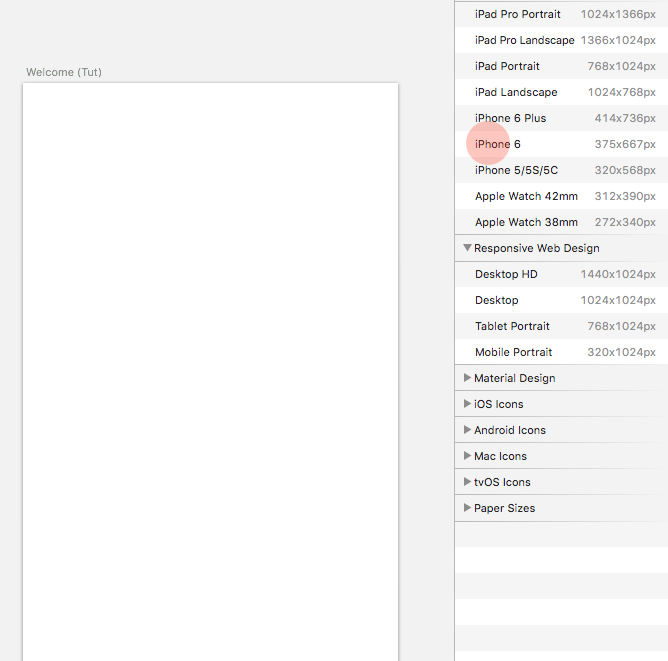
Now we will be designing 10 Artboards in total, and all for the iPhone 6, in portrait orientation. So it would make sense to quickly duplicate the Artboard you just placed onto the Canvas.
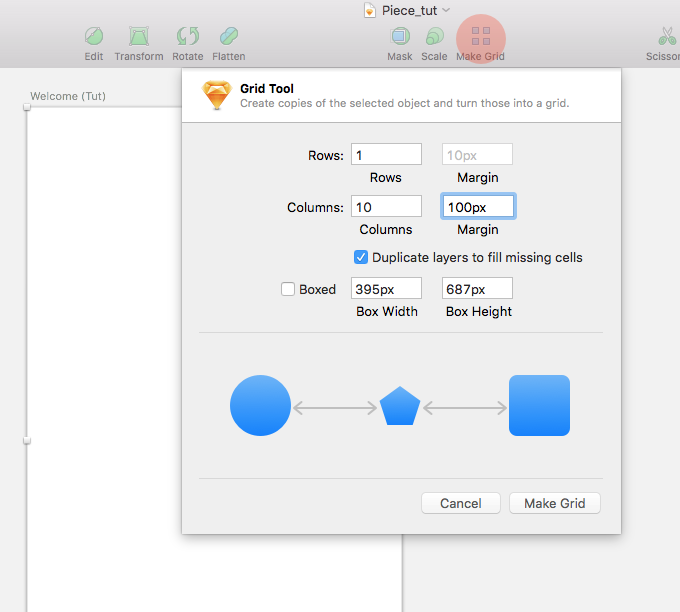
So, with the Artboard selected, click on the Make Grid icon in the Toolbar, and enter the following settings…
- Rows: 1 Margin: 10px.
- Columns: 10 Margin: 100px.
And click Make Grid.
Cool. Now we have all of our Artboards at the ready!
Let’s rename those Artboards before we move on.
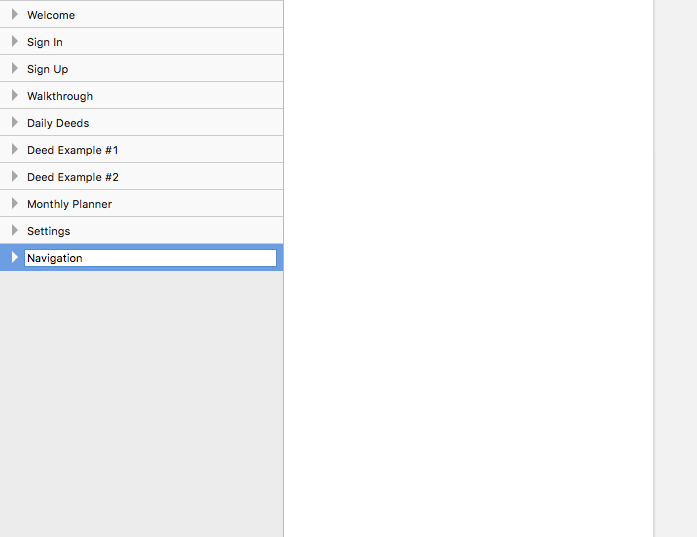
In the Layers List, use Cmd + R to rename the first Artboard, and then use the Tab key to quickly jump to the next Artboard name, renaming as you go.
Starting with the 1st Artboard, use the following labels…
- Welcome
- Sign In
- Sign Up
- Walkthrough
- Daily Deeds
- Deed Example #1
- Deed Example #2
- Monthly Planner
- Settings
- Navigation
Ok. Back to the Welcome screen.
Draw out a Rectangle (R) to cover the Artboard (375 x 667px), and remove the Border.
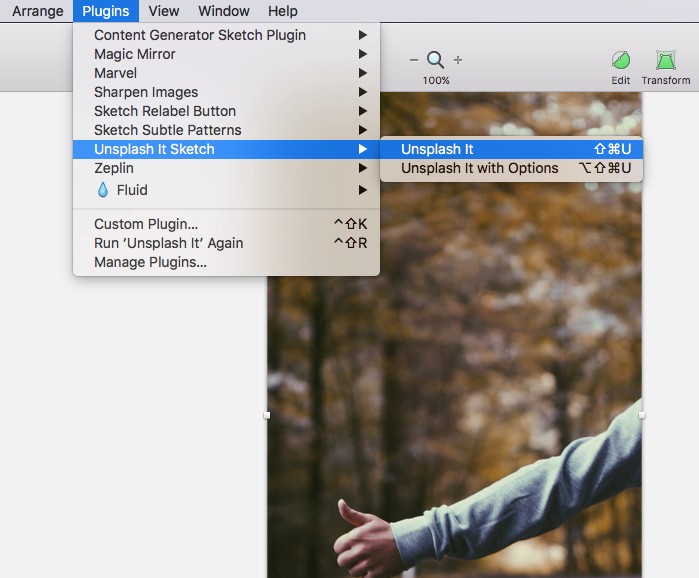
Then, from the Menu bar, navigate to Plugins > Unsplash It Sketch > Unsplash It, or use the shortcut Shift + Cmd + U.
Now we have a nice background image in place for our first screen. Remember you can easily cycle through the plugin with Shift + Ctrl + R until you find an image you’re happy with.*
*Your images may differ from the tutorial. Don’t worry. It’s all cool!
Let’s get a nice gradient to overlay our image. We’ll have it angled from the top left corner, to the bottom right corner.
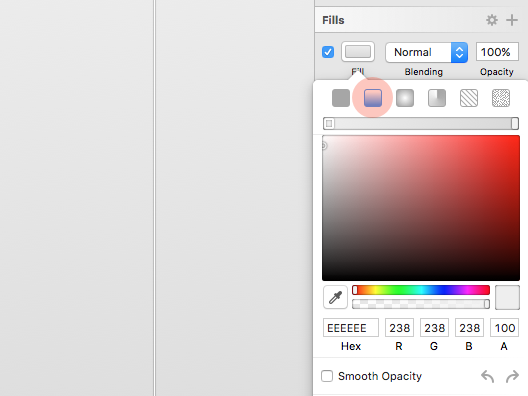
Draw a Rectangle (R) to cover the Artboard, and then from the Inspector panel, in the Fills section, choose the Gradient option.

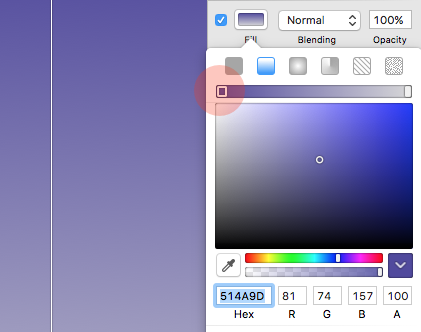
Click on the first color stop in the Gradient Bar, and enter 514A9D for the Hex color value.
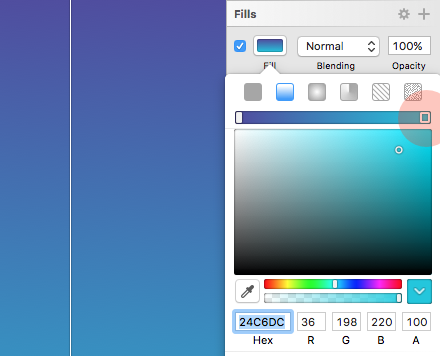
Then for second color stop, enter 24C6DC into the Hex color field.
Back on the Artboard, click on the dot at the top of the gradient line, and drag it to the top left corner.
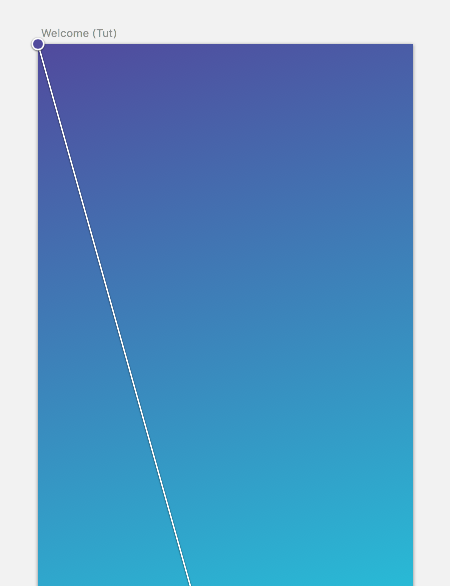
Then grab the bottom dot, and drag that to the bottom right corner.
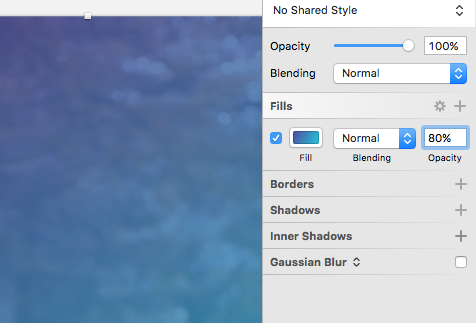
Quickly jump back to the Fills section, and drop the Opacity of the gradient down to 80%.
Let’s get a logo in place for our fictional app. The app is called ‘Piece’ (That’s not a typo by the way. It’s a long story. I’ll explain over coffee one day).
What’s a sign of Piece/Peace? A dove of course!
Make sure you have Iconjar installed, and running? Good stuff!
And now we’re going to install the font set you downloaded earlier.
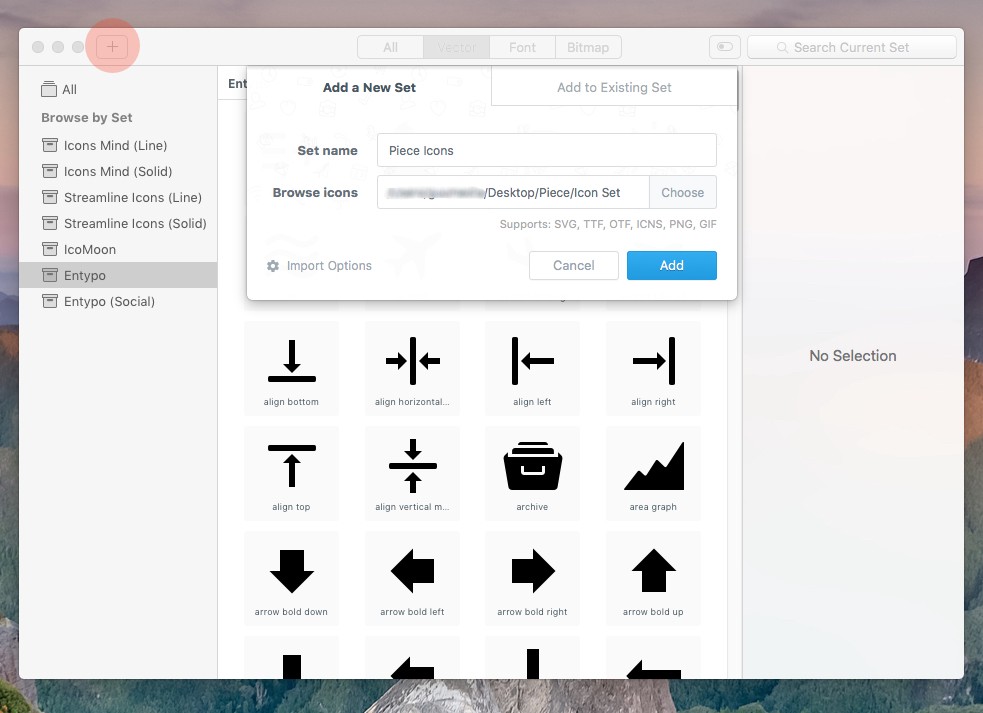
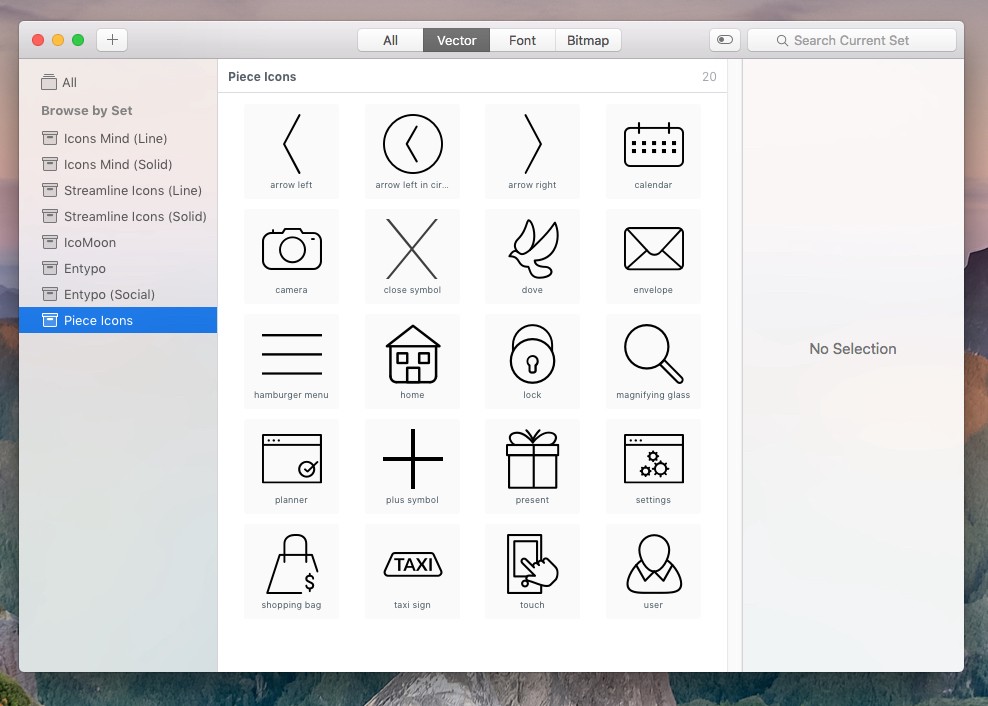
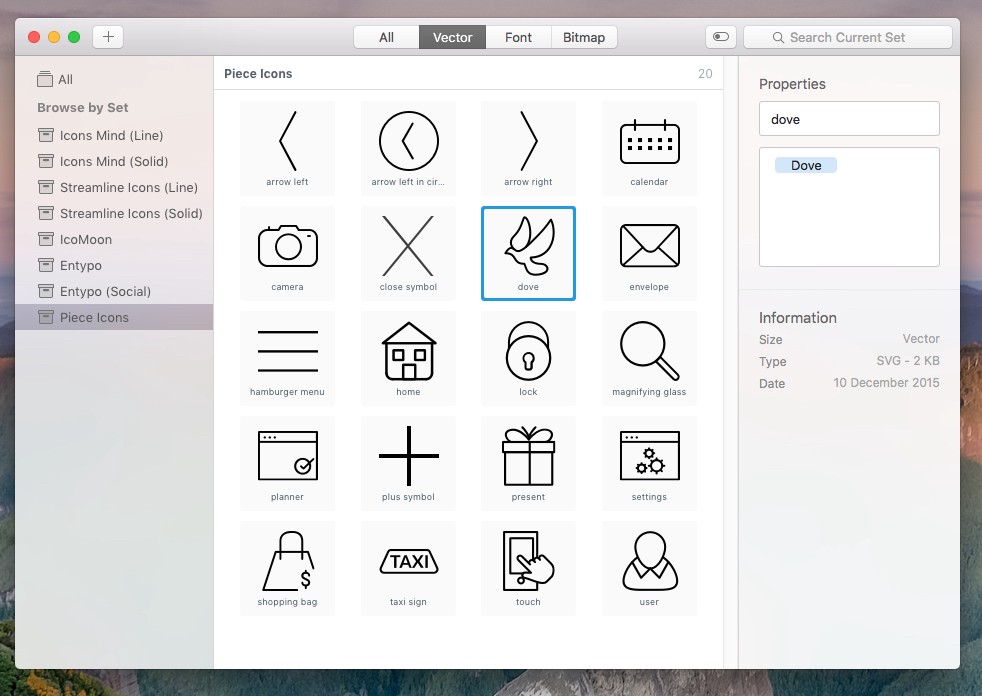
From Iconjar, click on the plus (+) icon at the top of the application, give your set a name, and then browse to the folder with the icons. Select the folder, and click Open. Then click Add to bring the new icon set into Iconjar.
Now we have our icons within easy reach, and we can just click-drag them from Iconjar, and place them straight into our design. A real timesaver.
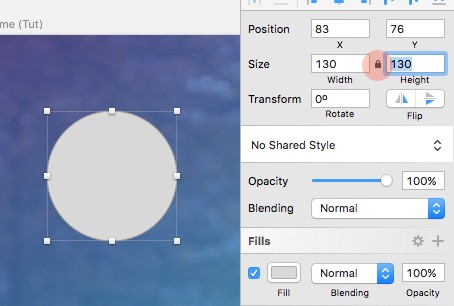
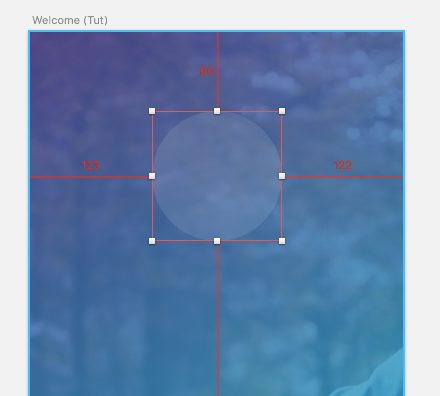
Before we drag in our dove icon, draw out an Oval (O), and give it a width of 130px (with the padlock on to keep proportions).
Remove the border, and then give it a Fill color of #FFFFFF with 10% Opacity.
With your shape layer selected, hold down Alt to align it correctly on the Artboard, measuring 80px from the top.
Back in Iconjar, select the dove icon, and then drag it onto your Artboard.
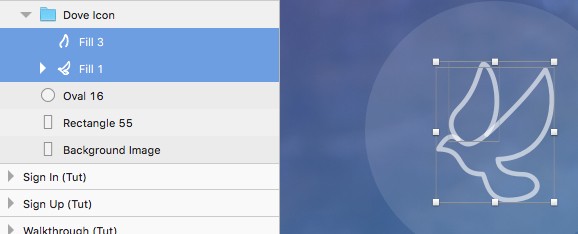
The icon is a little large to sit inside the circle, so reduce it’s width to 60px (keeping the padlock on), and then, with the icon shape layers selected (not the folder), change the color to #FFFFFF, with 60% Opacity.
With both the icon folder, and circle shape layer selected, use the Align Horizontally, and Align Vertically tools to align them correctly with one another.
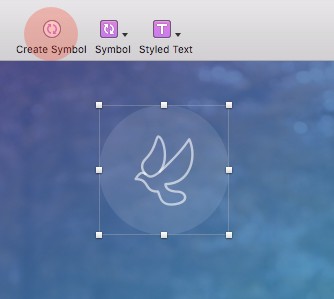
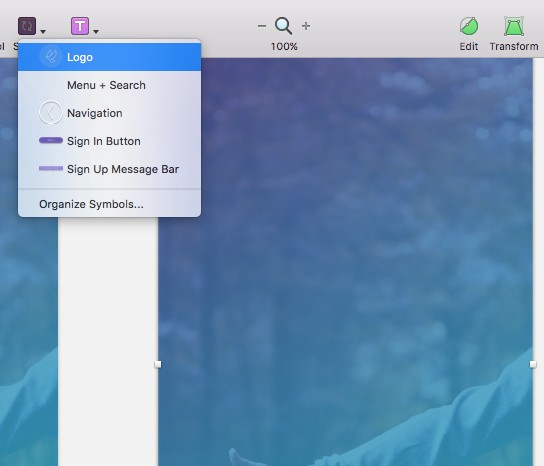
Then turn the logo into a Symbol, via the Create Symbol button in the Tool bar.
Time to add some text to our Welcome screen, and make use of the San Francisco font you downloaded earlier.
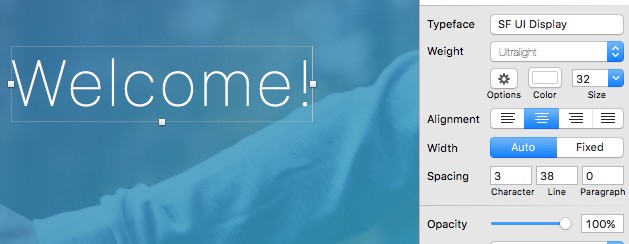
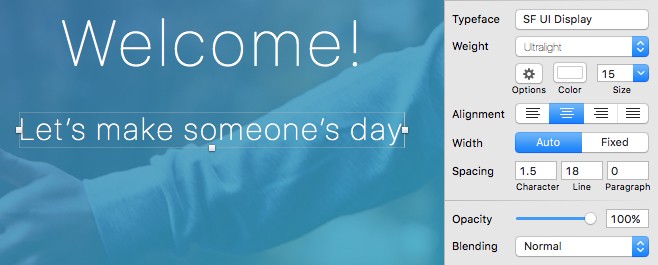
Use the Text tool (T), and edit the text to say ‘Welcome!’, then enter the following settings in the Inspector panel…
- Typeface: SF UI Display.
- Weight: UltraLight.
- Color: #FFFFFF.
- Size: 32.
- Alignment: Center.
- Character Spacing: 3.
Insert another Text layer (T), edit the text to ‘Let’s make someone’s day’, and then apply the following settings…
- Typeface: SF UI Display.
- Weight: UltraLight.
- Color: #FFFFFF.
- Size: 15.
- Alignment: Center.
- Character Spacing: 1.5.
Let’s convert this title to a Text Style.
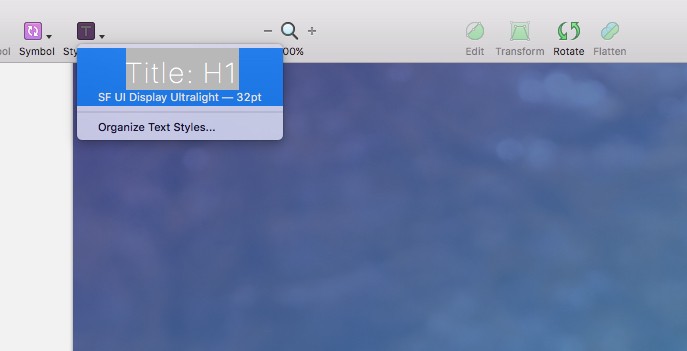
With the ‘Welcome’ text selected, Choose Create New Text Style from the select menu in the Inspector panel, and give it a label. Let’s keep it simple and call it ‘Title: H1’ (Remember to use less vague naming conventions when working on a large project).
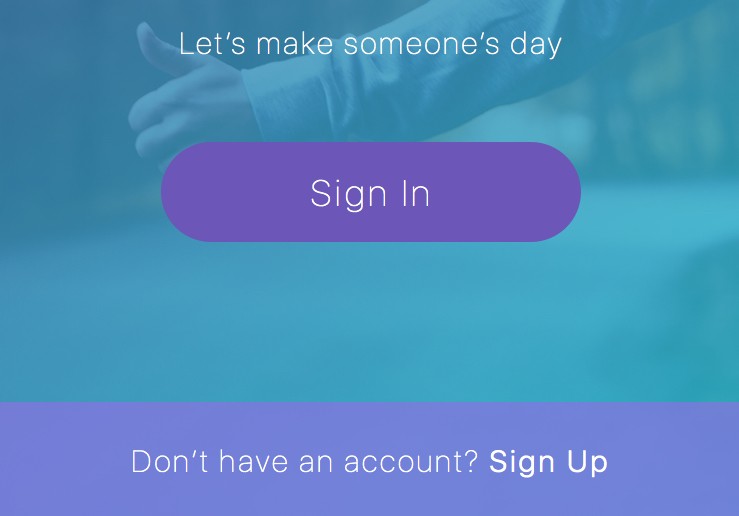
Now let’s add our Sign In button, which will appear below the welcome message.
Draw out a Rectangle (R), 210px in width, and 50px in height. Give it a Fill color of #6C56B7, and a Border Radius of 40.
Add a text layer (T), with the text ‘Sign Up’, and use the following settings…
- Typeface: SF UI Display.
- Weight: UltraLight.
- Color: #FFFFFF.
- Size: 18.
- Alignment: Center.
- Character Spacing: 2.
Use the alignment tools at the top of the Inspector panel to align the two elements correctly to one another.
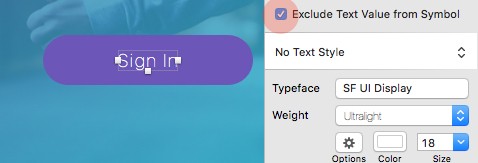
Then turn the button into a Symbol, via the Create Symbol button in the Tool bar. Once you’ve converted it, select the Text Layer, and then check Exclude Text Value from Symbol, in the Inspector panel. This just allows us to sync this Symbol across our Artboards, but to alter the text inside of it if required (which it will be).
Final part of our Welcome screen, a message for new users to sign up for an account.
Draw out a Rectangle (R), 375px width, and 60px height, give it a Fill color of #8C72E3 with 70% Opacity.
Place it flush, at the bottom of the Artboard.
Add a Text layer (T) ‘Don’t have an account? Sign Up’, with the following settings…
- Typeface: SF UI Display.
- Weight: UltraLight.
- Color: #FFFFFF.
- Size: 15.
- Alignment: Center.
- Character Spacing: 1.5.
For the ‘Sign Up’ part of the text layer change the Weight to Light.
Finally, turn this element into a Symbol, and then, with the Text Layer selected, check Exclude Text Value from Symbol.
And that’s a job well done for the Welcome screen!
Sign In Screen
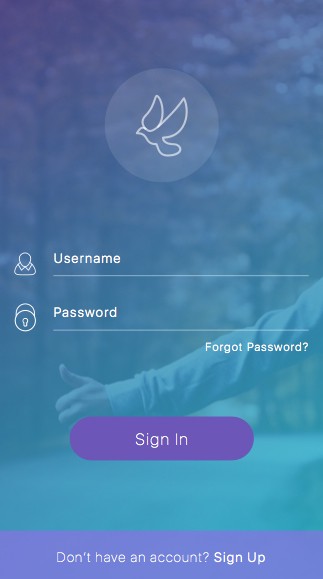
As you may have noticed from looking at the screenshots, the Welcome, and Sign In screens share a lot of similarities.
The only thing that differs is the welcome message replaced by the sign in form.
Now, there are a few different methods we could use to accomplish this next part, but for this tutorial I’ll stick with the following…
So, select the background image, and overlay from the Welcome screen design, and holding down Alt (to duplicate the layers), click and drag those 2 elements across to our Sign In Artboard.
Insert the logo Symbol you created earlier, and align it on the Artboard.
Then go ahead and do the same for the Sign Up message bar.
Now for the Sign Up form…
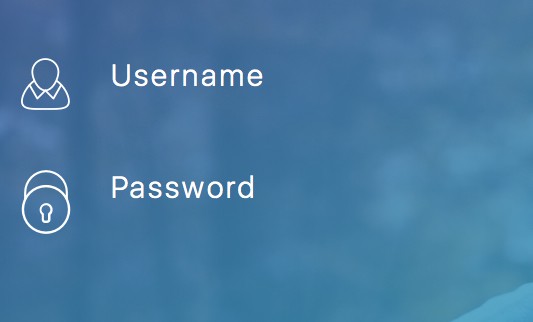
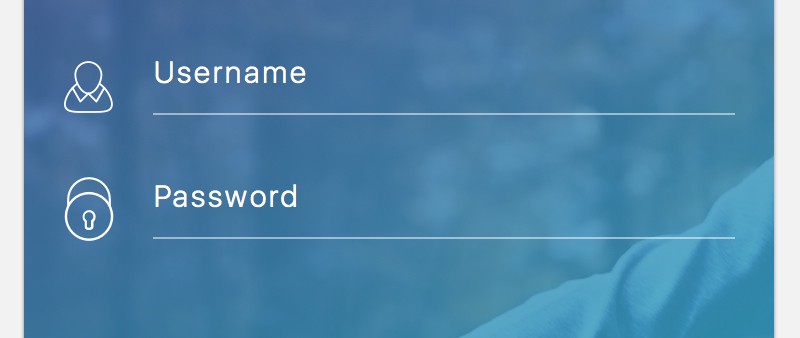
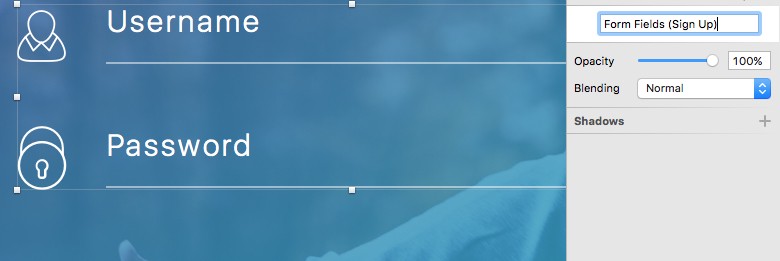
Jump back to Iconjar, and select the user icon. Click, and drag it onto your Artboard. Do the same for the lock icon.
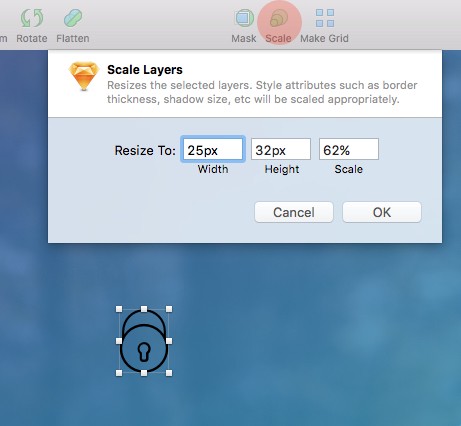
Selecting each icon at a time. Click on the Scale tool, and reduce the width to 25px. Then change the color of both icons to #FFFFFF.
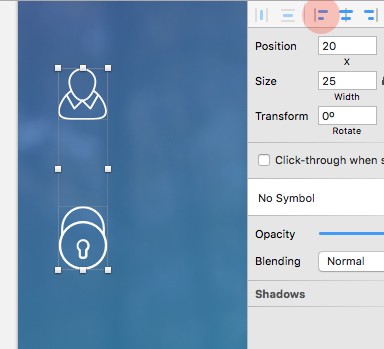
With both icons selected, use Align Left, and then using Alt, position them 20px from the left edge of the Artboard.
Insert 2 Text Layers. One ‘Username’, and the other ‘Password’.
Then adjust the text settings for both layers…
- Typeface: SF UI Display.
- Weight: Light.
- Color: #FFFFFF.
- Size: 15.
- Alignment: Left.
- Character Spacing: 1.5.
And align them correctly next to each icon.
Draw out a 1px Line (L) to sit under each Text Layer. Make it 290px in Length, with a Border Color of #FFFFFF, with 50% Opacity.
Then use the Alignment tools I showed you earlier to make sure everything is aligned nice, and tight.
Insert a Text Layer (T), and alter the text to ‘Forgot Password?’, and then adjust the text settings…
- Typeface: SF UI Display.
- Weight: Light.
- Color: #FFFFFF.
- Size: 13.
- Alignment: Right.
- Character Spacing: 1.3.
Align this Text Layer to the bottom right of your Password text field.
If you haven’t already. Group the elements for your Username field, and also the Password field.
Then, with those 2 groups selected, use Cmd + G again to group them, and rename your new group to ‘Form Fields (Sign In)’.
Go ahead and convert your ‘Form Fields (Sign In)’ group to a Symbol.
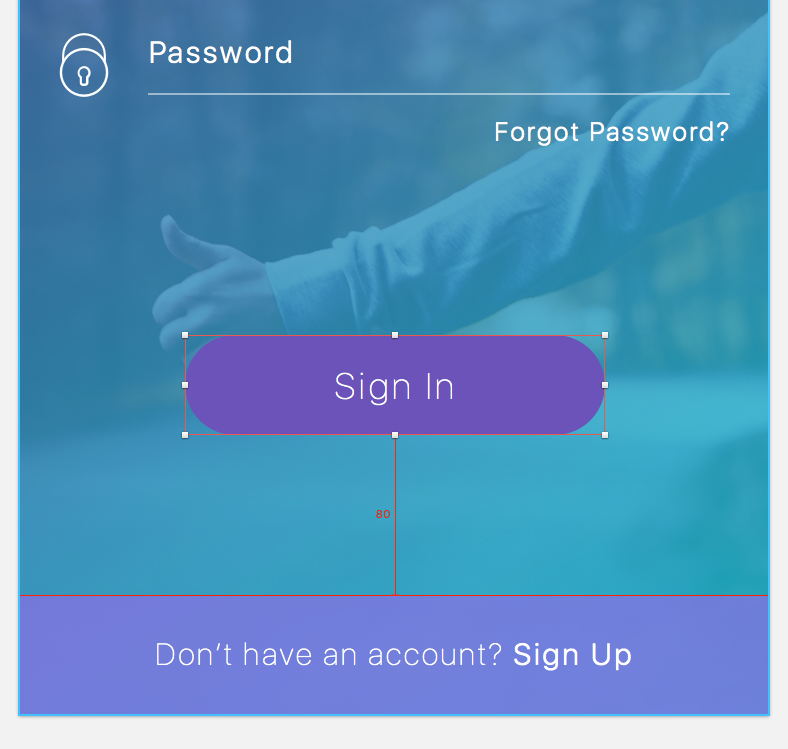
And finally for this screen, insert the Sign In button Symbol you created earlier, and align it correctly below the sign in form. Use Alt to measure the distance of 80px from the message bar at the bottom of the screen.
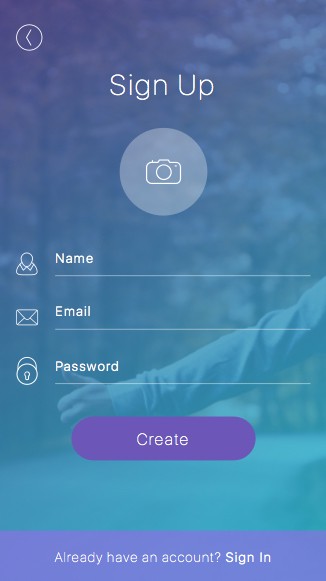
Sign Up Screen
Time for the final screen in this part of the tutorial.
Like the Sign In screen, before it, the background image, and overlay are staying the same, so Alt and drag them across from the previous Artboard.
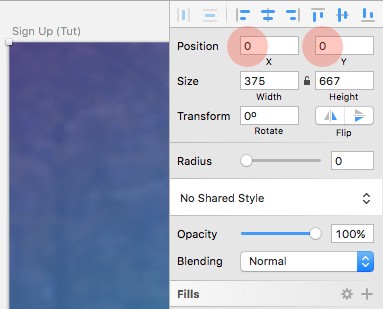
Make sure they are aligned correctly on your new Artboard, by checking their positioning on the X and Y axis.
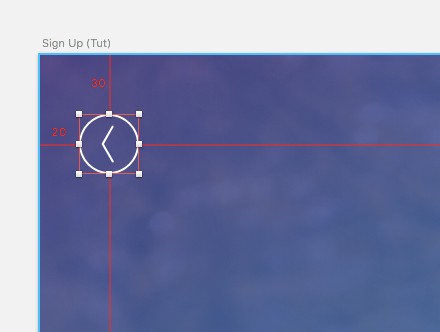
From Iconjar, drop in the arrow left in circle icon.
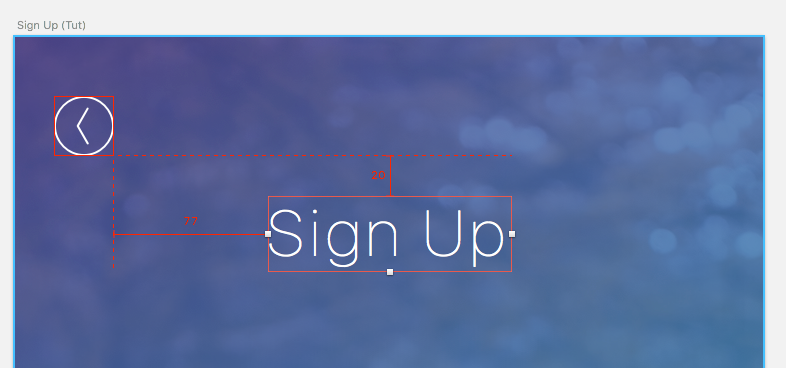
Using the Scale tool, change the width to 30px, give it a color of #FFFFFF, and position it 20px from the left, and 30px from the top of the Artboard.
Now, we’re going to use the Text Style we created earlier (Title: H1), so click on the Styled Text icon in the Toolbar, and choose the Text Style from there. Then click on your Artboard to insert the text layer, and change the wording to ‘Sign Up’.
Using Alt for your Measure Guides, align the title correctly on your Artboard.
Now for some more SVG icon goodness!
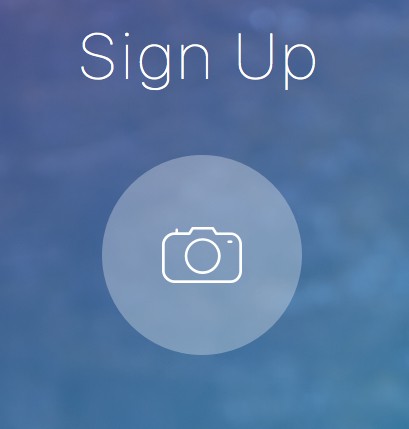
Using the Oval (O) tool, draw out a circle, to 100 x 100px (remember to hold Shift whilst you draw your shape, to constrain proportions).
Remove the border, and change the color to #FFFFFF, with 30% Opacity.
From Iconjar, grab the camera icon, and using the Scale tool, reduce the width to 40px, and then change the color to #FFFFFF.
Use the Alignment tools in the Inspector panel to align the icon, and circle shape layer correctly.
The Sign Up form will require 3 input fields…
Of course we can speed up the process somewhat by using the ‘Form Fields (Sign In)’ Symbol we created earlier.
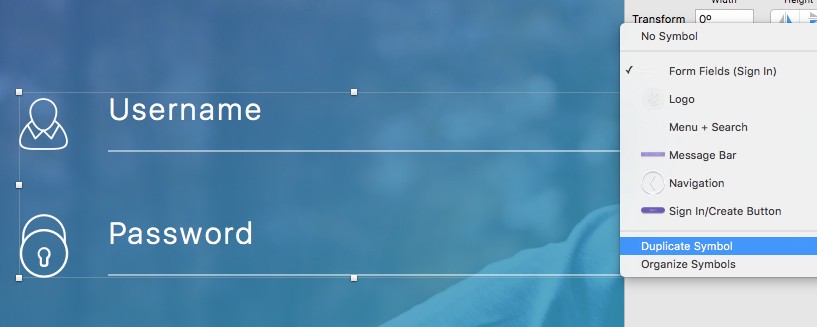
So insert that Symbol into your design. But, before we go any further, we don’t want to affect the Symbol being used on the Sign In screen, so with the Symbol selected, click on the Select menu in the Inspector, and choose Duplicate Symbol.
Then rename this new Symbol to ‘Form Fields (Sign Up)’. Now we have 2 Symbols working independently of each other, and helps us cut down on our production time in the process.
Edit the text, from ‘Username’ to ‘Name’, and then increase the gap between the 2 fields, to allow us space for the Email field.
From Iconjar, drag and drop in the envelope icon. Then, with the Scale tool, reduce the width to 25px, and change the color to #FFFFFF.
Taking cues from the existing fields, add a Text Layer, and Line, to sit alongside your icon, and then align all the elements correctly.
Then insert the button Symbol you created earlier, change the text to ‘Create’, and align it below the form.
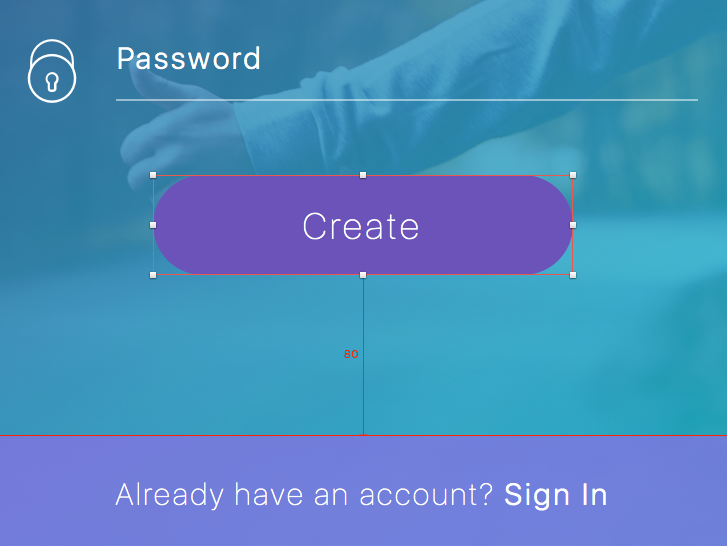
Finally, drop in the Message Bar Symbol, and edit the text to ‘Already have an account? Sign In’.
And that’s the first part of this tutorial complete. Nice work!
In the second part, we’ll be creating screens for the Walkthrough, Daily Deeds Planner, and Deed Examples. “Deeds?” I hear you say. It will make more sense in the next part, trust me.
